Tag

5 ingredient

Browsing

Why You’ll Love These Cookie Dough Date Bites

  • They taste like your favorite cookie dough but are healthy and made with better-for-you ingredients!
  • Made in under 10 minutes with minimal prep – perfect for meal prep.
  • Naturally gluten-free, dairy-free, vegan, and refined-sugar-free!
  • Ideal for lunchbox treats, post-workout energy, or whenever you’re craving a little something sweet.
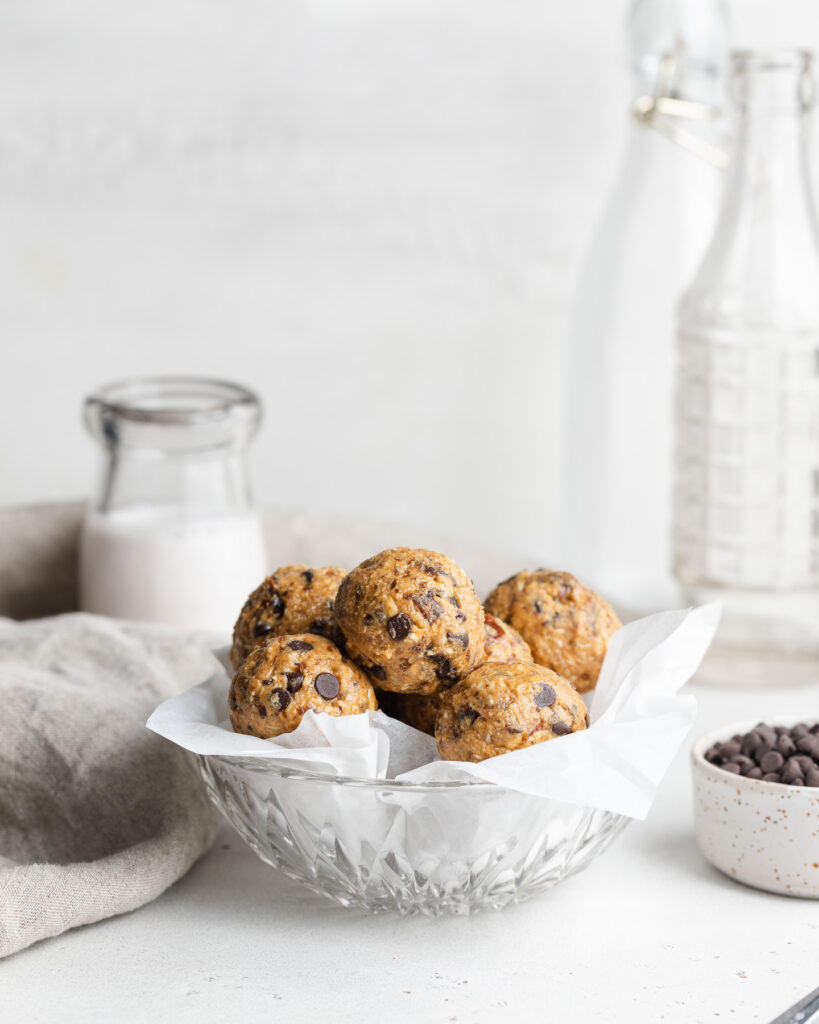
Cookie dough date bites in a bowl with milk and chocolate chips on the side.

What Makes This Recipe Healthy?

  • Medjool dates provide natural sweetness, fiber, and potassium without added sugar!
  • Rolled oats and peanut butter add sustained energy through complex carbs, healthy fats, and protein.
  • This recipe is naturally gluten-free, dairy-free, and refined sugar-free – yet taste like dessert!

Recipe Variations and Substitutions

  • Nut-Free: Swap in unsweetened sunflower or tahini instead of peanut butter.
  • Lower-Sugar: Use dark or sugar-free mini chocolate chips, or omit them entirely.
  • Flavor Swaps: Stir in cinnamon, cocoa powder, or shredded coconut for added depth.
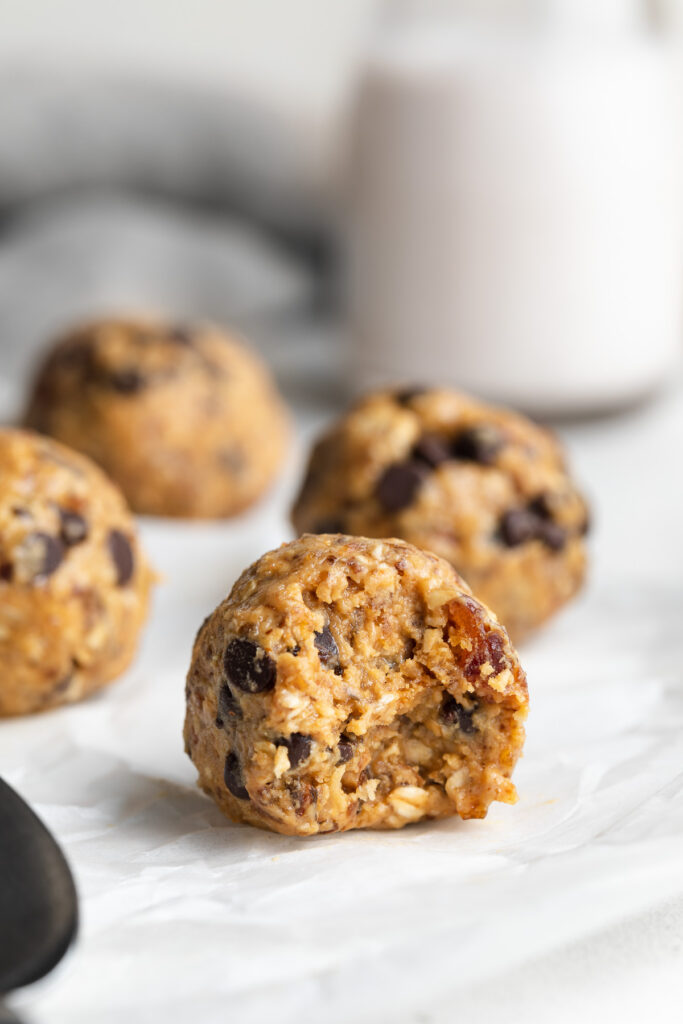
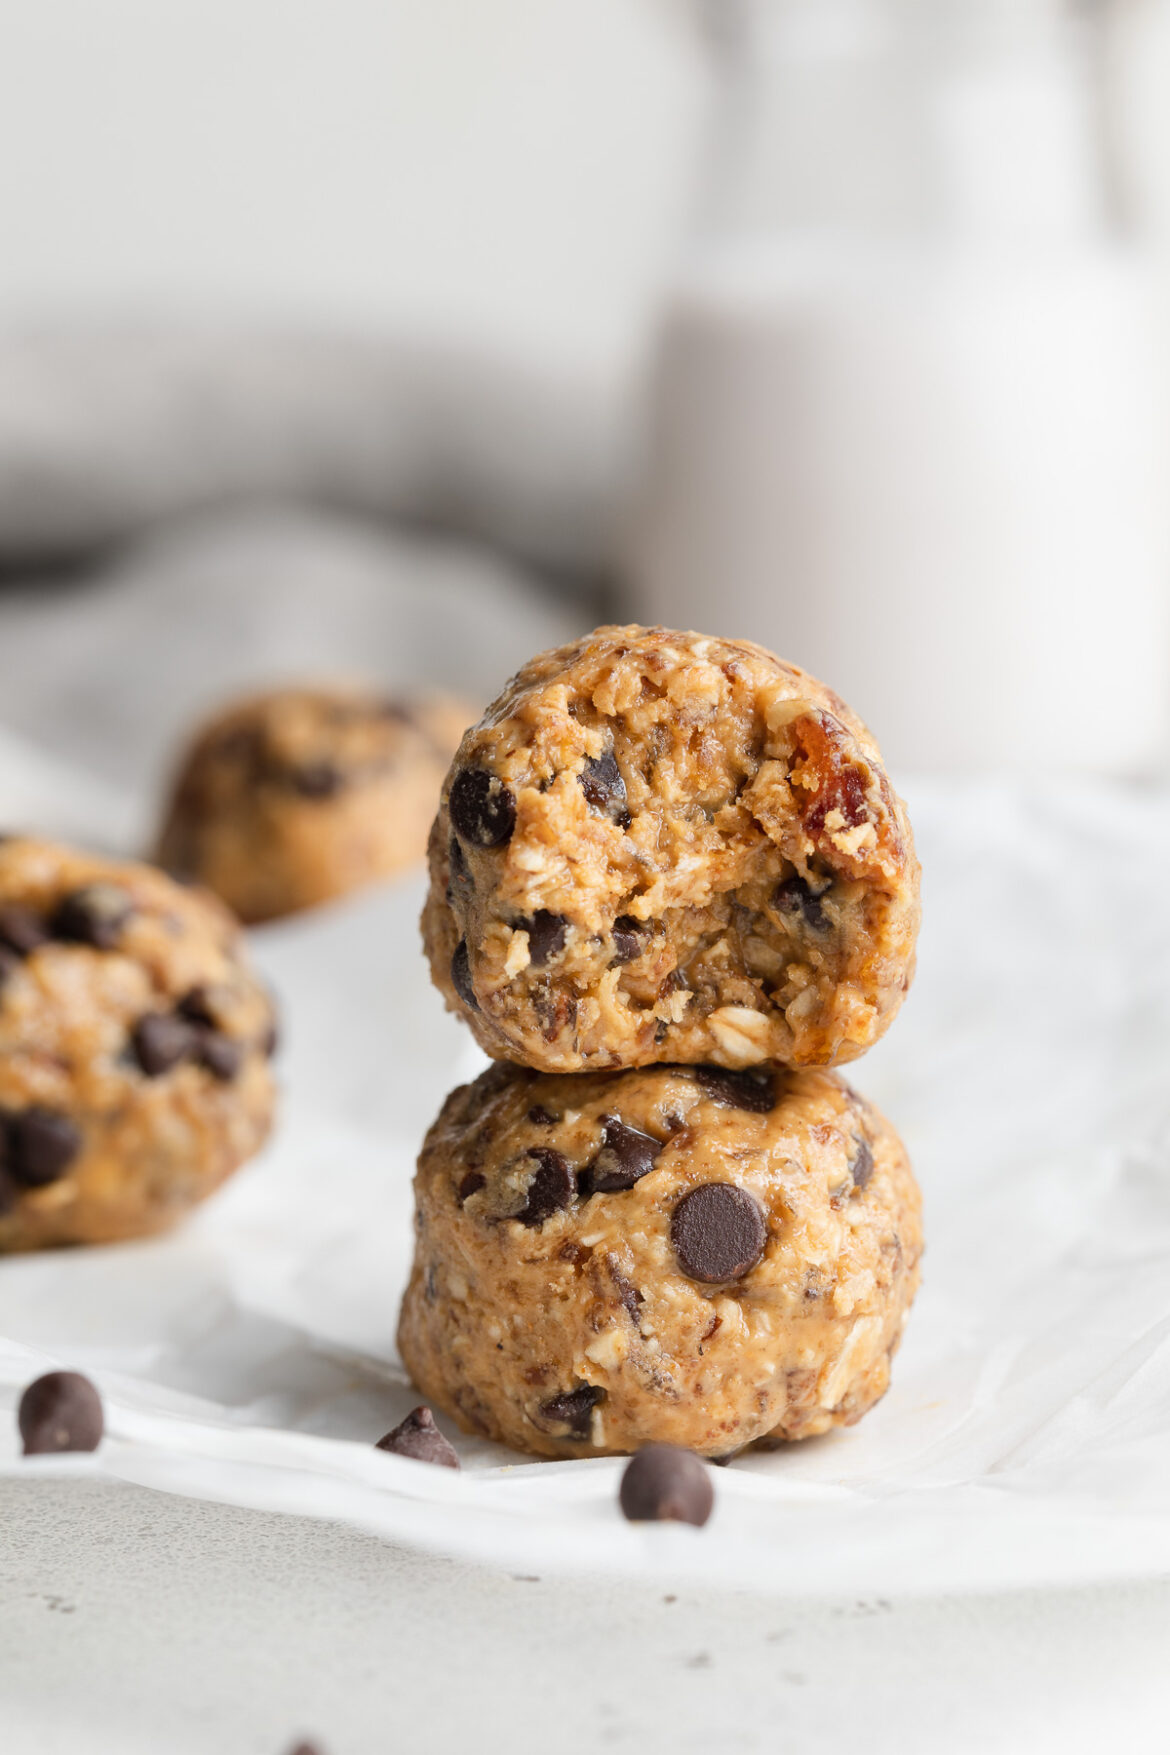
One cookie dough date bite with a bite taken out.

Frequently Asked Questions

Can I use almond flour instead of oats?
Yes! Almond flour—or any nut flour—works for a richer, low-carb version.

Will these hold together without rolling?
They’ll firm up in the fridge or freezer, but rolling helps ensure they stay bite-sized.

How long do they last?
Keep them refrigerated up to 2 weeks or freeze for up to 3 months for easy snacking!

Two cookie dough dates bites stacked on top of each other.
5 from 2 votes

5-Ingredient Healthy Cookie Dough Date Bites

Healthy 5-ingredient cookie dough date bites! They’re vegan, gluten-free, sugar-free, and totally delicious. Whip up a batch of these healthy snacks in just a few minutes!
Print Pin Rate
Prep Time: 5 minutes
Total Time: 5 minutes
Servings: 12 bites

Ingredients

  • 1 cup medjool dates, pitted
  • 1/2 cup rolled oats
  • 1/2 cup peanut butter, unsweetened
  • 1 teaspoon vanilla extract
  • pinch of salt
  • 1/4 cup chocolate chips (I recommend mini chocolate chips!)

Instructions

  • Add all ingredients except chocolate chips to a food processor and pulse until a dough forms. All ingredients should be very finely chopped, and mixture will appear crumbly but should stick together when pressed between your fingers.
  • Add in chocolate chips and give just 2 or 3 pulses to incorporate.
  • Use a cookie scoop to scoop mixture, then roll between your palms into balls. Place on a parchment-lined plate and refrigerate for 2 weeks or freeze for up to 3 months.

Nutrition

Serving: 1bite | Calories: 100kcal | Carbohydrates: 11g | Protein: 3g | Fat: 6g | Fiber: 2g | Sugar: 6g
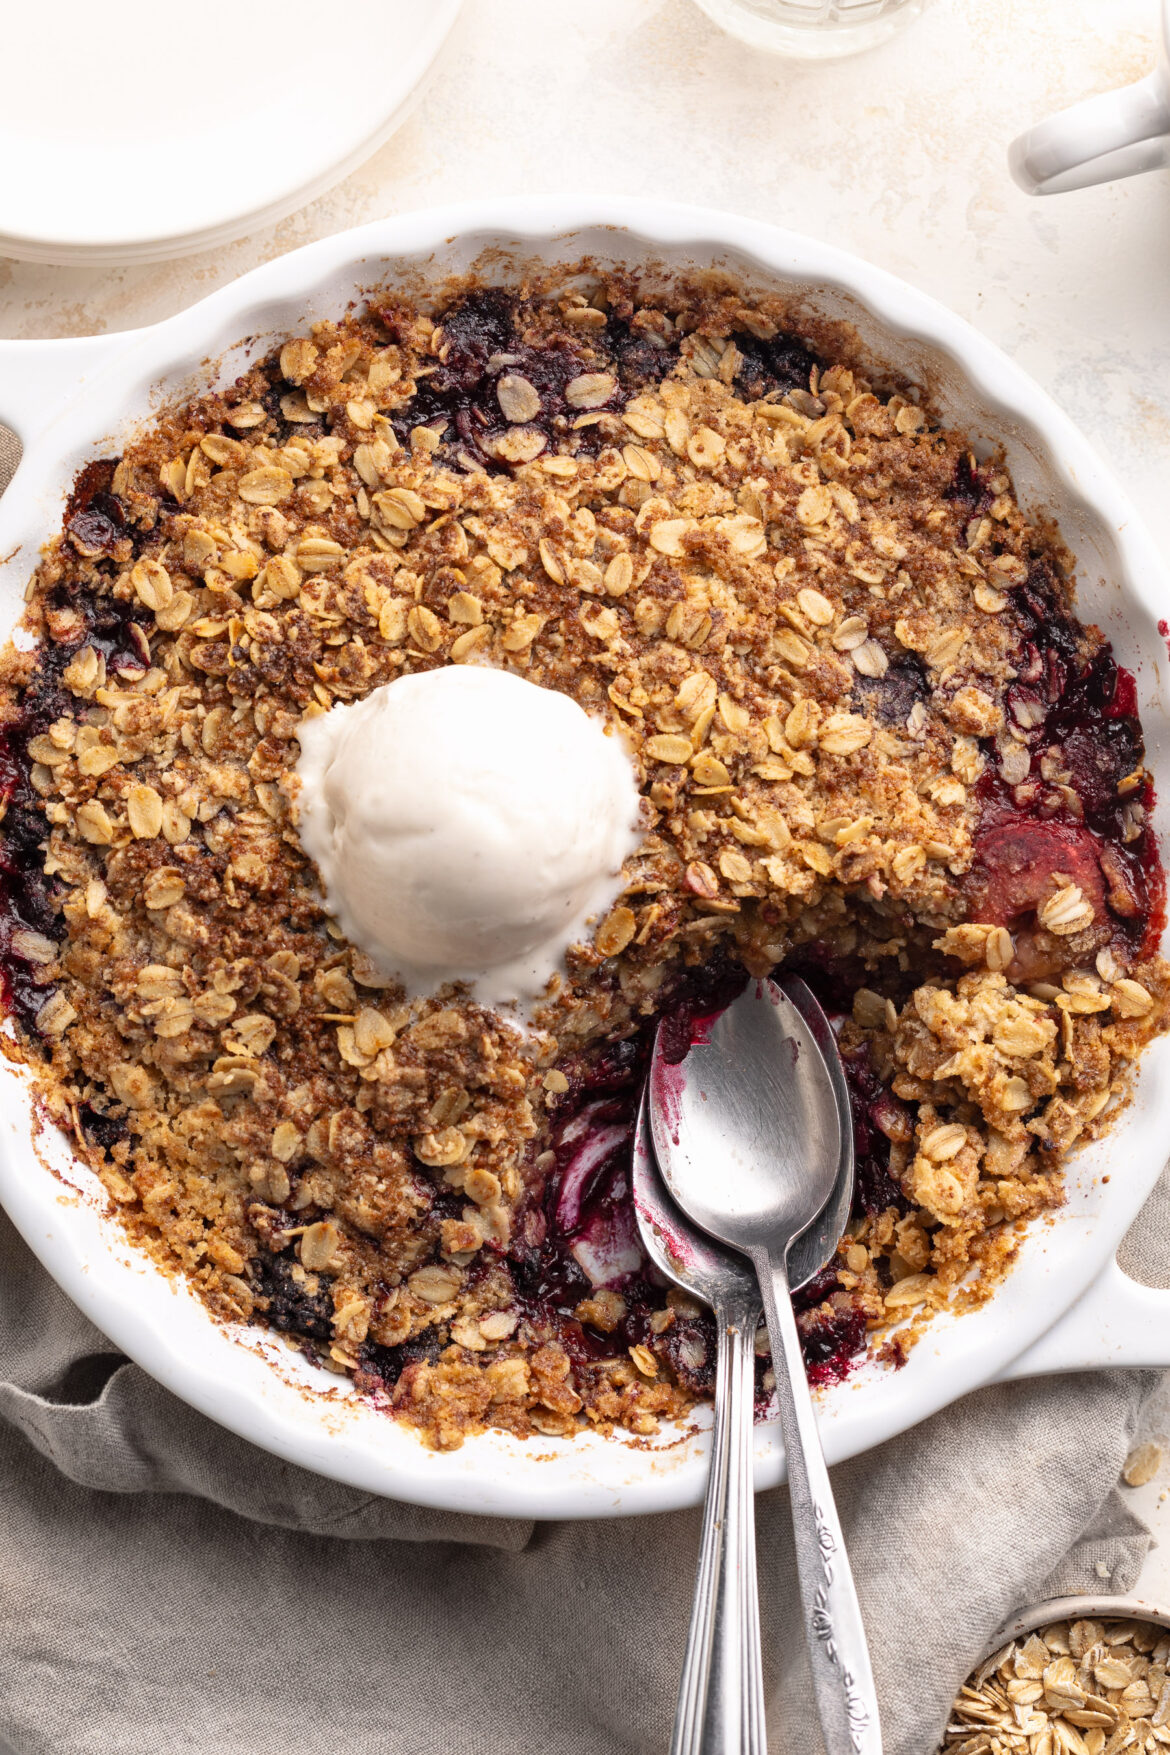
Everyone needs a good berry crisp recipe in their back pocket! I’ve made a few berry crisps in my day, but to be completely honest – none were quite right. They were either too dry, didn’t have enough berries, or overly sweet. But this triple berry crisp recipe?? Well… I don’t mean to brag but, she’s just PERFECT! Made with 5 ingredients, in one bowl, with frozen berries (so you can bake it year-round!). I drew some inspo from my healthy apple crisp which was a huge hit last fall! And also my 4 ingredient peach cobbler which I can’t wait to break back out this upcoming peach season.

Why You’ll LOVE This Triple Berry Crisp with Frozen Berries

  • Super Easy to Make: With just 5 simple ingredients, this recipe comes together quickly for a stress-free dessert.​
  • Versatile and Adaptable: Easily customize the recipe to suit gluten-free, dairy-free, nut-free, or vegan diets without compromising on flavor.​
  • Deliciously Healthy: Made with wholesome ingredients, this crisp offers a guilt-free indulgence that’s both satisfying and nutritious.​
close up image of triple berry crisp with frozen berries in a baking dish.

Can I Use Fresh Berries?

Yes, you can use fresh berries in this recipe. However, frozen berries are convenient and available year-round, providing consistent quality and flavor. If using fresh berries, you may need to adjust the baking time slightly, as they release less juice than frozen ones.

Can I Make Ahead and Freeze This Recipe?

Absolutely! This berry crisp can be prepared ahead of time and frozen either before or after baking:​

  • Before Baking: Assemble the crisp, cover it tightly, and freeze. When ready to bake, remove from the freezer, let it thaw in the refrigerator overnight, and bake as directed.​
  • After Baking: Allow the crisp to cool completely, then cover and freeze. To reheat, warm it in the oven at 350°F until heated through.​
triple berry crisp with frozen berries on a plate with a scoop of vanilla ice cream on top.

Adjust This Recipe to Your Dietary Needs

  • Make it Gluten-Free: Use certified gluten-free oats and gluten-free all-purpose flour or almond flour for the crisp topping.
  • Make it Dairy-Free: Substitute the butter with a non-dairy alternative like coconut oil or a plant-based butter.​
  • Make it Nut-Free: Ensure all ingredients, including oats and flour, are free from cross-contamination with nuts.​
  • Make it Vegan: Replace the butter with a plant-based alternative and use a vegan-friendly sugar.
Overhead image of triple berry crisp with frozen berries in a baking dish with a scoop of vanilla ice cream on top.
3 from 2 votes

5-Ingredient Triple Berry Crisp with Frozen Berries

Effortless and delicious 5-Ingredient Triple Berry Crisp, crafted with frozen mixed berries and a simple, wholesome crisp topping! This fruit crisp is not only simple to make, but also easy to adapt to a variety of diets, making it a perfect treat for any occasion. Serve it warm with a scoop of vanilla ice cream for a delicious and healthy dessert!
Print Pin Rate
Prep Time: 10 minutes
Cook Time: 40 minutes
Total Time: 50 minutes
Servings: 8 servings

Equipment

  • 1 9-inch baking dish
  • 1 large bowl

Ingredients

For the berries:

  • 4 cups frozen mixed berries
  • 1/4 cup cane sugar or coconut sugar
  • 1/4 cup gluten-free all purpose flour or regular all purpose flour
  • 1/2 tablespoon lemon juice optional
  • 1 teaspoon vanilla extract optional

For the crisp:

  • 1 cup rolled oats
  • 3/4 cup gluten-free all purpose flour or almond flour
  • 1/2 cup cane sugar or coconut sugar
  • 6 ounces butter cut into 1-inch cubes

Instructions

  • Preheat oven to 350° Fahrenheit.
  • Add all berry ingredients to a 9-inch baking dish and toss together until evenly coated, then spread the berries into an even layer around the dish.
  • Add all crisp ingredients to a large bowl. Use a fork to mix together, until a crumbly mixture forms. Sprinkled the crisp topping evenly over the berries.
  • Bake for 40-45 minutes or until the berries are super soft, then let cool slightly before serving with a scoop of vanilla ice cream. YUM!
    berry crisp with frozen berries step 3

Nutrition

Serving: 1serving | Calories: 350kcal | Carbohydrates: 45g | Protein: 2g | Fat: 18g | Sugar: 24g

My family and I are creatures of habit. When we find a meal we love, we stick to it. Our current favorites are my one-pan hunan chicken recipe and Instant Pot white chicken chili with gluten-free cornbread. We seriously eat those at least once a week!

However, as soon as this honey teriyaki salmon recipe came along, I instantly added it to our weekly rotation. My husband went crazy for this perfectly flaky and incredibly flavorful salmon! Served with rice and steamed veggies for a healthy, balanced, and satisfying meal.

honey teryaki salmon on a plate with rice, broccoli, green onion, and a lime.

What You’ll Need to Make Honey Teriyaki Salmon

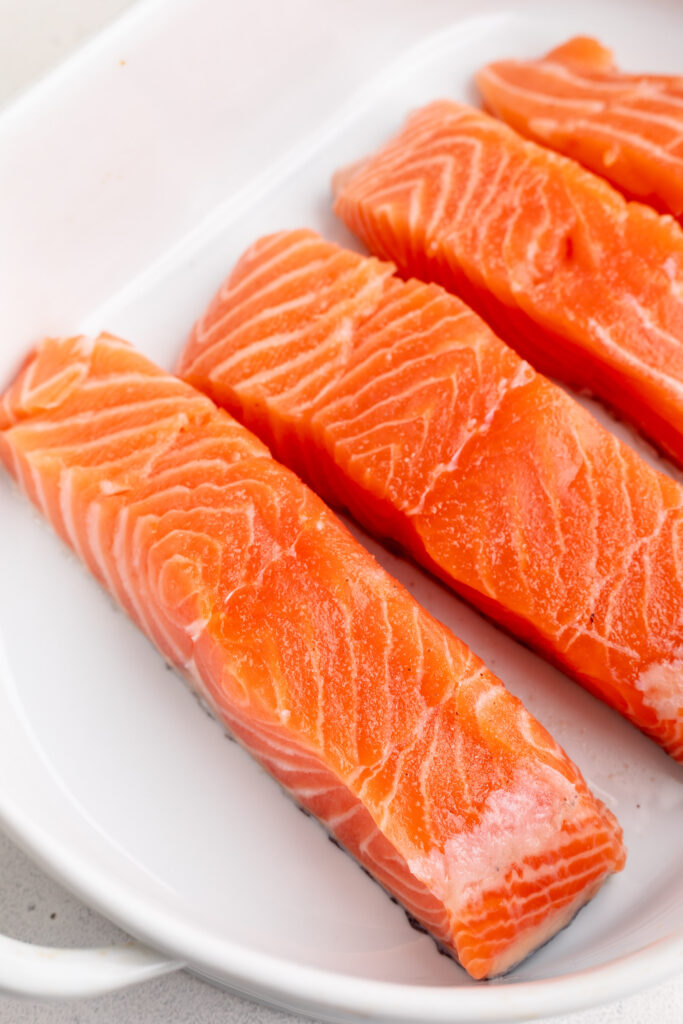
Salmon: The star of our show – salmon brings a rich, flaky texture and a dose of omega-3 fatty acids to the dish. Opt for fresh, quality fillets for the best results.

Honey: A natural sweet touch – honey brings a luscious sweetness to the teriyaki sauce, balancing the savory elements.

Tamari or Soy Sauce: Tamari adds a gluten-free option for our sauce, while soy sauce brings that classic umami flavor. Choose based on your dietary preferences.

Fresh Ginger: Opt for fresh, not powdered ginger in this recipe! I like to buy my fresh ginger in bulk, then store it in the freezer until I need some. Then, I cut off a hunk of fresh ginger, peel off the skin, and grate it into the honey teriyaki sauce.

Tips and Tricks

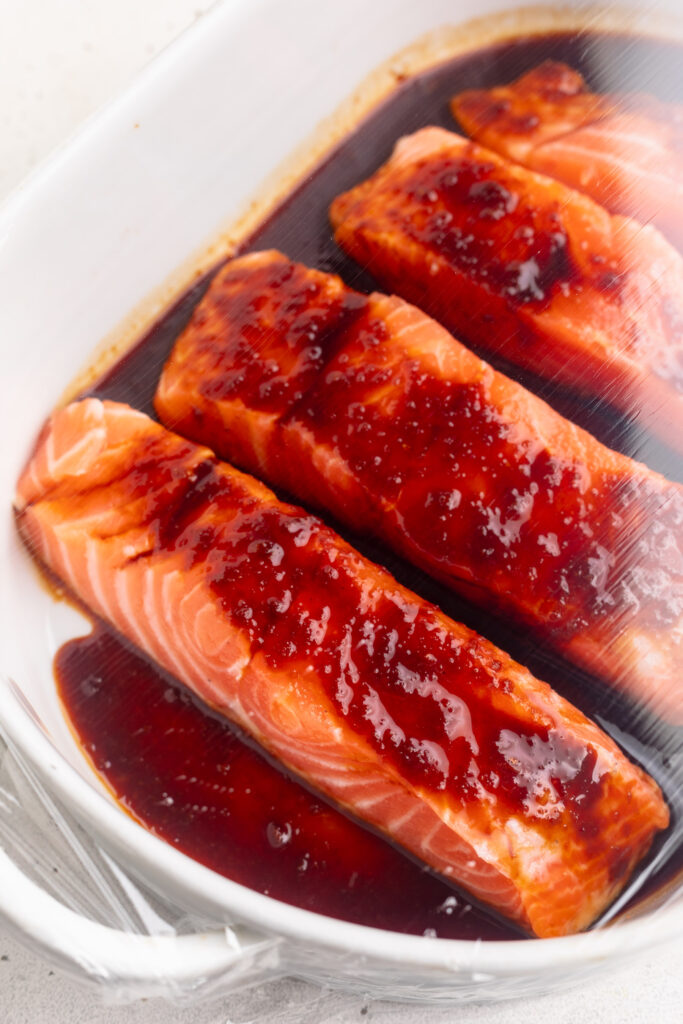
  • Allow the salmon to marinate for at least 1 hour for optimal flavor infusion. For an extra boost, marinate it up to 8 hours for an even more succulent result.
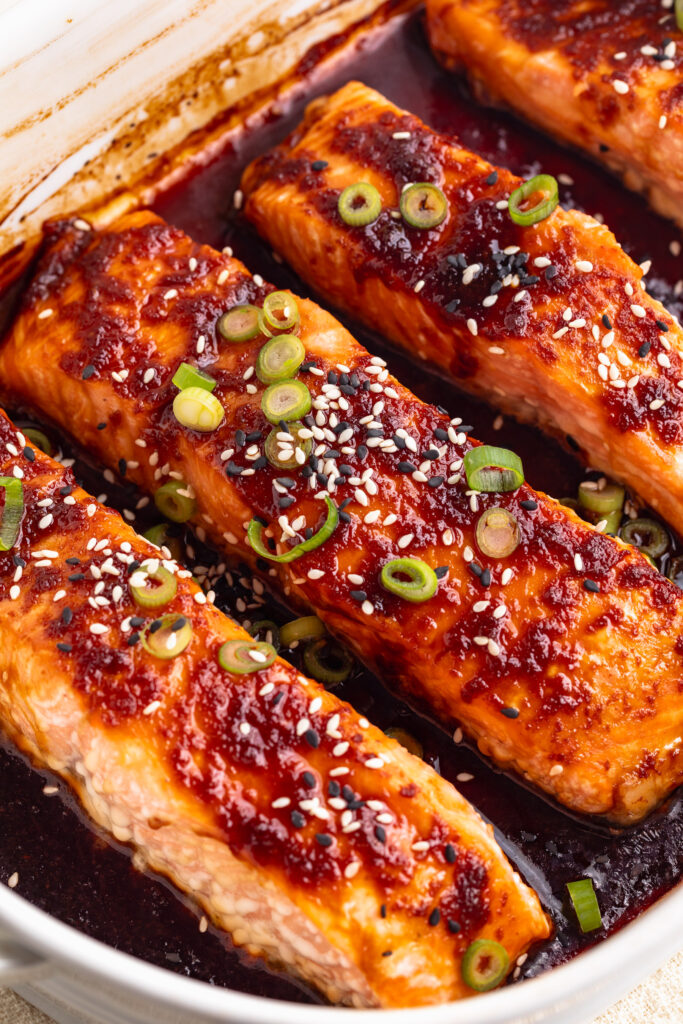
  • While baking, spoon the sauce from the bottom of the dish over the salmon. This basting ensures that the fillets are coated in the delectable teriyaki goodness.
  • Use a meat thermometer to check the salmon’s internal temperature. Aim for 125°F for a perfectly cooked, moist fillet.
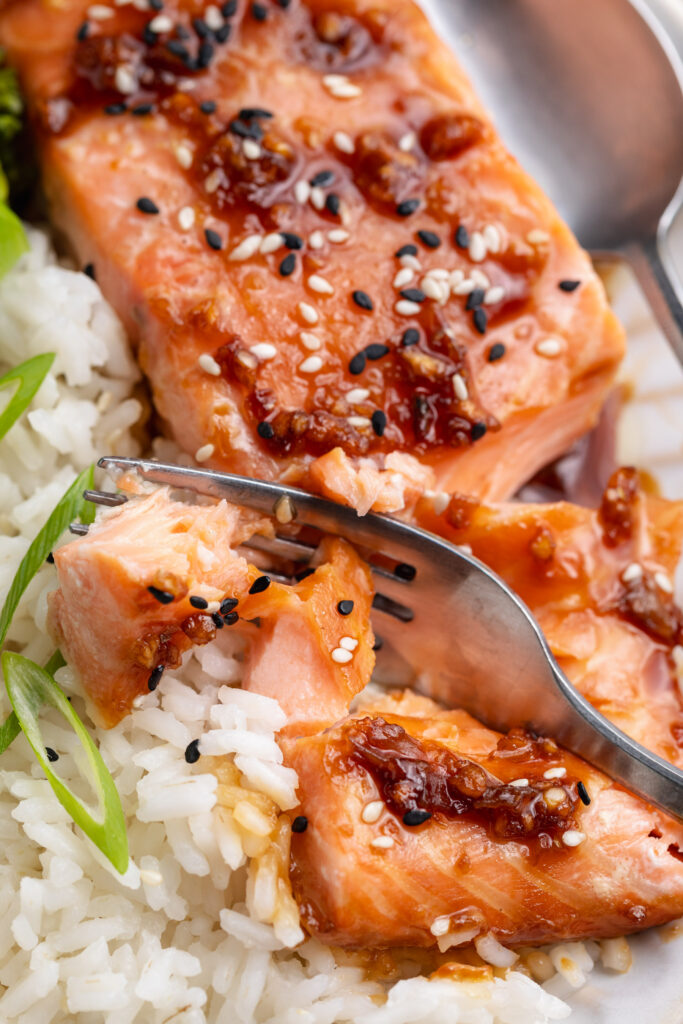
Honey teriyaki salmon flaked apart on a plate.

Adjust This Recipe to Your Dietary Needs

Make it Gluten-Free: Opt for tamari instead of soy sauce to make this dish gluten-free while maintaining that savory teriyaki taste.

Make it Grain-Free: Serve the honey teriyaki salmon over cauliflower rice for a grain-free option, keeping it light and satisfying.

close-up overhead image of honey teriyaki salmon on a plate with rice.
5 from 1 vote

5-Ingredient Baked Honey Teriyaki Salmon Recipe

This honey teriyaki salmon recipe is my new favorite quick and easy weeknight meal! It comes together with just 5 ingredients, is packed with flavor, and super healthy too. The salmon is marinated then baked until perfectly flaky and tender every time!
Print Pin Rate
Prep Time: 1 hour
Cook Time: 10 minutes
Total Time: 1 hour 10 minutes
Servings: 4 servings

Ingredients

  • 4 6-8 ounce salmon fillets
  • salt, to taste
  • 1/4 cup tamari
  • 3 tablespoons honey
  • 2 garlic cloves, grated
  • 1-inch piece fresh ginger, peeled and grated

For serving:

  • 2 cups cooked rice
  • 1 crown broccoli, steamed
  • sliced green onion
  • sesame seeds

Instructions

  • Place the salmon skin side down in a large baking dish. Pat salmon fillets dry with a paper towel and lightly season with salt.
    honey teriyaki salmon step 1
  • In a small bowl, whisk together the tamari or soy sauce, honey, garlic, and ginger.
  • Pour the sauce over the salmon fillets, then cover the baking dish and refrigerate for at least 1 hour or up to 8 hours.
  • Preheat oven to 400° Fahrenheit and remove then uncover baking dish with salmon from the fridge.
  • Spoon the sauce from the bottom of the baking dish over the salmon, then bake for 10-12 minutes or until a thermometer inserted into the thickest part of the salmon reads 125° Fahrenheit.
  • Assemble four bowls with rice and steamed broccoli, then place one salmon fillet into each bowl. Pour they honey teriyaki sauce over top of each fillet, then finish off the bowls with sliced green onion and sesame seeds.

Fancy, but super easy stuffed dates with cream cheese, pistachios, and a drizzle of honey! A perfect no-bake appetizer or snack that comes together in just a few minutes. They’re gluten-free with a dairy-free and vegan option!

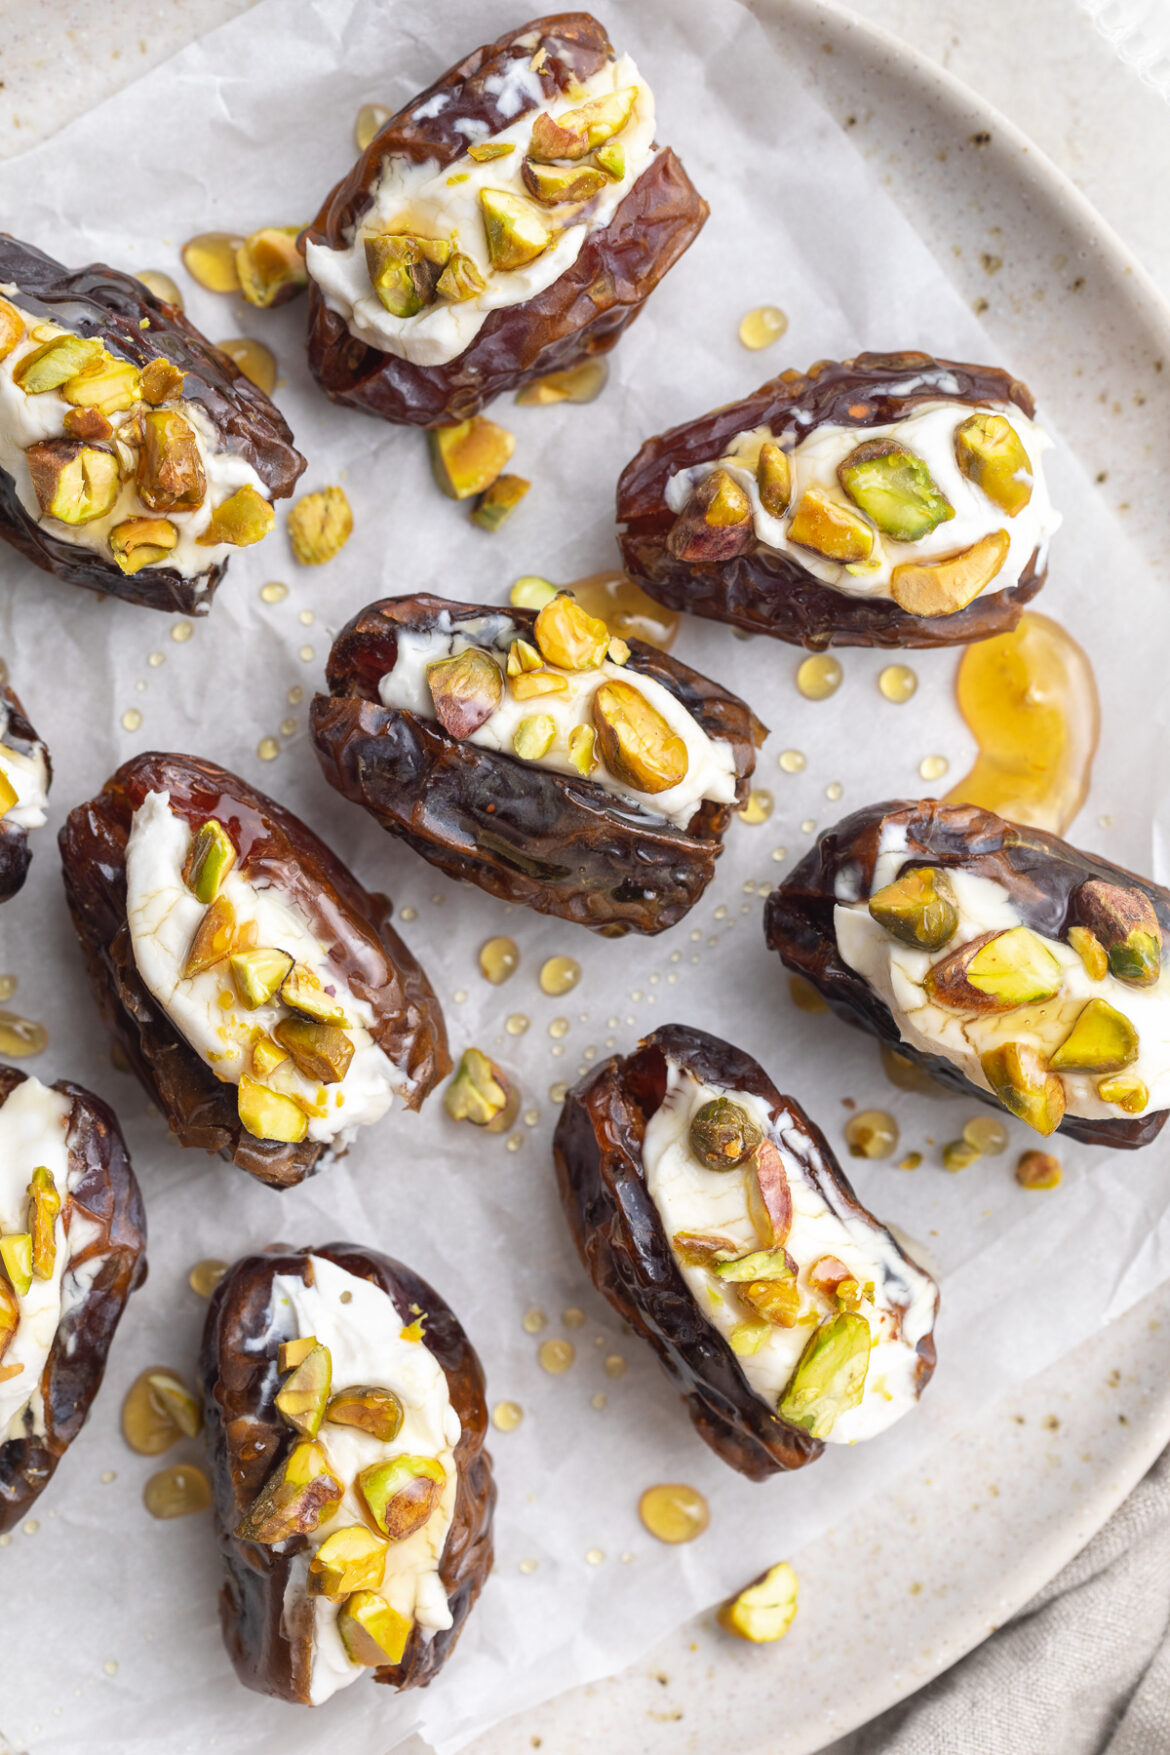
honey being drizzled over stuffed dates.

What You’ll Need to Make Stuffed Dates

Medjool Dates – Soft and sticky medjool dates are naturally sweet and totally delicious! I enjoy medjool dates completely on their own, but stuffed with cream cheese, pistachios, and honey take them over the top. You can either buy dates with the pits removed, or buy whole dates and remove the pits yourself before eating.

Cream Cheese – Either cream cheese or goat cheese will work great in this recipe. Both are soft, creamy, and perfectly tangy. A scoop of soft cheese helps to balance out the sweetness of these stuffed dates.

Pistachios – A sprinkling of chopped pistachios contribute the perfect crunch to this dish! Without it, these dates are all one texture, and lack variety. Therefore, for an exciting appetizer, add some chopped pistachios, or your favorite chopped nut to the top of these stuffed dates.

Honey – The finishing touch to this fancy-tasting app is a drizzle of honey. After we’ve added in all our savory components, it’s always nice to round out the dish with an extra bit of sweetness.

Flaky Salt – I seriously put this Maldon flaky sea salt on everything! It instantly elevates any dish, and makes it taste like you spent hours on it, when in reality these stuffed dates come together in under 5 minutes.

stuffed dates on a plate.

Tips and Tricks

  • If your dates are too hard/dried out, zap them in the microwave for about 20 seconds. This’ll heat them up just enough to help them open with ease!
  • Prep these dates ahead of your next dinner party or potluck! If prepping more than an hour in advance, I recommend leaving the pistachios and honey off your stuffed dates until right before serving. Leaving them to sit for too long could cause the pistachios to go soft and soggy.
  • Feel free to totally customize this recipe and make it your own! Use any soft cheese you’d like, and any chopped nut you’d like. Have fun with this appetizer, and don’t overcomplicate it!
close-up image of stuffed dates on a plate.

Adjust this Recipe to Your Dietary Needs

Make it Dairy-Free: For a dairy-free version, stuff these dates with your favorite non-dairy cream cheese instead.

Make it Vegan: Make these stuffed dates vegan by taking the dairy-free option above, and replacing the honey with a drizzle of maple syrup!

close-up overhead image of stuffed dates with cream cheese, pistachios, and honey.
4.03 from 43 votes

Stuffed Dates with Cream Cheese, Pistachios, and Honey

Fancy, but super easy stuffed dates with cream cheese, pistachios, and a drizzle of honey! A perfect no-bake appetizer or snack that comes together in just a few minutes.
Print Pin Rate
Prep Time: 5 minutes
Total Time: 5 minutes
Servings: 12 servings

Ingredients

  • 12 medjool dates, pits removed and sliced open
  • 4 ounces cream cheese (or goat cheese)
  • 1/4 cup chopped pistachios
  • honey, for drizzling
  • pinch of flaky salt

Instructions

  • Fill the cavity of each date with a couple teaspoons of cream cheese.
  • Press chopped pistachios into the cream cheese on top of each date.
  • Arrange stuffed dates on a serving plate, drizzle with honey, then sprinkle with a pinch of flaky salt.

Nutrition

Calories: 300kcal

My Mom’s famous watergate salad recipe will blow your mind! A pistachio whipped cream base, with plenty of chopped fruit and mini marshmallows. I grew up on this best EVER no-bake dessert, my favorite for summer parties or barbecues!

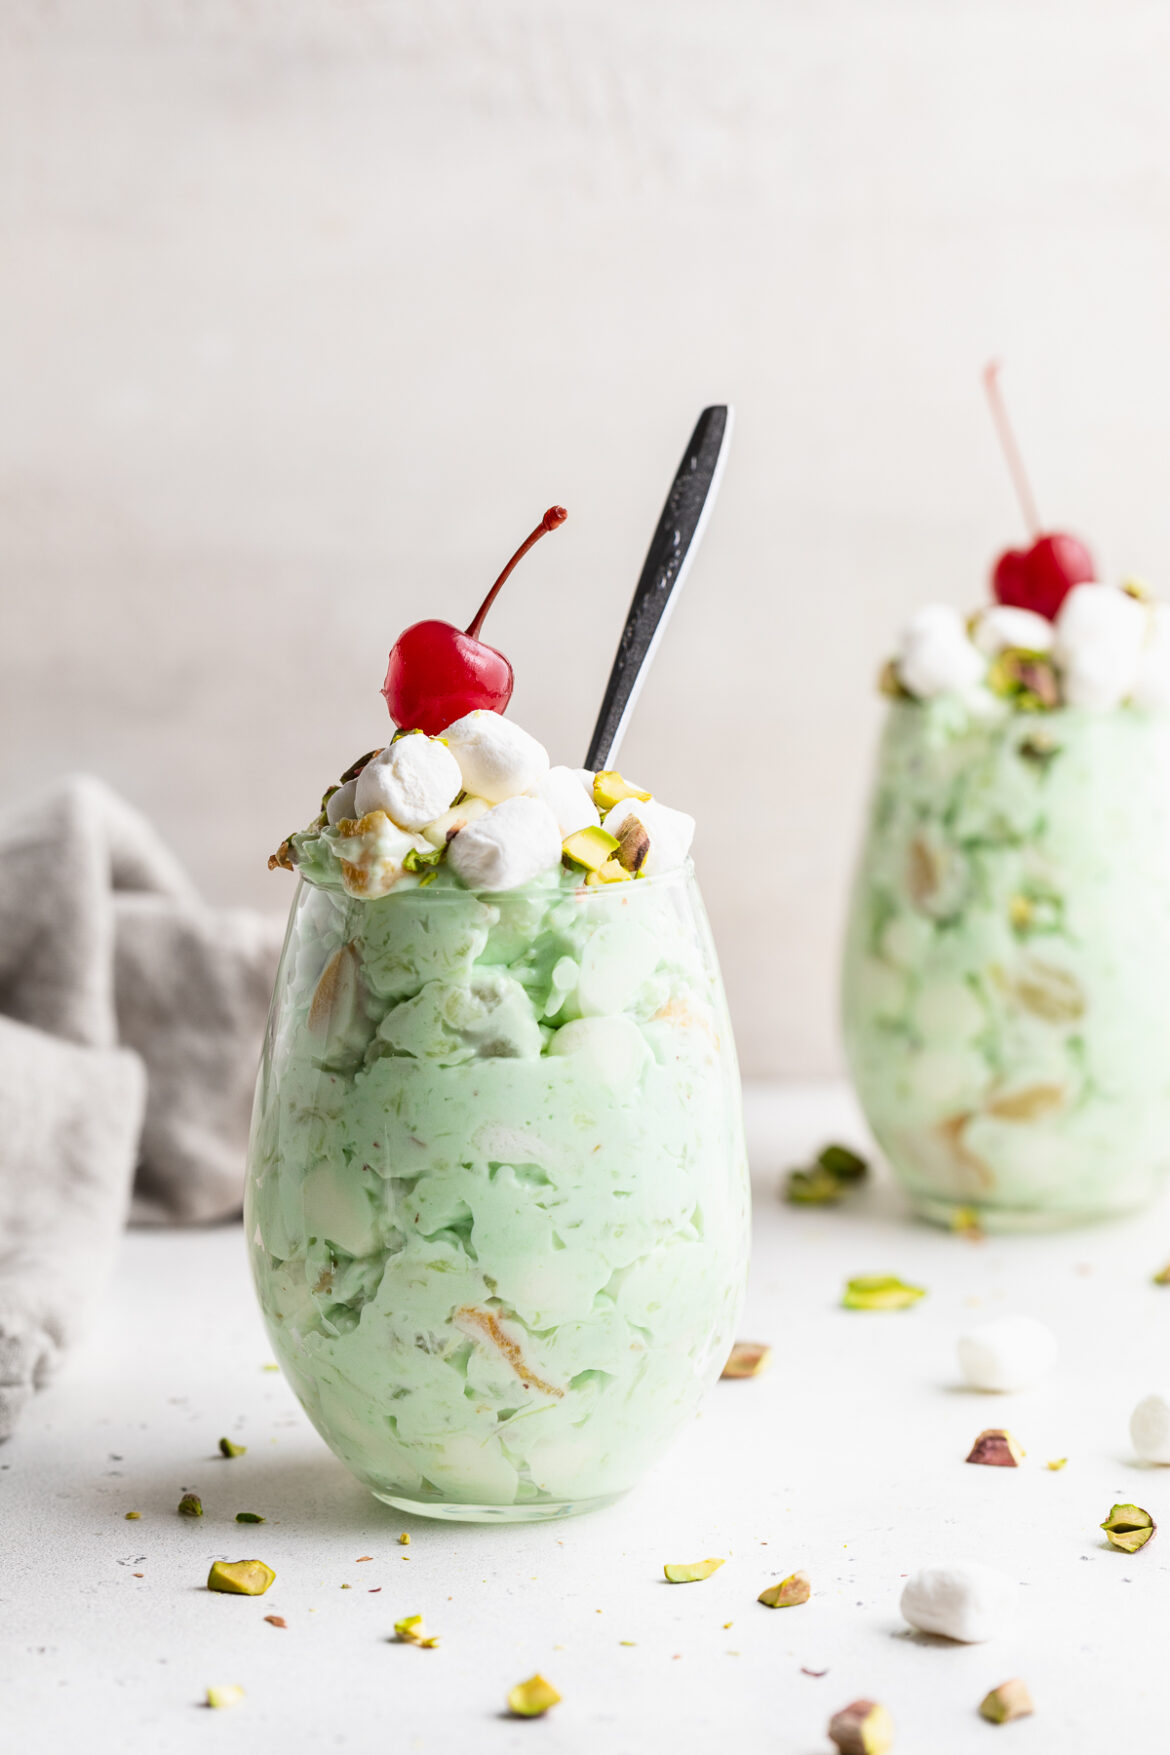
overhead image of watergate salad in a glass with a cherry on top

What You’ll Need To Make Watergate Salad

Pistachio Pudding Mix – Any brand of pistachio pudding mix will taste delicious in this pistachio-flavored dessert! Use whatever you can find, whether that’s instant, low-sugar, etc.

Whipped Cream – For a dairy-free version, sub regular whipped cream for coconut whipped cream in this no-bake dessert recipe. I went the dairy-free route this time and used a tub of So Delicious Coconut Whipped Cream in my watergate salad. This is the only tweak I made from my Mom’s original recipe!

Fruit Cocktail – I think the fruit cocktail is my favorite part of this entire recipe. Chunks of peaches, pears, grapes, pineapple, and cherries swirled into the pistachio whipped cream base. My sister and I used to fight over who got the most cherries in their serving of watergate salad growing up. If ya ask me, those fruit cocktail cans never have enough maraschino cherries in ’em!

Crushed Pineapple – Crushed pineapple, sometimes labeled as “pineapple tidbits,” give this dessert its perfect texture. Smooth, creamy, light, and fluffy with just a little something to bite down on! If you can’t find crushed pineapple, you can finely chop up a can of cut pineapple instead.

Mini Marshmallows – My Mom always made her watergate salad with these rainbow mini marshmallows, but I couldn’t find any near me so I used the classic white mini marshmallows instead. The rainbow kind contribute a bit more fruity flavor, but the classic kind are just as delicious! Feel free to use whichever you prefer, or have on-hand.

one glass of watergate salad with chopped pistachios and a cherry on top.

Adjust This Recipe To Your Dietary Needs

Make it Vegan – Make this watergate salad vegan by using a tub of coconut whipped cream, and vegan mini marshmallows. I tested this recipe with these Dandie’s Vegan Marshmallows and couldn’t even taste the difference!

two glasses of watergate salad with cherries on top
4.67 from 3 votes

Mom’s FAMOUS Watergate Salad

My Mom’s famous watergate salad recipe will blow your mind! A pistachio whipped cream base, with plenty of chopped fruit and mini marshmallows. I grew up on this best EVER no-bake dessert, my favorite for summer parties or barbecues!
Print Pin Rate
Prep Time: 5 minutes
Total Time: 5 minutes
Servings: 12 servings

Ingredients

  • 1 (3.4 ounce) box pistachio pudding mix
  • 1 (9 ounce) tub whipped cream, or coconut whipped cream to make it dairy-free
  • 1 (15 ounce) can fruit cocktail, drained
  • 1 (20 ounce) can crushed pineapple, drained
  • 2 cups mini marshmallows

Instructions

  • Mix together pistachio pudding mix and whipped cream in a large bowl until fully combined.
  • Add in drained fruit cocktail, crushed pineapple, and mini marshmallows. Leave to set in fridge for at least one hour, then serve cold.

Nutrition

Calories: 300kcal