I make these mini banana muffins every. single. week! Not only does my toddler love them, but I’m obsessed too. They’re the perfect little one (or two) bite snack, taste just like banana bread, and are super easy to make. Totally gluten-free, dairy-free, and even refined sugar-free – these little bite copycats come together in under 30 minutes. I love making a big batch of these on Sunday to have on hand all week long. They’re the perfect grab-and-go breakfast, an easy after-school snack, or a lunchbox addition that kids actually get excited about. If you’re a fan of my 4-Ingredient Protein Brownies or my 3-Ingredient Protein Cookies, you are going to love these just as much!
Why You’ll Love These Mini Banana Muffins
- Only 4 ingredients. Bananas, eggs, almond butter, and maple syrup. That is the entire list. No flour, no butter, no sugar — just real, wholesome ingredients.
- Gluten-free and dairy-free. Completely free of gluten and dairy, making these accessible for the whole family regardless of dietary needs.
- Refined sugar-free. The natural sweetness comes from ripe bananas and a touch of maple syrup — no white sugar, no brown sugar, nothing processed.
- Kid-friendly. Kids go absolutely crazy for these. The mini size makes them perfectly poppable, and the soft, moist texture is toddler-approved.
- Great for meal prep. Make a big batch on the weekend and you’ve got a healthy snack or breakfast ready to go all week. They also freeze beautifully — see storage tips below!
- Super easy to make. Mash, mix, scoop, and bake. You don’t even need a mixer. From start to finish, these are ready in under 25 minutes.
Recipe Variations and Substitutions
- Almond Butter: Any creamy nut or seed butter works as a 1:1 swap. Peanut butter gives a delicious peanut butter banana flavor, cashew butter is milder and slightly sweeter, and sunflower seed butter keeps these completely nut-free.
- Maple Syrup: Honey works as a direct 1:1 swap. If your bananas are very ripe and sweet, you can reduce the maple syrup to just 2 tablespoons or even leave it out entirely!
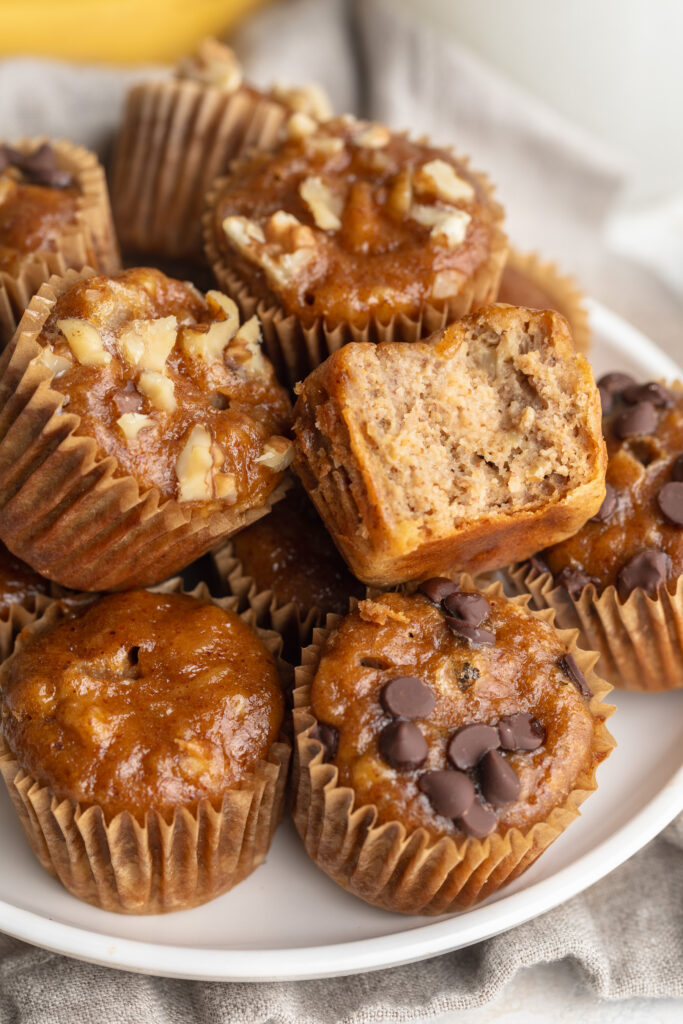
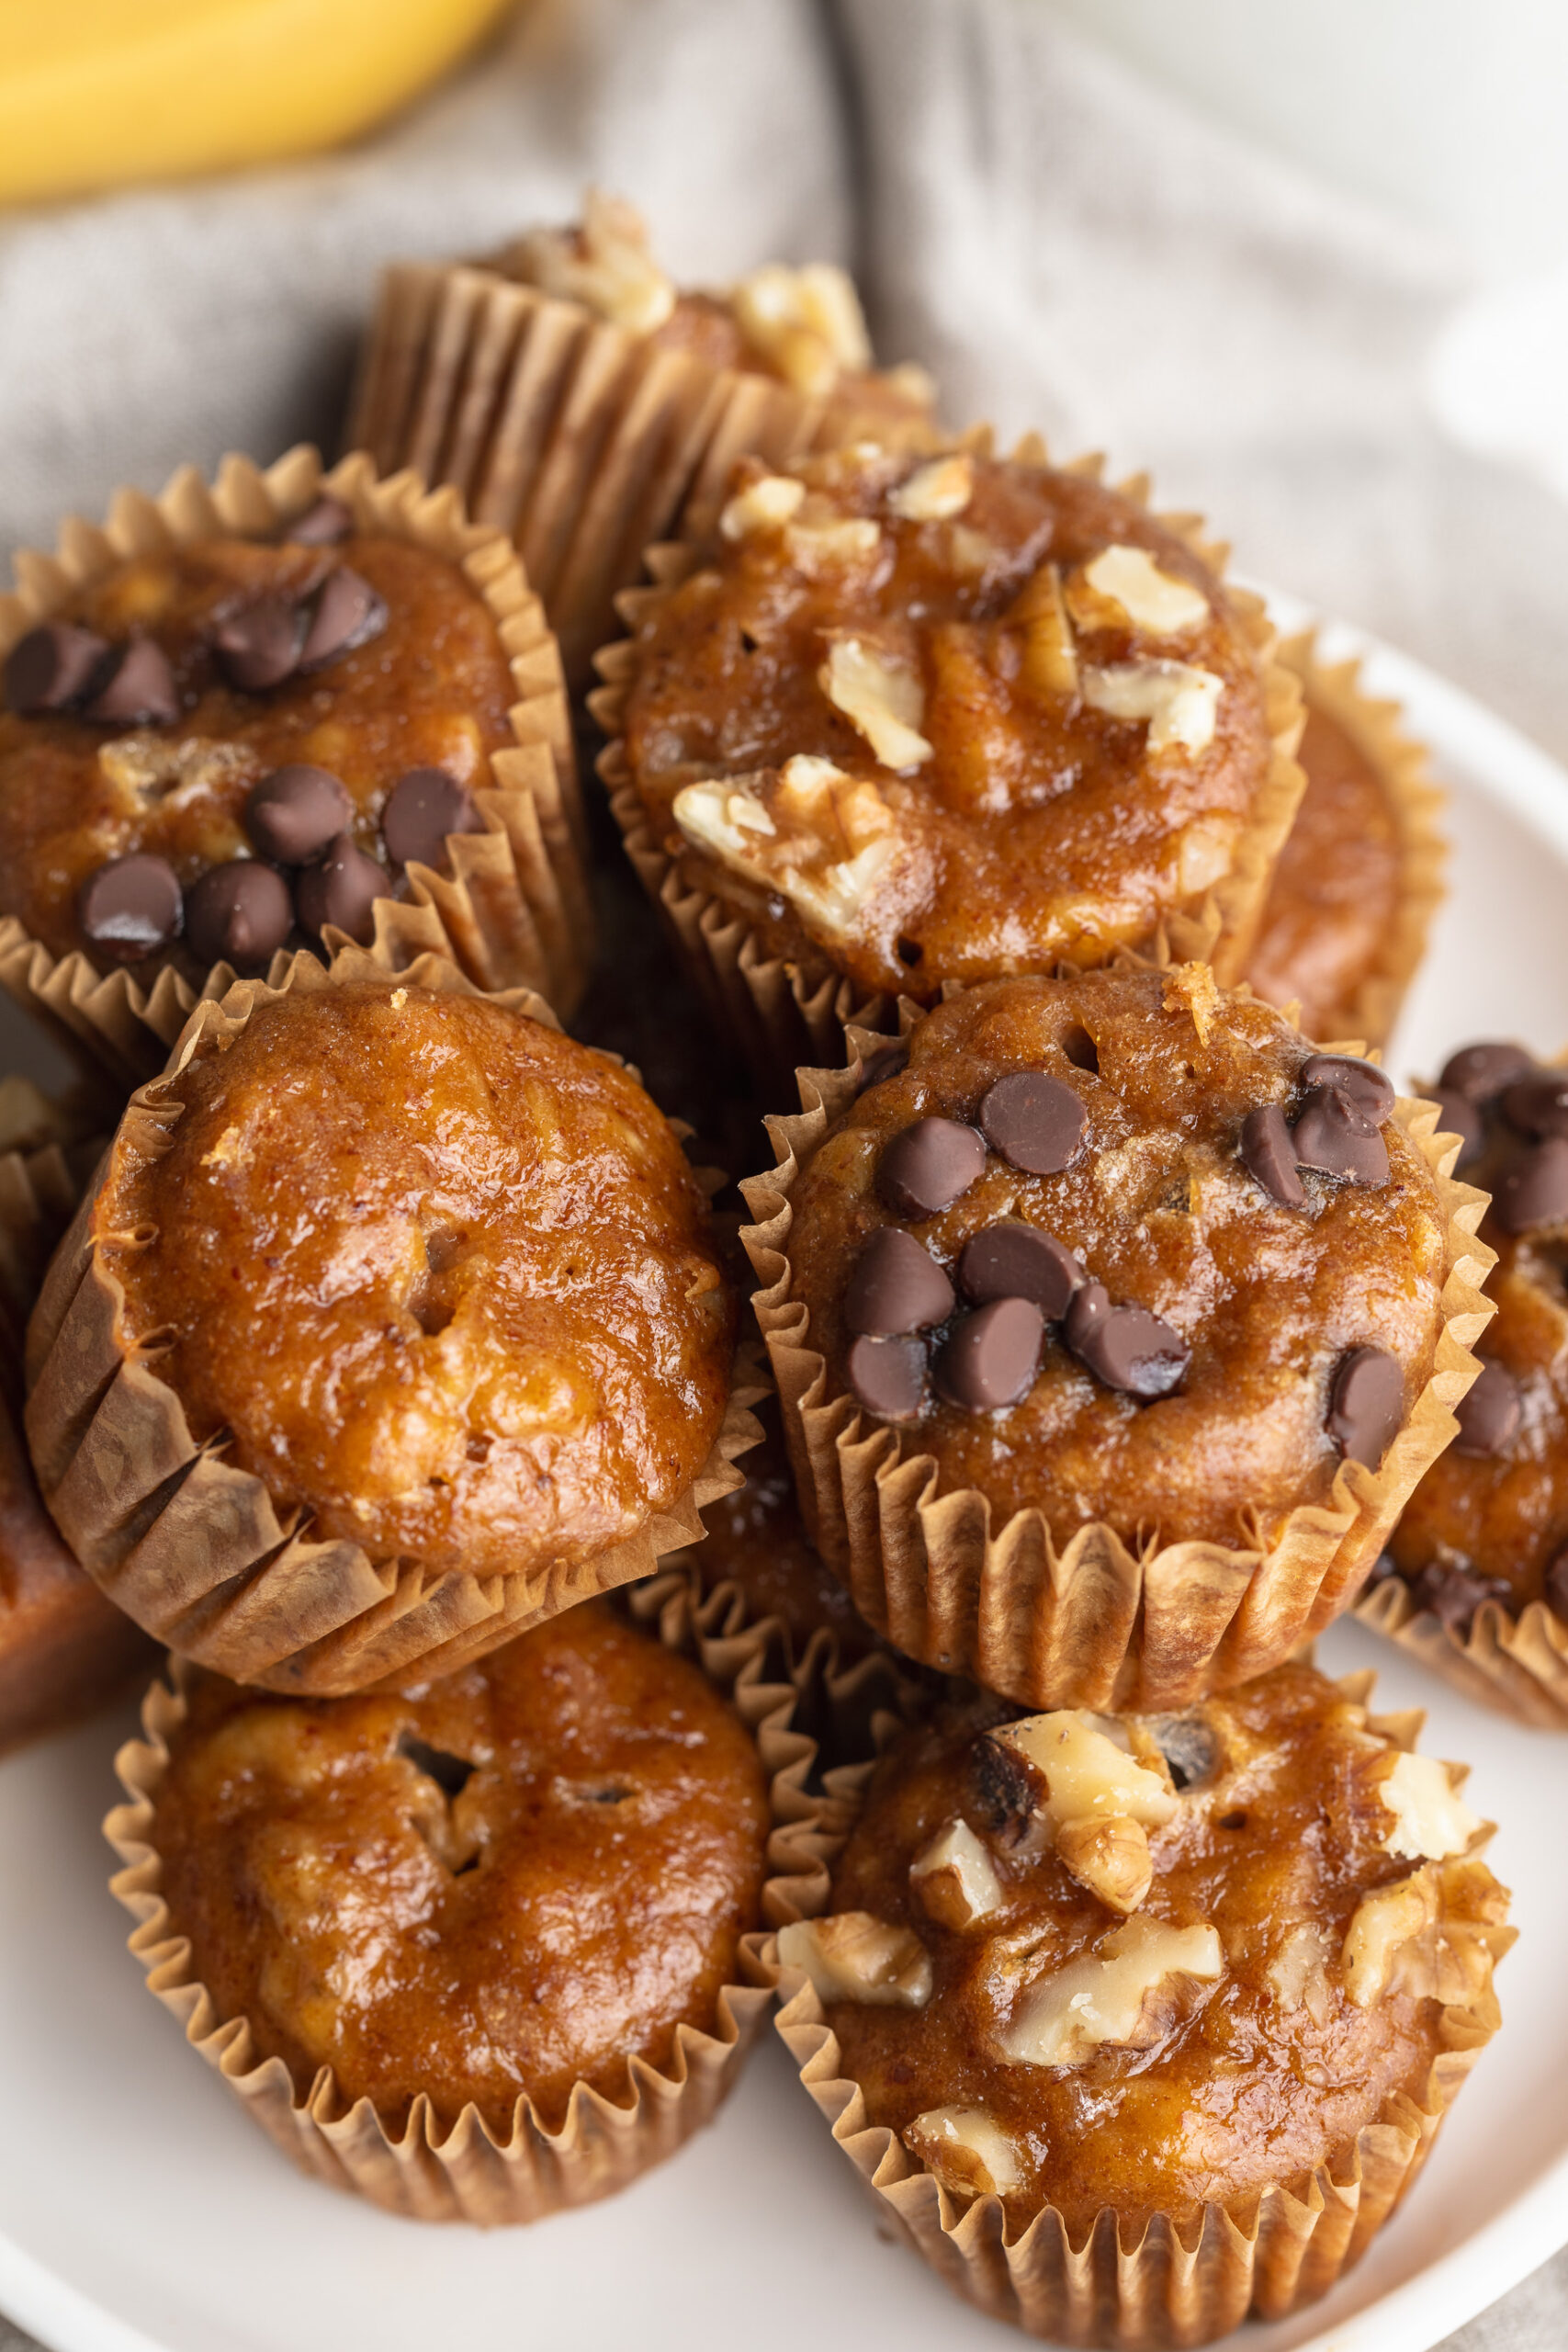
- Chocolate Chip Banana Muffins: Fold ¼–½ cup of chocolate chips into the batter before scooping. This is my personal favorite variation and a guaranteed hit with kids.
- Blueberry Banana Muffins: Gently fold in ½ cup of fresh or frozen blueberries for a fruity twist.
- Walnut Banana Muffins: Stir in ¼ cup of chopped walnuts for a little crunch and extra healthy fats.
- Full-Size Muffins: No mini muffin tin? No problem! Use a standard 12-cup muffin tin instead, fill each cup ¾ of the way, and bake at 350°F for 18–22 minutes, or until a toothpick comes out clean.
Storage Tips
At room temperature: Store cooled muffins in an airtight container at room temperature for up to 2 days.
In the fridge: These mini banana muffins keep well in an airtight container in the refrigerator for up to 1 week. I actually love them cold straight from the fridge!
In the freezer: These freeze beautifully and are perfect for meal prep. Let the muffins cool completely, then arrange them in a single layer on a baking sheet and freeze until solid (about 1–2 hours). Once frozen, transfer to a zip-lock freezer bag or airtight container and freeze for up to 3 months. To enjoy, thaw at room temperature or pop in the microwave for 20–30 seconds until warmed through.
Mini Banana Muffins
Equipment
- 1 large bowl
- 1 mini muffin pan
Ingredients
- 3 ripe bananas
- 3 eggs
- 1 cup almond butter or any nut/seed butter
- 1/4 cup maple syrup or honey
Instructions
- Preheat oven to 350°F and grease a 24-cup mini muffin tin or line with mini muffin liners.
- Mash the bananas in a large bowl until completely smooth.
- Add the eggs, almond butter, maple syrup, and cinnamon to the bowl and stir until a smooth batter forms.
- Scoop the batter into the prepared muffin tin, filling each cup about ¾ of the way full.
- Bake for 12–15 minutes, or until set on top and a toothpick inserted in the center comes out clean.
- Cool in the tin for 5 minutes, then transfer to a wire rack. Enjoy!
Video
Notes
- Use very ripe bananas for the best flavor and natural sweetness.
- Store at room temperature for up to 2 days, in the fridge for up to 1 week, or in the freezer for up to 3 months.
- Fold in chocolate chips, blueberries, or chopped walnuts for a fun variation!