Tag

dinner

Browsing

The cottage cheese craze finally got to me! It started a few months ago with my 5-ingredient cottage cheese cookie dough which shocked me (and many of you!) with just how GOOD it is. Now we’ve moved onto a savory cottage cheese recipe, in the form of pizza! This cottage cheese pizza crust is just as light and crisp as your favorite pizza crust, but packs in a bonus 20 grams (!!!) of protein per serving. It’s also made with just 3 simple ingredients. Homemade pizza dough has truly never been easier (or healthier)!
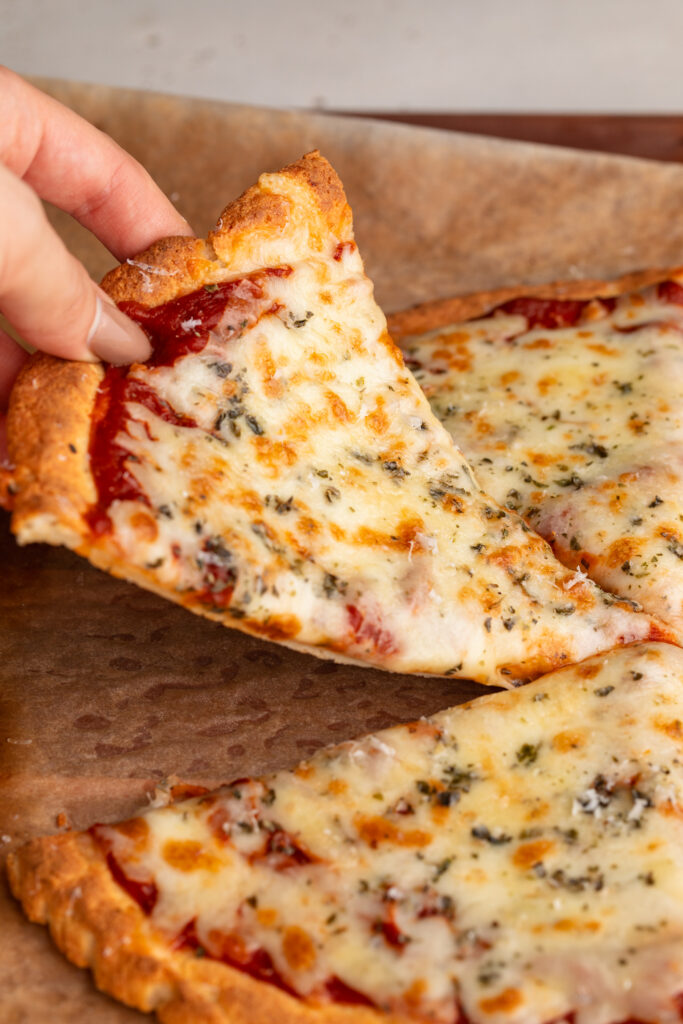
a slice of cottage cheese pizza crust being lifted up.

Why You’ll Love This Recipe

This 3-ingredient cottage cheese pizza crust is soft, slightly chewy, and packs in extra protein with every slice. Made with just cottage cheese, flour, and baking powder, it’s a simple and satisfying base for your favorite pizza toppings. Whether you’re using a pizza oven or a standard oven, this recipe comes together fast and can be made gluten-free too!

Frequently Asked Questions

What kind of cottage cheese works best in this recipe?
Use full-fat or low-fat cottage cheese for best results—both blend smoothly and add richness. Make sure to blend it well until completely smooth for the ideal dough texture. I’ve used both the good culture cottage cheese and organic valley cottage cheese to make this pizza, and both turned out great!

Can I use Greek yogurt instead of cottage cheese?
Greek yogurt can work in a pinch, but the dough will be slightly more wet and may need additional flour. For best results and structure, stick with cottage cheese.
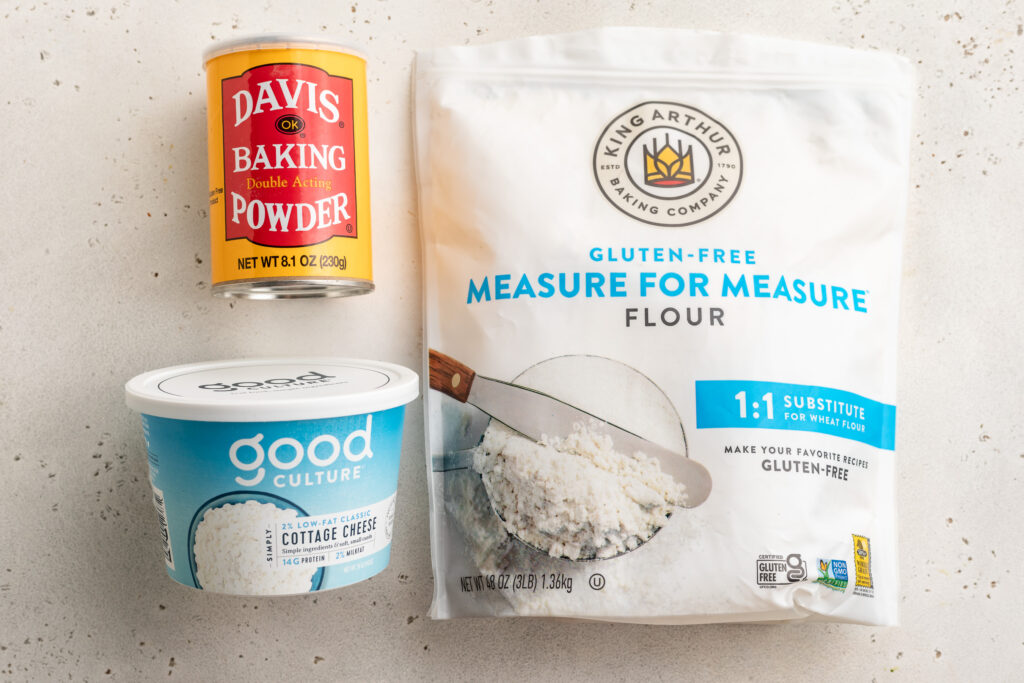
overhead image of cottage cheese pizza crust ingredients - baking powder, gluten-free all purpose flour, and cottage cheese.

Sam’s Recipe Tips

  • Blend it smooth: Don’t skip blending the cottage cheese. It ensures your dough is cohesive and easier to work with.
  • Grease that surface: Whether using a pizza stone or parchment-lined baking sheet, lightly greasing helps the crust crisp up and prevents sticking.
  • Get creative: Top with your favorite sauces, veggies, or even extra protein like grilled chicken or turkey pepperoni for a balanced meal.
  • Make it gluten-free: Use a high-quality gluten-free 1:1 flour blend to make this recipe gluten-free without compromising texture.
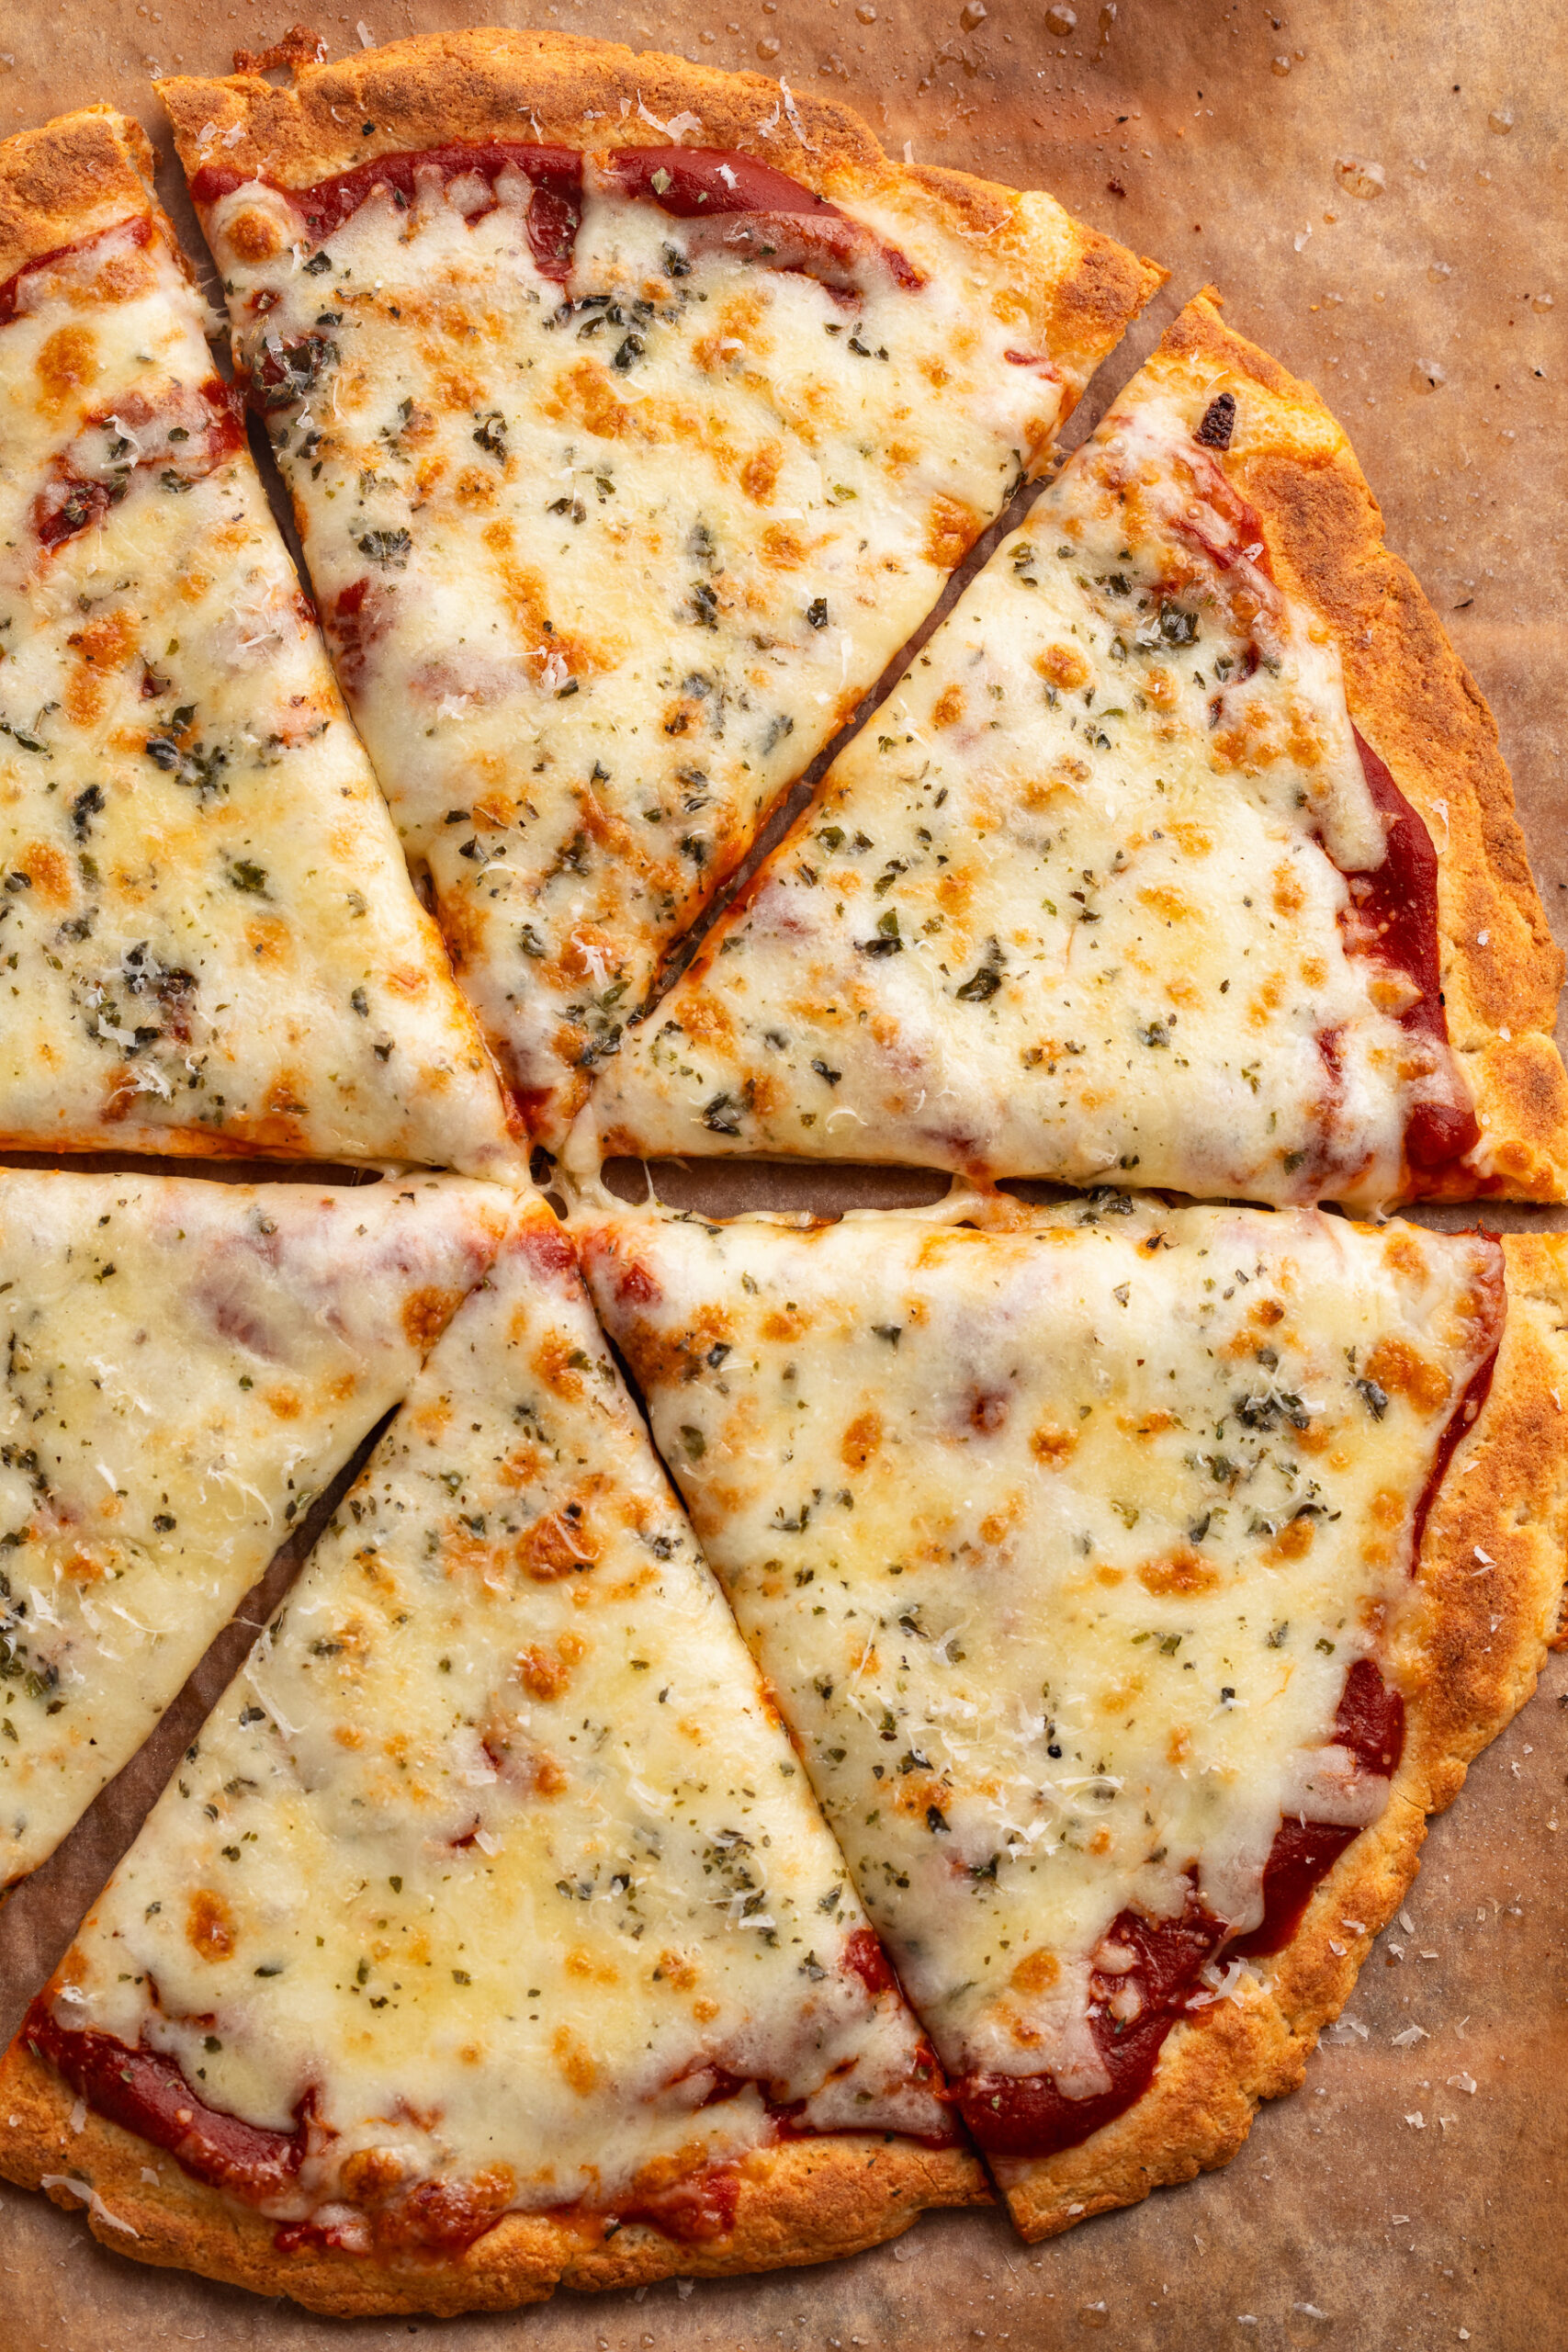
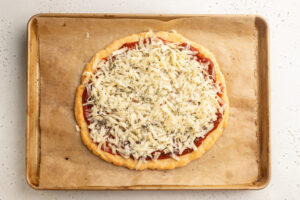
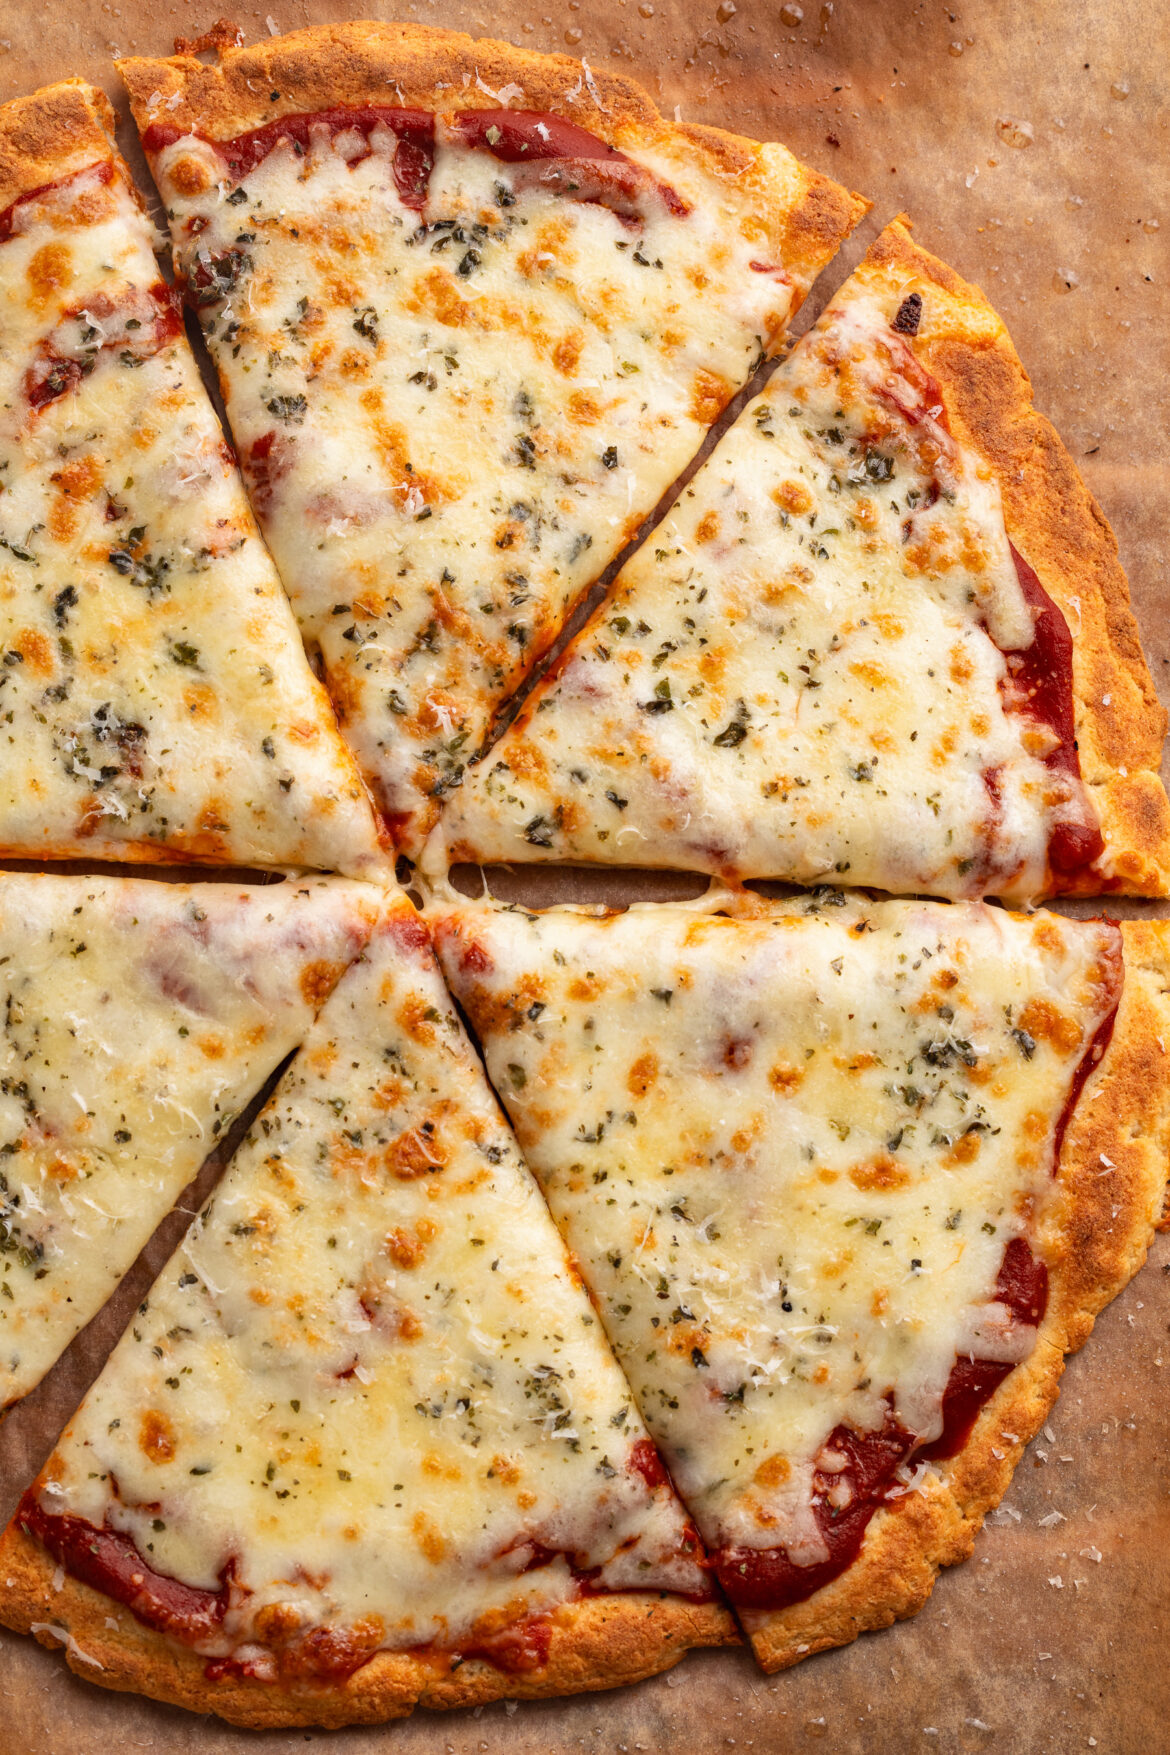
overhead image of cottage cheese pizza crust with sauce and cheese on top.
5 from 1 vote

3-Ingredient Cottage Cheese Pizza Crust

This cottage cheese pizza crust is a higher-protein, healthier alternative to traditional pizza dough! With only three simple ingredients and the option to make it gluten-free, it's the perfect customizable base for your favorite homemade pizza. Whether you're after a quick weeknight dinner or a fun weekend meal, this recipe has everything you need to land in your weekly rotation!
Print Pin Rate
Prep Time: 10 minutes
Cook Time: 12 minutes
Total Time: 22 minutes
Servings: 2 servings

Equipment

  • 1 food processor or high speed blender
  • 1 large bowl
  • 1 large baking sheet

Ingredients

For the cottage cheese pizza crust:

  • 1 cup cottage cheese
  • 1 cup all purpose flour (I used gluten-free all purpose flour)
  • 1 teaspoon baking powder

For topping:

  • 1/4 cup pizza sauce
  • 1/2 cup shredded cheese
  • Whatever toppings you'd like!

Instructions

If using a standard oven:

  • Preheat your oven to 450° Fahrenheit and line a baking sheet with parchment paper, then lightly grease the top of the parchment paper with oil.
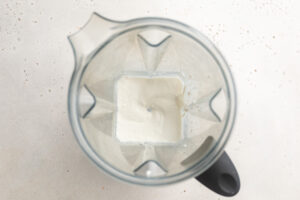
  • Add the cottage cheese to a blender or food processor and blend until completely smooth.
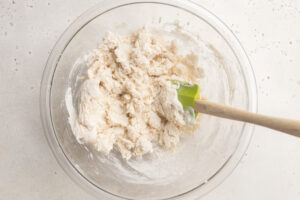
  • Mix together the all purpose flour and baking powder in a large bowl, then add in the cottage cheese and mix (you might need to use your hands) until it comes together into a ball of dough.
    Cottage-Cheese-Pizza-Crust-Step-2
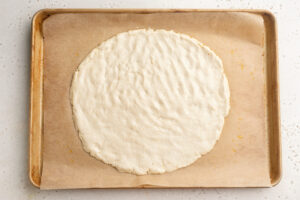
  • Transfer the dough to your prepared baking sheet and press/roll it into a 12-inch circle.
    Cottage-Cheese-Pizza-Crust-Step-3
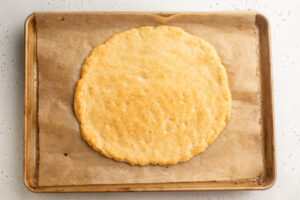
  • Place the pizza crust in the oven and par-bake for 10-12 minutes, then remove it from the oven and add your toppings.
    Cottage-Cheese-Pizza-Crust-Step-4
  • Turn the oven to high broil then pop the pizza back into the oven for an additional 1-2 minutes, or until the cheese is golden brown and bubbly. Remove the pizza from the oven and let it cool slightly before slicing and serving.
    Cottage-Cheese-Pizza-Crust-Step-5

If using a pizza oven:

  • Preheat your pizza oven to New York-style (635°Fahrenheit).
  • Add the cottage cheese to a blender or food processor and blend until completely smooth.
  • Mix together the all purpose flour and baking powder in a large bowl, then add in the cottage cheese and mix (you might need to use your hands) until it comes together into a ball of dough.
  • Lightly grease your pizza stone with oil, then transfer the dough to the stone and press/roll it into a 12-inch circle.
  • Place the pizza crust into the oven and par-bake for 6 minutes, then remove it from the oven and add your toppings.
  • Place the pizza oven on broil, then pop the pizza back into the oven for an additional 1-2 minutes, or until the cheese is golden brown and bubbly. Remove the pizza from the oven and let it cool slightly before slicing and serving.

Notes

Nutrition info does not include pizza sauce, cheese, or toppings.

Nutrition

Serving: 1serving | Calories: 300kcal | Carbohydrates: 50g | Protein: 20g | Fat: 3g | Sugar: 2g

I’m always trying to find ways to sneak extra protein into my toddler’s diet. He’s a carb lover (who isn’t?!) and while my 6-ingredient protein muffins and healthy chia protein pudding have been a huge hit with him during snack time, I wanted to make sure he gets extra protein in at dinner time too. This high protein pesto pasta is a sneaky way to pack in tons of extra protein without my toddler… or even my husband, noticing! It’s creamy, fresh, totally delicious, and contains almost 20 grams of protein per serving. Now that’s a major Mom win!

high protein pesto pasta in a bowl with a fork.

Why You’ll Love This Protein Pesto

  • Protein-Packed: Each serving delivers a solid protein boost from tofu and cashews – unlike traditional pesto.
  • One-Pot & Quick: Blend the pesto while the pasta cooks for a quick and easy meal!
  • Vegan & Allergy-Friendly: No dairy or gluten, with rich and fresh flavor from plant-based ingredients.
  • Versatile & Customizable: Use pine nuts, add spinach, or swap in different pasta shapes – do what you need to make this meal kid-friendly too!

Frequently Asked Questions

What kind of tofu can I use?
Firm or extra-firm tofu works best for a creamy, rich texture. Silken tofu will result in a thinner sauce.

Can I freeze this protein pesto?
Yes! Store leftovers in an airtight container for up to 3 months. Thaw in the fridge overnight then stir well before reheating.

What can I use instead of cashews?
Pine nuts are traditional, but almonds, walnuts, or sunflower seeds can also add a great flavor and nutty texture.

close up image of high protein pesto pasta twirled around a fork.

Sam’s Recipe Tips

  • Drain tofu thoroughly by pressing it between towels to reduce moisture and enhance creaminess.
  • Use some pasta water to loosen the pesto – it helps it coat the pasta perfectly.
  • Bonus flavor: Add a handful of fresh spinach or arugula to the pesto for extra nutrients.
  • Serve suggestion: Top with cherry tomatoes, olives, or a protein garnish like chickpeas.
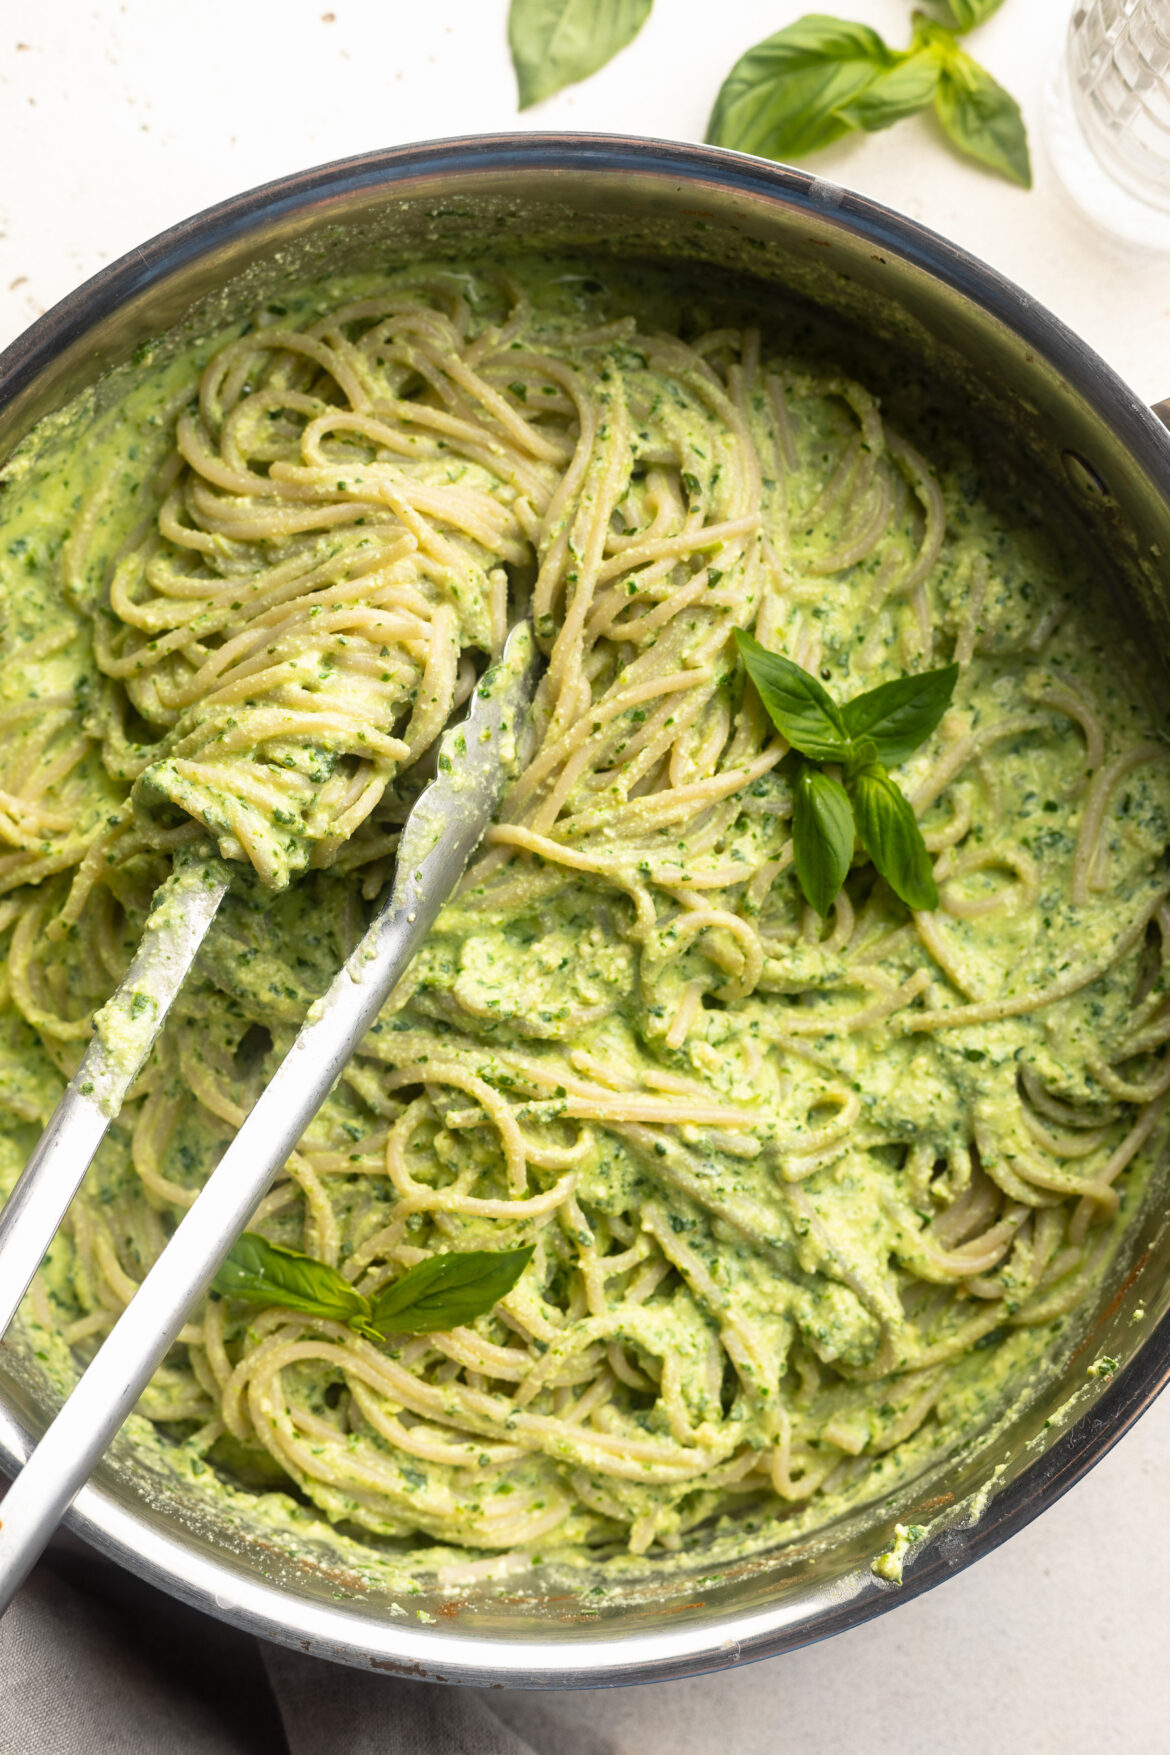
overhead image of protein pesto pasta in a skillet with fresh basil on top.
5 from 1 vote

High Protein Pesto Pasta (dairy-free!)

This high-protein vegan pesto pasta is a healthy, dairy-free twist on the classic dish – made with tofu, cashews, and fresh basil for a creamy, satisfying sauce! Packed with plant-based protein and tossed with gluten-free pasta, it’s the perfect quick and nourishing weeknight dinner. With just simple ingredients and bold flavor, this protein pesto is a must-try for healthy eaters and pasta lovers!
Print Pin Rate
Prep Time: 5 minutes
Cook Time: 12 minutes
Total Time: 17 minutes
Servings: 4 servings

Equipment

  • 1 food processor or high speed blender
  • 1 large pot

Ingredients

For the protein pesto:

  • 2 cups fresh basil
  • 1 14-ounce package firm tofu drained
  • 1/2 cup unsalted cashews or pine nuts
  • 1/4 cup olive oil
  • 3 garlic cloves
  • 2-3 tablespoons lemon juice
  • 1 teaspoon salt

For the pasta:

  • 1 12-ounce box pasta I used gluten-free brown rice pasta

Instructions

  • Bring a large pot of water to a boil. Once boiling, add in the pasta and cook according to package instructions.
  • While the pasta cooks, add all protein pesto ingredients to a food processor or blender and pulse until mostly smooth.
  • Once the pasta is al dente, drain the pasta from the water but reserve about one cup of pasta water.
  • Add the drained pasta back into the pot, add in the protein pesto and toss the pasta together. If the sauce is too thick, slowly add in some of that reserved pasta water until the sauce is to your liking.

Nutrition

Serving: 1serving | Calories: 690kcal | Carbohydrates: 80g | Protein: 23g | Fat: 30g | Sugar: 2g

Before my husband and I started dating, he ate chipotle everyday. And when I say everyday.. I mean, EVERY single day! The chipotle employees by his office knew him and his order by heart. Ya, it was pretty bad. So when things between us got more serious, I urged him to quit his chipotle habit and enjoy homemade tacos bowls instead!

Now, for the last 3 years, these ground beef taco bowls have been a staple in our weekly dinner rotation. These, along with my healthy teriyaki chicken and rice bowls and my blackened salmon and coconut rice bowls (SO GOOD!). We love any meal in a bowl. Can you tell?? We also require lots of protein (my husband’s chipotle order included “double protein”), and LOTS of flavor. These ground beef taco bowls with cilantro lime cream check all those boxes!

taco bowls with cilantro lime crema on top and chips on the side.

What You’ll Need to Make These Taco Bowls

Cilantro: Fresh cilantro adds a pop of color and fresh flavor to both the cilantro lime rice and crema, enhancing the overall taste of the dish! If you don’t like cilantro, feel free to leave it out of this recipe altogether. But, if you’re like me, you can totally add extra fresh cilantro to suit your cravings.
Fresh Lime Juice: Use freshly squeezed lime juice to brighten up the cilantro lime rice and crema. It adds a refreshing zing that complements the savory components of the dish. And if you don’t have fresh limes, bottle lime juice works too.
Ground Beef: Choose lean ground beef for a healthier option. Browned to perfection and seasoned with taco seasoning, it forms the hearty base of these taco bowls. Or, if you prefer, use ground turkey instead!
Taco Seasoning: A packet of taco seasoning infuses the ground beef with rich, savory flavors and spices, taking these bowls to the next level!

Tips and Tricks

  • For extra flavor, char the frozen corn in the skillet until it’s tender and slightly charred. This adds a delicious smoky off-the-grill type flavor to the dish!
  • Allow the seasoned ground beef to simmer in the taco seasoning sauce for a few minutes. This helps the flavors meld together and creates a rich, saucy texture. YUM!
  • Get creative with your toppings! Add your favorite garnishes such as sliced avocado, diced tomatoes, or a dollop of guacamole to personalize your taco bowls.
overhead image of cilantro lime crema in a bowl prepped for taco bowls

Can You Meal Prep These Taco Bowls?

Of course you can! Prep these taco bowls ahead of time and divide everything except the cilantro lime crema between four large containers. Store the crema separately, then when ready to eat, reheat your bowls for 30 seconds in the microwave and drizzle the crema on top.

Adjust This Recipe to Your Dietary Needs

Make it Dairy-Free: To make this recipe dairy-free, simply replace the Greek yogurt in the cream with your favorite non-dairy Greek yogurt or non-dairy sour cream! I’ve used Kite Hill non-dairy sour cream to make this recipe and it turned out great.

Make it Vegan: For vegan taco bowls, take the dairy-free option above and swap out the ground beef for either a can of drained lentils, crumbled tofu, or finely chopped mushrooms. These are also great high protein vegan swaps!

Make it Paleo: Replace the white rice with cauliflower rice and substitute the Greek yogurt in the cilantro lime crema for 1/2 cup avocado oil mayonnaise instead.

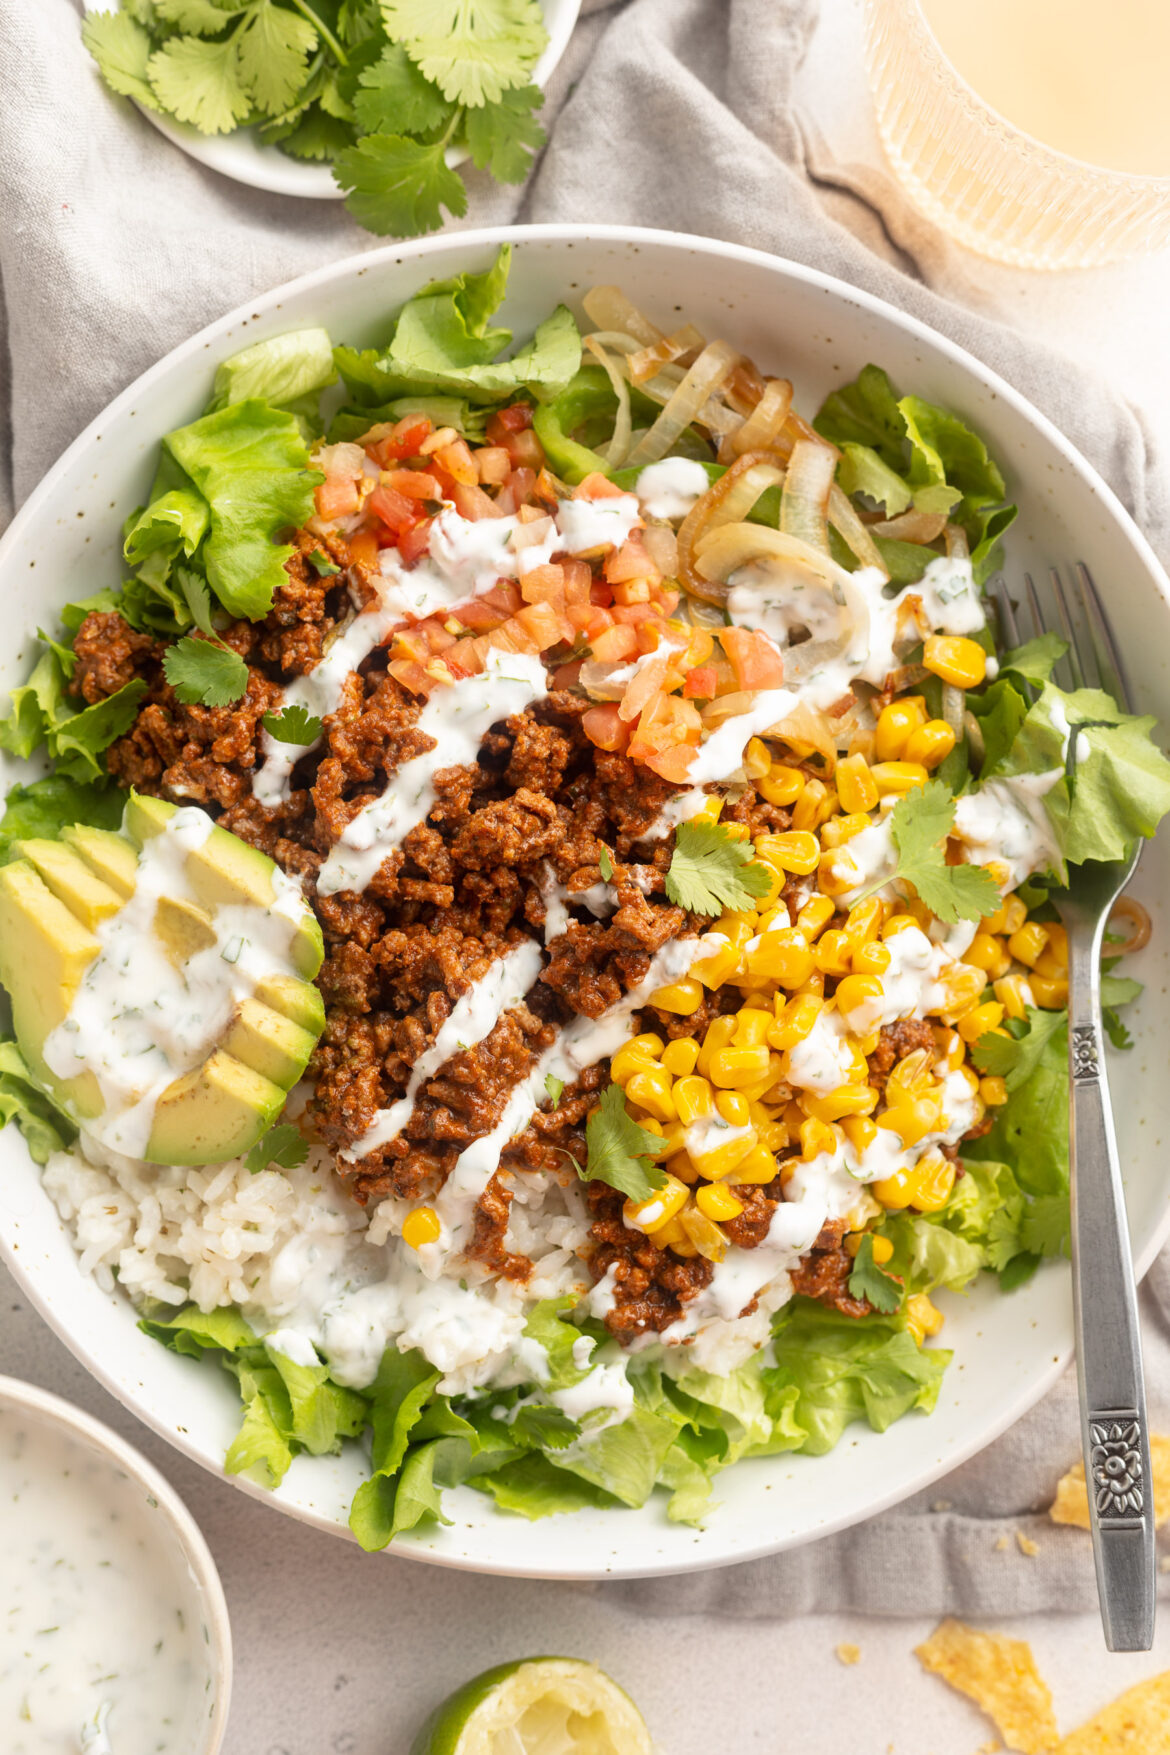
overhead image of taco bowls with cilantro lime crema drizzled on top
5 from 2 votes

Ground Beef Taco Bowls with Cilantro Lime Crema

Fresh, flavorful, and fully loaded ground beef taco bowls with a cilantro lime crema! Ditch the takeout this week and make this delicious and healthy meal at home. Cilantro lime rice, seasoned ground beef, sautéed corn and veggies, and an irresistibly creamy and tangy cilantro lime crema – YUM!
Print Pin Rate
Prep Time: 10 minutes
Cook Time: 20 minutes
Total Time: 30 minutes
Servings: 4 servings

Ingredients

For the cilantro lime rice:

  • 1 cup uncooked long grain rice, rinsed and drained
  • 1 1/4 cups water
  • 1/4 cup fresh lime juice
  • 2 tablespoons fresh cilantro, finely chopped
  • 1 teaspoon salt
  • 1 tablespoon olive oil

For the ground beef:

  • 1 pound ground beef
  • pinch of salt
  • 1 packet taco seasoning (1/4 cup)

For the bowls:

  • 1 cup frozen corn
  • 2 bell peppers, cored and sliced
  • 1 onion, peeled and sliced
  • 3 cups chopped romaine or iceberg lettuce
  • pico de gallo

For the cilantro lime crema:

  • 1 cup plain unsweetened Greek yogurt or sour cream
  • 1/2 cup fresh cilantro, finely chopped
  • 2 tablespoons lime juice
  • 1/2 teaspoon salt

Instructions

  • Make the cilantro lime crema by adding all ingredients to a bowl and mixing it together. Cover the bowl and place in the refrigerator while you prep the rest of your ingredients.
    cilantro lime crema in a bowl
  • Cook the cilantro lime rice by adding all ingredients to a medium pot and placing it over high heat. Bring the rice to a bowl, then as soon as it’s boiling reduce the heat to low and cover the pot with a lid. Leave the rice to cook with the lid on for 15 minutes, then remove the lid, remove it from the heat, and set the rice aside.
    cilantro lime rice in a saucepan
  • Place a large skillet over medium heat, add a tablespoon of oil to the skillet then add in the frozen corn. Sauté corn for 3-5 minutes, or until it’s tender and slightly charred. Remove corn from the skillet and set aside.
  • Next, add the sliced peppers and onions to the hot skillet (still over medium heat), and sauté those for 5-7 minutes or until soft and cooked to your liking. Remove the peppers and onions from the skillet and set aside.
  • Last, add the ground beef to the hot skillet with a big pinch of salt. Cook the beef until it’s no longer pink, breaking it up into small pieces with a large spoon as it cooks.
  • Once the beef is cooked through, add in your packet of taco seasoning and 1/3 cup of water. Reduce the heat to low and let the ground beef simmer for 5 minutes, or until the taco seasoning sauce has thickened.
  • Assemble your bowls by adding chopped lettuce to 4 bowls, then diving up the cooked corn, peppers and onion, ground beef, pico de gallo, and sliced avocado between four bowls.
  • Finish off each bowl with a drizzle of cilantro lime cream and enjoy!

Quick, easy, and full of flavor – air fryer salmon patties with a creamy dill sauce! The perfect healthy, gluten-free, and dairy-free dinner recipe. Comes together in a few simple steps, and in just 15 minutes!

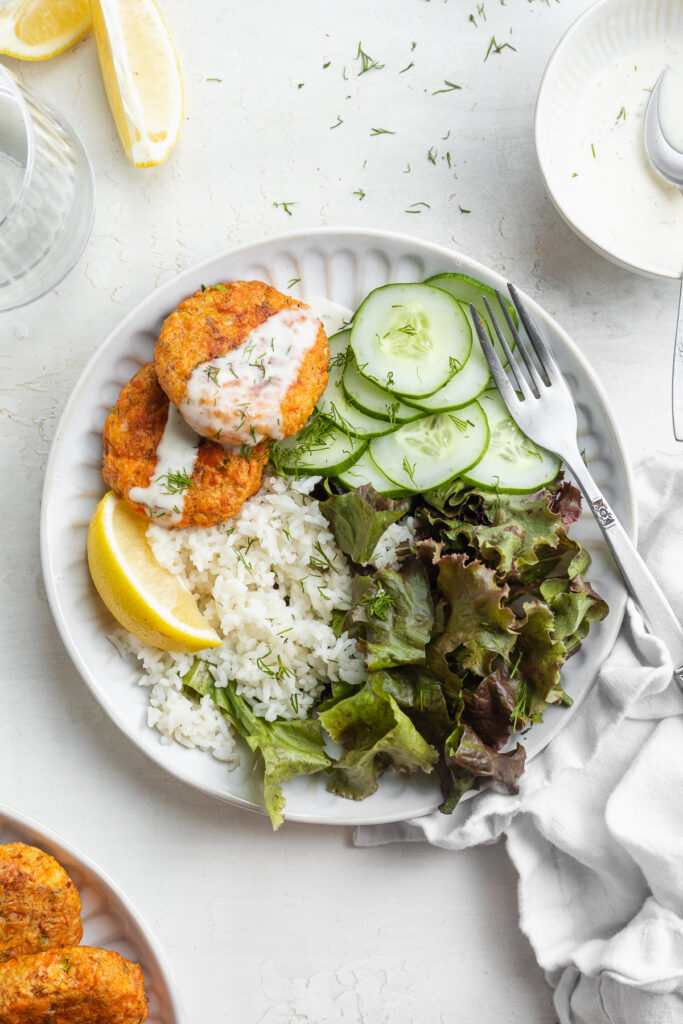
Overhead image of air fryer salmon patties on a plate over rice and lettuce with creamy dill sauce on top.

What You’ll Need to Make Air Fryer Salmon Patties

Canned Salmon – I used two cans of wild sockeye salmon in my patties, but any canned salmon will work. Canned salmon is an easy addition to this already super easy meal. It’s also a great source of lean protein, vitamin B12, iron, potassium, and vitamin D. However, these air fryer salmon patties are so delicious, no one will ever guess how healthy they are!

Breadcrumbs – I used gluten-free panko breadcrumbs, but any unflavored/unseasoned breadcrumbs will taste great! Panko breadcrumbs are lighter and will yield a crispier patty. Or, if you don’t have breadcrumbs, you can use 1/3 cup of almond flour in its place.

Mayonnaise – This creamy condiment comes in handy in both the salmon patties and the creamy dill sauce. If not a mayo fan, you can use unsweetened greek yogurt instead!

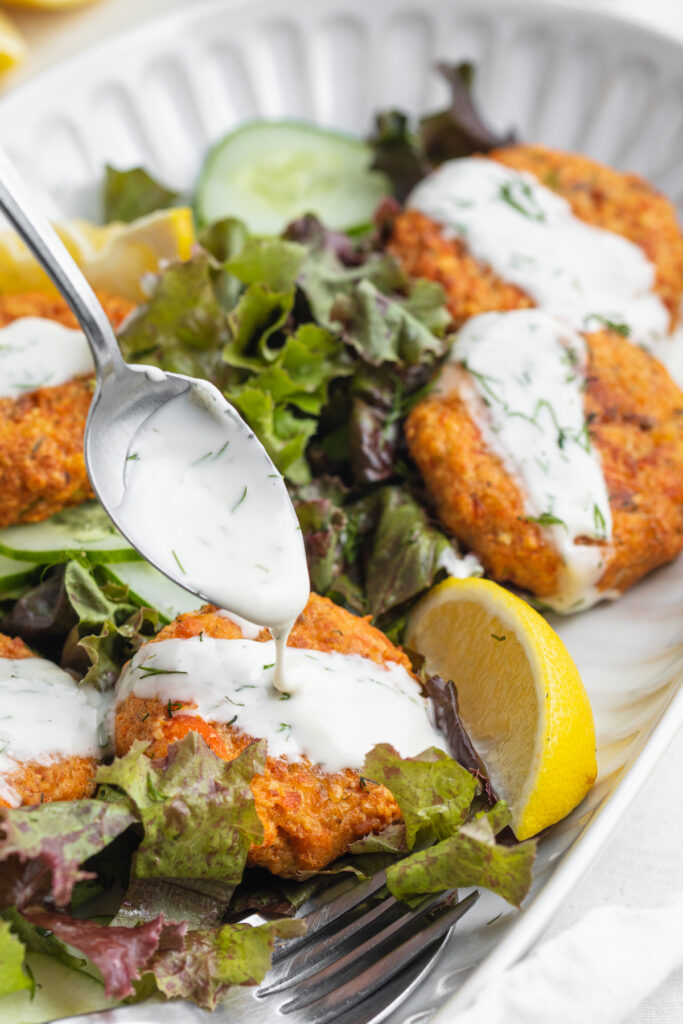
creamy dill sauce being poured over air fryer salmon patties.

Tips and Tricks

  • For an even crisper salmon patty, coat the outside in additional breadcrumbs. Then, place in the air fryer and coat with a drizzle of oil before cooking. The end result will be golden brown, soft on the inside, and crispy on the outside air fryer salmon patties!
  • Enjoy this recipe however you’d like. I served mine over lettuce and rice, with a drizzle of that creamy dill sauce. Though these would also taste amazing as a salmon burger between two buns!
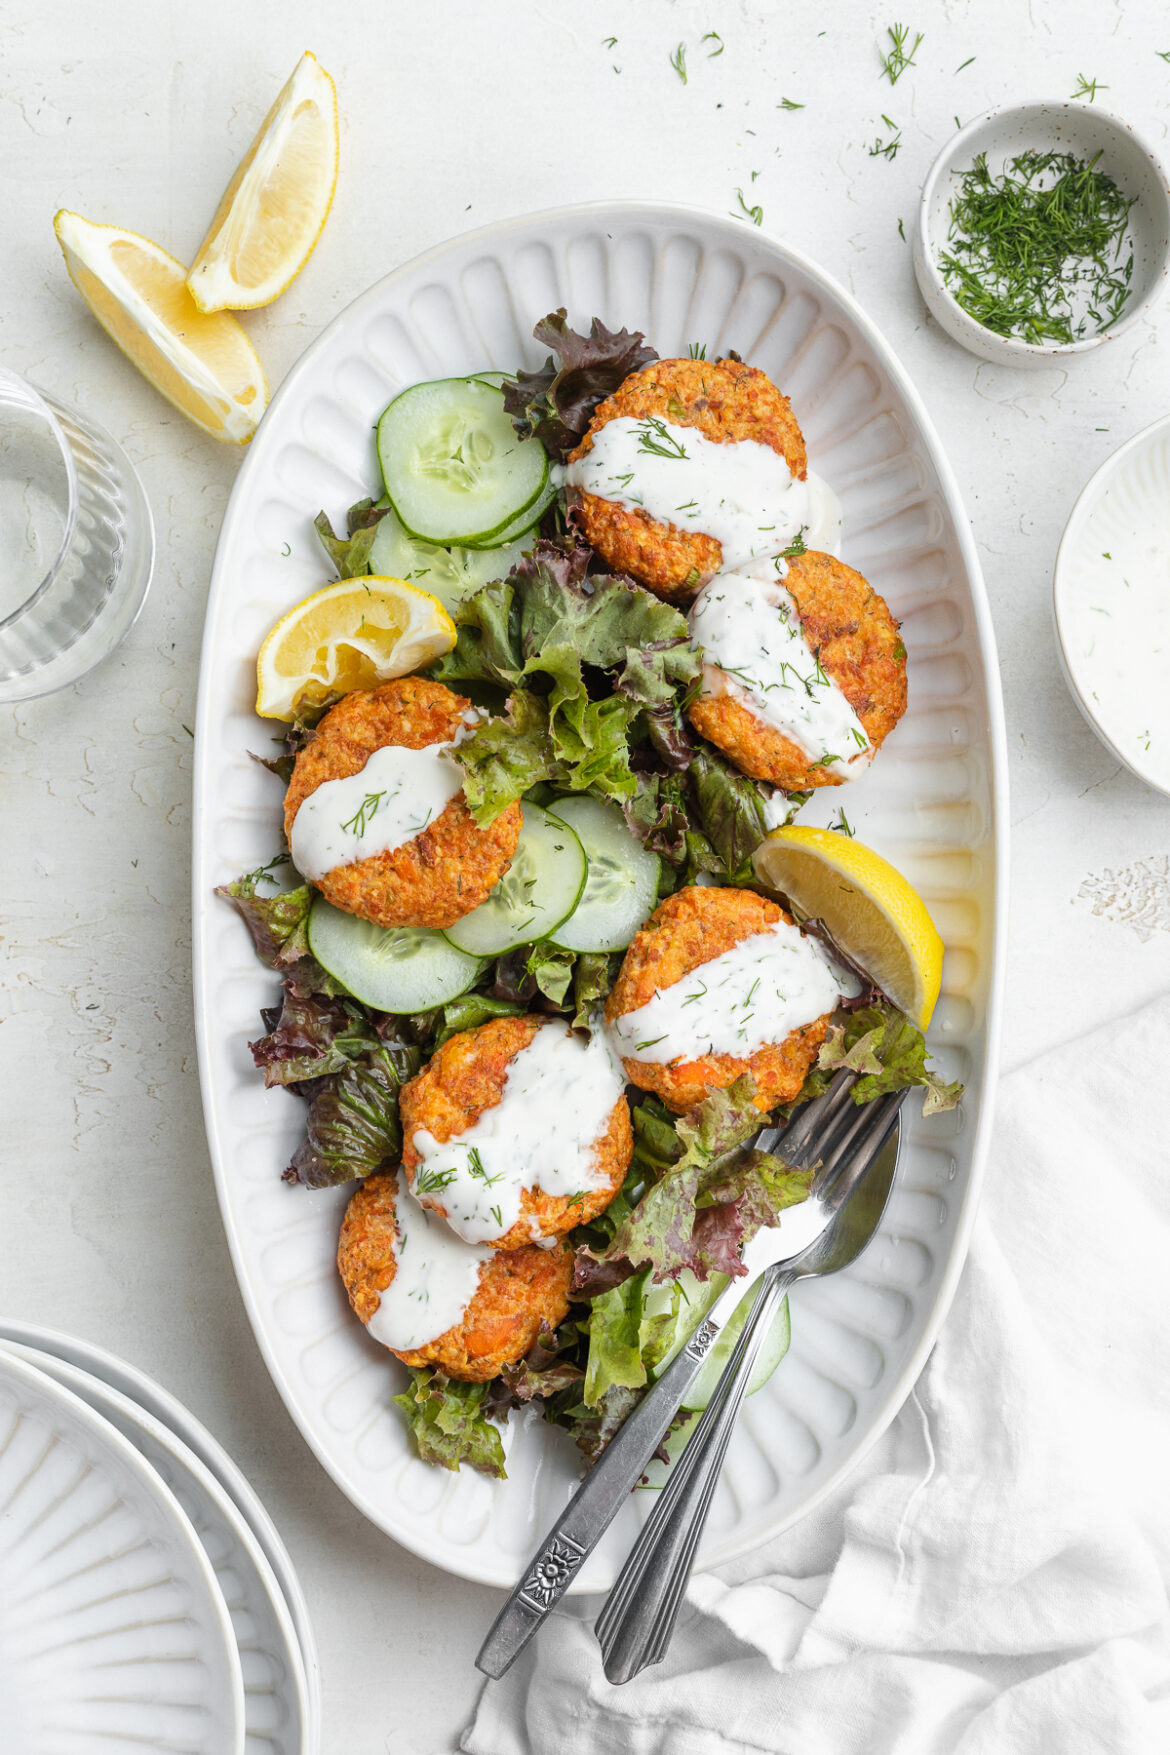
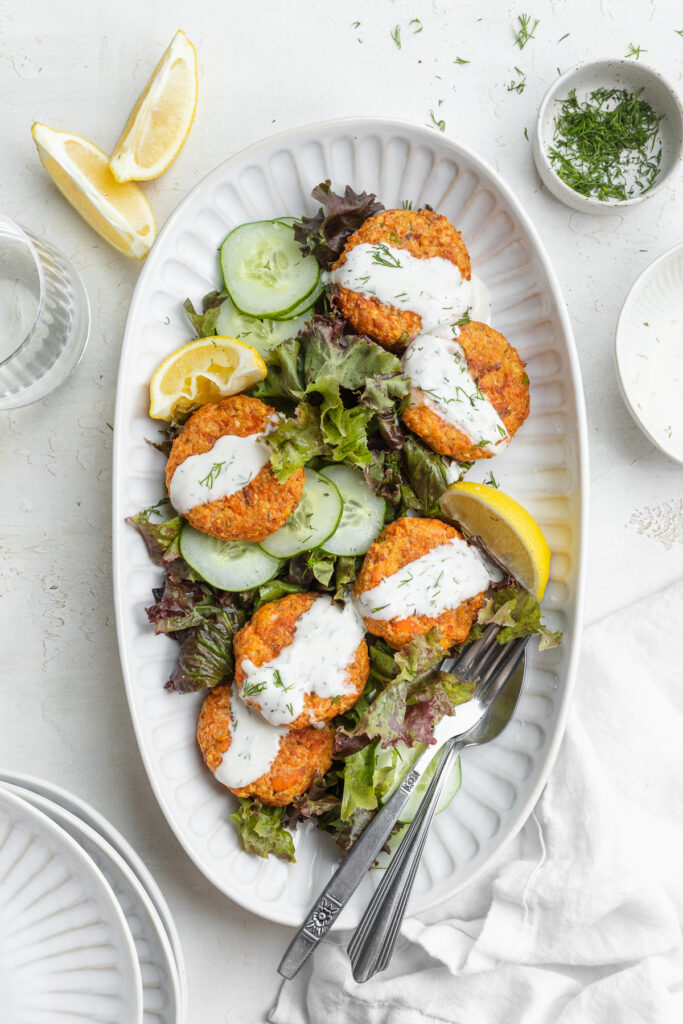
overhead image of air fryer salmon patties on a platter.

Adjust This Recipe To Your Dietary Needs

Make it Egg-Free: While I haven’t tested this option myself, you may be able to replace the eggs in this recipe with flax eggs. Or, try this Bob’s Red Mill Egg Replacer as a substitute. Also, be sure to use an egg-free mayo!

Make it Gluten-Free: For a gluten-free dinner recipe, use gluten-free breadcrumbs like I did! Then, serve these air fryer salmon patties over a bed of your favorite veggies and rice.

Air Fryer Salmon Patties with Creamy Dill Sauce

0 from 0 votes
Recipe by Samantha Course: Dinner, LunchDifficulty: Easy
Servings

8

salmon patties
Prep time

5

minutes
Cooking time

8

minutes
Total time

13

minutes

Quick, easy, and full of flavor – air fryer salmon patties with a creamy dill sauce! The perfect healthy, gluten-free, and dairy-free dinner recipe. Comes together in a few simple steps, and in just 15 minutes!

Ingredients

  • 2 (7.5 ounce) cans canned salmon, drained

  • 2 eggs

  • 1/2 cup breadcrumbs, I used gluten-free panko breadcrumbs

  • 2 tablespoons mayonnaise

  • 1 green onion, finely chopped

  • 1 tablespoon fresh dill, chopped

  • 1/2 teaspoon paprika

  • 1/4 teaspoon salt

  • For the dill sauce:
  • 1/2 cup mayonnaise

  • 1-2 tablespoons lemon juice

  • 3 tablespoons fresh dill, chopped

Directions

  • Mix together all salmon patty ingredients in a large bowl until fully combined.
  • Scoop ¼ cup of the mixture into the palms of your hands and gently form a 1-inch thick patty. Repeat this process with remaining mixture, should form 8 salmon patties.
  • Lightly grease air fryer tray or basket, then place salmon patties into the air fryer and cook at 390° Fahrenheit for 8 minutes, pausing to flip halfway through.
  • Make the dill sauce by adding all ingredients to a small bowl and whisking until smooth, then spoon over salmon patties.

Recipe Video

Did you make this recipe?

Share it and tag @samdoesherbest on Instagram!

Like this recipe?

Follow us @samdoesherbest on Pinterest

Tender, juicy, and intensely flavorful chicken scarpariello with crispy rosemary baby potatoes! A complete, healthy, and wholesome dinner recipe just about anyone can throw together.

overhead image of chicken scarpariello with crispy potatoes on a plate with white wine on the side.

What You’ll Need To Make Chicken Scarpariello with Crispy Rosemary Potatoes

Baby Potatoes – I love baby potatoes for how creamy they are! These crispy rosemary potatoes bake up ultra crispy on the outside, while smooth and buttery on the inside. Either yellow or red baby potatoes will taste great in this recipe. And if you can’t find baby potatoes, you can sub standard yellow or red potatoes in their place.

Chicken Thighs – Feel free to use either bone-in or boneless, skin-on or skinless chicken thighs in this recipe! Bone-in and skin-on chicken thighs will yield a bit more flavor, while boneless and skinless will be easier to eat. Both options have their pros and cons, so go ahead and use whichever your prefer / can get your hands on.

Italian Sausage – You’ll need uncooked Italian sausage links for this chicken scarpariello. Most come pre-cooked, so be sure the ones you buy are raw. And when it comes to either hot or sweet Italian sausage, use whichever’s your favorite! I used sweet sausages for a perfectly mild, but still flavorful dinner recipe.

Dry White Wine – When picking out a dry white cooking wine, look for a bottle with “dry” or “crisp” in the description. Sauvignon Blanc and Pinot Grigio are my cooking wine go-tos. And don’t worry, all of the alcohol will get cooked off in this meal, leaving you with it’s bright and fresh flavor.

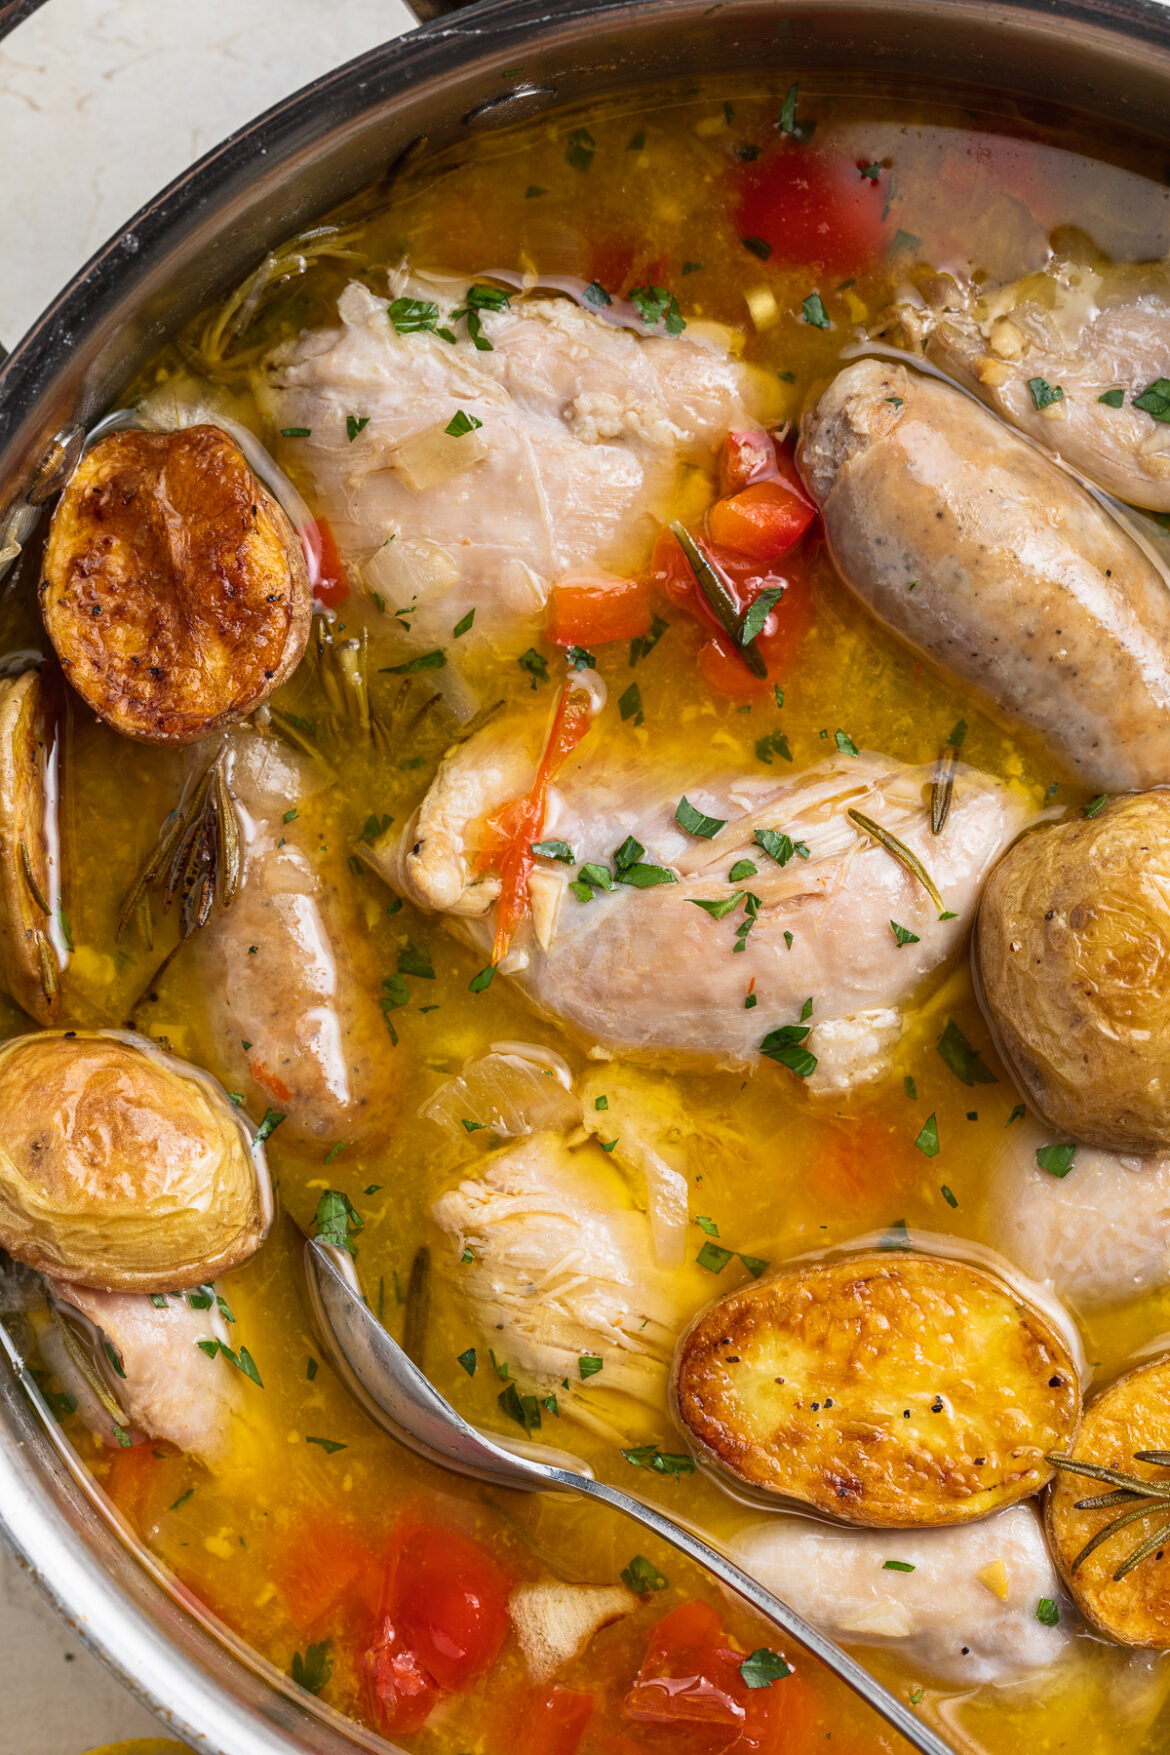
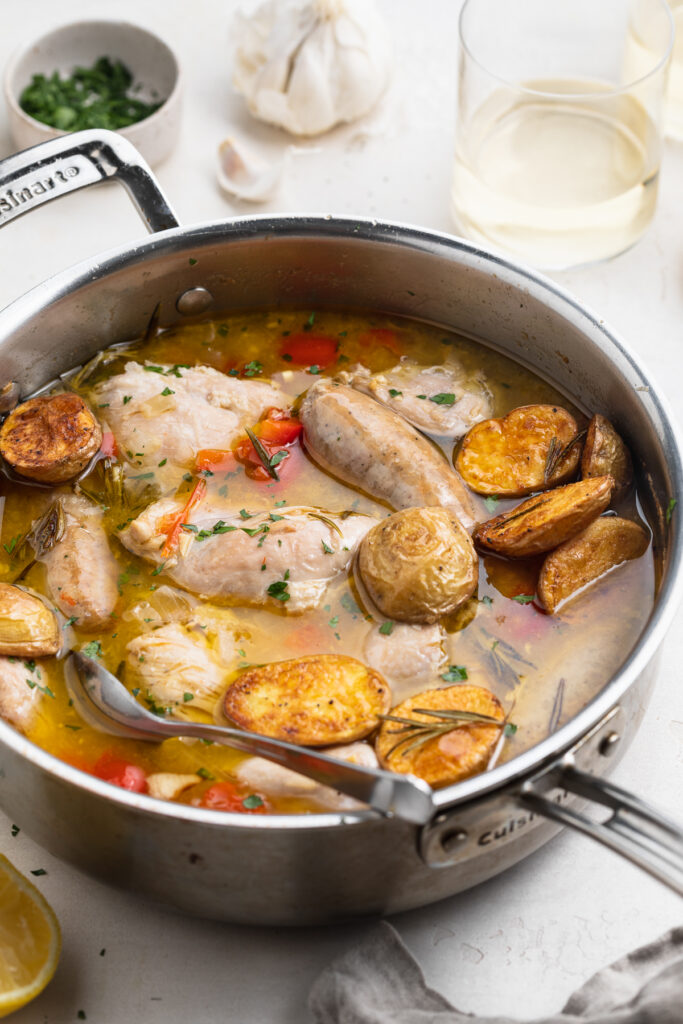
chicken scarpariello in a skillet with fresh parsley on top

Tips and Tricks

  • Do NOT touch the handle of your hot skillet once you’ve removed it from the oven! I’ve made this mistake more than once, and still have the scars to show for it. I highly recommend buying and placing one of these covers on your skillet handle as soon as you take it out of the oven.
  • Serve this chicken scarpariello with whatever you’d like! The crispy rosemary potatoes are the perfect side, but feel free to replace them with mashed potatoes, cooked rice, or even pasta. Or, for a low-carb option, roast up some broccoli and/or cauliflower in place of the potatoes.
  • Use a large skillet with high sides to make this meal. The key is using something large enough to fit eight chicken breasts, three sausages, and the white wine sauce. If you don’t have a skillet large enough for this recipe, use a dutch oven instead!
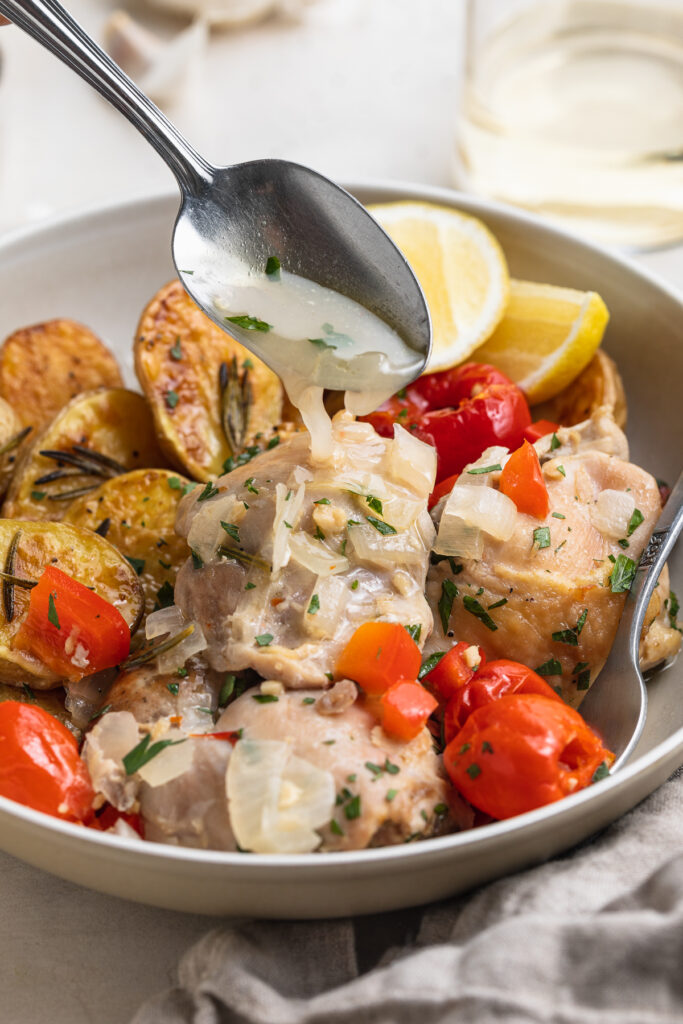
sauce being poured over chicken scarpariello on a plate.

Adjust This Recipe To Your Dietary Needs

Make it Non-Alcoholic – For a recipe without any alcohol, replace the white wine with an extra cup of chicken stock, and an extra tablespoon of fresh lemon juice.

Make it Paleo – Make yourself a paleo chicken scarpariello by taking the non-alocoholic option above, and replacing the baby potatoes with white sweet potatoes. Totally grain-free, gluten-free, sugar-free, low-carb, and paleo-friendly!

Chicken Scarpariello with Crispy Rosemary Potatoes

0 from 0 votes
Recipe by Samantha Course: MainCuisine: ItalianDifficulty: Intermediate
Servings

6

servings
Prep time

10

minutes
Cooking time

30

minutes
Total time

40

minutes

Tender, juicy, and intensely flavorful chicken scarpariello with crispy rosemary baby potatoes! A complete, healthy, and wholesome dinner recipe just about anyone can throw together.

Ingredients

  • For the crispy potatoes:
  • 1 pound baby potatoes

  • 2 tablespoons avocado oil

  • salt and black pepper, to taste

  • 1 sprig fresh rosemary, leaves removed from stem

  • For the chicken scarpariello:
  • 8 chicken thighs

  • salt and black pepper, to taste

  • 3 tablespoons olive oil

  • 4 hot or sweet Italian sausage links

  • 1 large yellow onion, chopped

  • 1/2 red bell pepper, chopped

  • 8 garlic cloves, minced

  • 2 sprigs fresh rosemary

  • 1/2 cup pickled peppadew peppers, drained

  • 1 cup dry white wine

  • 1 cup chicken stock

  • 1 lemon, juiced

  • fresh chopped parsley, for serving

Directions

  • Preheat oven to 400° Fahrenheit. Place all potato ingredients on a large baking sheet and toss to combine. Bake for 25-20 minutes or until super crispy, flipping potatoes halfway through.
  • Make the chicken scarpariello by patting each chicken thigh dry with a paper towel, then season generously with salt and black pepper.
  • Heat olive oil in a large skillet over medium-high heat, cook sausages in skillet for 2-3 minutes per side of until golden brown (but not yet fully cooked). Remove sausage form skillet and set aside.
  • Place chicken thighs in hot skillet with the skin-side facing down. Sear chicken thighs for 5-8 minutes, or until golden brown, but also not yet fully cooked through. Remove chicken thighs from skillet and set aside.
  • Add onions, bell pepper, and garlic to the skillet – cook until soft and very fragrant, about 8 minutes.
  • Add rosemary, pickled peppers, white wine, and chicken stock to the skillet and bring to a boil. Whisk and continue to cook until liquid has slightly reduced.
  • Place sausages and chicken back into the skillet with the sauce, then transfer to the oven and cook for about 10-15 minutes or until chicken is cooked through. Remove from oven along with the potatoes, pour lemon juice over chicken, then serve over roasted potatoes with fresh chopped parsley.

Recipe Video

Did you make this recipe?

Share it and tag @samdoesherbest on Instagram!

Like this recipe?

Follow us @samdoesherbest on Pinterest