Tag

healthy dessert

Browsing

If I’m completely honest, I’ve never been much of a cheesecake fan. When it comes to dessert, I prefer either my 4-ingredient protein brownies or healthy banana bread mug cake. However, my husband loves cheesecake. And in the spirit of it being the month of “love” (or whatever) I thought I’d make a little something just for him. Well, let me tell ya – this healthy cheesecake turned out SO good, I ate half of it. Now I don’t know what that says about me, or the kind of wife I am… but what I do know is that his cheesecake is DELICIOUS! And lucky for me/anyone who tries it, it’s also the easiest cheesecake you’ll ever make. So make this for your significant other, a friend, family member, or literally just yourself – I won’t judge!

5 ingredient healthy cheesecake slice on a plate with a fork.

What Makes This Cheesecake Healthy?

  • Made with protein-rich Greek yogurt
  • Naturally sweetened with maple syrup
  • NO refined sugar
  • Gluten-free
  • High protein dessert (10g+ per slice!)
  • Minimal ingredients, no crust required

Frequently Asked Questions

What kind of cream cheese should I use?

Full-fat cream cheese gives the richest texture, but reduced-fat cream cheese also works well. Use block-style cream cheese, not whipped.

Can I use a sugar-free sweetener?

Yes. Any liquid sugar-free sweetener can be used in place of maple syrup. Adjust to taste depending on sweetness level.

How do I store this healthy cheesecake?

Store slices in an airtight container in the refrigerator for up to 5 days. You can also freeze individual slices for up to 2 months and thaw in the fridge overnight.

Can I add a healthy cheesecake crust to this recipe?

Yes! You can absolutely add a crust if you prefer a more traditional cheesecake. A simple crust made from crushed graham crackers (or gluten-free graham crackers) mixed with melted butter works great – just press it into the pan and bake for 8–10 minutes before adding the filling. Let the crust cool slightly, then pour in the cheesecake batter and bake as directed.

Sam’s Recipe Tips

  • Blend until completely smooth for the creamiest texture!
  • Don’t overbake – the center should still have a slight jiggle.
  • Chill the cheesecake fully before slicing for nice and clean slices.
  • Add fresh berries or a drizzle of nut butter before serving – YUM!
  • For extra vanilla flavor, use vanilla bean paste.
5 ingredient healthy cheesecake slice on a plate with whipped cream and a strawberry on top.
5 from 2 votes

5-Ingredient Healthy Cheesecake

This healthy cheesecake is creamy, high in protein, and made with just 5 simple ingredients! It’s gluten-free, refined sugar-free, and each slice contains over 10 grams of protein. Perfect for a lighter dessert, this easy cheesecake delivers classic flavor with better-for-you ingredients!
Print Pin Rate
Prep Time: 5 minutes
Cook Time: 45 minutes
Total Time: 50 minutes
Servings: 8 servings

Equipment

  • 1 food processor or high speed blender
  • 1 8-inch springform pan

Ingredients

  • 2 cups plain Greek yogurt
  • 1 cup cream cheese
  • 4 eggs
  • 1/4 cup maple syrup or any liquid sweetener
  • 1 teaspoon vanilla extract or vanilla bean paste

Instructions

  • Preheat oven to 350° Fahrenheit and line the bottom of a 8-inch springform pan or baking dish with parchment paper and lightly grease the sides.
  • Add all ingredients to a blender and blend until completely smooth.
  • Pour the mixture into the pan, then bake for 45-50 minutes or until the cheesecake is just set in the middle.
  • Remove the pan from the oven and let the cheesecake cool at room temperature for 1 hour, then transfer it to the fridge to set for at least 2 hours. Remove the cheesecake from the fridge, then slice and serve!

Nutrition

Serving: 1serving | Calories: 230kcal | Carbohydrates: 7g | Protein: 11g | Fat: 17g | Sugar: 6g

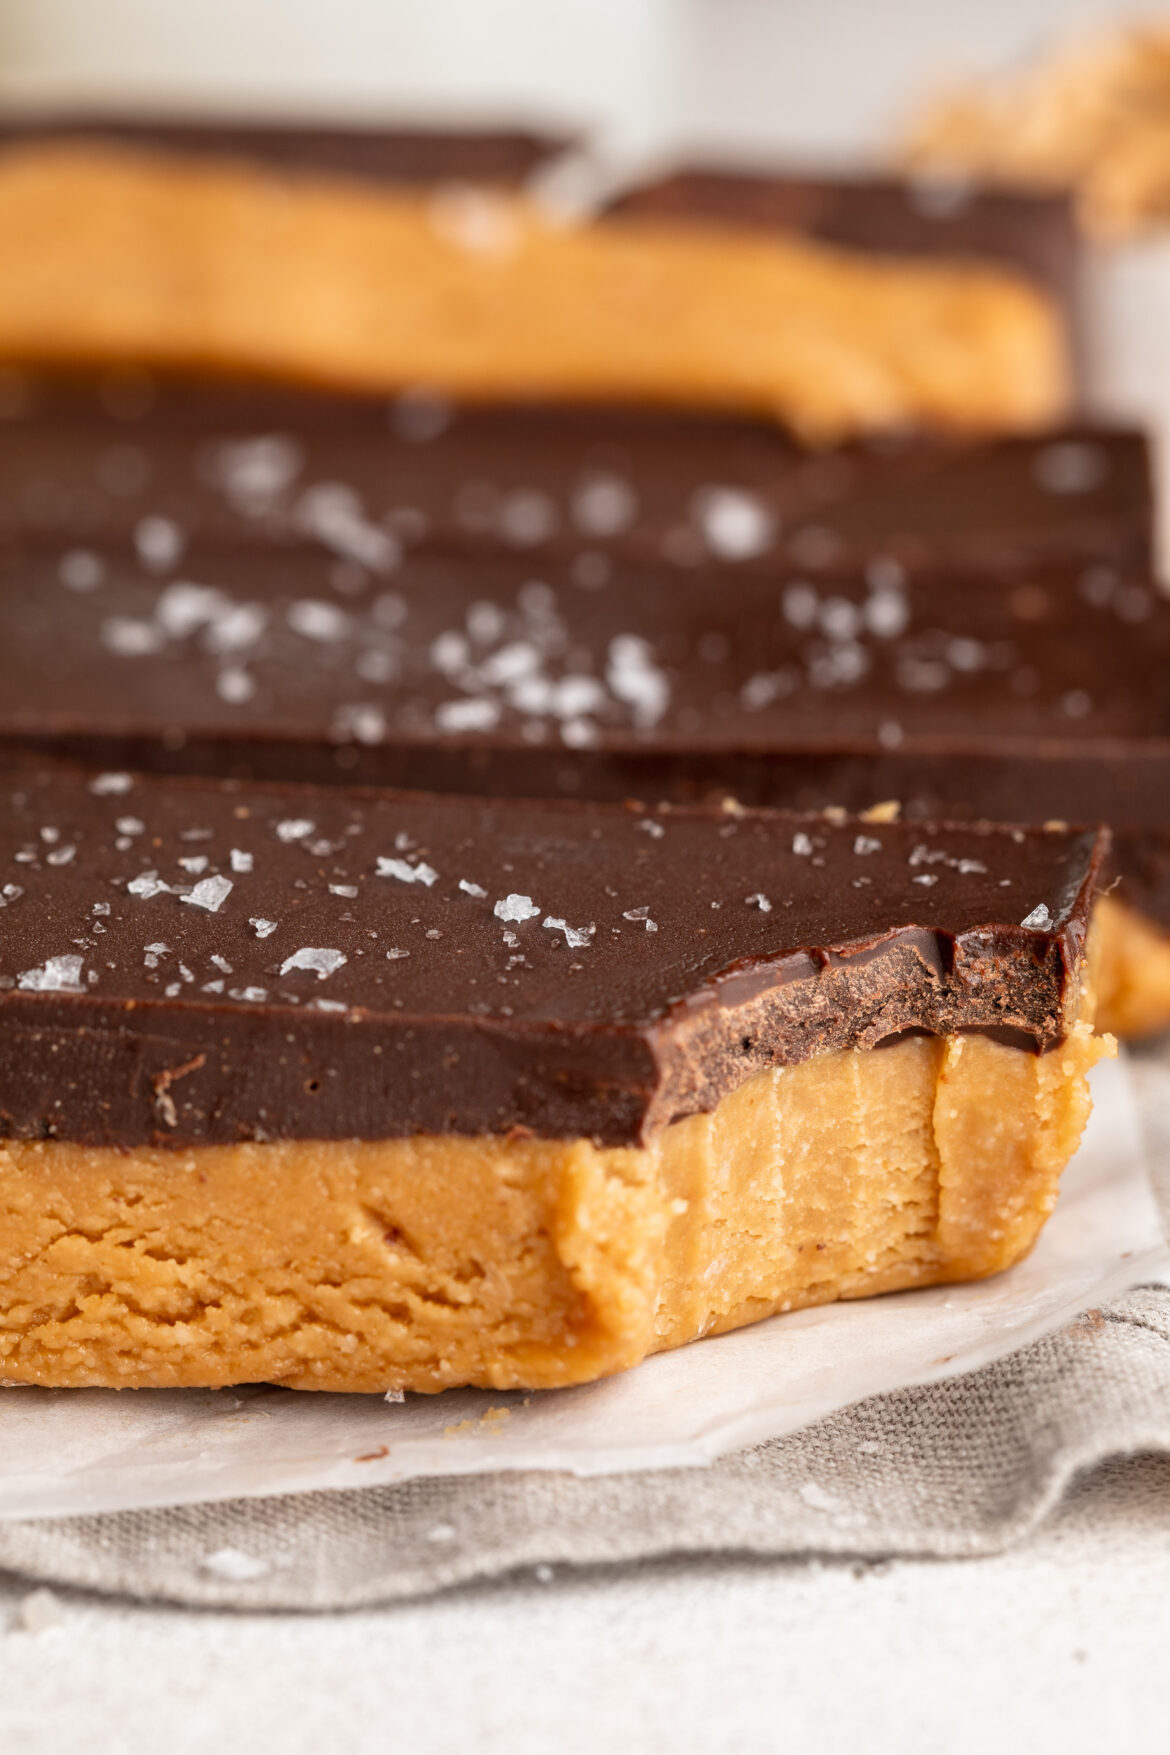
Peanut butter + chocolate is the ultimate flavor combo if ya ask me. I really can’t get enough of it! I made my frozen banana and peanut butter bites all summer, and my healthy strawberry peanut butter cups were one of the most popular recipes I’ve ever shared. So when I was thinking up this recipe for a peanut butter and chocolate bar, loaded with cornflakes for extra crunch – I knew it’d be a huge hit! I actually tested this peanut butter cornflake bars recipe right before my family came over a few weeks ago, so they all got to be the first to try it and gave it raves reviews. After that, I wasted no time getting this recipe ready to share with you all! I just know you’ll love these crunchy, peanut butter-y, and extra chocolatey cornflake bars as much as they did!

peanut butter cornflake bars cut into squares with flaky sea salt on top.

Why You’ll Love These Peanut Butter Cornflake Bars

  • Simple & no-bake: Only four base ingredients and no oven – ideal for quick treats or busy days. They’re naturally gluten-free, dairy-free, vegan, and ready in no time at all!
  • Crunchy + chewy texture: Cornflakes give a satisfying crunch, peanut butter binds it all together, and the chocolate layer adds richness – a classic combo that hits sweet and salty just right!
  • Flexible & allergy-friendly: It’s easy to swap ingredients – use sunflower butter or almond butter instead of peanut butter, or gluten-free cornflakes – and still get delicious bars that work for vegan, dairy-free, or gluten-free diets.

How to Store These Bars

Once assembled and chilled until firm, store the bars in an airtight container in the fridge – they’ll stay good for up to 1 week. For longer storage, you can freeze individual bars for up to 2–3 months; just thaw for a few minutes before serving for best texture.

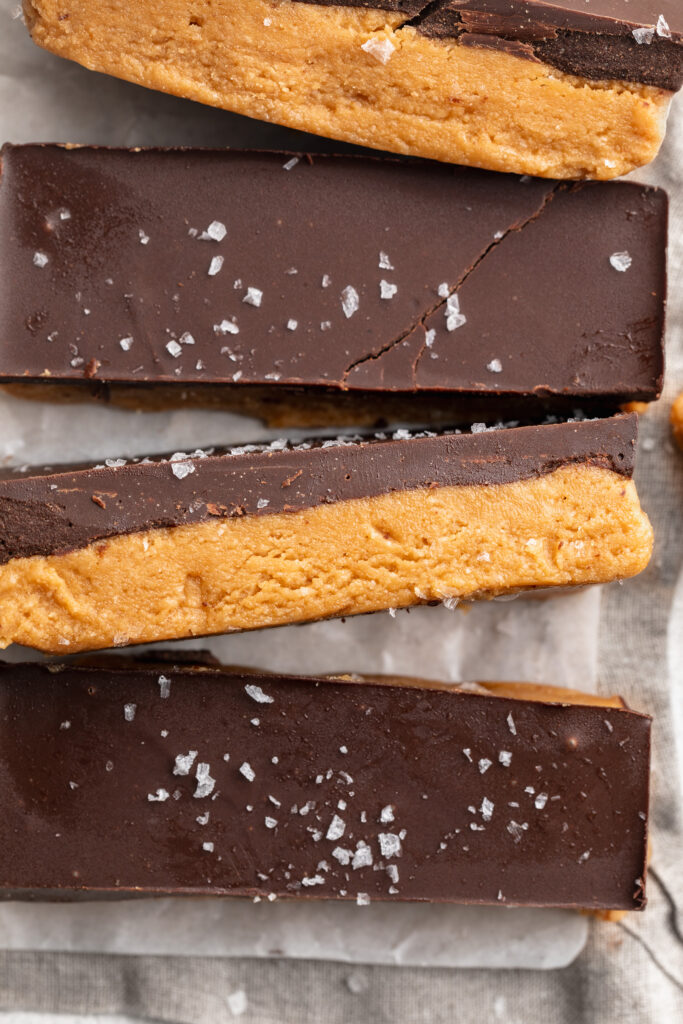
overhead image of peanut butter cornflake bars.

Sam’s Recipe Tips

  • Use gluten-free cornflakes like these ones, if you’re avoiding gluten – always double-check cereal packaging!
  • Press the cornflake-peanut butter mixture firmly into the pan so bars hold together well after chilling.
  • Melt chocolate gently (microwave or double-boiler), and pour while warm for a smooth top that sets evenly.
  • For extra crunch or festive flair: sprinkle sea salt, chopped nuts, or crushed candy over the chocolate before it sets!
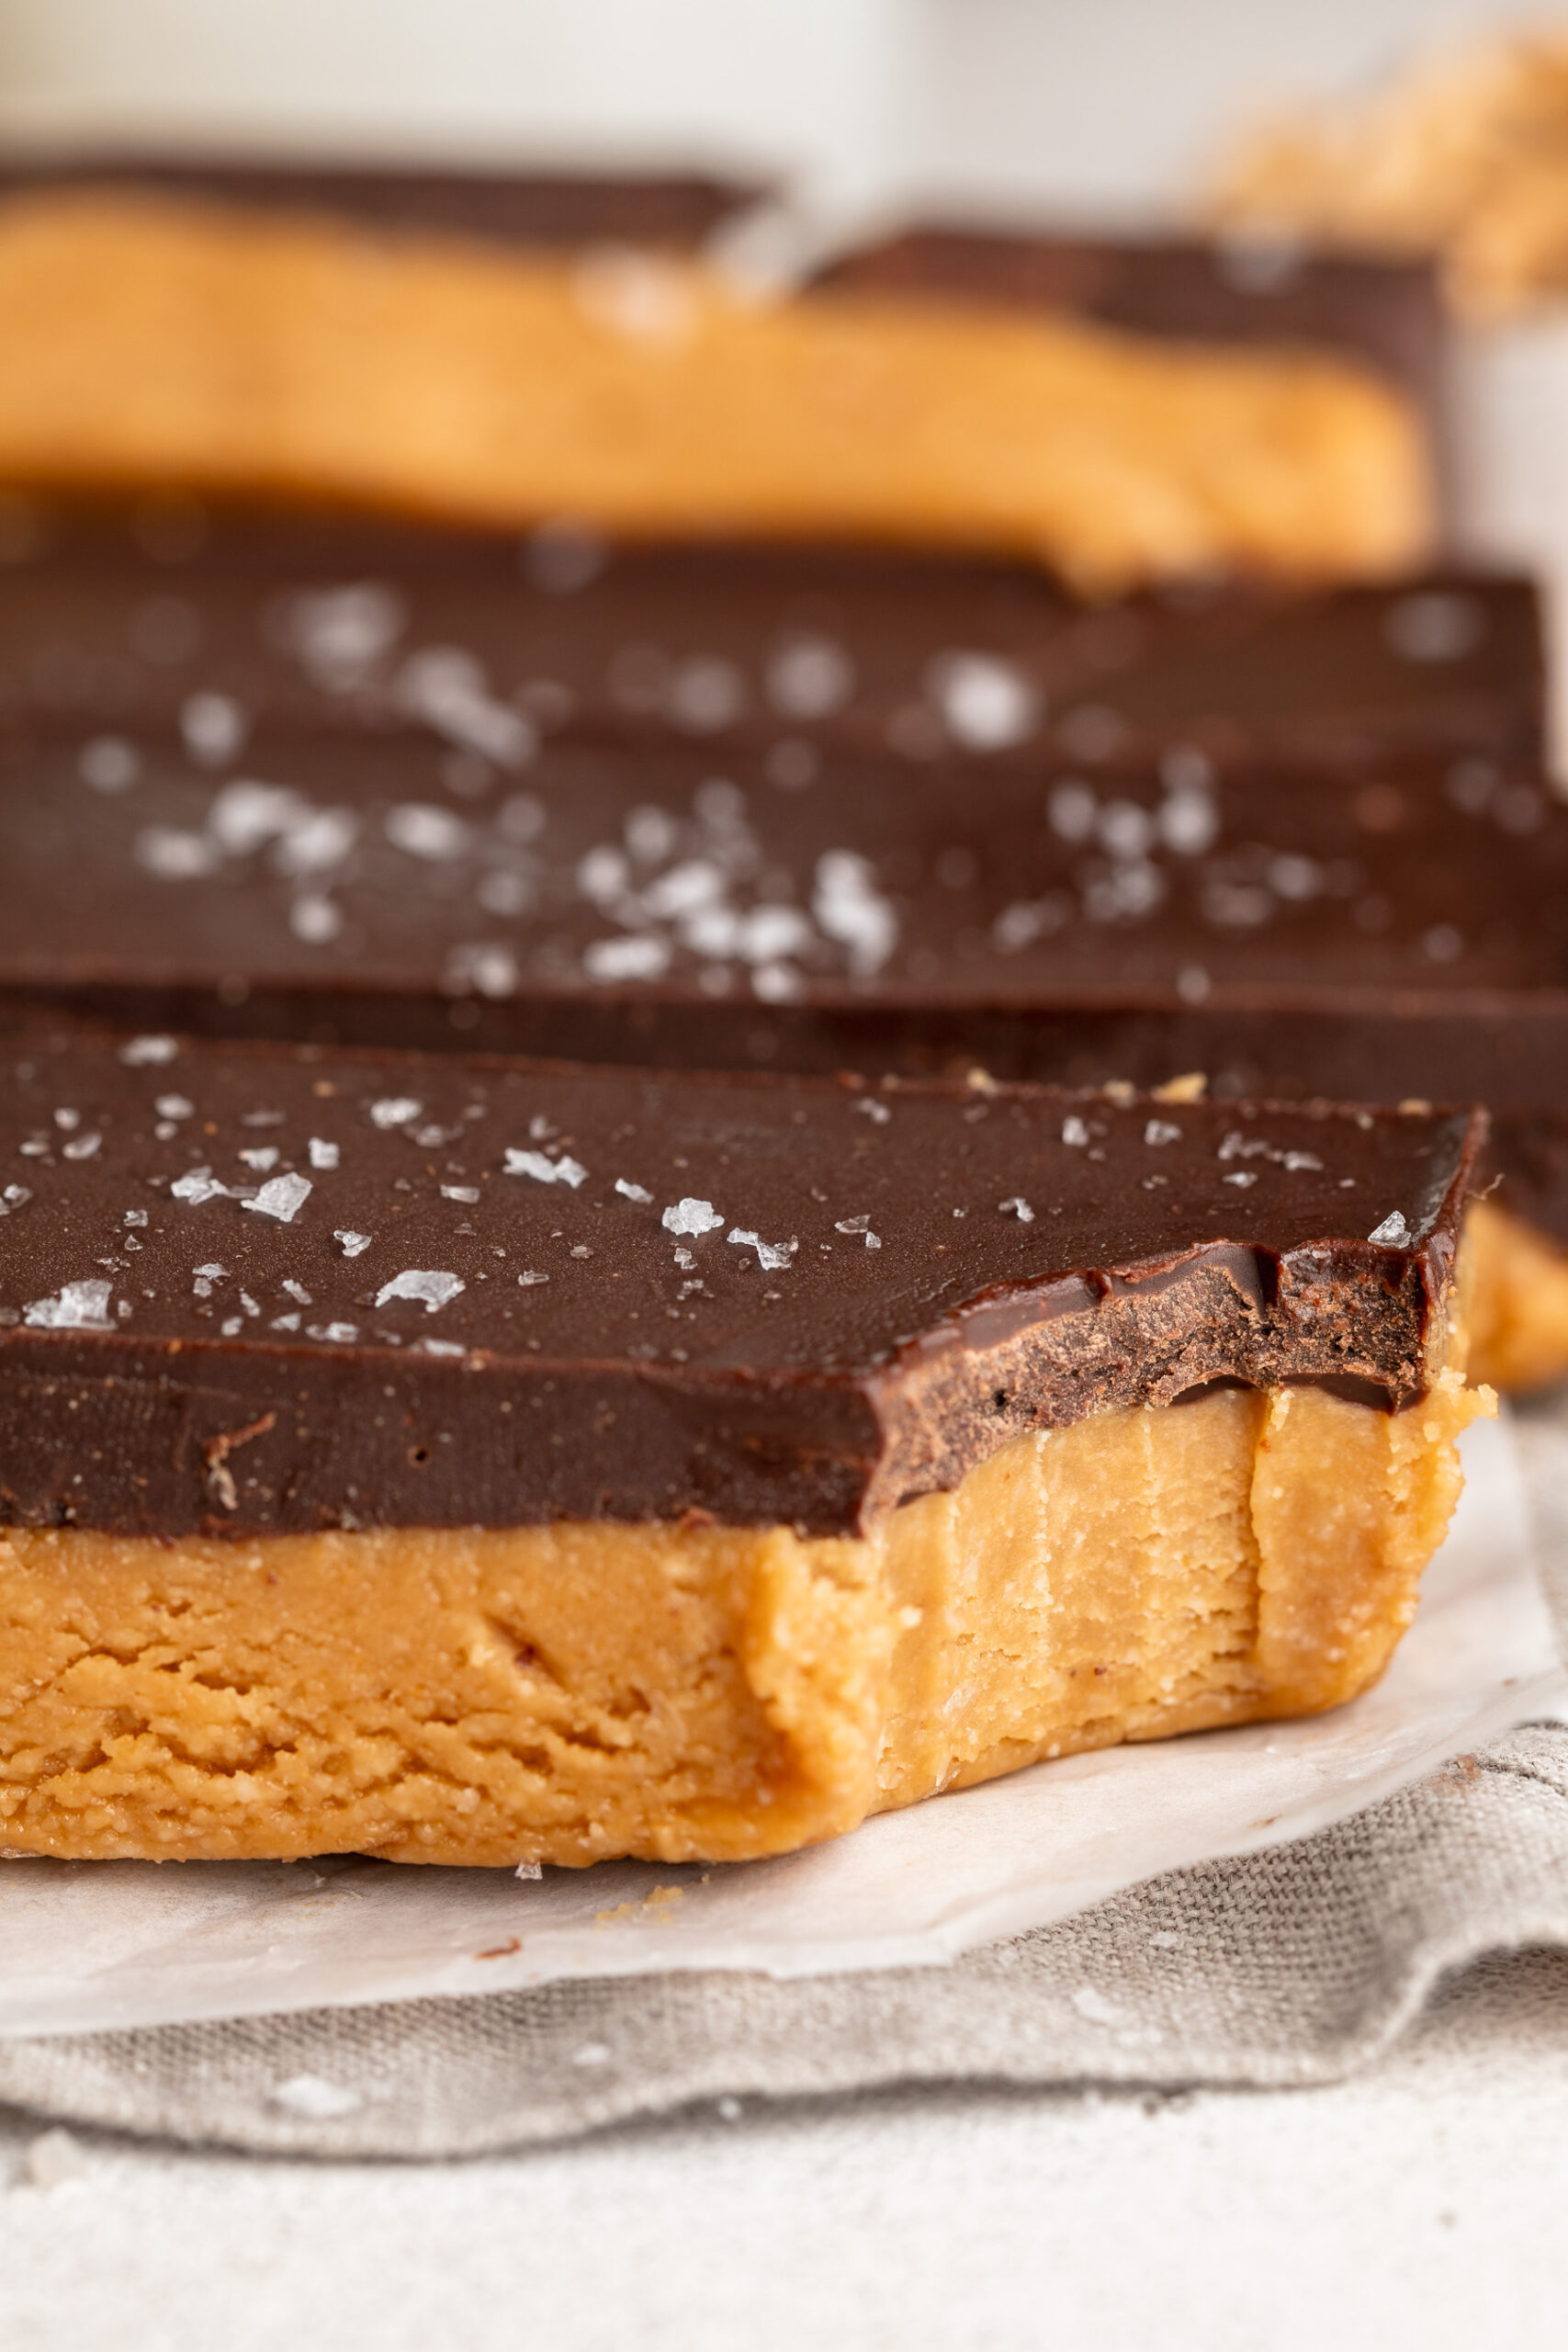
overhead image of peanut butter cornflake bars with a bite taken out.
No ratings yet

4-Ingredient Peanut Butter Cornflake Bars

These 4-ingredient peanut butter cornflake bars are the ultimate no-bake treat – crunchy, chocolatey, and ready in minutes! Made with simple pantry staples, they’re naturally gluten-free, dairy-free, and even vegan. These peanut butter cornflake bars are delicious as an easy sweet snack or holiday treat!
Print Pin Rate
Servings: 16 servings

Ingredients

  • 1 cup creamy peanut butter unsweetened
  • 1/2 cup maple syrup or honey
  • 3 1/2 cups cornflakes

For the chocolate layer:

  • 1 cup chocolate chips
  • 1/4 cup creamy peanut butter unsweetened

Instructions

  • Mix together the peanut butter and maple syrup in a large bowl, then add in the cornflake and mix again until the cornflakes are coated in the peanut butter mixture.
  • Transfer the cornflake mixture to a 9×9-inch pan lined with parchment paper, and gently press it down into an even layer.
  • Make the chocolate layer by melting together the chocolate chips and peanut butter in either the microwave or over a double boiler until completely smooth and combined.
  • Pour the melted chocolate mixture over the cornflakes and smooth it into an even layer. Transfer the pan to the fridge for set for about 1 hour, then remove from the fridge and cut into squares.

Nutrition

Serving: 1serving | Calories: 230kcal | Carbohydrates: 18g | Protein: 6g | Fat: 14g | Fiber: 2g | Sugar: 11g

Every summer my dad grows the most incredible garden, and every summer he has a massive amount of zucchini! So while I love using his homegrown blueberries in my blueberry muddy buddies (don’t knock it ’til ya try it!) and strawberries in my gluten-free strawberry shortcake, I needed to figure out a way to use up the giant zucchinis he sends me home with every time I visit. A few summers ago I started making gluten-free zucchini bread, which is totally delicious, but this year I was craving BROWNIES!

My criteria for these healthy zucchini brownies was they had to be rich, fudgy, and just as delicious as any other brownie despite the hidden veggies. They also needed to be easy to make – one bowl, just a few ingredients, and simple steps. After a few tests this spring, I finally nailed the PERFECT healthy zucchini brownies recipe that’s totally gluten-free, dairy-free, and even refined sugar-free! So if you’re drowning in zucchini like I am, or just looking for a healthier dessert recipe this summer, you gotta give these brownies a try. Trust me, everyone (even my toddler!) loves ’em!

one healthy zucchini brownie stacked on top of another.

Why You’ll Love These Healthy Zucchini Brownies

  • Secretly mighty: Shredded zucchini brings irresistible moisture and a veggie boost – no one will guess!
  • One-bowl wonder: Mix, bake, and enjoy with minimal cleanup and zero fuss.
  • Healthier indulgence: Naturally sweetened, gluten-free, dairy-free, and packed with wholesome fat and fiber!

What Makes This Recipe Healthy

  • Hidden nutrition: Loads of zucchini add moisture, plus essential vitamins and nutrients.
  • Smarter sweeteners: Maple syrup replaces refined sugars, offering a lower glycemic profile!
  • Gluten-free: Use oat flour or a high-quality gluten-free blend for a naturally inclusive dessert.
3 healthy gluten-free zucchini brownies staked on top of each other.

Frequently Asked Questions

  • Can I use almond flour instead of oat flour?
    Yes! Almond flour works beautifully, though the texture may change slightly.
  • How do I store these brownies?
    Keep in an airtight container at room temperature for 3–4 days, or refrigerate for up to one week.
  • Can I make this recipe vegan?
    Absolutely! Swap the egg with a flax egg (1 Tbsp flaxseed meal + 3 Tbsp water) and use dairy-free chocolate chips.

Sam’s Recipe Tips

  • Dry it right: Wrap shredded zucchini in a towel to remove excess moisture – this keeps the brownies from turning out mushy.
  • Oven finesse: The brownies are best pulled when the edges are set and the center still jiggles slightly. They’ll continue to set as they cool.
  • Flavor fun: Sprinkle flaky sea salt on top or stir in chopped walnuts for a textured twist.
5 from 1 vote

Healthy Gluten-Free Zucchini Brownies

These healthy gluten-free zucchini brownies are rich, fudgy, and secretly packed with shredded zucchini for a boost of hidden veggies! Naturally sweetened with maple syrup and made in just one bowl, they’re a deliciously easy dessert that’s gluten-free, dairy-free, and refined sugar-free.
Print Pin Rate
Prep Time: 10 minutes
Servings: 16 servings

Equipment

  • 1 large bowl
  • 1 9×9-inch baking pan

Ingredients

  • 2 cups shredded zucchini
  • 1/2 cup maple syrup
  • 1/4 cup olive oil or any vegetable oil
  • 1 large egg
  • 1 teaspoon vanilla extract
  • 1 cup oat flour or all purpose flour
  • 1/2 cup unsweetened cocoa powder
  • 1/2 teaspoon baking soda
  • 1/2 cup chocolate chips

Instructions

  • Preheat oven to 350° Fahrenheit and line an 9×9-inch baking pan with parchment paper.
  • Wrap the zucchini in a dish cloth and squeeze to release as much excess moisture from the zucchini as possible, then transfer the shredded zucchini to a large bowl.
  • Add in the maple syrup, olive oil, large egg, and vanilla extract, then mix until everything is fully combined.
  • Next, add in the oat flour or all purpose flour, unsweetened cocoa powder, and baking soda. Mix again until the dry ingredients are fully incorporated into the brownie batter.
  • Fold the chocolate chips into the batter, then transfer the batter to your prepared baking pan. Bake for 30-35 minutes, or until the brownies are just set in the middle them remove from the oven and let cool completely before slicing into squares.

Nutrition

Serving: 1serving | Calories: 120kcal | Carbohydrates: 16g | Protein: 2.5g | Fat: 6g | Fiber: 2g | Sugar: 9g

I’m a chocolate girl through and through. I always opt for chocolatey treats like my healthy no-bake brownie balls or 3-ingredient healthy date caramel cups. And fudge? Well that’s one of my favorites! But with most fudge recipes, there are two things I don’t love – they pack in a TON of sugar, and they always requires some kind of heating/cooking on the stove. So this 2 ingredient fudge recipe not only contains a fraction of the sugar of regular fudge (making it a much healthier alternative), but there’s absolutely NO baking or cooking required. Simply melt chocolate chips in the microwave, stir in some Greek yogurt – and you’re good to go! This magic 2-ingredient fudge isn’t only healthy but super EASY to make too.

close up image of 2 ingredient healthy fudge on a plate.

Why You’ll Love This Recipe

  • Just two wholesome ingredients — no condensed milk or added sugar needed!
  • Naturally gluten-free and easy to make vegan or dairy-free with a simple swap.
  • No special equipment or candy thermometer required — just melt, mix, chill, and slice!

What You’ll Need to Make 2-Ingredient Healthy Fudge

Chocolate Chips
The rich base of this fudge. You can use dark, semi-sweet, or even sugar-free chocolate chips depending on your preference. For a vegan version, go with dairy-free chocolate like Enjoy Life or Hu Kitchen. I used the Just Dates date-sweetened chocolate chips to make my healthy fudge refined sugar-free!

Greek Yogurt
This is what makes the fudge creamy, thick, and slightly tangy — without any butter or condensed milk. It also sneaks in a bit of protein and gives the fudge a perfectly soft, chewy bite. For dairy-free, simply use a thick plant-based Greek-style yogurt like coconut or cashew-based yogurt.

2 ingredient healthy fudge stacked on a plate.

Can I Make This Fudge Dairy-Free?

Absolutely! Just use a dairy-free chocolate and a plant-based Greek-style yogurt. Look for yogurts that are thick and unsweetened, such as cashew or coconut-based ones, to keep the texture right. The flavor stays delicious, and it’s 100% vegan-friendly!

Sam’s Recipe Tips

  • Room temp yogurt is key. Cold yogurt will cause the melted chocolate to seize, making it grainy instead of smooth.
  • Use a small loaf pan. A 9×4 pan makes the perfect thickness for easy-to-slice fudge squares.
  • Flavor twist? Add a pinch of sea salt, cinnamon, or a few drops of peppermint extract to mix things up!
2 ingredient healthy fudge stacked on a plate.
5 from 1 vote

EASY Healthy Fudge (2 Ingredients!)

This easy 2-ingredient healthy fudge is rich, creamy, and made without condensed milk or added sugar! All you need is chocolate chips and Greek yogurt for a no-bake dessert that’s lower in sugar and naturally gluten-free. Customize it to be vegan or dairy-free and enjoy a quick, protein-packed sweet treat!
Print Pin Rate
Prep Time: 15 minutes
Total Time: 15 minutes
Servings: 12 servings

Equipment

  • 1 small bowl
  • 1 9×4-inch loaf pan

Ingredients

  • 1 1/4 cups chocolate chips I used date-sweetened chocolate chips
  • 3/4 cup Greek yogurt or plain unsweetened coconut yogurt to make it dairy-free/vegan

Instructions

  • Line a 9×4-inch loaf pan with parchment paper.
  • Measure out ¾ cup of Greek yogurt and let it sit at room temperature for about 10 minutes, or until it’s no longer cold.
  • Melt the chocolate chips in a bowl in either the microwave or over a double boiler or until completely smooth, then add in the room temp Greek yogurt. Mix quickly until the chocolate and yogurt are fully combined.
  • Transfer the chocolate mixture to your prepared loaf pan, spread it into an even layer, then transfer it to the fridge for at least 1 hour or until the fudge it firm. Once firm, remove the fudge from the fridge and cut it into small squares. Enjoy right away or store in the fridge for later!

Nutrition

Serving: 1serving | Calories: 100kcal | Carbohydrates: 12g | Protein: 2.5g | Fat: 6g | Sugar: 9g

At 9 months pregnant in the dead of summer, watermelon is one of my biggest cravings! I got creative a few weeks ago with these 3-ingredient watermelon gummies, and can’t wait for the day I can have one of my frozen watermelon margaritas again. But for now, fresh watermelon sounds the best – and fresh watermelon happens to be the only ingredient in this watermelon shaved ice recipe. Just fresh watermelon, cut into spears, frozen solid, then shaved into a bowl. This healthy frozen treat couldn’t possibly get any easier (or more delicious)!

frozen watermelon spears on a baking sheet.

Why You’ll Love This Watermelon Shaved Ice

  • Only 2 ingredients – You don’t need any added sugar, syrups, or flavorings.
  • Naturally hydrating – Watermelon is over 90% water and rich in antioxidants like lycopene.
  • Perfect for summer – Cold, sweet, and incredibly refreshing.
  • Vegan, gluten-free, and dairy-free – Great for nearly every dietary preference.
  • Fun to make – Grating frozen watermelon turns it into a fluffy, icy treat that’s just as fun to prepare as it is to eat.

Can I Make This With Any Other Fruit?

Yes! This recipe works well with frozen mango, pineapple, or cantaloupe. Just make sure the fruit is firm enough to grate after freezing. Watermelon works especially well because of its high water content and natural sweetness, but feel free to experiment with other frozen fruits for different flavors and colors.

watermelon shaved ice in a small bowl with a spoon.

Recipe Variations and Toppings

  • Tajin or chili lime seasoning – Add a spicy, tangy twist!
  • Coconut milk drizzle – For a creamy, tropical flavor.
  • Fresh mint or basil – Chopped herbs elevate the flavor beautifully.
  • Fruit syrup or honey – Optional if you want it a little sweeter.
  • Top with berries or shredded coconut – Adds texture and color.
watermelon shaved ice in a small bowl with a sprig of fresh mint.
5 from 1 vote

Viral Watermelon Shaved Ice

This viral watermelon shaved ice is the ultimate healthy summer treat made with just frozen watermelon and a splash of fresh lime juice! It’s refreshing, naturally sweet, and perfect for hot days when you want something light and hydrating. This easy 1-ingredient recipe is vegan, gluten-free, dairy-free, and ready in minutes – no ice cream maker needed!
Print Pin Rate
Prep Time: 5 minutes
Total Time: 5 minutes
Servings: 0

Equipment

  • 1 cheese grater

Ingredients

  • 1 whole watermelon
  • fresh lime wedges

Instructions

  • Cut the watermelon into spears, then freeze the spears for at least 2 hours.
  • Once the watermelon is frozen solid, use a cheese grater to shave the watermelon into a bowl. Top the shaved watermelon with fresh lime juice.