Tag

healthy

Browsing

I’m here to tell you that salads CAN be delicious, and this chicken fajita salad proves that! It’s fresh, loaded (…& I mean LOADED) with flavor, and high in protein. It’s similar to my reader-favorite Mediterranean grilled chicken salad, but with a Mexican-inspired marinade instead. And I actually stole the cilantro-lime dressing recipe from my steak salad, but shhh don’t tell anyone! I swear it’s just as incredible in this fajita salad too.

ALSO, you guys know I’m obsessed with meal prep, so I made sure this salad could also be easily meal prepped! To do that, I assemble and divide the salads between four food storage containers. Then, I make the cilantro-lime dressing and store it in a separate jar. When I’m ready to eat, I simply remove one of my meal prepped fajita salads from the fringe, toss it in some dressing, then enjoy! So easy and SO. DAMN. DELICIOUS.

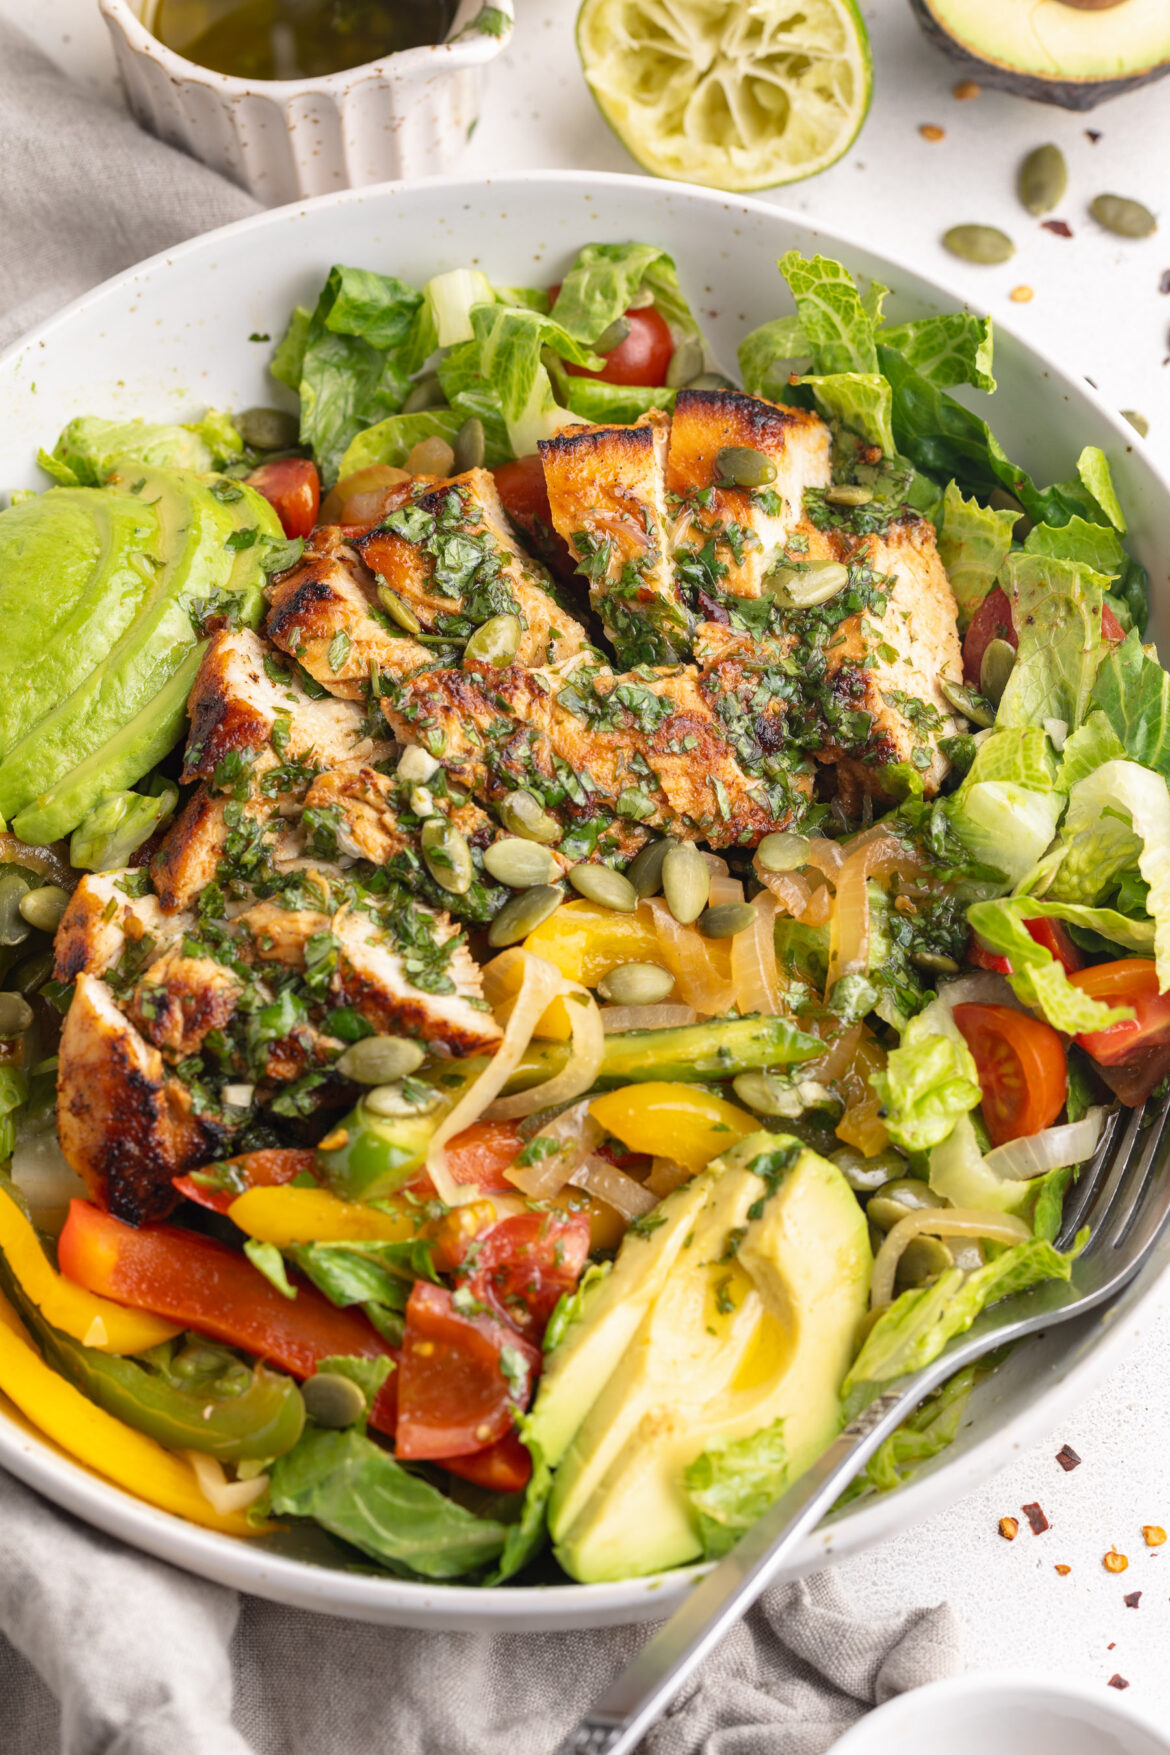
close up image of chicken fajita salad in a bowl.

What You’ll Need to Make Chicken Fajita Salad with Cilantro-Lime Dressing

Chicken Marinade: The marinade infuses the chicken with bold flavors, so don’t rush this step; allow the chicken to marinate for at least 30 minutes to maximize taste.

Chicken Cutlets: Opt for boneless, skinless chicken breast cutlets for quicker cooking, or butterfly regular chicken breasts to ensure even thickness and faster grilling!

Bell Peppers: For added smokiness, grill the bell peppers alongside the chicken or use a cast-iron skillet for a charred flavor.

Pumpkin Seeds: Roasted pumpkin seeds provide a delightful crunch and keep this salad recipe gluten-free. However, feel free to swap them out for toasted almonds or crispy tortilla strips if you’d like.

Cilantro-Lime Dressing: Customize the dressing’s sweetness by adjusting the honey or maple syrup according to your taste preference. You can also add all dressing ingredients to a blender (no need to chop the cilantro or garlic if you do) then blend until smooth!

chicken fajita salad with cilantro lime dressing in a bowl.

Tips and Tricks

  • Don’t overcrowd the skillet when cooking the chicken to ensure even browning and avoid steaming.
  • For extra flavor, grill the chicken instead of pan-searing it! I love doing this in the summertime – easier cleanup, and super delicious.
  • Make extra dressing—it’s versatile and adds incredible flavor to other salads or grilled veggies! Or, skip the dressing altogether and use your favorite store-bought dressing for an even easier meal.
  • Feel free to customize this salad based on what you love! Not a fan of chicken? Marinate and cook steak instead. Or if you want to add a little cheese, go right ahead!
close up image of chicken in a chicken fajita salad.
5 from 1 vote

Chicken Fajita Salad with Cilantro-Lime Dressing

Elevate your salad game with this fresh and flavorful chicken fajita salad! Marinated chicken, sauteed peppers and onions, crisp romaine lettuce, and a quick homemade cilantro-lime dressing. This salad is bursting with delicious flavor!
Print Pin Rate
Prep Time: 10 minutes
Cook Time: 15 minutes
Total Time: 25 minutes
Servings: 4 servings

Ingredients

For the marinade:

  • 2 tablespoons olive oil
  • 2 tablespoons lime juice
  • 1 tablespoon chili powder
  • 1/2 tablespoon cumin
  • 1 teaspoon garlic powder
  • 1 teaspoon smoked paprika, or regular paprika
  • 1 teaspoon dried oregano
  • 1 teaspoon salt

For the salad:

  • 4 boneless and skinless chicken breast cutlets, or 2 chicken breasts sliced horizontally to create 4 chicken cutlets
  • 1/2 yellow onion, peeled and sliced
  • 1/2 red bell pepper, cored and sliced
  • 1/2 yellow bell pepper, cored and sliced
  • 1/2 green bell pepper, cored and sliced
  • 5 cups romaine lettuce, chopped
  • 1 pint cherry tomatoes, halved
  • 2 avocados, clised
  • 1/2 cup roasted pumpkin seeds (pepitas)

For the cilantro-lime dressing:

  • 1/2 cup fresh cilantro, finely chopped
  • 1/2 cup olive oil
  • 1/4 cup lime juice
  • 1 tablespoon honey or maple syrup
  • 1 garlic clove, peeled and minced
  • 1/2 teaspoon onion powder
  • pinch of red pepper flakes, optional

Instructions

  • Whisk marinade ingredients together in a large bowl, then add in the chicken breasts. Coat the chicken in the marinade, then cover and let it sit while you prep the rest of your salad.
    chicken-fajita-salad-step-1
  • Place a large skillet over medium-high heat. Add about a teaspoon of oil to the skillet, then add in the sliced onion and peppers. Cook the peppers and onions for about 3-5 minutes, or until cooked to your liking. Remove the peppers and onions from the skillet and set aside.
    chicken-fajita-salad-step-2
  • Return your skillet to medium-high heat, then add the chicken cutlets to the skillet. Cook chicken for about 5 minutes per side, or until a meat thermometer inserted into the chicken reads 165° Fahrenheit. Remove chicken from the skillet and let it rest on a cutting board for a few minutes before slicing.
  • Now, make the cilantro-lime dressing by adding all dressing ingredients to a small bowl and whisking together to combine.
  • Assemble the salad by placing the chopped lettuce, cherry tomatoes, cooked peppers and onions, cooked then sliced chicken, avocado, and pumpkin seeds to a large bowl. Drizzle the cilantro-lime dressing over the salad and toss to combine. Serve immediately or, meal prep this salad ahead of time by storing the dressing separately. Then, right before serving, pour dressing over the salad and enjoy!

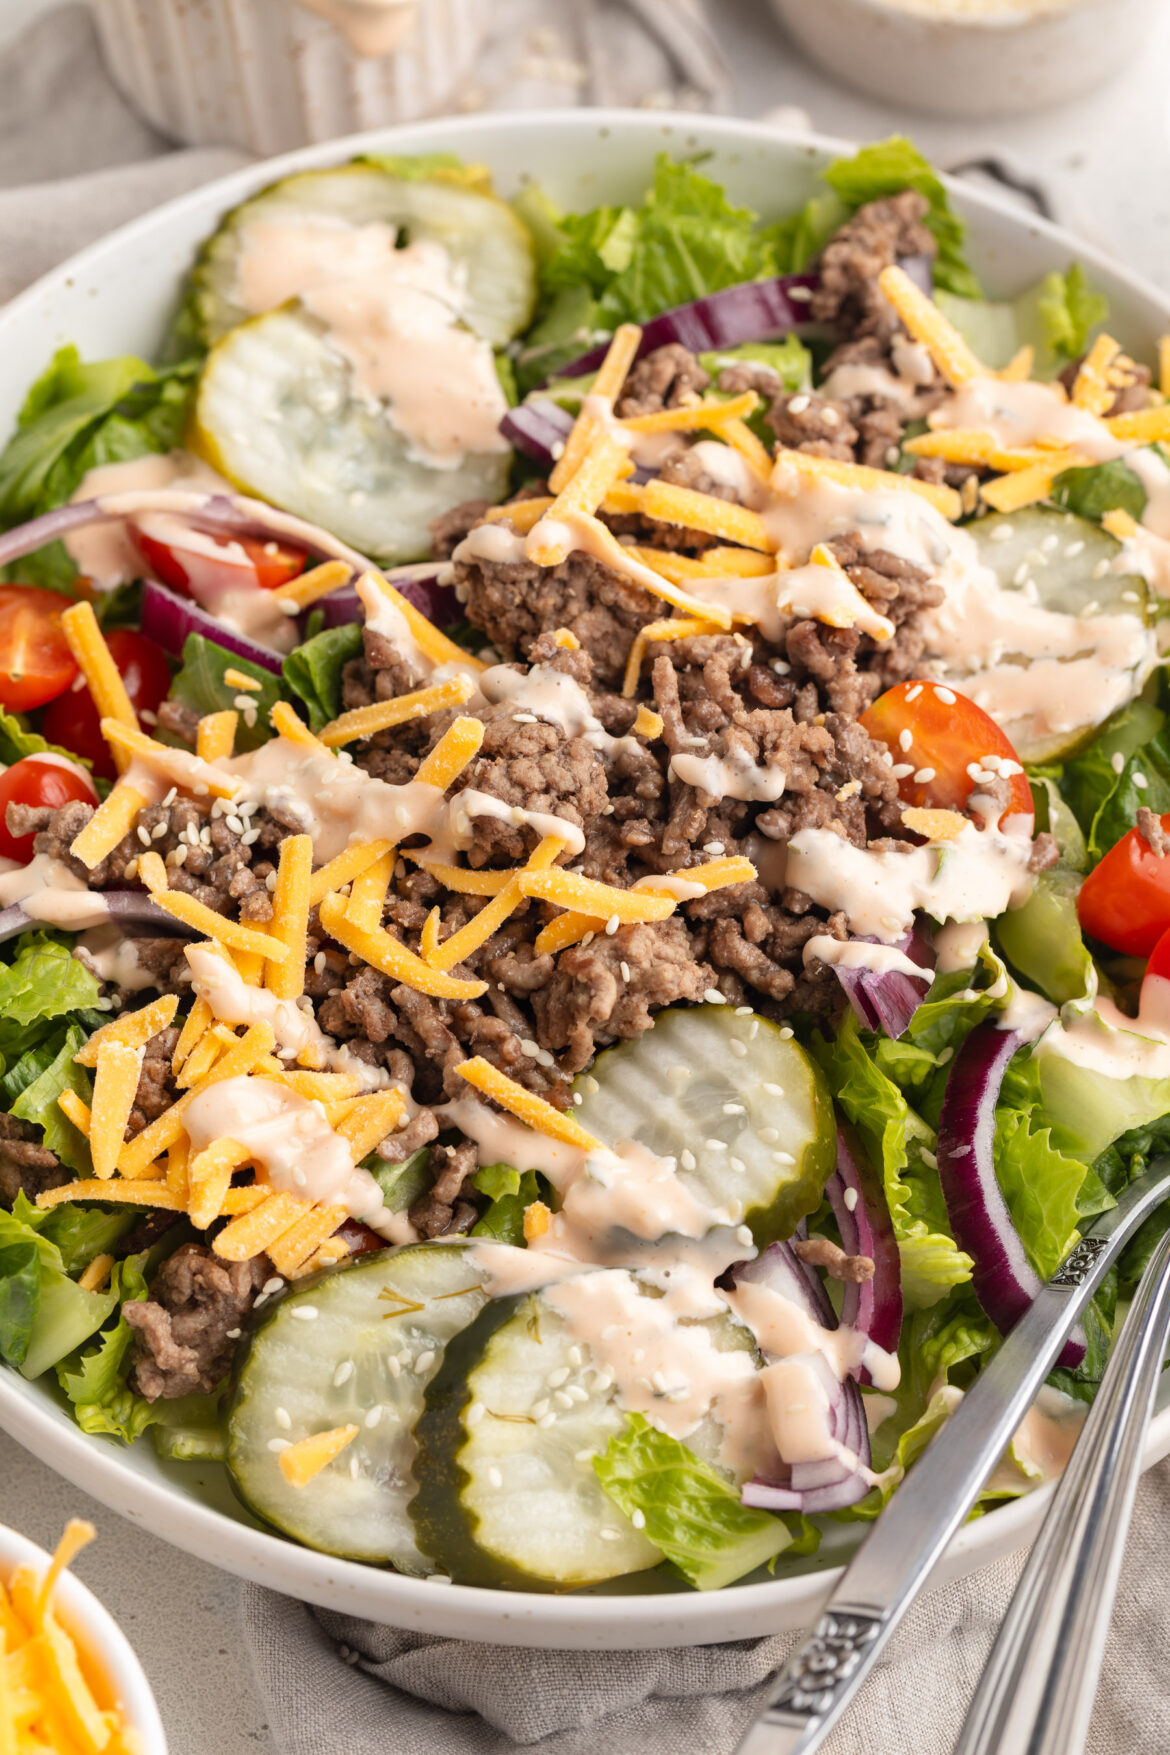
I’m the self-proclaimed salad QUEEN, and am thrilled to add this big mac salad to my resume. File it right under my Jennifer Aniston salad, buffalo chicken salad, and Kardashian salad. I have a high criteria when it comes to salads, they must be three things – filling, easy, and DELICIOUS. And this big mac salad checks all of those boxes!

And I can’t forget my favorite part – it’s perfect for meal prep. Because if there’s one thing I don’t have time for as a busy work from home mom, it’s making lunch. So I make this big mac on Sunday, portion it into 4 containers and store the big mac sauce dressing separately. Then, when I need a quick ready-to-go lunch, I simply add the dressing and dive in!

overhead image of healthy big mac salad in a bowl.

Healthy Big Mac Salad Ingredients

Ground Beef: Ground beef serves as the hearty base of this salad, providing protein and savory flavor. Opt for lean ground beef for a healthier option.

Dill Pickles: Tangy and crisp dill pickles add a burst of flavor and texture to the salad, reminiscent of the classic Big Mac sandwich.

Cheddar Cheese: Sharp cheddar cheese adds richness and creaminess to the salad, complementing the other ingredients perfectly.

Mayo: Mayo is the key ingredient in the Big Mac sauce salad dressing, bringing the whole dish together!

Tips and Tricks

  • Adjust the ingredients in the Big Mac sauce dressing to suit your taste preferences. Add more ketchup for sweetness, extra relish for tanginess, or a dash of vinegar for acidity.
  • Save time by preparing the dressing and cooking the ground beef in advance. Store them in separate airtight containers in the refrigerator until ready to assemble the salad.
  • Feel free to customize your Big Mac salad with additional toppings like diced onions, crumbled bacon, or avocado slices for added flavor and texture.
healthy big mac salad in a bowl with big mac sauce salad dressing on the side.

Adjust This Recipe To Your Dietary Needs

Make it Dairy-Free: To make this recipe dairy-free, simply omit the shredded cheddar cheese or replace it with your favorite dairy-free alternative. I used the Violife vegan cheddar shreds in my salad!

Make it Keto/Low-Carb: For a keto big mac salad, swap out the ketchup in the big mac sauce salad dressing with a sugar-free alternative and adjust the quantity of tomatoes to reduce carb content while still enjoying the classic flavors.

big mac salad in a bowl with sesame seeds on top.
5 from 2 votes

Healthy Big Mac Salad

This big mac salad tastes just like a big mac, without the bun! Ground beef, crisp lettuce, tangy pickles, and creamy cheddar cheese are tossed together with a homemade big mac sauce dressing for a satisfying meal. Enjoy the iconic taste of a big mac in a lighter, healthier salad that’s perfect for lunch or dinner!
Print Pin Rate
Prep Time: 10 minutes
Cook Time: 10 minutes
Total Time: 20 minutes
Servings: 4 servings

Ingredients

  • 1 pound ground beef
  • salt and black pepper, to taste
  • 1 teaspoon garlic powder
  • 6 cups romaine or iceberg lettuce, chopped
  • 1/2 cup shredded cheddar cheese
  • 1/2 red or white onion, peeled and thinly sliced
  • 1 cup tomatoes (any kind), chopped
  • 1/2 cup sliced dill pickles

For the big mac sauce salad dressing:

  • 1/2 cup mayonnaise
  • 2 tablespoons ketchup
  • 1 tablespoon relish, or finely minced pickles
  • 1/2 teaspoon onion powder
  • 1 teaspoon white vinegar, or apple sider vinegar
  • Pinch of salt

Instructions

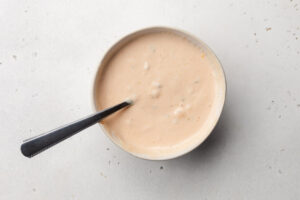
  • Make the dressing but adding all big mac sauce salad dressing ingredients to a small bowl and whisk together to combine. Taste and adjust any seasoning as desired.
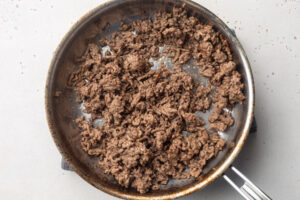
  • Heat a large skillet over medium-high heat. Once pan is hot, add in the ground beef, salt, black pepper, and garlic powder. Break meat up into small pieces and cook until no longer pink, about 8-10 minutes. Remove cooked ground beef from the heat and set aside while you assemble your salad.
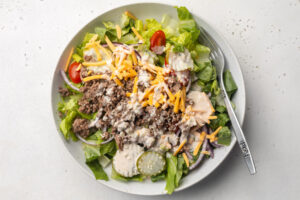
  • Add the chopped lettuce, shredded cheddar cheese, sliced onion, chopped tomatoes, chopped dill pickles, and cooked ground beef to a large bowl. Pour dressing over the salad and toss to combine, then enjoy immediately.

My toxic trait is needing a little something sweet after every meal. Lately, I’ve been reaching for either a slice of my 4-ingredient banana bread or a bite of gluten-free almond flour brownies. However, sometimes I just don’t have the time to bake anything – and that’s where this no-bake gluten free cookie dough comes in!

Just 5 ingredients (not including the chocolate chips), one bowl, and only a few minutes to throw together. This seriously simple dessert recipe is so easy, even my husband could make it… and that’s saying something!

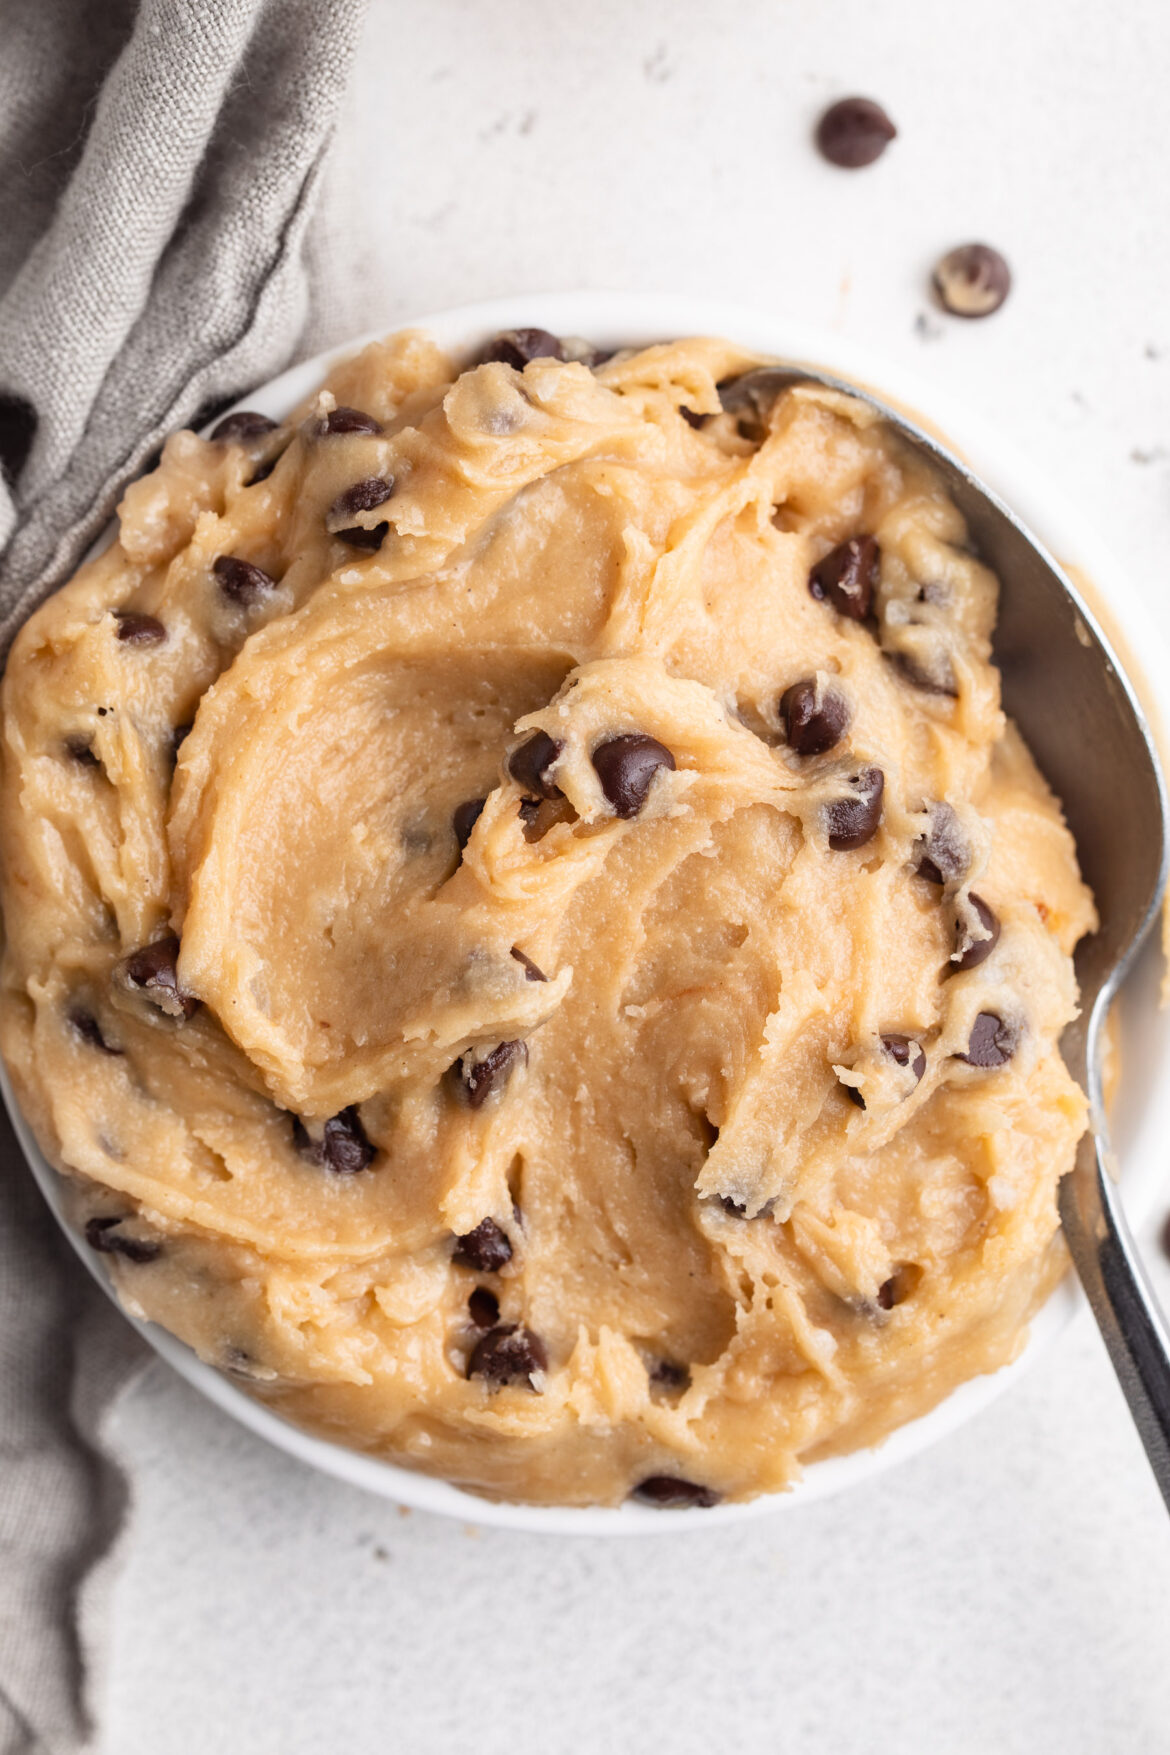
a scoop of gluten free edible cookie dough in a small dish with a spoon.

What You’ll Need to Make This Recipe

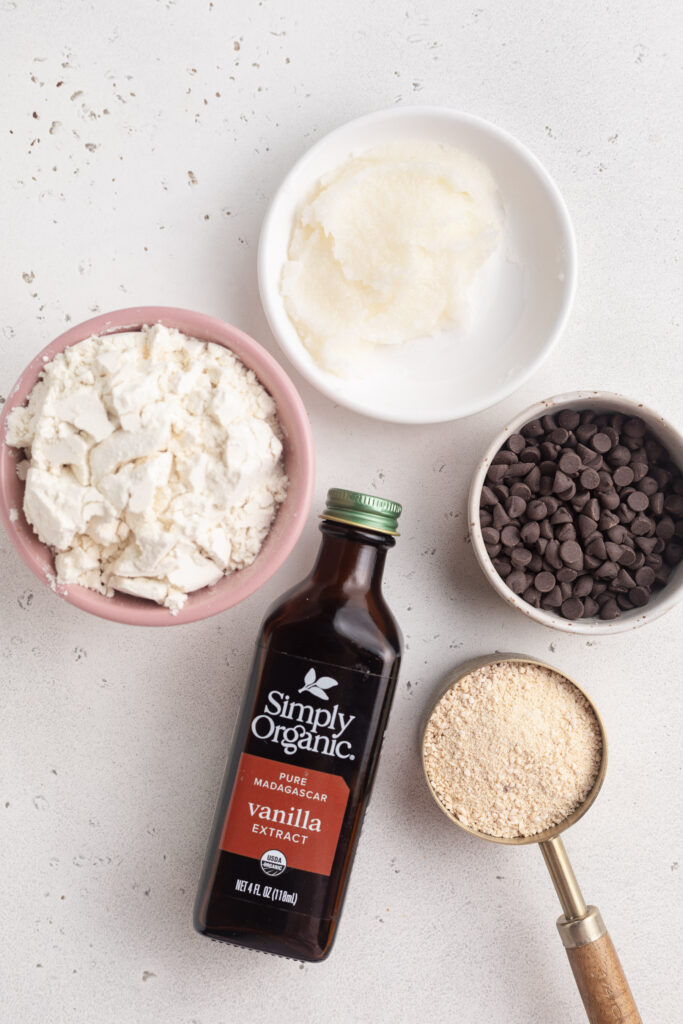
Softened Butter or Coconut Oil: Choose your preferred butter or coconut oil to create that perfect cookie dough consistency. Butter adds richness, while coconut oil keeps it light and healthy.

Milk: Opt for non-dairy milk to make this recipe dairy-free. Choose your favorite variety – almond, soy, or oat – to enhance the cookie dough’s creaminess.

Sugar: Select your sweetener of choice – brown sugar, coconut sugar, maple sugar, or cane sugar. Cane sugar is best for a sugar cookie flavored dough, and brown sugar is best for a chocolate chip cookie flavored dough. I used maple sugar to make mine a little healthier, but still delicious!

Vanilla Extract: A teaspoon of vanilla extract elevates the dough’s aroma and taste, creating that classic cookie flavor.

Gluten-Free All-Purpose Flour: The star of our gluten-free show! Ensure it’s a high-quality gluten-free flour blend for the best tasting results.

Mini Chocolate Chips: Tiny bits of chocolatey goodness – these Enjoy Life mini chocolate chips are perfectly sized for this edible cookie dough. However, if you don’t have mini chocolate chips, feel free to use any size chocolate chip or chunk you’d like!

coconut oil, gluten free flour, vanilla extract, maple sugar, and chocolate chips on a table.

Why You’ll Love This Gluten-Free Edible Cookie Dough

  • Simple & Quick: This recipe is incredibly easy to make with just a few ingredients and minimal prep time.
  • Delicious & Creamy: The combination of sugars and vanilla gives this dough a sweet, creamy flavor that’s perfect for satisfying your cookie dough cravings.
  • Versatile: Enjoy it straight from the bowl, as a topping for ice cream, or use it in other dessert creations like truffles or as a cake filling.

Safety Tips (How to Heat-Treat Flour)

To ensure the gluten-free flour is safe to eat raw, you can heat-treat it:

  • Microwave Method: Microwave the flour for about 1 minute, ensuring it reaches a temperature of 165°F.
  • Oven Method: Spread the flour on a baking sheet and bake at 350°F for 5-10 minutes, stirring occasionally to prevent burning.

Adjust This Recipe to Your Dietary Needs

Dairy-Free/Vegan: Use coconut oil instead of butter and non-dairy milk like almond milk. Ensure the chocolate chips are dairy-free and vegan.

Sugar Alternatives: You can substitute brown sugar with coconut sugar, cane sugar, or maple sugar to fit your dietary preferences.

Recipe Variations and FAQs

Variations:

  • Chocolate Cookie Dough with Marshmallows: Add 2 tablespoons of cocoa powder and mini marshmallows.
  • Matcha White Chocolate Cookie Dough: Add 1 tablespoon of matcha powder and white chocolate chips.
  • Lemon Poppyseed Cookie Dough: Add ½ teaspoon lemon juice, ½ teaspoon lemon zest, and ½ tablespoon poppy seeds.

FAQs:

Can Gluten-Free Flour Be Eaten Raw?: It’s generally safe, but heat-treating the flour is recommended to kill any potential bacteria.

How Long Will the Dough Last in the Fridge?: Store in an airtight container for up to 5 days.

Can You Freeze Gluten-Free Cookie Dough?: Yes, freeze the dough for up to 3 months for later use.

Edible double chocolate gluten-free cookie dough in a small dish with a spoon.

Additional Notes

  • Storage: Keep the dough in an airtight container in the refrigerator to maintain its freshness and prevent it from drying out or absorbing other flavors from the fridge.
  • Use Fresh Ingredients: Ensure your ingredients, particularly the butter and milk, are fresh for the best taste and texture.
  • Enjoy Responsibly: This recipe is meant to be eaten raw, so don’t try to bake it as it won’t hold together properly without eggs.
overhead image of gluten free edible cookie dough in a small dish with a spoon.
4 from 60 votes

Gluten Free Edible Cookie Dough Recipe – 2 ways!

A super simple recipe for edible gluten-free cookie dough! It’s a quick and easy fix to satisfy your sweet tooth. Made dairy-free, egg-free, and healthy too!
Print Pin Rate
Prep Time: 5 minutes
Total Time: 5 minutes
Servings: 6 servings

Ingredients

Classic Gluten-Free Cookie Dough

  • 2 tablespoons butter or coconut oil, softened
  • 3-4 tablespoons milk, I used non-dairy almond milk
  • 1/4 cup sugar (brown sugar, cane sugar, coconut sugar, or maple sugar)
  • 1 teaspoon vanilla extract
  • 3/4 cup gluten-free all purpose flour
  • 1/4 cup mini chocolate chips

Double Chocolate Gluten-Free Cookie Dough

  • 2 tablespoons butter or coconut oil, softened
  • 3-4 tablespoons milk, I used non-dairy almond milk
  • 1/4 cup sugar (brown sugar, cane sugar, coconut sugar, or maple sugar)
  • 1/2 cup gluten-free all purpose flour
  • 1/4 cup unsweetened cocoa powder
  • 1/4 cup mini chocolate chips

Instructions

  • Add all the ingredients except the chocolate chips to a large bowl and stir to combine.
  • Then, fold in the chocolate chips and enjoy!
    edible gluten free cookie dough step 2
  • For Storage: Keep the dough in an airtight container in the refrigerator to maintain its freshness and prevent it from drying out or absorbing other flavors from the fridge.

Notes

  • Gluten-Free All Purpose Flour: I recommend using either Bob’s Red Mill 1:1 Gluten-Free Flour or King Arthur’s Gluten-Free Measure For Measure Flour, I’ve made these recipes with both brands and they’re delicious! The one gluten-free flour brand I would avoid is Trader Joe’s, for some reason the taste of that flour can be quite bitter.
  • Don’t Miss These Cookie Dough Recipes!

    My family and I are creatures of habit. When we find a meal we love, we stick to it. Our current favorites are my one-pan hunan chicken recipe and Instant Pot white chicken chili with gluten-free cornbread. We seriously eat those at least once a week!

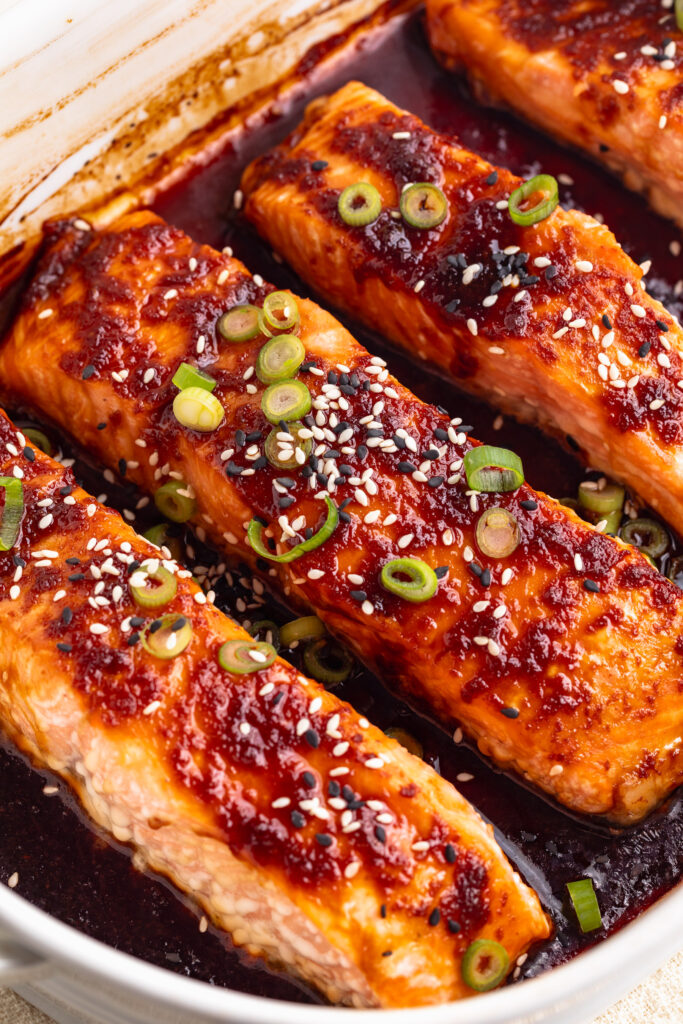
    However, as soon as this honey teriyaki salmon recipe came along, I instantly added it to our weekly rotation. My husband went crazy for this perfectly flaky and incredibly flavorful salmon! Served with rice and steamed veggies for a healthy, balanced, and satisfying meal.

    honey teryaki salmon on a plate with rice, broccoli, green onion, and a lime.

    What You’ll Need to Make Honey Teriyaki Salmon

    Salmon: The star of our show – salmon brings a rich, flaky texture and a dose of omega-3 fatty acids to the dish. Opt for fresh, quality fillets for the best results.

    Honey: A natural sweet touch – honey brings a luscious sweetness to the teriyaki sauce, balancing the savory elements.

    Tamari or Soy Sauce: Tamari adds a gluten-free option for our sauce, while soy sauce brings that classic umami flavor. Choose based on your dietary preferences.

    Fresh Ginger: Opt for fresh, not powdered ginger in this recipe! I like to buy my fresh ginger in bulk, then store it in the freezer until I need some. Then, I cut off a hunk of fresh ginger, peel off the skin, and grate it into the honey teriyaki sauce.

    Tips and Tricks

    • Allow the salmon to marinate for at least 1 hour for optimal flavor infusion. For an extra boost, marinate it up to 8 hours for an even more succulent result.
    • While baking, spoon the sauce from the bottom of the dish over the salmon. This basting ensures that the fillets are coated in the delectable teriyaki goodness.
    • Use a meat thermometer to check the salmon’s internal temperature. Aim for 125°F for a perfectly cooked, moist fillet.
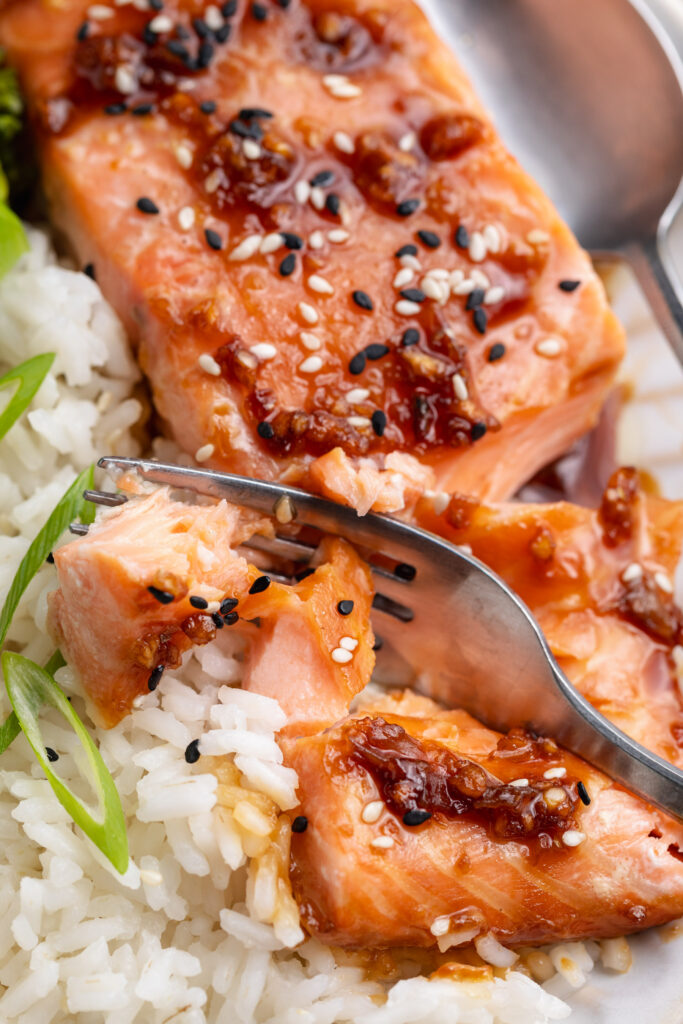
    Honey teriyaki salmon flaked apart on a plate.

    Adjust This Recipe to Your Dietary Needs

    Make it Gluten-Free: Opt for tamari instead of soy sauce to make this dish gluten-free while maintaining that savory teriyaki taste.

    Make it Grain-Free: Serve the honey teriyaki salmon over cauliflower rice for a grain-free option, keeping it light and satisfying.

    close-up overhead image of honey teriyaki salmon on a plate with rice.
    5 from 1 vote

    5-Ingredient Baked Honey Teriyaki Salmon Recipe

    This honey teriyaki salmon recipe is my new favorite quick and easy weeknight meal! It comes together with just 5 ingredients, is packed with flavor, and super healthy too. The salmon is marinated then baked until perfectly flaky and tender every time!
    Print Pin Rate
    Prep Time: 1 hour
    Cook Time: 10 minutes
    Total Time: 1 hour 10 minutes
    Servings: 4 servings

    Ingredients

    • 4 6-8 ounce salmon fillets
    • salt, to taste
    • 1/4 cup tamari
    • 3 tablespoons honey
    • 2 garlic cloves, grated
    • 1-inch piece fresh ginger, peeled and grated

    For serving:

    • 2 cups cooked rice
    • 1 crown broccoli, steamed
    • sliced green onion
    • sesame seeds

    Instructions

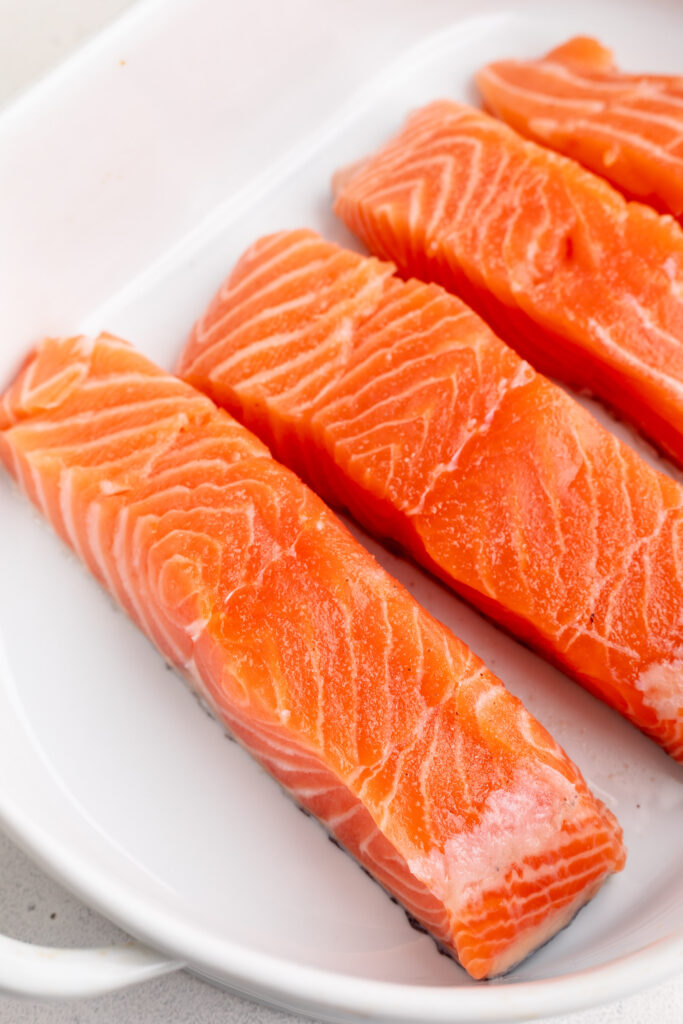
    • Place the salmon skin side down in a large baking dish. Pat salmon fillets dry with a paper towel and lightly season with salt.
      honey teriyaki salmon step 1
    • In a small bowl, whisk together the tamari or soy sauce, honey, garlic, and ginger.
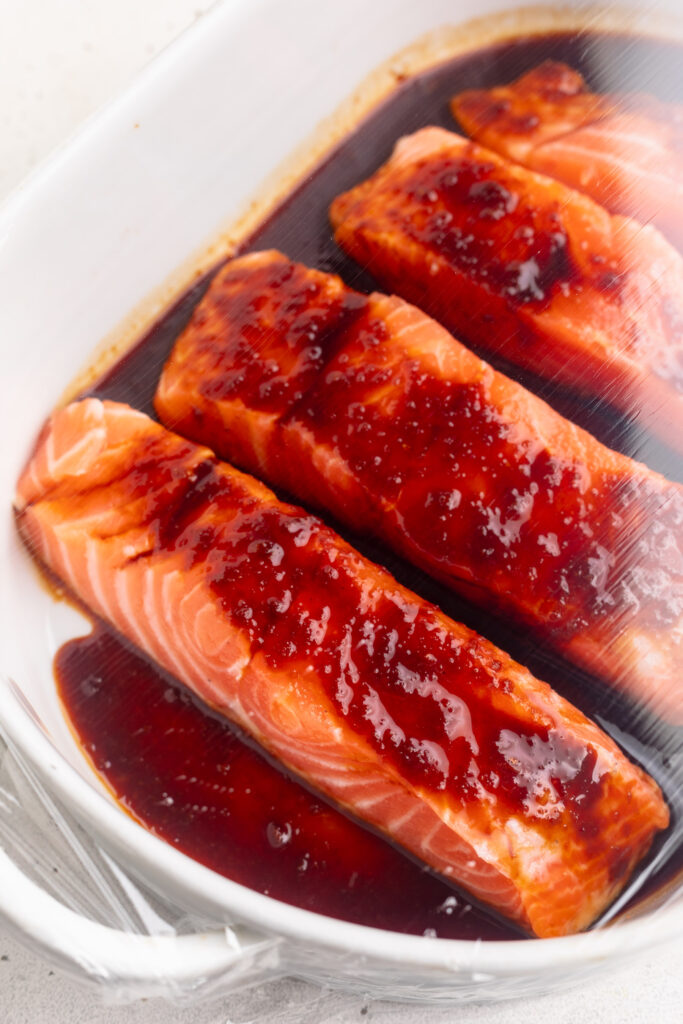
    • Pour the sauce over the salmon fillets, then cover the baking dish and refrigerate for at least 1 hour or up to 8 hours.
    • Preheat oven to 400° Fahrenheit and remove then uncover baking dish with salmon from the fridge.
    • Spoon the sauce from the bottom of the baking dish over the salmon, then bake for 10-12 minutes or until a thermometer inserted into the thickest part of the salmon reads 125° Fahrenheit.
    • Assemble four bowls with rice and steamed broccoli, then place one salmon fillet into each bowl. Pour they honey teriyaki sauce over top of each fillet, then finish off the bowls with sliced green onion and sesame seeds.

    We’ve been on a big banana bread kick in my house. But the problem was… every time I make a new loaf, it’s gone in a couple days! So I needed a quick, easy, and SIMPLE recipe to get in our banana bread fix without spending too much time in the kitchen. *enter 4 ingredient banana bread.*

    And if you’ve been around here a while, you know I’m all about the easy sweet treats! This time last year I went through a huge 5-ingredient edible gluten-free cookie dough phase (major pregancy craving!) and over the summer, I couldn’t stop making my 6-ingredient healthy gluten-free mug cake. There’s just something about having a healthier sweet treat on-hand that leads to happier days and a happier life.

    Something else I always have on-hand? Bananas. I pretty much buy a bunch of bananas every week because, again, we just love them in this house. However, we often find ourselves with a few overly ripe bananas by the end of the week. But thanks to this 4 ingredient banana bread recipe, I always have a way to put them to good use!

    I made my banana bread gluten-free, but you totally don’t have to! This recipe is also naturally dairy-free which I LOVE. And I should mention, it’s easily made refined sugar-free as well. For all dietary swaps, check out the “adjust this recipe to your dietary needs” section below. Happy 4-ingredient baking, friends!

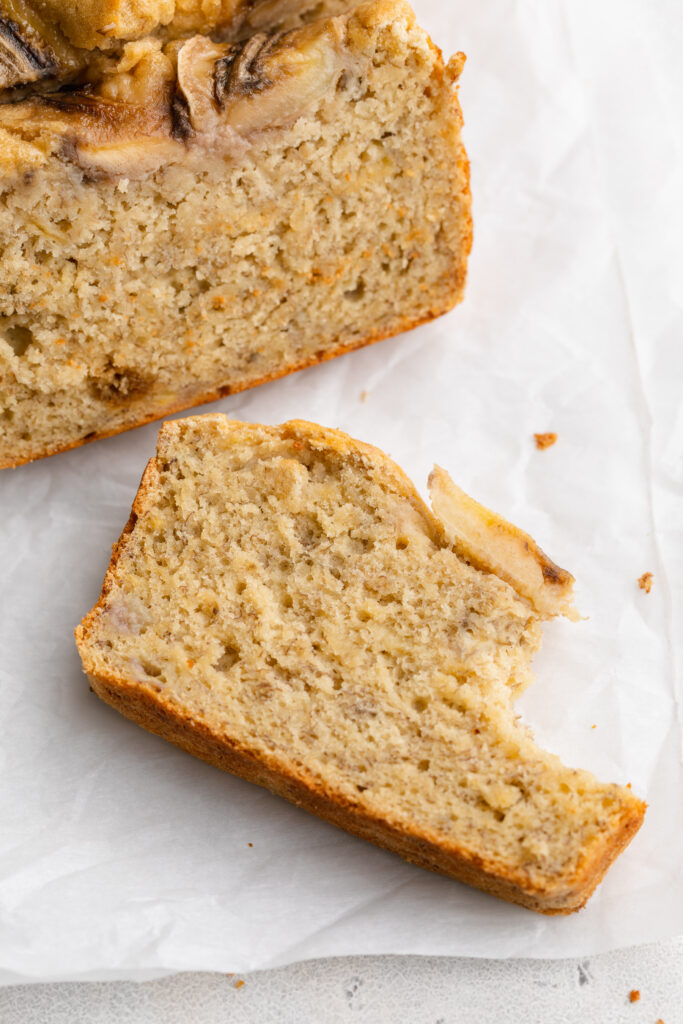
    a slice of 4 ingredient banana bread with a bite taken out.

    What You’ll Need to Make 4 Ingredient Banana Bread

    Bananas: The star of the show! These bananas bring natural sweetness and moisture to the bread. The riper, the better – those speckles on the peel are a sign of maximum flavor.

    Eggs: Eggs play a crucial role in binding the ingredients together, providing structure to the bread. They contribute to the moist and tender texture we all love.

    Brown Sugar: Brown sugar adds a rich caramel flavor and sweetness to the banana bread. It complements the bananas perfectly, creating a delightful depth of taste.

    Self-Rising Flour: The key to keeping it simple! Self-rising flour contains baking powder and salt, eliminating the need for additional leavening agents. It ensures your banana bread rises beautifully. But if you don’t have self-rising flour, feel free to use regular flour instead, then add 1 1/2 teaspoons of baking powder and 1/2 teaspoon baking soda to the recipe!

    Tips and Tricks

    • The riper your bananas, the sweeter and more flavorful your banana bread will be. Don’t shy away from those brown speckles!
    • Mix the ingredients until just combined. Overmixing can affect the texture, so keep it simple and stir until everything is blended.
    • Allow your banana bread to cool slightly in the pan before transferring it to a wire rack. This patience ensures a neater slice and preserves the bread’s texture.
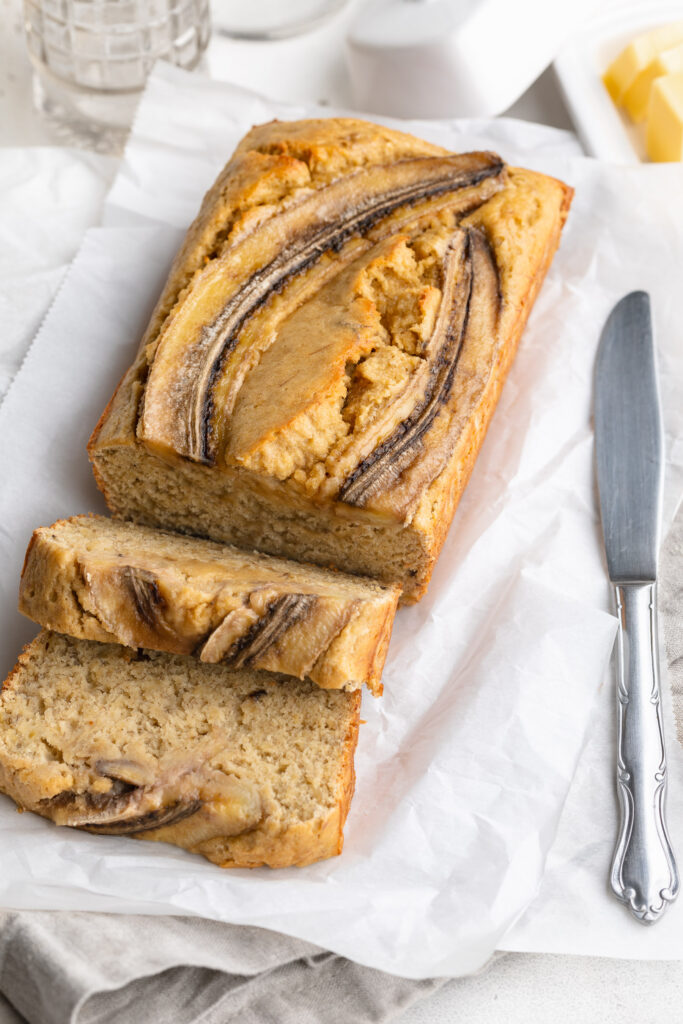
    sliced 4 ingredient banana bread with a knife on the side.

    Adjust This Recipe to Your Dietary Needs

    Make it Gluten-Free: Swap out the self-rising flour for a gluten-free alternative to make this banana bread gluten-free. I used Beth Blends Grain-Free Flour Blend in my 4 ingredient banana bread and it worked great!

    Make it Refined Sugar-Free: Opt for coconut sugar as a substitute for brown sugar for a refined sugar-free option.

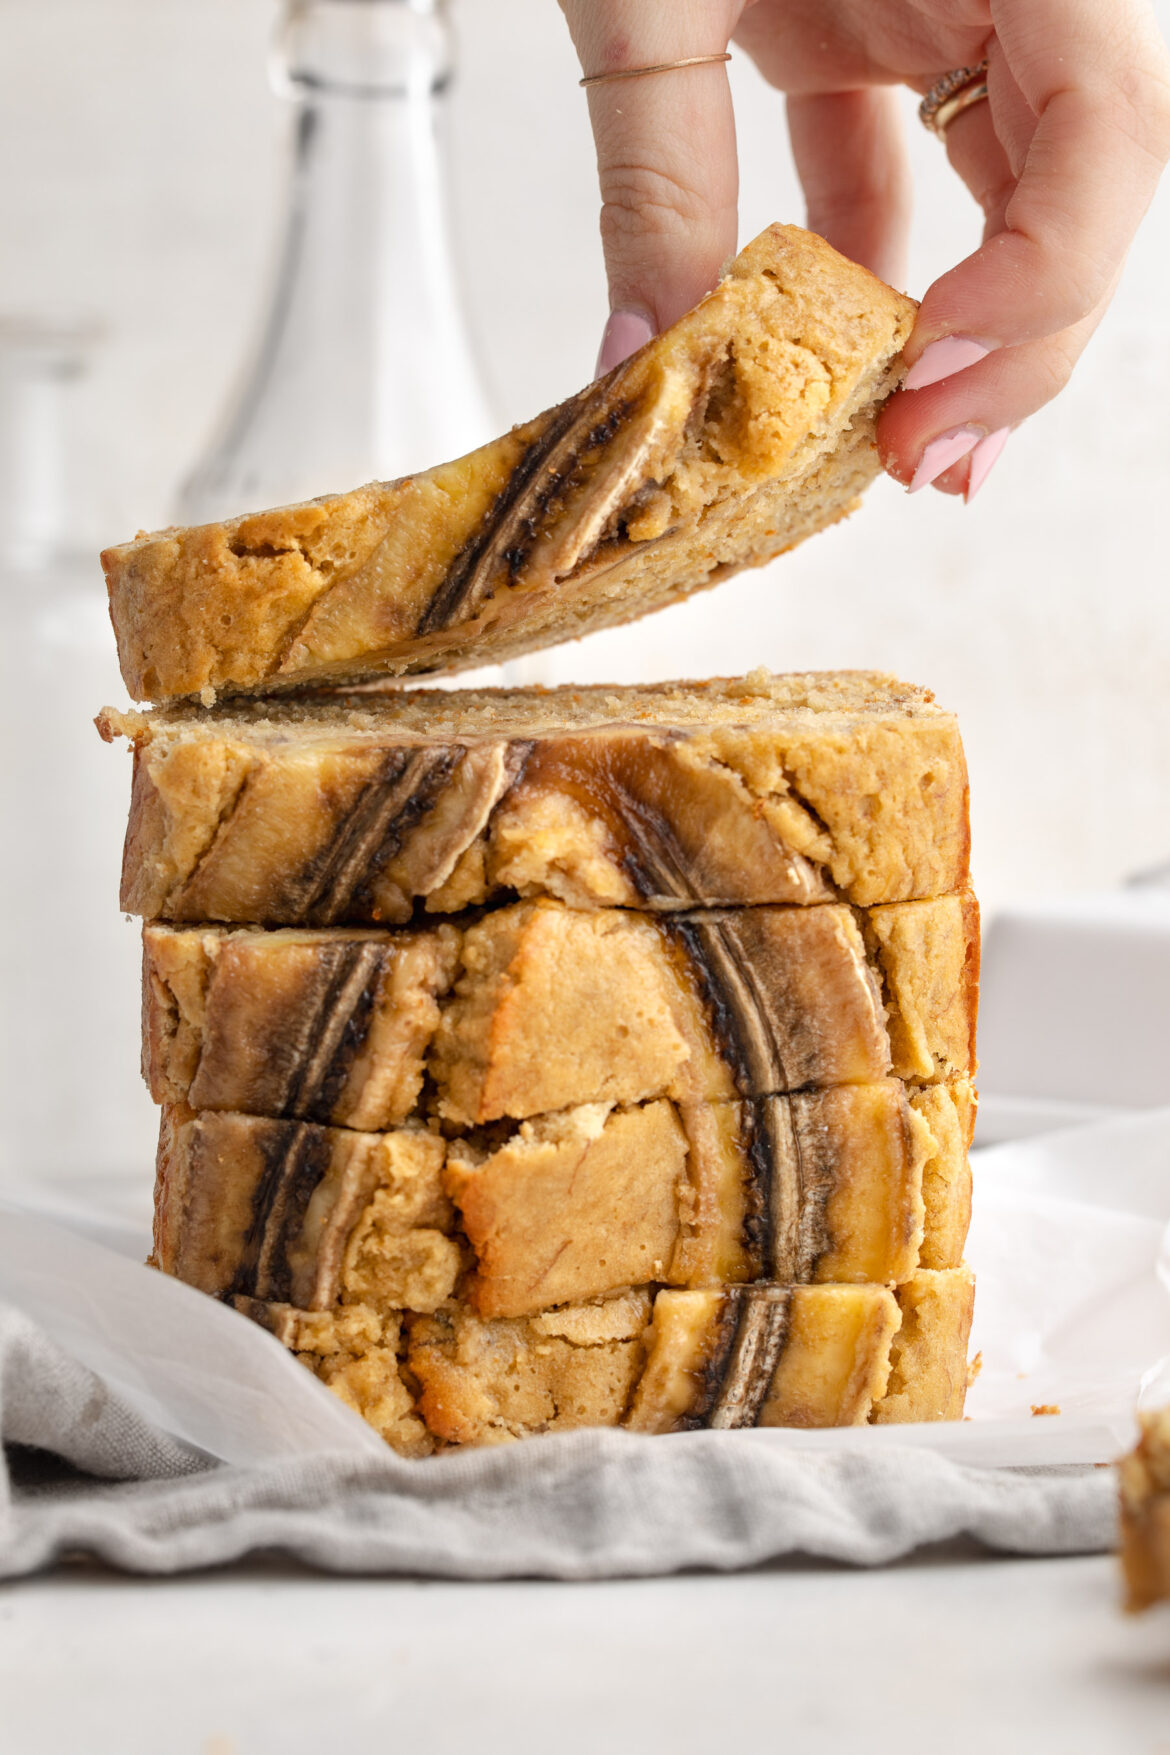
    Stacked slices of 4 ingredient banana bread, with a hand lifting the top slice.
    4.25 from 20 votes

    Incredible 4 Ingredient Banana Bread (gluten-free!)

    Baking doesn’t have to be complicated, and this 4 ingredient banana bread proves just that! With one bowl and a handful of simple ingredients, you can whip up a loaf of incredibly moist and delicious banana bread. Best enjoyed as a breakfast, snack, or dessert!
    Print Pin Rate
    Prep Time: 10 minutes
    Cook Time: 50 minutes
    Total Time: 1 hour
    Servings: 10 servings

    Equipment

    • 1 large bowl
    • 1 9×4-inch loaf pan

    Ingredients

    • 3 large and overripe bananas
    • 2 large eggs
    • 1/2 cup brown sugar
    • 1 1/2 cups self-rising flour see Notes

    Optional Add-Ins

    • 2 teaspoons ground cinnamon
    • 1 teaspoon vanilla extract
    • 1/2 cup chocolate chips

    Instructions

    • Preheat oven to 350° Fahrenheit and grease or line a 9×4-inch loaf pan.
    • Place the bananas in a large bowl and mash well with a fork, until mostly smooth.
    • Add the eggs to the bowl and whisk to combine. Then, add the brown sugar and flour, then mix again until fully combined and no pockets of flour remain.
    • Pour the batter into your prepared loaf pan and bake for 50-55 minutes, or until a toothpick inserted down the center of the bread comes out clean.
    • Remove the banana bread from the oven, then let it cool completely before slicing.

    Notes

    If you don’t have self-rising flour, you can use all purpose flour instead. But, if you use all purpose flour, make sure to add 1 1/2 teaspoons of baking powder and 1/2 teaspoon of baking soda to this recipe.

    Nutrition

    Serving: 1slice | Calories: 135kcal | Carbohydrates: 28g | Protein: 3.5g | Fat: 1g | Sugar: 10g