Tag

healthy

Browsing

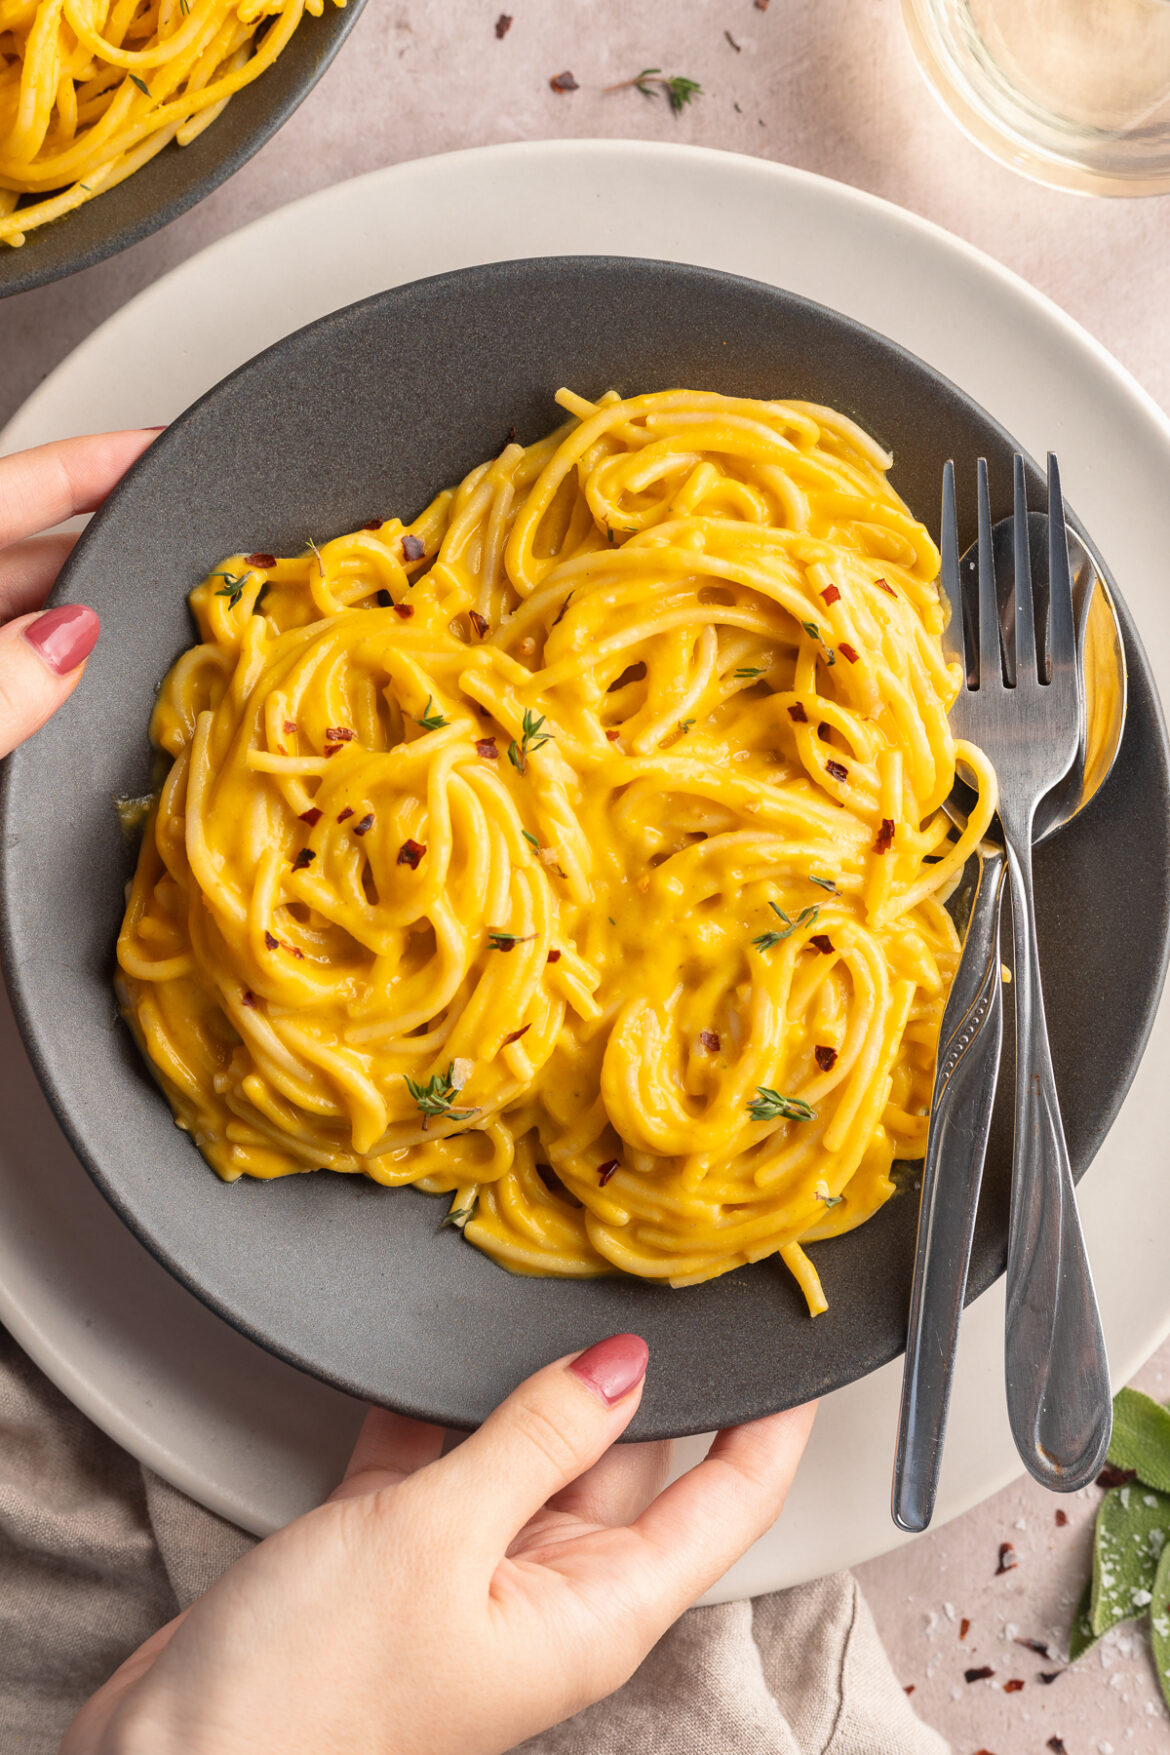
Hey, pasta lovers! If you’re on the hunt for a cozy, creamy, and utterly delightful vegan pasta recipe, you’re in the right place. Our Butternut Squash Pasta is here to dazzle your taste buds and provide that warm hug you crave during chilly evenings. No dairy, no problem – let’s dive into the comforting world of plant-based pasta magic!

fork lifting butternut squash pasta out of a bowl.

What You’ll Need to Make Butternut Squash Pasta

Butternut Squash (with Skin): That’s right, no need to peel off the skin! It’s not only a time-saver but also adds a lovely nutty flavor and extra nutrients. Slice, roast, and blend.

A Whole Head of Garlic: Roasting garlic adds a caramelized, almost sweet flavor to the sauce. Plus, the aroma while it’s roasting is heavenly.

Shallots: These little gems provide a delicate oniony flavor that complements the butternut squash beautifully.

Raw Cashews: Creamy, dreamy, and oh-so-healthy. Cashews are the secret to that luscious, dairy-free creaminess.

Pasta of Your Choice: Feel free to pick your favorite pasta shape. Whether you’re into the classic spaghetti or something quirky like fusilli, it’s all about what makes you smile. I used this gluten-free spaghetti, and it was delicious!

close-up image of butternut squash pasta in a bowl.

Tips and Tricks

  • Roast ‘n’ Toast: Roasting the butternut squash and garlic is the superstar move here. The caramelization adds a depth of flavor that’s hard to resist. Drizzle with olive oil, sprinkle with salt and red pepper flakes , and pop ’em in the oven.
  • Add a Splash of Lemon: For an extra layer of flavor and a touch of freshness, consider adding a squeeze of fresh lemon juice to your creamy butternut squash sauce. The hint of citrus can brighten up the dish and provide a delightful contrast to the richness of the sauce. Just a little goes a long way, so start with a modest amount and adjust to your taste. It’s a simple twist that can elevate your pasta to a whole new level of deliciousness!
  • Season to Perfection: Don’t forget to season well with salt, pepper, and maybe a pinch of nutmeg for that extra warmth. Taste as you go to get it just right.
Placing down a bowl of vegan creamy butternut squash pasta.
No ratings yet

Easy and Creamy Butternut Squash Pasta

If you’re on the hunt for a cozy, creamy, and utterly delightful vegan pasta recipe, you’re in the right place. Our Butternut Squash Pasta is here to dazzle your taste buds and provide that warm hug you crave during chilly evenings. No dairy, no problem – let’s dive into the comforting world of plant-based pasta magic!
Print Pin Rate
Prep Time: 15 minutes
Cook Time: 45 minutes
Total Time: 1 hour
Servings: 4 servings

Ingredients

  • 2-3 cups cubed butternut squash, skin left on or peeled off
  • 1 whole head garlic, peeled
  • 2 shallots, peeled and cut in half
  • 1 tablespoon fresh thyme leaves
  • 2 tablespoons olive oil
  • 1 teaspoon salt
  • 1/4 teaspoon red pepper flakes
  • 1 pound pasta
  • 1 cup vegetable broth, or water
  • 1/2 cup raw cashews, unsalted
  • 2-3 fresh sage leaves

Instructions

  • Preheat oven to 400° Fahrenheit.
  • On a large baking sheet, toss together the cubed butternut squash, peeled garlic cloves from one whole head of garlic, peeled and cut shallots, fresh thyme leaves, olive oil, salt, and red pepper flakes. Bake for 30 minutes, or until butternut squash is very soft.
  • Remove baking sheet from oven and let cool slightly. While the squash cools, bring a large pot of water to a boil. Once boiling, add in a big pinch of salt and the pasta. Cook pasta according to package instructions.
  • Once butternut squash is slightly cool, add to a blender along with the vegetable broth, raw cashews, and sage. Blend until completely smooth.
  • Right before draining the pasta, reserve 1 cup of pasta water. Then, drain the pasta and return to the pot along with the butternut squash sauce. Add ¼ cup of pasta water at a time to the pasta to thin out the sauce, as needed.
  • Serve immediately with additional fresh herbs.

Nutrition

Calories: 300kcal

Interested In More Gluten-Free and Dairy-Free Pasta Recipes? Try These!

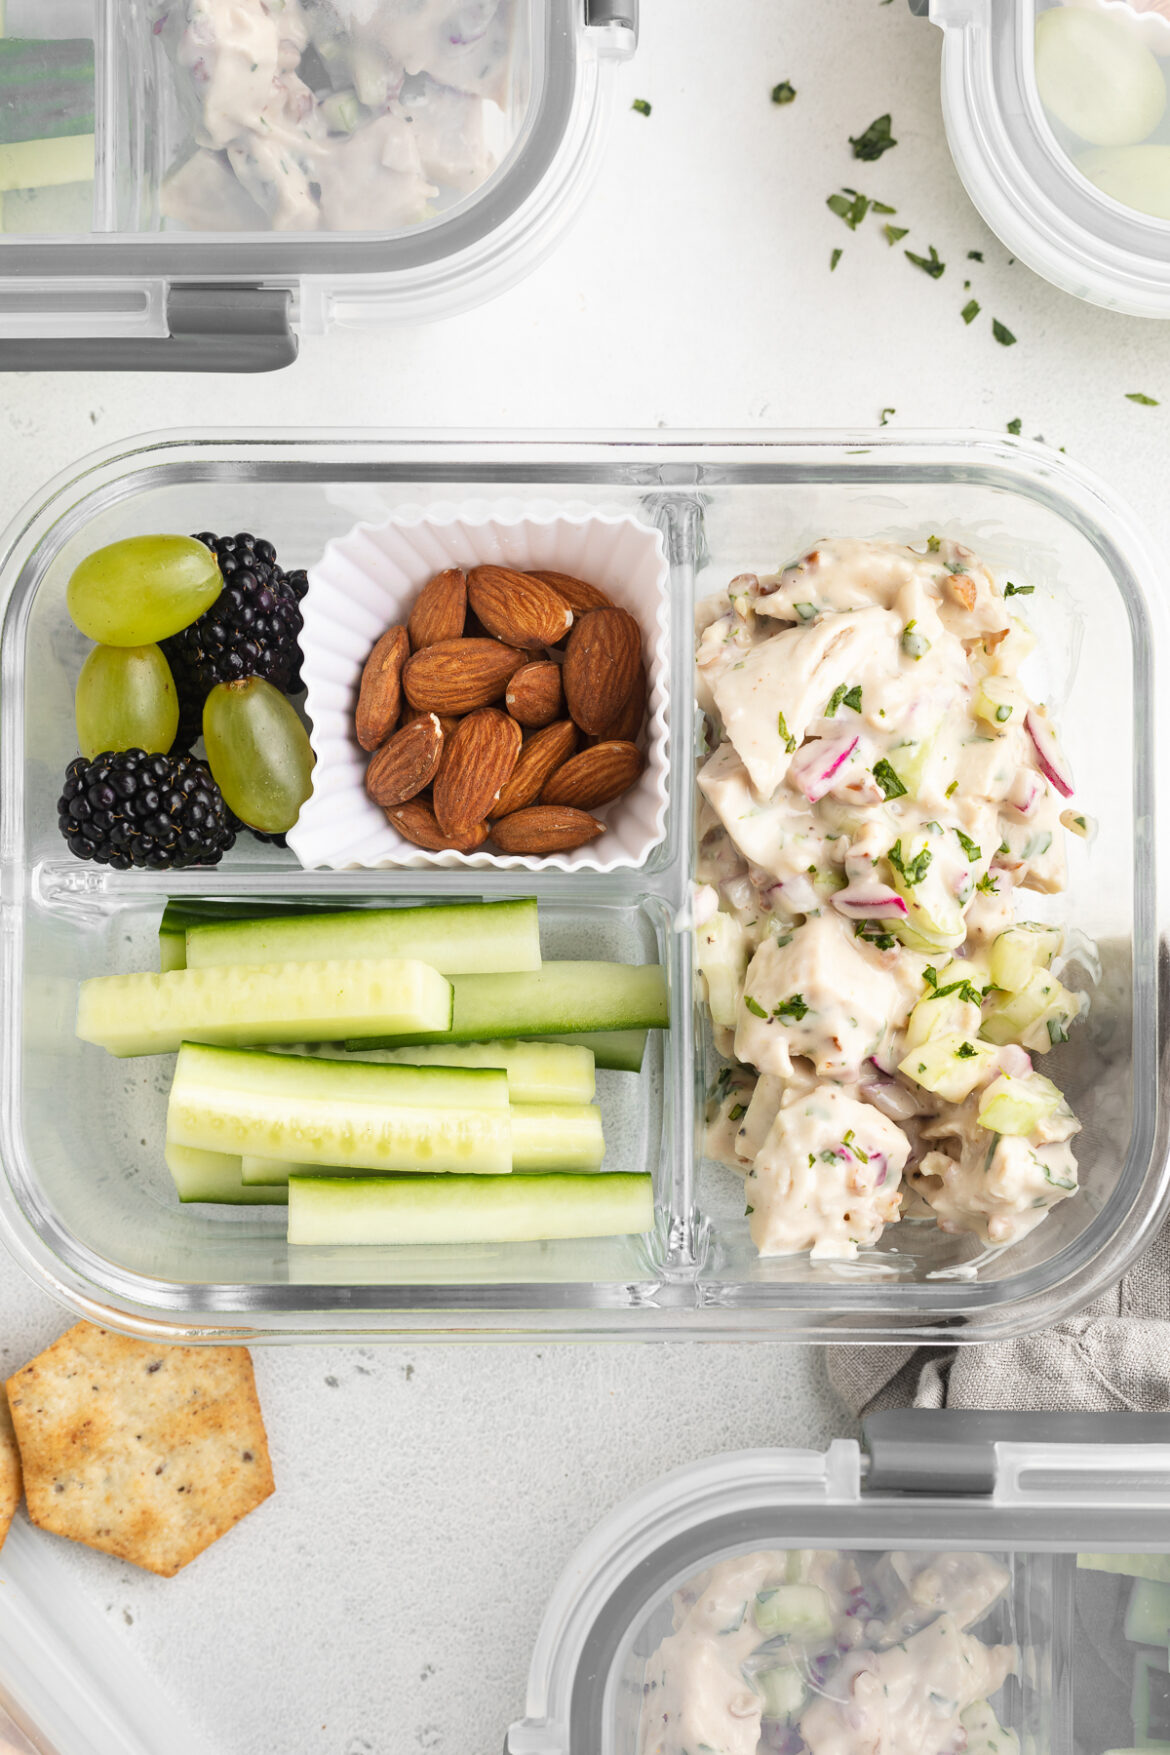
Hey there, lunch lovers! Are you tired of sad desk lunches or last-minute takeout decisions? We’ve got the solution – a scrumptious, healthy Meal Prep Chicken Salad Lunch Box that’ll have your coworkers drooling and your taste buds doing the happy dance. So, dust off those meal prep containers and let’s dive into lunchtime bliss!

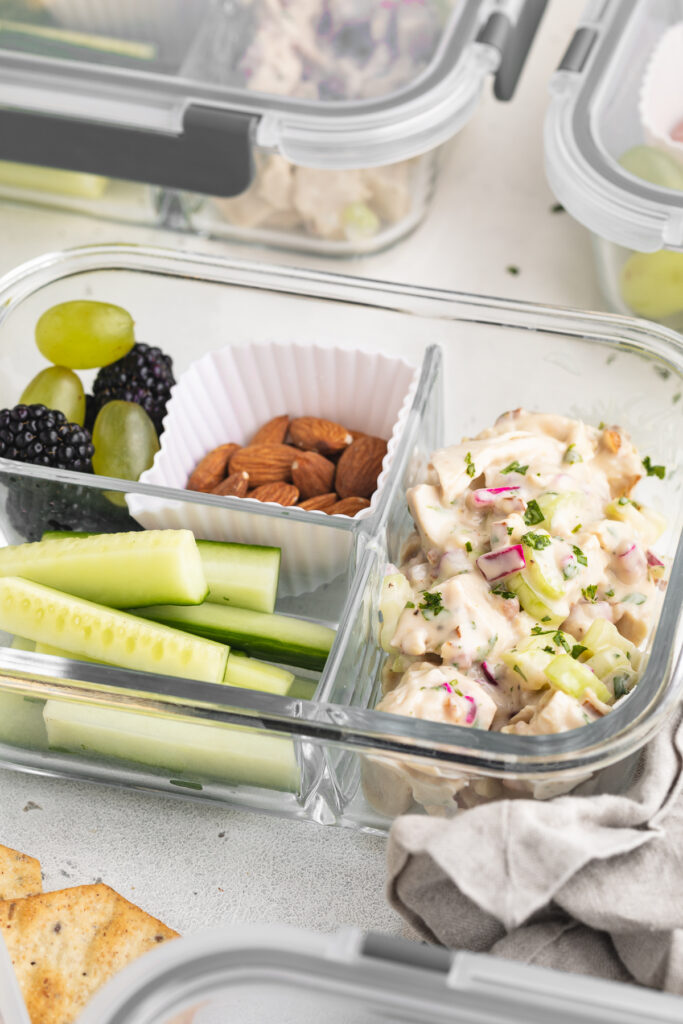
meal prep chicken salad lunch boxes with crackers on the side.

For more meal prep recipes, purchase my ULTIMATE Meal Prep E-Book for just $5 HERE!

What You’ll Need to Make Chicken Salad

Chicken Breast: The star of the show! Opt for boneless, skinless chicken breasts for a lean and protein-packed salad.

Mayonnaise: Go light or use a healthier mayo option if you’re watching your calories. It’s the creamy base that ties everything together. I used Sir Kensington’s Avocado Oil Mayonnaise in my chicken salad.

Pecans or Walnuts: These crunchy nuts add a delightful texture and a hint of nutty flavor to your chicken salad. Choose your favorite!

Fresh Tarragon: Don’t skip this herbaceous gem! Fresh tarragon elevates the flavors to a whole new level.

Lemon Juice: A squeeze of fresh lemon juice provides that zesty kick that makes your taste buds sing.

chicken salad being scooped up with a cracker.

Click HERE for a link to the meal prep lunch boxes I use in this recipe!

Tips and Tricks

  • The Perfect Chicken: Start with perfectly cooked chicken. You can poach it, grill it, or even use rotisserie chicken if you’re short on time. The key is to make sure it’s cooked through but still juicy. Overcooked chicken makes for a dry salad, and we don’t want that!
  • Balance is Key: Play around with the mayo-to-chicken ratio to suit your taste. Some like it creamy, while others prefer a lighter touch. You’re the boss of your lunchbox, so adjust to your heart’s content.
  • Prep for Success: This chicken salad is an MVP in meal prep. Make a big batch on Sunday and portion it into containers for the week. It stays fresh in the fridge, making lunchtime a breeze. Just be sure to keep the nuts separate until you’re ready to dive in to maintain that satisfying crunch.
5 from 1 vote

Meal Prep Chicken Salad Lunch Boxes

Hey there, lunch lovers! Are you tired of sad desk lunches or last-minute takeout decisions? We’ve got the solution – a scrumptious, healthy Meal Prep Chicken Salad Lunch Box that’ll have your coworkers drooling and your taste buds doing the happy dance. So, dust off those meal prep containers and let’s dive into lunchtime bliss!
Print Pin Rate
Prep Time: 15 minutes
Cook Time: 10 minutes
Total Time: 25 minutes
Servings: 4 servings

Ingredients

For the chicken salad:

  • 1 1/2 pounds boneless and skinless chicken breast
  • 1 cup mayonnaise
  • 1 tablespoon Dijon mustard
  • 2 celery stalks, diced
  • 1/2 cup pecans or walnuts, chopped
  • 1/4 cup red onion, finely chopped
  • 2 tablespoons fresh parsley, chopped
  • 1 tablespoon fresh tarragon, chopped
  • 1 lemon, juiced
  • 1 teaspoon salt
  • 1/2 teaspoon black pepper

For the lunch boxes:

  • crackers, I used gluten-free crackers
  • cucumbers or carrots, sliced
  • fruit, such as grapes or berries
  • nuts, such as almonds

Instructions

  • Place chicken breasts in a wide pot or deep skillet, then pour in enough water until chicken is completely submerged in water.
  • Bring pot to a boil, then reduce to a simmer and cover with a lid. Cook for 10-12 minutes, or until chicken is cooked through.
  • Remove chicken from the water, then place on a cutting board and either chop the chicken into cubes or shred the chicken with two forks.
  • Place chopped or shredded chicken into a large bowl and let cool completely.
  • Once cool, add in all remaining chicken salad ingredients. Mix everything together until well combined.

For the lunch boxes:

  • Add the chicken salad to the lunch boxes along with the veggies, fruit, and nuts. Then, store the crackers separately.
  • Store the chicken salad lunch boxes in the fridge for up to 4 days, and store the crackers separately at room temperature.

Notes

  • Nutrition

    Calories: 300kcal

    Say goodbye to boring lunches and hello to lunchtime bliss with our Meal Prep Chicken Salad Lunch Boxes! It’s the perfect blend of protein, flavor, and convenience. Plus, with our handy tips and tricks, you’ll be the lunchtime hero of your office.

    So, go ahead, whip up a batch, and let your taste buds savor the deliciousness. Your coworkers will be envious, and your taste buds will be thanking you. Happy meal prepping!

    Interest In More Meal Prep Recipes? Check These Out!

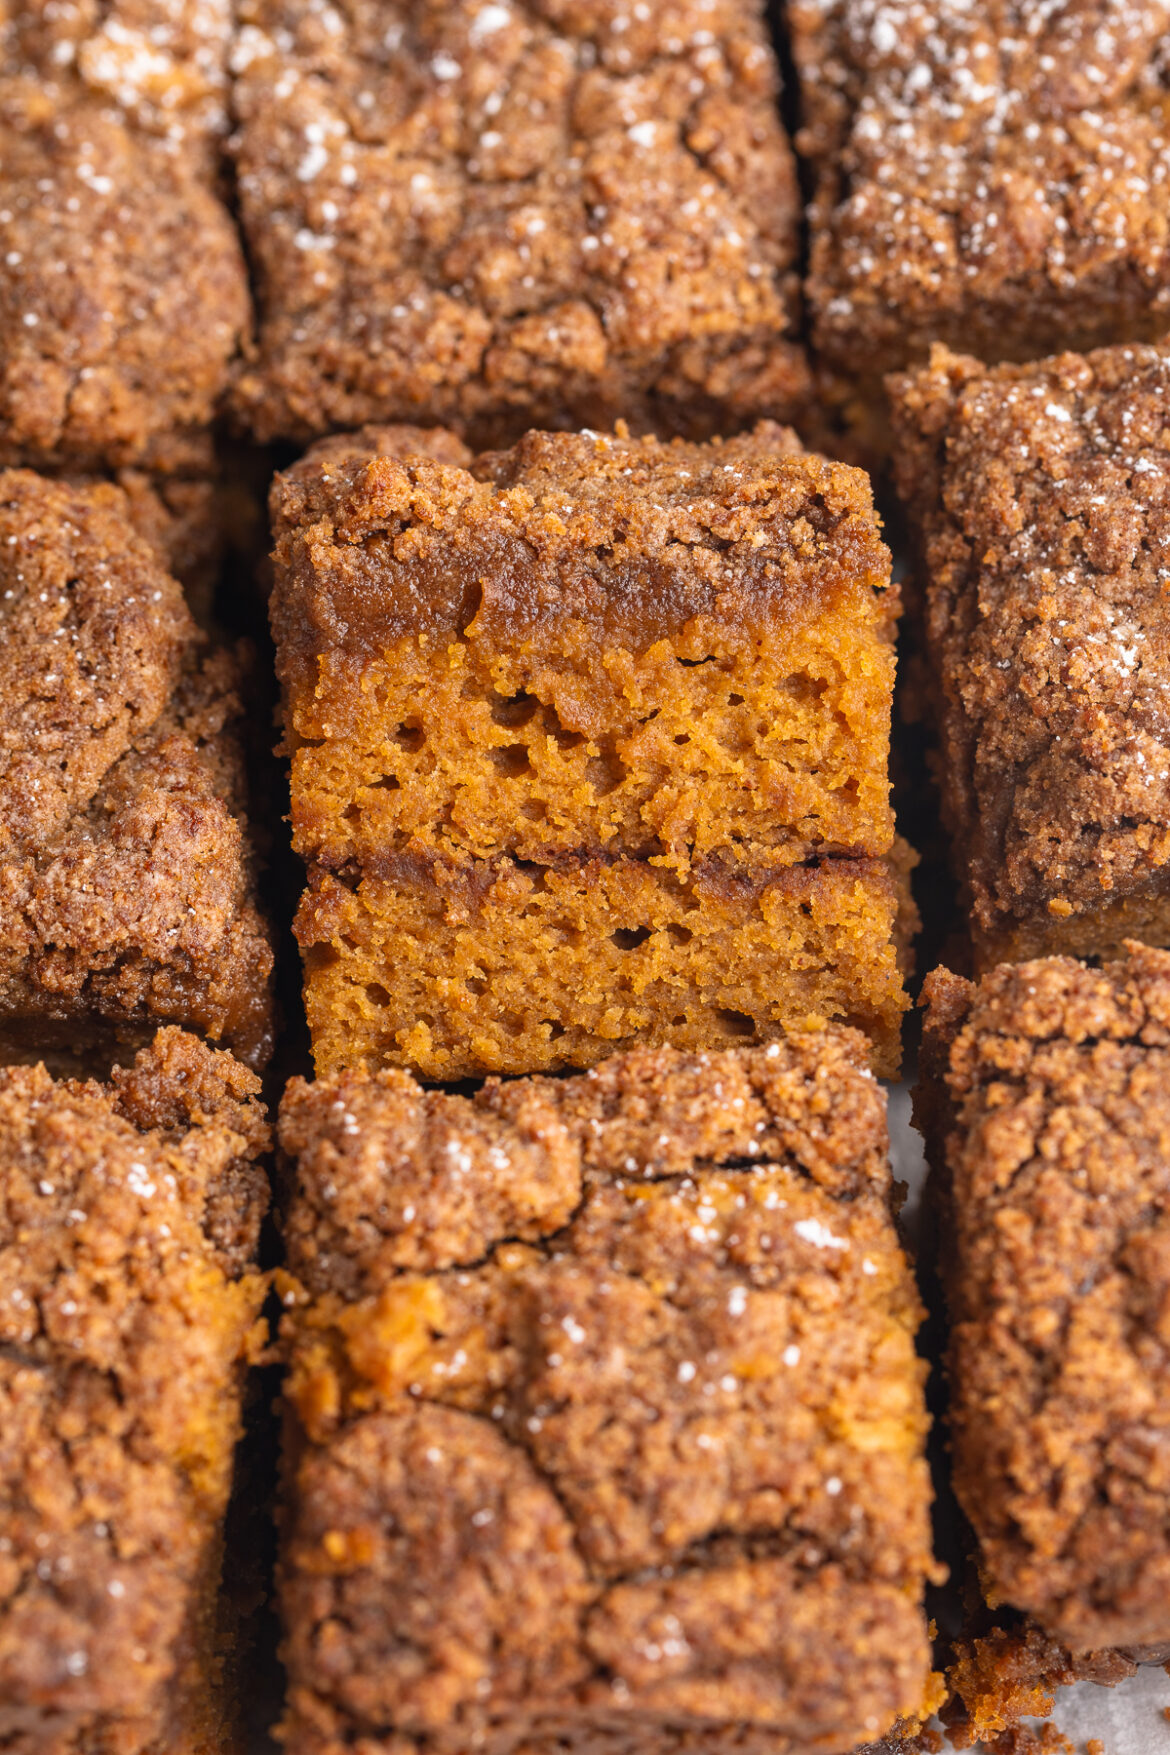
    Fall is in the air, and you know what that means – it’s pumpkin spice season! But don’t worry, we’ve got your back with a scrumptious Gluten-Free Pumpkin Coffee Cake recipe that’s not just gluten-free but also vegan and refined sugar-free. So, grab your apron, a pumpkin spice latte, and let’s dive right into this autumn treat.

    gluten-free pumpkin coffee cake on a baking sheet with milk on the side

    What You’ll Need to Make Gluten-Free Pumpkin Coffee Cake

    Gluten-Free All-Purpose Flour: To keep it gluten-free, we’ll be using a gluten-free all-purpose flour blend. Make sure it’s labeled as such to avoid any unwanted gluten surprises. I use and recommend this Bob’s Red Mill Gluten-Free 1:1 Baking Flour.

    Coconut Sugar or Brown Sugar: Sweeten things up with a touch of coconut sugar or brown sugar. These options add that wonderful caramel flavor we all crave in coffee cake.

    Pumpkin Puree: Our star ingredient! Go for the canned pumpkin puree or whip up some homemade pumpkin puree for that authentic fall flavor.

    Cinnamon: Spice things up with a generous pinch of cinnamon. It’s the secret ingredient that’ll make your kitchen smell like a cozy pumpkin spice haven.

    overhead image of gluten-free pumpkin coffee cake on a baking sheet

    Tips and Tricks

    • The Perfect Flour Mix: When using gluten-free flour, it’s crucial to get the right texture. Mix your gluten-free flour with a bit of xanthan gum to help with binding and structure. Typically, 1/2 teaspoon per cup of flour should do the trick.
    • Pumpkin Magic: If you want your coffee cake to be extra pumpkin-y, add a touch of pumpkin pie spice in addition to the cinnamon. Nutmeg, cloves, and allspice will give it that unmistakable autumn flavor.
    • Say No to Overbaking: One of the biggest gluten-free baking pitfalls is overbaking. Keep an eye on your coffee cake and use the toothpick test. Insert a toothpick into the center, and if it comes out with just a few moist crumbs, your cake is ready. Overbaking can make it dry.
    close-up image of gluten-free pumpkin coffee cake
    4.34 from 6 votes

    Gluten-Free Pumpkin Coffee Cake (vegan & refined sugar-free!)

    Fall is in the air, and you know what that means – it’s pumpkin spice season! But don’t worry, we’ve got your back with a scrumptious Gluten-Free Pumpkin Coffee Cake recipe that’s not just gluten-free but also vegan and refined sugar-free. So, grab your apron, a pumpkin spice latte, and let’s dive right into this autumn treat.
    Print Pin Rate
    Prep Time: 15 minutes
    Cook Time: 45 minutes
    Total Time: 1 hour
    Servings: 16 servings

    Equipment

    • 1 large bowl
    • 1 medium bowl
    • 1 small bowl
    • 1 9×9-inch baking pan

    Ingredients

    • 2 1/2 cups gluten-free all purpose flour see Notes
    • 2 teaspoons baking powder
    • 1/2 teaspoon baking soda
    • 1 tablespoon pumpkin pie spice
    • 1/2 teaspoon salt
    • 1 cup coconut sugar or brown sugar
    • 1 cup milk (I used almond milk)
    • 1/3 cup melted coconut oil or melted butter
    • 1 cup pumpkin puree
    • 1 tablespoon vanilla extract

    For the filling:

    • 1/4 cup coconut sugar or brown sugar
    • 1 tablespoon gluten-free all purpose flour
    • 1 teaspoon cinnamon

    For the streusel topping:

    • 1 cup gluten-free all purpose flour
    • 1 cup coconut sugar, or brown sugar
    • 1/2 cup softened butter (I used vegan butter)
    • 1 teaspoon cinnamon

    Instructions

    • Preheat oven to 350° Fahrenheit and line an 8×8-inch baking pan with parchment paper.
    • In a large bowl, mix together the gluten-free all purpose flour, baking powder, baking soda, pumpkin pie spice, and salt.
    • In a separate medium bowl, whisk together the coconut sugar, milk, melted coconut oil, pumpkin puree, and vanilla extract.
    • Slowly pour the wet ingredients into the dry ingredients while stirring, then mix until just combined. Set the cake batter aside.
    • Add all filling ingredients to a small bowl and mix together.
    • Then, add all streusel topping ingredients to a bowl and mix together until it comes together. 
    • Transfer half of the batter to the 8×8-inch baking pan, then evenly pour the filling over the top of the batter.
    • Pour the remaining batter over the filling, then top the whole thing with an even layer on the streusel topping.
    • Bake for 45-50 minutes, or until a toothpick inserted down the center of the cake comes out mostly clean. Remove from pan and cool on a wire cooling rack before slicing and serving.

    Notes

  • Gluten-Free All Purpose Flour: Make sure you’re gluten-free flour contains xanthan gum for this recipe! If it doesn’t, then add 1 1/2 teaspoons of xanthan gum in with the dry ingredients.
  • Nutrition

    Serving: 1serving | Calories: 272kcal | Carbohydrates: 44g | Protein: 2.5g | Fat: 10g | Sugar: 26g

    There you have it, folks! A delightful Gluten-Free Pumpkin Coffee Cake recipe that’s not only gluten-free but also vegan and refined sugar-free. With the warmth of cinnamon and the cozy embrace of pumpkin, this coffee cake will have your taste buds doing the autumn dance.

    So, whether you’re gluten-sensitive, vegan, or simply looking for a healthier treat, this coffee cake has got you covered. Happy baking, and enjoy the flavors of fall in every bite!

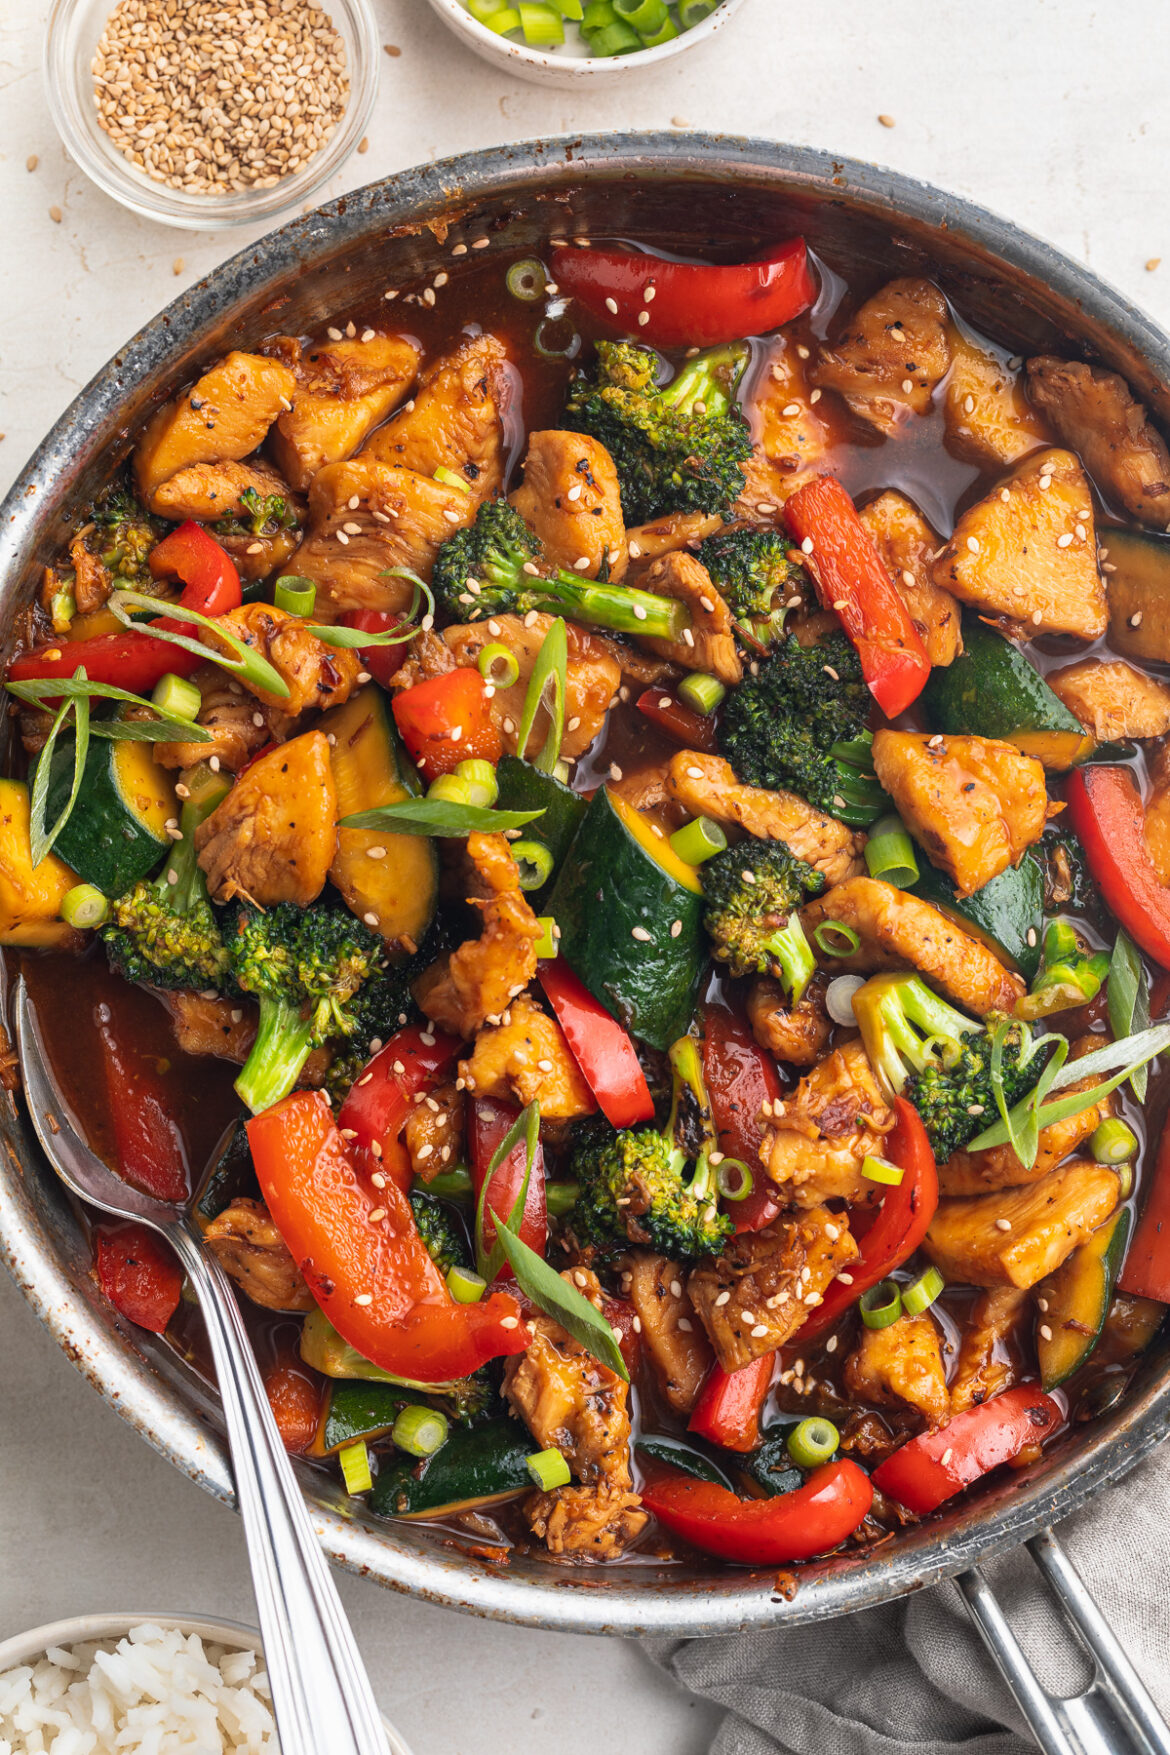
    Seriously flavorful and delicious restaurant-style hunan chicken! Bites of tender chicken and stir-fried veggies tossed in a savory hunan sauce. Super quick and easy to make, ready in just 15 minutes!

    overhead image of hunan chicken in a skillet with sesame seeds and sliced green onion on top.

    What is Hunan Chicken?

    Hunan Chicken is a healthy, popular Chinese-American dish made with pieces of tender chicken stir fried with veggies and tossed in a tangy, sweet, and spicy sauce. This dish originates from the Hunan province of China and is traditionally hot, spicy and loaded with chilies. In this Hunan Chicken recipe, you can control the spice level by adding as much chili paste as you like.

    close-up image of hunan chicken in a skillet.

    What You’ll Need To Make Hunan Chicken

    Chicken Breasts – This dinner recipe starts with one to two pounds of boneless and skinless chicken breast. To prepare them, start by patting each chicken breast dry with a paper towel, then thinly slice them into bite-sized pieces. Once cut, season them well with salt and black pepper, before coating in corn starch, then stir-frying!

    Corn Starch – Coating this hunan chicken in corn starch before cooking will help each piece cook up a whole lot crispier and delicious! However, if you don’t have corn starch, you can certainly use arrowroot starch or tapioca starch instead. And if you’d like to cut down on the amount of corn starch, you can leave it off the chicken pieces, and instead add just a tablespoon of starch to the sauce ingredients. You’ll need at least a tiny bit of starch in this recipe, to help thicken up the sauce.

    Soy Sauce – Any kind of soy sauce you’d like will work! If gluten-free, be sure to use tamari instead of soy sauce. Tamari is the gluten-free equivalent to soy sauce. Or, for a healthier option, use 1/3 cup of coconut aminos instead.

    Fish Sauce – Most hunan chicken recipes are made with oyster sauce, which is a thick, dark sauce made of soy sauce, oyster extract, and sugar (lots of sugar!). So to make this classic recipe just a bit healthier, I swapped out the oyster sauce for a tablespoons of honey, plus a teaspoon of fish sauce. The honey helps to sweeten things up, and the fish sauce gives this dish its signature briny flavor. I also figured, while neither oyster or fish sauce are super common in most kitchens, fish sauce would be a bit easier to get your hands on!

    hunan chicken on a plate over rice.

    Tips and Tricks

    • If you have a wok, use it! Wok’s cook quickly, and heat to a higher temperature, which is perfect for this stir-fry recipe. However, if you don’t own a wok (it’s ok, I don’t either), use either a large stainless steel or cast-iron pan instead.
    • Once done, if the sauce isn’t as thick as you’d like it to be, then add in some corn starch. But don’t simply add the corn starch in by itself. Instead, whisk 1 tablespoon of corn starch with 1 tablespoon of water in a small bowl until dissolved. Then, pour that corn starch slurry into your sauce and give it 2-3 more minutes to thicken.
    • Serve this hunan chicken however you’d like! I enjoyed mine over cauliflower rice for an extra healthy meal. Though it also tastes delicious over white rice, brown rice, or even quinoa!

    Adjust This Recipe To Your Dietary Needs

    Make it Paleo: Turn this into a paleo chicken stir-fry by using tapioca starch instead of corn starch, and coconut aminos in place of the soy sauce.

    Make it Vegan: Make a hunan tofu by replacing the chicken breasts with a large block of extra-firm tofu, cut into 2-inch cubes! Also, leave out the fish sauce, and replace the honey with maple syrup.

    close-up overhead image of hunan chicken in a skillet.
    5 from 4 votes

    Hunan Chicken

    Seriously flavorful and delicious restaurant-style hunan chicken! Bites of tender chicken and stir-fried veggies tossed in a savory hunan sauce. Super quick and easy to make, ready in just 15 minutes!
    Print Pin Rate
    Prep Time: 5 minutes
    Cook Time: 10 minutes
    Total Time: 15 minutes
    Servings: 4 servings

    Ingredients

    • 1 pound boneless skinless chicken breasts, cut into strips
    • salt and black pepper, to taste
    • 1/4 cup corn starch, or tapioca starch
    • 2 tablespoons avocado oil
    • 1 cup broccoli florets
    • 1 red bell pepper, sliced
    • 1 zucchini, sliced

    For the hunan sauce:

    • 1/2 cup chicken or vegetable broth
    • 1/3 cup soy sauce, or tamari if gluten-free
    • 1-2 tablespoons chili paste
    • 1 tablespoon rice vinegar
    • 1 tablespoon honey
    • 1 teaspoon fish sauce
    • 1 teaspoon sesame oil, optional

    Instructions

    • Season chicken with salt and pepper, then toss in a bowl with corn starch until evenly coated.
    • Heat avocado oil in a large skillet over medium-high heat, cook chicken 2-3 minutes per side or golden brown and cooked through. Remove chicken from skillet and set aside.
    • Add broccoli, bell pepper, and zucchini to skillet – sauté for 5-6 minutes or until tender, but still crisp.
    • While veggies cook, whisk together all sauce ingredients in a small bowl.
    • Add cooked chicken back into skillet along with the sauce, reduce heat to low and cook for a few minutes or until sauce has thickened.

    Video

    Nutrition

    Calories: 300kcal

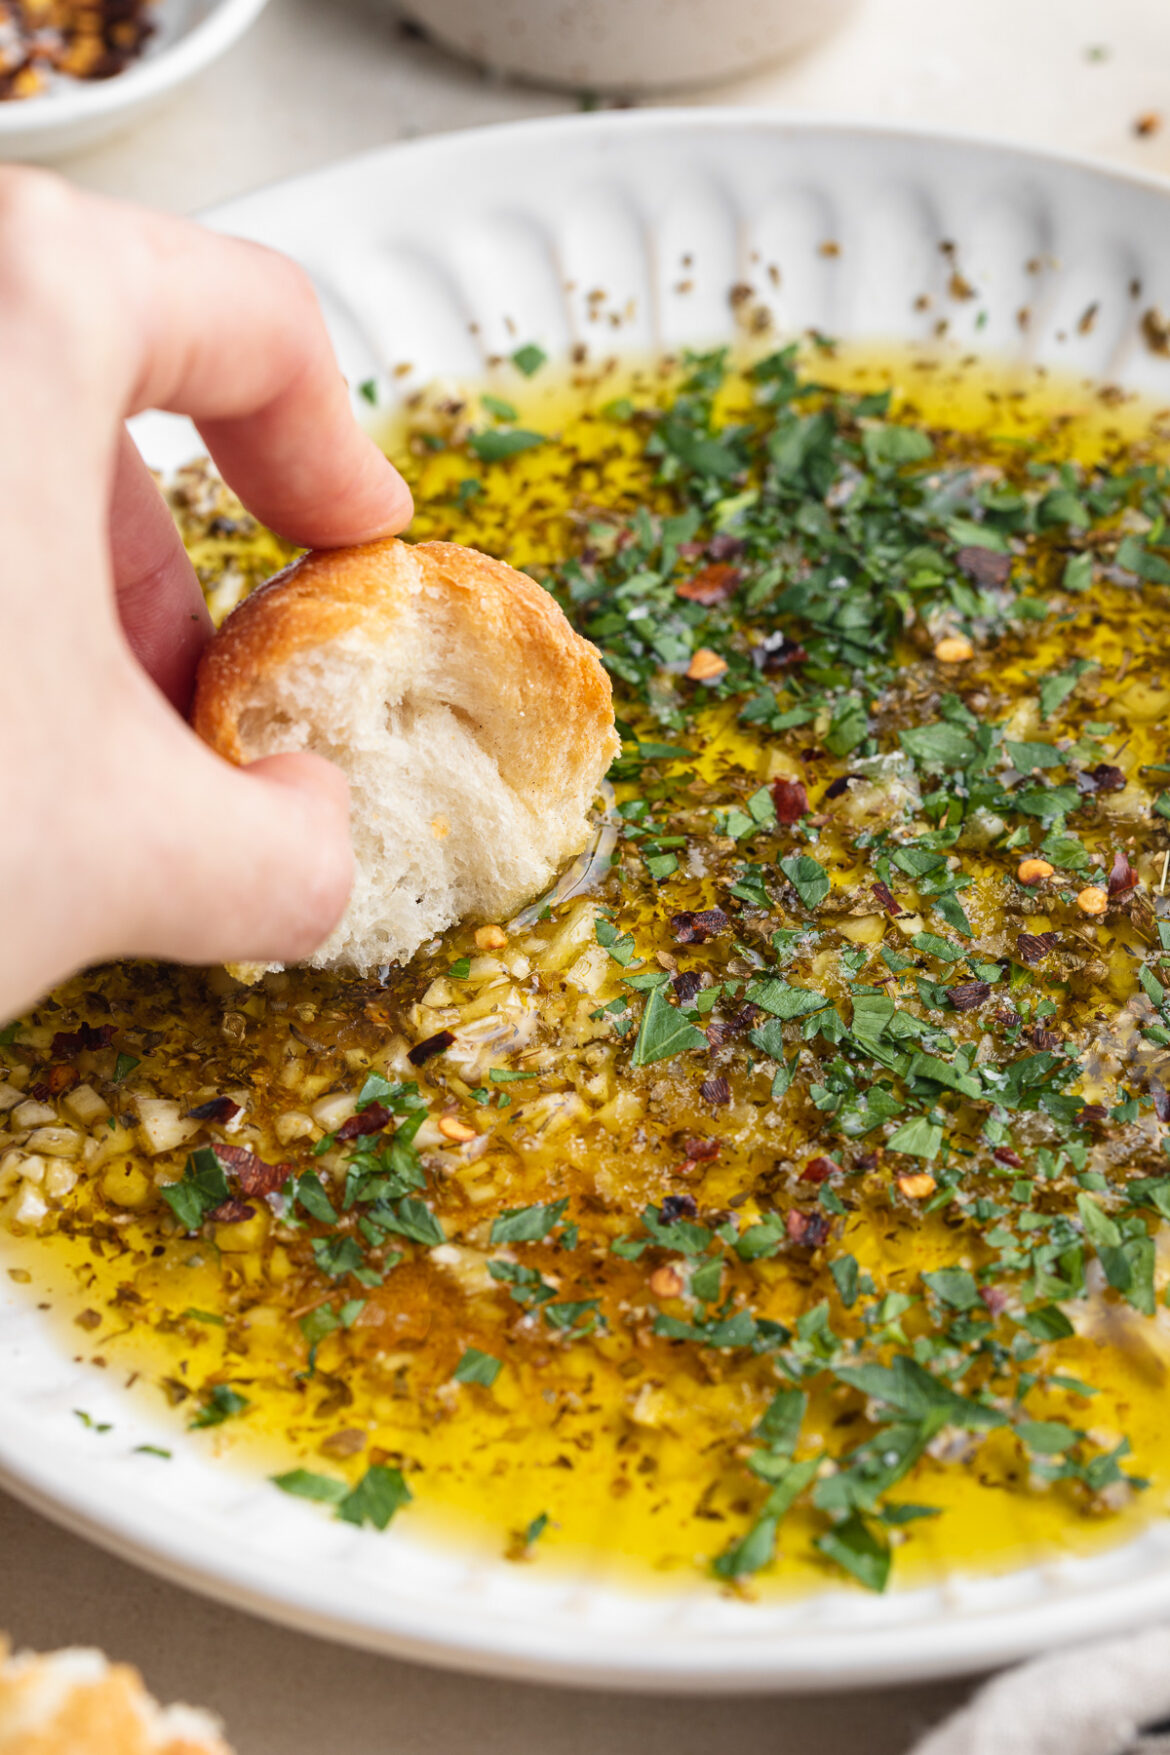
    A simple olive oil dip with garlic and herbs! It’s loaded with tons of flavor, and comes together in just a few minutes. Make this easy appetizer for your next party or potluck.

    overhead image of garlic and herb olive oil dip on a plate.

    What You’ll Need to Make Garlic and Herb Olive Oil Dip

    Garlic – Duh! Add plenty of fresh minced garlic to your dip. Heck, you can even add more than 3 cloves if you want. More garlic = more better …or at least I think so!

    Dried Oregano – Dried oregano is a pantry staple in my opinion. It freshens up any dish, but is dried so you don’t have to worry about it ever going bad. I used 2 teaspoons in this garlic and herb olive oil dip recipe, but feel free to use as much or as little as you’d like. OR, replace the dried oregano with your favorite dried herb or herb blend.

    Garlic Powder – Because there can truly never be too much garlic! A touch of garlic powder works to amp up that incredible fresh garlic flavor.

    Olive Oil – For an especially delicious olive oil dip, use good quality olive oil like this! I’m a firm believer that high-quality olive oil tastes better. And since we’re not cooking or heating the olive oil in this recipe, you’ll actually be able to taste it. So, skip the cheap stuff for this particular recipe.

    Parsley – Fresh chopped parsley is the cherry-on-top of this dip! While optional, I highly recommend you add some. It adds tons of fresh and delicious flavor.

    garlic and herb olive oil dip on a plate with bread on the side.

    Tips and Tricks

    • Have fun with this recipe! You can jazz up this garlic and herb olive oil dip however you’d like. Replace the dried oregano with dried Italian seasoning, use as much or as little garlic as you’d like, or throw in some fresh grated parmesan cheese for even more flavor!
    • Serve this dip with any kind of bread. I enjoyed mine with classic french bread – but focaccia, or even sourdough would make for a great pairing. Or, if you’re up for a little fun, drizzle this oil on a sandwich!
    • Prep it ahead of time! Making this olive oil dip for your next party? You can prep it up to one week in advance. Then, simply store in an airtight container at room temperature until ready to serve. Doing this actually amps up the flavor, since the garlic and herbs have more time to marinate in the olive oil!

    This Garlic and Herb Olive Oil Dip is….

    bread being dipped into garlic and herb olive oil dip.
    5 from 1 vote

    Garlic and Herb Olive Oil Dip

    A simple olive oil dip with garlic and herbs! It’s loaded with tons of flavor, and comes together in just a few minutes. Make this easy appetizer for your next party or potluck.
    Print Pin Rate
    Prep Time: 5 minutes
    Total Time: 5 minutes
    Servings: 8 servings

    Ingredients

    • 3 large garlic cloves, minced
    • 2 teaspoons dried oregano
    • 1 teaspoon garlic powder
    • 1/2 teaspoon salt
    • pinch of red pepper flakes
    • 1/2 cup good quality olive oil
    • bread, for dipping
    • fresh chopped parsley, optional

    Instructions

    • Add garlic, dried oregano, garlic powder, salt, and red pepper flakes to a medium shallow bowl or plate with high sides.
    • Pour in the olive oil, then stir to combine. Top with an optional sprinkle of fresh chopped parsley, and serve with bread for dipping!

    Nutrition

    Calories: 300kcal