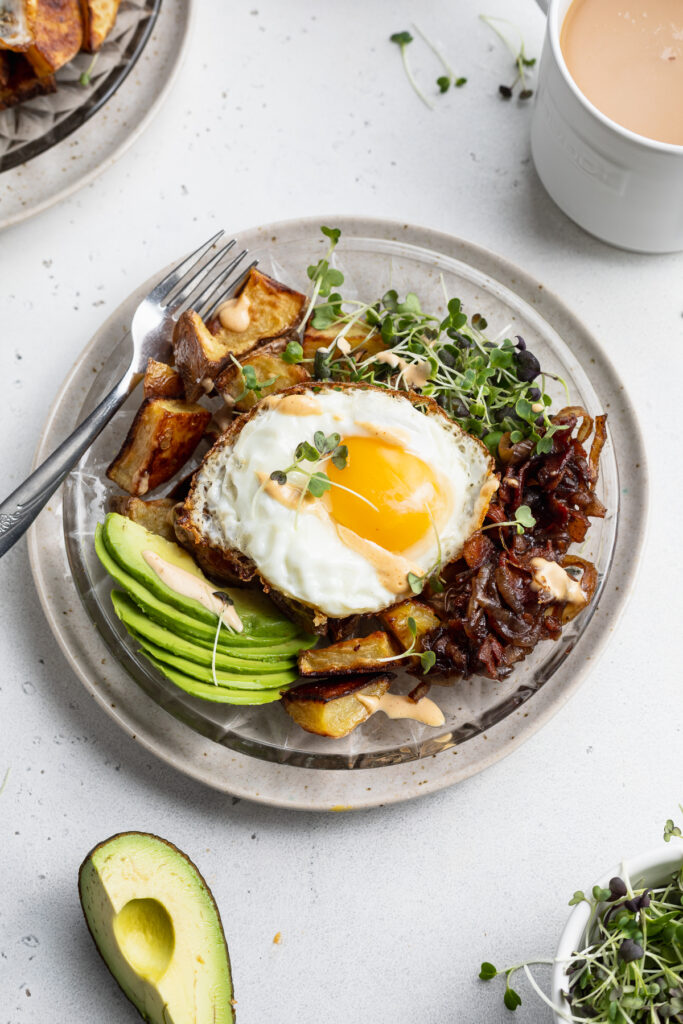
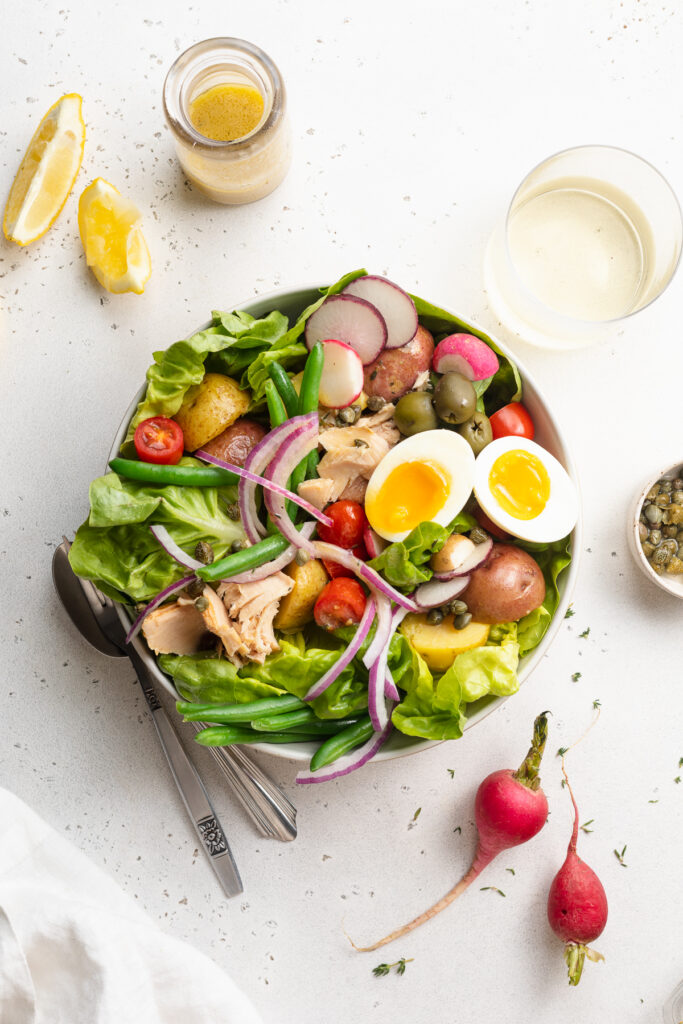
A classic French Niçoise salad, fully loaded with all things fresh and delicious! Bursting with seasonal spring veggies such as crisp green beans, baby potatoes, cherry tomatoes, and capers. This hearty Niçoise salad is then finished off with a tangy and herby dijon vinaigrette.
What You’ll Need To Make This Niçoise Salad
Dijon Mustard – This French mustard works perfectly in this French recipe! Two tablespoons of tangy, slightly spicy Dijon mustard gives our dressing loads of delicious flavor. If you don’t have Dijon mustard, you can use spicy brown mustard or 1 teaspoon of ground mustard seed in its place.
Olive Oil – Plenty, and I mean plenty of olive oil is essential to a smooth and creamy vinaigrette! I like having two different kinds of olive oil in my kitchen – one cheaper, less flavorful kind, and one higher quality kind. The higher quality olive oil is exactly what I’d reach for in this, or any, salad dressing recipe. Whereas the cheaper, less flavorful olive oil is perfect for cooking, since much of its flavor will get cooked off anyway!
Baby Potatoes – These creamy, adorable potatoes are traditional to all Niçoise salads recipes. Either red or yellow baby potatoes will work here (I used a combination of both). To prep them for this dish, give them a good scrub under cold water then slice each one in half. Once prepped, quickly boil the baby potatoes until fork tender, then coat in dressing and add to your salad!
Lettuce – Really any kind of lettuce would work in this salad! Boston or butter lettuce taste both fresh and crisp, and are the perfect base to this hearty salad. However, I’ve swapped out the lettuce for arugula, baby spinach, and romaine – all were delicious!
Eggs – Hard boiled eggs, soft boiled eggs, or anywhere in between! There are a ton of boiled egg how-tos out there on the internet, in case you need some guidance. I followed this jammy egg recipe and my boiled eggs turned out PERFECT.
Tuna – It’s not a Niçoise salad without some flaked tuna! Similar to the olive oil in this salad recipe, we want to use good quality tuna as well. Also, look for solid canned tuna, as opposed to chunk light tuna. And for an even richer, more flavorful tuna, use tuna packed in oil – it’s extra buttery and delicious!

Tips and Tricks
- When making the Niçoise salad dressing, *slowly* pour in the olive oil, while whisking. Doing this will help to emulsify the oil into the dressing, creating a smooth and well-combined vinaigrette. And take your time here, because rushing this step could cause the dressing to separate.
- Boil the fresh green beans for no more than a few minutes! Green beans cook quickly, and can overcook even quicker. Therefore, to ensure they maintain their crisp-ness, boil them for no more than 3 minutes, then immediately transfer to a bowl of ice water to stop the cooking!
- Add this Niçoise salad into your weekly meal prep! To do this, simply chop and prep all salad ingredients, then whisk together the dressing. Divide and assemble your salads into four separate containers, and store the dressing on the side – then, when ready to eat, dress your salads and enjoy!

Adjust This Recipe To Your Dietary Needs
Make it Vegan: For a vegan Niçoise salad, leave out the hard boiled eggs, and replace the tofu with a cup or two of cooked lentils.
Make it Paleo: This recipe is easily made paleo by leaving out the potatoes! If you’d like, you can even use cauliflower florets in their place.


")