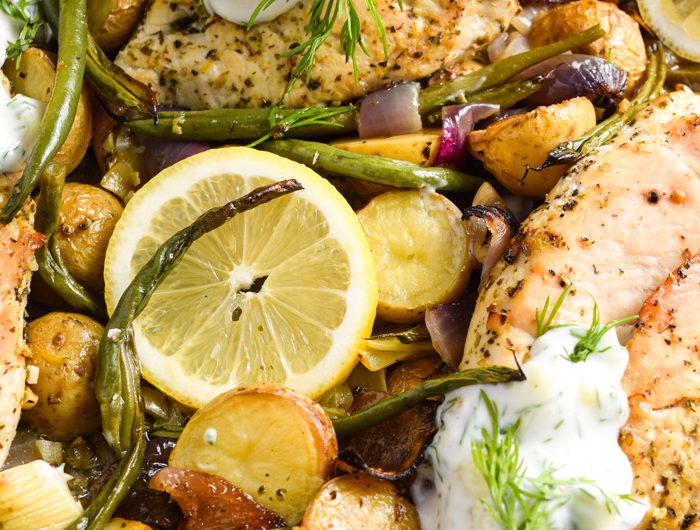
This sheet pan Greek chicken and dairy-free tzatziki sauce is the BEST and easiest meal you’ll make all week! It’s perfect for those nights when you want something delicious, but don’t really feel like cooking. Simply toss a few ingredients on a sheet pan and let your oven do all the work. But don’t forget the dairy-free tzatziki sauce – perfectly tangy and exploding with fresh herb flavor!

This recipe is one of my boyfriend’s all-time favorite meals. He goes to TOWN on the dairy-free tzatziki sauce, like has to have at least a little bit of sauce with every bite. I love this recipe too, but I can’t decided which I love more – how easy it is to make or how freaking delicious it tastes when it’s done. We’ll call it a tie, both qualities are what make this sheet pan Greek chicken with a dairy-free tzatziki sauce incredible. I also made sure to use the best in-season spring vegetables in this recipe. Baby potatoes, artichoke hearts, and green beans create a well-balanced meal with the healthiest and freshest ingredients.
What You Need To Make Sheet Pan Greek Chicken + Dairy-Free Tzatziki Sauce
Lemon Juice and Zest – We love lemon around here, that’s no secret by now. I first tried this recipe using just lemon juice and it didn’t quite give me that kick of citrus I was looking for. That’s when I introduced lemon zest to the mix and WOW, it made all the difference!
Chicken Breasts – You can also use chicken thighs or legs in this recipe. Really whichever part of the chicken you like best, pick up 1 1/2 pounds of it and toss it on your sheet pan.
Artichoke Hearts – Canned, jarred, fresh or frozen artichoke hearts all work for this recipe. If using canned or jarred, make sure they’re packed in water, not oil. I love artichokes for their excellent source of fiber and vitamins. Since they’re a spring vegetable, I try to cook with them as much as I can this time of year!
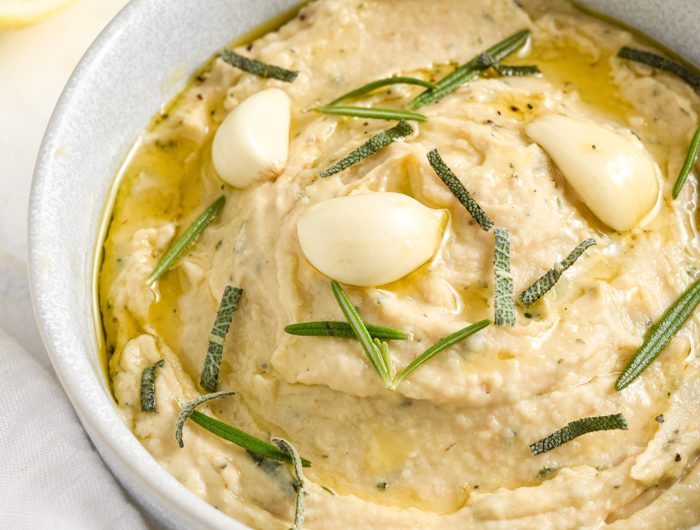
Dairy-Free Unsweetened Plain Yogurt or Sour Cream – I’ve used both dairy-free yogurt and dairy-free sour cream in this tzatziki sauce recipe, and both worked perfectly. Whichever you choose, make sure it is totally unsweetened (no added sugar!) and plain.
Fresh Dill – Mmmmm one of my favorite fresh herbs! Dill has such a unique flavor and the scent alone is enough to remind me of warm weather. I just love it and use a generous amount in my tzatziki sauce. If you’re not a fan of dill, try using fresh mint instead or you can leave it out altogether. I also would not recommend swapping out dried dill for fresh dill in this recipe.
Adjust This Recipe To Your Dietary Needs
- Make it Vegan/Vegetarian: Use a block of tofu instead of chicken. Cut the tofu into 1-inch cubes, and toss it in your recipe just as you would the chicken.
- Make it Paleo: Swap the baby potatoes for 1/2 pound of white sweet potatoes. Cook everything the exact same and you’ll have a quick and easy paleo meal!
- Add Dairy: Use 1 cup of plain, unsweetened greek yogurt instead of dairy-free yogurt. You can also add a little feta to your finished dish if you’d like.
Sheet Pan Greek Chicken + Dairy-Free Tzatziki Sauce
Course: MainCuisine: GreekDifficulty: Easy3
servings10
minutes30
minutes40
minutesThis sheet pan Greek chicken and dairy-free tzatziki sauce is the BEST and easiest meal you’ll make all week! It’s perfect for those nights when you want something delicious, but don’t really feel like cooking. Simple toss a few ingredients on a sheet pan and let your oven do all the work. But don’t forget the dairy-free tzatziki sauce – perfectly tangy and exploding with fresh herb flavor!
Ingredients
- For the chicken and vegetables:
1/4 Cup Olive Oil
2 Tablespoons Lemon Juice
1 Teaspoon Lemon Zest
5 Garlic Cloves, minced
1 Tablespoon Dried Oregano
1 Teaspoon Salt
1/2 Teaspoon Black Pepper
1 1/2 Pounds Chicken Breast (see NOTES)
1 Cup Artichoke Hearts, quartered
1 Red Onion, chopped
1/2 Pound Baby Potatoes, halved
1 Cup Green Beans
- For the dairy-free tzatziki sauce:
1 Cup Dairy-Free Unsweetened Plain Yogurt or Sour Cream (see NOTES)
1 Cup Cucumber, finely chopped (see NOTES)
3 Tablespoons Fresh Dill, finely chopped
2 Teaspoon Lemon Juice
2 Garlic Cloves, minced
1 Teaspoon Salt
1/4 Teaspoon Black Pepper
Directions
- Preheat your oven to 400° Fahrenheit and line a large sheet pan with parchment paper. Place the chicken breasts, artichokes, onion, and baby potatoes on the tray.

- In a small bowl, mix together the olive oil, lemon juice, lemon zest, garlic, dried oregano, salt, and black pepper.
- Evenly drizzle olive oil mixture over the chicken and vegetables, toss to coat.
- Bake for 30 minutes, remove halfway, toss and add in the green beans then continue baking.
- While everything cooks, prepare your dairy-free tzatziki sauce by adding all ingredients to a small bowl and mixing together.
- When the chicken is cooked through, remove from the oven, let cool slightly and then top with dairy-free tzatziki sauce.


Notes
- Chicken Breast: You can use 1 1/2 pounds of chicken thighs or legs instead of breasts.
- Unsweetened Plain Yogurt or Sour Cream: I love the Forager brand dairy-free unsweetened plain yogurt and Kite Hill brand dairy-free sour cream for this recipe.
- Cucumber: Chop your cucumber into 1/4-inch cubes or smaller for the tzatziki sauce.
Did you make this recipe?
Share it and tag @samdoesherbest on Instagram!
Like this recipe?
Follow us @samdoesherbest on Pinterest
")


")