
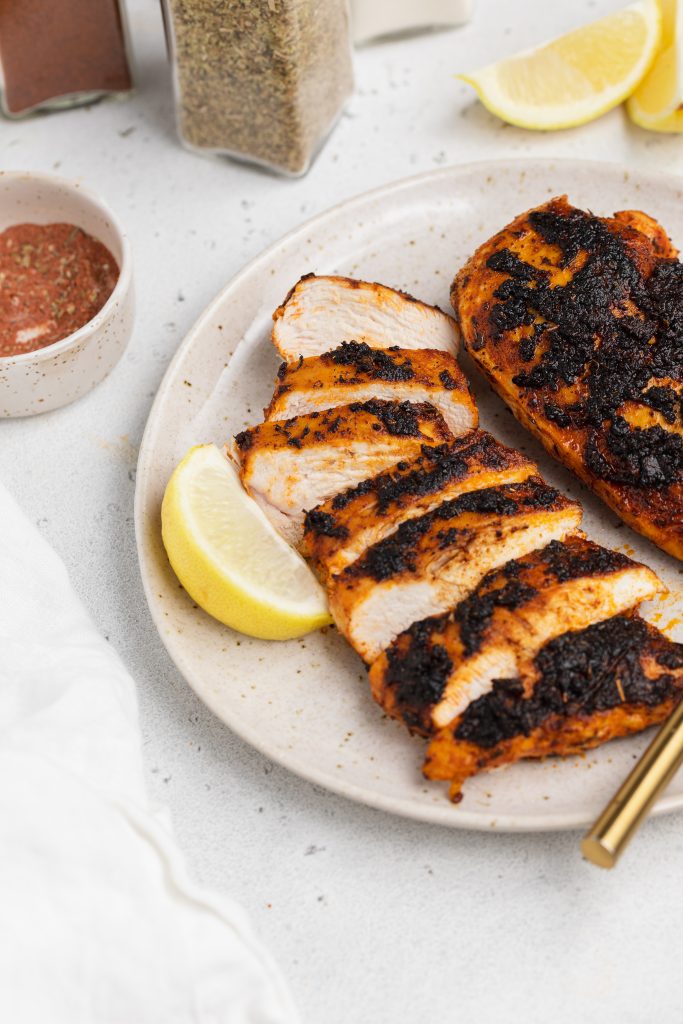
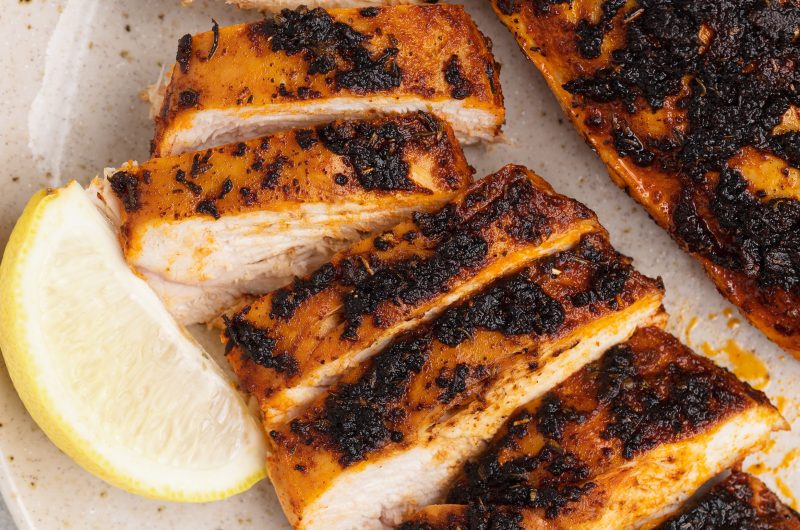
Incredibly zesty lemon pepper chicken wings are super quick and easy to make in the comfort of your own home! Bake ’em in the oven or air fryer, then finish off with a simple 4-ingredient lemon pepper sauce. These wings are irresistibly crispy and loaded with delicious flavor!

What You’ll Need
Chicken Wings – Pick up 3 pounds of either drums, flats, or a combination of both for this chicken wing recipe. I typically reach for the “party pack” of wings at the grocery store, but honestly anything you can find/prefer will work. Once you unwrap your chicken wings, make sure you pat each wing dry with a paper towel before cooking. Getting the wings as dry as possible will ensure they bake up super crispy in the oven (or air fryer!).
Lemon Pepper Seasoning – You can either purchase a jar of lemon pepper seasoning, or simply make it yourself! I couldn’t find any pre-made seasoning near me, so I quickly threw together a homemade batch of my own. To do this, I cooked lemon peels in the oven at 170° Fahrenheit for 1 hour until super dried out. Then, I added the peels to a blender along with some whole black peppercorns and a pinch of salt. There are plenty of lemon pepper seasoning recipes out their on the internet, so do a little research and follow one that’s easiest for you! Or, of course, just buy lemon pepper seasoning from the store if you’d like.
Top Tips
- Don’t crowd your baking sheet/rack with chicken wings before baking. Place each wing at least an inch apart to ensure that all sides crisp up evenly!
- Switch up this lemon pepper chicken wings recipe however you’d like! For a little more spice, add in an extra pinch of freshly cracked black pepper. For extra tang, finish off with an extra squeeze of lemon juice. And for a bit more sweetness, use an additional teaspoon or two of honey!
- Avoid using frozen chicken wings! If your wings are frozen, thaw them completely in the fridge before baking.
Adjust This Recipe to Your Dietary Needs
- Make it Dairy-Free: Sub the melted butter in this recipe for non-dairy butter to have a completely dairy-free and delicious appetizer!
- Make it Paleo: For paleo lemon pepper chicken wings, simply use ghee instead of butter and make your own seasoning by drying out lemon peels in the oven and grinding them with black peppercorns and salt.
How to Cook Chicken Wings in the Air Fryer
- Pat chicken wings dry with a paper towel, then add to a bowl along with olive oil, salt and black pepper. Toss to coat wings in oil and seasoning.
- Transfer chicken wings to air fryer tray or basket in an even layer (work in batches if necessary), cook at 360° Fahrenheit for 12 minutes. After 12 minutes, flip the wings over then cook for another 12 minutes.
- Once all wings are cooked and crispy, toss in your homemade lemon pepper sauce and enjoy!

The Best Baked Lemon Pepper Chicken Wings
Ingredients
For the wings:
- 3 pounds chicken wings
- 2 tablespoons olive oil
- 1 teaspoon salt
- 1/2 teaspoon black pepper
For the lemon pepper sauce:
- 1/4 cup melted butter, I used non-dairy
- 1 1/2 tablespoons lemon pepper seasoning
- 1 tablespoon honey
- 2 teaspoons lemon juice
- chopped parsley, for serving
- lemons, sliced
Instructions
- Preheat oven to 400° Fahrenheit and line a baking sheet with foil, and top with a wire baking rack.
- Pat chicken wings dry with a paper towel, then add to a bowl along with olive oil, salt and black pepper. Toss to coat wings in oil and seasoning.

- Transfer wings to an even layer on the prepared baking sheet with baking rack and bake for 35-40 minutes or until golden brown and crispy.
- Mix together all lemon pepper sauce ingredients in a large bowl, then once wings are cooked toss them in the sauce until evenly coated.


")


")
")
