Tag

maple syrup

Browsing

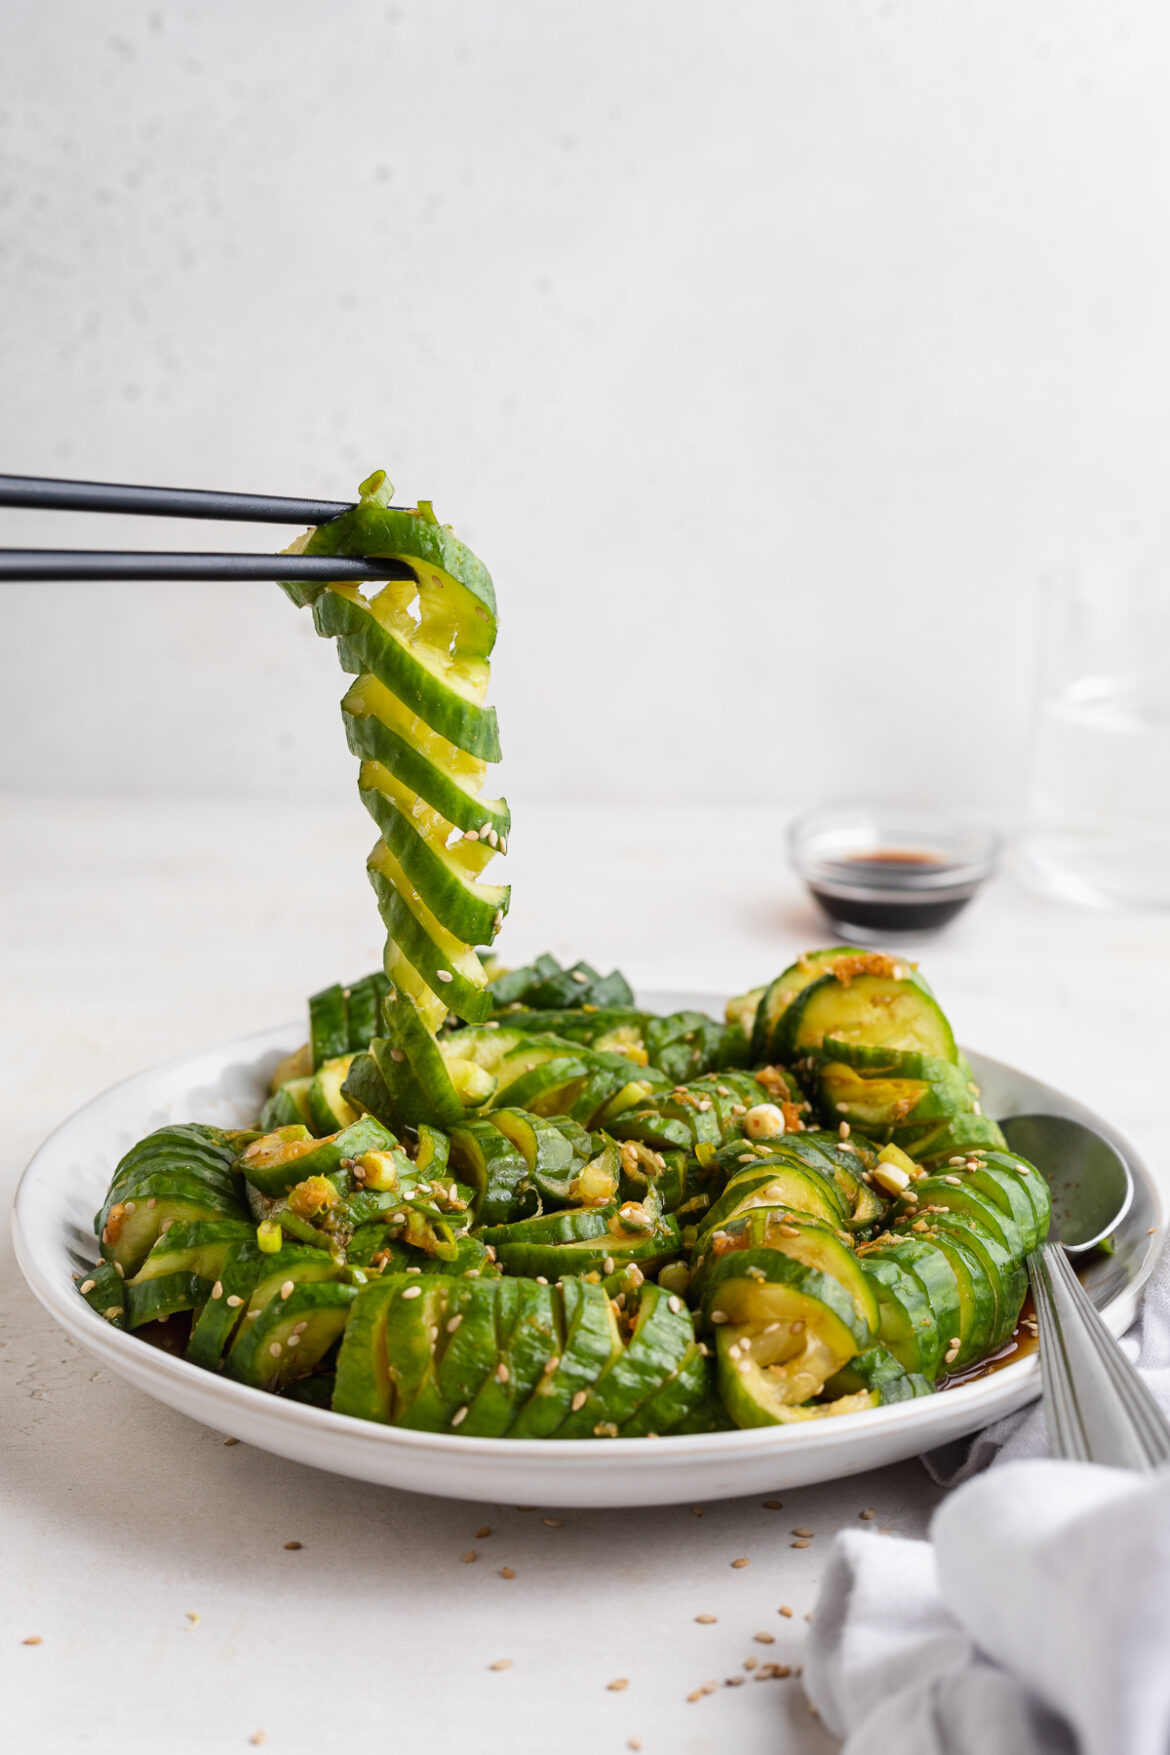
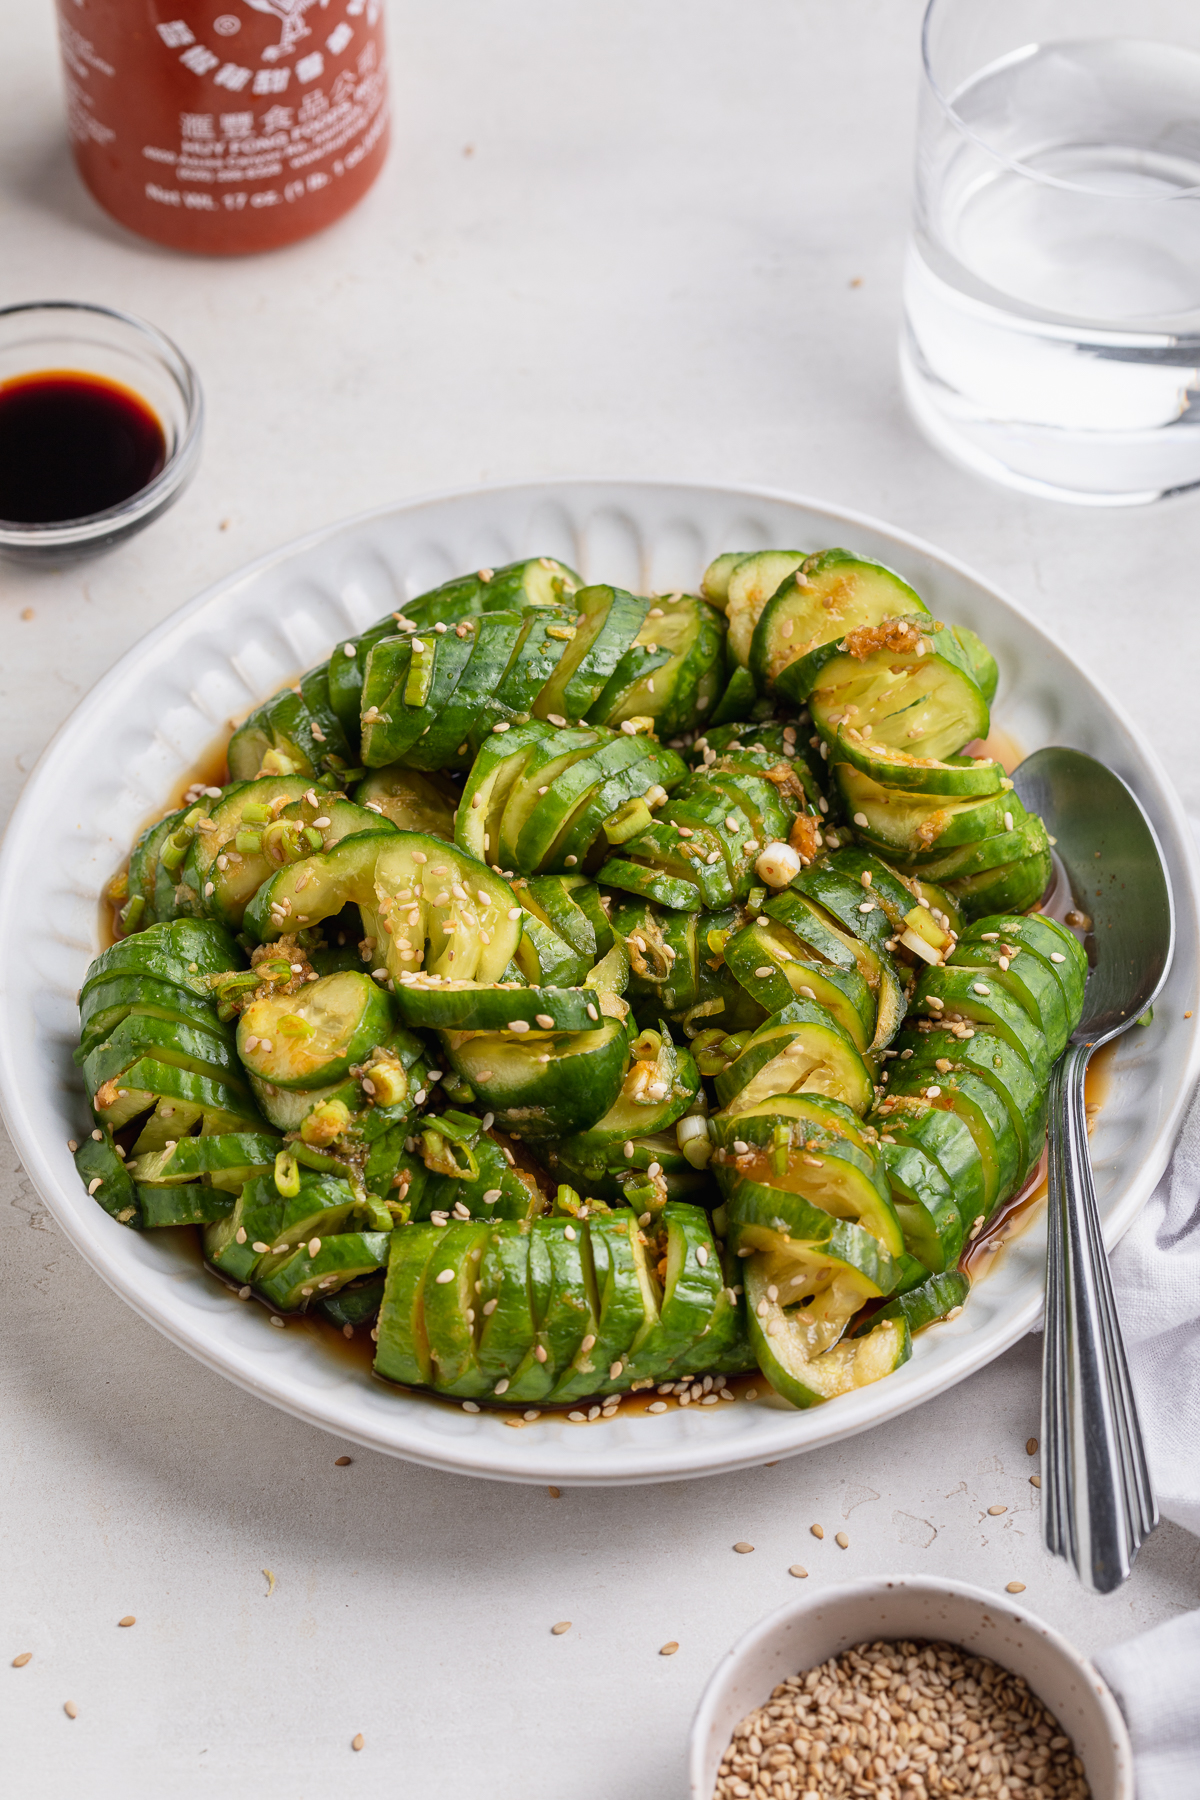
Cool and refreshing Asian cucumber salad! Full of flavor, and easy to throw together in a few simple steps. The perfect side dish or healthy lunch recipe.

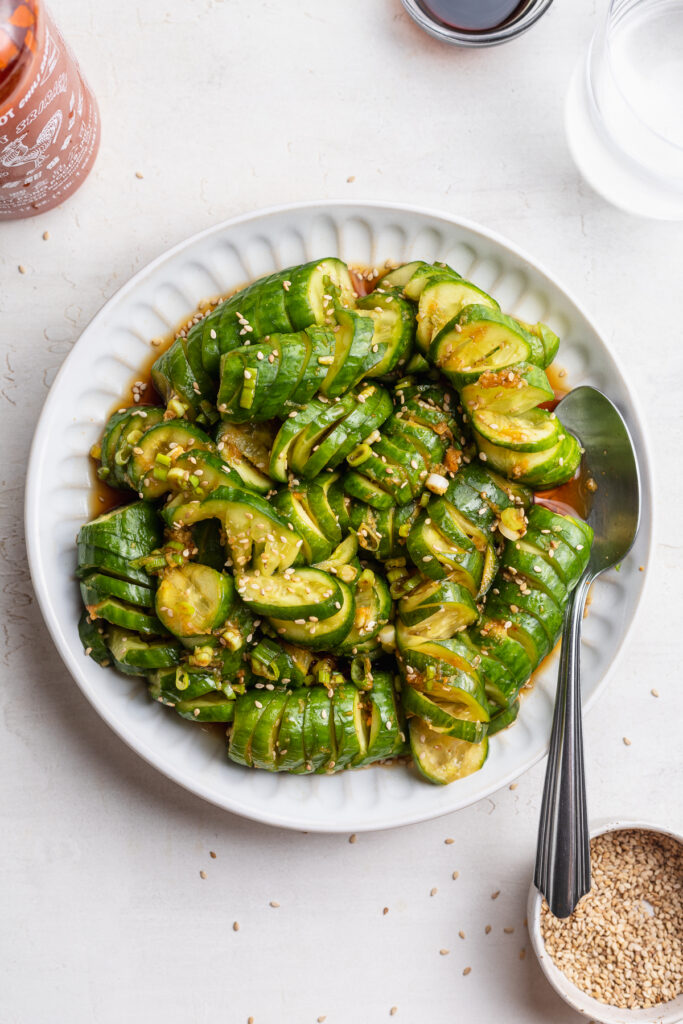
overhead image of asian cucumber salad on a plate with a spoon

What You’ll Need To Make Asian Cucumber Salad

Mini Cucumbers – Six mini seedless cucumbers are the star of this recipe. I cut mine into fun little spirals for my salad, but you can simply slice them instead. If slicing, I recommend a mandolin to help slice the cucumbers as thin as possible.

Fresh Ginger – Fresh ginger goes a long way in this Asian cucumber salad! Start by cutting about a 1-inch piece from a knob of whole ginger. Then, peel your ginger with either a spoon or a vegetable peeler. Once peeled, run the ginger along a microplane or the fine side of a box grater.

Rice Vinegar – For a hint of acidity, rice vinegar tastes best. However, if you don’t have any, feel free to use white wine vinegar or apple cider vinegar in its place.

Sriracha – While optional, I recommend a tiny drop of sriracha to round out the flavors in this recipe. For a mild version, start with just 1/2 teaspoon. Or, for a spicy Asian cucumber salad, add upwards of 1-2 teaspoons.

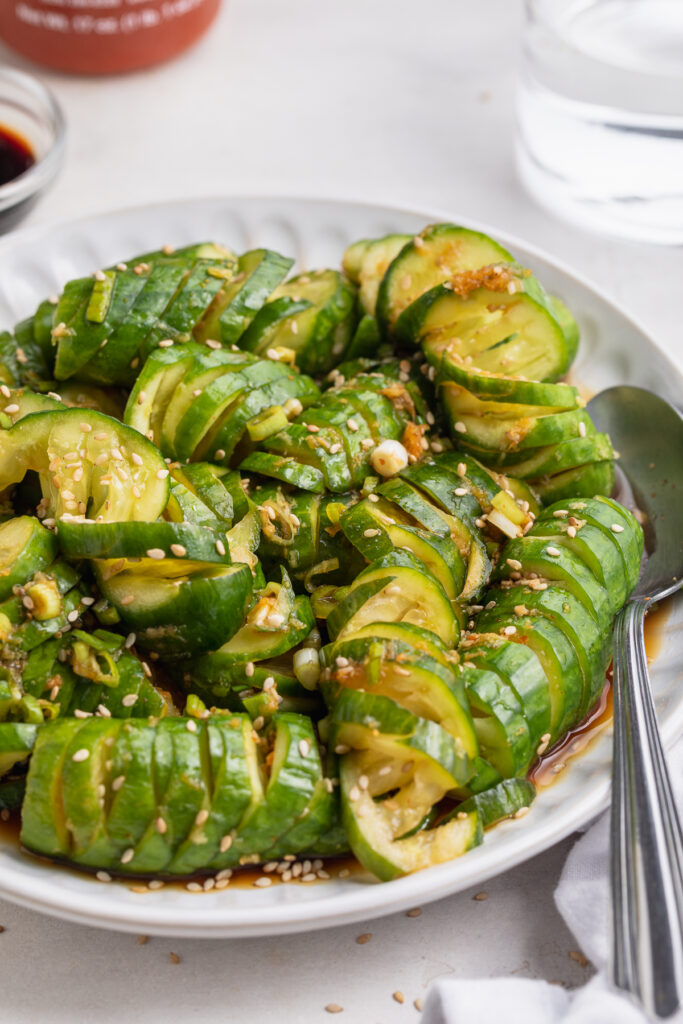
close-up image of asian cucumber salad on a plate

How to Cut Cucumbers

  1. Cut 1/4-inch of each end of a mini cucumber.
  2. Place two chopsticks on either side of the cucumber.
  3. Then, make thin (about 1/8-inch) diagonal cuts along the cucumber, stopping when your knife hits the chopsticks.
  4. Flip cucumber over and make the same exact cuts, in the same direction, on the other side.
  5. Lastly, cut each the cucumber in half, then add them to a bowl for this recipe!

Adjust This Recipe To Your Dietary Needs

Make it Gluten-Free: For a 100% gluten-free Asian cucumber salad, use tamari in place of the soy sauce. Tamari tastes just like soy sauce, but unlike soy sauce, is certified gluten-free!

Make it Vegan: Use maple syrup in place of the honey for a completely vegan side dish.

asian cucumber salad on a plate with sriracha on the side
3.74 from 41 votes

Asian Cucumber Salad

Cool and refreshing Asian cucumber salad! Full of flavor, and easy to throw together in a few simple steps. The perfect side dish or healthy lunch recipe.
Print Pin Rate
Prep Time: 5 minutes
Total Time: 5 minutes
Servings: 4 servings

Ingredients

  • 6 mini cucumbers, spiralized (see Notes) or thinly sliced
  • 1 teaspoon salt
  • 1-inch piece fresh ginger, peeled and grated
  • 1 garlic clove, peeled and grated
  • 2 tablespoons rice vinegar
  • 1 tablespoon honey or maple syrup
  • 1 tablespoon soy sauce
  • 1 teaspoon sesame oil
  • 1 teaspoon sriracha, optional
  • 3 scallions, thinly sliced
  • pinch of sesame seeds

Instructions

  • Place cucumber in a large bowl and sprinkle with salt, then let sit for 10-15 minutes while you make the dressing.
  • Whisk together the ginger, garlic, rice vinegar, honey, soy sauce, maple syrup, and sriracha in a small bowl.
  • Check on the cucumbers, and drain the water that’s gathered at the bottom of the bowl.
  • Add dressing, scallions, and sesame seeds to the cucumbers and toss to coat. Either serve immediately or let marinate in the fridge for a few hours.

Notes

  • How to Cut “Spiralized” Cucumber: Cut off each end of a cucumber, then place two chopsticks on either long side of the cucumber. Then, make thin diagonal cuts along the cucumber, stopping when your knife hits the chopsticks. Flip cucumber over and make the same cuts on the other side. Last, slice each cucumber in half, now they’re ready for this recipe!
  • Nutrition

    Calories: 300kcal

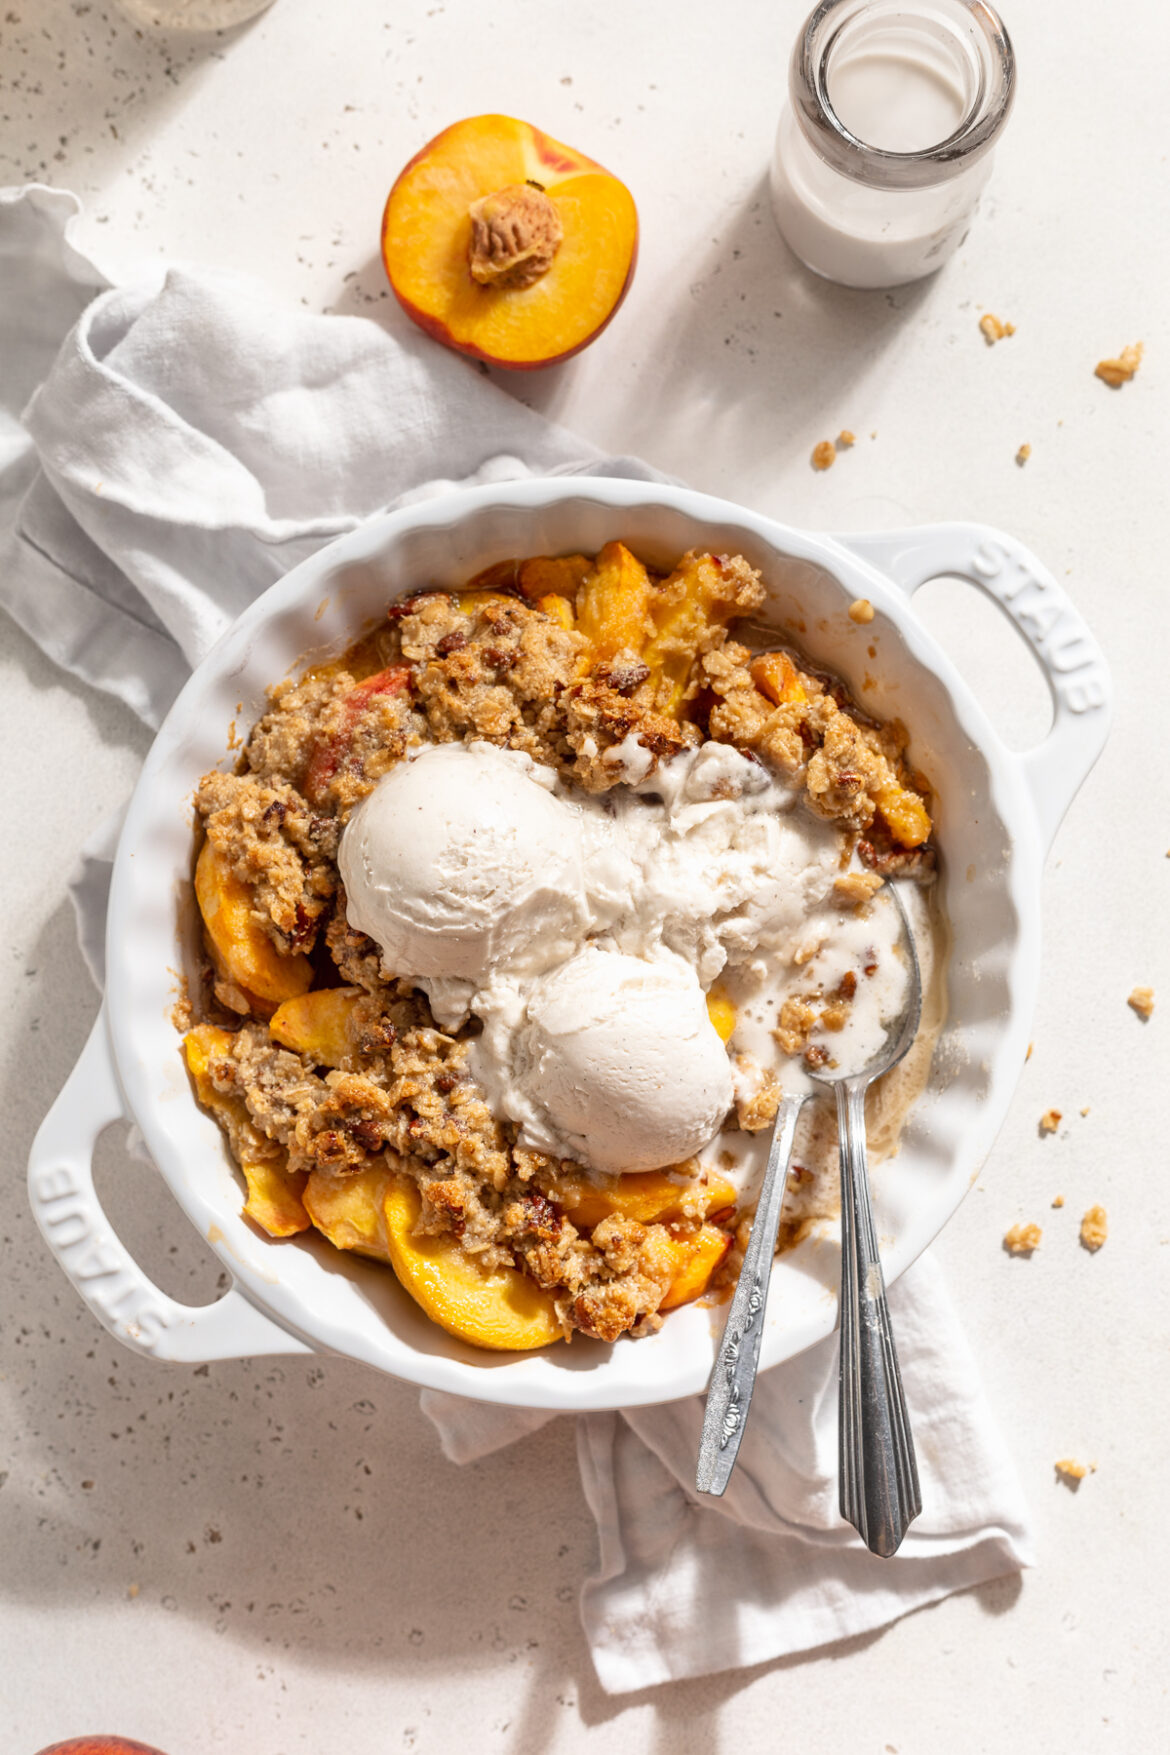
    A delicious peach crisp loaded with fresh fruit, and an easy crump topping. Loaded with simple, good-for-you ingredients, a dessert so healthy you could even eat it for breakfast! Perfectly sweet, best served warm with a scoop of cold vanilla ice cream – YUM.

    peach crisp in a pie dish with vanilla ice cream on top.

    What You’ll Need To Make Peach Crisp

    Peaches – Use fresh, not frozen peaches for this easy crisp recipe! Slice each peach in half, remove the pit, then slice them into 1/4-inch pieces. Either leave the skin on or peel them before slicing, it’s up to you!

    Corn Starch – Corn starch, arrowroot starch, or tapioca starch will all work in the filling of this recipe. A tablespoon of either thickening agent will help the filling stick together.

    Rolled Oats – Any type of rolled oats will work! The only oats you should avoid are steel-cut and/or Irish oats. Or, for a paleo version of this recipe, replace the oats with extra almond flour and chopped nuts!

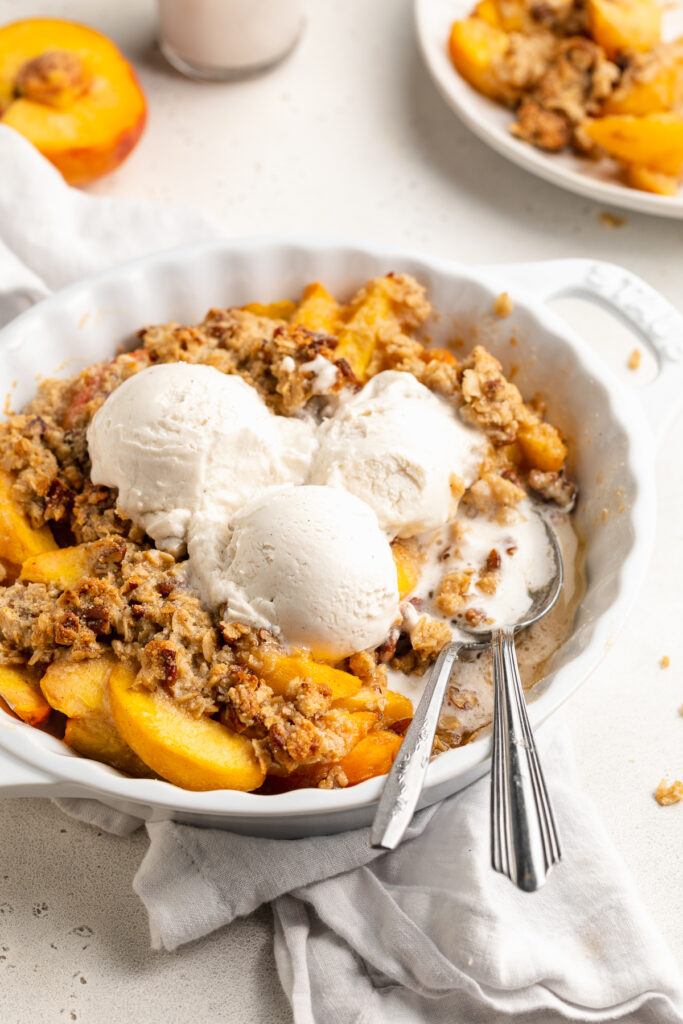
    peach crisp in a bowl with vanilla ice cream on top.

    Tips and Tricks

    • Let the peach crisp cool for 5-10 minutes before serving! This’ll give the filling enough time to set, and prevent those peach juice from running out when served. Also, don’t forget to serve it with a big ole’ scoop of cold vanilla ice cream – it’s simply the BEST!

    Adjust This Recipe To Your Dietary Needs

    Make it Paleo: For a paleo fruit crisp, use arrowroot starch instead of corn starch in the filling, and replace the rolled oats with an extra 1/4 cup almond flour plus 1/4 cup chopped walnuts or pecans.

    Make it Gluten-Free: This recipe is already gluten-free! However, to ensure no traces of gluten in your peach crisp, be sure to use a gluten-free certified corn starch as well as gluten-free certified rolled oats.

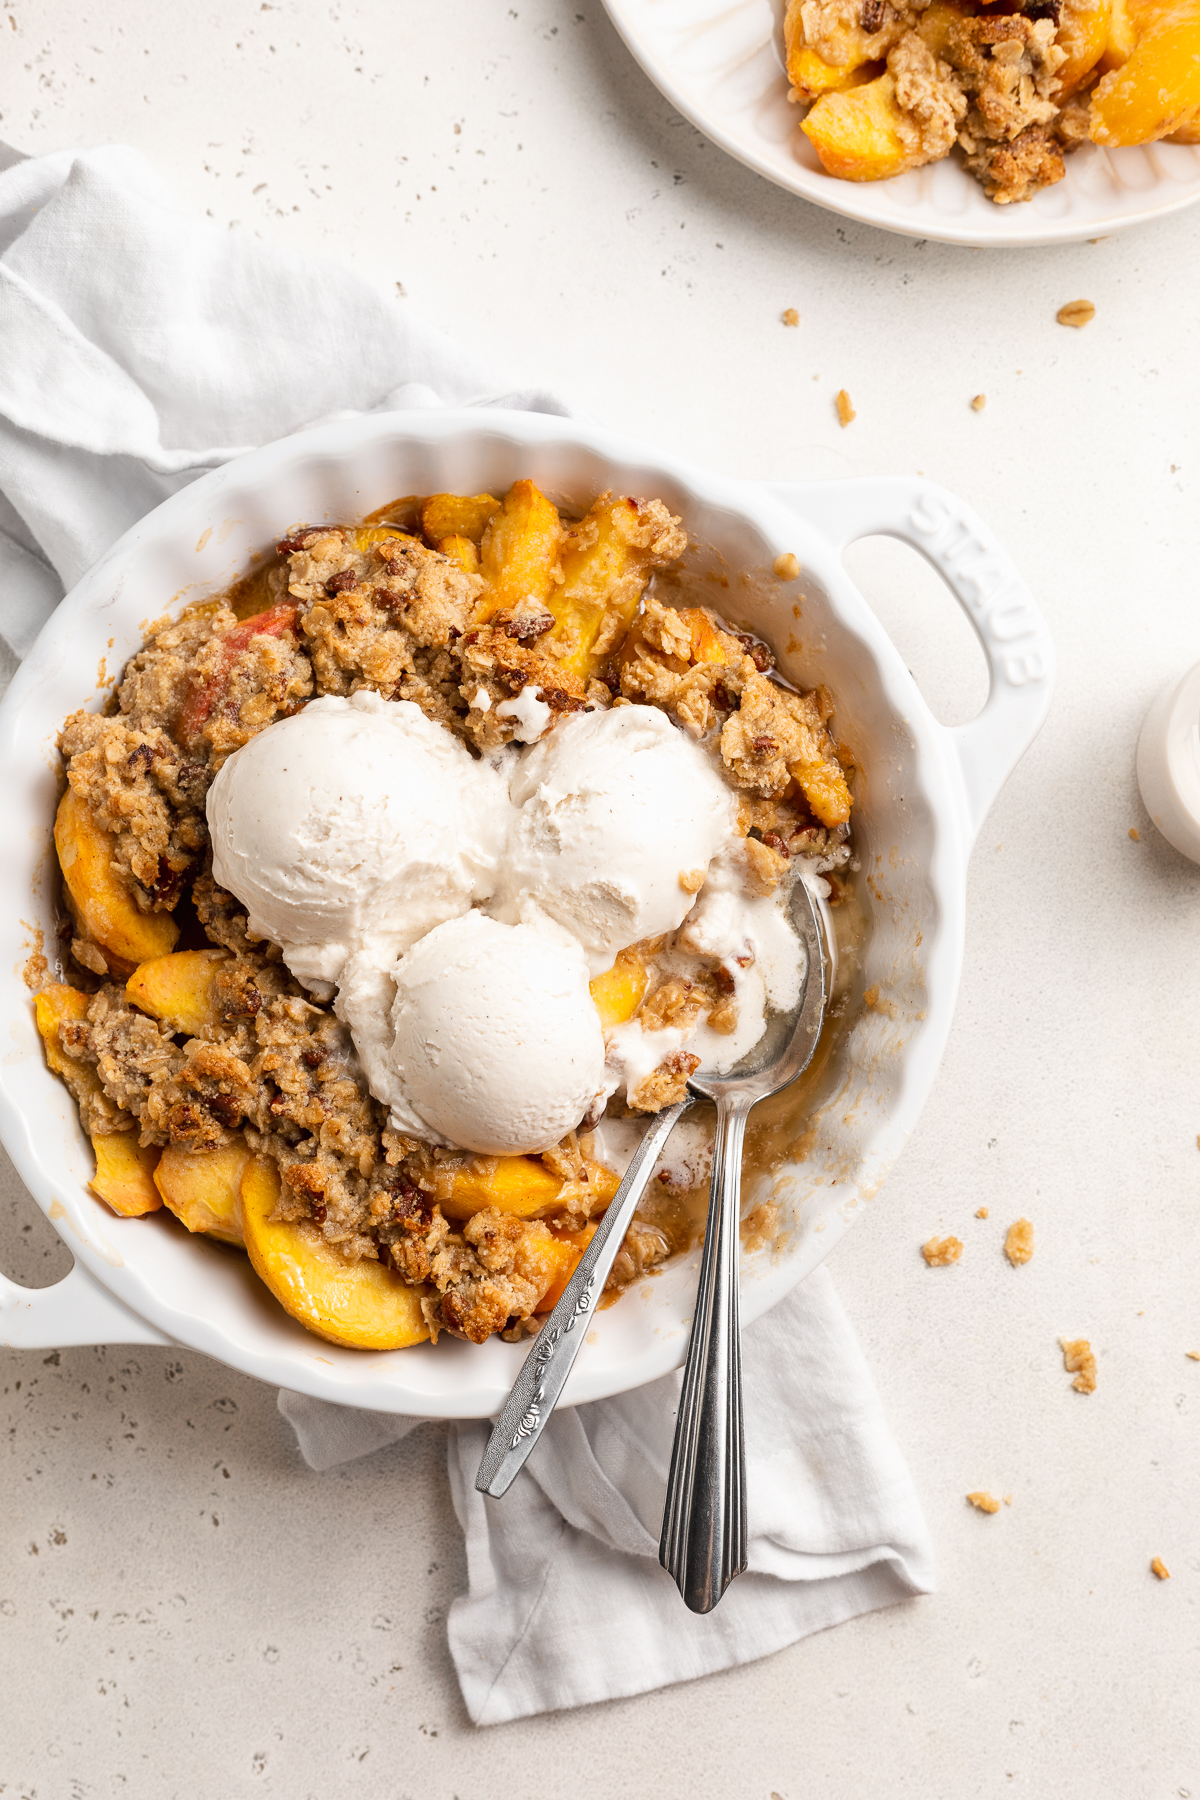
    overhead image of peach crisp in a pie dish wtih vanilla ice cream on top.
    5 from 1 vote

    Easy Peach Crisp (One-Bowl!)

    A delicious fruit crisp loaded with fresh peaches, and an easy crump topping. Loaded with simple, good-for-you ingredients, a dessert so healthy you could even eat it for breakfast! Perfectly sweet, best served warm with a scoop of cold vanilla ice cream – YUM.
    Print Pin Rate
    Prep Time: 5 minutes
    Cook Time: 30 minutes
    Total Time: 35 minutes
    Servings: 8 servings

    Ingredients

    For the filling:

    • 4-5 peaches, pitted, pitted, cut into 1/4-inch slices
    • 1 tablespoon corn starch
    • 1 tablespoon maple syrup
    • 1 tablespoon lemon juice
    • 1 teaspoon vanilla extract
    • small pinch cinnamon

    For the crumb topping:

    • 1/2 cup rolled oats
    • 1/2 cup almond flour
    • 1/2 cup chopped walnuts or pecans
    • pinch of salt
    • 1/4 cup coconut oil, solid
    • 1/4 cup maple syrup

    Instructions

    • Preheat oven to 350° Fahrenheit.
    • Add all filling ingredients to a bowl and toss to coat peaches, then transfer to an 8×8-inch baking dish.
    • Add all crisp ingredient to a bowl and mix together until combined.
    • Sprinkle topping over filling and bake for 30-35 minutes, or until golden brown and bubbly.

    Nutrition

    Calories: 300kcal

    These s’mores bars are something else! A buttery graham cracker base followed by a lush layer of chocolate is topped off with toasty marshmallows. These s’mores bars will blow you away with how delicious and addictive they are – all while gluten-free!

    gluten-free s'mores bars stacked on top of each other.

    What You Need To Make S’mores Bars

    Oat Flour – You can either purchase oat flour from the store or easily make it yourself at home. To make oat flour, start by adding 1 and 1/2 cups of rolled oats to a blender or food processor. Then, blend the oats for a few seconds or until ground into a powder. Once ground, you now have oat flour to use in this gluten-free recipe!

    Chocolate Chips – Any chocolate chips or even a chopped chocolate bar will work in these s’mores bars. I used the Enjoy Life Mini Chips since they are vegan and nut-free, though you can use any vegan chocolate you’d like. And if you’re not vegan, feel free to use whatever chocolate you have on-hand! (P.S. you should always have chocolate on-hand.)

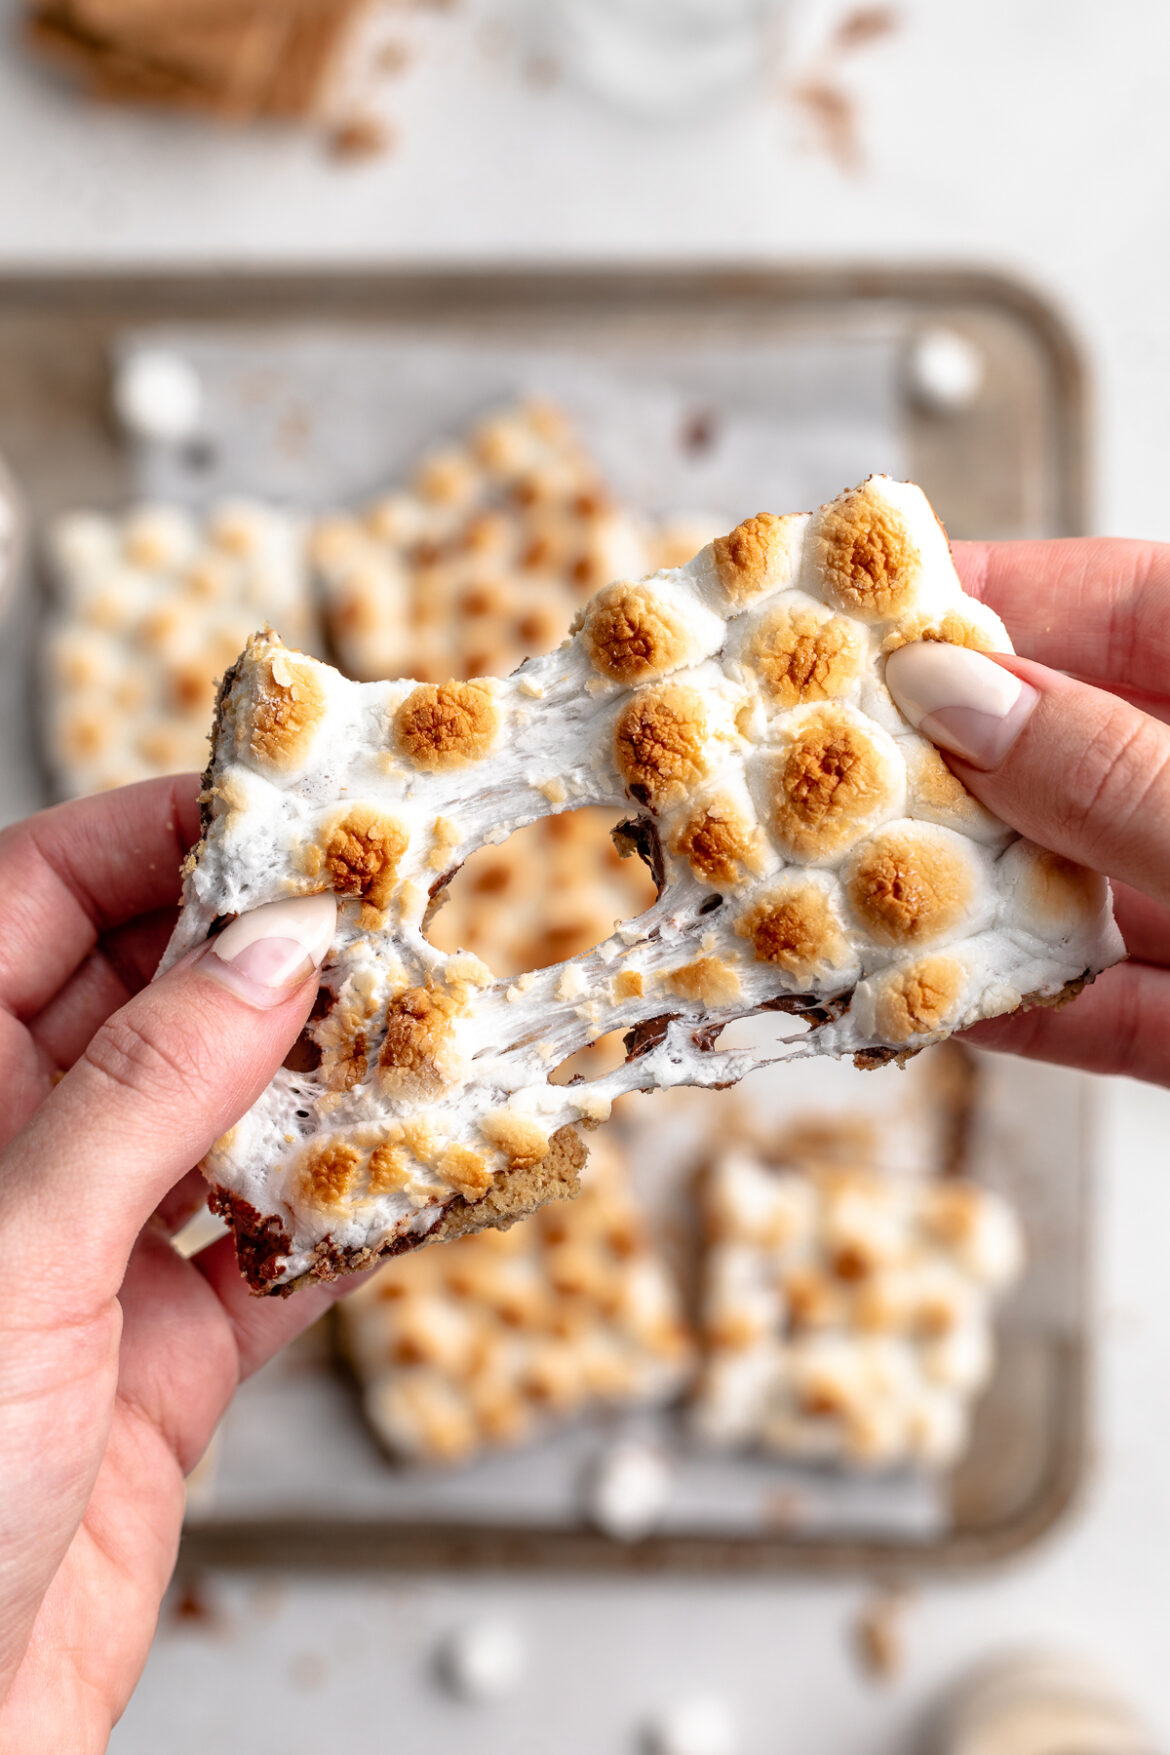
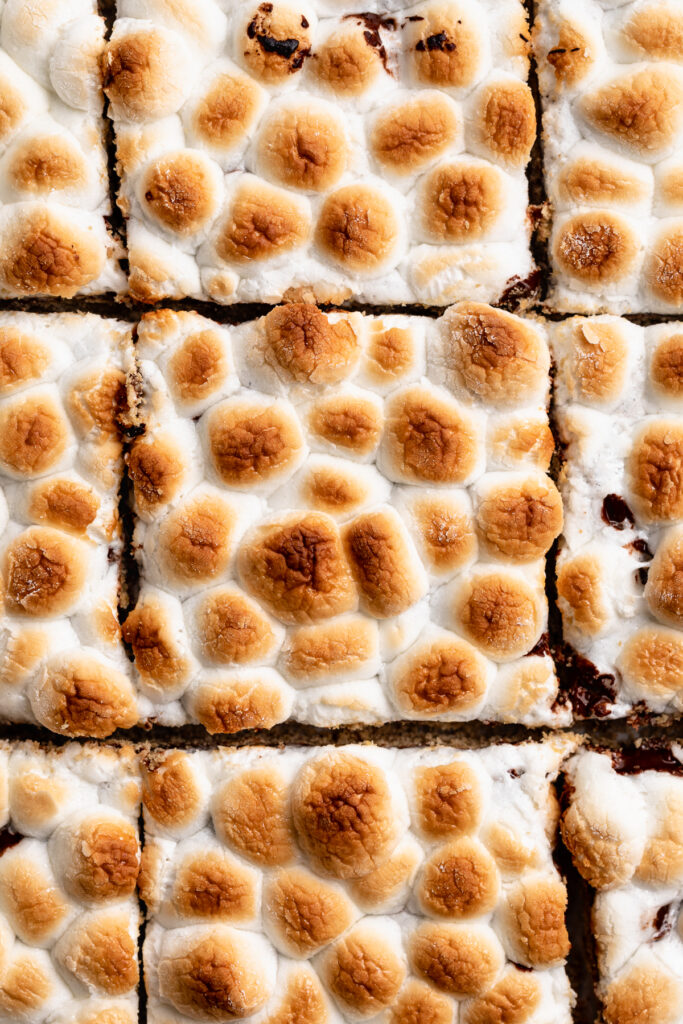
    Marshmallows – I prefer mini marshmallows for simply how cute and satisfying they look all lined up on top of these s’mores bars. However, the standard size marshmallows will work just fine. The key to perfectly toasty and golden brown marshmallows is sticking them under the broiler for about 1 minute. It’s super important you keep an eye on the bars during this final trip in the oven, as the broiler has a tendency to burn things in literal seconds. Therefore, watch your vegan marshmallow-y treats and pull them out once they’ve achieved your desired level of toasty-ness!

    close-up overhead image of s'mores bars.

    Adjust This Recipe To Your Diet

    Don’t Have Oat Flour? If you don’t have oats and/or oat flour, you can replace it with an equal amount of either brown rice flour or all purpose flour in this recipe.

    Add Dairy: Use regular melted butter in place of the vegan butter in this recipe.

    s'mores bars on a baking sheet with graham crackers on the side.

    Tips For Making S’mores Bars

    • Be sure to leave the bars to cool on the baking sheet for at least 15 minutes after you take them out of the oven! These s’mores bars are surprisingly delicate, so leaving them to cool will ensure they stick together when handled.
    • Use a greased knife to quickly and easily slice the bars. To do this, take a sharp knife and either spray it with spray cooking oil or drizzle it with some coconut oil. Once greased, cut into the bars and wipe down the knife between each slice!
    • I highly recommend storing this vegan and gluten-free dessert in the fridge or freezer during the summer months. Due to the butter and chocolate, they are at risk of melting if left to sit out in too high of a temperate. Therefore, to avoid that risk, it’s best to just keep these babies in the fridge to enjoy them at your leisure!
    overhead image of s'mores bars.
    5 from 3 votes

    S’mores Bars (Vegan, Gluten-Free)

    These s’mores bars are something else! A buttery graham cracker base followed by a lush layer of chocolate is topped off with toasty marshmallows. These s’mores bars will blow you away with how delicious and addictive they are – all while being vegan and gluten-free!
    Print Pin Rate
    Prep Time: 10 minutes
    Cook Time: 20 minutes
    Total Time: 30 minutes
    Servings: 12 bars

    Ingredients

    • 1 1/4 cups oat flour, see Notes
    • 1/4 cup tapioca flour, or corn starch
    • 1/2 teaspoon baking powder
    • 1/4 cup maple syrup
    • 2 1/2 tablespoons butter, melted (I used vegan butter)
    • 1/2 teaspoon vanilla extract
    • 1 cup chocolate chips
    • 2 cups marshmallows

    Instructions

    • Preheat oven to 350° Fahrenheit.
    • Mix together the oat flour, tapioca flour, and baking powder in a bowl.
    • Add in the maple syrup, melted vegan butter, and vanilla extract, mix everything to combine.
    • Transfer to a lined 9×9 baking sheet, press into an even layer, then bake for 12-15 minutes or until golden brown.
    • Remove from the oven and sprinkle evenly with chocolate chips, then place back into the oven for 1 minute or until chocolate has melted.
    • Remove from the oven once more, spread the chocolate into an even layer, then top with marshmallows. Place in the oven on broil for 1 minute (watch closely to make sure it doesn’t burn!) or until marshmallows are lightly toasted.
    • Let cool in the pan for 15-20 minutes before slicing.

    Notes

  • Oat Flour: You can easily make your own oat flour by blending rolled oats in a blender until a powder forms and no large oat chunks remain!
  • Nutrition

    Calories: 300kcal

    More Delicious Vegan and Gluten-Free Desserts

    Forget those box mixes! You can make these wholesome muffins from scratch with just basic grocery store ingredients. These gluten-free blueberry muffins are bursting with fresh blueberries and are deliciously soft on the inside. With only 11 ingredients and two bowls needed, this gluten-free blueberry muffin recipe is simple to follow with dairy-free and grain-free options.

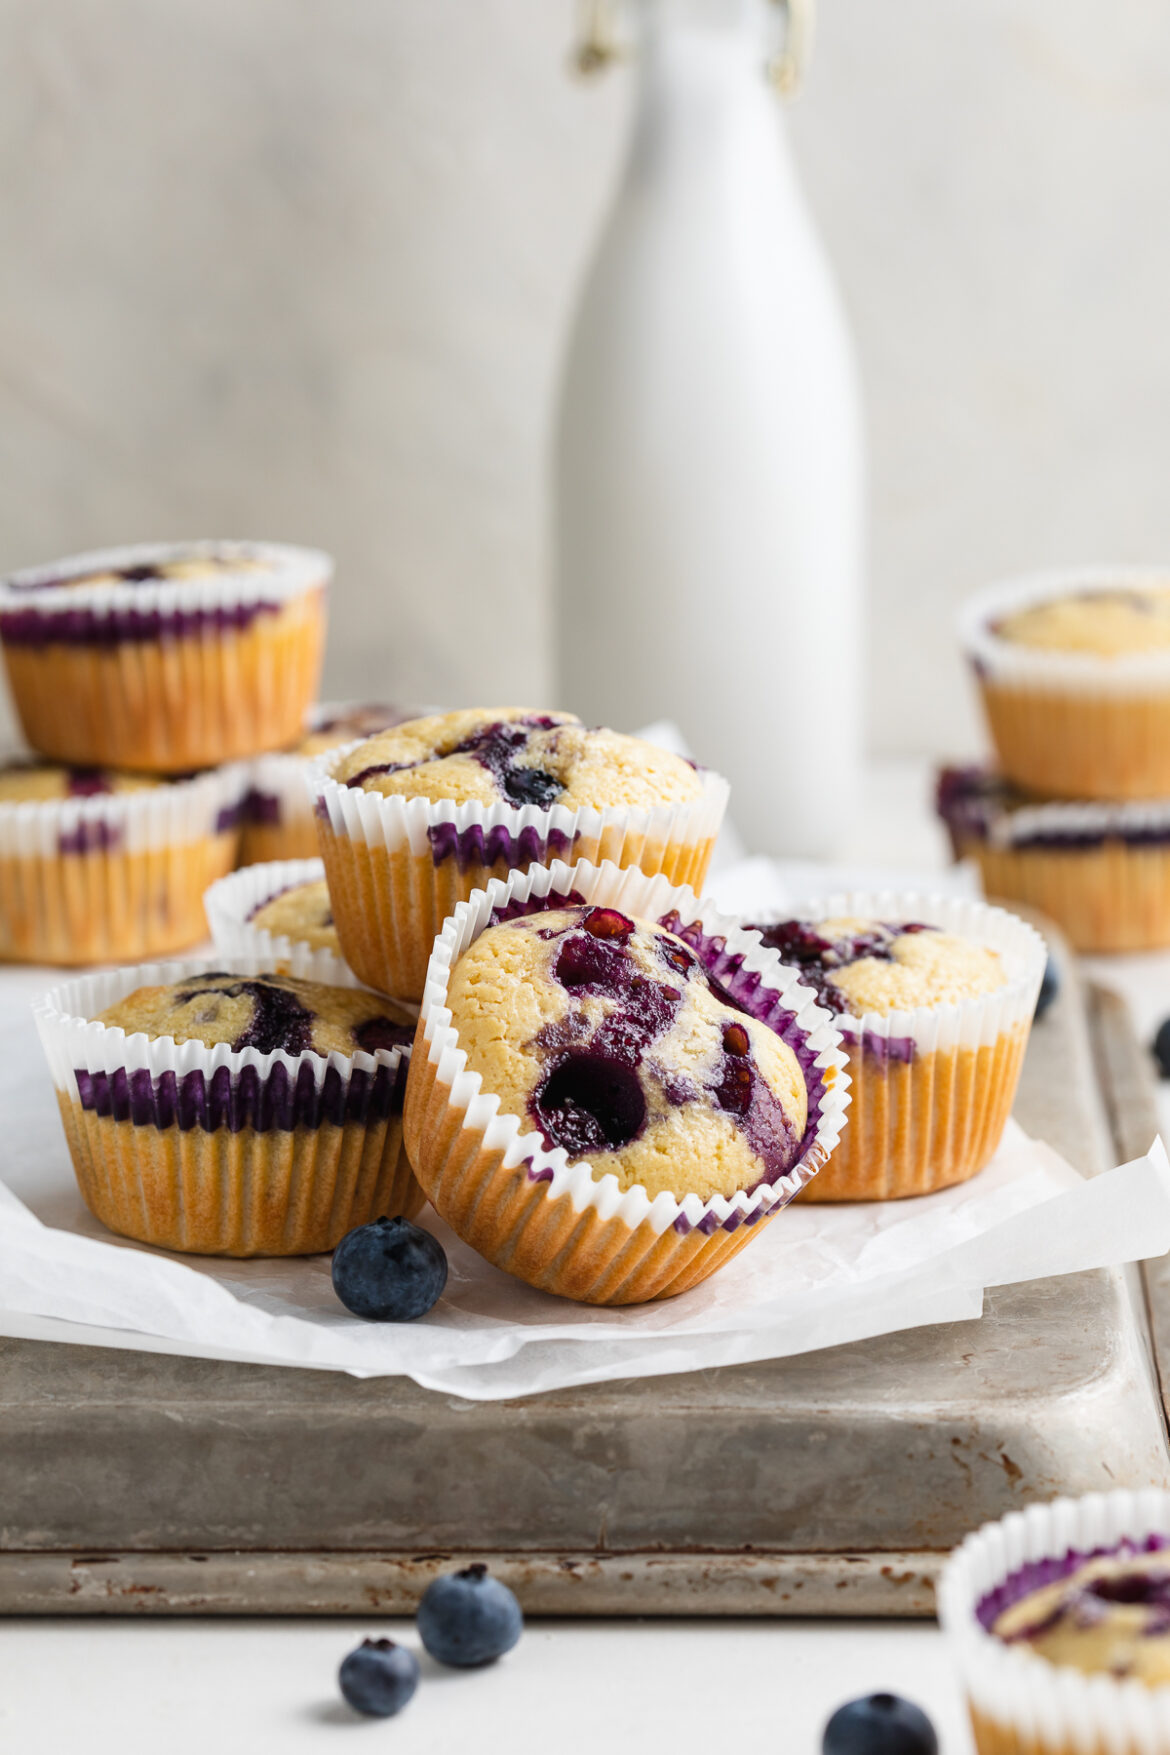
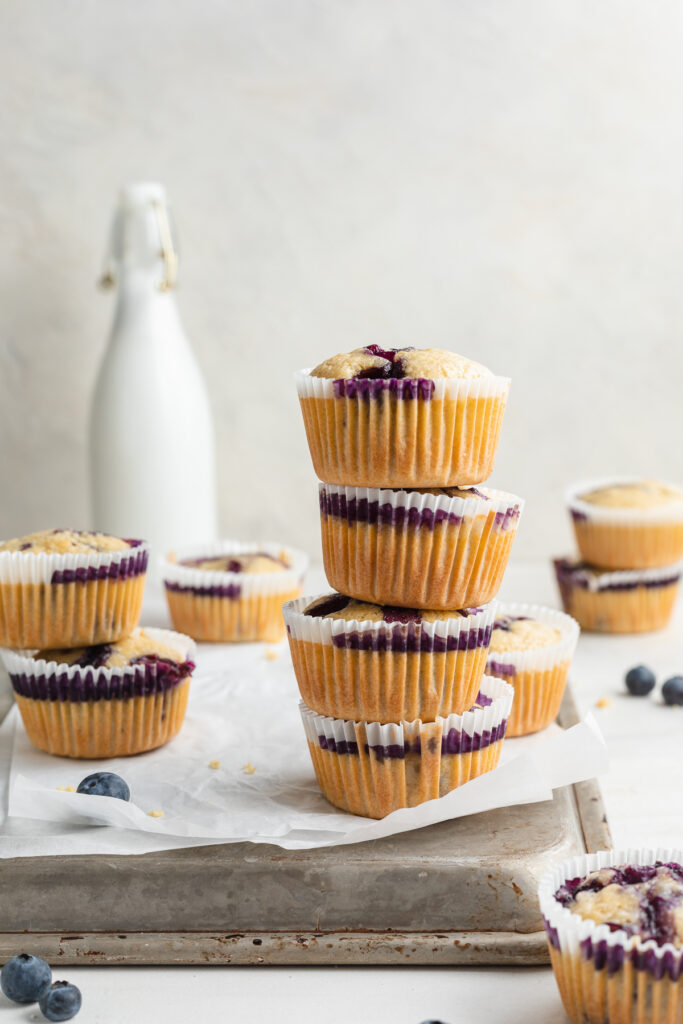
    stack of four gluten-free blueberry muffins.

    Blueberry muffins are a classic recipe, and while this version is gluten-free, grain-free and dairy-free, you won’t be disappointed! Super easy and quick to make, they taste just like they came from your favorite bakery!

    WHAT YOU NEED TO MAKE GLUTEN-FREE BLUEBERRY MUFFINS

    Blueberries – Whether fresh or frozen, the ultimate staple to this recipe is, of course, blueberries!

    Almond Flour – This gluten and grain-free flour is a staple in my kitchen. Almond flour has a very mild taste and gives these blueberry muffins their irresistibly soft texture!

    Non-Dairy Milk – Although I used almond milk for this recipe, feel free to use other dairy-free products like oatmilk.

    Honey or Maple Syrup – Naturally sweeten these blueberry muffins with honey or maple syrup to add a subtle but delicious flavor. It’s also much healthier than any refined sugar!

    gluten-free blueberry muffins on a sheet of parchment paper

    ADJUST THIS GLUTEN-FREE BLUEBERRY MUFFIN RECIPE TO YOUR DIET

    • Vegan: Use 3 flax eggs. They won’t be as big and fluffy, but will still taste delicious!

    TIPS FOR MAKING GLUTEN-FREE BLUEBERRY MUFFINS

    • If you can’t find fresh blueberries, go ahead and use frozen.  

    • Use cupcake liners to keep the muffins from sticking to the pan.

    • To keep your muffins from getting “soggy bottoms,” allow the muffins to cool in the pan for a few minutes before placing on a cooling rack.
    stack of gluten-free sugar cookies
    No ratings yet

    Gluten-Free Blueberry Muffins (Dairy-Free, Grain-Free)

    Forget those box mixes! You can make these wholesome muffins from scratch with just basic grocery store ingredients. These gluten-free blueberry muffins are bursting with fresh blueberries and are deliciously soft on the inside. With only 11 ingredients and two bowls needed, this gluten-free blueberry muffin recipe is simple to follow with dairy-free and grain-free options.
    Print Pin Rate
    Prep Time: 5 minutes
    Cook Time: 25 minutes
    Total Time: 30 minutes
    Servings: 2 servings

    Ingredients

    • 1 ½ Cups Almond Flour
    • ½ Cup Tapioca Starch (corn or arrowroot starch might work, I haven’t tested it myself yet)
    • 1 Teaspoon Baking Powder
    • ¼ Teaspoon Salt
    • 3 Eggs 
    • ¼ Cup Coconut Oil, melted
    • ¼ Cup Honey or Maple Syrup
    • ¼ Cup Non-Dairy Milk
    • 1 Tablespoon Apple Cider Vinegar
    • 1 Teaspoon Vanilla Extract
    • 1 Cup Fresh Blueberries

    Instructions

    • Preheat the oven to 350F & grease or line a muffin pan.
    • Combine your dry ingredients – almond flour, tapioca starch, baking powder, & salt in a large bowl.
    • Add in your wet ingredients – eggs, coconut oil, honey or maple syrup, almond milk, vinegar, & vanilla extract and mix everything really well.
    • Fold in your fresh blueberries to your muffin batter until they’re incorporated.
    • Scoop out ¼-1/3 cup of batter into each muffin tin & bake for 20-25 minutes. These store best in the fridge – just pop in the toaster oven for a few minutes before enjoying.

    Notes

  • Use cupcake liners to keep the muffins from sticking to the pan.
  • Frozen blueberries are a bit more likely to tint the muffins as you mix them in, but the result won’t taste any less delicious!
  • To store, wait until the muffins get to room temperature before placing them in an airtight container in the freezer. 
  • Nutrition

    Calories: 300kcal

    OTHER HEALTHY BREAKFAST/DESSERT RECIPES

    The healthiest raw cookie dough you’ll ever eat, made from chickpeas! Lightly sweetened with maple syrup, and loaded with extra chocolate chips. This chickpea cookie dough is vegan, gluten-free, super healthy, and totally delicious.

    overhead image of scoops of chickpea cookie dough with extra chocolate chips

    What You’ll Need To Make Chickpea Cookie Dough

    Chickpeas – An entire can of chickpeas is the base to this healthy cookie dough recipe! Drain and rinse your chickpeas well before adding them to the blender. And for a smoother cookie dough, remove the skins off your chickpeas.

    Nut or Seed Butter – I used almond butter, but any nut or seed butter will work in this recipe. Peanut butter, cashew butter, or even sunflower seed butter! Though whichever nut/seed butter you use, make sure it’s unsweetened.

    Maple Syrup – This unrefined sweetener add sweetness, but keeps this vegan dessert recipe extra healthy. Though if you’d like, you can use honey, agave nectar, or even date syrup instead.

    chickpea cookie dough inside a cookie scoop

    Tips and Tricks

    • This chickpea cookie dough is high in plant-based protein! However, if you’d like to add even more protein, throw in a scoop of your favorite vanilla plant-based protein powder. I recommend the Aloha Vanilla Protein Powder, it’s not too sweet and won’t throw off the flavor of this healthy dessert recipe.
    • Enjoy it however you’d like! By the spoonful, over ice cream, as breakfast, a snack, or dessert.
    • Taste and adjust the flavor of this edible cookie dough however you’d like. For more sweetness, add in a touch more maple syrup. Or, for a thicker consistency, blend in an extra tablespoons of almond flour.
    chickpea cookie dough in a jar with a spoon

    Adjust This Recipe To Your Dietary Needs

    Make it Nut-Free: For a nut-free version of this chickpea cookie dough, replace the almond flour with 3 tablespoons of coconut flour, and use sunflower seed butter.

    Make it Sugar-Free: For an entirely sugar-free healthy dessert, use your favorite sugar-free liquid sweetener in place of the maple syrup. Also, replace the chocolate chips with cacao nibs!

    No ratings yet

    Chickpea Cookie Dough

    The healthiest raw cookie dough you’ll ever eat, made from chickpeas! Lightly sweetened with maple syrup, and loaded with extra chocolate chips. This chickpea cookie dough is vegan, gluten-free, super healthy, and totally delicious.
    Print Rate
    Prep Time: 5 minutes
    Total Time: 5 minutes
    Servings: 4 servings

    Ingredients

    • 1 (15-ounce) can chickpeas, drained and rinsed
    • 1/4 cup nut or seed butter, I used almond butter
    • 1/4 cup almond flour, see Notes for nut-free option
    • 3 tablespoons maple syrup
    • 1 tablespoon non-dairy milk, unsweetened
    • 1 teaspoon vanilla extract
    • pinch of salt
    • 1/4 cup chocolate chips

    Instructions

    • Add all ingredients except chocolate chips to a food processor or high-speed blender, then pulse until super smooth.
    • Fold in chocolate chips and enjoy!

    Video

    Notes

  • Make it Nut-Free: Replace the almond flour with 3 tablespoons of coconut flour.
  • Nutrition

    Calories: 300kcal