Tag

maple syrup

Browsing

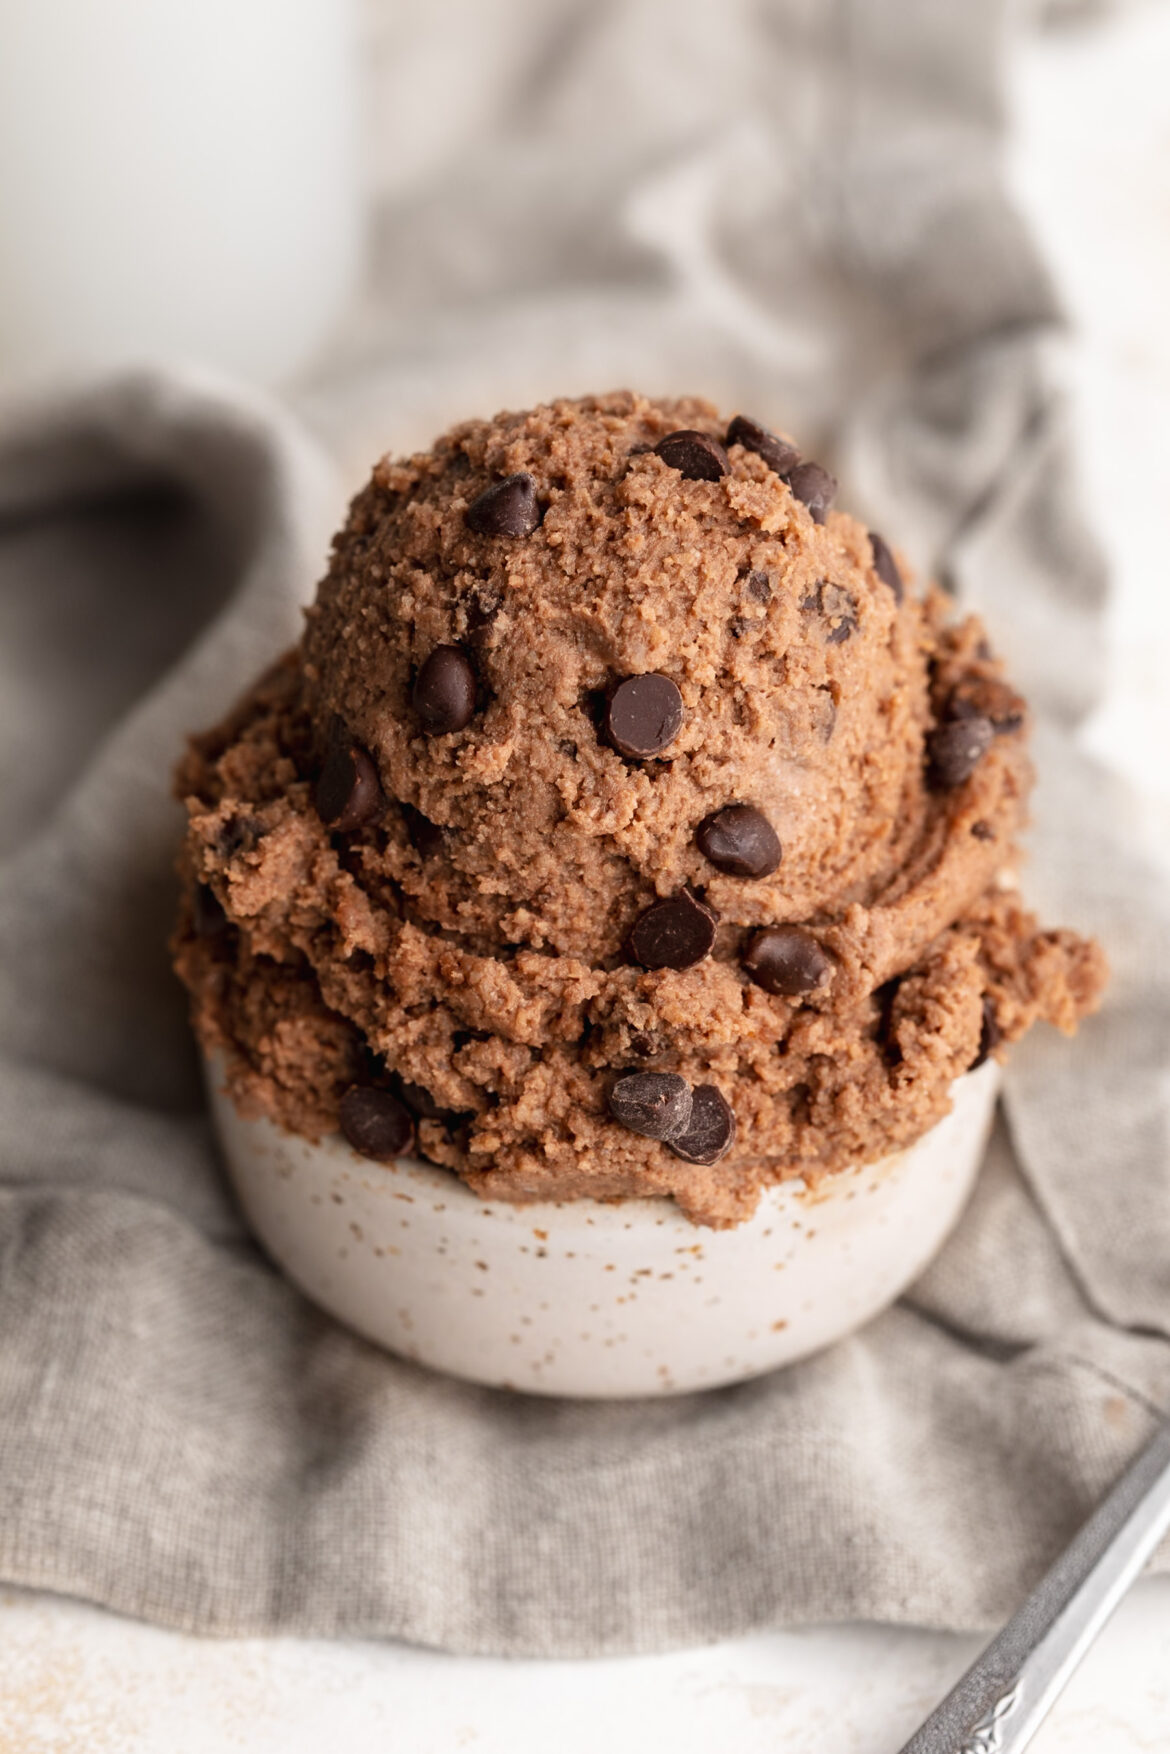
If you loved my Cottage Cheese Cookie Dough, get ready — because this cottage cheese brownie batter is about to be your new obsession. Same concept, same creamy no-bake magic, but make it chocolate. We’re blending cottage cheese until it’s completely smooth (so you’d never know it’s in there!), then mixing in almond flour and chocolate protein powder for a thick, fudgy, brownie batter-like treat that’s packed with protein and ready in just 5 minutes!

And yes — it really does taste like brownie batter. Rich, chocolatey, and superrrr satisfying! Whether you eat it straight from the bowl with a spoon (trust me, I don’t judge), or use it as a dip for strawberries and pretzels, I promise you’re going to be making this on repeat. For more no-bake chocolate treats, you’ll also love my 4-Ingredient Protein Brownies and 3-Ingredient Protein Cookies!

Why You’ll Love This Recipe

  • High-Protein & Satisfying: Packed with protein from cottage cheese and chocolate protein powder, this brownie batter keeps you full and fueled — not just for a minute, but for real.
  • Quick & Easy: No baking, no cooking, no fuss. Just blend, mix, and dig in. Start to finish in 5 minutes.
  • Wholesome Ingredients: Made with simple, real-food ingredients that you can feel great about eating. No refined sugar – simply delicious!
  • Two Ways to Make It: Use chocolate protein powder for a protein boost, or swap in unsweetened cocoa powder if you prefer to keep it protein powder-free. Both versions are incredible!
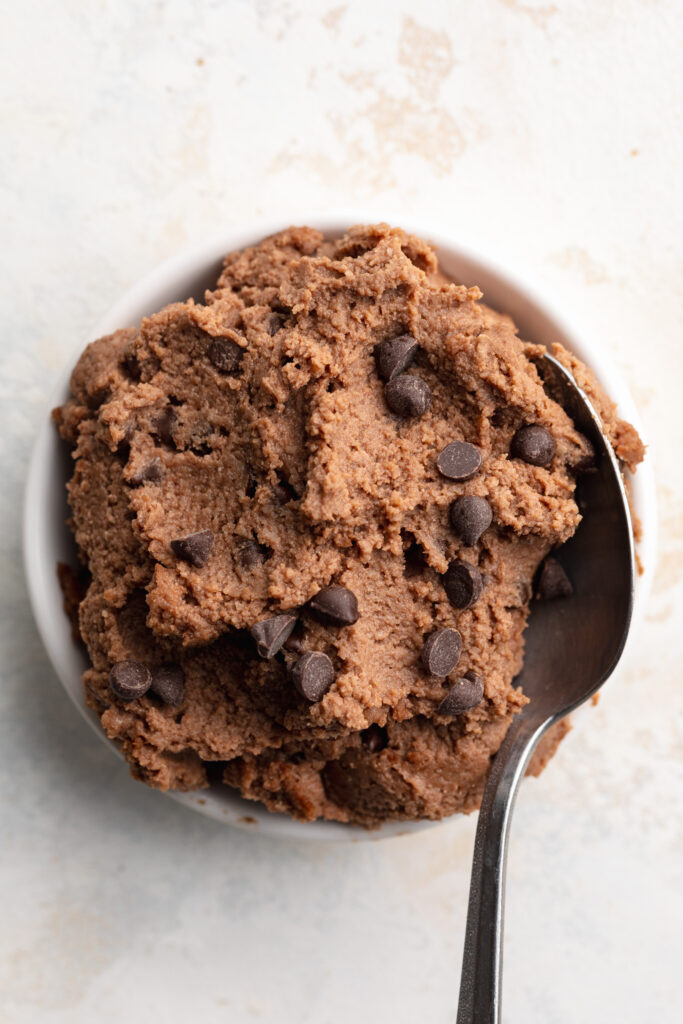
overhead image of cottage cheese brownie batter in a small dish with a spoon.

What Makes This Cottage Cheese Brownie Batter Healthy?

This brownie batter is a genuinely nourishing treat, not just a “better than nothing” swap. Cottage cheese is the star ingredient, delivering a creamy texture along with a solid dose of protein and calcium — all without any of the heavy cream, butter, or eggs you’d find in traditional brownie batter. Maple syrup keeps the sweetness natural and free of refined sugar, while almond flour adds healthy fats, fiber, and a subtle nuttiness that perfectly complements the chocolate. Fold in some chocolate chips at the end and you’ve got something that feels indulgent but is actually doing something good for your body.

Recipe Substitutions

  • Almond Flour: Swap with oat flour or coconut flour if needed. If using coconut flour, start with just ¼ cup — it absorbs a lot more moisture than almond flour.
  • Maple Syrup: Honey, agave nectar, or any other liquid sweetener you love all work great here.
  • Chocolate Protein Powder: No protein powder? No problem! Use 2 tablespoons of unsweetened cocoa powder instead. The batter will be slightly less thick but just as chocolatey and delicious.
  • Chocolate Chips: Cacao nibs or dairy-free chocolate chips work perfectly if you need a dairy-free version.

Adjust This Recipe to Your Dietary Needs

  • Dairy-Free: Swap the cottage cheese for a thick, plain dairy-free yogurt (like coconut or cashew-based) and use dairy-free chocolate chips.
  • Nut-Free: Replace the almond flour with oat flour and make sure your chocolate chips are processed in a nut-free facility.
  • Keto-Friendly: Use a sugar-free liquid sweetener like monk fruit syrup in place of maple syrup, opt for low-carb chocolate chips, and swap almond flour for coconut flour.
  • Extra Protein: Use a high-quality chocolate protein powder instead of cocoa powder to bump the protein content up even further!
cottage cheese brownie batter scooped into a small cup.
No ratings yet

Cottage Cheese Brownie Batter

This cottage cheese brownie batter is a high-protein, no-bake treat that tastes just like the real thing – rich, fudgy, and deeply chocolatey but made with wholesome ingredients! Ready in just 5 minutes with 5 simple ingredients, it's the easiest healthy dessert you'll ever make. If you're looking for a healthier way to satisfy your chocolate cravings, this is the recipe you've been waiting for!
Print Pin Rate
Prep Time: 5 minutes
Total Time: 5 minutes
Servings: 6 servings

Equipment

  • 1 food processor or high speed blender
  • 1 small bowl

Ingredients

  • 1 cup cottage cheese
  • 1/4 cup maple syrup
  • 1 teaspoon vanilla extract optional
  • 1 cup almond flour
  • 1 scoop chocolate protein powder or 2 tablespoons cocoa powder
  • 1/2 cup chocolate chips

Instructions

  • Add the cottage cheese, maple syrup, and vanilla extract to a blender or food processor and blend until completely smooth.
  • Transfer the cottage cheese mixture to a bowl and mix in the almond flour and chocolate protein powder, then fold in the chocolate chips.
  • Serve immediately or store in an airtight container in the fridge for up to 5 days.

Nutrition

Serving: 1serving | Calories: 250kcal | Carbohydrates: 21g | Protein: 12g | Fat: 14g | Fiber: 3g | Sugar: 13g

With a sweet tooth like mine, it’s no surprise I love a candy bar! And I’ve certainly made it my mission to make healthier versions of all of my favorites. It started with healthy twix bars, then healthy butterfingers, healthy peanut butter cups, date caramels, and now healthy snickers! These homemade candy bars are made with just 6 simple ingredients, lightly sweetened with maple syrup, and shockingly easy to make. They’re perfect to store in the fridge or freezer whenever your sweet cravings strike (which… if you’re anything like me, they strike daily)!

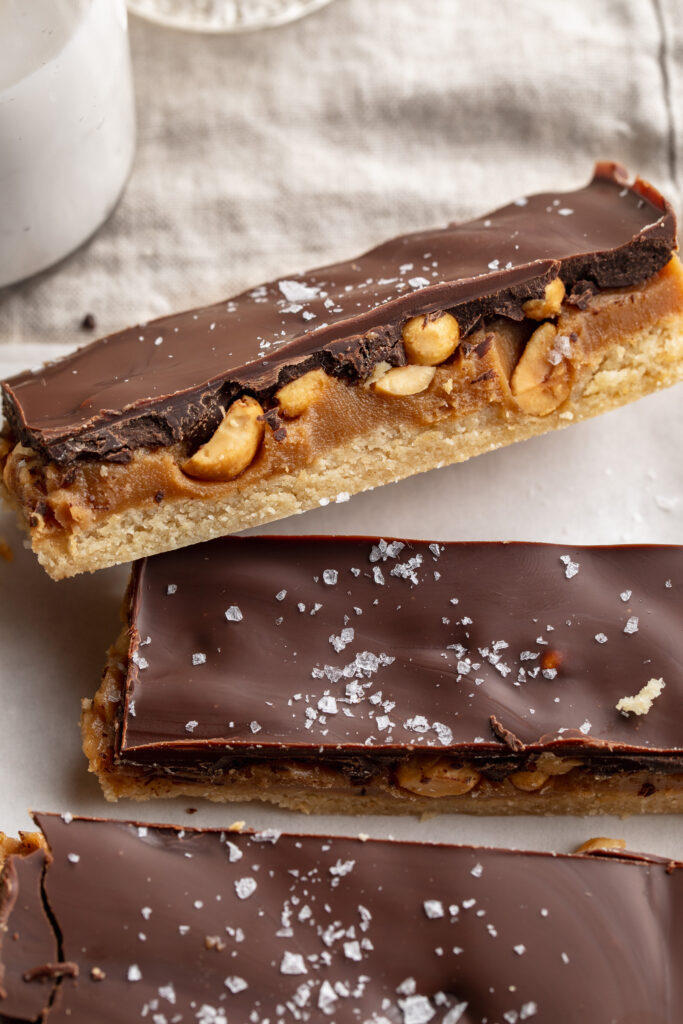
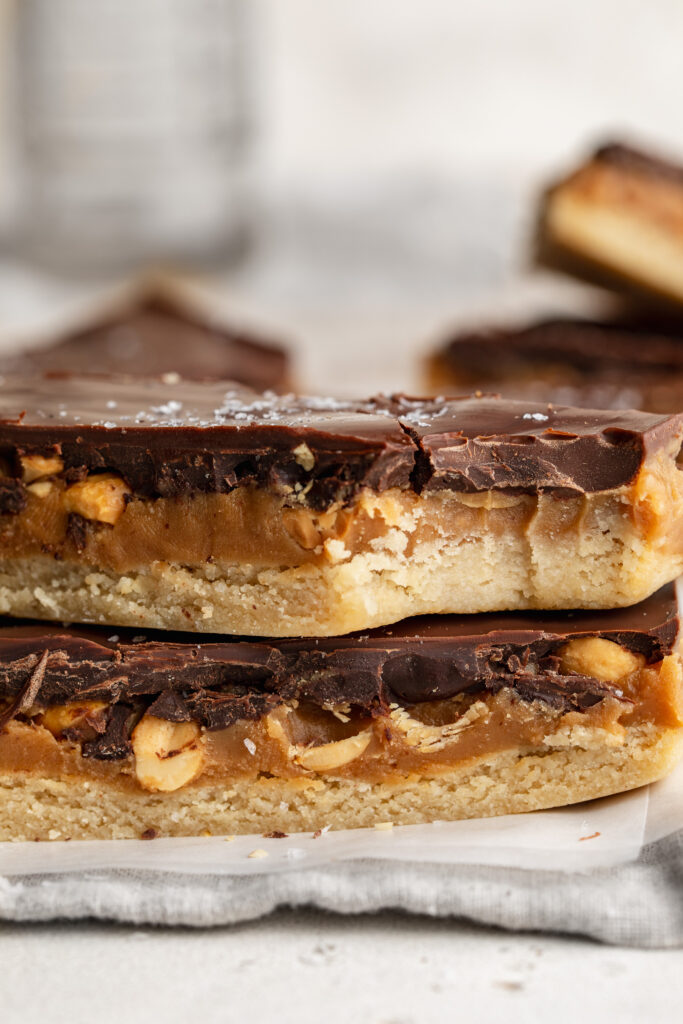
the inside of a healthy snickers bar.

What Makes This Recipe Healthy?

  • Naturally sweetened with maple syrup
  • Made with nutrient-dense almond flour
  • No refined sugar
  • Gluten-free, dairy-free, and vegan
  • Healthier fats from nuts and coconut oil
  • Homemade alternative to processed candy

These bars give you the same layered texture and flavor as a traditional snickers, but with better ingredients!

a close up bite shot of a healthy snickers bar.

Why You’ll Love These Healthy Snickers

These healthy snickers bars have everything you want in a dessert: sweet, salty, crunchy, and chocolatey layers that taste nostalgic but are made with better-for-you ingredients! They’re surprisingly easy to make, require no complicated baking skills, and are perfect for prepping ahead so you always have a sweet treat in the fridge or freezer. With just 6 simple ingredients, they deliver the classic candy bar experience while being gluten-free, dairy-free, vegan, and healthier than store-bought versions!

Storage Tips

Store the bars in an airtight container in the refrigerator for up to 1 week. For longer storage, freeze for up to 2 months. These bars taste amazing straight from the fridge or slightly thawed from frozen!

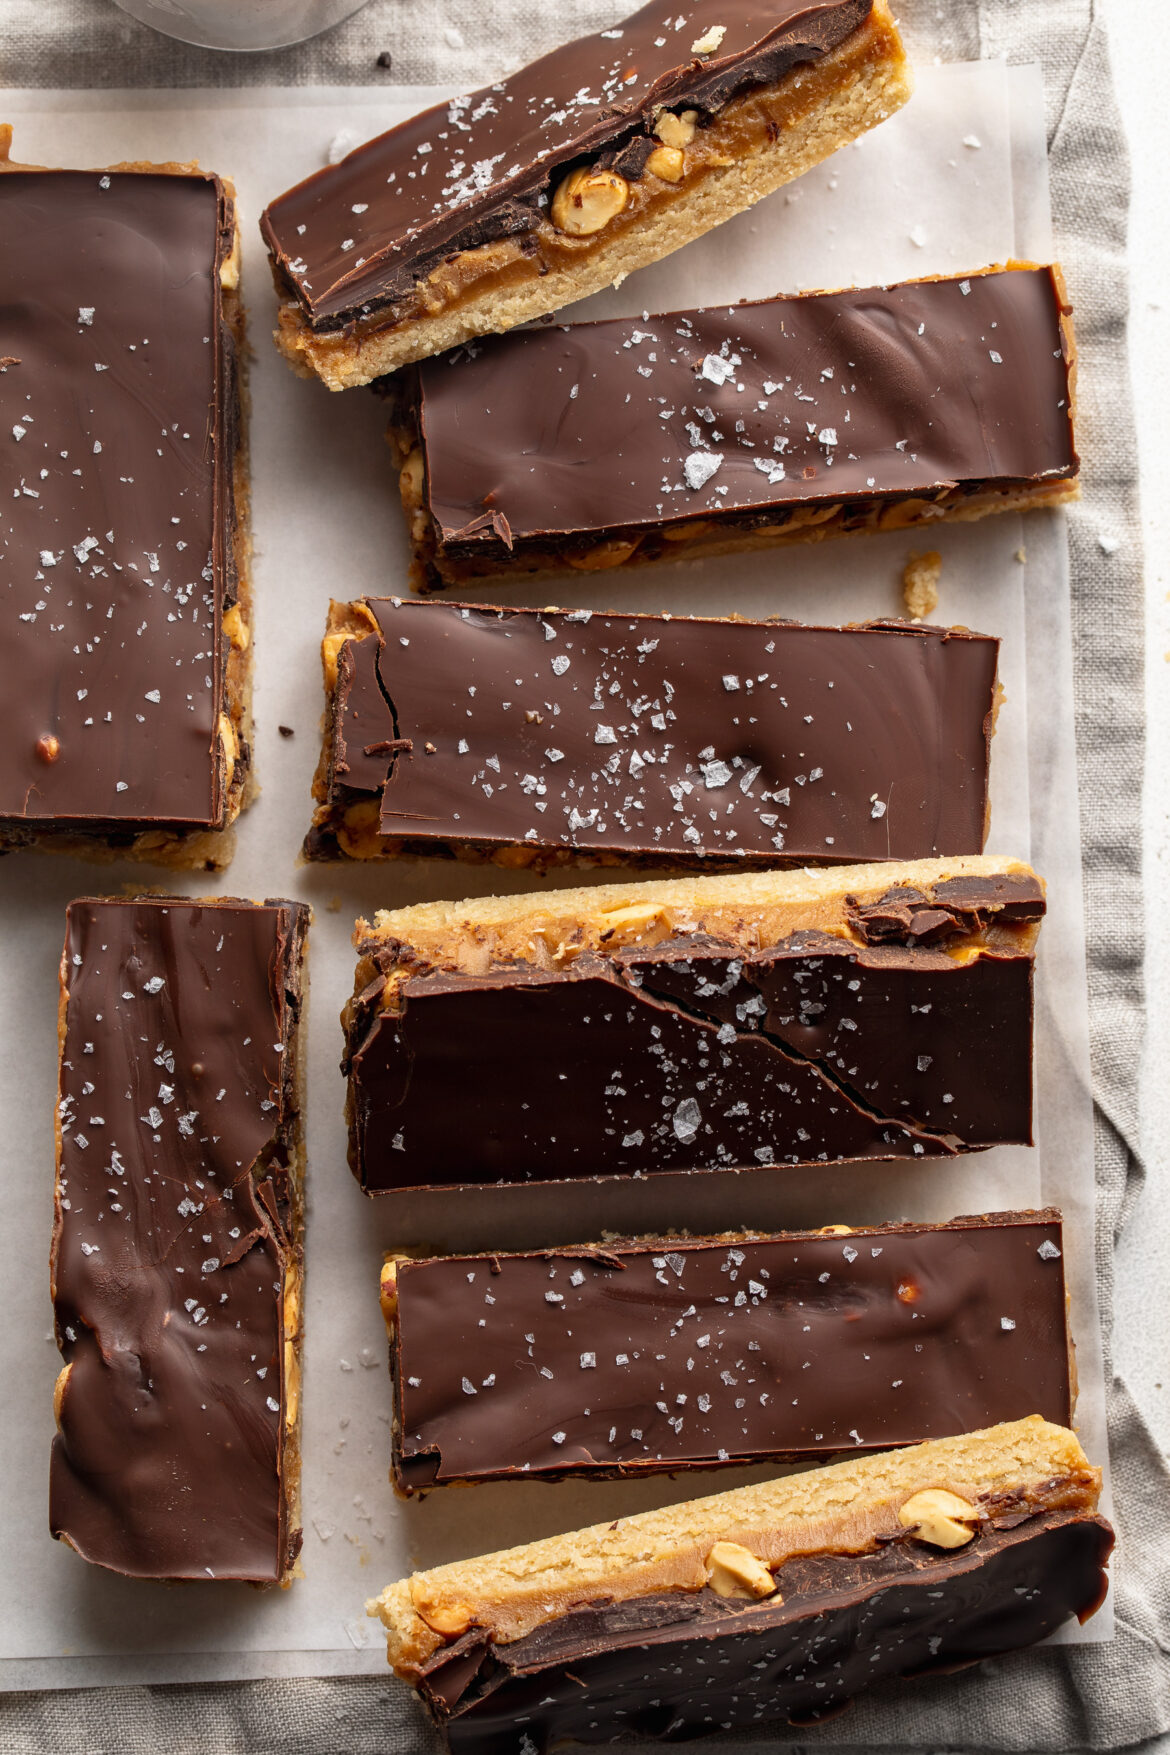
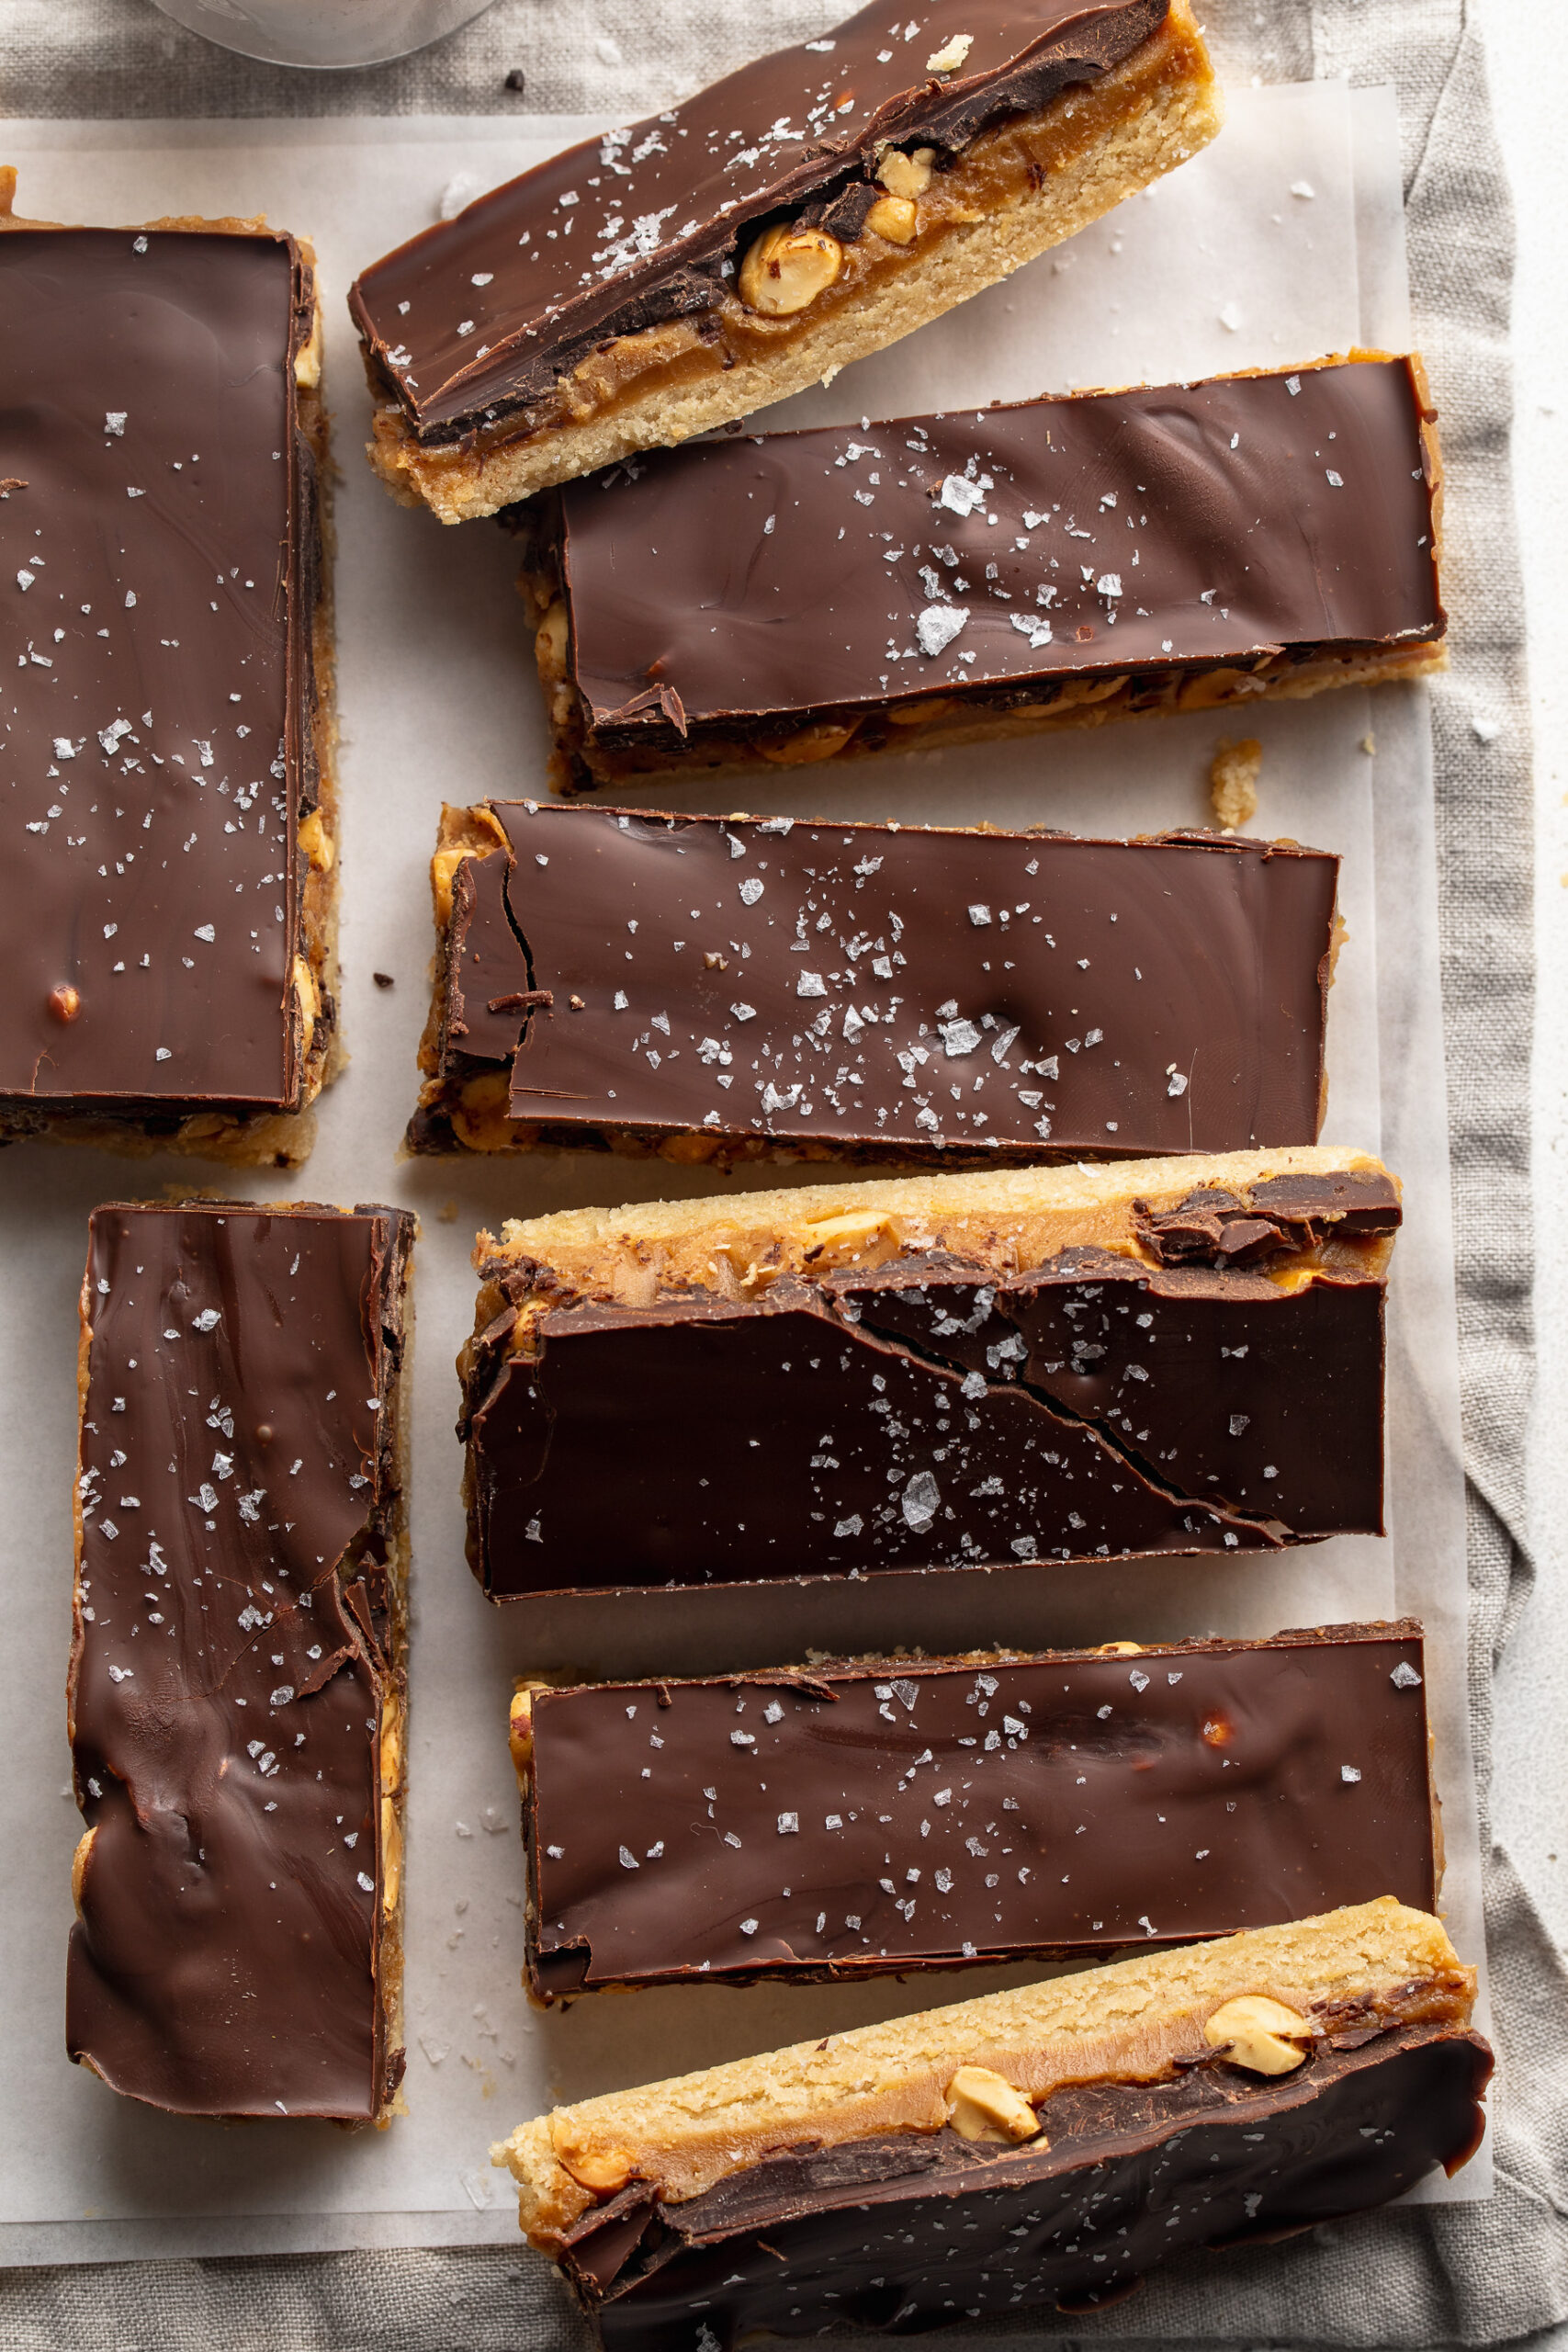
overhead image of healthy snickers bars on a table with flaky salt on top.
5 from 4 votes

6-Ingredient Healthy Snickers

These healthy Snickers bars are a homemade twist on the classic candy, made with just 6 simple ingredients! They’re gluten-free, dairy-free, vegan, and layered with shortbread, caramel, peanuts, and chocolate. Perfect for a healthier dessert, these homemade healthy snickers are easy to make and totally delicious!
Print Pin Rate
Prep Time: 10 minutes
Cook Time: 10 minutes
Chill Time: 29 minutes
Total Time: 49 minutes
Servings: 16 servings

Equipment

  • 1 large bowl
  • 1 9×9-inch baking pan
  • 1 small saucepan

Ingredients

For the shortbread layer:

  • 2 cups almond flour
  • 1/4 cup melted coconut oil
  • 1/4 cup maple syrup
  • 1 teaspoon vanilla extract optional

For the caramel layer:

  • 3/4 cup creamy peanut butter unsweetened (cashew butter or almond butter work too!)
  • 1/4 cup coconut oil
  • 1/4 cup maple syrup
  • 1 teaspoon vanilla extract optional

For the filling:

  • 1/2 cup roasted peanuts

For the chocolate layer:

  • 1 cup chocolate chips
  • 1 tablespoon coconut oil
  • flaky salt for topping (optional)

Instructions

  • Preheat oven to 350° Fahrenheit and line a 9×9-inch baking pan with parchment paper.
  • Add all shortbread ingredients to a large bowl and mix to combine. Then, transfer the crust to your prepared baking pan and press the crust down into an even layer over the base of the pan. Bake for 10minutes or until lightly golden brown around the edges. Leave the shortbread to cool for at least 10 minutes before adding the caramel.
  • Make the caramel layer by adding all caramel ingredients to a small saucepan over medium-low heat. Whisk the mixture together, and continue whisking as it heats up and starts to gently bubble.After 2 minutes, remove the caramel from the heat and pour over the cooled shortbread crust, then evenly sprinkle the peanuts over the caramel.
  • Transfer the baking pan to the fridge to allow the caramel to set for at least 30 minutes and up to one hour. Once the caramel is completely set and firm to the touch, make the chocolate layer.
  • To make the chocolate layer, melt together the chocolate chips and coconut oil in either the microwave or over a double boiler until completely smooth. Pour the melted chocolate over the caramel and gently spread into an even layer.
  • Transfer the pan back to the fridge to set one last time for about 30 minutes or until the chocolate has hardened. Remove the snickers bars from the fridge, then remove them from the pan and cut into 16 “full size”bars or 32 “mini” bars.

Nutrition

Serving: 1serving | Calories: 340kcal | Carbohydrates: 19g | Protein: 6.5g | Fat: 28g | Fiber: 4g | Sugar: 10g

If I’m completely honest, I’ve never been much of a cheesecake fan. When it comes to dessert, I prefer either my 4-ingredient protein brownies or healthy banana bread mug cake. However, my husband loves cheesecake. And in the spirit of it being the month of “love” (or whatever) I thought I’d make a little something just for him. Well, let me tell ya – this healthy cheesecake turned out SO good, I ate half of it. Now I don’t know what that says about me, or the kind of wife I am… but what I do know is that his cheesecake is DELICIOUS! And lucky for me/anyone who tries it, it’s also the easiest cheesecake you’ll ever make. So make this for your significant other, a friend, family member, or literally just yourself – I won’t judge!

5 ingredient healthy cheesecake slice on a plate with a fork.

What Makes This Cheesecake Healthy?

  • Made with protein-rich Greek yogurt
  • Naturally sweetened with maple syrup
  • NO refined sugar
  • Gluten-free
  • High protein dessert (10g+ per slice!)
  • Minimal ingredients, no crust required

Frequently Asked Questions

What kind of cream cheese should I use?

Full-fat cream cheese gives the richest texture, but reduced-fat cream cheese also works well. Use block-style cream cheese, not whipped.

Can I use a sugar-free sweetener?

Yes. Any liquid sugar-free sweetener can be used in place of maple syrup. Adjust to taste depending on sweetness level.

How do I store this healthy cheesecake?

Store slices in an airtight container in the refrigerator for up to 5 days. You can also freeze individual slices for up to 2 months and thaw in the fridge overnight.

Can I add a healthy cheesecake crust to this recipe?

Yes! You can absolutely add a crust if you prefer a more traditional cheesecake. A simple crust made from crushed graham crackers (or gluten-free graham crackers) mixed with melted butter works great – just press it into the pan and bake for 8–10 minutes before adding the filling. Let the crust cool slightly, then pour in the cheesecake batter and bake as directed.

Sam’s Recipe Tips

  • Blend until completely smooth for the creamiest texture!
  • Don’t overbake – the center should still have a slight jiggle.
  • Chill the cheesecake fully before slicing for nice and clean slices.
  • Add fresh berries or a drizzle of nut butter before serving – YUM!
  • For extra vanilla flavor, use vanilla bean paste.
5 ingredient healthy cheesecake slice on a plate with whipped cream and a strawberry on top.
5 from 2 votes

5-Ingredient Healthy Cheesecake

This healthy cheesecake is creamy, high in protein, and made with just 5 simple ingredients! It’s gluten-free, refined sugar-free, and each slice contains over 10 grams of protein. Perfect for a lighter dessert, this easy cheesecake delivers classic flavor with better-for-you ingredients!
Print Pin Rate
Prep Time: 5 minutes
Cook Time: 45 minutes
Total Time: 50 minutes
Servings: 8 servings

Equipment

  • 1 food processor or high speed blender
  • 1 8-inch springform pan

Ingredients

  • 2 cups plain Greek yogurt
  • 1 cup cream cheese
  • 4 eggs
  • 1/4 cup maple syrup or any liquid sweetener
  • 1 teaspoon vanilla extract or vanilla bean paste

Instructions

  • Preheat oven to 350° Fahrenheit and line the bottom of a 8-inch springform pan or baking dish with parchment paper and lightly grease the sides.
  • Add all ingredients to a blender and blend until completely smooth.
  • Pour the mixture into the pan, then bake for 45-50 minutes or until the cheesecake is just set in the middle.
  • Remove the pan from the oven and let the cheesecake cool at room temperature for 1 hour, then transfer it to the fridge to set for at least 2 hours. Remove the cheesecake from the fridge, then slice and serve!

Nutrition

Serving: 1serving | Calories: 230kcal | Carbohydrates: 7g | Protein: 11g | Fat: 17g | Sugar: 6g

I’ll admit, I have a pretty big sweet tooth. And I really can’t go to bed without a little sweet treat to end my day. But I like to keep that sweet treat to something a little healthier. Lately, I’ve been making my single serve protein cookie or a quick batch of healthier almond flour brownies. But when I’m craving banana bread, or something more cake-like I reach for this healthy (& easy!) banana bread mug cake. Made with just 6 ingredients – totally gluten-free, dairy-free, and lightly sweetened with maple syrup! It honestly tastes just like banana bread, but a whole lot healthier and way easier to make.

Why You’ll Love This Banana Mug Cake

  • Made with just 6 simple ingredients.
  • It’s the perfect single serving!
  • Tastes just like classic banana bread, but healthier.
  • Gluten-free, dairy-free, and refined sugar-free!
  • Ready in just minutes.
  • Perfect for dessert, snack, or even breakfast.

This mug cake is soft, fluffy, and naturally sweet from ripe banana!

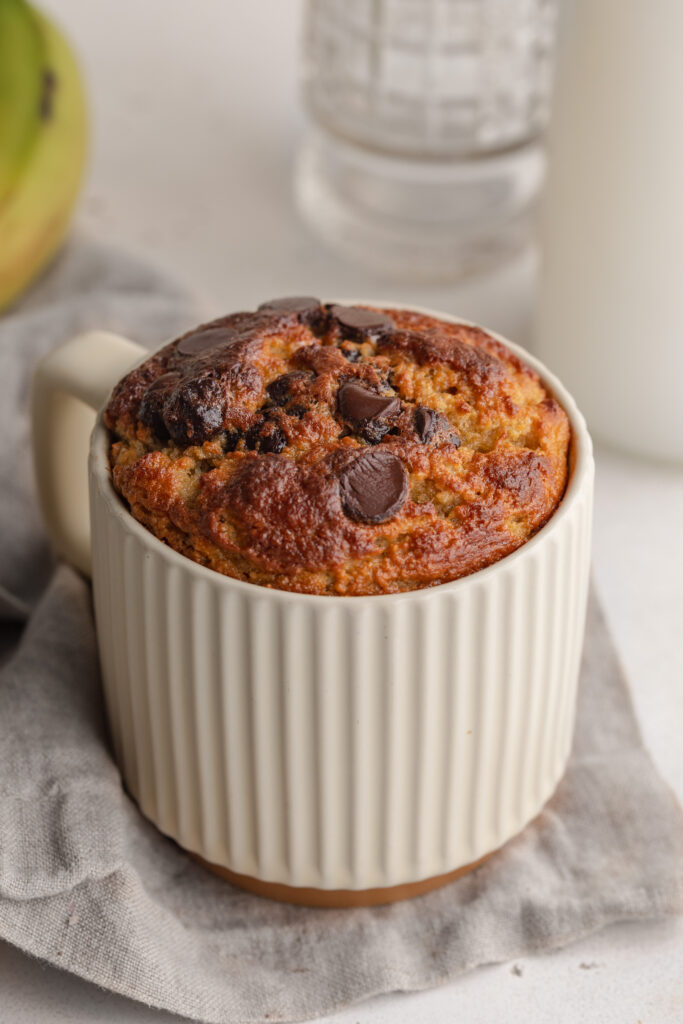
healthy banana mug cake with chocolate chips on top.

What Makes This Recipe Healthy?

  • It’s naturally sweetened with banana and a touch of maple syrup.
  • Made with almond flour for healthy fats, extra protein and fiber!
  • No refined sugars or processed foods, just 6 nutritious ingredients.
  • Can be made in the microwave or oven!

Recipe Variations and Substitutions

  • Make it Vegan / Egg-Free: Replace the egg with a flax egg (1 tablespoon ground flaxseed + 2½ tablespoons water).
  • Make it Nut-Free: Use oat flour instead of almond flour.
  • Add Extra flavor: Add vanilla extract or chopped walnuts depending on your preferences.
  • Make it Low Sugar: Skip the maple syrup if your banana is very ripe.
  • For Chocolate lovers: Stir chocolate chips into the batter.
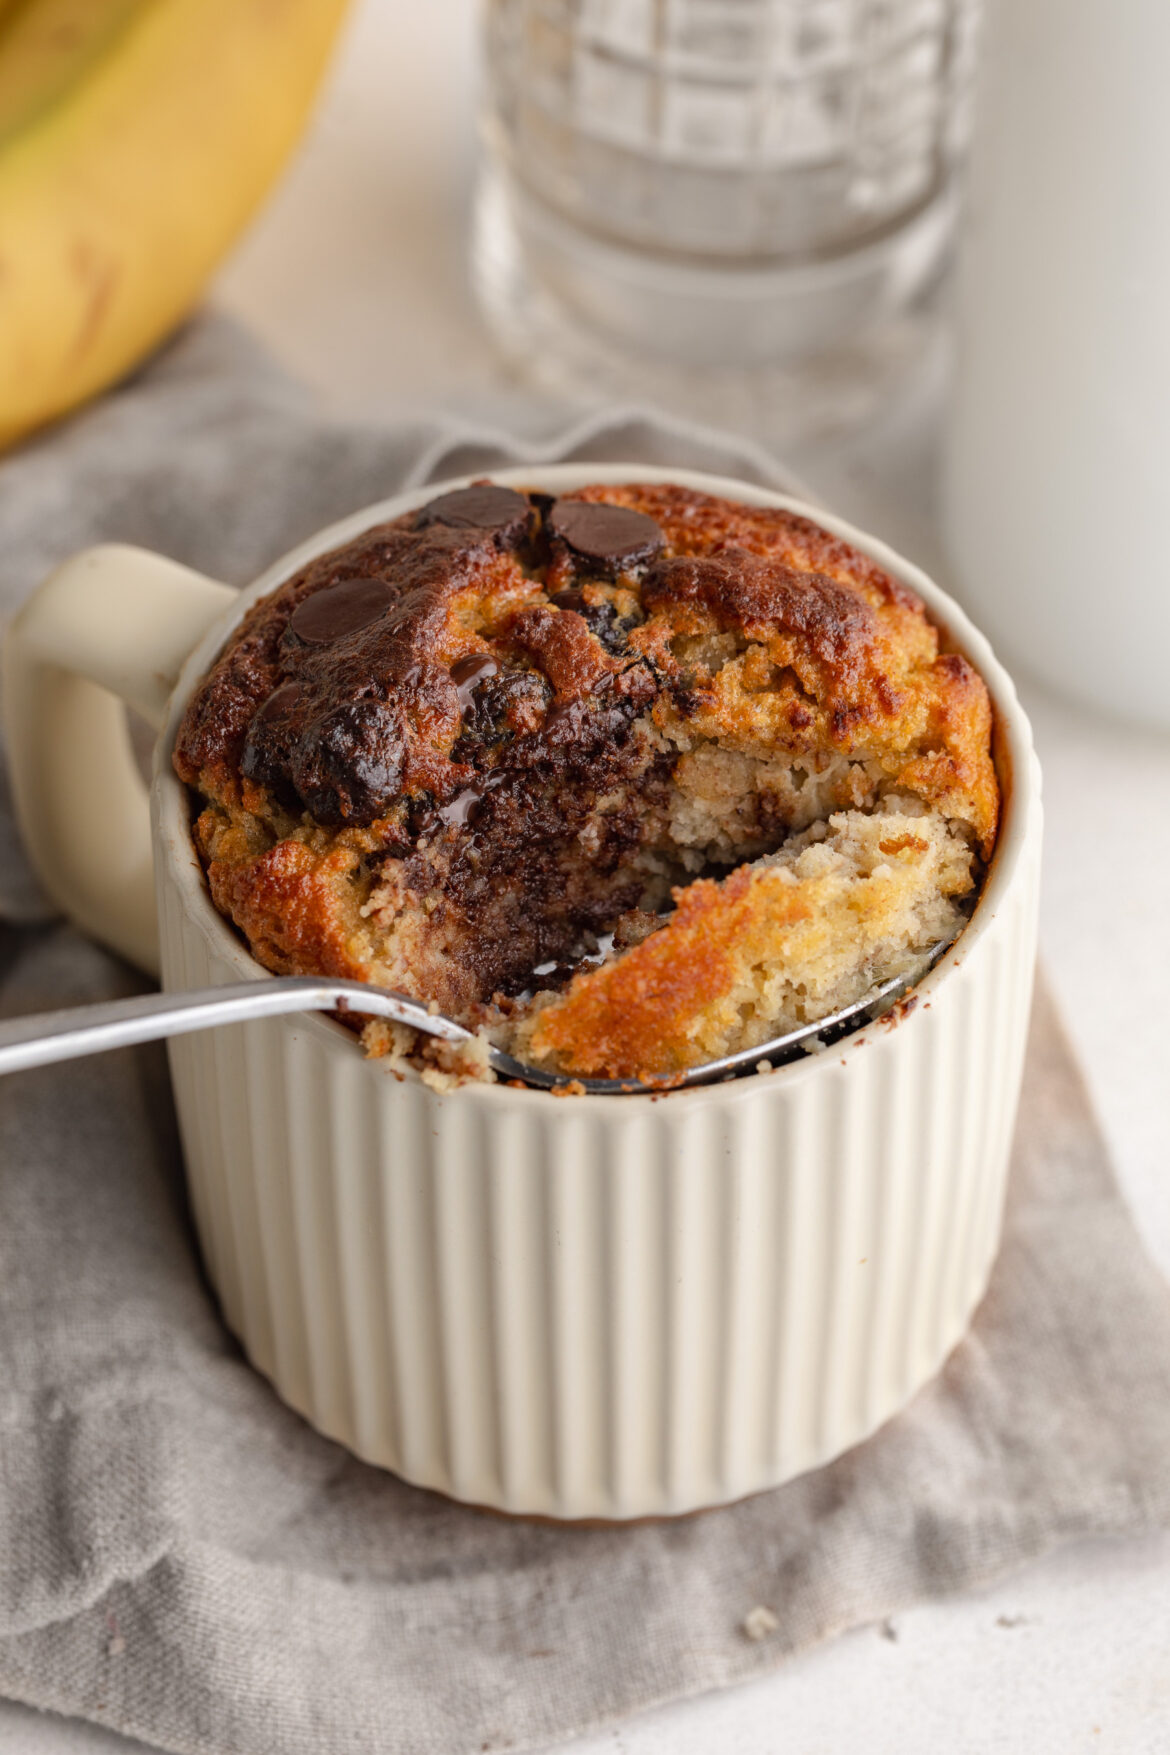
healthy banana mug cake with a spoon
5 from 6 votes

6-Ingredient Banana Mug Cake

This banana mug cake tastes just like classic banana bread but is made with simple, healthy ingredients and ready in minutes! It’s a single-serve, gluten-free, dairy-free, and refined sugar-free recipe made with just 6 ingredients. Perfect for a quick dessert or snack, this healthy banana mug cake can be made in the microwave or oven!
Print Pin Rate
Prep Time: 5 minutes
Cook Time: 2 minutes
Total Time: 7 minutes
Servings: 1 serving

Equipment

  • 1 microwave-safe mug

Ingredients

  • 1 ripe banana
  • 1 large egg
  • 1/4 cup almond flour
  • 1 tablespoon maple syrup or your favorite liquid sweetener
  • 1/2 teaspoon baking powder
  • 1/4 teaspoon cinnamon
  • chocolate chips optional

Instructions

  • Mash the banana in a mug, then mix in the remaining ingredients (except for the chocolate chips). Once the mug cake is well mixed and the batter is mostly smooth, top with chocolate chips then bake for 350° Fahrenheit for 25-30 minutes. Or, microwave on high for 2 minutes.

Nutrition

Serving: 1serving | Calories: 380kcal | Carbohydrates: 40g | Protein: 14g | Fat: 21g | Fiber: 8g | Sugar: 20g

I’m the kind of girl that needs a little something sweet at the end of every day. And these days, I just don’t have the time to make big batches of sweet treats all the time – which is where my recent obsession for single serve desserts comes in. It started with my single serve gluten-free cinnamon roll, then my healthy mug cake, and now this single serve protein cookie skillet. Because another thing about me is that I’ve been working really hard on eating more protein. Protein keeps me fueled, satisfied, and curbs my appetite. But the cookie nature (if you will) of this single serve recipe keeps me happy! I’m seriously addicted to this single serve protein cookie skillet, and know if you give it a try that you will be too. 😍

Why You’ll Love This Single Serve Protein Cookie Skillet

  • Over 30 grams of protein in one serving!
  • Perfect single serve dessert.
  • Warm, gooey, and incredibly satisfying.
  • Gluten-free, dairy-free, and refined sugar-free!
  • Comes together in minutes with minimal cleanup.
  • Made with wholesome, better-for-you ingredients.
overhead image of single serve protein cookie skillet with flaky sea salt on top.

Frequently Asked Questions

How much protein does this protein cookie skillet have?

This skillet cookie contains 30+ grams of protein, depending on the protein powder you use.

Can I make a larger skillet?

Yes! You can easily double or triple the recipe and bake it in a larger oven-safe skillet. Just add a few extra minutes to the bake time and keep an eye on the center.

What kind of protein powder did you use?

I used Aloha plant-based vanilla protein powder, but I’ve also made this with Vital Farms unflavored collagen powder, and it turns out just as delicious. Any vanilla or unflavored protein powder will work well.

Recipe Variations and Substitutions

  • Make it Egg-free: Replace the egg with ¼ cup unsweetened applesauce or a flax egg.
  • Make it Nut-free: Use sunflower seed butter instead of peanut butter.
  • Lower sugar: Use sugar-free maple syrup or reduce the amount.
  • Different flavors: Add cinnamon, flaky sea salt, or swap chocolate chips for chopped dark chocolate.
close up image of protein cookie skillet with chocolate chips on top.
No ratings yet

Single Serve Protein Cookie Skillet (30g protein!)

This protein cookie skillet is a warm, gooey single-serve dessert with over 30 grams of protein! It’s gluten-free, dairy-free, refined sugar-free, and made with simple, wholesome ingredients. Perfect when you want a healthy cookie that tastes indulgent, this protein cookie skillet comes together in just minutes!
Print Pin Rate
Prep Time: 5 minutes
Cook Time: 10 minutes
Total Time: 15 minutes
Servings: 1 serving

Equipment

  • 1 small skillet

Ingredients

  • 1 egg
  • 1/4 cup almond flour
  • 2 tablespoons protein powder
  • 2 tablespoons creamy peanut butter or any nut/seed butter
  • 1 tablespoon oil I used avocado oil
  • 1 tablespoon maple syrup or any liquid sweetener
  • 2 tablespoons chocolate chips

Instructions

  • Preheat oven to 350° Fahrenheit.
  • Add all ingredients to a mini skillet, except for the chocolate chips, and mix together until a thick dough forms.
  • Sprinkle the chocolate chips on top of the skillet then bake for 10-12 minutes, or until the cookie is done to your liking (I like mine slightly gooey in the center). Let cool slightly then enjoy!

Nutrition

Serving: 1skillet | Calories: 600kcal | Carbohydrates: 34g | Protein: 30g | Fat: 40g | Fiber: 7g | Sugar: 15g