Tag

paleo

Browsing

Hey there, fellow dessert aficionados and Halloween enthusiasts! Are you ready to whip up a deliciously spooky treat that’ll add a touch of whimsy to your next Halloween party? Look no further because we’ve got a Mummy Brownies recipe that’s as cute as it is tasty. So, let’s get our mummy on and bake up some mummylicious brownies!

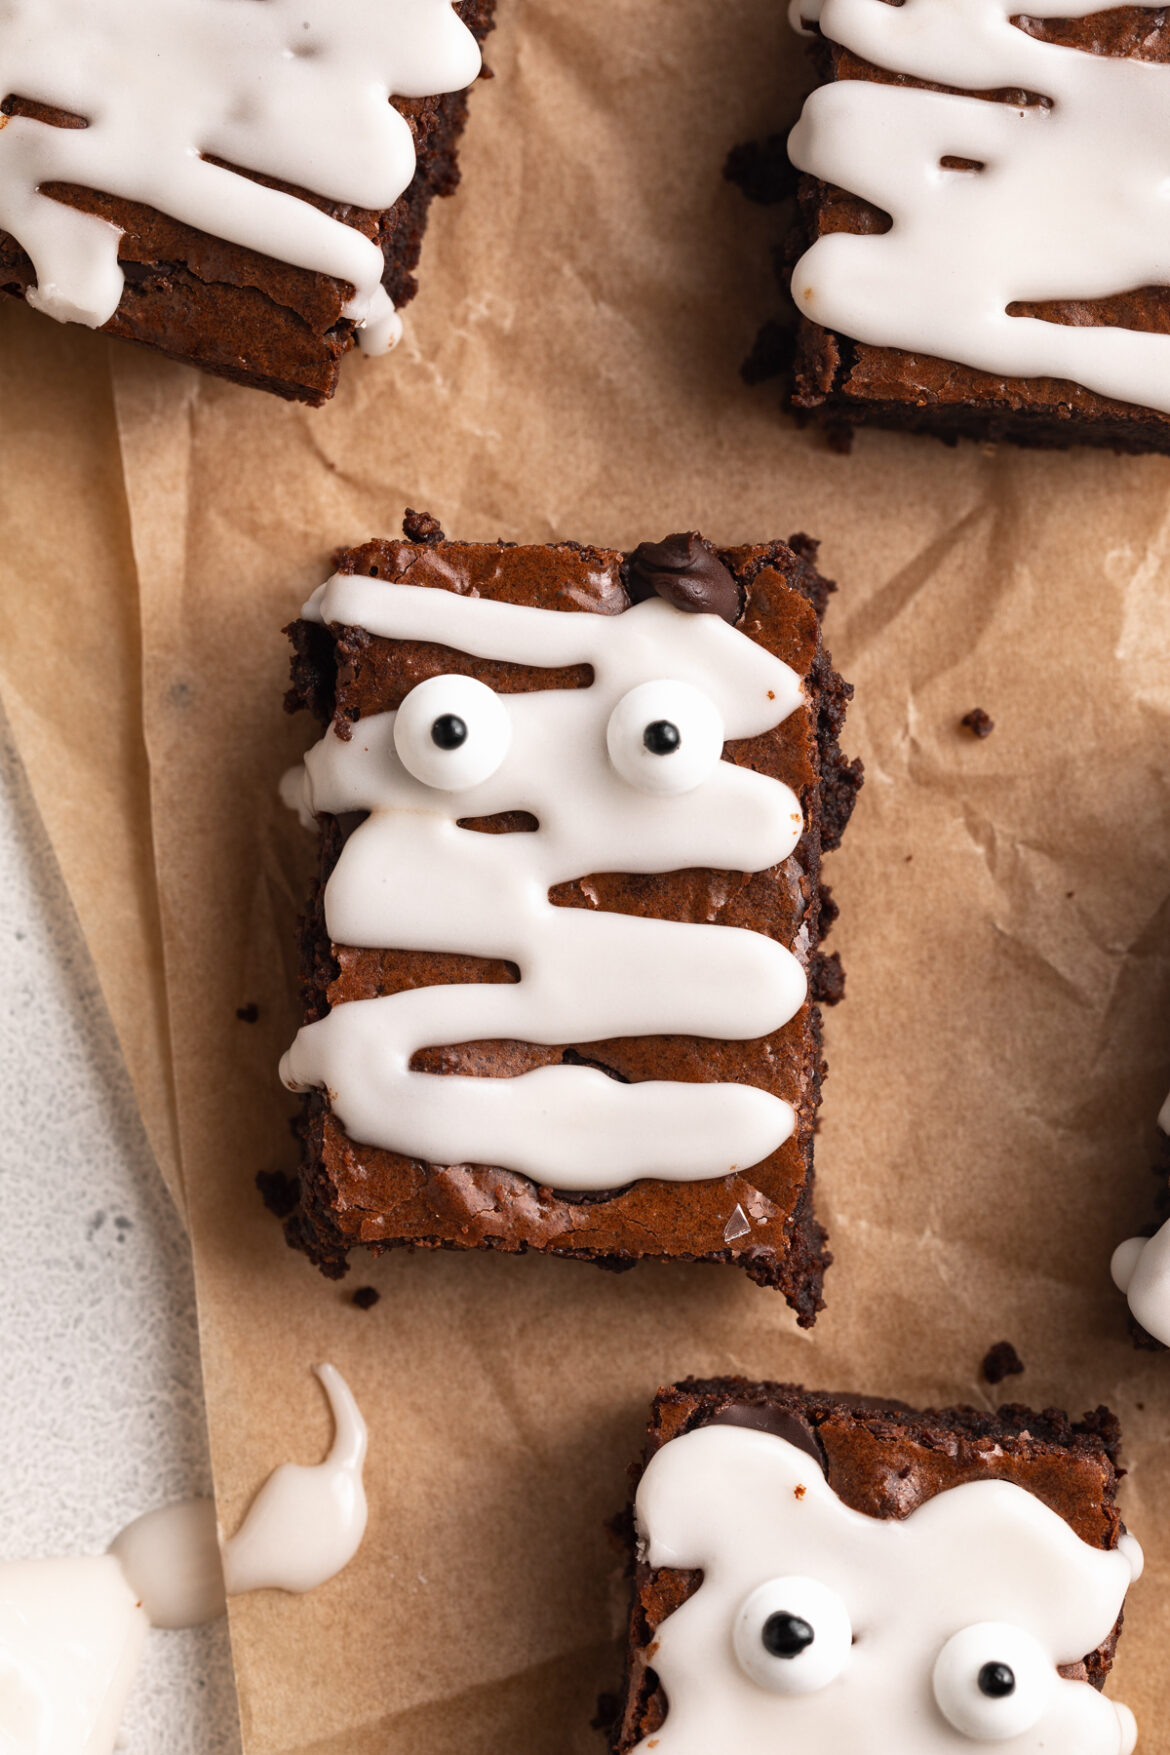
overhead image of gluten-free mummy brownies on parchment paper.

What You’ll Need to Make Mummy Brownies

A Batch of Almond Flour Brownies: You can use any brownie recipe you like – fudgy, cakey, or even my gluten-free almond flour brownies for a healthier twist. This recipe is all about the decoration!

Plain Icing: This is what you’ll use to create the mummy’s wrappings. You can buy pre-made icing or make your own with powdered sugar and a touch of milk.

Candy Eyes: These are the pièce de résistance! Candy eyes give your mummy brownies that adorable and slightly eerie look. You can find them at most baking supply stores or order them on Amazon.

mummy brownies on parchment paper.

Tips and Tricks

  • Cool Before You Mummy-fy: Make sure your brownies are completely cool before you start the mummy decoration. You don’t want your icing to melt all over the place. We’re going for mummy precision, not mummy mess!
  • Mummy Patterns: There’s no right or wrong way to create your mummy patterns. Some like neat, parallel lines, while others prefer a more chaotic mummy look. Be creative! And remember, mummies are meant to be a little imperfect.
  • Save the Eyes for Last: When you’re putting on the candy eyes, do it as the final step. It’s like giving your mummy brownies their finishing touch. This way, you can place the eyes wherever you like and give each mummy its own unique personality.
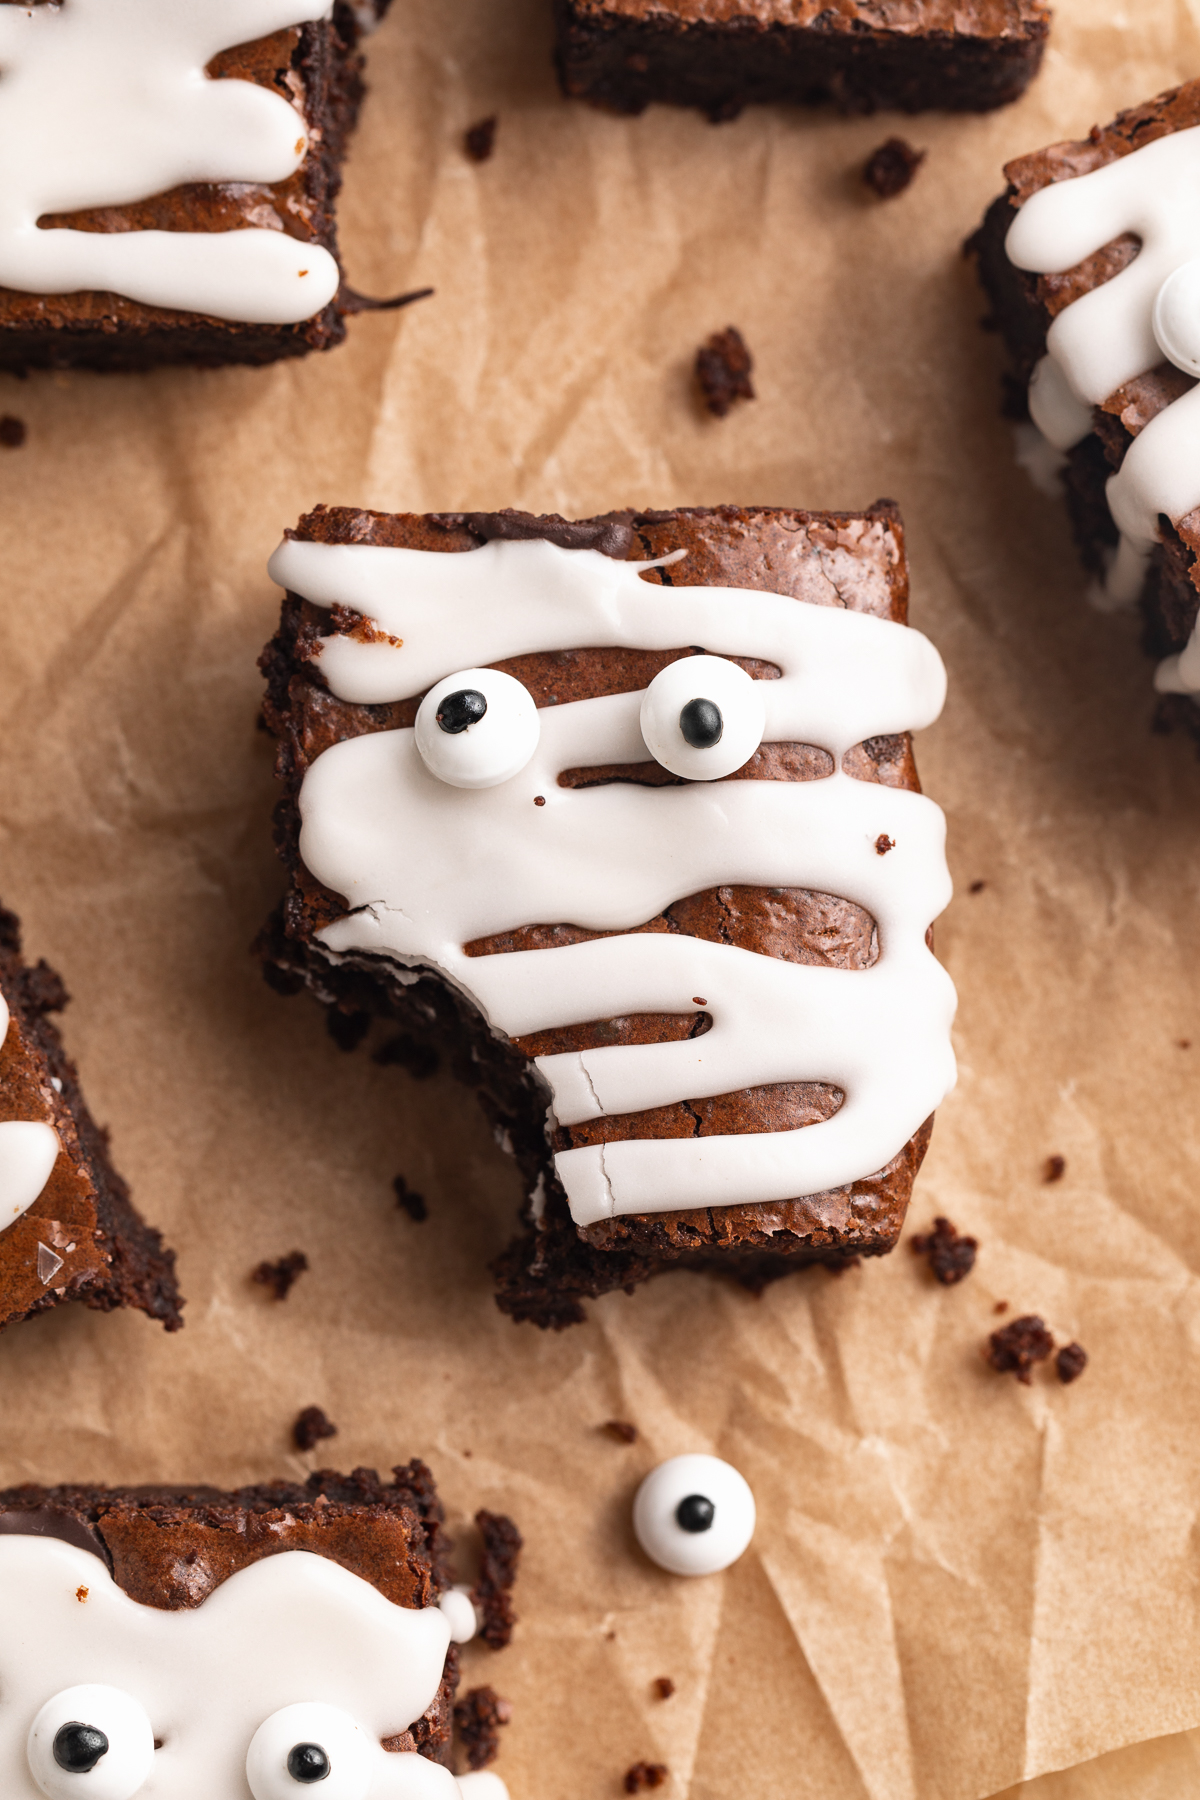
almond flour mummy brownies with a bite taken out.
5 from 1 vote

Mummy Brownies

Are you ready to whip up a deliciously spooky treat that’ll add a touch of whimsy to your next Halloween party? Look no further because we’ve got a Mummy Brownies recipe that’s as cute as it is tasty. So, let’s get our mummy on and bake up some mummylicious brownies!
Print Pin Rate
Prep Time: 10 minutes
Total Time: 10 minutes
Servings: 12 servings

Ingredients

  • a batch of brownies, I used this almond flour brownies recipe
  • 1 cup powdered sugar
  • 2-3 tablespoons milk
  • candy eyes

Instructions

  • Let your brownies cool completely, then cut into 12 rectangles.
  • Make the icing by whisking together the powdered sugar and milk in a small bowl. Transfer the icing to a pastry bag or a ziploc bag and make a small cut at the tip of the bag where the icing can drizzle out.
  • Drizzle icing across brownies in a zig-zag pattern, then place two eyes on each brownie.
  • Leave icing to harden for about 10 minutes, then serve.

Nutrition

Calories: 300kcal

Halloween just got a little sweeter with these Mummy Brownies. Whether you’re planning a spooky soirée or just want a fun, easy baking project to enjoy with the family, these little mummies are sure to bring a smile to your face.

So, pick your favorite brownie recipe, get your decorating skills ready, and make some mummylicious treats. It’s the perfect way to satisfy your sweet tooth and add a little Halloween magic to your dessert table. Happy mummy-making!
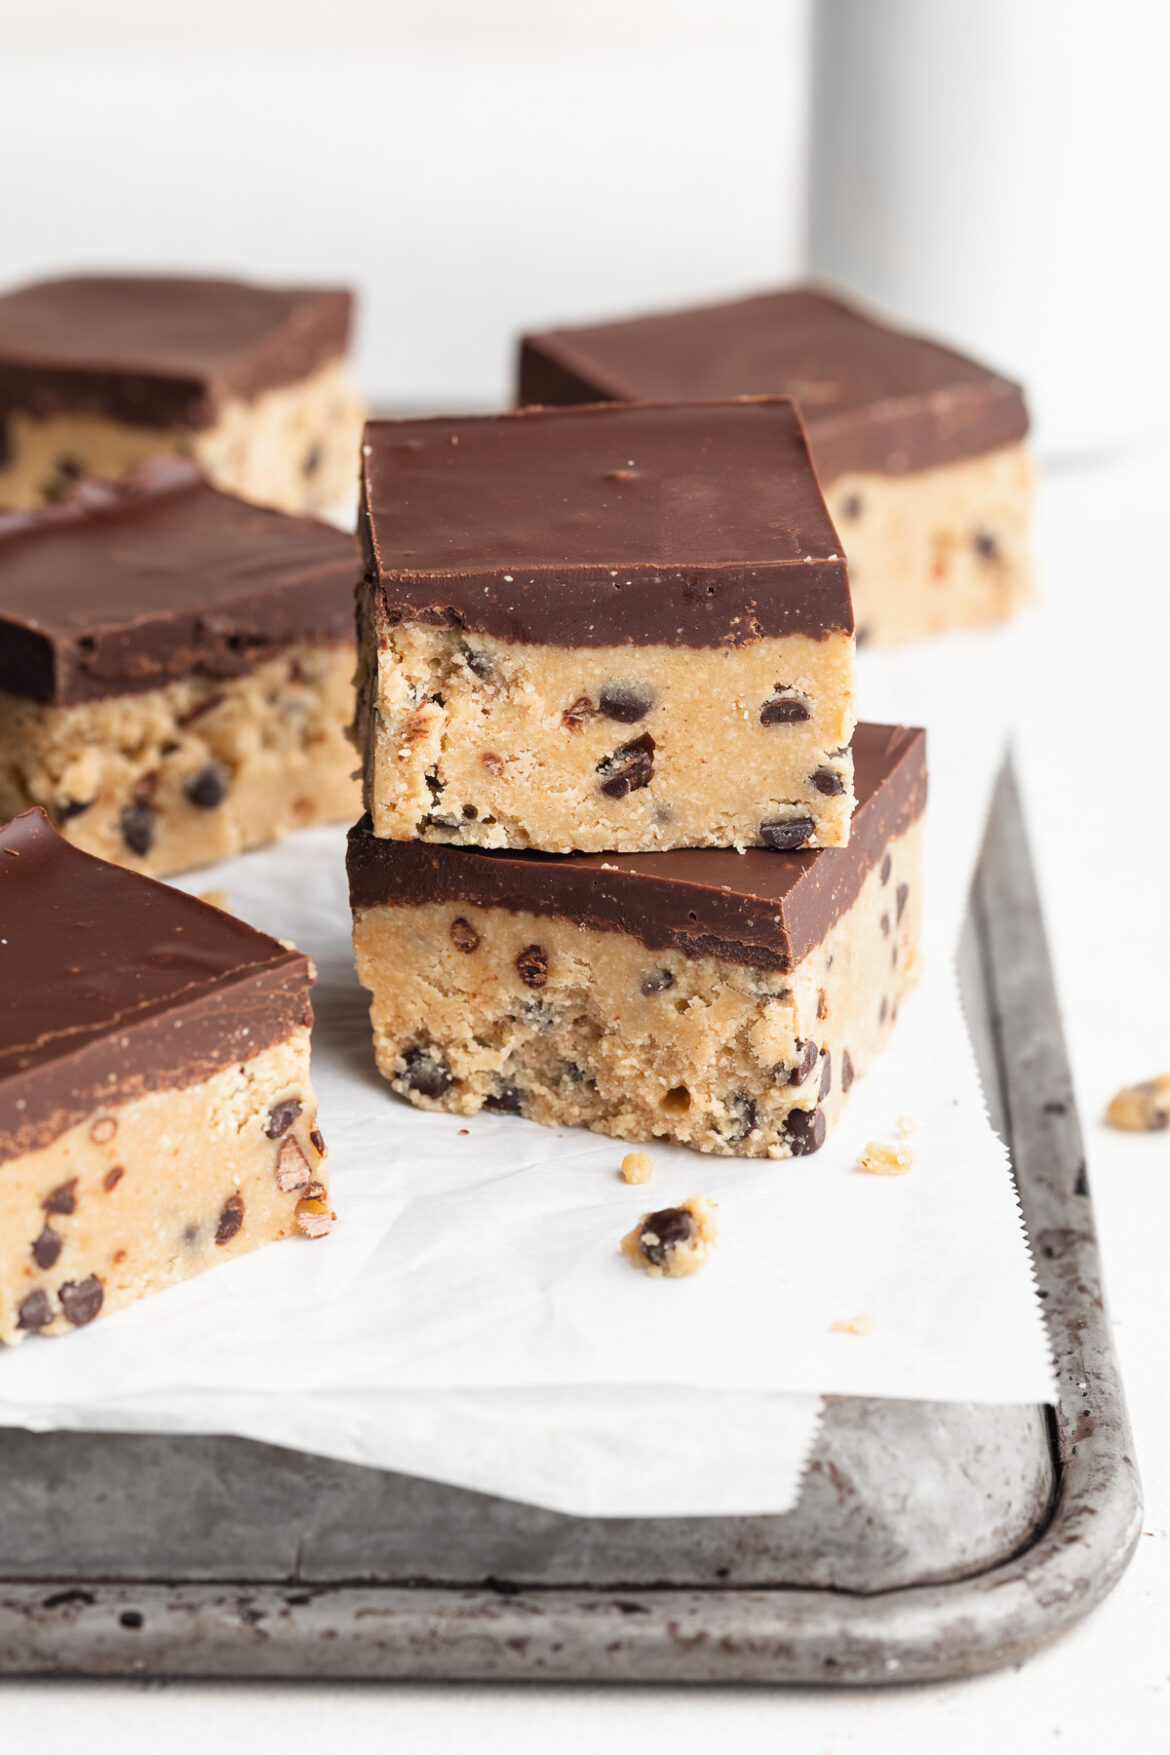
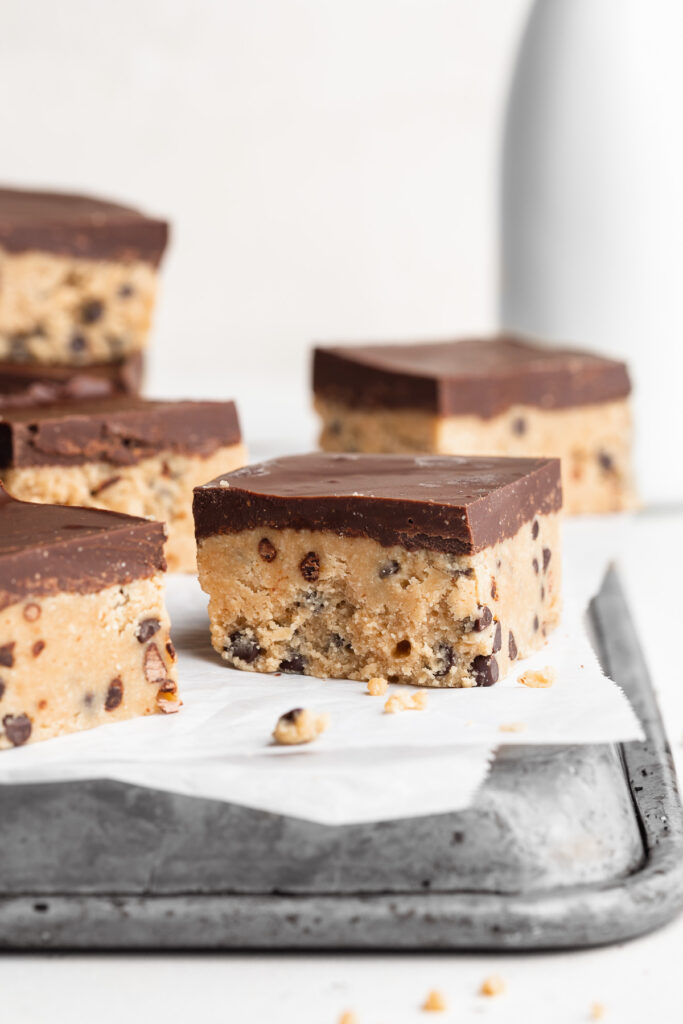
Seriously delicious healthy no-bake cookie dough bars! These bars are vegan, gluten-free, dairy-free, and refined sugar-free. Enjoy as a guilt-free dessert or sweet snack!

healthy no bake cookie dough bars on a baking sheet.

What You’ll Need to Make Healthy No-Bake Cookie Dough Bars

Almond Flour – Use blanched almond flour for these dessert bars, not almond meal. Blanched almond flour is ground finer and makes for a smoother cookie dough. Looking for more almond flour recipes? Try these!

Peanut or Cashew Butter – Either peanut or cashew butter will work! I used peanut butter because I love the taste. However, cashew butter yields little flavor and works perfectly to hold these no-bake bars together. But whichever you use, make sure it’s both creamy and unsweetened.

Maple Syrup – We use maple syrup in place of traditional refined sugar to keep these healthy cookie dough bars refined sugar-free. The maple syrup in these bars can easily be replaced with honey, or even your favorite sugar-free liquid sweetener for sugar-free cookie dough bars!

Chocolate Chips – I used the Enjoy Life Mini Chocolate Chips to keep these bars vegan/dairy-free, but really any chocolate chip will work! For refined sugar-free chocolate chips, try these date-sweetened Hu chocolate chips.

three healthy no bake cookie dough bars stacked on top of each other.

Tips and Tricks

  • Chill these healthy no-bake cookie dough bars in the freezer for at least one hour before slicing! Don’t rush this step, otherwise the chocolate won’t be fully set.
  • Store leftover bars in an airtight container in the fridge or freezer. Avoiding leaving them at room temperature for too long, because the chocolate may melt.
close-up image of a healthy no bake cookie dough bar.

Adjust This Recipe to Your Dietary Needs

Make it Nut-Free: For a nut-free version of this recipe, replace the almond flour with oat flour. Also, replace the cashew or peanut butter with unsweetened sunflower seed butter!

Make it Paleo: Make paleo cookie dough bars by using unsweetened creamy almond butter in place of the cashew or peanut butter.

two healthy no-bake cookie dough bars stacked on top of each other on a baking sheet.
4.24 from 59 votes

Healthy No-Bake Cookie Dough Bars

Seriously delicious healthy no-bake cookie dough bars! These bars are vegan, gluten-free, dairy-free, and refined sugar-free. Enjoy as a guilt-free dessert or sweet snack!
Print Pin Rate
Prep Time: 5 minutes
Cook Time: 1 hour
Total Time: 1 hour 5 minutes
Servings: 8 servings

Ingredients

For the cookie dough layer:

  • 1 1/2 cups almond flour
  • 1/2 cup creamy peanut or cashew butter, unsweetened
  • 1/4 cup maple syrup
  • 1/4 cup coconut oil or butter, melted
  • 1 teaspoon vanilla extract
  • pinch of salt
  • 1/2 cup chocolate chips

For the chocolate layer:

  • 1 cup chocolate chips
  • 1/4 cup creamy peanut or cashew butter, unsweetened

Instructions

  • Line a 9×5-inch baking pan with parchment paper.
  • Make the cookie dough layer by mixing together the almond flour, peanut or cashew butter, maple syrup, melted coconut oil, vanilla extract, and salt in a large bowl. Add in the chocolate chips and mix until evenly distributed throughout the dough.
  • Transfer dough to prepared baking pan and press into an even layer.
  • Make the chocolate layer by melting the chocolate chips and peanut or cashew butter in the microwave in 30 second increments. Stir together until smooth, then pour and spread into an even layer on top of the cookie dough.
  • Chill in the freezer for one hour, then remove and slice into squares.

Nutrition

Calories: 300kcal

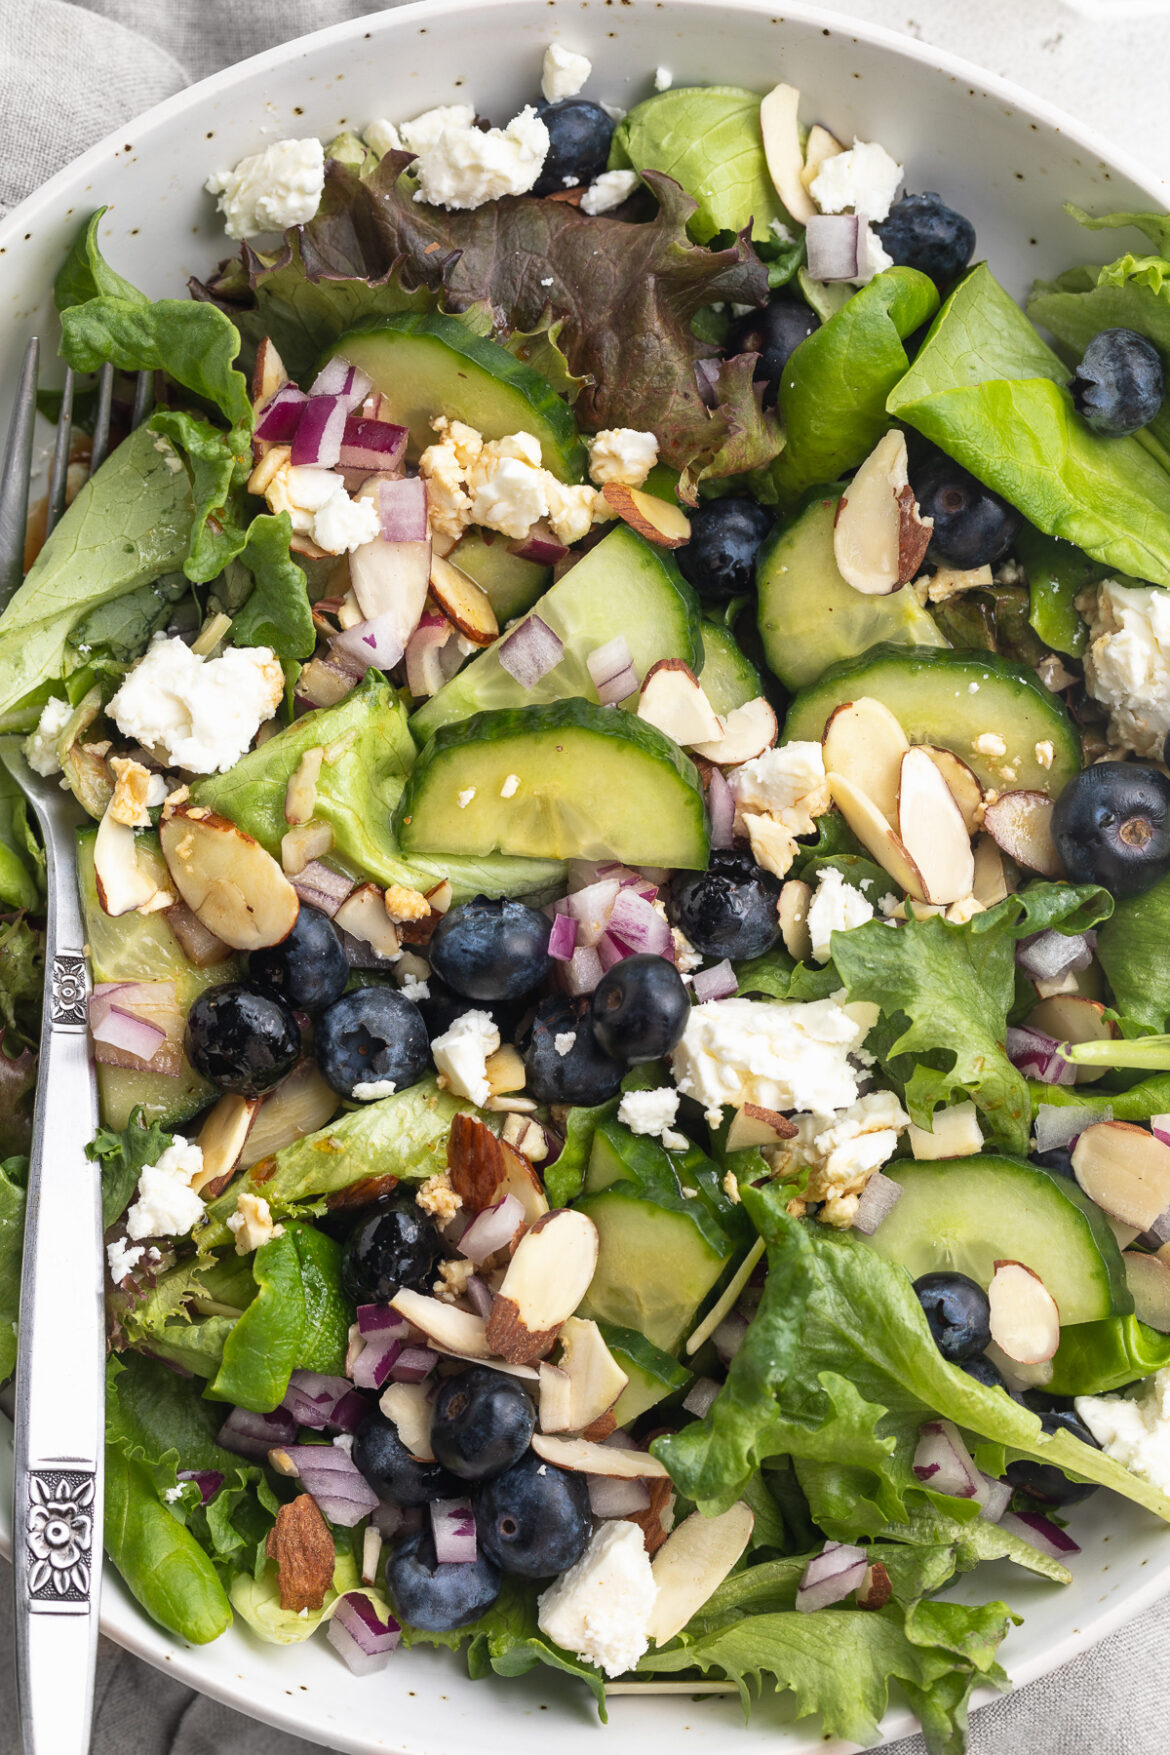
Fresh and seasonal spring mix salad with blueberries, almonds, feta cheese, and a simple honey vinaigrette! The perfect warm-weather lunch or side dish, loaded with healthy ingredients.

Overhead image of spring mix salad in a bowl with water on the side.

What You’ll Need To Make Spring Mix Salad

Spring Mix Lettuce – Spring mix is a simple assortment of dark leafy greens. Each brand makes theirs a little differently, but every batch of spring mix is flavorful and super healthy. If you can’t find any spring mix, you can certainly turn this into a spinach salad instead, with 5 ounces of fresh baby spinach.

Sliced Almonds – Every salad needs a little crunch! I love buttery, lightly toasted sliced almonds in my spring mix salad. However, if you don’t have any almonds, any chopped nut will go great in this recipe. Or for a nut-free version, add in some roasted sunflower seeds instead!

Feta Cheese – Some salty feta cheese takes this spring mix salad over the top! Add as much to your salad as your heart desires. Or, if you don’t have any feta, a nice soft goat cheese also tastes great here. And for a vegan or dairy-free option, simply leave the cheese out of the salad – still super tasty!

Honey – A touch of honey balances out the otherwise extremely savory vinaigrette. With plenty of balsamic vinegar, the vinaigrette needs a little sweetness to help mellow it out. And for a vegan version, replace the honey with two tablespoons of maple syrup.

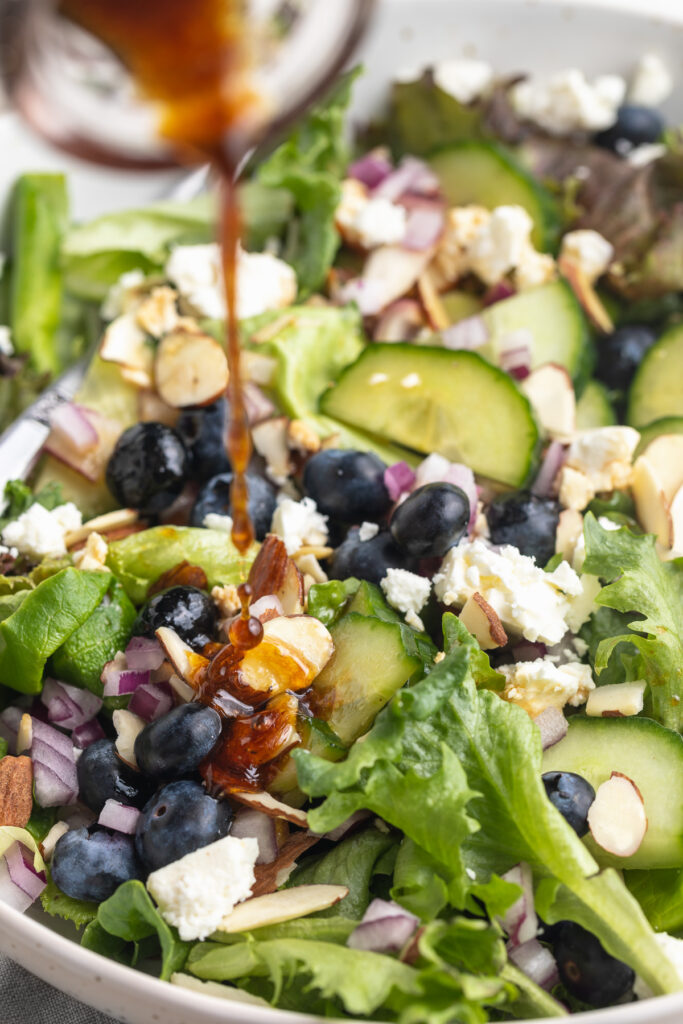
Honey vinaigrette being poured over spring mix salad.

Tips and Tricks

  • Dress the salad right before serving! Avoid storing this salad already dressed, since the vinaigrette will cause the spring mix to wilt. So if prepping ahead of time, keep the honey vinaigrette on the side until ready to eat.
  • Have fun with this healthy salad recipe! This simple lunch or side dish is a great way to use up any fresh veggies or berries you might have on-hand. Strawberries taste delicious in place of the blueberries, and a yellow onion can be subbed in for the red onion.

Add Protein

For a heartier meal, add any of the following:

Close-up overhead image of spring mix salad in a bowl.
5 from 1 vote

Spring Mix Salad with Blueberries, Almonds, Feta Cheese, and Honey Vinaigrette

Fresh and seasonal spring mix salad with blueberries, almonds, feta, and a simple honey vinaigrette! The perfect warm-weather lunch or side dish, loaded with healthy ingredients.
Print Pin Rate
Prep Time: 5 minutes
Total Time: 5 minutes
Servings: 6 side servings

Ingredients

  • 1 5-ounce package spring mix lettuce
  • 1 cup fresh blueberries
  • 1/2 English cucumber, chopped
  • 1/2 red onion, chopped
  • 1/2 cup sliced almonds
  • 1/4 cup feta cheese or goat cheese

For the honey vinaigrette:

  • 1/4 cup olive oil
  • 3 tablespoons balsamic vinegar
  • 2 tablespoons honey
  • 1/2 teaspoon salt
  • 1/2 teaspoon black pepper

Instructions

  • Assemble all salad ingredients in a large bowl.
  • Make the dressing by adding all ingredients to a jar with a lid, secure the lid then shake until combined. Drizzle over spring mix salad and enjoy!

Nutrition

Calories: 300kcal

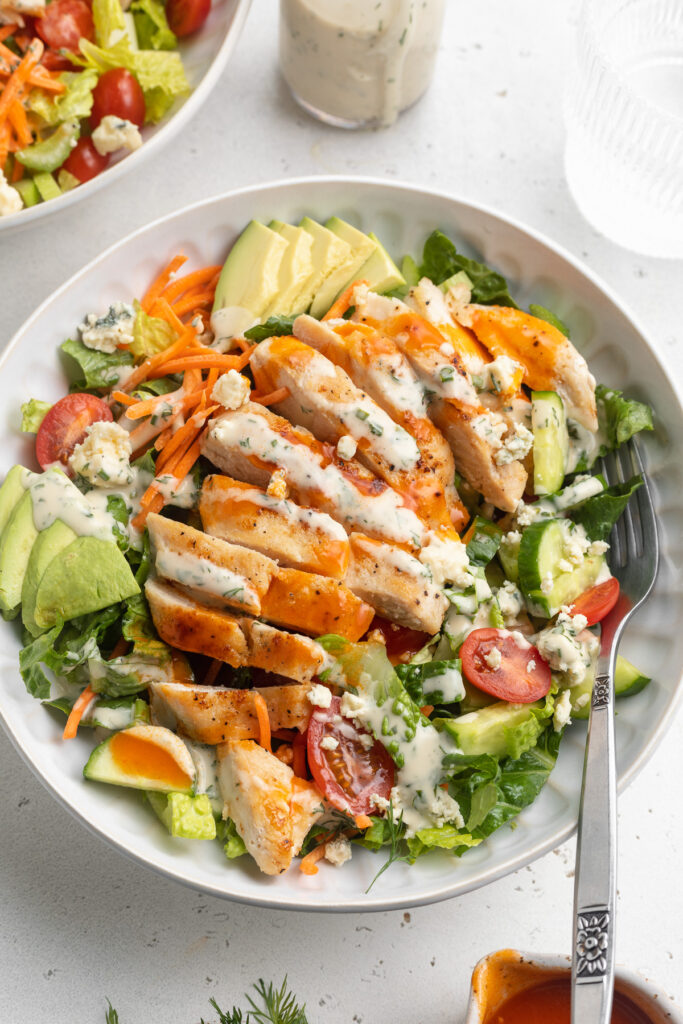
Surprisingly simple, but totally delicious buffalo chicken salad! Complete with a homemade ranch dressing, this healthy recipe is FULL of delicious flavor. Quick and easy to make, it’s perfect for meal prep!

overhead image of buffalo chicken salad in a bowl with homemade ranch dressing and buffalo sauce on the side.

What You’ll Need to Make Buffalo Chicken Salad

Chicken – Start by either slicing and pounding chicken breasts until thin, or make your life super easy and buy pre-cut chicken cutlets! Or, if you’re not up for the extra step and can’t find chicken cutlets, then simply cook whole chicken breasts for your salad. If taking this option, you’ll likely need to cook the chicken for 4-5 additional minutes each side. To check if your chicken is fully cooked, insert a meat thermometer into the thickest part of a breast. Once the thermometer reads 165° Fahrenheit, then you’re chicken is cooked through and ready for this salad recipe!

Buffalo Sauce – I make my own buffalo sauce for this buffalo chicken salad because it’s truly so easy. However, you can totally buy pre-made buffalo sauce instead, if you’d like. For the homemade buffalo sauce, all you’ll need is hot sauce, melted butter, and honey – that’s it!

Ranch Dressing – Again, I made my own ranch dressing for this salad. But you can buy bottled ranch instead, if that’s more your thing. If I’m short on time or looking for a short cut, I use this Primal Kitchen Vegan Ranch Dressing – it’s lighter and healthier than most other ranch dressings on the market!

Blue Cheese – Salty, tangy blue cheese crumbles are the cherry-on-top of this buffalo chicken salad! Though you can totally add any kind of cheese you’d like to this meal. Or, for a non-dairy salad, leave the blue cheese out altogether.

homemade ranch dressing being poured over a buffalo chicken salad.

Tips and Tricks

  • Meal prep this buffalo chicken salad ahead of a busy week! It’s the perfect grab-and-go lunch recipe. To do this, prepare the salads, then store the buffalo sauce and ranch dressing separately. When ready to eat, dress the salads and enjoy!
  • Feel free to switch out/swap in any ingredients you’d like! This salad is super simple, and easy to customize – so have fun with it and don’t be afraid to make it your own.
  • I always recommend dressing this salad right before serving! Leftover salad (without dressing) will stay fresh in the fridge for up to four days.
buffalo chicken salad in a bowl with a fork.

Adjust This Recipe to Your Dietary Needs

Make it Dairy-Free: For a dairy-free salad, leave out the blue cheese and make the homemade ranch dressing with mayonnaise, instead of Greek yogurt.

Make it Vegan/Vegetarian: Make some simple plant-based swaps to turn this into a vegan buffalo salad recipe! Replace the chicken with chickpeas – toss them in the chicken seasoning, then roast them in the oven at 350° Fahrenheit for 15-20 minutes, or until crispy. Also, leave out the blue cheese and use a vegan mayo or plain vegan Greek yogurt to make the ranch dressing.

Close-up overhead image of buffalo chicken salad in a bowl.
5 from 1 vote

Buffalo Chicken Salad with Homemade Ranch Dressing

Surprisingly simple, but totally delicious buffalo chicken salad! Complete with a homemade ranch dressing, this healthy recipe is FULL of delicious flavor. Quick and easy to make, it’s perfect for meal prep!
Print Pin Rate
Prep Time: 5 minutes
Cook Time: 10 minutes
Total Time: 15 minutes
Servings: 4 servings

Ingredients

For the chicken:

  • 1-2 pounds chicken breasts, cut or pounded thin (or chicken cutlets)
  • 1 teaspoon garlic powder
  • 1 teaspoon onion powder
  • salt and black pepper, to taste
  • 1 tablespoon oil

For the buffalo sauce:

  • 1/2 cup Frank’s hot sauce
  • 1/4 cup melted butter
  • 3 tablespoons honey

For the ranch dressing:

  • 1 cup mayo or plain Greek yogurt
  • 2-3 tablespoons milk
  • 2 tablespoons lemon juice
  • 2 tablespoons fresh dill, chopped
  • 1 tablespoon fresh chives, chopped
  • 1 tablespoon fresh parsley, chopped
  • 1/2 teaspoon garlic powder
  • 1/4 teaspoon onion powder
  • 1/4 teaspoon salt
  • 1/4 teaspoon black pepper

For the salad:

  • 1 bunch romaine, chopped
  • 2 celery stalks, chopped
  • 1 avocado, sliced
  • 1/2 English cucumber, chopped
  • 1/2 cup shredded carrots
  • 1/2 cup tomatoes, chopped
  • 1/2 cup crumbled blue cheese

Instructions

  • Pat chicken breasts dry with a paper towel, then season on both sides with garlic powder, onion powder, salt, and black pepper.
  • Heat oil in a large skillet over medium-high heat, then sear chicken breasts 4-5 minutes per side or until cooked through.
  • Make the buffalo sauce by whisking together the hot sauce, melted butter, and honey in a small bowl.
  • Make the ranch dressing my whisking together all dressing ingredients in a small bowl.
  • Assemble the salad with romaine, celery, avocado, cucumber, carrots, blue cheese, and the cooked chicken, then top with a drizzle of buffalo sauce and ranch dressing.

Nutrition

Calories: 300kcal

Just 3 ingredients to make these maple candied pecans! Perfectly sweet, crunchy, and totally delicious. Cooked on the stovetop in under 20 minutes!

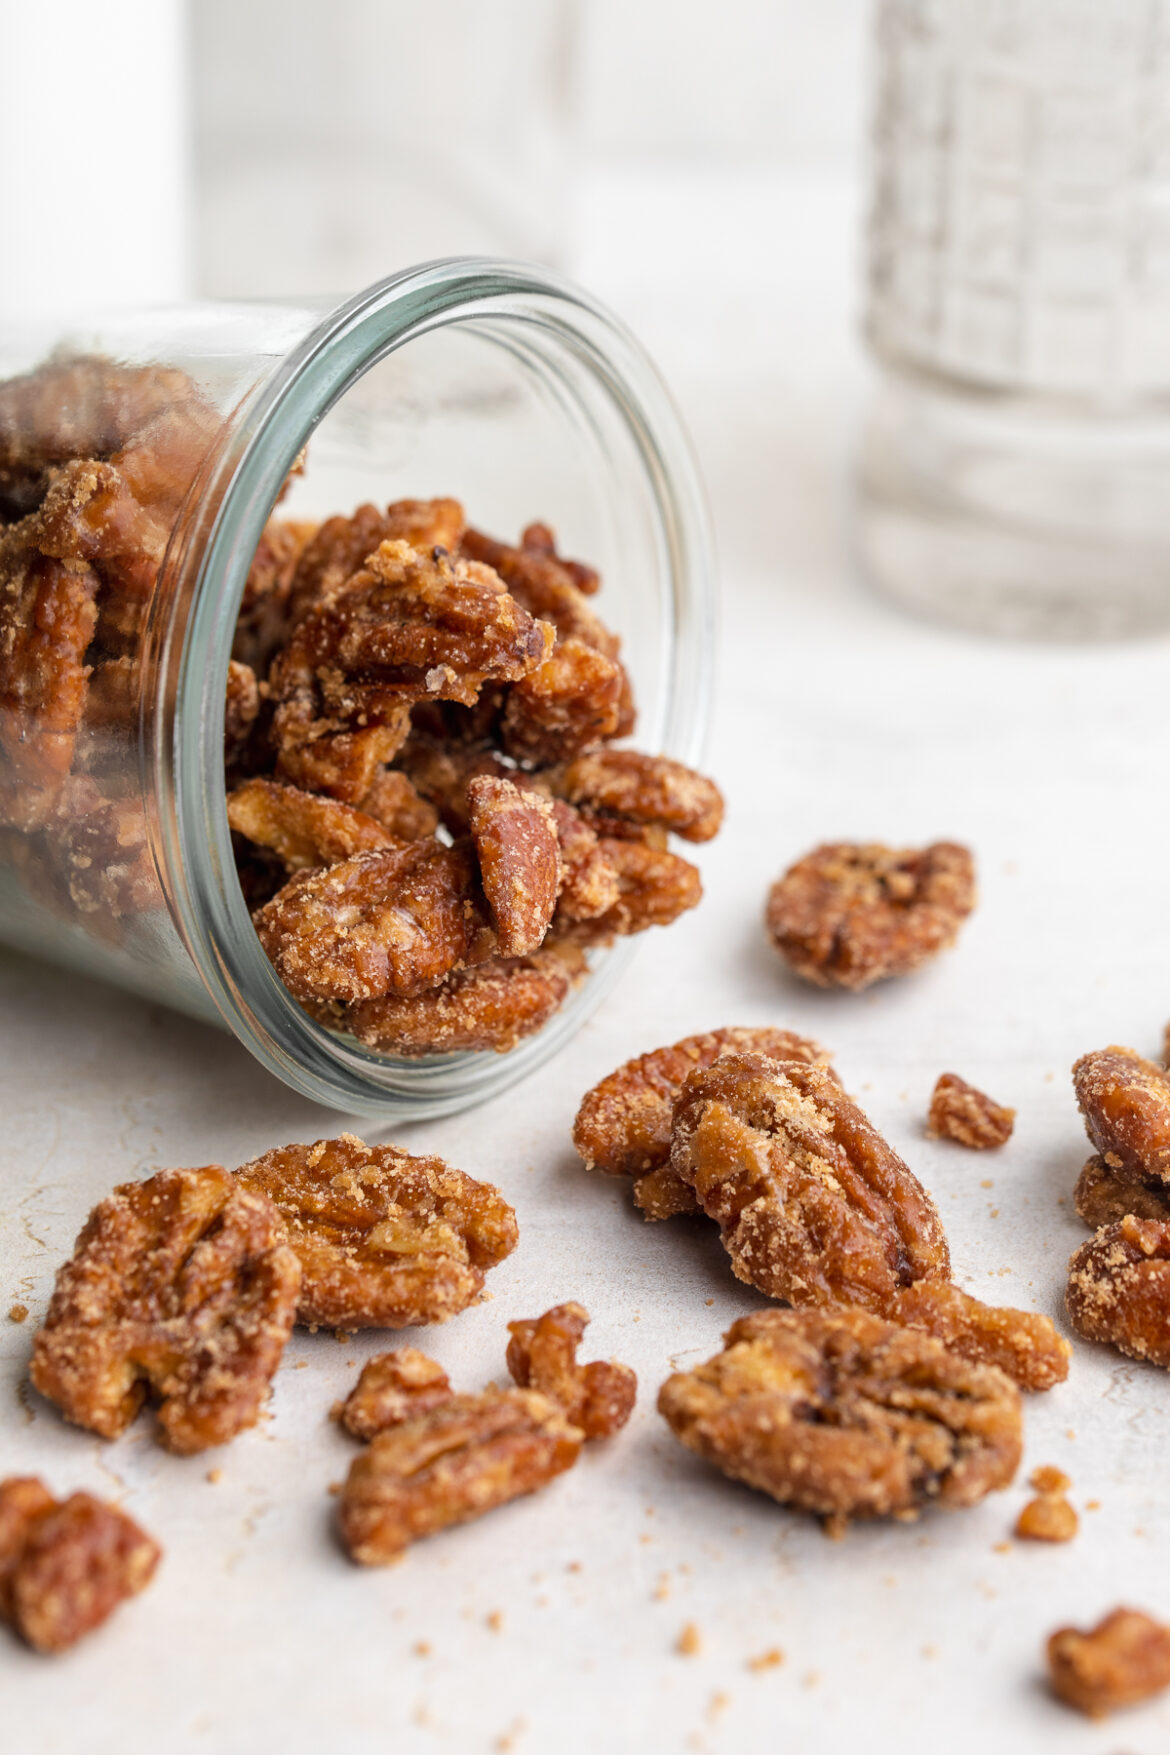
maple candied pecans in a jar

What You’ll Need to Make Maple Candied Pecans

Pecans – Start with raw and unsalted pecans for this recipe. The cooking and flavoring of the pecans happens throughout this recipe, so it’s best to start with a blank canvas! Also, be sure to use whole pecan halves, not pecan pieces.

Maple Syrup – Just half a cup of maple syrup to sweeten these maple candied pecans! I love this unrefined sugar alternative, it’s healthier and tastes just as good. As the pecans cook, the maple syrup will begin to crystalize and coat the pecans, just like sugar would.

Salt – A pinch of salt to help round out those flavors! Salt seems like a counteractive addition to this recipe, but trust me, it brings it all together. And believe it or not, salt actually brings out the sweetness in this candy recipe!

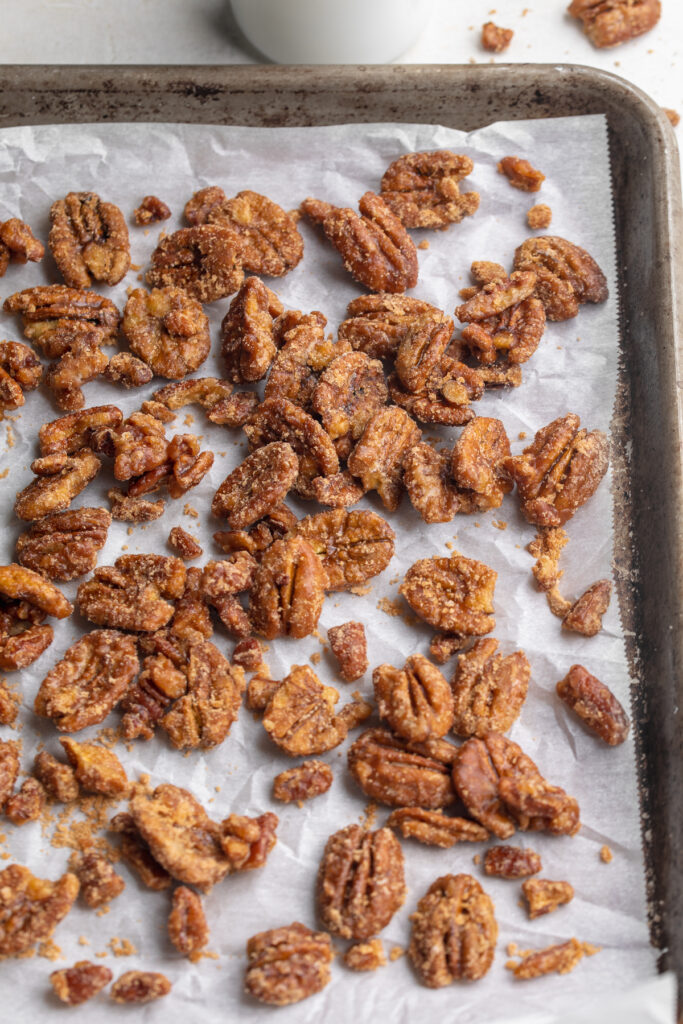
maple candied pecans on a baking sheet

Tips and Tricks

  • Avoid cooking these maple candied pecans at a high temperature. High heat will quickly cause the maple syrup to burn, which could ruin your recipe. Therefore, maintain a simmer, and continue stirring the pecans every few minutes to avoid burning.
  • Have fun with this recipe! Throw in a pinch of cinnamon, or a dash of vanilla extract while the pecans cook. Or, for an extra festive addition, serve them with a handful of festive candies or sprinkles!
  • Maple candied pecans are best stored at room temperature, in an airtight container for up to one week. You can even store them in the fridge for up to one month, or the freezer for up to three months!
overhead image of maple candied pecans on a baking sheet.

This Recipe Is…

maple candied pecans tipped out of a jar
5 from 1 vote

Maple Candied Pecans

Print Pin Rate
Cook Time: 20 minutes
Total Time: 20 minutes
Servings: 2 cups

Ingredients

  • 2 cups raw pecan halves
  • 1/2 cup maple syrup
  • Small pinch of salt

Instructions

  • Add all ingredients to a large pan over medium heat. Stir and bring the maple syrup to a simmer. Once simmering, reduce the heat to low.
  • Continue cooking on low for 20 minutes, stirring every couple of minutes. After 20 minutes, the maple syrup should begin to crystalize and look like sugar coating the pecans.
  • Once syrup has crystalized, pour the pecans onto a parchment-lined baking sheet. Spread pecans into an even layer, then let cool completely before eating or storing.

Nutrition

Calories: 300kcal