Tag

single serve

Browsing

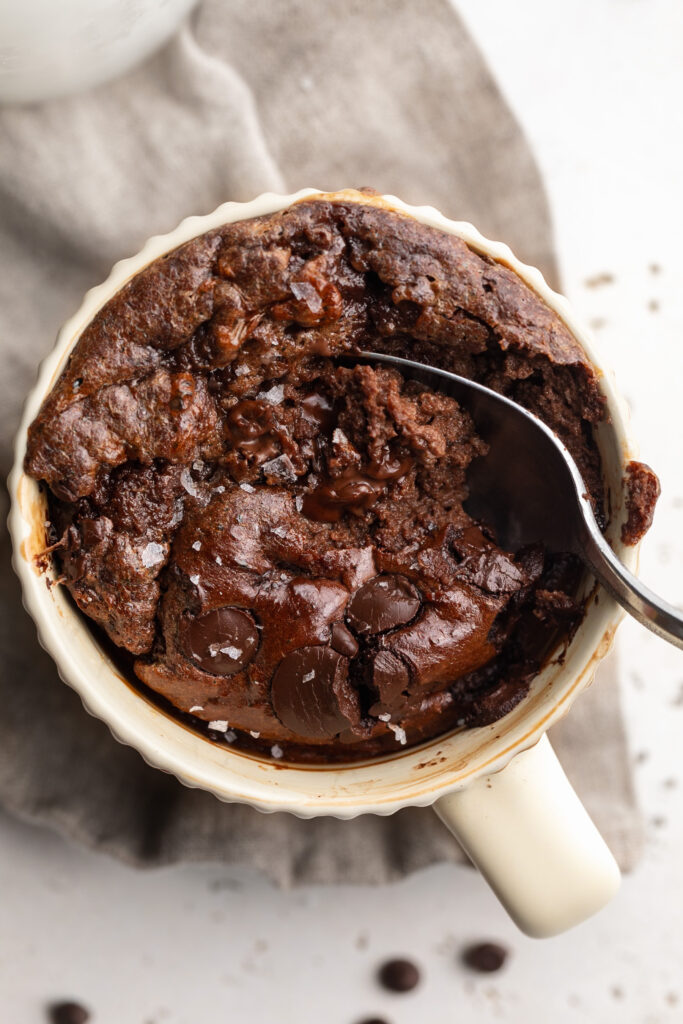
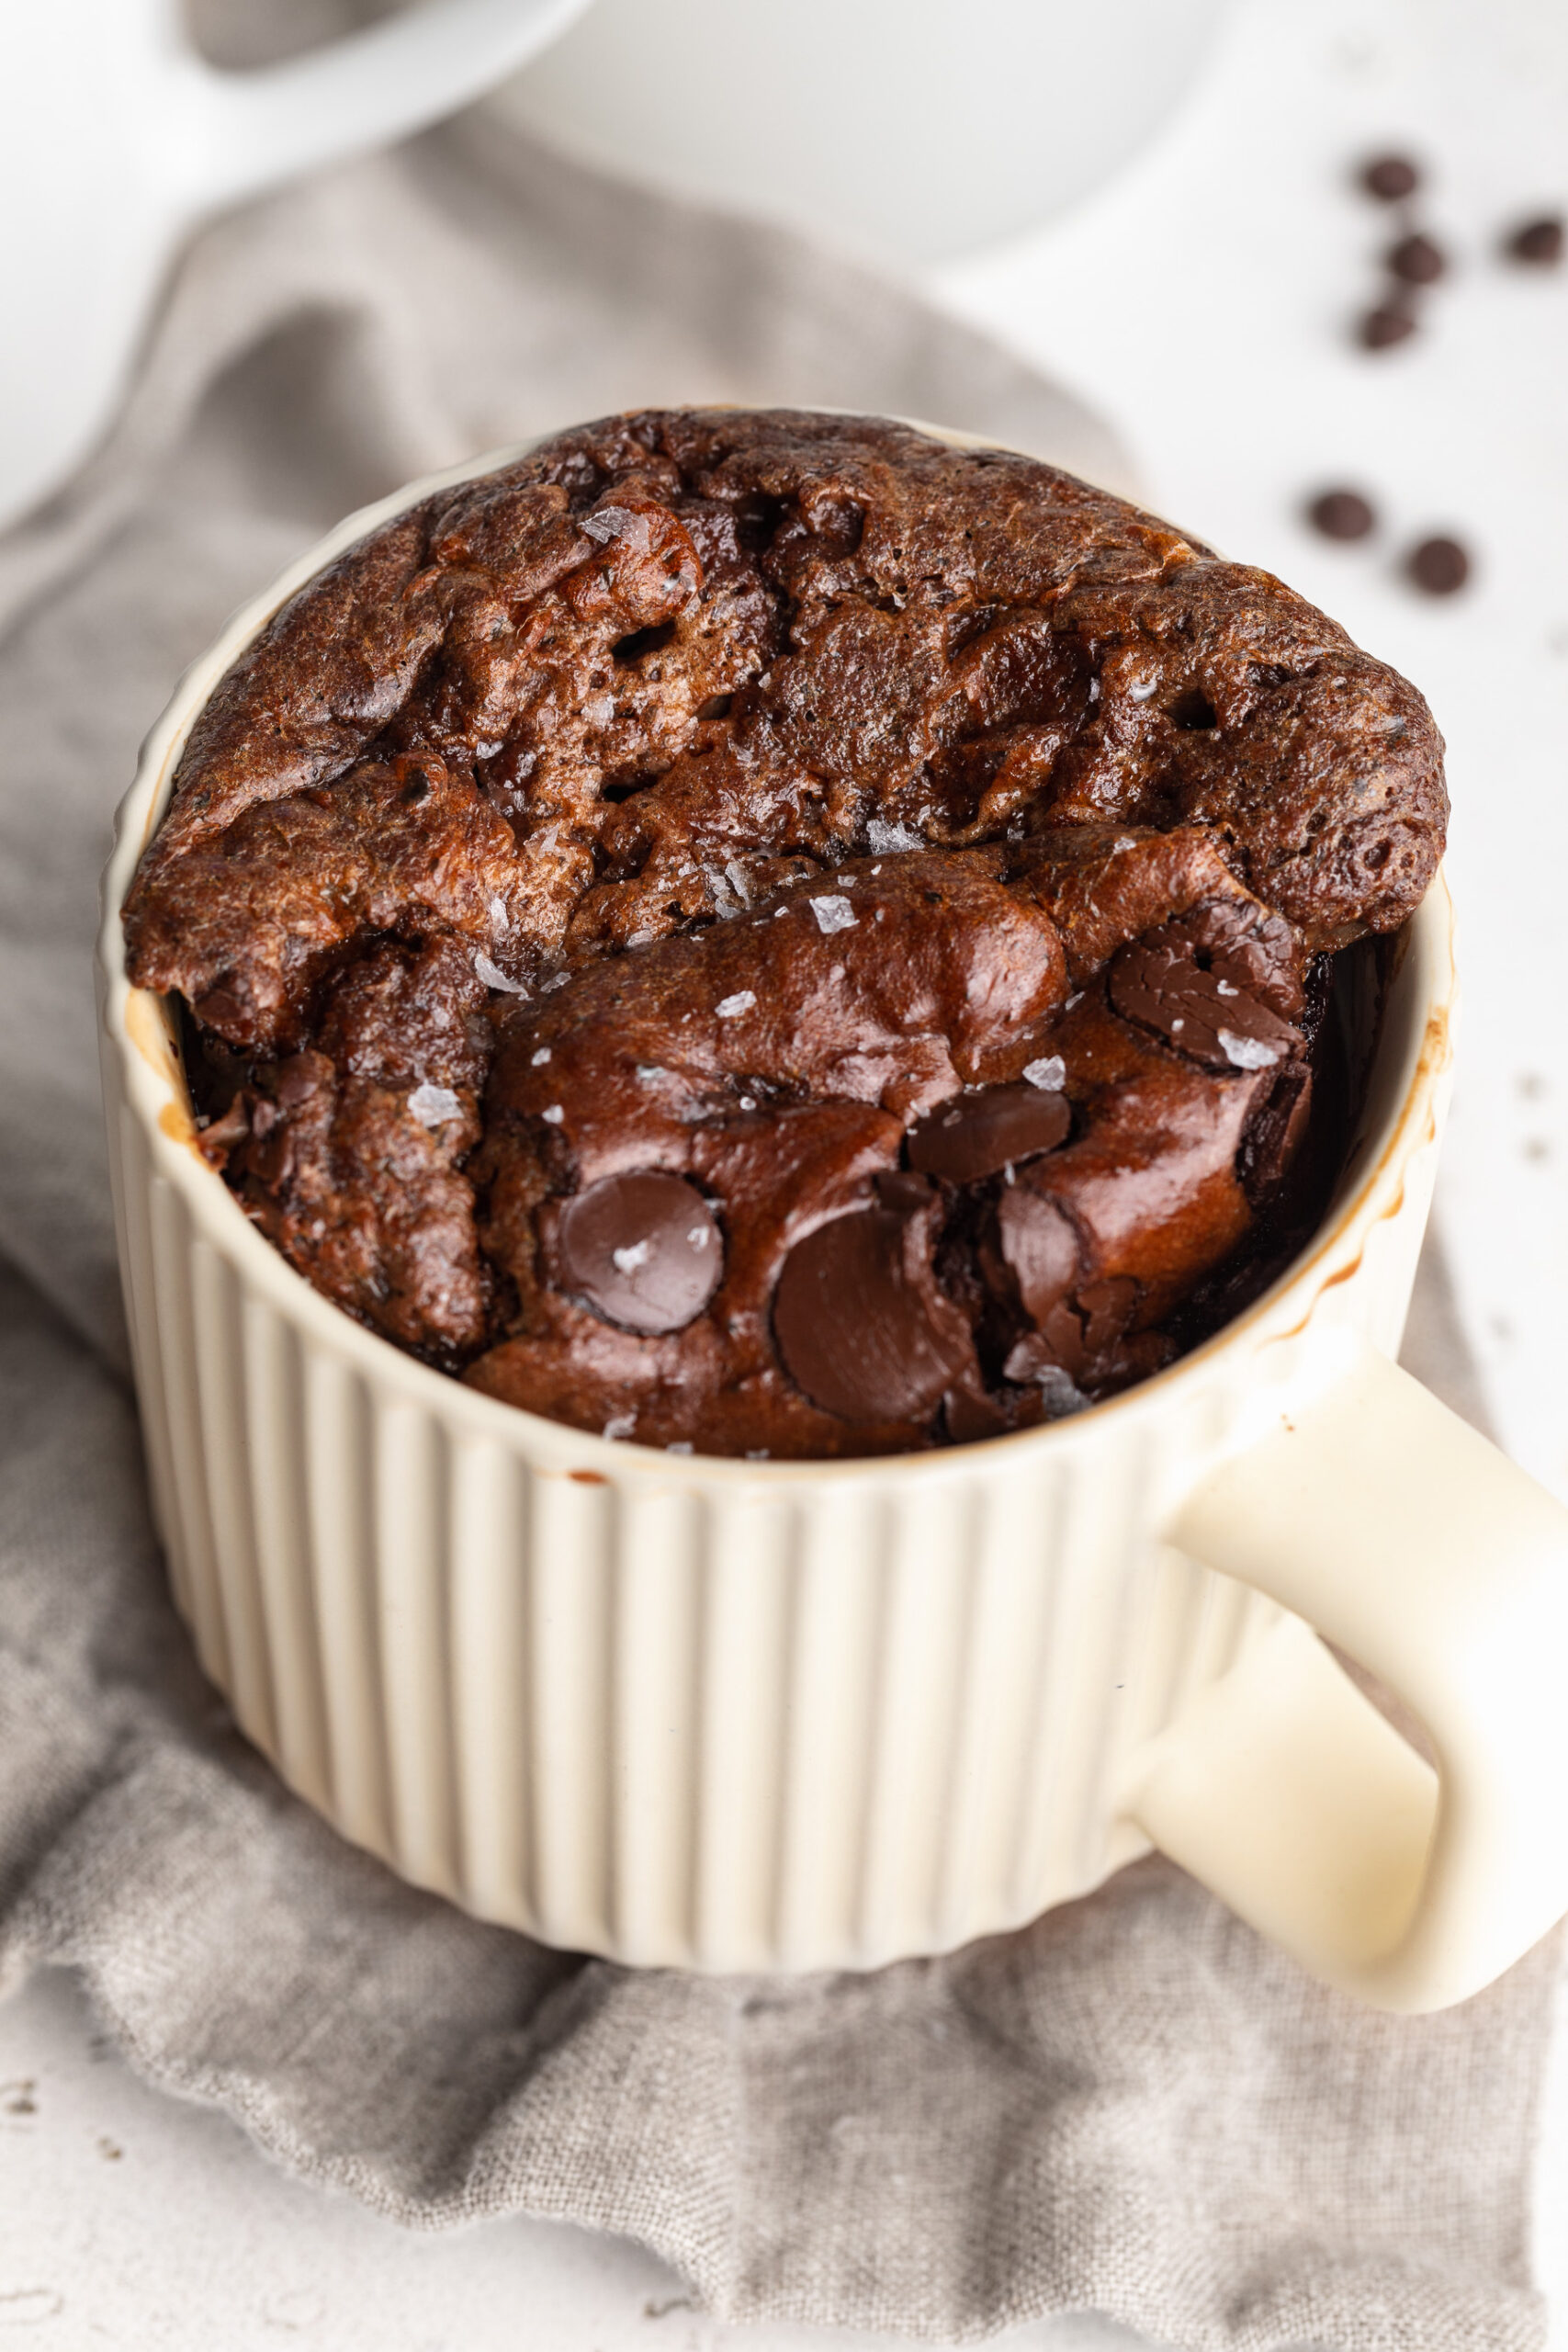
A warm, rich, deeply chocolatey brownie *in a mug* in 90 seconds! This protein mug cake is the recipe I turn to every single time I want something sweet but don’t want to wait, bake, or really work too hard. It’s made with just 5 simple ingredients, packs a serious protein boost, and tastes truly indulgent – even though it’s completely healthy, gluten-free, and refined sugar-free!

What makes this one different from other protein mug cake recipes? Two things: Greek yogurt and cocoa powder. The Greek yogurt makes the cake incredibly moist and fudgy – no dry, chalky protein cake here. The cocoa powder doubles down on the chocolate flavor for a true brownie experience. If you like my Single Serve Protein Cookie or my 4-Ingredient Protein Brownies, then you’re going to LOVE this one!

Why You’ll Love This Protein Mug Cake

  • Ready in just 90 seconds. 90 seconds in the microwave and you’ve got a warm, freshly baked brownie. It doesn’t get faster than that. (No microwave? Bake it at 350°F for 25 minutes — equally delicious!)
  • High in protein. With both Greek yogurt and chocolate protein powder in the batter, this mug cake delivers a genuinely impressive amount of protein per serving — no sad, barely-there protein content here.
  • Gluten-free and healthy. No flour, no butter, no refined sugar — just clean, wholesome ingredients that come together in the most satisfying single-serve dessert.
  • Perfectly moist and fudgy. The Greek yogurt is the secret weapon here. It keeps this mug cake soft, rich, and brownie-like — not dry, not rubbery, not chalky. Just perfect.
  • 5 ingredients, one bowl. Mix it all in the mug you’re going to eat it from and call it a day. Minimal cleanup, maximum satisfaction.
overhead image of a protein brownie mug cake with a spoon in it.

Frequently Asked Questions

How much protein does this protein mug cake have?

This mug cake contains approximately 28–36 grams of protein per serving, depending on the brand of protein powder you use. The protein comes from two sources: the chocolate protein powder (typically 20–30g per scoop) and the Greek yogurt (approximately 6g per ¼ cup). That’s more protein than most store-bought protein bars — in something that tastes like a warm brownie!

What protein powder did you use?

I used Be Well By Kelly Chocolate Protein Powder, and it’s genuinely my favorite for baking. It has a delicious, natural chocolate flavor that makes this mug cake taste like the real thing — not like a protein shake. It also bakes up moist and soft, not dry or rubbery. That said, any chocolate protein powder you love will work in this recipe! Just keep in mind that different brands absorb liquid differently, so your batter consistency may vary slightly.

Can I make this dairy-free?

Yes! Swap the Greek yogurt for a thick, plain dairy-free yogurt — coconut yogurt or a thick oat milk yogurt both work great. The texture may be very slightly different depending on which dairy-free yogurt you use, but it will still be delicious. Make sure your protein powder is also dairy-free (most plant-based protein powders are) and you’re all set.

Sam’s Recipe Tips

  • Stir it VERY well. I mean it – stir until there are zero dry spots, NO lumps, and the batter looks completely smooth and uniform. Protein powder and cocoa powder can be stubborn and clump together, and any unincorporated pockets will result in a dry, uneven texture once cooked. Take the extra 30 seconds to really mix it thoroughly – it makes a huge difference!
  • Don’t overcook it. The number one mistake with mug cakes is overcooking. Start at 90 seconds and check it – the edges should look set, but the center can look slightly underdone. It will continue to cook and firm up as it rests. Every microwave is different, so if yours runs hot, start checking at 75 seconds.
  • Let it rest before eating. Give it a full minute to rest after microwaving. Not only will it be dangerously hot straight out of the microwave, but resting allows the center to finish setting into that perfect fudgy brownie texture.
  • Use a large mug. Make sure your mug is at least 12 ounces – the batter will bubble and rise as it cooks. A mug that’s too small can overflow in the microwave. A wide, short mug or a ramekin gives the most even cooking.
  • Top it generously. A drizzle of peanut butter, a dollop of Greek yogurt, or a handful of chocolate chips on top takes this from great to absolutely incredible. Don’t skip the toppings!
  • Oven method tip: If baking in the oven, use a greased 6-ounce ramekin and bake at 350°F for 25 minutes. The result is slightly more cake-like and less fudgy than the microwave version – equally delicious, just a different texture.
freshly baked protein brownie mug cake with chocolate chips and flaky salt on top.
5 from 1 vote

5-Ingredient Protein Brownie Mug Cake

This protein brownie mug cake is a warm, rich, deeply chocolatey single-serve dessert made with just 5 simple ingredients! It's gluten-free, refined sugar-free, and packs over 30 grams of protein per serving, making it the ultimate healthy treat that actually tastes indulgent. For a protein mug cake that's moist, fudgy, and genuinely delicious – THIS is it!
Print Pin Rate
Prep Time: 2 minutes
Cook Time: 2 minutes
Total Time: 4 minutes
Servings: 1 serving

Equipment

  • 1 microwave-safe mug

Ingredients

Instructions

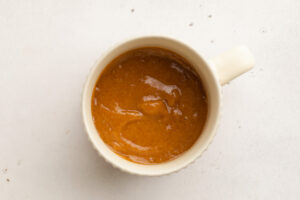
  • Add all ingredients to a large microwave-safe mug and stir VERY well until completely smooth with no lumps or dry spots.
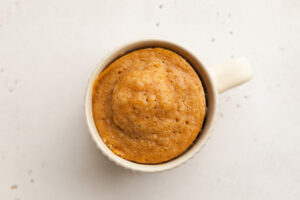
  • Microwave: Cook on high for 90 seconds. Let rest 1 minute before eating.
  • Oven: Pour into a greased ramekin and bake at 350°F for 25 minutes.
  • Top with peanut butter, Greek yogurt, chocolate chips, or your favorite toppings. Enjoy immediately!

Nutrition

Serving: 1serving | Calories: 280kcal | Carbohydrates: 16g | Protein: 36g | Fat: 9g | Fiber: 2g | Sugar: 10g

I’ll admit, I have a pretty big sweet tooth. And I really can’t go to bed without a little sweet treat to end my day. But I like to keep that sweet treat to something a little healthier. Lately, I’ve been making my single serve protein cookie or a quick batch of healthier almond flour brownies. But when I’m craving banana bread, or something more cake-like I reach for this healthy (& easy!) banana bread mug cake. Made with just 6 ingredients – totally gluten-free, dairy-free, and lightly sweetened with maple syrup! It honestly tastes just like banana bread, but a whole lot healthier and way easier to make.

Why You’ll Love This Banana Mug Cake

  • Made with just 6 simple ingredients.
  • It’s the perfect single serving!
  • Tastes just like classic banana bread, but healthier.
  • Gluten-free, dairy-free, and refined sugar-free!
  • Ready in just minutes.
  • Perfect for dessert, snack, or even breakfast.

This mug cake is soft, fluffy, and naturally sweet from ripe banana!

healthy banana mug cake with chocolate chips on top.

What Makes This Recipe Healthy?

  • It’s naturally sweetened with banana and a touch of maple syrup.
  • Made with almond flour for healthy fats, extra protein and fiber!
  • No refined sugars or processed foods, just 6 nutritious ingredients.
  • Can be made in the microwave or oven!

Recipe Variations and Substitutions

  • Make it Vegan / Egg-Free: Replace the egg with a flax egg (1 tablespoon ground flaxseed + 2½ tablespoons water).
  • Make it Nut-Free: Use oat flour instead of almond flour.
  • Add Extra flavor: Add vanilla extract or chopped walnuts depending on your preferences.
  • Make it Low Sugar: Skip the maple syrup if your banana is very ripe.
  • For Chocolate lovers: Stir chocolate chips into the batter.
healthy banana mug cake with a spoon
5 from 6 votes

6-Ingredient Banana Mug Cake

This banana mug cake tastes just like classic banana bread but is made with simple, healthy ingredients and ready in minutes! It’s a single-serve, gluten-free, dairy-free, and refined sugar-free recipe made with just 6 ingredients. Perfect for a quick dessert or snack, this healthy banana mug cake can be made in the microwave or oven!
Print Pin Rate
Prep Time: 5 minutes
Cook Time: 2 minutes
Total Time: 7 minutes
Servings: 1 serving

Equipment

  • 1 microwave-safe mug

Ingredients

  • 1 ripe banana
  • 1 large egg
  • 1/4 cup almond flour
  • 1 tablespoon maple syrup or your favorite liquid sweetener
  • 1/2 teaspoon baking powder
  • 1/4 teaspoon cinnamon
  • chocolate chips optional

Instructions

  • Mash the banana in a mug, then mix in the remaining ingredients (except for the chocolate chips). Once the mug cake is well mixed and the batter is mostly smooth, top with chocolate chips then bake for 350° Fahrenheit for 25-30 minutes. Or, microwave on high for 2 minutes.

Nutrition

Serving: 1serving | Calories: 380kcal | Carbohydrates: 40g | Protein: 14g | Fat: 21g | Fiber: 8g | Sugar: 20g

I’m the kind of girl that needs a little something sweet at the end of every day. And these days, I just don’t have the time to make big batches of sweet treats all the time – which is where my recent obsession for single serve desserts comes in. It started with my single serve gluten-free cinnamon roll, then my healthy mug cake, and now this single serve protein cookie skillet. Because another thing about me is that I’ve been working really hard on eating more protein. Protein keeps me fueled, satisfied, and curbs my appetite. But the cookie nature (if you will) of this single serve recipe keeps me happy! I’m seriously addicted to this single serve protein cookie skillet, and know if you give it a try that you will be too. 😍

Why You’ll Love This Single Serve Protein Cookie Skillet

  • Over 30 grams of protein in one serving!
  • Perfect single serve dessert.
  • Warm, gooey, and incredibly satisfying.
  • Gluten-free, dairy-free, and refined sugar-free!
  • Comes together in minutes with minimal cleanup.
  • Made with wholesome, better-for-you ingredients.
overhead image of single serve protein cookie skillet with flaky sea salt on top.

Frequently Asked Questions

How much protein does this protein cookie skillet have?

This skillet cookie contains 30+ grams of protein, depending on the protein powder you use.

Can I make a larger skillet?

Yes! You can easily double or triple the recipe and bake it in a larger oven-safe skillet. Just add a few extra minutes to the bake time and keep an eye on the center.

What kind of protein powder did you use?

I used Aloha plant-based vanilla protein powder, but I’ve also made this with Vital Farms unflavored collagen powder, and it turns out just as delicious. Any vanilla or unflavored protein powder will work well.

Recipe Variations and Substitutions

  • Make it Egg-free: Replace the egg with ¼ cup unsweetened applesauce or a flax egg.
  • Make it Nut-free: Use sunflower seed butter instead of peanut butter.
  • Lower sugar: Use sugar-free maple syrup or reduce the amount.
  • Different flavors: Add cinnamon, flaky sea salt, or swap chocolate chips for chopped dark chocolate.
close up image of protein cookie skillet with chocolate chips on top.
No ratings yet

Single Serve Protein Cookie Skillet (30g protein!)

This protein cookie skillet is a warm, gooey single-serve dessert with over 30 grams of protein! It’s gluten-free, dairy-free, refined sugar-free, and made with simple, wholesome ingredients. Perfect when you want a healthy cookie that tastes indulgent, this protein cookie skillet comes together in just minutes!
Print Pin Rate
Prep Time: 5 minutes
Cook Time: 10 minutes
Total Time: 15 minutes
Servings: 1 serving

Equipment

  • 1 small skillet

Ingredients

  • 1 egg
  • 1/4 cup almond flour
  • 2 tablespoons protein powder
  • 2 tablespoons creamy peanut butter or any nut/seed butter
  • 1 tablespoon oil I used avocado oil
  • 1 tablespoon maple syrup or any liquid sweetener
  • 2 tablespoons chocolate chips

Instructions

  • Preheat oven to 350° Fahrenheit.
  • Add all ingredients to a mini skillet, except for the chocolate chips, and mix together until a thick dough forms.
  • Sprinkle the chocolate chips on top of the skillet then bake for 10-12 minutes, or until the cookie is done to your liking (I like mine slightly gooey in the center). Let cool slightly then enjoy!

Nutrition

Serving: 1skillet | Calories: 600kcal | Carbohydrates: 34g | Protein: 30g | Fat: 40g | Fiber: 7g | Sugar: 15g

Single serve recipes really are the best. They make just the right amount, always hit the spot, and are always easier than making a whole batch of something. A few single serve recipes I find myself coming back to time and time again are my 5-ingredient single serve cinnamon roll, single serve protein cookie, healthy gluten-free mug cake, and now (& especially this time of year) this single serve apple crumble. It’s perfectly sweet, super easy to make, and just as delicious as your favorite apple crumble recipe. I even managed to make this recipe with just 5 ingredients. So the next time you’re craving a delicious fall treat, whip up this single serve apple crumble, cozy up on the couch, and enjoy! 🥰

single serve apple crumble with ice cream.

Why You’ll Love This Single Serve Apple Crumble

  • Perfect for one – no sharing needed!
  • Minimal ingredients & fuss – only 5 components and one bowl for prep.
  • Customizable & comforting – cozy, fall flavor, and ready in under 30 minutes!
  • Gluten-Free – naturally gluten-free with rolled oats and almond flour.

Sam’s Recipe Tips

  • Use a firm but juicy apple (e.g. Honeycrisp, Pink Lady) so pieces soften but don’t disappear.
  • Ensure the topping is crumbly, not doughy – mix just until the oat/almond flour mix clumps slightly.
  • Let it cool for a few minutes before digging in – this helps juices settle.
  • For extra depth, stir a pinch of nutmeg or allspice into the apples before topping.
single serve apple crumble with a spoon.

Adjust This Recipe to Your Dietary Needs

  • Make it Vegan / Dairy-Free: Use coconut oil or vegan butter instead of regular butter.
  • Make it Nut-Free: Replace almond flour with extra oats or a seed-based flour (e.g. sunflower seed flour).
  • Optional Flavors: Add a splash of vanilla extract or a teaspoon of maple syrup for extra sweetness.
overhead image of single serve apple crumble with a scoop of ice cream on top.
No ratings yet

5-Ingredient Single Serve Apple Crumble

This single serve apple crumble is a cozy, 5-ingredient dessert that bakes up in just 30 minutes! Made with warm cinnamon apples and a golden oat topping, it’s the perfect healthier fall treat. Easy to make in one bowl, no sharing required!
Print Pin Rate
Prep Time: 5 minutes
Cook Time: 25 minutes
Total Time: 30 minutes
Servings: 1 serving

Equipment

  • 1 small bowl
  • 1 small ramekin

Ingredients

For the apples:

  • 1 apple peeled and chopped
  • 1 tablespoon brown sugar or coconut sugar
  • 1/2 teaspoon cinnamon optional

For the crumble:

  • 1/4 cup rolled oats
  • 2 tablespoons almond flour or all purpose flour
  • 1 tablespoon brown sugar or coconut sugar
  • 2 tablespoons melted butter or coconut oil

Instructions

  • Preheat oven to 350° Fahrenheit.
  • Add the chopped apples, coconut sugar, and cinnamon to a small ramekin and stir until the apples are evenly coated in sugar. Set that aside then make the crumble.
  • Mix together the rolled oats, almond flour, coconut sugar, and melted butter or coconut oil in a small bowl until a crumby mixture forms. Sprinkle the crumble evenly over the top of the apples.
  • Bake the apple crumble for 25-30 minutes, or until the apples are very soft. Let the apple crumble cool slightly before topping with ice cream, yogurt, or whipped cream.

Nutrition

Serving: 1serving | Calories: 400kcal | Carbohydrates: 60g | Protein: 6g | Fat: 20g | Fiber: 7g | Sugar: 40g

I LOVE a single serve dessert! My go-to is usually either my single serve gluten-free cinnamon roll, or if I need some extra protein I’ll quickly throw together a single serve protein cookie. But lately, I’ve been alllll about this 3-ingredient peanut butter mug cake. I love that I can take it straight out of the microwave and onto the couch with me, and enjoy it warm (!!!) while I binge whatever show I’m watching that week. I typically enjoy it all on its own, but if I’m feeling crazy I’ll add a scoop of vanilla ice cream, a drizzle of chocolate, or even a handful of sprinkles! Please, have fun with this recipe, and most importantly – ENJOY!

Why You’ll Love This Recipe

  • Fast and Easy: Ready in under 5 minutes, this mug cake is perfect for a quick snack or dessert.
  • Simple Ingredients: Only 3 pantry staples are needed, making it budget-friendly and accessible.
  • Customizable: Add mix-ins or toppings to make it your own while still keeping it simple.

What You’ll Need to Make Peanut Butter Mug Cake

Egg: The egg acts as a binder, giving the mug cake its structure and fluffy texture. I wouldn’t recommend trying to replace the egg with something else, since it’s vital to holding this mug cake together.

Peanut Butter: Adds richness, a nutty flavor, and protein to the cake. Use creamy or natural peanut butter for best results. However, if you can’t have peanut butter use any nut, seed, or granola butter in its place!

Sugar: Sweetens the mug cake. Adjust the quantity based on your taste preference or use alternatives like coconut sugar for a refined sugar-free option!

3 ingredient peanut butter mug cake on a tea towel.

Here’s a link to the microwave-safe mug I used – on Amazon!

How to Make Peanut Butter Mug Cake

  1. Start by cracking an egg into a microwave-safe mug.
  2. Add the peanut butter and sugar, then mix well until smooth and lump-free.
  3. Microwave for 1 minute. Check the texture; if it’s undercooked, microwave for an additional 10 seconds.
  4. Allow to cool slightly, then enjoy it straight from the mug!

Topping/Mix-In Options

  • Chocolate Chips: Sprinkle a few on top before microwaving for a melty chocolate finish.
  • Banana Slices: Add a natural sweetness and pair perfectly with peanut butter.
  • Crushed Nuts: For extra crunch, sprinkle chopped peanuts or almonds on top.
  • Drizzles: Drizzle with honey, maple syrup, or melted chocolate after cooking.

Sam’s Recipe Tips

  • Microwave Timing: All microwaves vary in power. Start with 1 minute, then check and add time in 10-second increments if needed.
  • Texture: For a gooier center, slightly undercook the cake by a few seconds.
  • Peanut Butter: Natural peanut butter may result in a slightly denser texture but works perfectly. Stir well before using to incorporate the oils.
close up image of 3 ingredient peanut butter mug cake with a spoon.

Why This Recipe Stands Out

This mug cake is:

It’s a perfect quick dessert or snack that’s as easy as it is delicious!

3 ingredient peanut butter mug cake with extra peanut butter on top.
5 from 2 votes

3-Ingredient Peanut Butter Mug Cake

This 3-ingredient peanut butter mug cake is the ultimate quick and easy dessert, ready in just 5 minutes! Made with simple pantry staples, it’s naturally gluten-free, dairy-free, and customizable with your favorite toppings – perfect for satisfying your sweet tooth anytime.
Print Pin Rate
Prep Time: 3 minutes
Cook Time: 1 minute
Total Time: 4 minutes
Servings: 1 serving

Equipment

  • 1 microwave-safe mug

Ingredients

  • 1 large egg
  • 3 tablespoons creamy peanut butter unsweetened
  • 1-2 tablespoons sugar depending on how sweet you'd like it

Instructions

  • Add all ingredients to a microwave-safe mug and mix together until fully combined and smooth.
    3-Ingredient-Peanut-Butter-Mug-Cake-Step-1
  • Microwave the mug cake for 1 minute, then remove from the microwave and let cool for at least a few minutes before eating (it will be VERY hot!).
    3-Ingredient-Peanut-Butter-Mug-Cake-Step-2

Nutrition

Serving: 1mug cake | Calories: 400kcal | Carbohydrates: 24g | Protein: 18g | Fat: 29g | Sugar: 16g