Tag

strawberry

Browsing

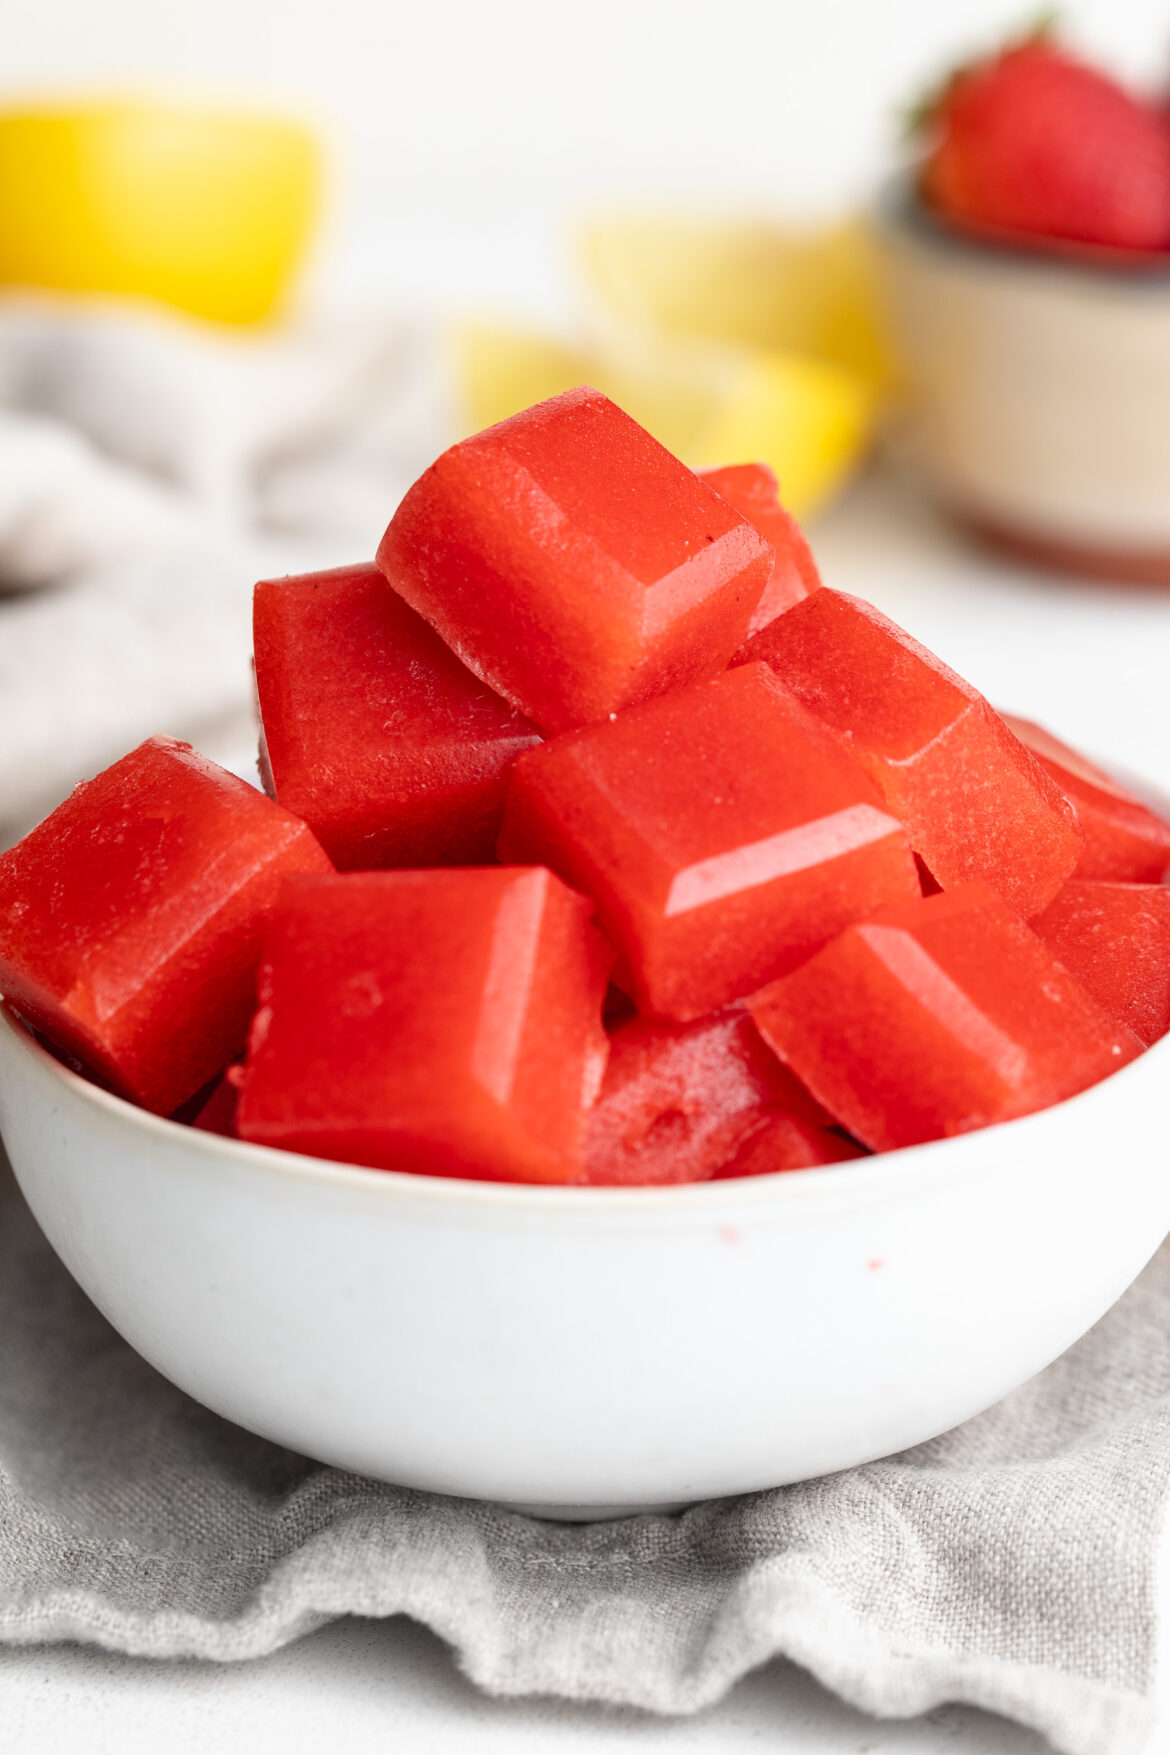
If you liked my 3-Ingredient Healthy Watermelon Gummies, then you’re going to LOVE these strawberry lemonade electrolyte gummies! Fresh strawberries and lemon, sweetened with honey, set with gelatin, and finished with a pinch of high-mineral sea salt (or an electrolyte packet!) for an actual hydrating, nourishing gummy. They’re sweet, tart, chewy, and genuinely will leave you feeling amazing from the inside out! ✨

These aren’t just a fun snack, they’re a functional one too. The grass-fed gelatin provides collagen to support glowing skin, healthy hair, and gut health. The fresh strawberries are packed with vitamin C and antioxidants. The lemon juice is bright and alkalizing. And the mineral sea salt or electrolyte packet? That’s what sets these apart from every other healthy gummy out there. Real electrolytes to keep you hydrated and energized all day long! These are the gummies I grab after a workout, before a long day in the sun, or honestly… whenever my toddler asks for “candy” (he doesn’t know the difference, ha!). & if you’re looking for healthier ways to hydrate, pair these gummies with my homemade lemon-lime gatorade!

Why You’ll Love These Strawberry Lemonade Electrolyte Gummies

  • They taste like actual strawberry lemonade. Sweet, bright, perfectly tart – these gummies capture every bit of the classic summer drink flavor in chewy, poppable form. Kids go absolutely crazy for them, and honestly so do I!
  • Packed with real health benefits. Collagen from the gelatin, vitamin C from the strawberries and lemon, antioxidants, and real electrolytes from the mineral salt or electrolyte packet. These aren’t just a treat, they’re genuinely good for you.
  • Easy to make and great for the whole family. Blend, strain, heat, pour, chill. That’s it. They take about 15 minutes of active work (NO baking, obviously) and keep in the fridge all week for a healthy snack that’s ready whenever you need one.
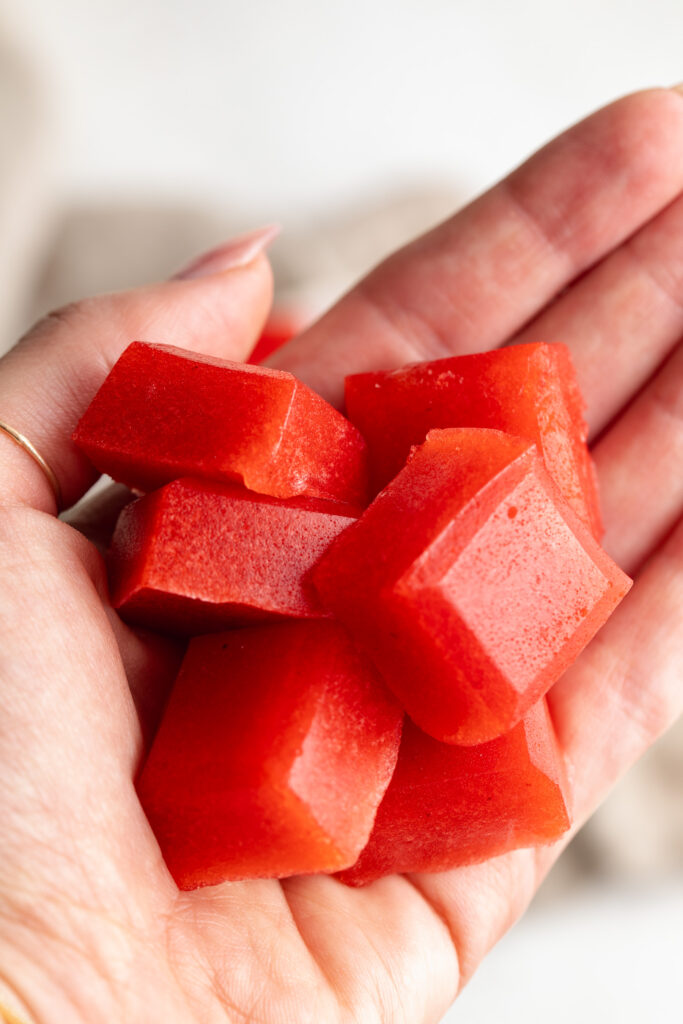
hand holding strawberry lemonade electrolyte gummies.

What Are the Health Benefits?

Grass-Fed Gelatin: Gelatin is the star ingredient in these gummies and where most of the nutritional magic happens. I use and love the Further Foods Grass-Fed Gelatin on Amazon. It’s naturally rich in collagen-supporting amino acids (particularly glycine, proline, and hydroxyproline) that support healthy skin elasticity, gut lining integrity, joint health, and hair and nail strength. Gelatin also supports digestion by helping to heal and seal the gut lining — which is why these gummies are one of my favorite gut-healthy snacks.

Fresh Strawberries: Strawberries are one of the best sources of vitamin C, which is essential for collagen synthesis, meaning they make the gelatin’s collagen benefits even more effective! They’re also rich in antioxidants, fiber (strained out in this recipe), and polyphenols that support heart health and reduce inflammation.

Fresh Lemon: Lemon is alkalizing, liver-supportive, and packed with vitamin C. The bright acidity also naturally preserves the gummies and gives them that irresistible strawberry lemonade flavor.

High-Mineral Sea Salt or Electrolyte Packet: This is the secret ingredient that takes these from a healthy snack to a truly functional, hydrating treat. High-mineral sea salt (I love Baja Gold Mineral Sea Salt) contains over 90 trace minerals including sodium, magnesium, and potassium – the electrolyte trifecta that supports cellular hydration, energy levels, and overall wellbeing. Alternatively, use your favorite electrolyte packet for a convenient, flavor-customizable option!

Ingredients

  • 2 cups fresh strawberries, stems removed – Fresh, ripe, in-season strawberries give the best flavor and the most vibrant pink color. The juicier the berry, the better!
  • 2 whole lemons, peeled – Remove as much of the white pith as possible, it’s very bitter and will affect the flavor of the gummies. You want mainly the fruit and juice.
  • ¼ cup – ½ cup honey – Start with ¼ cup and taste before adding more. The sweetness level depends on how tart your lemons are and how sweet you like your gummies. Raw honey adds the most nutritional benefit, but any honey works.
  • ¼ cup unflavored gelatin powder – Use a good quality grass-fed gelatin powder for the most nutritional benefit. I love Great Lakes or Vital Proteins. Don’t substitute with agar agar, it will change the texture significantly.
  • 1 teaspoon high-mineral sea salt, or 1 electrolyte packet – This is what makes these gummies genuinely hydrating and sets them apart from a regular fruit gummy. Redmond’s Real Salt is my go-to for the mineral content. Alternatively, add your favorite unflavored or lemon/strawberry electrolyte packet!

Instructions

  1. Add the fresh strawberries and peeled lemons to a high-speed blender and blend until completely smooth.
  2. Pour the blended mixture through a fine mesh strainer and into a medium saucepan, pressing with a spoon to extract as much juice as possible. Discard the solids.
  3. Add the honey and unflavored gelatin powder to the strained juice in the saucepan. Stir well to begin incorporating the gelatin into the liquid.
  4. Place the saucepan over low heat and warm for just about 2 minutes, stirring continuously, until the mixture is warm and the gelatin has fully dissolved. Do NOT bring to a simmer or a boil – too much heat will break down the gelatin and prevent the gummies from setting properly.
  5. Remove from heat. Stir in the high-mineral sea salt or electrolyte packet until fully dissolved.
  6. Carefully pour or ladle the mixture into gummy molds. A squeeze bottle makes this step much easier and less messy! Transfer the molds to the refrigerator and chill for at least 30 minutes, or until the gummies are completely firm and set.
  7. Pop the gummies out of the molds and enjoy! Store in an airtight container in the fridge for up to 1 week.
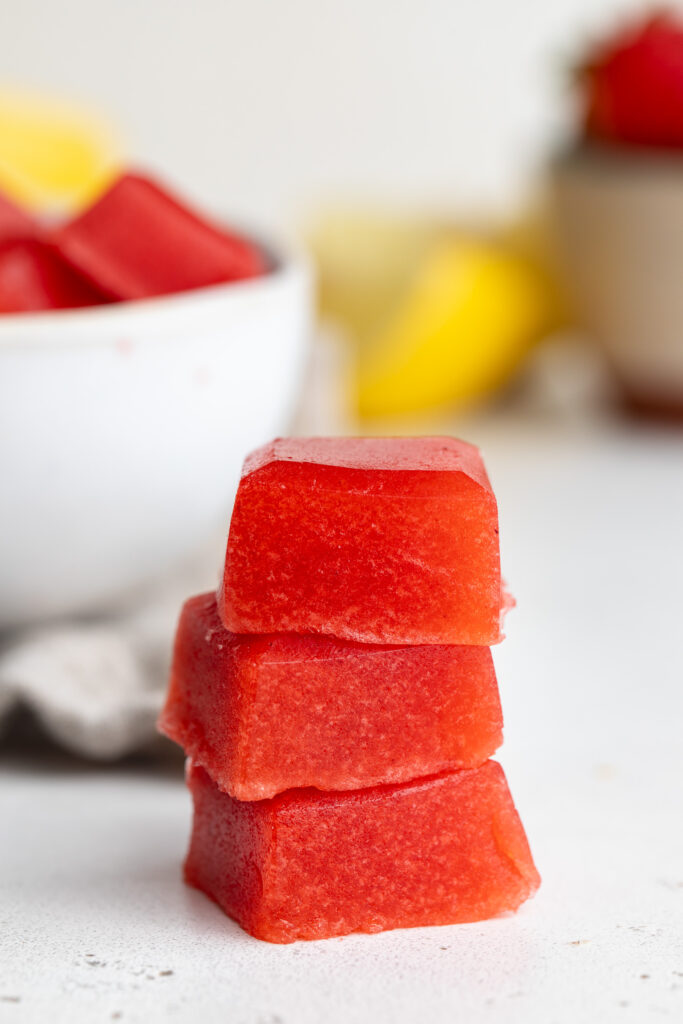
three strawberry lemonade electrolyte gummies stacked on a table.

Frequently Asked Questions

Can I use frozen strawberries?

Yes! Frozen strawberries work well in this recipe, just thaw them completely before blending. Keep in mind that frozen strawberries can be slightly less sweet than fresh, so you may want to add a bit more honey to compensate. The color and flavor will be very similar to fresh!

Can I use lemon juice instead of whole lemons?

You can use ½ cup of fresh lemon juice as a substitute for the 2 whole peeled lemons. If using bottled lemon juice, I recommend using 100% pure lemon juice with no additives. Keep in mind that whole peeled lemons add a slightly thicker, more full-bodied texture to the gummies that you won’t get from juice alone.

What gummy molds do you recommend?

Any silicone gummy mold works! I love small bear-shaped molds for a fun, candy-store feel, but heart shapes, star shapes, or even a simple ice cube tray all work perfectly. Silicone molds make it much easier to pop the gummies out once set. A squeeze bottle or small measuring cup with a pour spout makes filling the molds neat and easy!

Why are my gummies not setting?

This is almost always caused by overheating the gelatin mixture. If the liquid comes to a simmer or boil, the gelatin proteins break down and lose their ability to set. Keep the heat on low and remove from heat as soon as the gelatin is fully dissolved, the mixture should feel warm, not hot. If your gummies aren’t setting, try again with a lower heat setting and shorter warming time.

Made this recipe? I’d love to see it! Tag me on Instagram @samdoesherbest or TikTok @samdoesherbest — I repost my favorites! And if you loved it, please leave a ⭐⭐⭐⭐⭐ rating below. It means the world and helps other readers find this recipe!
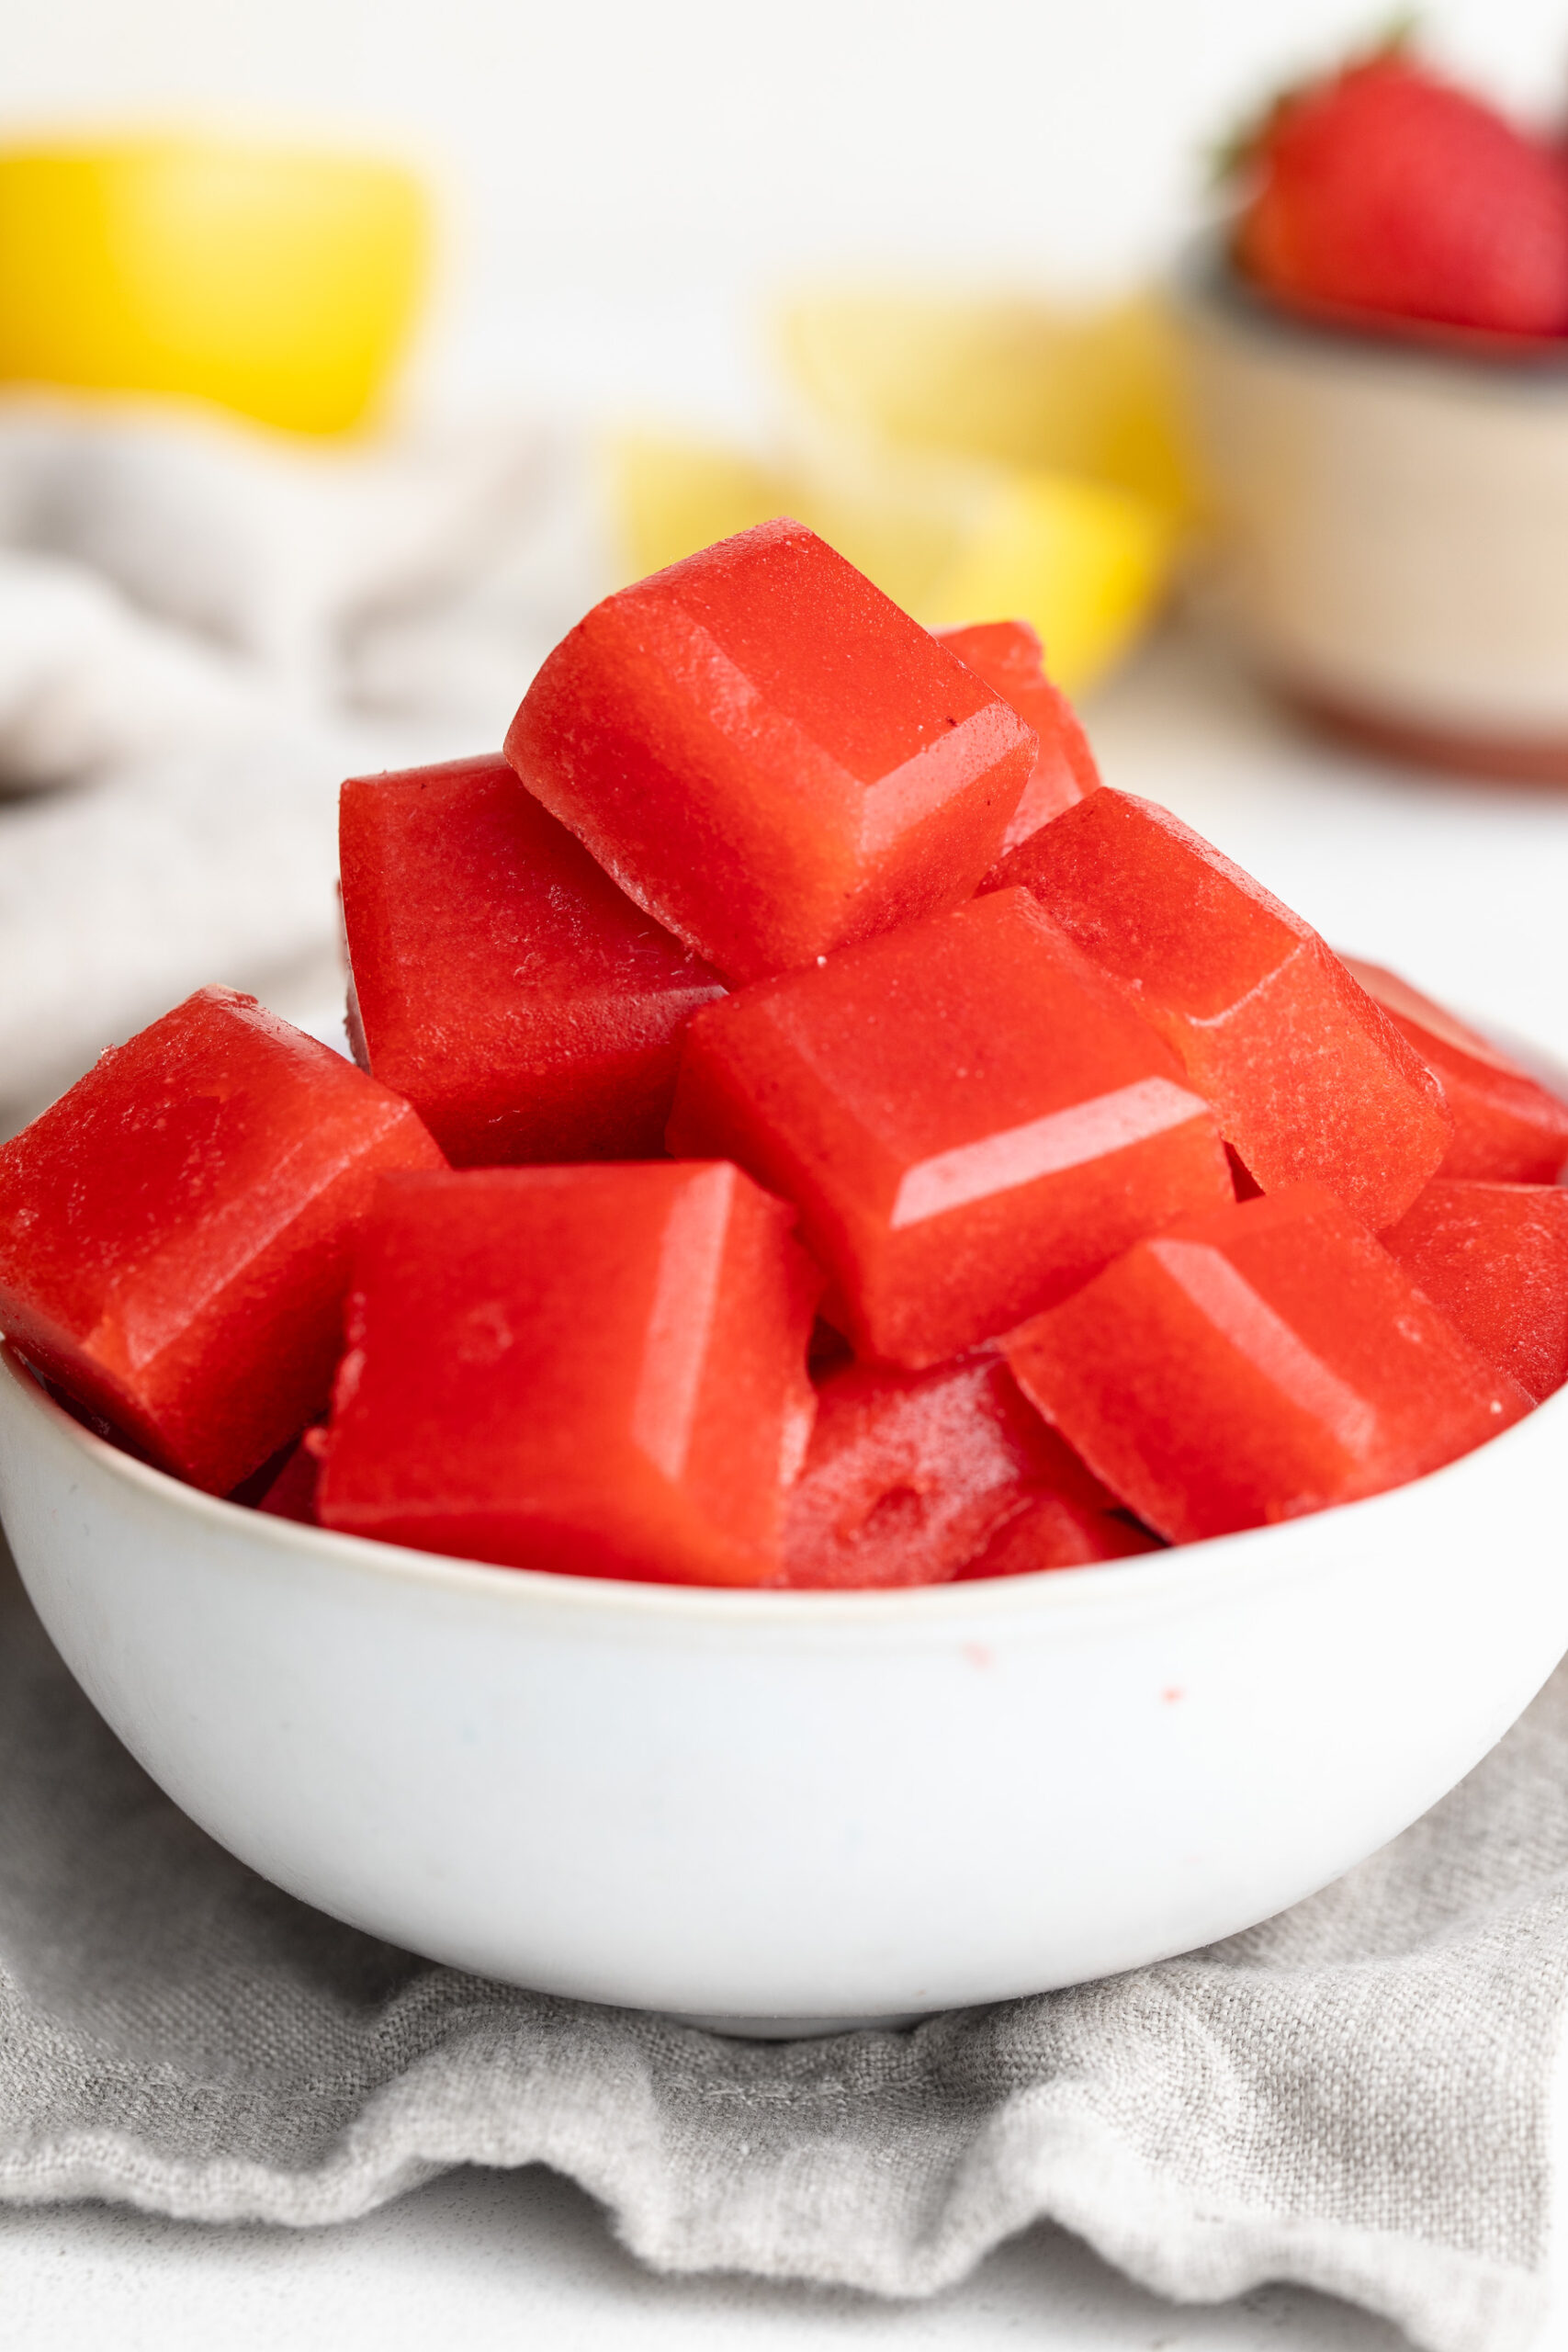
strawberry lemonade electrolyte gummies in a small bowl.
No ratings yet

Strawberry Lemonade Electrolyte Gummies

These strawberry lemonade electrolyte gummies are a fun, functional snack made with just 5 simple ingredients! Packed with collagen-boosting gelatin, vitamin C from fresh fruit, and real electrolytes for hydration. These gummies are as nourishing as they are delicious!
Print Pin Rate
Prep Time: 15 minutes
Chill Time: 30 minutes
Total Time: 45 minutes
Servings: 60 gummies (approx.)

Equipment

  • 1 blender
  • 1 medium saucepan
  • 2 gummy molds

Ingredients

  • 2 cups fresh or frozen strawberries stems removed
  • 2 whole lemons peeled, remove as much white pith as possible (or 1/4 cup lemon juice)
  • 1/4 – 1/2 cup honey
  • 1/4 cup unflavored gelatin powder
  • 1 teaspoon high-mineral sea salt or 1 electrolyte packet

Instructions

  • Blend strawberries and peeled lemons until smooth.
  • Strain through a fine mesh strainer into a medium saucepan. Discard solids.
  • Add honey and gelatin powder to the strained juice. Stir to combine.
  • Warm over low heat for about 2 minutes, stirring, until gelatin fully dissolves. Do NOT boil!
  • Remove from heat and stir in sea salt or electrolyte packet.
  • Pour into gummy molds and refrigerate for 30 minutes or until set.
  • Pop out of molds and enjoy! Store in an airtight container in the fridge for up to 1 week.
Notes

  • Do NOT bring the gelatin mixture to a simmer or boil, this will prevent the gummies from setting.
  • A squeeze bottle makes filling the molds much easier and less messy.
  • Use a grass-fed gelatin powder for the most collagen and nutritional benefit.
  • Taste the mixture before pouring into molds and adjust honey to your preferred sweetness level.
  • Store in an airtight container in the fridge for up to 1 week.
Nutrition

Serving: 1gummy | Calories: 35kcal | Carbohydrates: 7g | Protein: 2g | Sugar: 6g

I’m going to need you to trust me on this one. This strawberry dump cake is made with just 3 ingredients — fresh strawberries, a box of vanilla cake mix, and cold butter — and it is one of the most delicious, impressive, shockingly EASY desserts you’ll ever make! My husband tried it and declared it the best dessert I’ve ever made. And I make A LOT of desserts. So that’s really saying something.

The beauty of a dump cake is right there in the name – you literally dump the ingredients into a baking dish, one on top of the other, and let the oven do all the work!. The strawberries get jammy and bubbling, the cake mix bakes into a golden, slightly crispy, buttery crust on top, and the whole thing comes out looking and smelling like something that required serious skill. Serve it warm with a scoop of vanilla ice cream and you have an absolutely perfect summer dessert. Easily made gluten-free, endlessly customizable with any fruit you love, and on the table in under 45 minutes. If you love easy summer desserts, this one belongs right alongside my 4-Ingredient Peach Cobbler and Easy Baked Peaches in your warm-weather rotation!

Why You’ll Love This 3-Ingredient Strawberry Dump Cake

  • Just 3 ingredients you probably already have at home! Fresh strawberries, a box of vanilla cake mix, and butter. That’s the entire recipe. No mixing bowls, no electric mixer, no measuring anything beyond the strawberries. This is as easy as dessert gets!
  • Completely customizable. Use whatever fruit you have on hand, swap the cake mix flavor, make it gluten-free – this recipe is endlessly adaptable and turns out beautifully every single time. See the variations section below for all the ways to make it your own!
  • So delicious nobody will believe how easy it was. The golden, buttery cake crust on top, the warm bubbling strawberries underneath, a scoop of vanilla ice cream melting on top – this dessert is a total showstopper that tastes like you spent hours in the kitchen. You didn’t. Nobody needs to know.
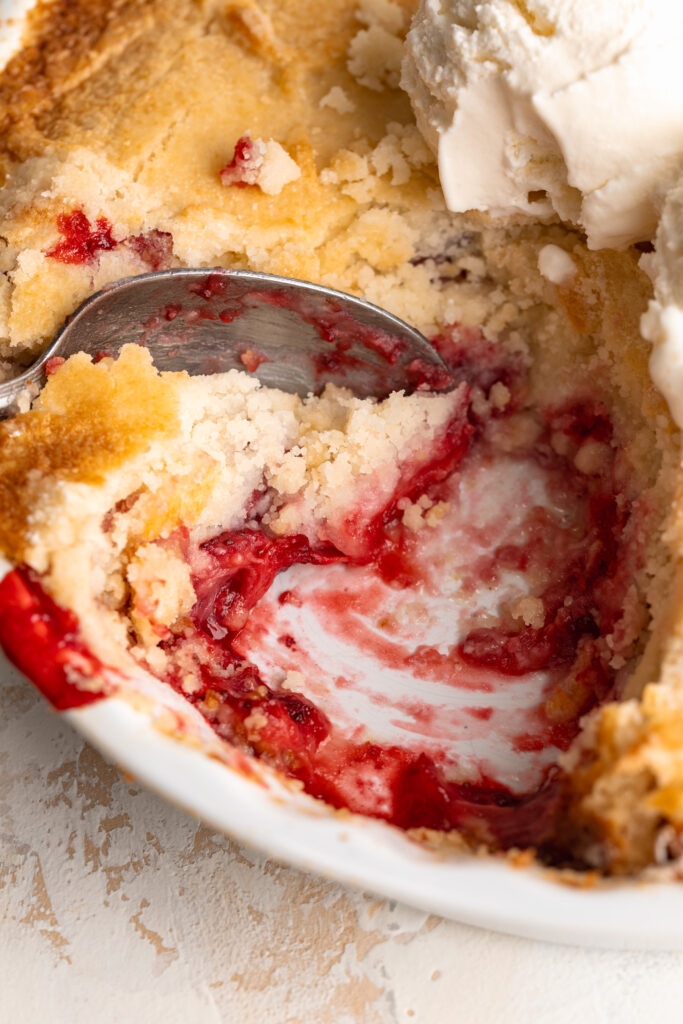
close up image of 3 ingredient strawberry dump cake being scooped.

Ingredients

  • 2 pounds strawberries, hulled and sliced – Fresh, ripe, in-season strawberries make this cake absolutely incredible. The juicier and sweeter your berries, the better the final result. You don’t need to add any sugar or cornstarch – the strawberries will release their own juices as they bake, creating the most beautiful bubbling strawberry filling.
  • 1 box vanilla cake mix – The dry cake mix goes on straight from the box – do not follow the box directions, don’t add eggs or oil or water. Just sprinkle the dry powder directly over the strawberries! I used the Miss Jones gluten-free vanilla cake mix and it was absolutely perfect.
  • 12 tablespoons butter, cold and sliced into pieces – Cold butter is key here! As it bakes, it melts slowly and evenly into the dry cake mix, creating that gorgeous golden, buttery, slightly crunchy crust on top. Use a good quality butter – you’ll taste it in every bite.

Instructions

  1. Preheat oven to 350°F.
  2. Place the hulled and sliced strawberries in a 9×13-inch baking dish in an even layer.
  3. Sprinkle the dry cake mix evenly on top of the strawberries, spreading it out into a flat, even layer that covers the berries completely. Do not stir!
  4. Evenly place the sliced butter pieces across the top of the cake mix, covering as much surface area as possible so the crust bakes evenly.
  5. Bake for 35–40 minutes, or until the top is golden brown and the strawberry filling is visibly bubbling around the edges.
  6. Remove from the oven and let cool for at least 10 minutes before serving. Serve warm with a generous scoop of vanilla ice cream on top and enjoy!

Recipe Variations & Substitutions

Make it gluten-free: Simply swap the standard vanilla cake mix for a gluten-free vanilla cake mix, I love Miss Jones Gluten-Free Classic Yellow Cake Mix, which is what I used in this recipe. Everything else stays exactly the same. The result is just as golden, buttery, and delicious as the original!

Make it dairy-free: Replace the butter with a vegan butter alternative like Miyoko’s or Earth Balance, sliced cold and placed on top just as directed. Use dairy-free vanilla ice cream for serving. The rest of the recipe is already dairy-free!

Make it with other fruit: This is where the dump cake truly shines – it works with virtually any fruit you love or have on hand! Try it with:

  • 🍑 Fresh or frozen peaches – classic and incredible
  • 🫐 Blueberries – beautiful and jammy
  • 🍒 Cherries – rich and deeply flavorful
  • 🍓 Mixed berries – strawberries, blueberries, and raspberries together is stunning
  • 🍍 Pineapple – for a tropical twist with a yellow cake mix

Swap the cake mix flavor: Yellow cake mix, white cake mix, lemon cake mix, or even chocolate cake mix all work beautifully depending on which fruit you’re using. Lemon cake mix with blueberries is especially incredible!

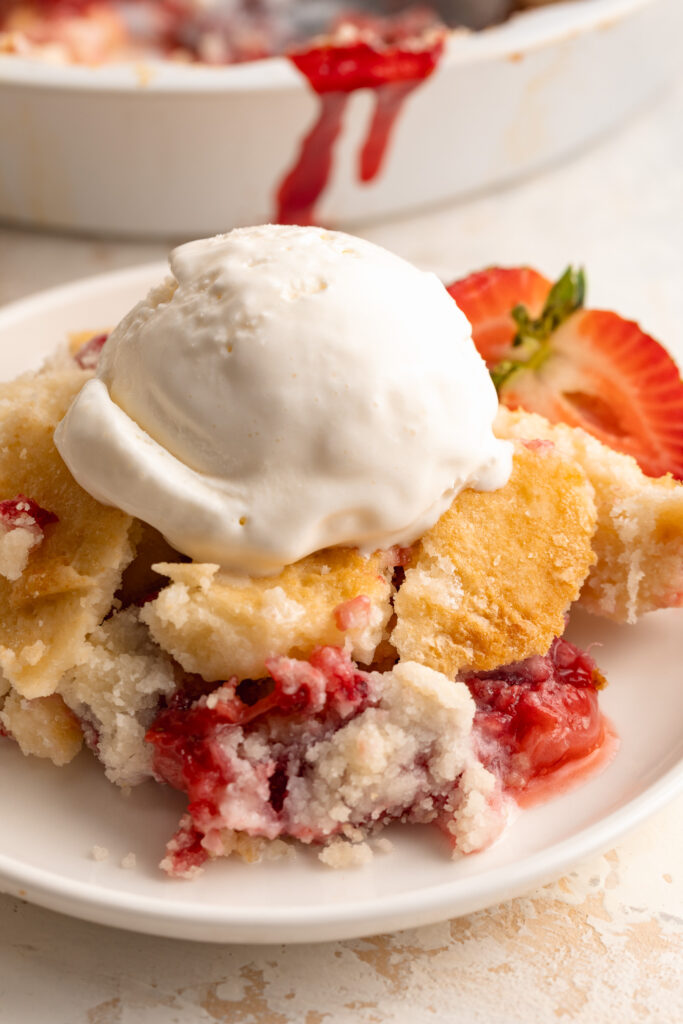
3 ingredient strawberry dump cake on a plate.

Sam’s Recipe Tips

  • Serve it slightly warm for the best experience. Dump cake is at its absolute best served warm, straight from the oven (or reheated!) with a scoop of cold vanilla ice cream melting on top. The contrast of the warm, bubbling strawberry filling, the golden cake crust, and the cold ice cream is genuinely unbeatable. Avoid serving it cold straight from the fridge, instead heat it in a 350° Fahrenheit oven for a few minutes before serving.
  • For a softer cake layer, cover with foil for the last 10 minutes. If you prefer a softer, more cake-like topping rather than a crispy crust, loosely tent the baking dish with aluminum foil for the last 10 minutes of baking. This traps steam and keeps the top from getting too crispy while still allowing it to cook through.
  • Don’t skip covering the berries completely with cake mix. Any gaps in the cake mix layer will result in dry pockets of uncooked cake mix powder rather than a cohesive crust. Take an extra moment to spread the cake mix evenly all the way to the edges of the pan before adding the butter.
  • Use cold butter – not melted. I know it might seem like melted butter would be easier, but cold butter sliced into pieces is the secret to that golden, even, cobbler-like crust. It melts slowly and distributes evenly as it bakes, giving you a much more beautiful, consistent result.

Made this recipe? I’d love to see it! Tag me on Instagram @samdoesherbest or TikTok @samdoesherbest – I repost my favorites! And if you loved it, please leave a ⭐⭐⭐⭐⭐ rating and written review below. It means the world and helps other readers find this recipe!

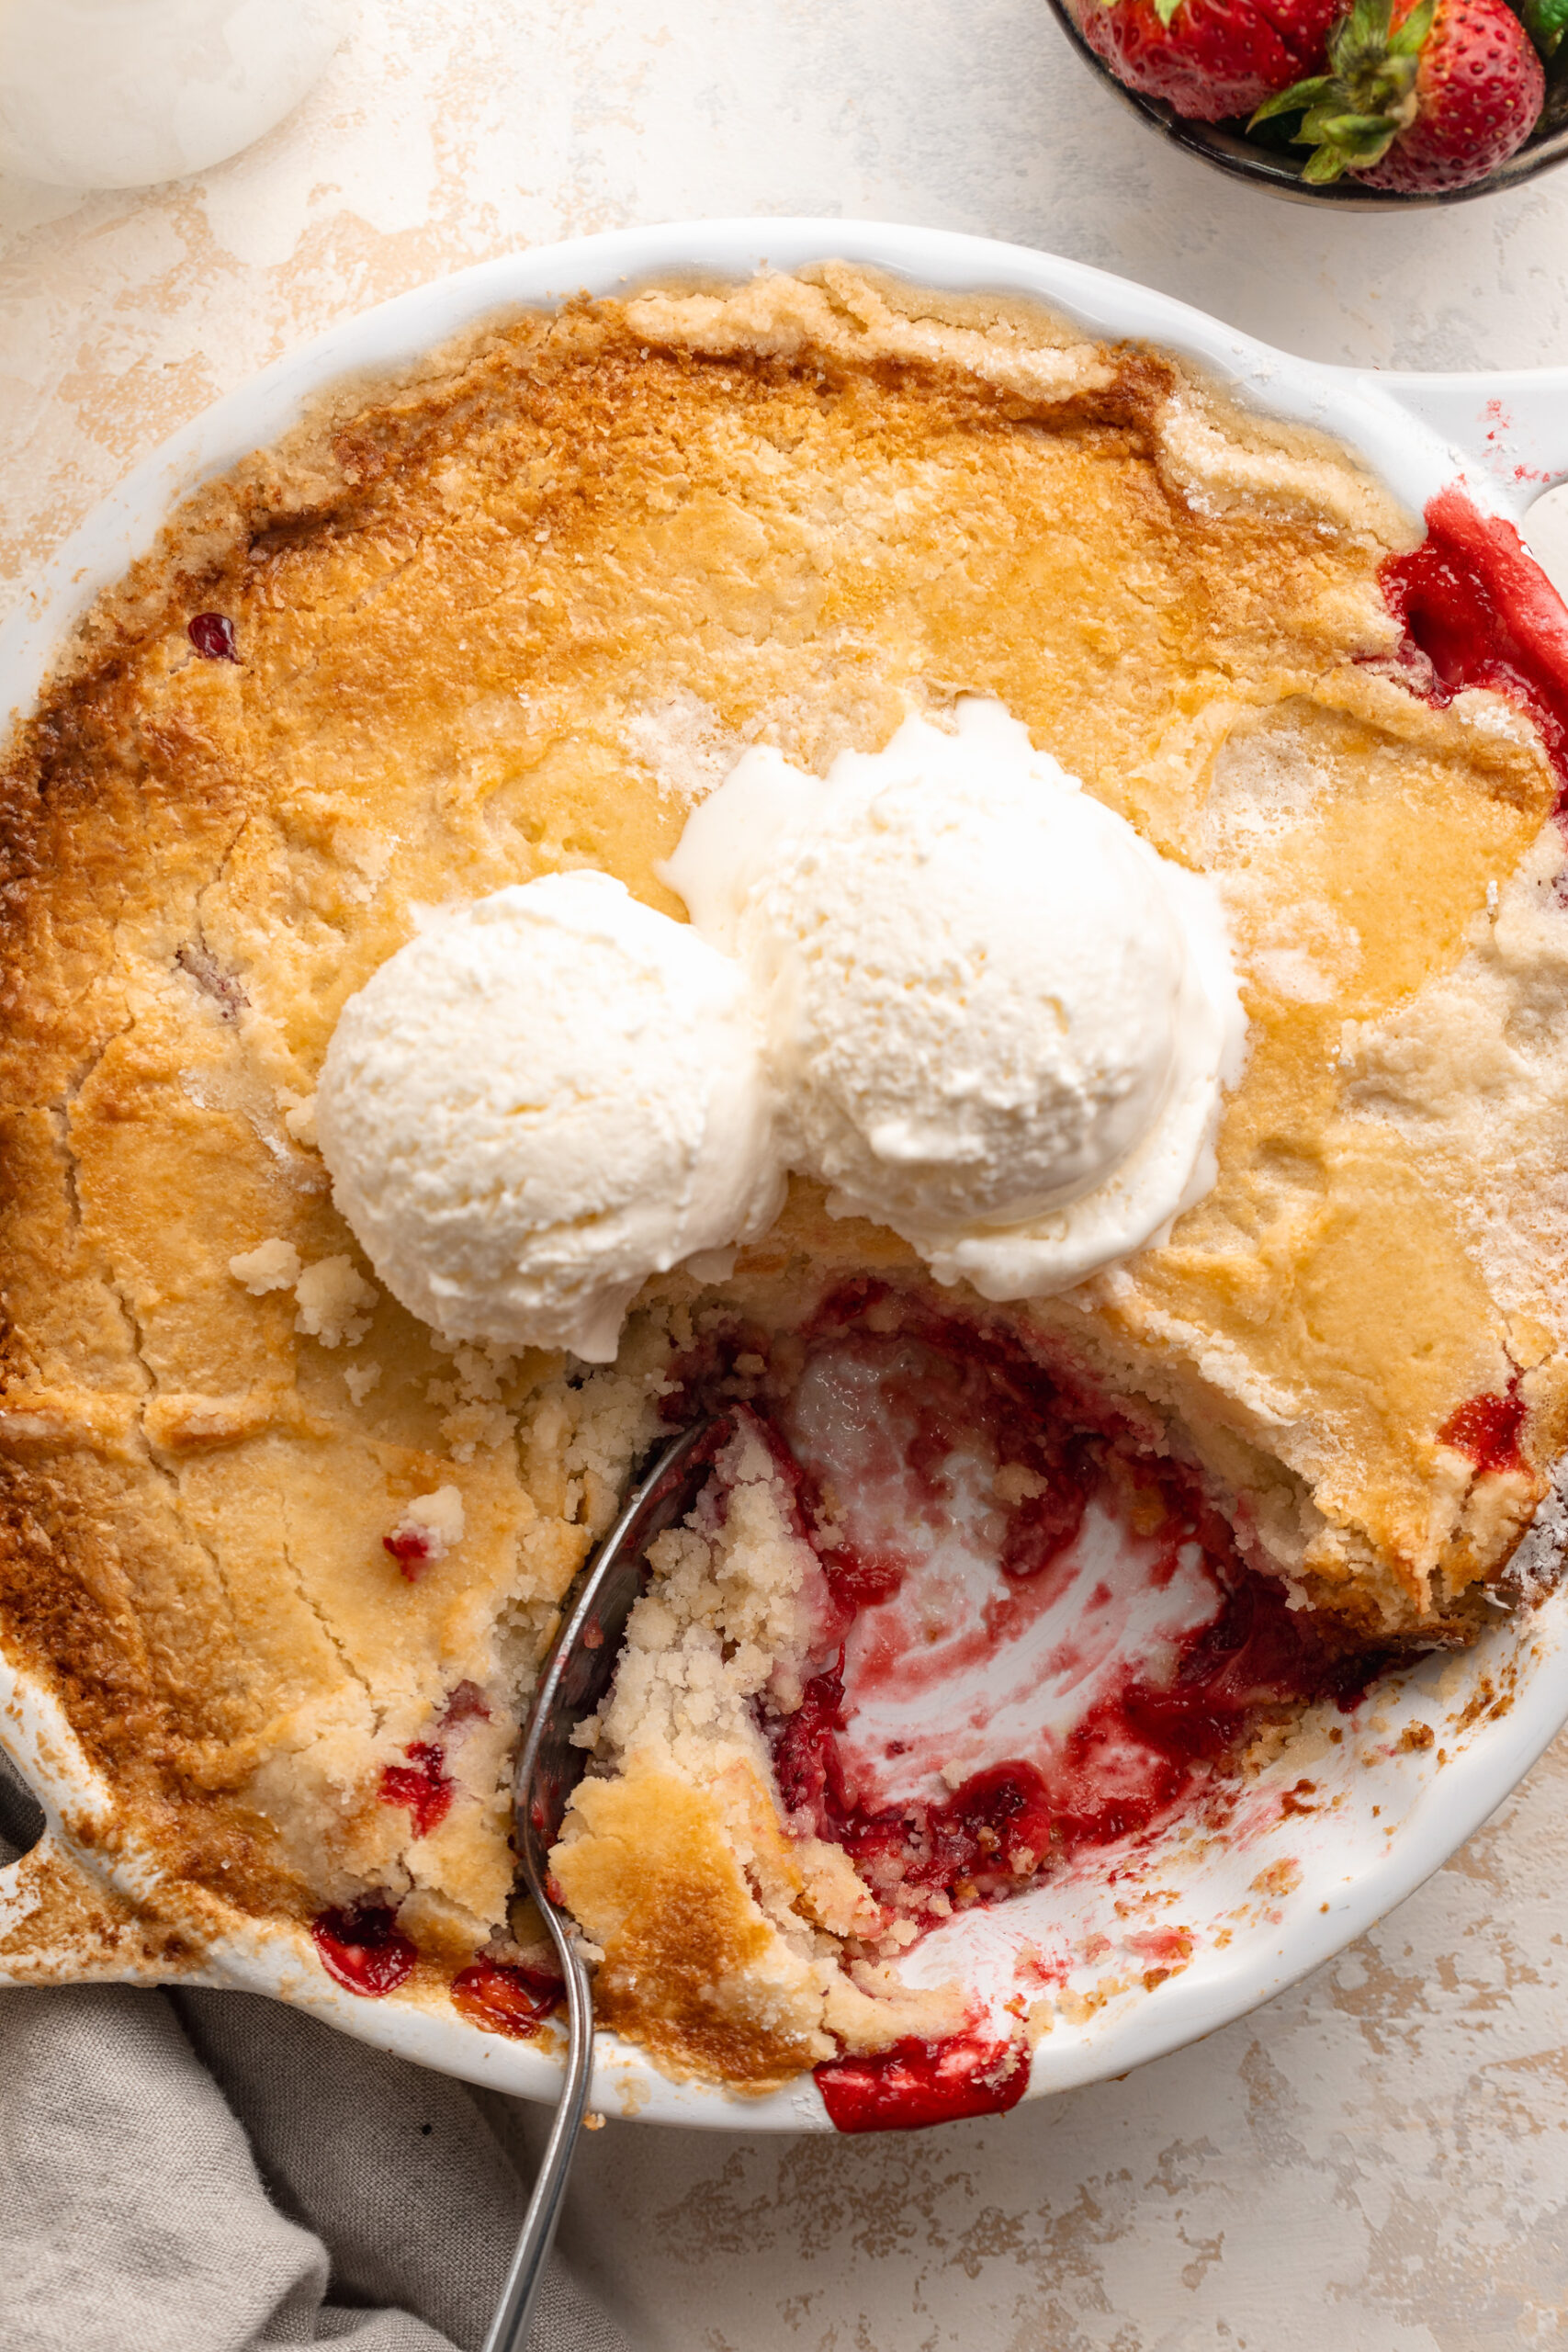
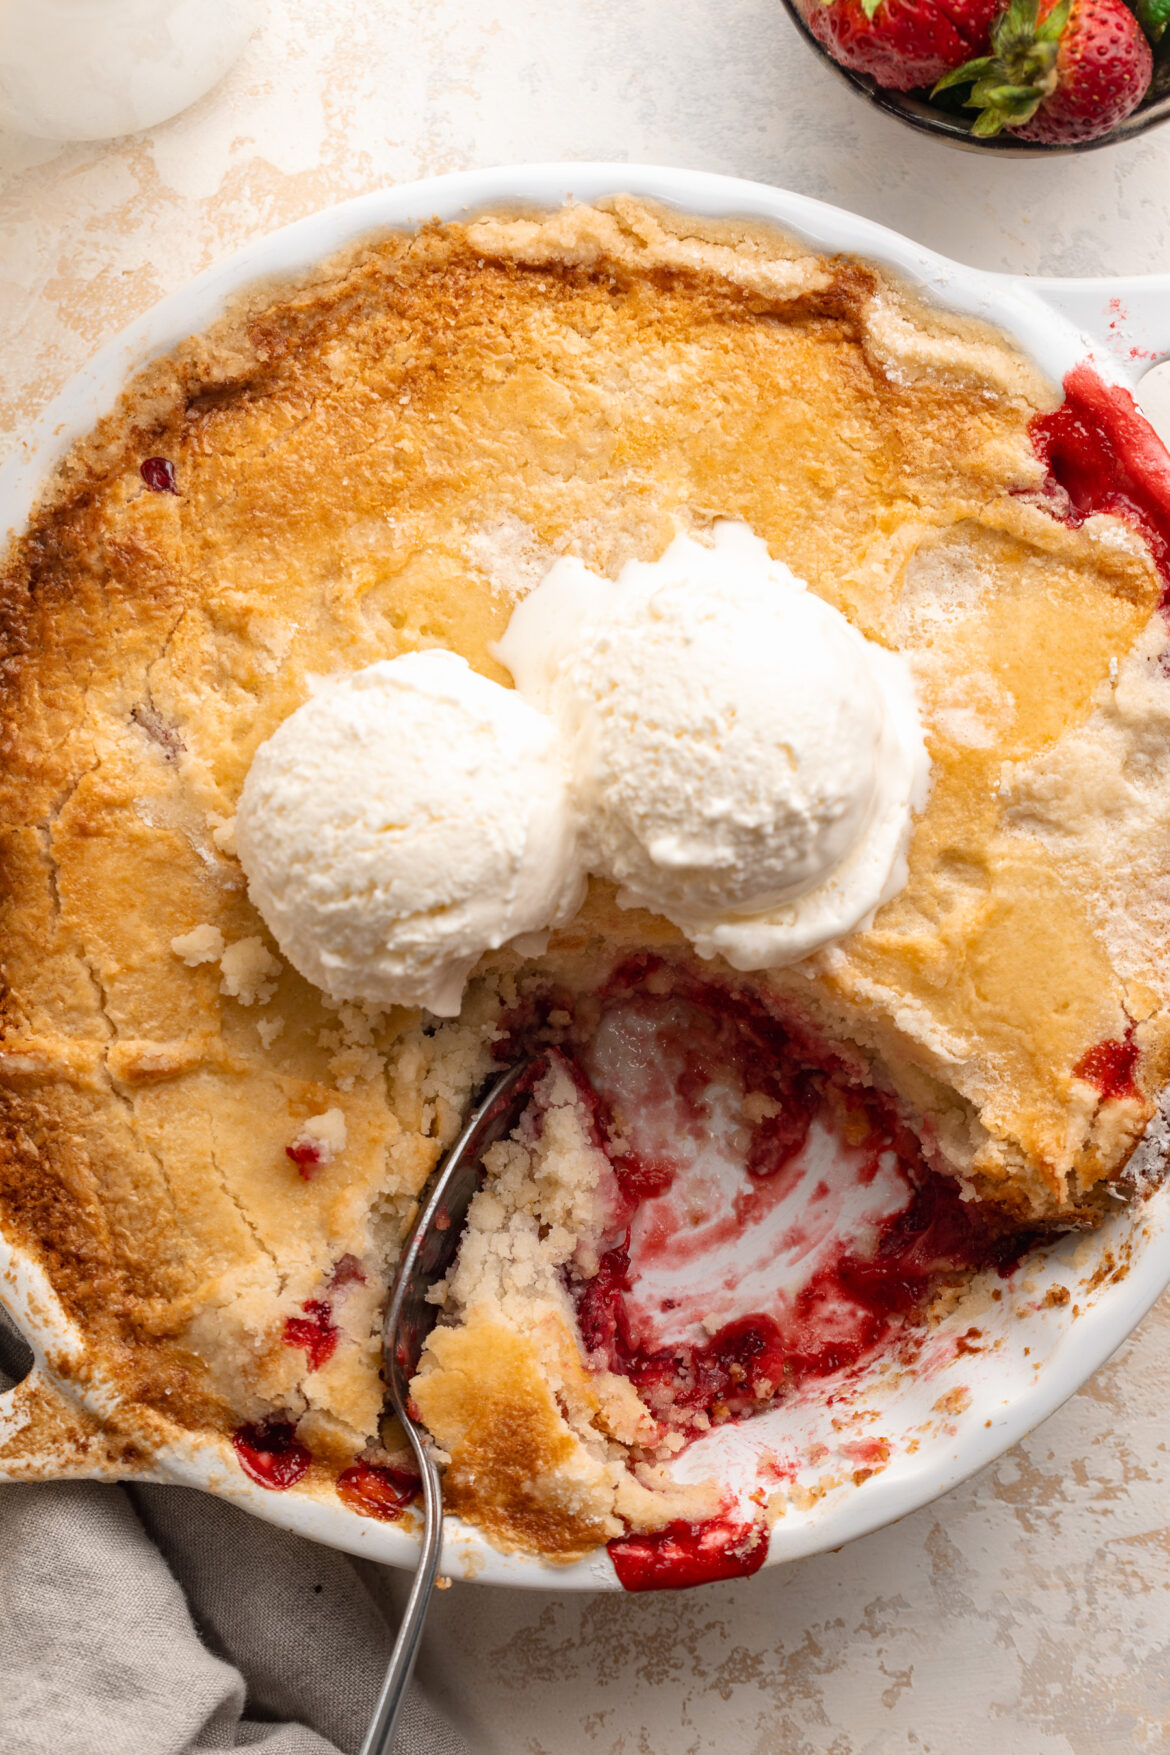
overhead image of 3 ingredient strawberry dump cake in a baking dish with ice cream on top.
No ratings yet

3-Ingredient Strawberry Dump Cake

This strawberry dump cake is made with just 3 ingredients and comes together in under 45 minutes with almost NO effort! The strawberries bake down into a jammy, bubbling filling while the cake mix and butter create the most golden, buttery crust on top. Serve it warm with a scoop of vanilla ice cream and it tastes like something that took hours to bake!
Print Pin Rate
Prep Time: 5 minutes
Cook Time: 35 minutes
Total Time: 40 minutes
Servings: 9 servings

Equipment

  • 1 9×13-inch baking pan

Ingredients

  • 2 pounds strawberries hulled and sliced
  • 1 box vanilla cake mix I used Miss Jones gluten-free cake mix
  • 12 tablespoons butter cold and sliced

Instructions

  • Preheat oven to 350°F.
  • Place strawberries and 2 tablespoons of the cake mix in a 9×13-inch baking dish, then stir to coat the strawberries in the cake mix.
  • Sprinkle the remaining dry cake mix evenly over the strawberries. Do not stir!
  • Place sliced butter pieces evenly across the top of the cake mix.
  • Bake for 35–40 minutes, until golden brown on top and the filling is bubbling.
  • Cool for 10 minutes, then serve warm with a scoop of vanilla ice cream. Enjoy!

Notes

  • Do not follow the cake mix box directions — use the dry powder straight from the box.
  • Use cold butter, not melted, for the best golden, even crust.
  • Spread the cake mix completely to the edges so there are no dry pockets of powder.
  • For a softer cake layer, tent loosely with foil for the last 10 minutes of baking.
  • Easily made gluten-free with a GF cake mix (I love Miss Jones!).
  • Store leftovers covered in the fridge for up to 4 days. Reheat individual portions in the microwave for 30–60 seconds before serving.

Nutrition

Serving: 1serving | Calories: 320kcal | Carbohydrates: 42g | Protein: 2g | Fat: 16g | Fiber: 2g | Sugar: 24g

My mom’s been making her FAMOUS strawberry shortcakes every summer for as long as I can remember! Flaky, buttery shortcake biscuits piled high with juicy, fresh strawberries and homemade whipped cream. It’s simple, classic, totally nostalgic, and the perfect summer dessert!

I always thought this recipe seemed more complicated than it actually was, which is why it took me years to try making it myself. But once my mom finally shared it with me, I was genuinely shocked at how simple it is. You don’t need a stand mixer, you don’t need any special equipment, and the whole thing – biscuits, strawberries, and homemade whipped cream – can be on the table in just over an hour! It’s the kind of recipe that feels fancy but is actually pretty simple, which makes it absolutely perfect for summer parties, Fourth of July, and honestly any time you can get your hands on fresh, in-season strawberries. If you love fresh berry-forward desserts like this one, then you’ll want to try my 4-Ingredient Peach Cobbler and 4-Ingredient Baked Peaches next!

Why You’ll Love These Strawberry Shortcakes

  • My mom’s famous recipe! This isn’t just any strawberry shortcake – it’s the one my mom has made every single summer for as long as I can remember, and the first thing I crave every year when the weather warms up. Some recipes are just special, and this one is. I’m so excited to finally share it here!
  • Perfect for summer parties. Flaky biscuits, juicy macerated strawberries, and homemade whipped cream. This is a showstopping dessert that always gets rave reviews, whether you’re serving it at a backyard barbecue, a Fourth of July gathering, or a casual dinner party. You can even set up a shortcake bar and let everyone build their own!
  • Amazing during strawberry season. Ripe, in-season strawberries are the star of this recipe, and when they’re at their peak sweetness there is truly nothing better. Macerated in sugar and a little lemon juice, they become incredibly juicy and flavorful in a way that store-bought strawberry sauce just can’t replicate.
  • Feels fancy, but is actually pretty simple. I know shortcake biscuits can sound intimidating, but they’re really just a lightly sweetened, butter-packed dough that comes together in minutes. No mixer or special equipment, just your hands, a bowl, and a baking sheet.
  • Easily made gluten-free! Simply swap the cake flour for a gluten-free all-purpose flour blend and you’ve got a completely gluten-free strawberry shortcake that nobody will ever know is different. See the variations section below for all the details!
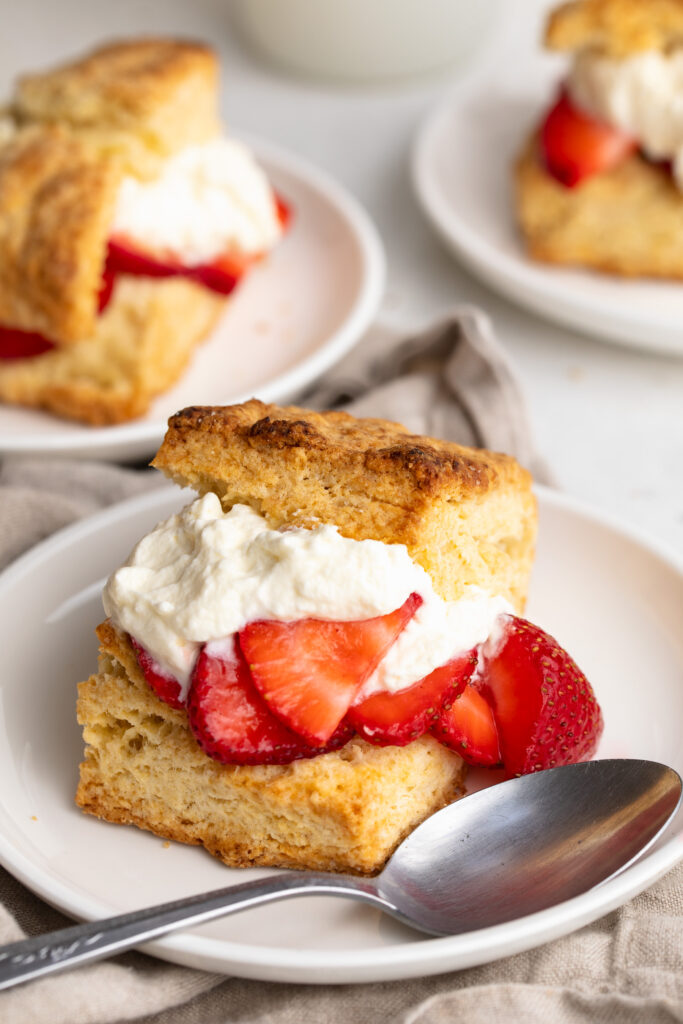
three plates of strawberry shortcakes with whipped cream and strawberries.

Recipe Variations and Substitutions

Make ahead: The macerated strawberries can be made up to 24 hours in advance and stored covered in the fridge. The biscuits are best eaten the day they’re baked, but can be stored in an airtight container at room temperature for up to 2 days and warmed slightly before serving. Make the whipped cream fresh just before serving.

Make it gluten-free: Swap the cake flour for a gluten-free all-purpose flour blend (I love Bob’s Red Mill 1-to-1 or King Arthur Measure for Measure) in a 1:1 ratio. The texture may be very slightly different but still absolutely delicious. Just make sure your baking powder is certified gluten-free as well.

Make it dairy-free: Swap the butter in the biscuits for cold vegan butter (Miyoko’s or Earth Balance work great), the heavy cream in the biscuits for full-fat coconut cream, and the heavy cream in the whipped cream for a chilled can of coconut cream. Whip the coconut cream until fluffy — it’s a wonderful dairy-free whipped topping!

Add blueberries: Toss a handful of fresh blueberries into the macerated strawberries for a beautiful red, white, and blue summer dessert. This is especially perfect for Fourth of July!

Swap the fruit: This recipe works beautifully with any summer fruit. Try it with fresh peaches, mixed berries, or a combination of raspberries and strawberries.

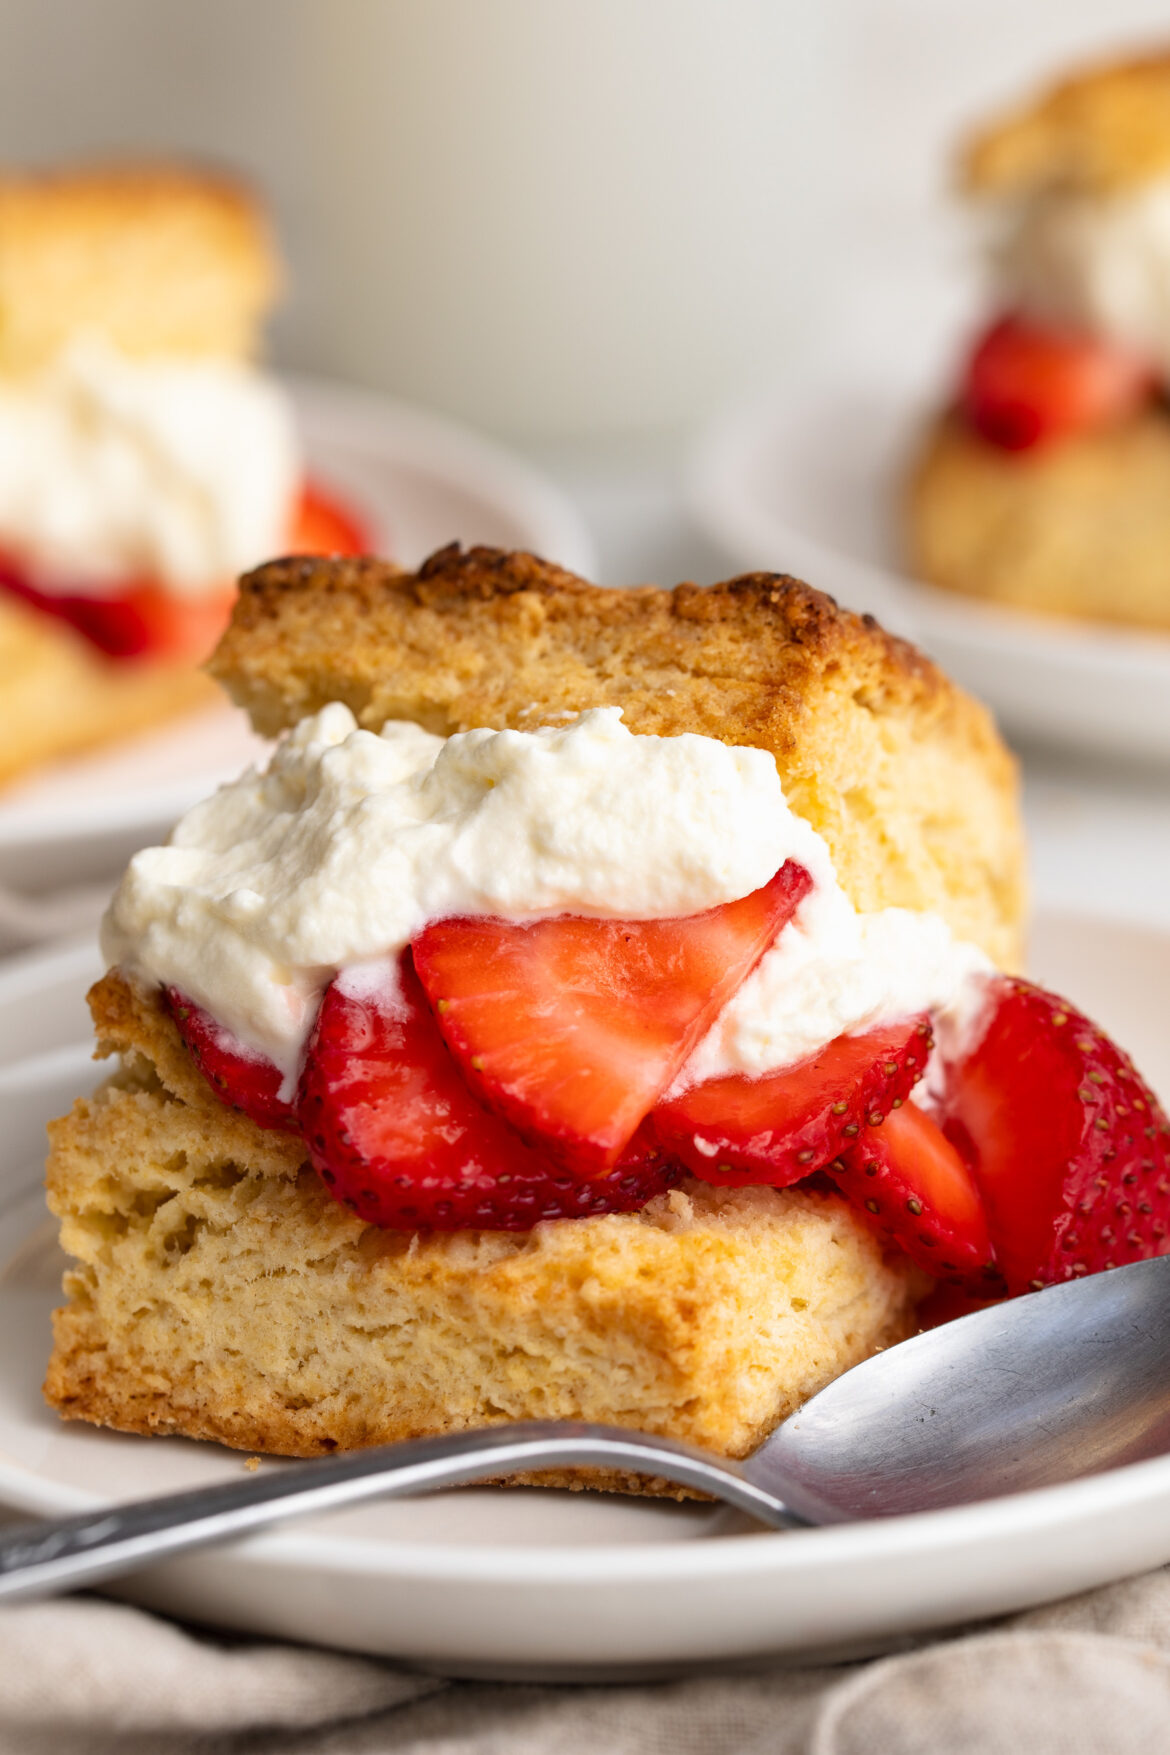
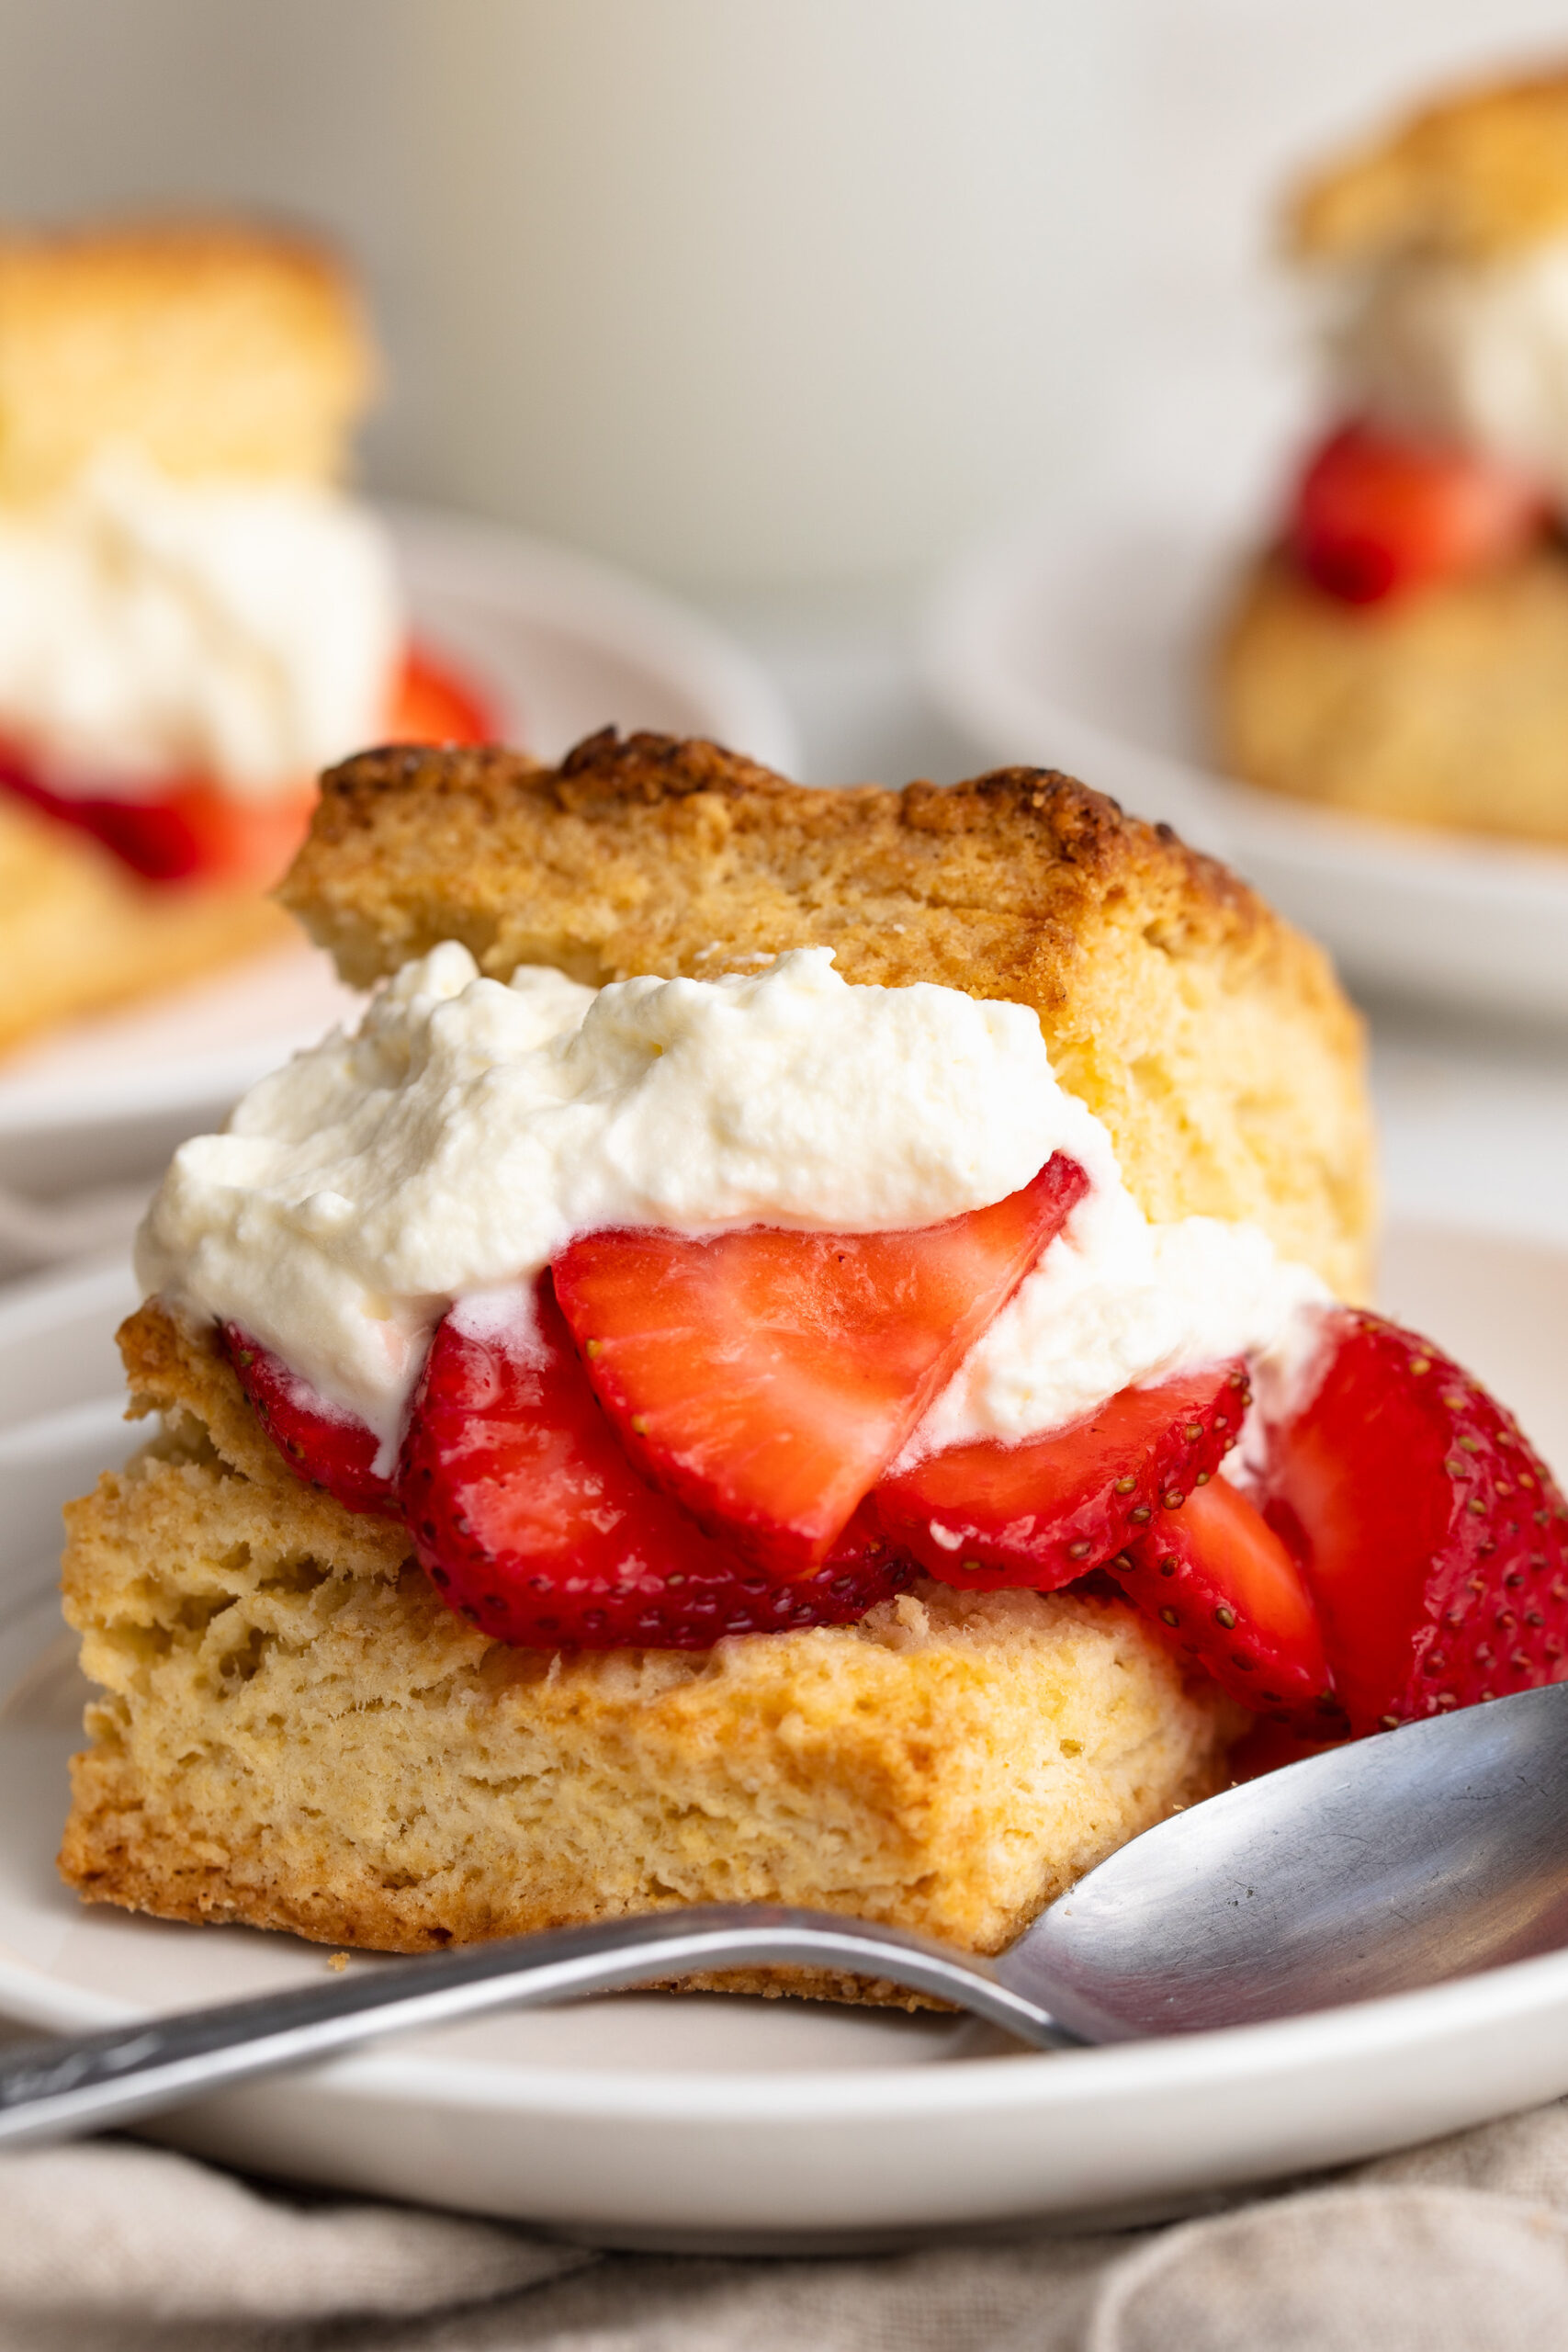
close up image of a strawberry shortcake stuffed with whipped cream and strawberries.
No ratings yet

Mom’s BEST Strawberry Shortcakes Recipe 🍓

These strawberry shortcakes are my mom's famous recipe – flaky, buttery biscuits piled high with juicy strawberries and homemade whipped cream, and the first dessert I crave every single summer when fresh berries are at their peak! They feel fancy enough for a summer party but are surprisingly simple to make from scratch, with no mixer or special equipment required. It's a classic strawberry shortcake recipe SO good, everyone will ask for the recipe!
Print Pin Rate
Prep Time: 20 minutes
Cook Time: 15 minutes
Total Time: 35 minutes
Servings: 8 servings

Ingredients

For the strawberries:

  • 6 cups strawberries sliced
  • 1/4 cup sugar
  • 1 tablespoon fresh lemon juice can sub orange or lime juice

For the shortcakes:

  • 2 cups cake flour or gluten-free all purpose flour
  • 1/2 teaspoon salt
  • 4 teaspoons baking powder
  • 1/2 teaspoon cream of tartar
  • 3 tablespoons sugar
  • 1/2 cup cold butter (1 stick)
  • 1 egg beaten
  • 1/3 cup heavy cream

For the homemade whipped cream:

  • 1 cup heavy cream
  • 1-2 tablespoons powdered sugar
  • 1 teaspoon vanilla extract

Instructions

  • Combine sliced strawberries, sugar, and lemon juice in a large bowl. Toss to combine. Let sit for 1–2 hours to release their juices.
  • Preheat oven to 425°F.
  • Combine the cake flour, salt, baking powder, cream of tartar, and sugar in a large bowl.
  • Cut butter into small bits and add to the dry ingredients. Using a pastry cutter or fork, work butter in until the mixture resembles coarse breadcrumbs.
  • Add the beaten egg and heavy cream and mix with a fork until the mixture just holds together.
  • Turn out onto a well-floured surface and knead by folding over 8–10 times, rotating as you go.
  • Pat into a ½-inch thick rectangle. Cut into 6 larger or 8 smaller equal squares.
  • Place biscuits on a parchment-lined baking sheet (do not grease). Separate biscuits slightly for crispier edges, or place touching for softer sides.
  • Bake 15–20 minutes until light golden brown.
  • While the shortcakes bake, add the heavy cream, powdered sugar, and vanilla extract to a clean bowl. Whip with a hand or stand mixer until soft peaks form.
  • Slice shortcakes in half horizontally. Spoon a generous helping of macerated strawberries onto the bottom half, top with a dollop of homemade whipped cream, place the top half on, and serve immediately. Enjoy!

It’s true! You really can add cottage cheese to almost everything. My personal favorite way to use cottage cheese is in a recipe where you won’t even taste it. Because if I’m being completely honest, I actually don’t like cottage cheese. Which is why in any recipe I use cottage cheese, like this cottage cheese cookie dough or this cottage cheese pizza crust, I can guarantee you won’t taste the cottage cheese at all! It simply adds hidden protein and nutrients, and in this smoothie specifically – makes it ultra thick, creamy, and ultimately SO delicious.

Why You’ll Love This Cottage Cheese Smoothie

  • Over 35 grams of protein in one smoothie!
  • Perfect for a healthy breakfast, post-workout meal, or filling snack.
  • Thick, creamy, and delicious – no grainy texture.
  • You can’t taste the cottage cheese at all!
  • Naturally sweetened with fruit.
  • Quick and easy to make in under 5 minutes.

This smoothie is ideal if you’re trying to increase protein intake without relying solely on Greek yogurt or protein shakes.

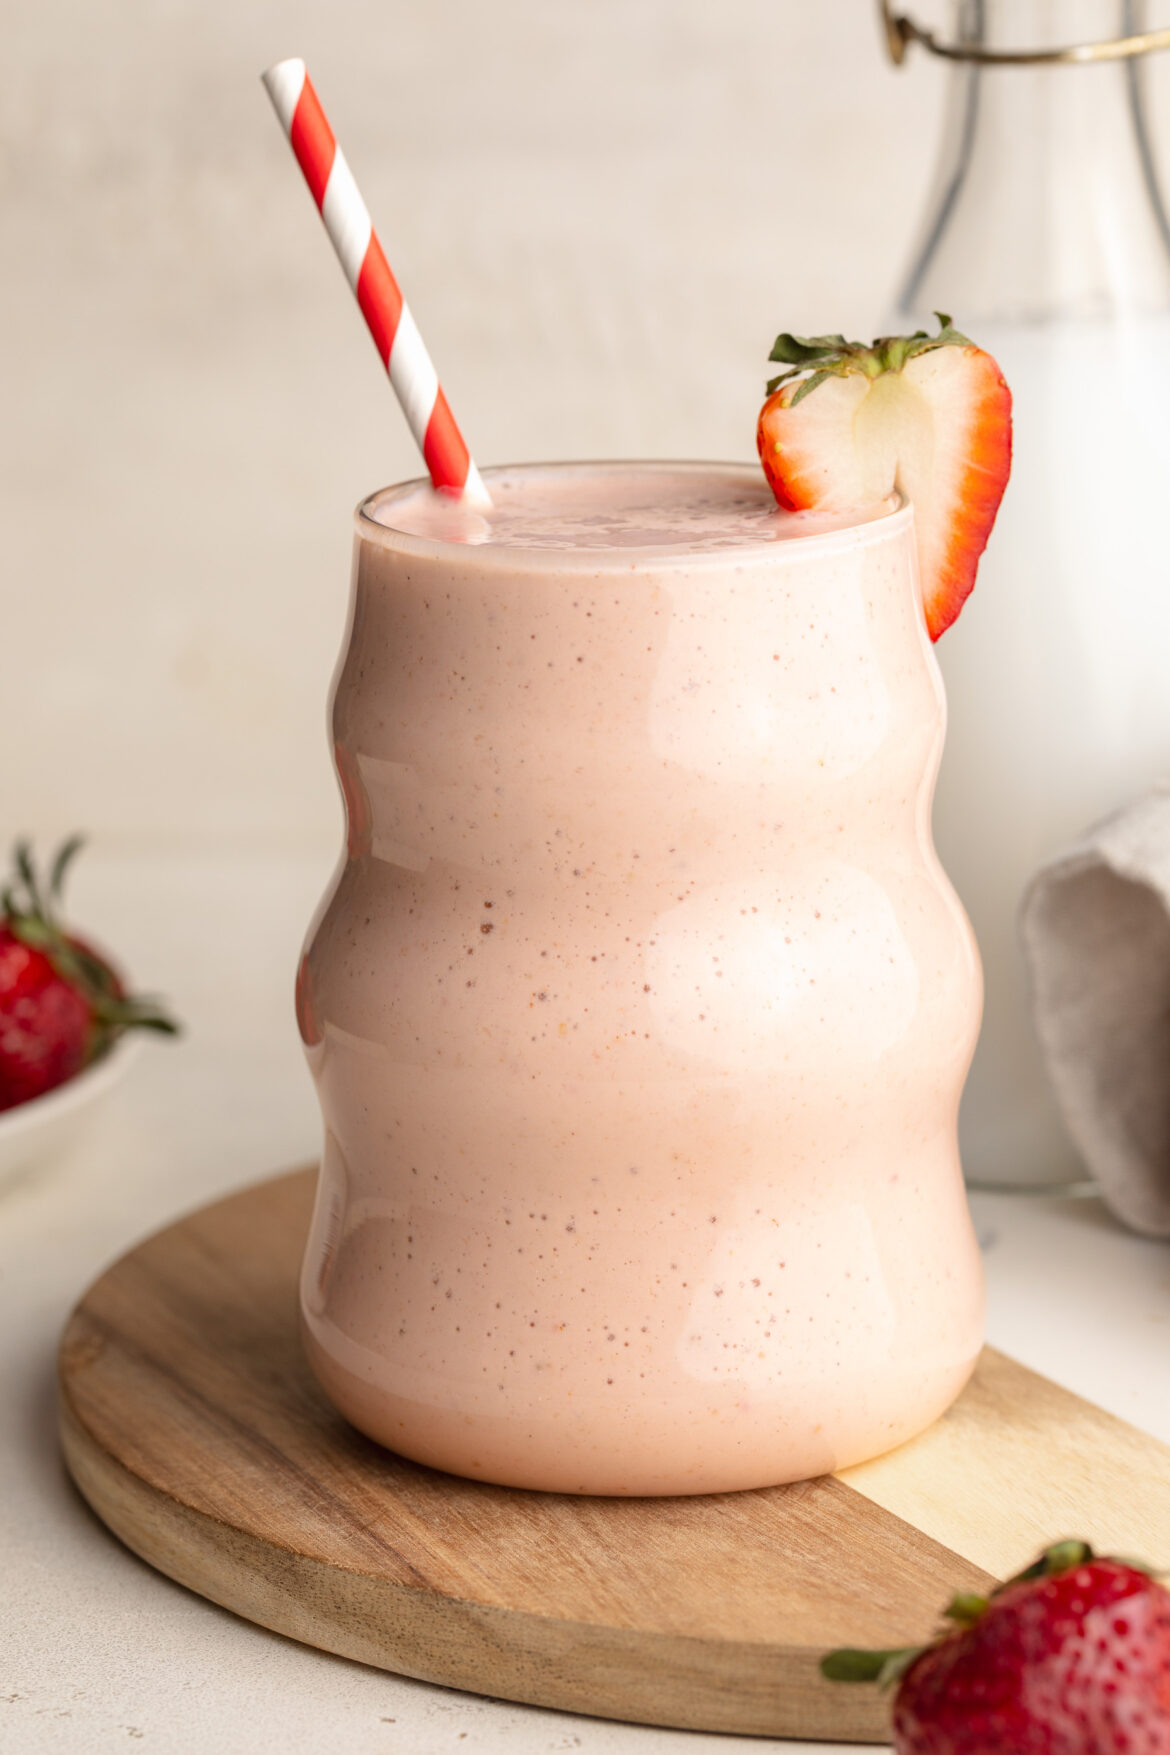
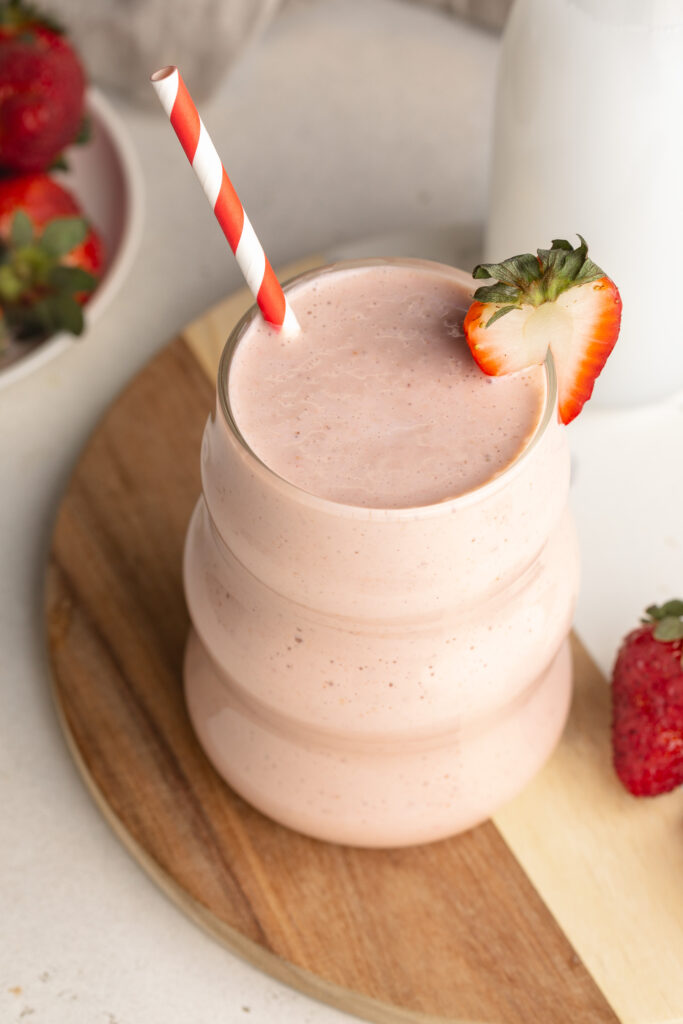
overhead image of cottage cheese smoothie with a straw and strawberry.

Frequently Asked Questions

Can you taste the cottage cheese?

Nope! Once blended, cottage cheese becomes ultra-smooth and creamy. It has a very mild flavor, so the banana, berries, and protein powder completely mask it. Even cottage-cheese skeptics will love this smoothie!

What kind of protein powder did you use?

I used a vanilla protein powder (this link gets you 20% off the protein powder I use and love!), but any vanilla or unsweetened protein powder works well. Even collagen powder would taste great and blend seamlessly into this smoothie.

How much protein does this smoothie have?

This smoothie contains over 35 grams of protein, depending on the brand of cottage cheese, milk, and protein powder you use. Even without protein powder, it’s still packed with protein thanks to the cottage cheese.

Recipe Variations and Substitutions

  • No protein powder: Skip it – the smoothie is still high in protein!
  • Different fruit: Swap strawberries for blueberries, raspberries, or mango.
  • Extra thickness: Add ice or more frozen fruit.
  • More nutrients: Blend in spinach or chia seeds for a nutrient boost!
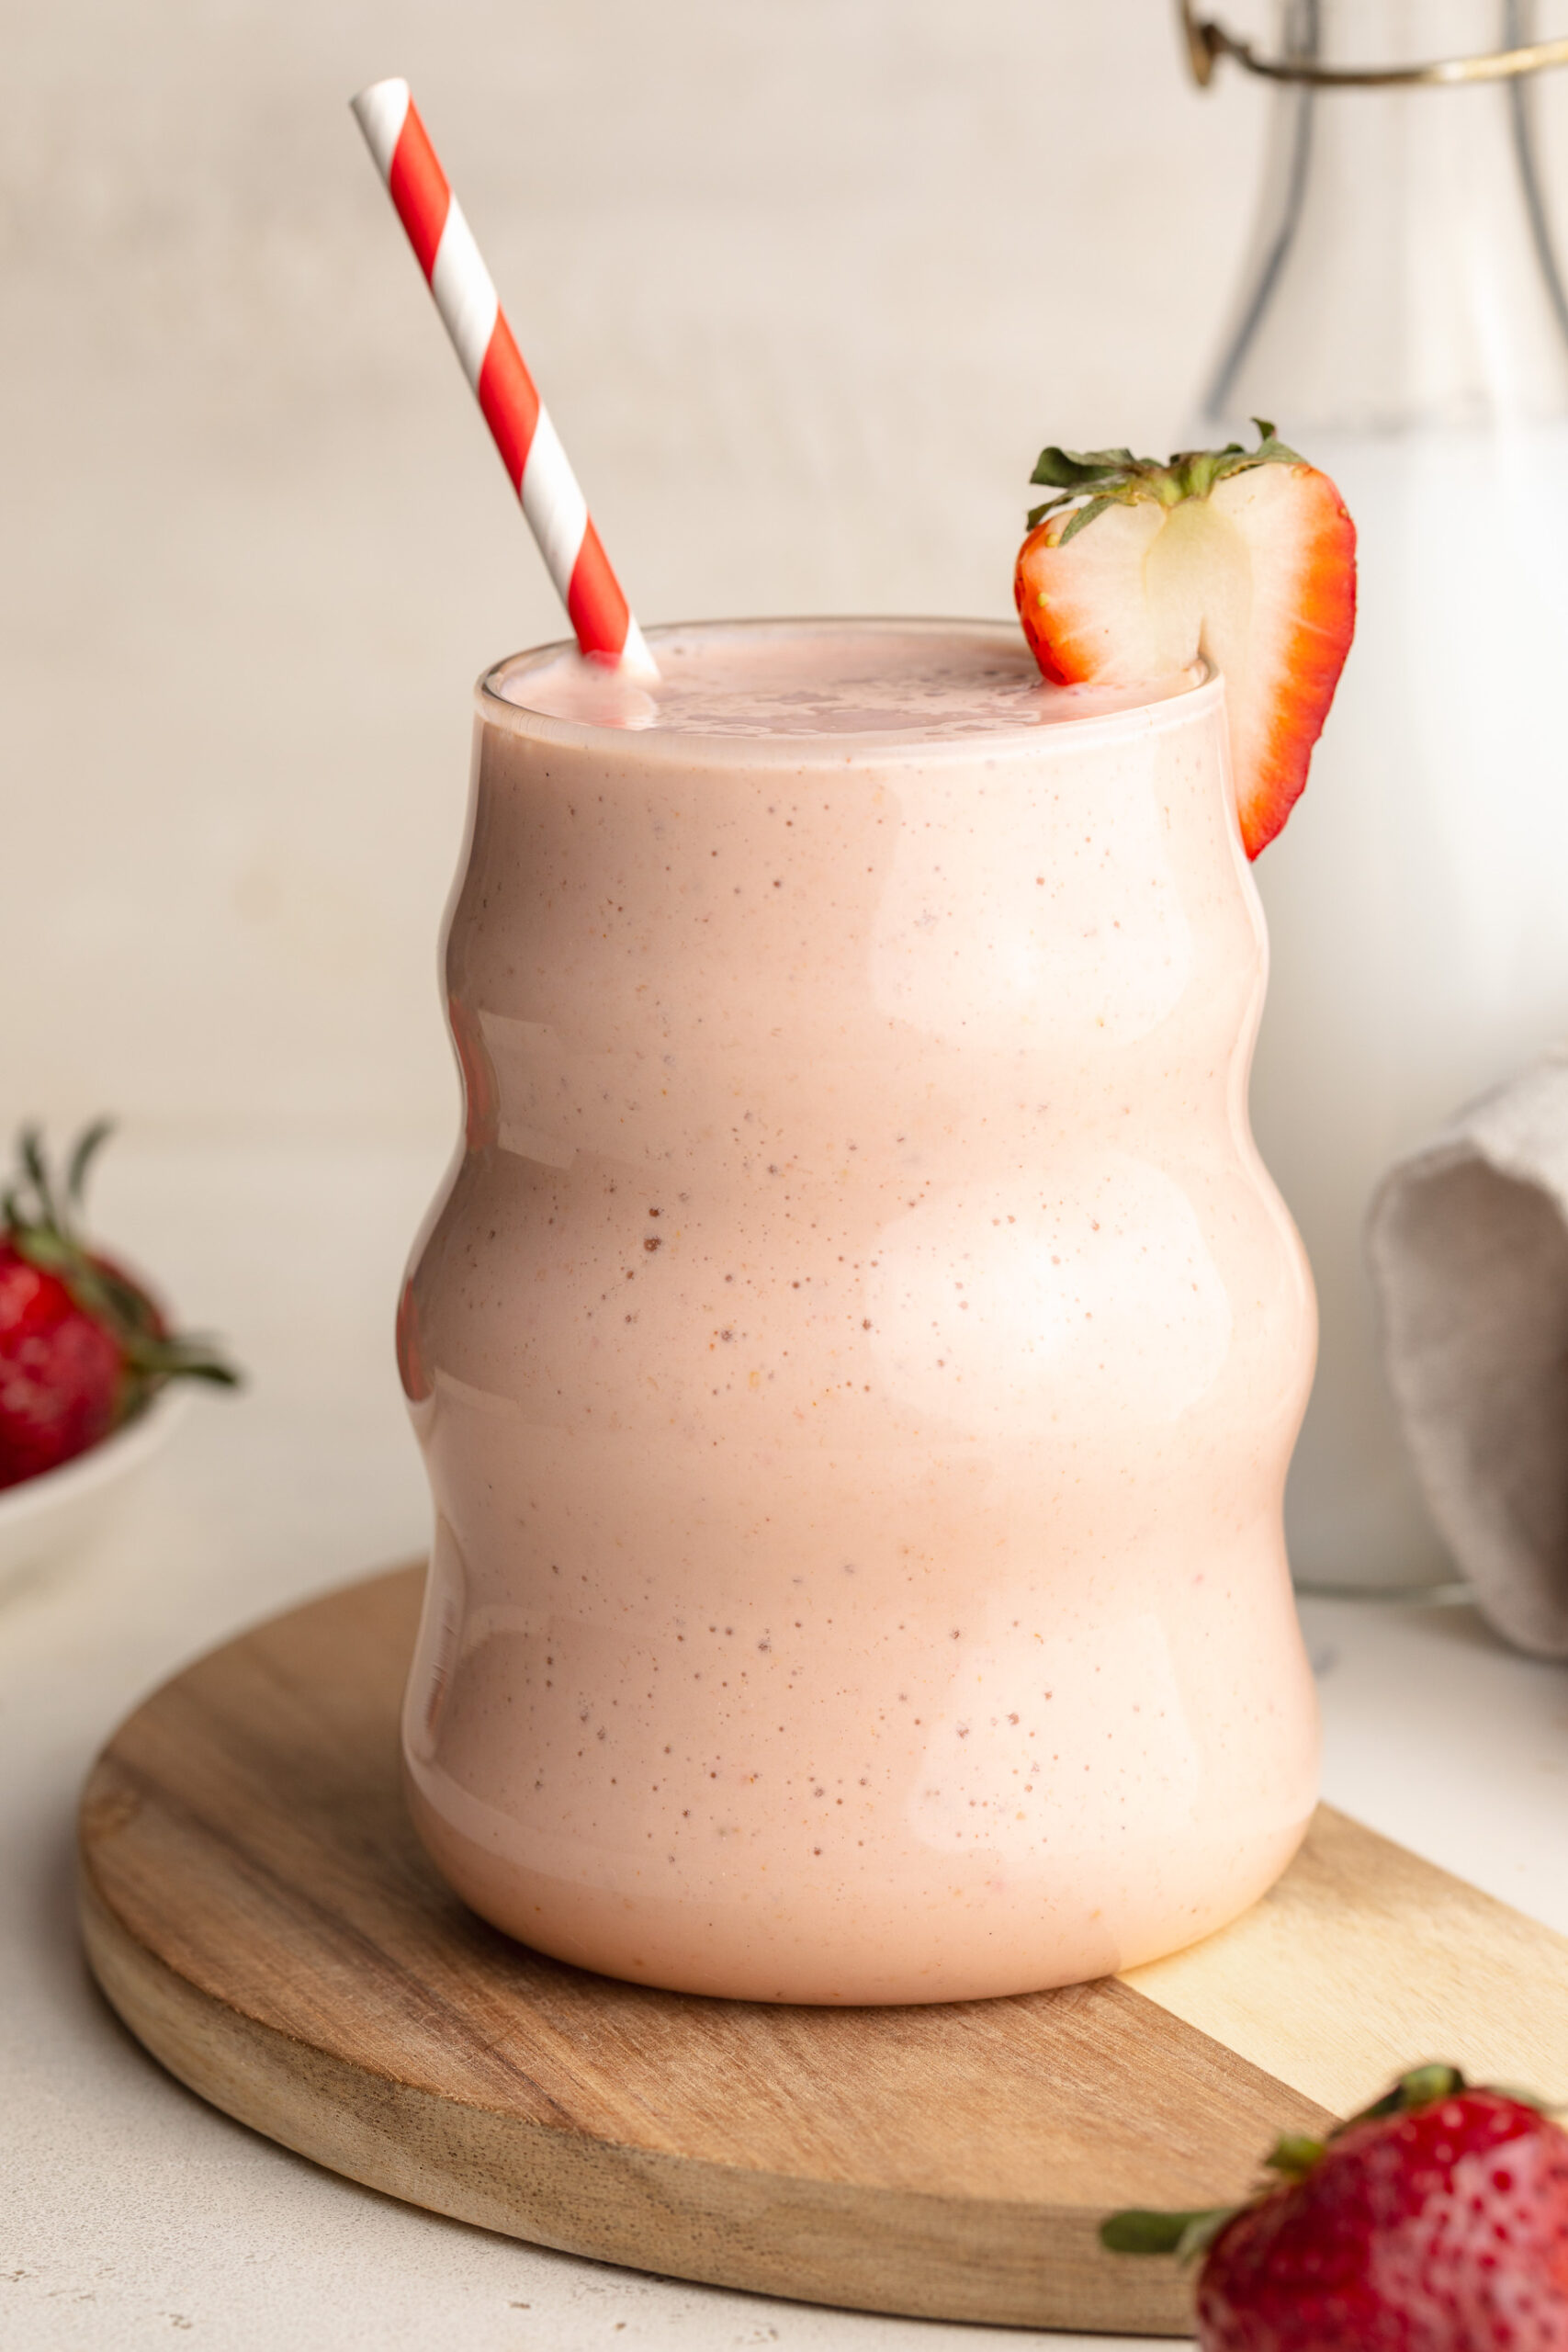
cottage cheese smoothie with a strawberry on the side.
No ratings yet

Cottage Cheese Smoothie (35g protein!)

This cottage cheese smoothie is thick, creamy, and packed with over 35 grams of protein, making it a perfect healthy breakfast or high-protein snack! You can’t taste the cottage cheese at all – it blends smoothly with frozen fruit for a delicious, naturally sweet flavor. Made with simple ingredients, this protein smoothie is quick, filling, and ideal for busy mornings or post-workout fuel!
Print Pin Rate
Servings: 1 serving

Equipment

  • 1 blender

Ingredients

  • 1/2 cup cottage cheese
  • 1/2 frozen banana
  • 4-5 frozen strawberries or 1/2 cup frozen berries
  • 3/4 cup milk
  • 1 scoop (or 1 serving) protein powder optional for extra protein!

Instructions

  • Add all ingredients to a blender and blend until smooth, then pour into a glass and enjoy!

Nutrition

Serving: 1smoothie | Calories: 350kcal | Carbohydrates: 35g | Protein: 37g | Fat: 9g | Fiber: 4g | Sugar: 20g

Strawberry season is my FAVE! Not only are these little red fruits totally sweet and utterly delicious, but they’re a sign of warmer weather to come. And that just makes me the happiest! I kicked off strawberry season strong this year with my 6-ingredient gluten-free strawberry shortcake, then kept the party going with healthy strawberry peanut butter cups. And you better believe that as soon as I’m no longer pregnant, I’ll be shaking myself up a skinny strawberry margarita – SO delicious and refreshing!

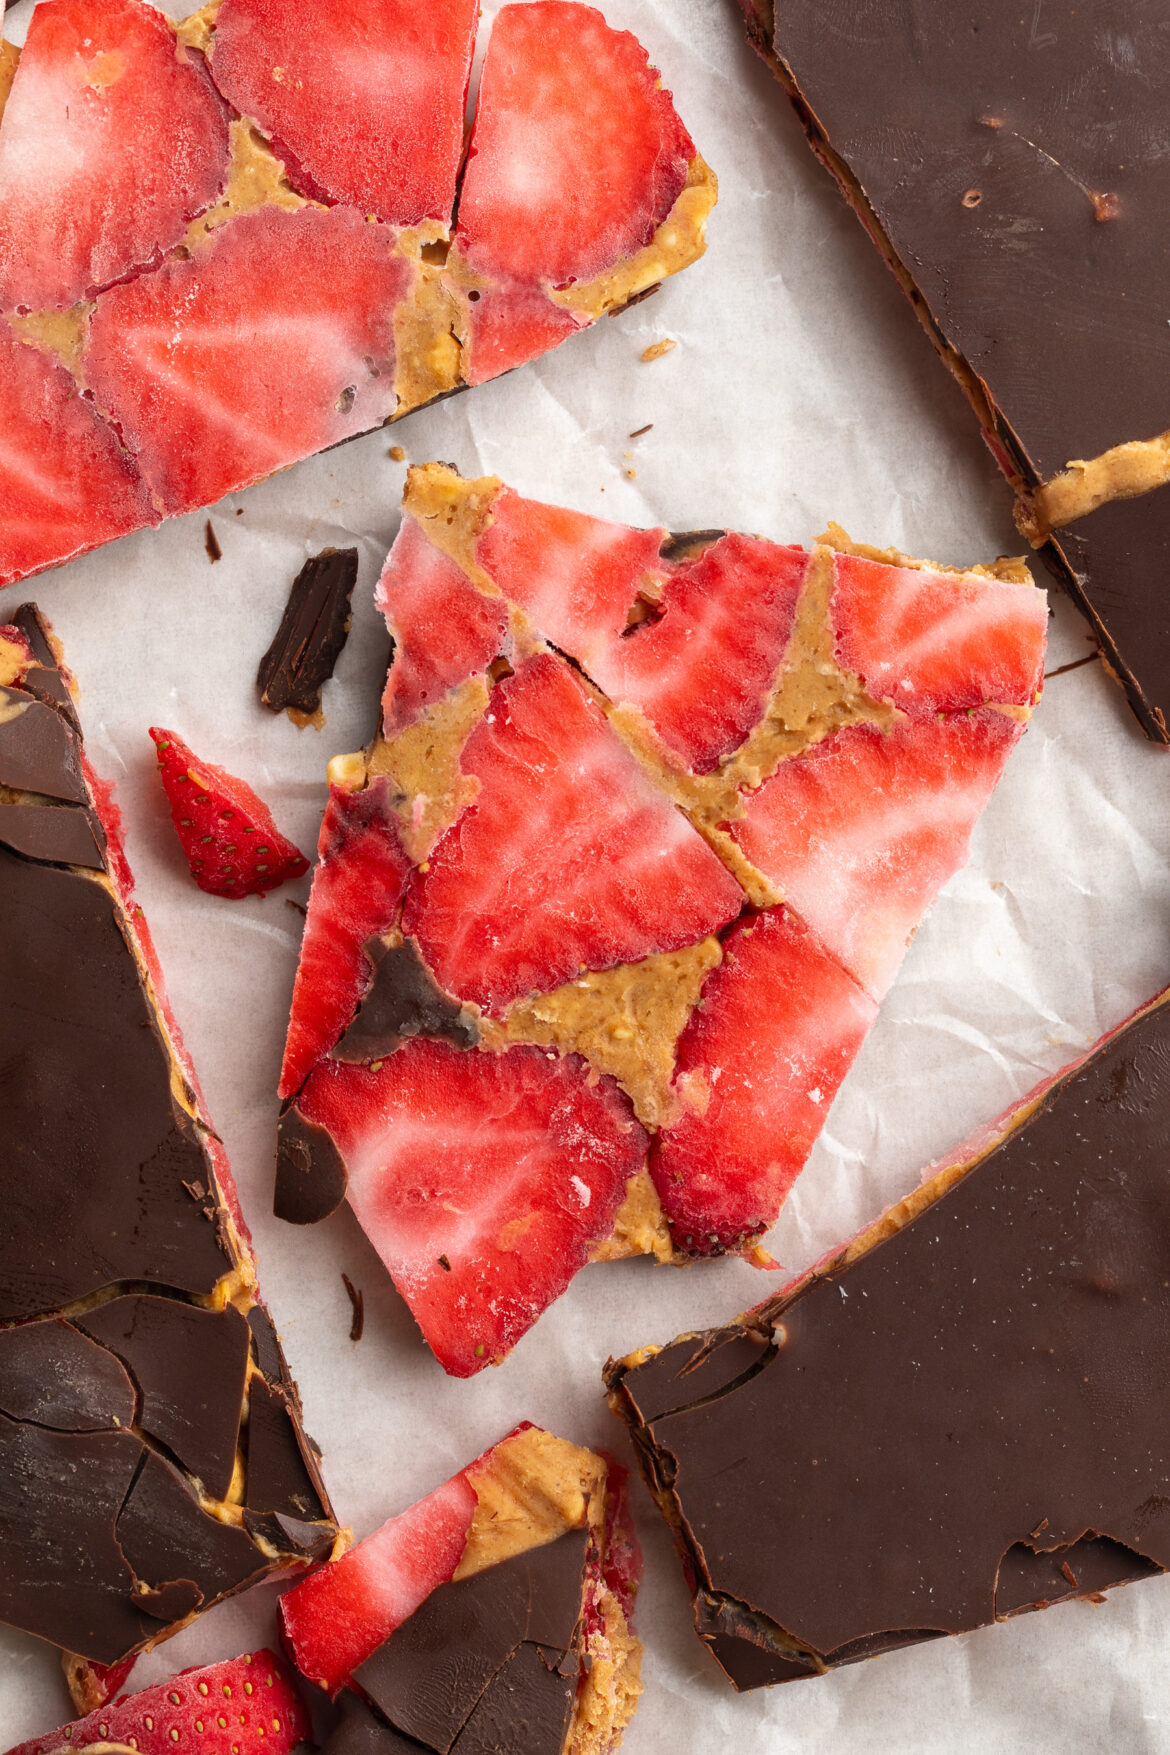
But the strawberry recipes don’t end there! This strawberry peanut butter chocolate bark is my take on a TikTok recipe that went viral last summer. It’s easy, healthier, perfectly sweet, and made with just 3 simple ingredients. This is also one of those recipes I recommend keeping a batch of in your freezer at all times.. ya know, in case of an emergency. And the amazing thing about this no-bake strawberry bark is you can make it during strawberry season and keep it frozen for months! Well, if it lasts that long. 😉

Why You’ll LOVE This Strawberry Peanut Butter Chocolate Bark

  • Made with just 3 simple ingredients.
  • A no-bake recipe that comes together in minutes!
  • Naturally vegan, gluten-free, and dairy-free.
  • Low in sugar with wholesome ingredients.
  • Perfect for a make-ahead freezer treat or healthy snack!
three pieces of healthy strawberry peanut butter chocolate bark on top of each other.

What Makes This Recipe Healthy

  • No added refined sugar – this recipe uses the natural sweetness of strawberries instead of relying on a bunch of sugar to sweeten it!
  • Healthy fats from peanut butter, but feel free to use any nut or seed butter you prefer.
  • Whole food ingredients only – no additives, preservatives, or just plain weird ingredients.
  • Vegan and dairy-free when using plant-based chocolate chips!
healthy strawberry peanut butter chocolate bark on parchment paper.

Sam’s Recipe Tips

  • For extra crunch, sprinkle chopped almonds or puffed quinoa on top before freezing.
  • Want it sweeter? Add a drizzle of honey or maple syrup over the strawberries before the peanut butter!
  • Use a silicone spatula to spread the chocolate smoothly and avoid lifting the layers underneath.
  • Store leftovers in an airtight container in the freezer for up to 2 months. I can’t guarantee it’ll last that long though!
overhead image of pieces of healthy strawberry peanut butter chocolate bark on parchment paper.
No ratings yet

3-Ingredient Healthy Strawberry Peanut Butter Chocolate Bark

This healthy strawberry peanut butter chocolate bark is made with just 3 simple ingredients and takes only minutes to prep! It's a delicious no-bake treat that's vegan, gluten-free, dairy-free, and low in sugar. Perfect for a freezer-friendly snack or healthy dessert everyone will love!
Print Pin Rate
Prep Time: 5 minutes
Chilling Time: 30 minutes
Total Time: 35 minutes
Servings: 8 servings

Equipment

  • 1 baking sheet

Ingredients

  • 10 large strawberries thinly sliced
  • 1/2 cup peanut butter
  • 1 cup melted chocolate chips

Instructions

  • Line a baking sheet with parchment paper, then arrange the strawberry slices on the parchment paper in rows to form a large rectangle.
  • Spread the peanut butter on top of the strawberries in an even layer, then pour the melted chocolate over the peanut butter. Gently spread the chocolate to form an even layer on top of the peanut butter.
  • Transfer the strawberry bark to the freezer for about 30 minutes or until the chocolate had hardened, then cut the bark into individual pieces and either enjoy right away or store in the freezer for later!

Nutrition

Serving: 1serving | Calories: 200kcal | Carbohydrates: 15g | Protein: 5g | Fat: 15g | Sugar: 7g