Tag

yogurt

Browsing

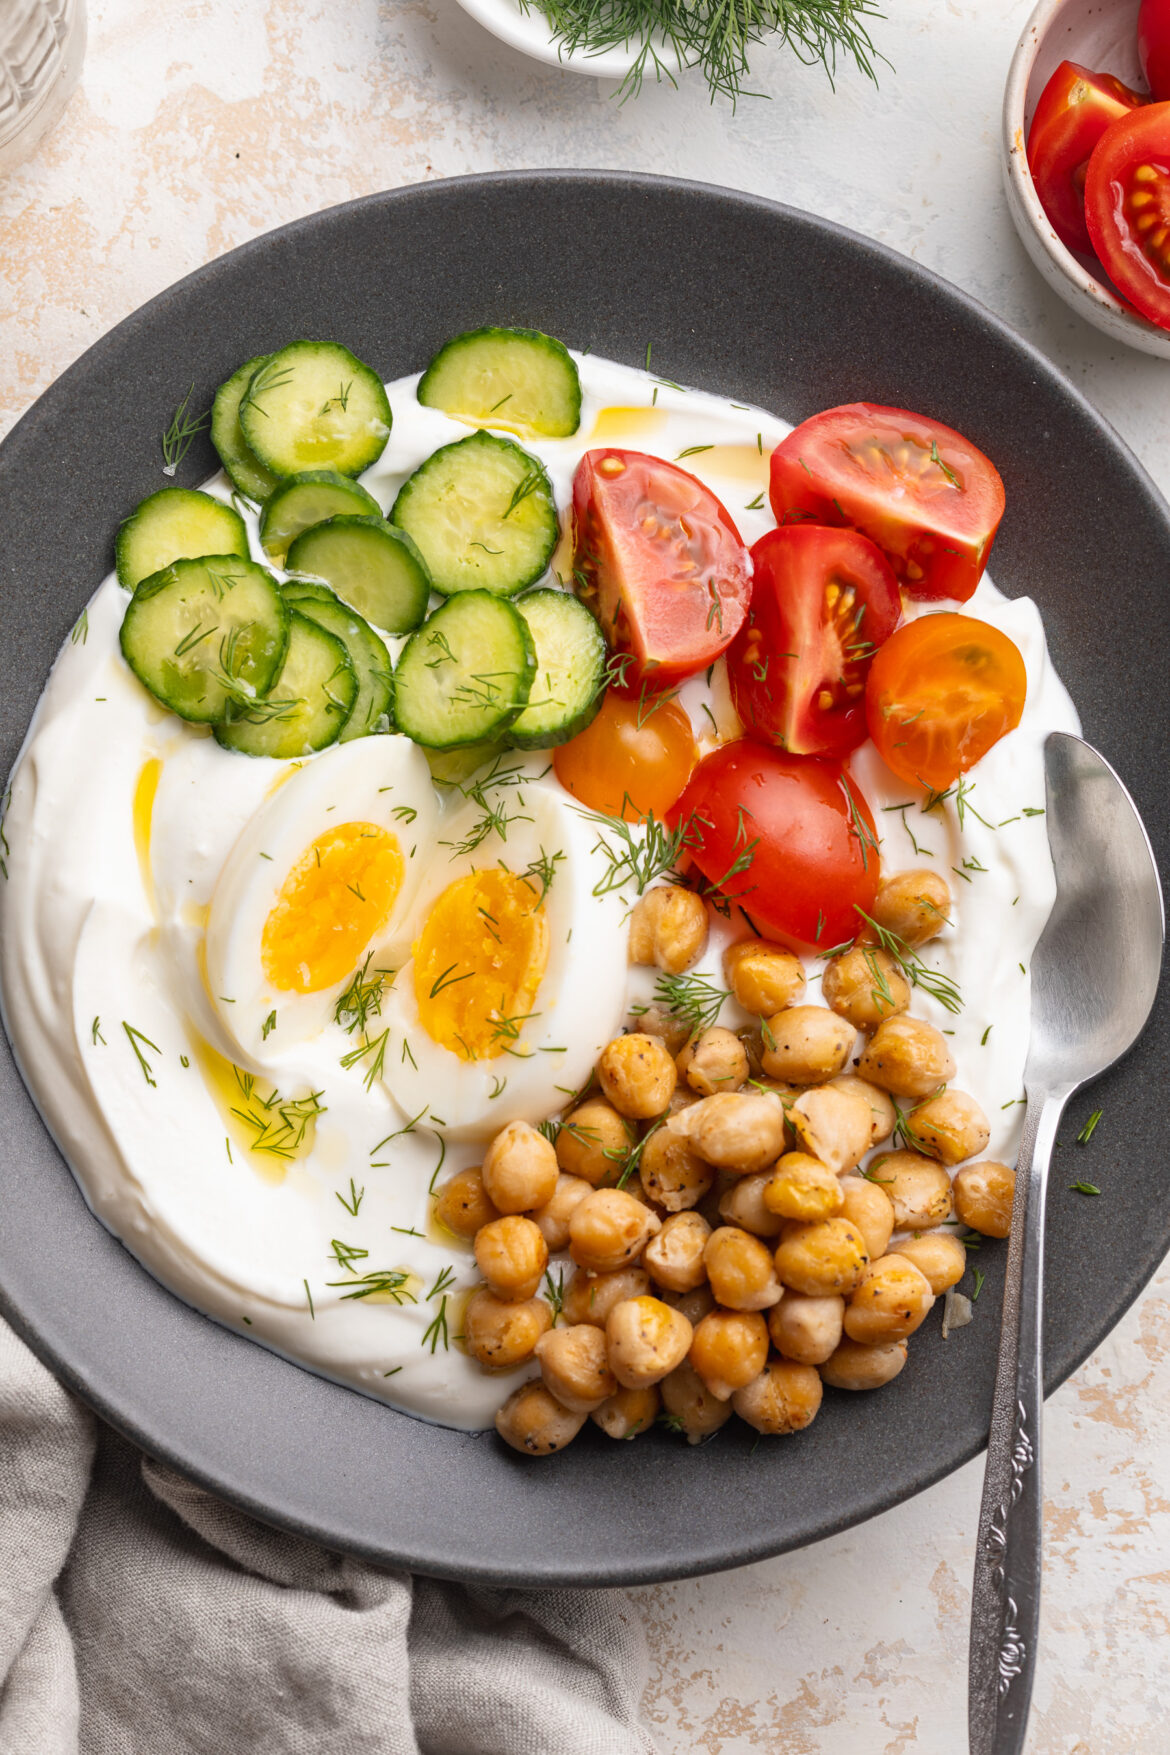
I know what you’re thinking – yogurt for breakfast is supposed to be sweet, but hear me out… this savory yogurt bowl is about to completely change the way you think about your morning meal! Creamy Greek yogurt topped with crispy roasted chickpeas, fresh avocado, juicy tomatoes, crunchy cucumber, and a perfectly boiled egg. It’s fresh, filling, packed with protein and healthy fats, and honestly one of the most satisfying breakfasts I’ve ever had! It tastes like something you’d order at your favorite brunch spot, but it comes together in just 30 minutes at home.

If you’re stuck in a breakfast rut – same smoothie, same overnight oats, same avocado toast on repeat – this is the recipe to shake things up! It’s the perfect way to switch up your morning routine with something that’s genuinely nourishing, surprisingly delicious, and totally different from anything else in your rotation. Pair it with my High-Protein Breakfast Biscuits for an extra protein boost, or serve it alongside my La Scala Chopped Salad for a light and satisfying lunch.

Why You’ll Love This Savory Yogurt Bowl

  • The perfect way to switch up your boring breakfast. If you eat the same thing every morning, this savory yogurt bowl is your sign to mix it up. It’s unexpected, exciting, and so delicious that you’ll genuinely look forward to breakfast again.
  • Packed with protein, veggies, fiber, and healthy fats. Greek yogurt, a soft-boiled egg, and crispy chickpeas deliver serious protein. Avocado brings healthy fats. Tomatoes and cucumber add freshness and fiber. This bowl truly does it all.
  • Surprisingly delicious. I know savory yogurt sounds a little unusual, but don’t knock it until you try it! The creamy, tangy yogurt is the perfect backdrop for the crispy chickpeas and fresh toppings – the combination just works.
  • Easy and quick to make. The crispy chickpeas take about 25 minutes to roast, but everything else comes together in minutes. Soft-boil your egg while the chickpeas roast and you’re ready to assemble right away.
  • Healthy and genuinely satisfying. This bowl will keep you full for hours – no mid-morning crash, no snacking before lunch. It’s the kind of breakfast that actually fuels your day!
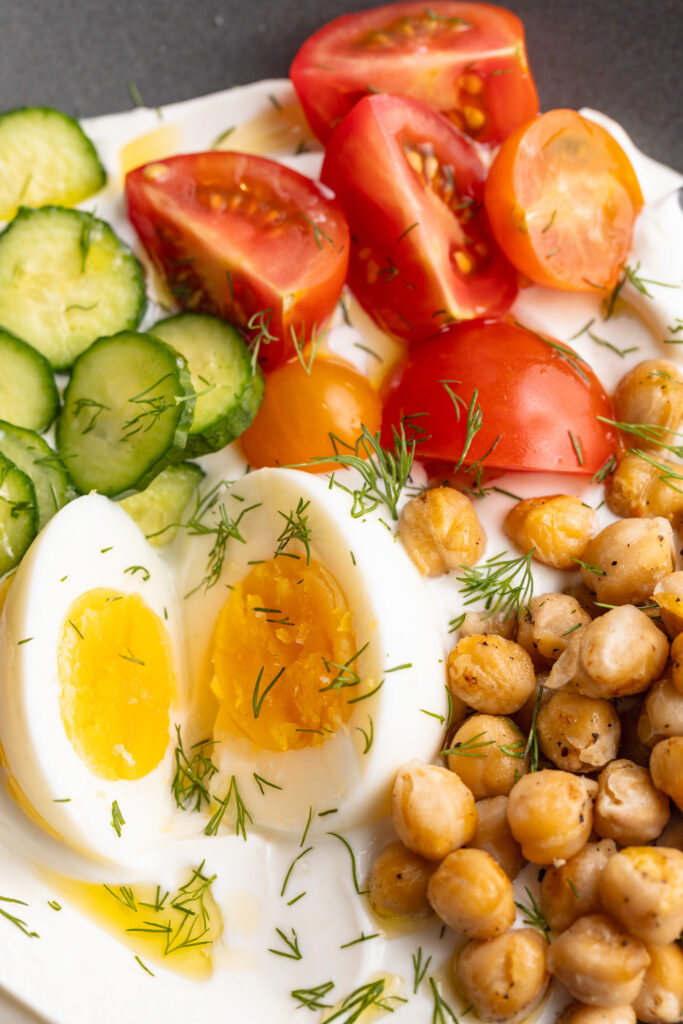
close up image of the toppings in a savory yogurt bowl.

Recipe Variations and Substitutions

  • Greek Yogurt: Any plain, full-fat yogurt works here – regular, dairy-free coconut yogurt, or even a thick labneh for an extra tangy, creamy base. For a dairy-free version, a thick plant-based yogurt like coconut or cashew yogurt both work well.
  • Egg: Not an egg fan? Skip it entirely – the bowl is still incredible without it. Hard-boiled eggs work too if you prefer a fully cooked yolk. For extra protein, add a few slices of smoked salmon instead.
  • Chickpeas: Short on time? Use canned chickpeas warmed in a skillet with olive oil and spices instead of roasting, or swap for white beans, lentils, or edamame.
  • Vegetables: This bowl is endlessly customizable. Swap the tomato and cucumber for whatever fresh vegetables you have on hand – radishes, roasted red peppers, shredded carrots, roasted sweet potato, or baby spinach all work beautifully.
  • Avocado: Not an avocado fan? Try hummus, a drizzle of tahini, or a handful of olives instead for a similar richness.
  • Add More Flavor: A sprinkle of everything bagel seasoning, za’atar, or red pepper flakes on top of the yogurt takes this bowl to an entirely different level. Highly recommended!
  • Make it a Meal Prep Breakfast: Roast a big batch of chickpeas at the beginning of the week (they keep for 3–4 days in an airtight container at room temperature) and keep all your toppings prepped in the fridge. In the morning, all you need to do is assemble – it takes under 5 minutes!
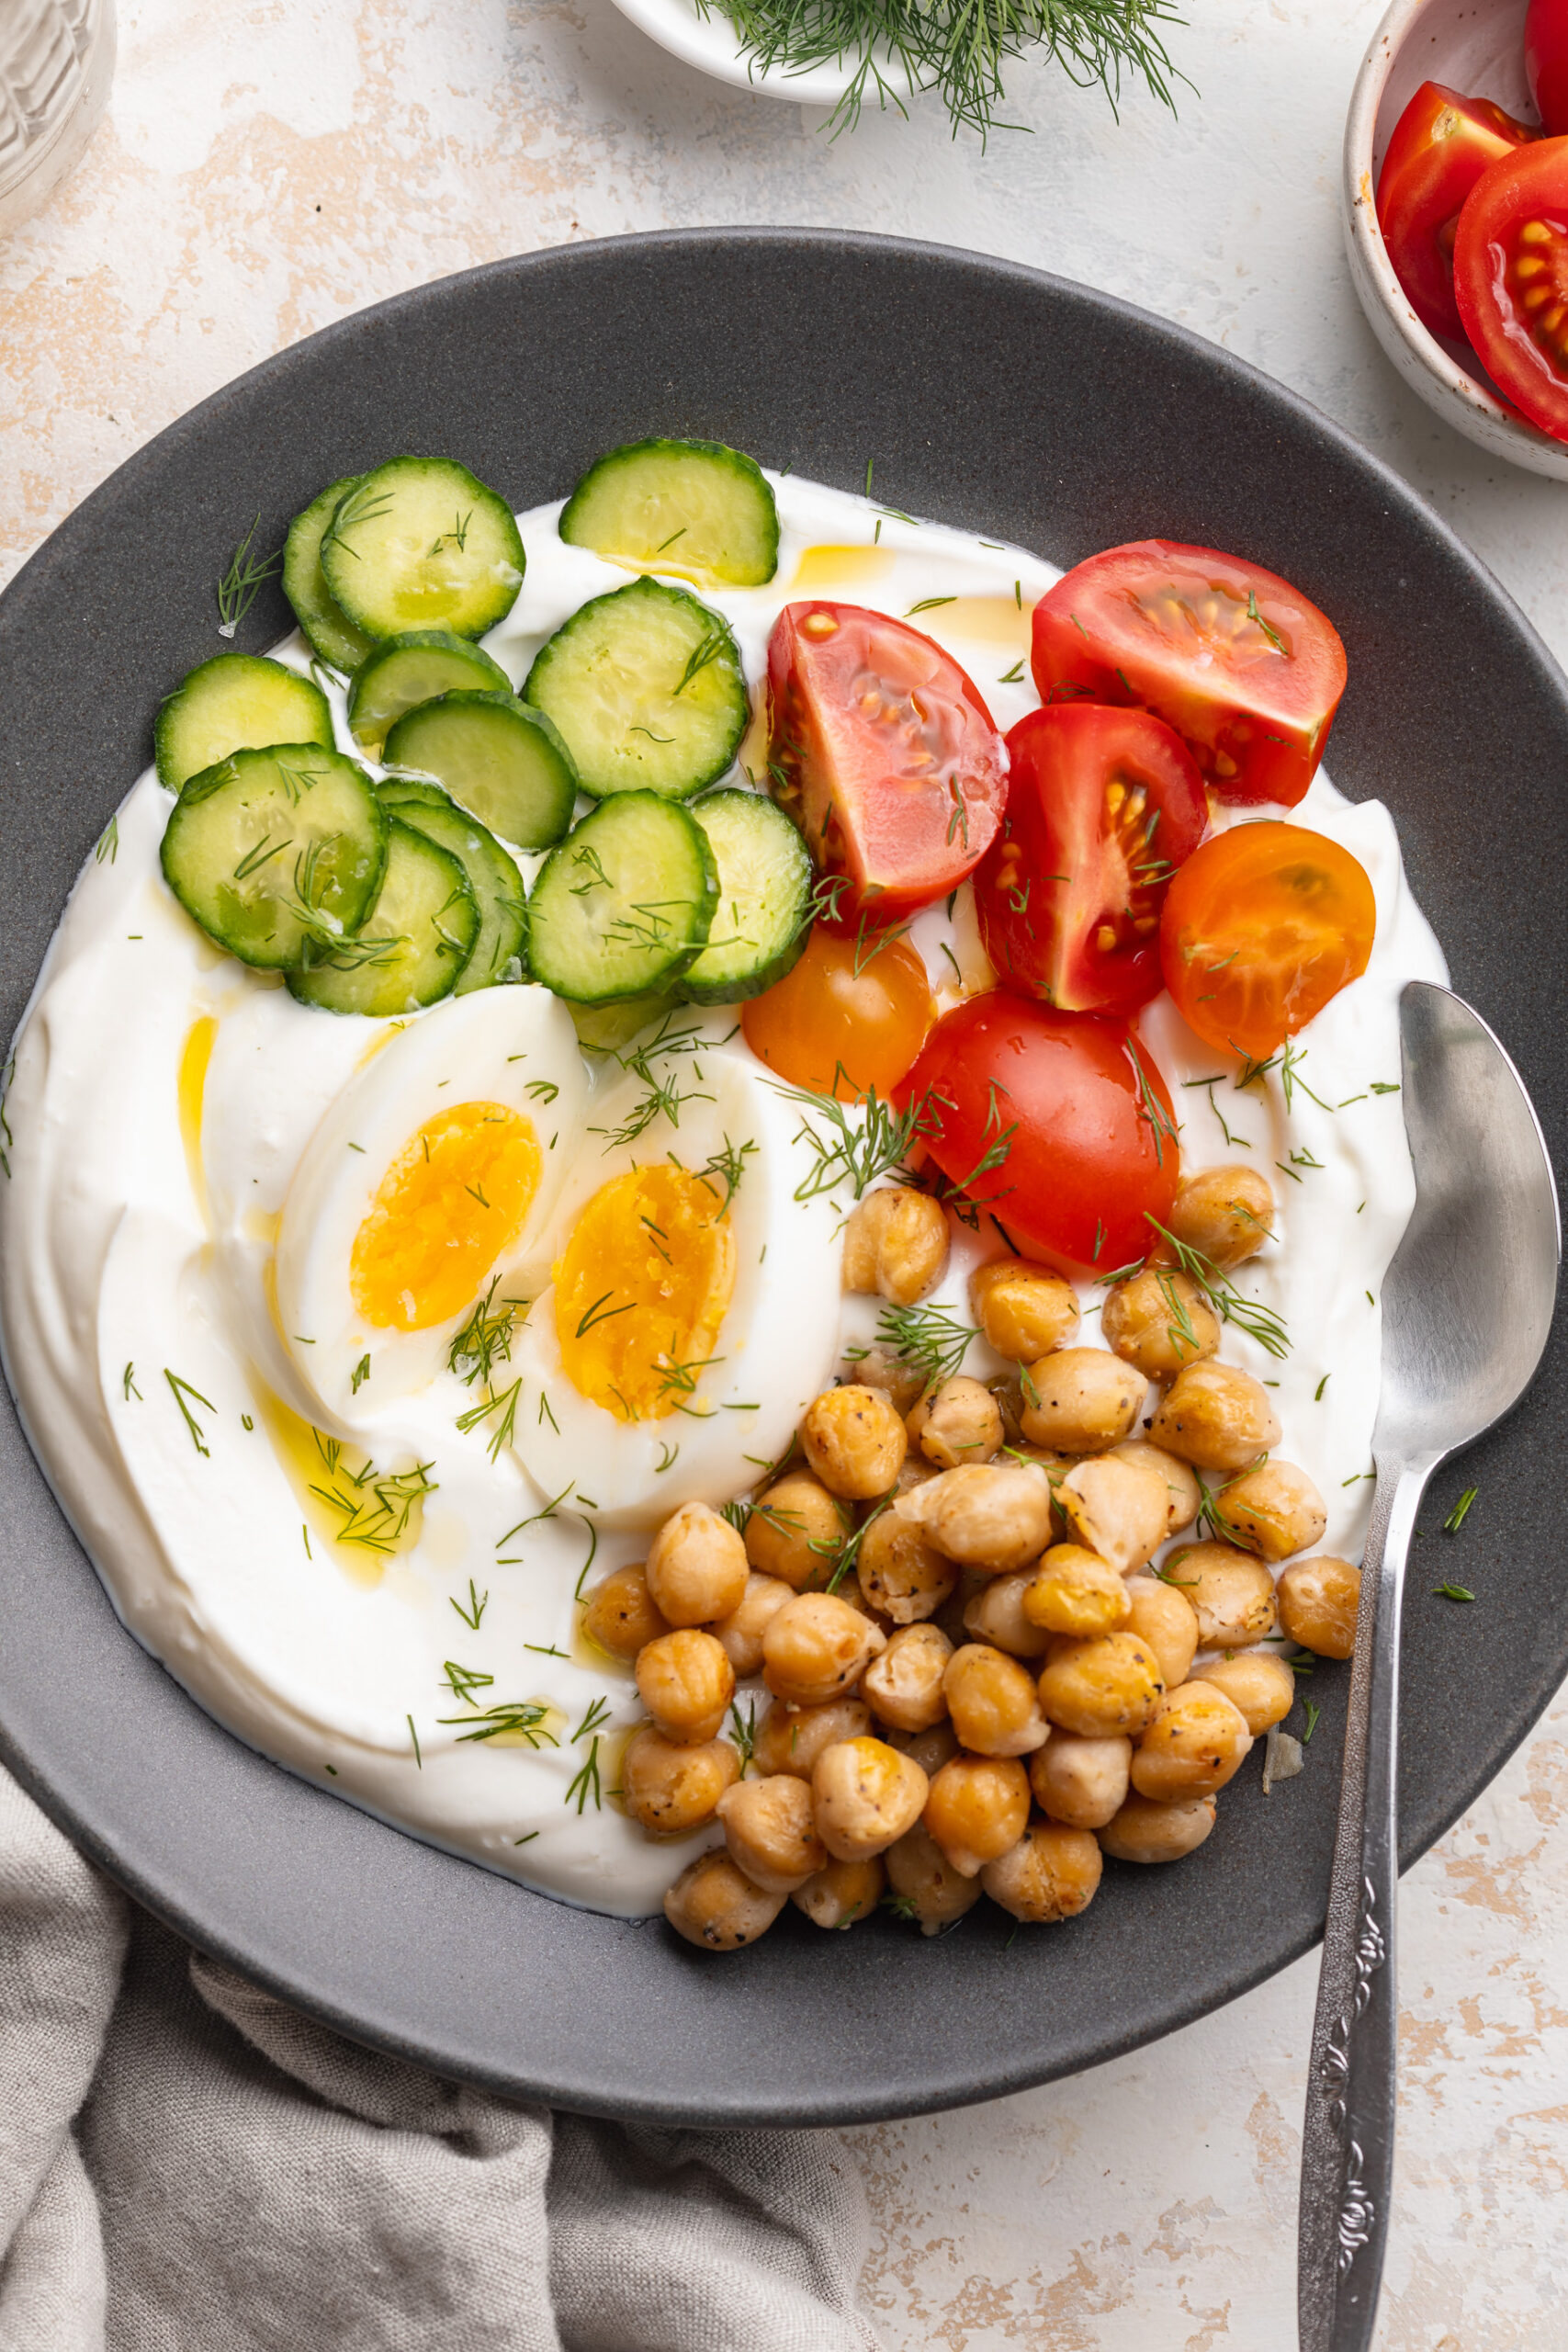
overhead image of a savory yogurt bowl on a table with a spoon.
No ratings yet

Savory Yogurt Bowl (25g+ protein!)

This savory yogurt bowl is a fresh, filling, and surprisingly delicious twist on your usual morning routine – topped with crispy roasted chickpeas, a jammy soft-boiled egg, avocado, tomatoes, and cucumber for a breakfast that's packed with protein, healthy fats, and feel-good ingredients! It comes together in just 30 minutes and tastes like something you'd order at a fancy brunch spot, but it's super EASY to make at home. If you've been stuck in a breakfast rut and are looking for a healthy protein-packed breakfast recipe that will actually keep you full all morning, this is it!
Print Pin Rate
Prep Time: 5 minutes
Cook Time: 25 minutes
Total Time: 30 minutes
Servings: 1 serving

Equipment

  • 1 baking pan
  • 1 serving bowl

Ingredients

  • 1/2 – 1 cup Greek yogurt
  • 1 boiled egg cooked to your liking!
  • 1/2 cup chickpeas
  • 1/4 avocado sliced or diced
  • 1/4 cup cherry tomatoes
  • 1/4 cup cucumber thinly sliced or diced
  • olive oil for roasting and drizzling
  • salt, pepper, garlic powder to taste
  • flaky sea salt to finish

Instructions

  • Preheat oven to 400°F. Pat chickpeas dry, toss with olive oil, salt, pepper, and garlic powder, and roast for 20–25 minutes until crispy.
  • Soft-boil the egg in boiling water for 6–7 minutes, then transfer to an ice bath for 5 minutes. Peel and slice in half.
  • Spoon Greek yogurt into a shallow bowl and spread to the edges. Drizzle with olive oil and a pinch of salt.
  • Top with crispy chickpeas, soft-boiled egg, avocado, tomato, and cucumber.
  • Finish with a drizzle of olive oil, flaky sea salt, and black pepper. Serve immediately!

Notes

  • Pat the chickpeas completely dry before roasting for the crispiest result.
  • Use full-fat Greek yogurt for the richest, creamiest base.
  • Add za’atar, everything bagel seasoning, or red pepper flakes on top for extra flavor.
  • For meal prep, roast a big batch of chickpeas and store at room temperature for up to 3–4 days.
  • Assemble just before eating — the yogurt will get watery if left to sit with the toppings for too long.
Nutrition

Serving: 1serving | Calories: 420kcal | Carbohydrates: 28g | Protein: 25g | Fat: 25g | Fiber: 8g | Sugar: 6g

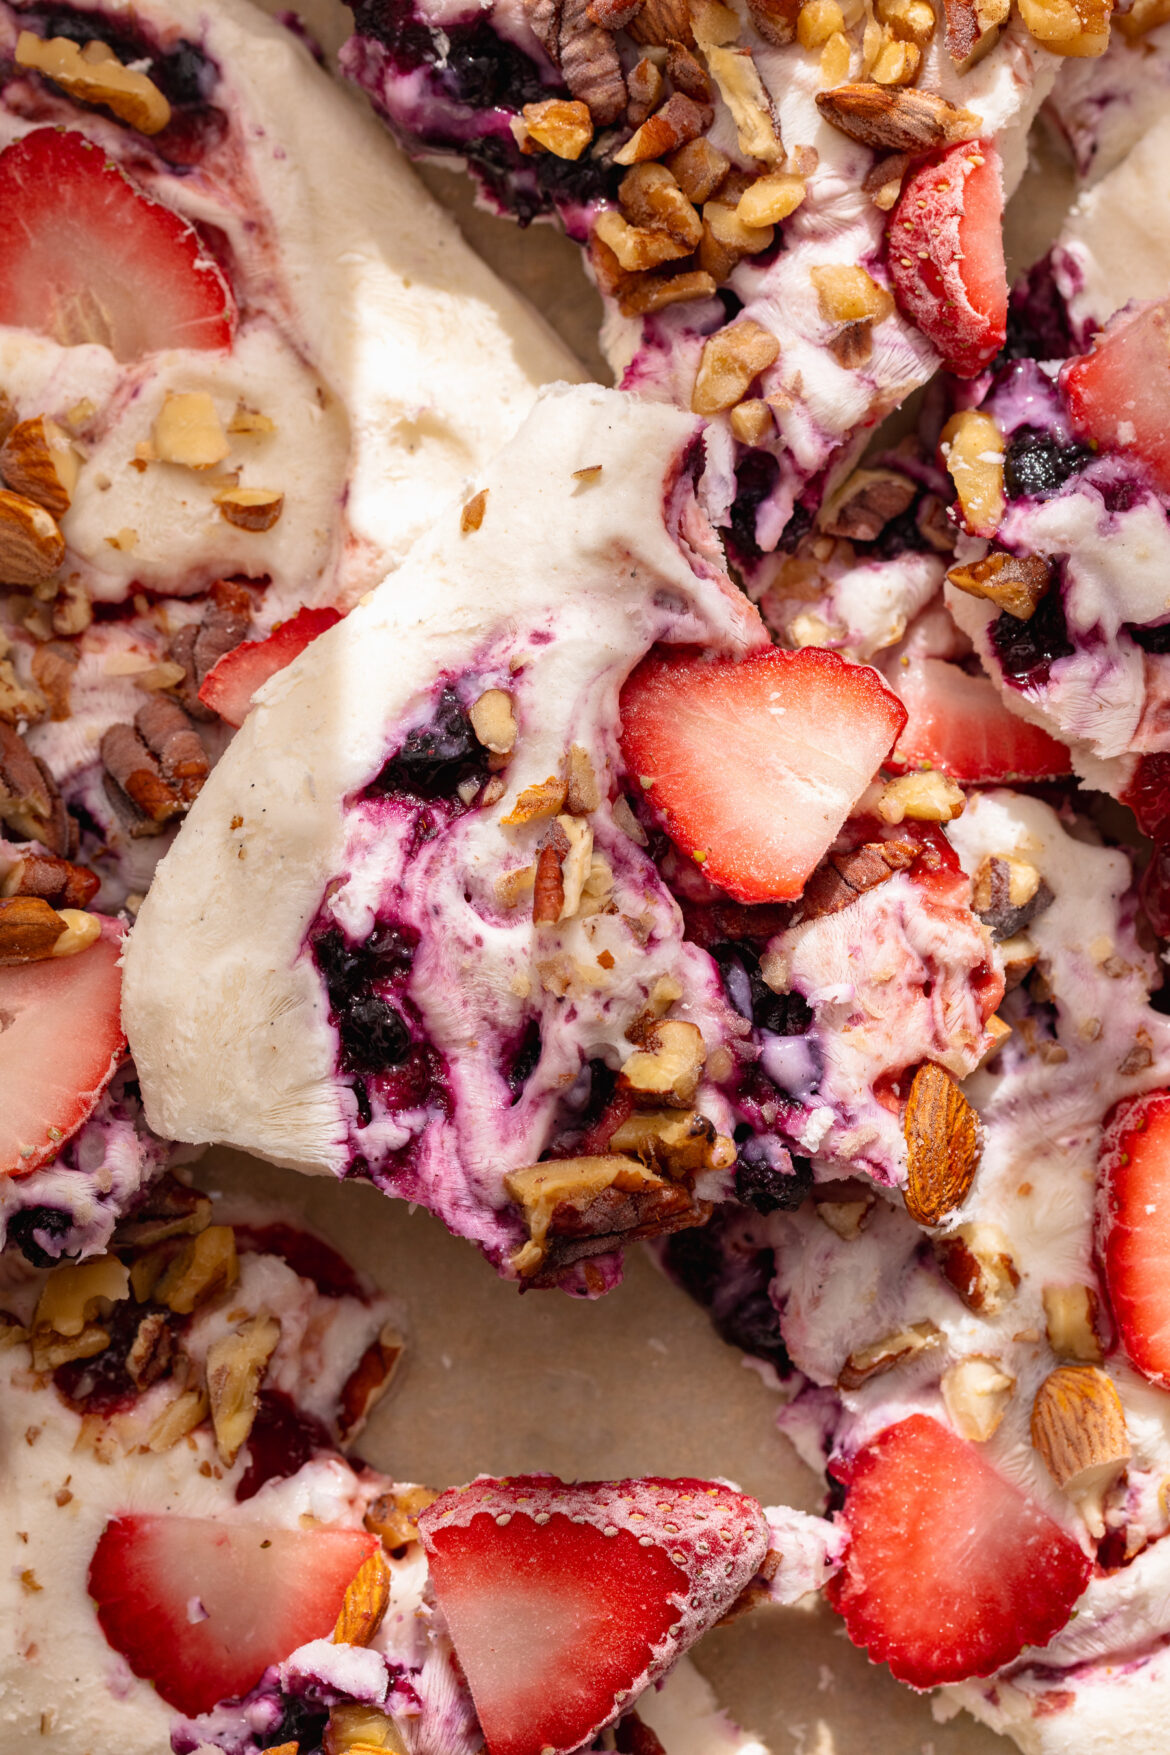
Summer’s almost here, and so is the most fun, refreshing, healthy treat you’ll make all season! This frozen yogurt bark is creamy Greek yogurt swirled with your favorite fruit jam, loaded with fresh berries and a generous handful of crunchy chopped nuts, frozen solid, and broken into gorgeous pieces that look like they came from a fancy dessert shop. It tastes like ice cream, takes about 10 minutes of actual effort, and is healthy enough to eat for breakfast. Truly, what more could you ask for?!

I love making this with my toddler – he goes absolutely crazy for it, and I love that he thinks he’s eating a special treat while I know it’s just Greek yogurt and fruit! If you love easy no-bake summer recipes, this one belongs in your rotation alongside my Cottage Cheese Ice Cream and High-Protein Froyo Bites for the ultimate freezer snack lineup.

Why You’ll Love This Frozen Yogurt Bark

  • It tastes like ice cream! Cold, creamy, sweet, and loaded with fruit – frozen yogurt bark genuinely hits the same spot as a bowl of ice cream, but it’s made with wholesome ingredients you can feel great about.
  • 10 minutes of prep, NO baking. Spread, swirl, sprinkle, freeze. That’s the entire recipe. No oven, no heat, no complicated steps – just a sheet pan and your freezer.
  • Gluten-free and endlessly customizable. This recipe is naturally gluten-free, and the toppings are entirely up to you. Different jams, different fruits, different nuts – every batch can be a little different.
  • The perfect healthy summer treat. Great for kids, great for adults, great for parties and cookouts and afternoons by the pool!
  • Great for meal prep. Make a big batch on Sunday and keep it in the freezer all week. It’s ready whenever you want a cool, sweet treat – no thawing, no prep, just grab a piece and enjoy.
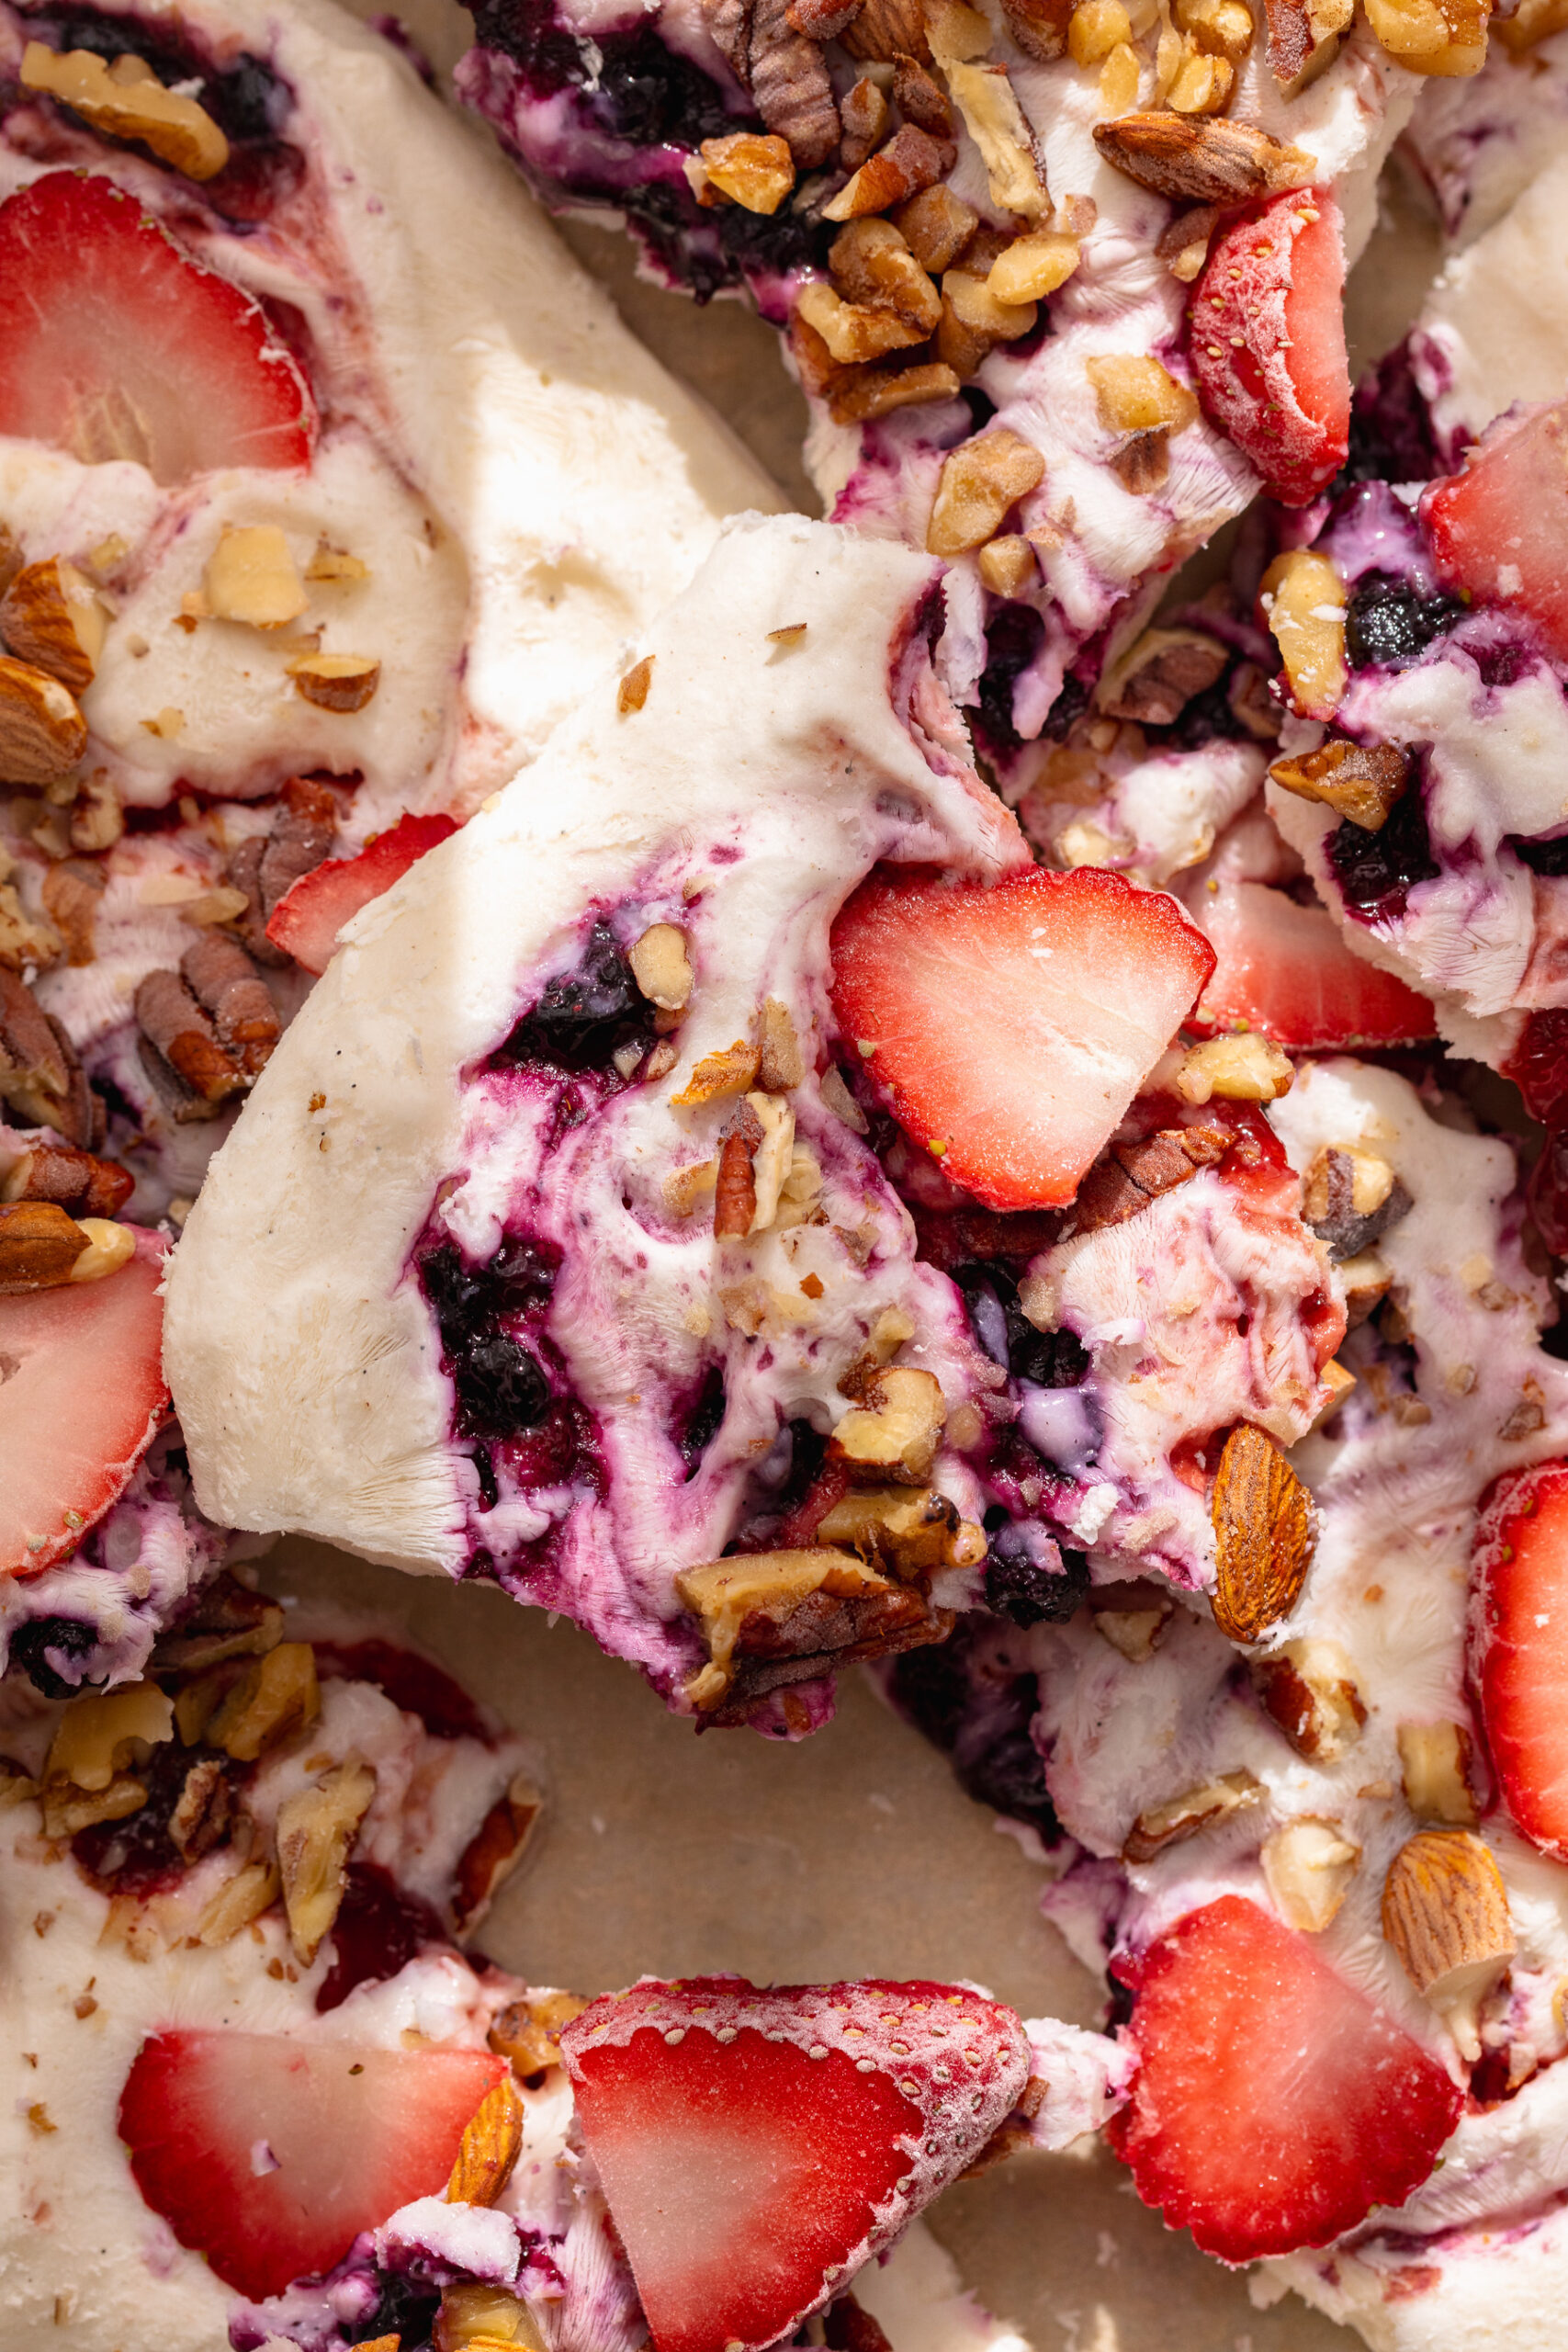
frozen yogurt bark broken into pieces on a tray.

Frequently Asked Questions

What is the best type of yogurt to use for frozen yogurt bark?

Full-fat Greek yogurt is the best choice for frozen yogurt bark, hands down. The higher fat content gives you a creamier, less icy texture once frozen — low-fat or fat-free yogurts tend to freeze much icier and harder, which can make the bark difficult to bite into. Any flavor of Greek yogurt works great here! Vanilla, strawberry, blueberry, or plain are all delicious — if using plain, stir in 2–3 tablespoons of honey or maple syrup and a splash of vanilla extract to sweeten it before spreading.

How long does this stay good in the freezer?

Frozen yogurt bark keeps well in the freezer for up to 1 month stored in an airtight container or zip-lock freezer bag. For easy grabbing, layer pieces between sheets of parchment paper so they don’t stick together. Give it a minute or two at room temperature before eating — it softens quickly and the texture is best when it’s slightly thawed rather than rock solid.

What else can I add?

So many things! This recipe is endlessly customizable. Try drizzling melted chocolate or peanut butter over the top before freezing for an extra indulgent touch. Mini chocolate chips are always a hit. Granola adds a fantastic crunch and makes it feel a little more like a breakfast bark. Shredded coconut adds a lovely tropical chewiness. Other fresh or frozen fruits like mango, kiwi, raspberries, or blackberries all work beautifully. For a more dessert-forward version, swirl in Nutella instead of jam. And a pinch of flaky sea salt on top takes everything to another level.

Can I make dairy-free frozen yogurt bark?

Absolutely! Simply swap the Greek yogurt for your favorite thick, plain dairy-free yogurt. Coconut yogurt works especially well — it’s naturally thick, rich, and creamy, and freezes beautifully with minimal iciness. Oat milk yogurt and cashew yogurt are also great options. Just make sure to choose an unsweetened or lightly sweetened variety since the jam and toppings will add their own sweetness.

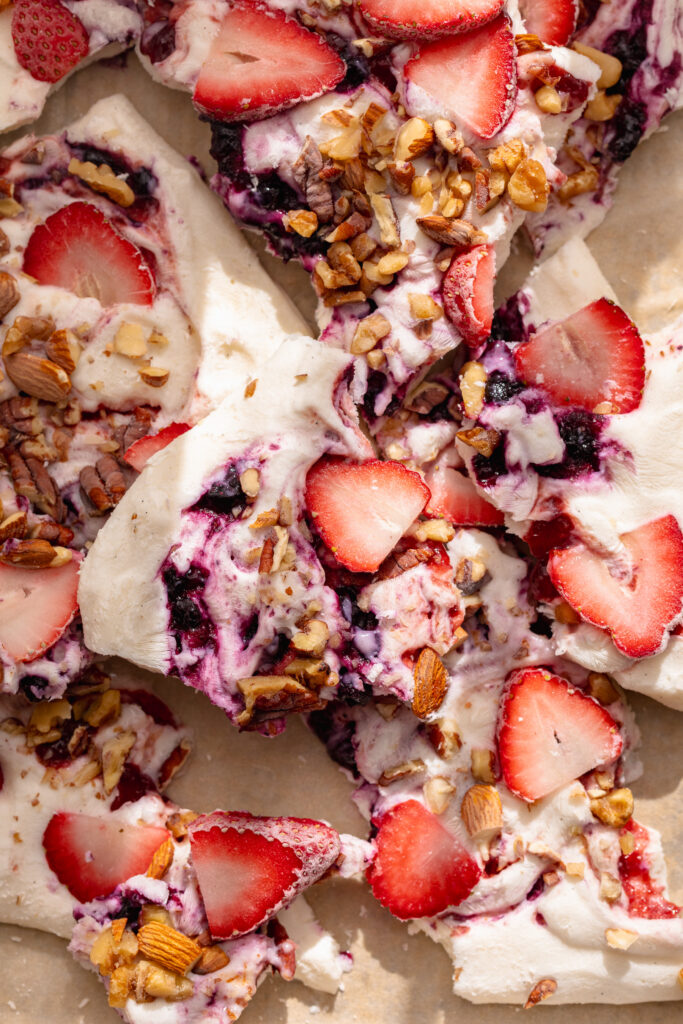
close up image a piece of frozen yogurt bark with fresh strawberries on top.
5 from 1 vote

Easy & Healthy Frozen Yogurt Bark

This frozen yogurt bark is a creamy, colorful summer treat made with vanilla Greek yogurt, swirled with fruit jam, and loaded with fresh berries, and crunchy nuts! It takes just 10 minutes to prep, NO baking, and tastes like ice cream. An easy, healthy frozen yogurt bark recipe that's as beautiful as it is delicious!
Print Pin Rate
Prep Time: 10 minutes
Freeze Time: 1 hour
Total Time: 1 hour 10 minutes
Servings: 12 pieces

Equipment

  • 1 9×14-inch baking dish

Ingredients

  • 1 (32-ounce) container Greek yogurt I used vanilla Greek yogurt
  • 1/4 cup fruit jam
  • 1/2 cup fresh berries
  • 1 cup nuts chopped

Instructions

  • Line a 9×14-inch baking sheet with parchment paper. Spread the Greek yogurt into an even layer on the baking sheet.
  • Scoop dollops of fruit jam all over the top of the yogurt, and swirl it into the yogurt with a butter knife.
  • Sprinkle the berries and chopped nuts on top of the yogurt in an even layer. Then, transfer the yogurt to the freezer for about 4 hours, or until it’s frozen solid.
  • Remove the bark from the freezer, break it into pieces and either enjoy right away or store it in an airtight container in the freezer for later!

Nutrition

Serving: 1serving | Calories: 145kcal | Carbohydrates: 22g | Protein: 6g | Fat: 4g | Fiber: 1g | Sugar: 14g

It’s finally fall! Well kinda. September 1st is the unofficial first day of fall in my book, and I’m celebrating with yet another apple recipe! I kicked things off last week with my healthy gluten-free apple crisp, and am eager to make my apple pie protein smoothie and gluten-free cinnamon sugar apple cake in the coming weeks. Today though, we’re focusing on the EASIEST of all the apple recipes – apple pie salad. And not just any apple pie salad, one with just 5 ingredients, that’s high in protein, and comes together in a few minutes. I absolutely LOVE this recipe when I’m short on time but craving fall flavors. Think fresh crisp apples, cinnamon, honey, and something crunchy like pecans, walnuts, or or granola. It’s the perfect afternoon snack or high-protein dessert!

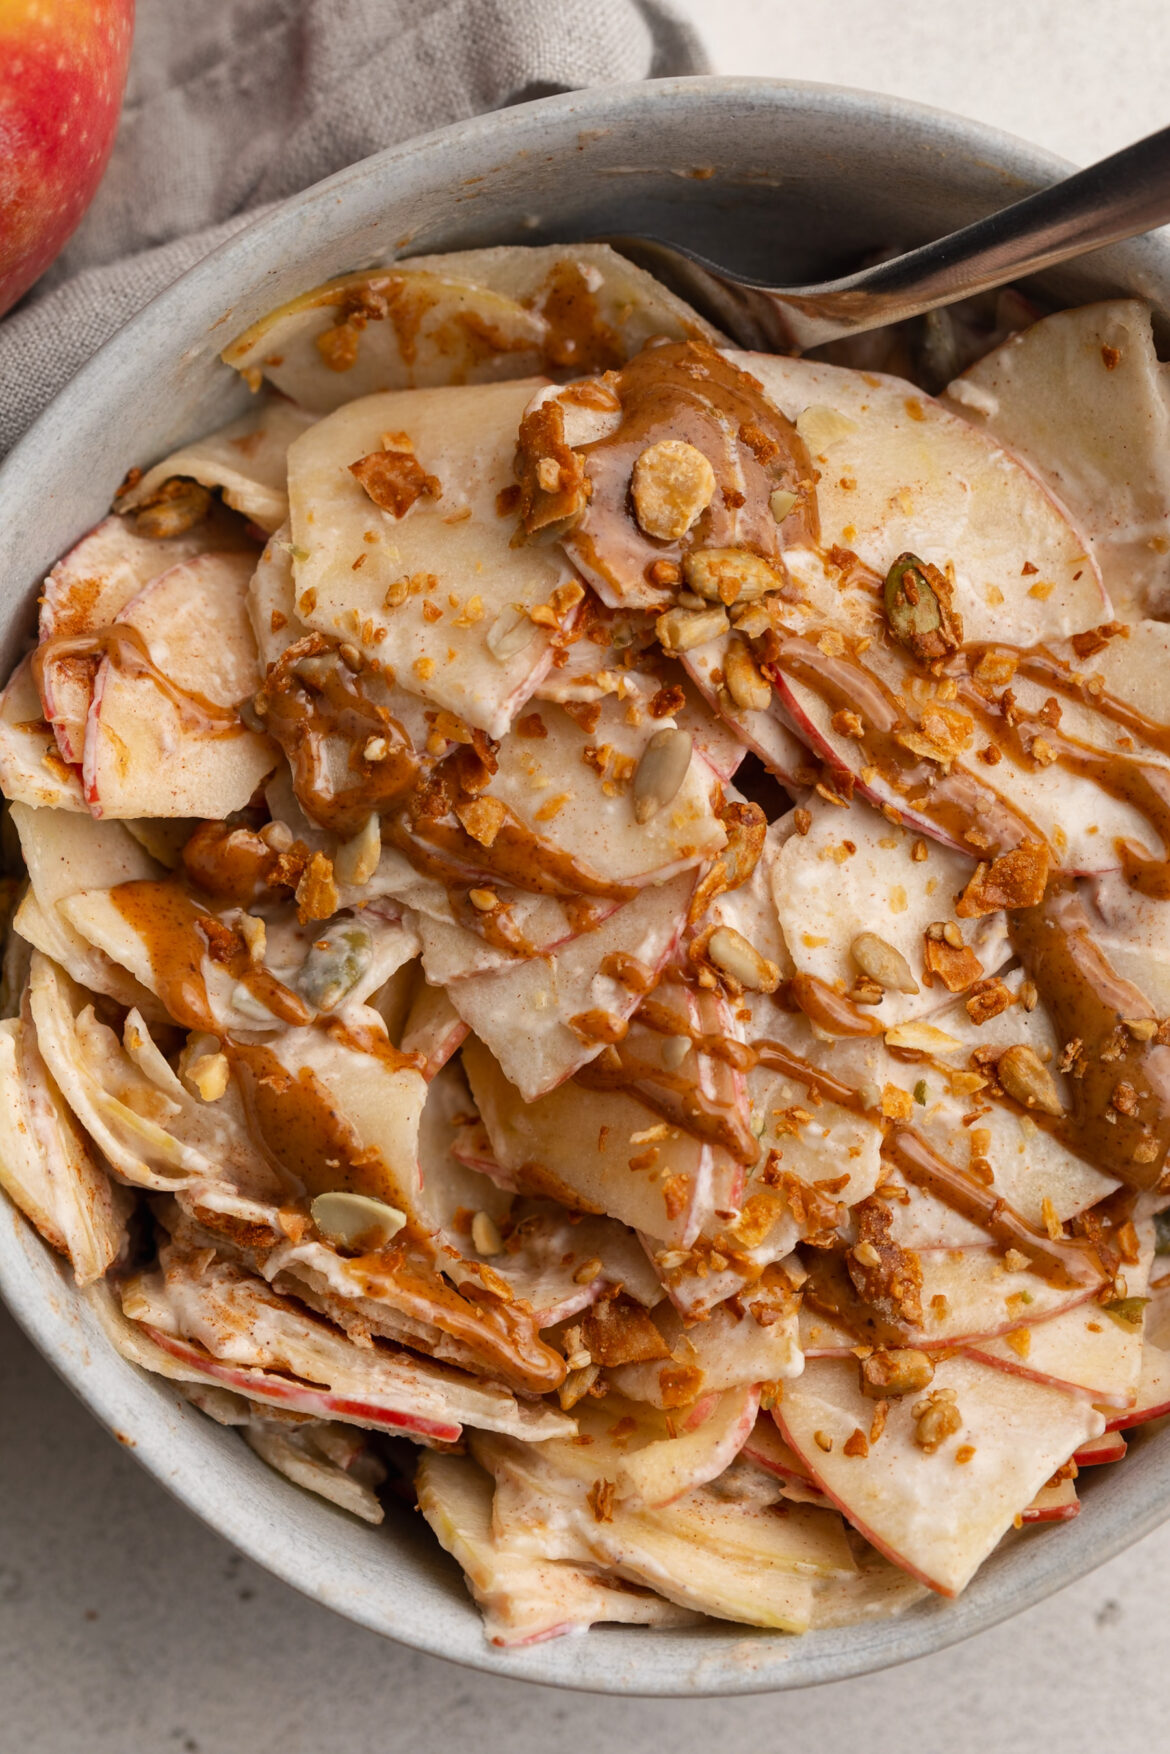
healthy high protein apple pie salad in a bowl with a fork.

Why You’ll Love This Apple Pie Salad

  • High-Protein, No-Bake Goodness: Just apples, yogurt, and a hint of sweetener – no oven needed!
  • Quick & Nourishing: Ready in under 5 minutes, with over 20 grams of protein to fuel your day.
  • Flavor Meets Function: Satisfy your pie cravings with warm spices and dippable (is that a word??) toppings!

What Makes This Recipe Healthy

  • The apple base adds fiber and antioxidants while keeping it naturally sweet and refreshing.
  • Greek yogurt (or plain coconut yogurt) provides a protein-packed, gut-friendly foundation.
  • A drizzle of honey or maple syrup gives balance without refined sugars.
  • Protein-boosting peanut butter and satisfying nuts round out the nutrition and texture!
overhead image of healthy apple pie salad in a bowl with an apple on the side.

Frequently Asked Questions

What kind of apples should I use?
Crisp, sweet varieties like Fuji or Honeycrisp work best – Granny Smith are a bit more tart so they may need extra sweetener to balance its tartness.

Can I make this dairy-free?
Yes! Swap in a thick, unsweetened coconut or almond-based yogurt to keep it plant-based and creamy.

How much protein is in this recipe?
Each serving delivers approximately 20 grams of protein, depending on your yogurt choice.

overhead image of healthy apple pie salad in a bowl with a drizzle of peanut butter and granola on top.
No ratings yet

Healthy High-Protein Apple Pie Salad

This high-protein apple pie salad is a creamy, crunchy, no-bake recipe that tastes just like dessert but fuels your body with 20 grams of protein. Made with fresh apples, Greek yogurt, cinnamon, and a drizzle of peanut butter, it’s a quick and healthy snack or post-workout treat. Perfect for when you’re craving apple pie flavor in a light, wholesome, and protein-packed treat!
Print Pin Rate
Prep Time: 5 minutes
Total Time: 5 minutes
Servings: 1 serving

Equipment

  • 1 medium bowl or container
  • 1 mandoline or use a knife to thinly slice the apples

Ingredients

  • 1 apple
  • 1 cup Greek yogurt or plain coconut yogurt
  • 1-2 teaspoons honey or maple syrup
  • 1/2 teaspoon cinnamon

Toppings:

  • Drizzle of peanut butter
  • Chopped walnuts, pecans, or granola

Instructions

  • Add all ingredients to a bowl and mix until apples are evenly coated in yogurt. Top with a drizzle of peanut butter and chopped nuts or granola.

Notes

Nutrition info is calculated using 1 cup of plain unsweetened Greek yogurt, 1 teaspoon of honey, and 1/2 tablespoon of unsweetened peanut butter. Also, keep in mind that this recipe may seem high in sugar, but that is natural sugar from the apple.

Nutrition

Serving: 1serving | Calories: 260kcal | Carbohydrates: 39g | Protein: 20g | Fat: 4g | Fiber: 5.5g | Sugar: 22g

I take my snacks very seriously… arguable a little too seriously. I typically rotate between my protein cookies, healthy snickers rice cakes, and 6-ingredient protein muffins – and now I’ll add these chocolate shell yogurt cups to the lineup! What it comes down to for me is needing just a little something delicious to look forward to when that daily afternoon slump hits. A fun and delicious treat is usually just what I need to boost my mood and energy, and to get me through the rest of the day. These chocolate shell yogurt cups pack in a ton of nutrients from chia seeds, flax seeds, and fresh strawberries! They’re also insanely delicious and pretty much taste like dessert.

Why You’ll Love These Chocolate Shell Yogurt Cups

These chocolate shell yogurt cups are the perfect balance of creamy, crunchy, and healthy! Made with wholesome ingredients like yogurt, chia seeds, peanut butter, and a crisp dark chocolate shell, they’re great for breakfast, a midday snack, or a healthy dessert. With no baking required and only a few minutes of prep, this is an easy treat you’ll want to make on repeat!

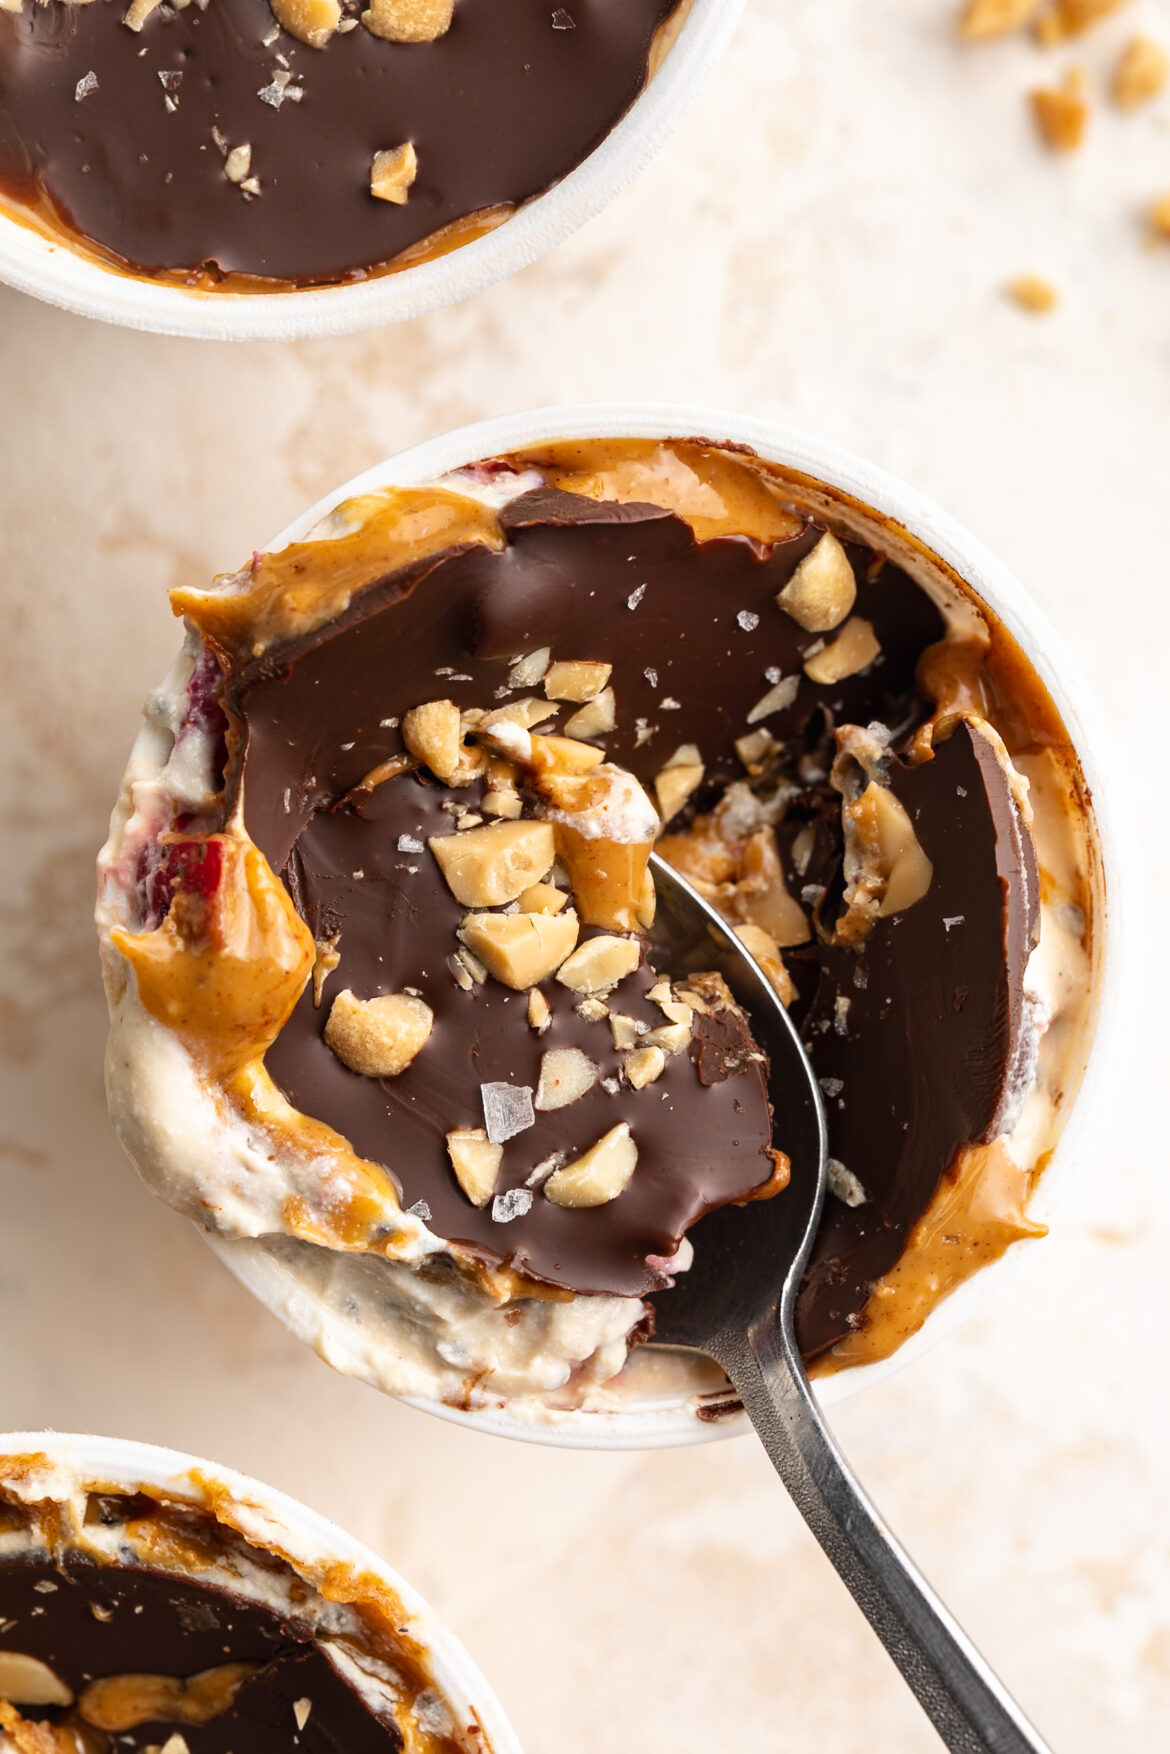
overhead image of three chocolate shell yogurt cups.

What Makes This Recipe Healthy?

These yogurt cups are packed with nutritious ingredients! Greek yogurt (or a dairy-free alternative) offers protein and gut-friendly probiotics, while chia seeds and flaxseed meal provide a boost of fiber and omega-3s. The chocolate shell is made with just two ingredients and gives the perfect sweet crunch without a ton of sugar.

Recipe Variations and Substitutions

  • Yogurt Options: Use any yogurt you love – plain, vanilla, Greek, or dairy-free options like almond or coconut yogurt all work well.
  • Nut-Free Version: Swap peanut butter for sunflower seed butter or tahini to make this completely nut-free.
  • Berry Swap: No strawberries? Try blueberries, raspberries, or sliced banana for a twist.
  • Add a Crunch: Sprinkle in crushed nuts or granola before pouring the chocolate shell on top for extra texture.
chocolate shell yogurt cups with peanuts and flaky salt on top.

Frequently Asked Questions

What kind of yogurt can I use?
You can use any yogurt you like! Greek yogurt adds extra protein, but dairy-free options like coconut or almond yogurt work great, too. I used Siggi’s plant-based protein yogurt cups and the texture is spot-on!

How long can I keep these yogurt cups in the fridge?
These are best enjoyed right after the chocolate sets, but you can store them in the fridge for up to 24 hours. The texture may soften slightly over time.

Can I make these nut-free?
Yes! Just swap the peanut butter for a nut-free alternative like sunflower seed butter or tahini.

overhead image of chocolate shell yogurt cup with chopped peanuts on top.
No ratings yet

Chocolate Shell Yogurt Cups (with protein + fiber!)

These chocolate shell yogurt cups are a healthy and delicious no-bake treat made with just 7 simple ingredients! Packed with protein, fiber, and healthy fats, they’re perfect for breakfast, a snack, or dessert. With a creamy yogurt base and crisp chocolate shell, this easy recipe is dairy-free optional and ready in minutes!
Print Pin Rate
Prep Time: 5 minutes
Chilling Time: 15 minutes
Total Time: 20 minutes
Servings: 1 serving

Ingredients

  • 1 5-ounce container yogurt
  • 1 tablespoon chia seeds
  • 1 teaspoon flaxseed meal
  • 1 strawberry chopped into small pieces
  • 1 tablespoon peanut butter
  • 2 tablespoons chocolate chips
  • 1/2 teaspoon coconut oil

Instructions

  • Remove the lid from the yogurt cup and mix the chia seeds and flaxseed meal into the yogurt.
  • Top the yogurt with the chopped strawberry pieces and peanut butter.
  • Melt together the chocolate chips and coconut oil until completely smooth, then pour the melted chocolate over the yogurt. Transfer the yogurt to the freezer for about 15 minutes or until the chocolate has hardened, then remove and enjoy!

Notes

Nutrition info was calculated using whole milk unsweetened Greek yogurt.

Nutrition

Serving: 1serving | Calories: 400kcal | Carbohydrates: 30g | Protein: 23.5g | Fat: 34g | Fiber: 11g | Sugar: 17g

I’m a chocolate girl through and through. I always opt for chocolatey treats like my healthy no-bake brownie balls or 3-ingredient healthy date caramel cups. And fudge? Well that’s one of my favorites! But with most fudge recipes, there are two things I don’t love – they pack in a TON of sugar, and they always requires some kind of heating/cooking on the stove. So this 2 ingredient fudge recipe not only contains a fraction of the sugar of regular fudge (making it a much healthier alternative), but there’s absolutely NO baking or cooking required. Simply melt chocolate chips in the microwave, stir in some Greek yogurt – and you’re good to go! This magic 2-ingredient fudge isn’t only healthy but super EASY to make too.

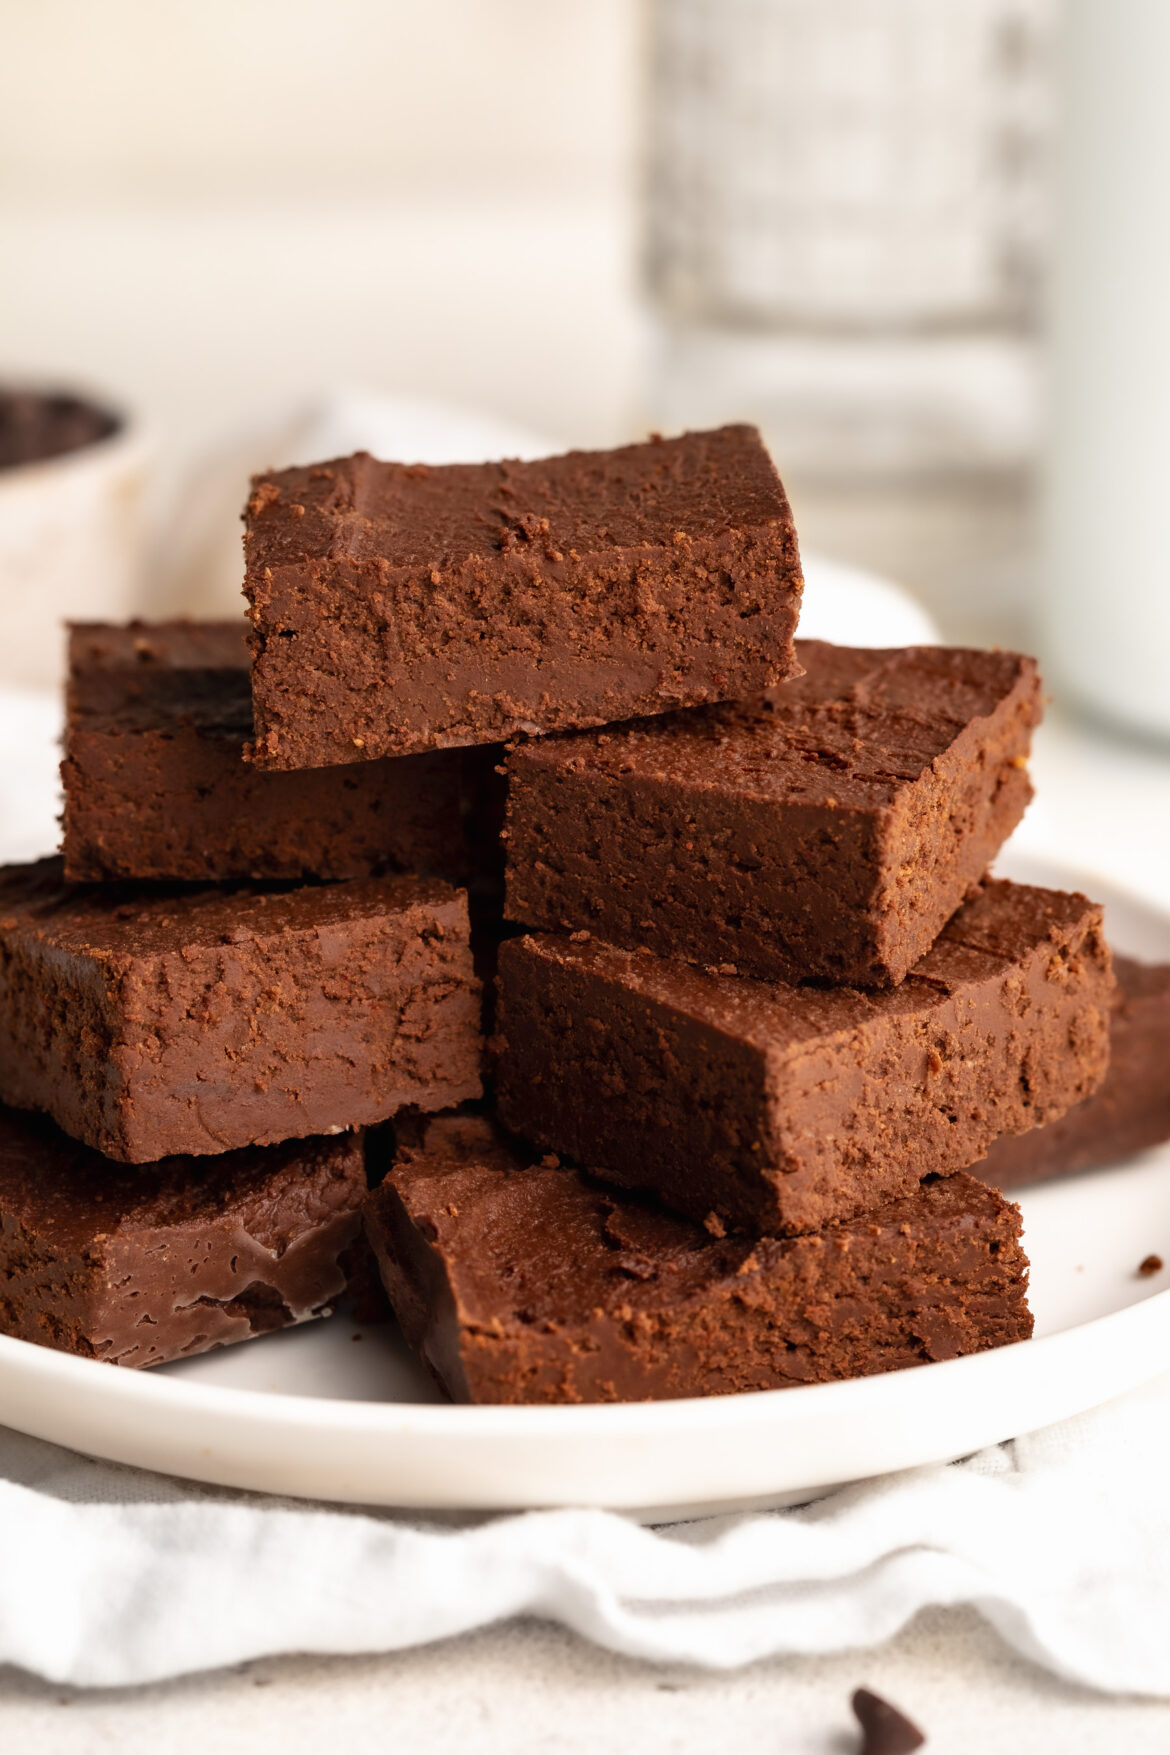
close up image of 2 ingredient healthy fudge on a plate.

Why You’ll Love This Recipe

  • Just two wholesome ingredients — no condensed milk or added sugar needed!
  • Naturally gluten-free and easy to make vegan or dairy-free with a simple swap.
  • No special equipment or candy thermometer required — just melt, mix, chill, and slice!

What You’ll Need to Make 2-Ingredient Healthy Fudge

Chocolate Chips
The rich base of this fudge. You can use dark, semi-sweet, or even sugar-free chocolate chips depending on your preference. For a vegan version, go with dairy-free chocolate like Enjoy Life or Hu Kitchen. I used the Just Dates date-sweetened chocolate chips to make my healthy fudge refined sugar-free!

Greek Yogurt
This is what makes the fudge creamy, thick, and slightly tangy — without any butter or condensed milk. It also sneaks in a bit of protein and gives the fudge a perfectly soft, chewy bite. For dairy-free, simply use a thick plant-based Greek-style yogurt like coconut or cashew-based yogurt.

2 ingredient healthy fudge stacked on a plate.

Can I Make This Fudge Dairy-Free?

Absolutely! Just use a dairy-free chocolate and a plant-based Greek-style yogurt. Look for yogurts that are thick and unsweetened, such as cashew or coconut-based ones, to keep the texture right. The flavor stays delicious, and it’s 100% vegan-friendly!

Sam’s Recipe Tips

  • Room temp yogurt is key. Cold yogurt will cause the melted chocolate to seize, making it grainy instead of smooth.
  • Use a small loaf pan. A 9×4 pan makes the perfect thickness for easy-to-slice fudge squares.
  • Flavor twist? Add a pinch of sea salt, cinnamon, or a few drops of peppermint extract to mix things up!
2 ingredient healthy fudge stacked on a plate.
5 from 1 vote

EASY Healthy Fudge (2 Ingredients!)

This easy 2-ingredient healthy fudge is rich, creamy, and made without condensed milk or added sugar! All you need is chocolate chips and Greek yogurt for a no-bake dessert that’s lower in sugar and naturally gluten-free. Customize it to be vegan or dairy-free and enjoy a quick, protein-packed sweet treat!
Print Pin Rate
Prep Time: 15 minutes
Total Time: 15 minutes
Servings: 12 servings

Equipment

  • 1 small bowl
  • 1 9×4-inch loaf pan

Ingredients

  • 1 1/4 cups chocolate chips I used date-sweetened chocolate chips
  • 3/4 cup Greek yogurt or plain unsweetened coconut yogurt to make it dairy-free/vegan

Instructions

  • Line a 9×4-inch loaf pan with parchment paper.
  • Measure out ¾ cup of Greek yogurt and let it sit at room temperature for about 10 minutes, or until it’s no longer cold.
  • Melt the chocolate chips in a bowl in either the microwave or over a double boiler or until completely smooth, then add in the room temp Greek yogurt. Mix quickly until the chocolate and yogurt are fully combined.
  • Transfer the chocolate mixture to your prepared loaf pan, spread it into an even layer, then transfer it to the fridge for at least 1 hour or until the fudge it firm. Once firm, remove the fudge from the fridge and cut it into small squares. Enjoy right away or store in the fridge for later!

Nutrition

Serving: 1serving | Calories: 100kcal | Carbohydrates: 12g | Protein: 2.5g | Fat: 6g | Sugar: 9g