Tag

avocado oil

Browsing

Perfectly crispy, yet healthy sweet potato fries! Four ingredients and 15 minutes is all it takes for this addictive appetizer or side dish. Don’t have an air fryer? No worries, I’ve included an oven-baked option that still yields incredibly crispy fries!
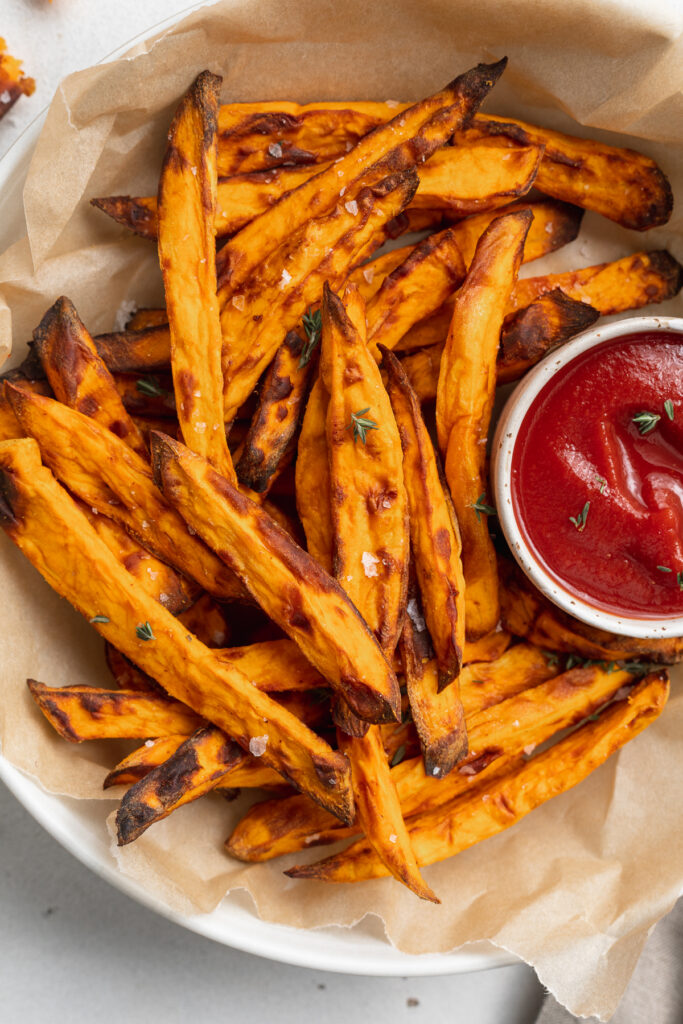
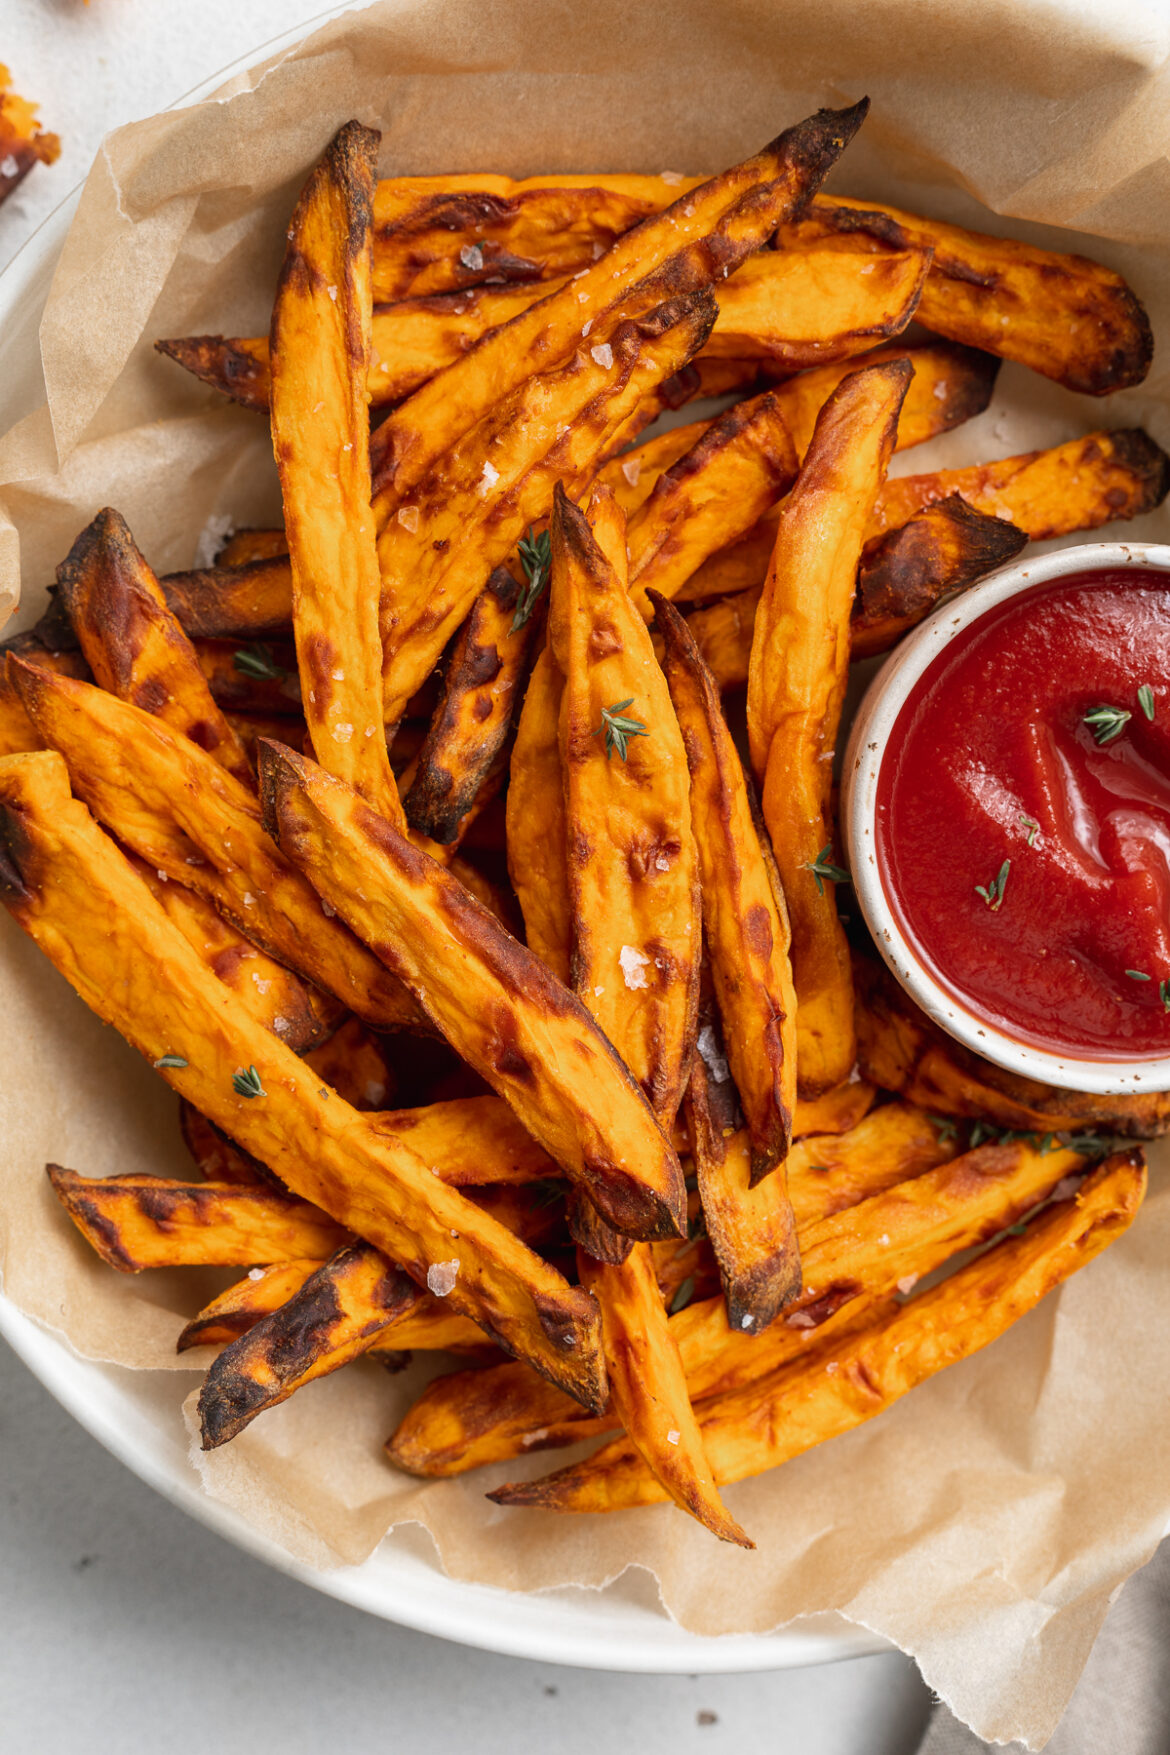
close-up overhead image of air fryer sweet potato fries on a plate with ketchup on the side

The air fryer is truly the kitchen device of the century (ok, well it’s right up there with the Instant Pot). I only just got my hands on about a year ago, and holy moly it changed the homemade fry game for me, forever. After quite a bit of research for the best air fryer out there, I eventually landed on the Cosori Pro Air Fryer. It’s fairly priced and works like a champ, can’t recommend it enough!

What You Need To Make Air Fryer Sweet Potato Fries

Sweet Potatoes – The star of our show! You can use any variety of sweet potatoes you’d like for this recipe. Just remember, peel them and then slice them into thin matchsticks. Thinner = crispier. And try your best to cut them as evenly as possible, so that they “fry” evenly.

Avocado Oil – My oil of choice, but you can use any oil you’d like here. Just one tablespoon is all you’ll need, that’s A LOT less oil than if you deep-fried these!

Salt – Duh! Salt is non-negotiable for fries of any kind. Though start small and add more salt once the fries are done. You can, of course, salt to your preference.

Garlic Powder – This is my little special touch. I love the extra flavor garlic powder gives these fries, and I promise you will too. Though if you’re not a garlic fan (how?!), then you can leave this ingredient out.
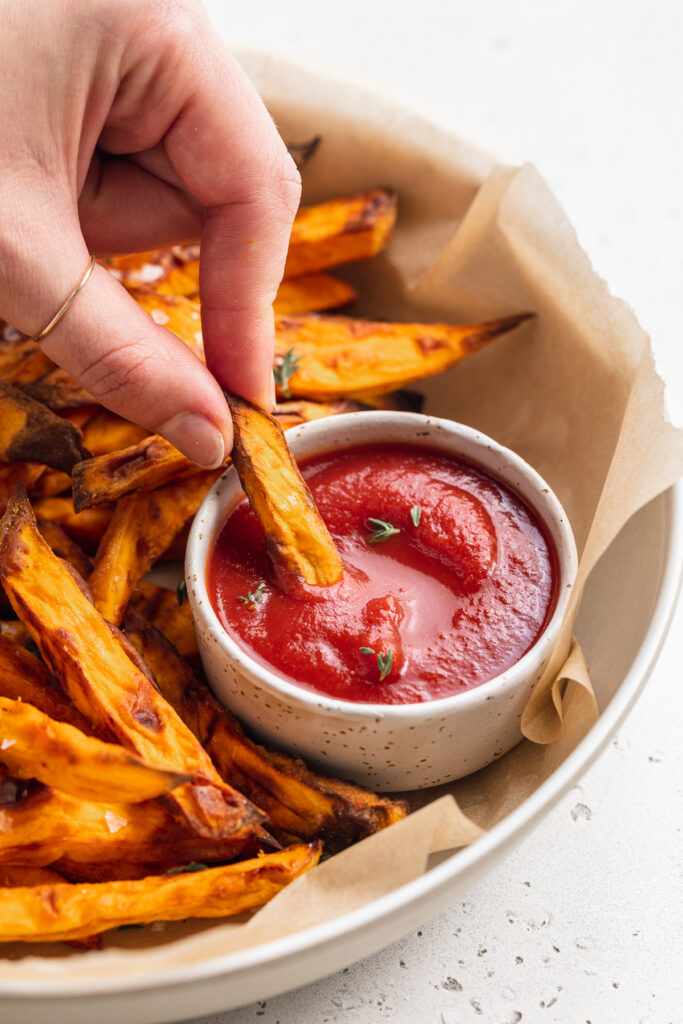
air fryer sweet potato fries being dipped into ketchup

Tips and Tricks

  • The secret to these crispy sweet potato fries is working in batches when you air fry them. Just a single layer at a time, avoiding cramming too many into the air fryer, will give you the crispiest non-deep-fried sweet potato fry of all time.
  • No air fryer? No problem! See below for an oven baked option.
  • If you’re looking for something to pair with these sweet potato fries, I can’t help but recommend these crispy air fryer buffalo chicken wings! The perfect healthy game-day, or any day, appetizer duo.

Air Fryer Sweet Potato Fries

0 from 0 votes
Recipe by Samantha Russo Course: SidesDifficulty: Easy
Servings

4

servings
Prep time

5

minutes
Cooking time

15

minutes
Total time

20

minutes

Perfectly crispy, yet healthy sweet potato fries! Four ingredients and 15 minutes is all it takes for this addictive appetizer or side dish. Don’t have an air fryer? No worries, I’ve included an oven-baked option that still yields incredibly crispy fries!

Ingredients

  • 2 large sweet potatoes, see Notes

  • 1 tablespoon avocado oil

  • 1 teaspoon salt

  • 1/2 teaspoon garlic powder

Directions

  • In the air fryer:
  • Preheat air fryer to 380° Fahrenheit. While the air fryer preheats, peel and slice sweet potatoes into 1/4-inch sticks.
  • Toss sweet potatoes in a bowl with olive oil, salt and garlic powder. Make sure each fry is evenly coated in oil and spices.
  • Transfer a third of the potatoes to the air fryer, then spread in an even layer and cook for 15 minutes. Pause air fryer to shake pan halfway through.
  • Remove fries and repeat for remaining batches.
  • In the oven:
  • Preheat oven to 425° Fahrenheit. While the air fryer preheats, peel and slice sweet potatoes into 1/4-inch sticks.
  • Toss sweet potatoes in a bowl with olive oil, salt and garlic powder. Make sure each fry is evenly coated in oil and spices.
  • Spread potatoes in an even layer on a large baking sheet – space fries about 1/8-inch apart.
  • Bake for 20 minutes, flipping halfway through.

Recipe Video

Notes

  • Sweet Potatoes: Use any variety of sweet potatoes you’d like, white sweet potatoes are my favorite!

Did you make this recipe?

Share it and tag @samdoesherbest on Instagram!

Like this recipe?

Follow us @samdoesherbest on Pinterest

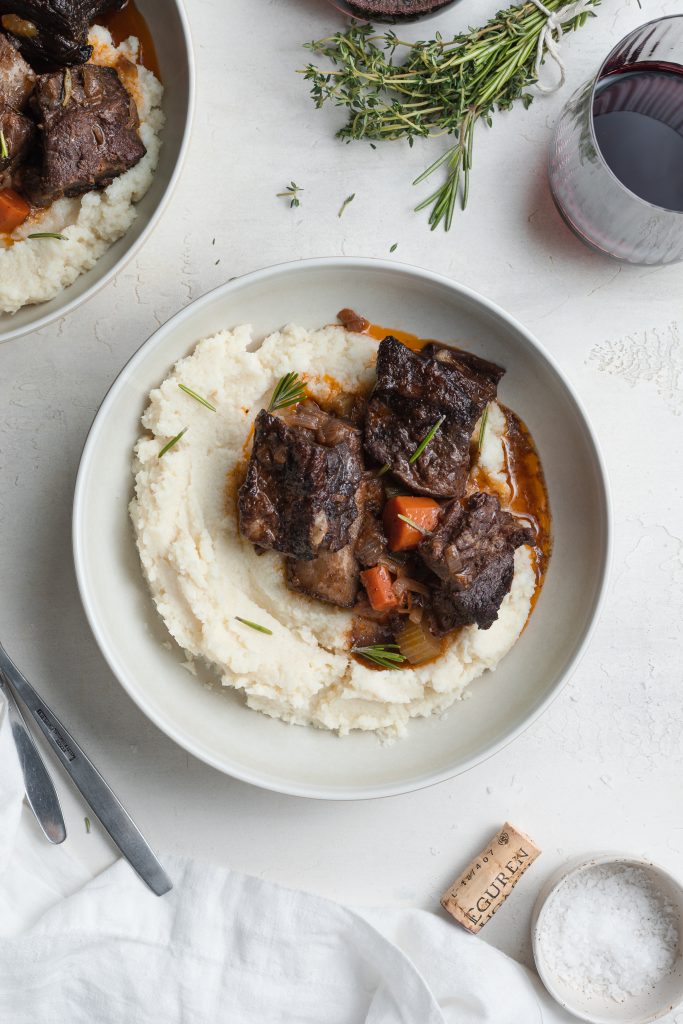
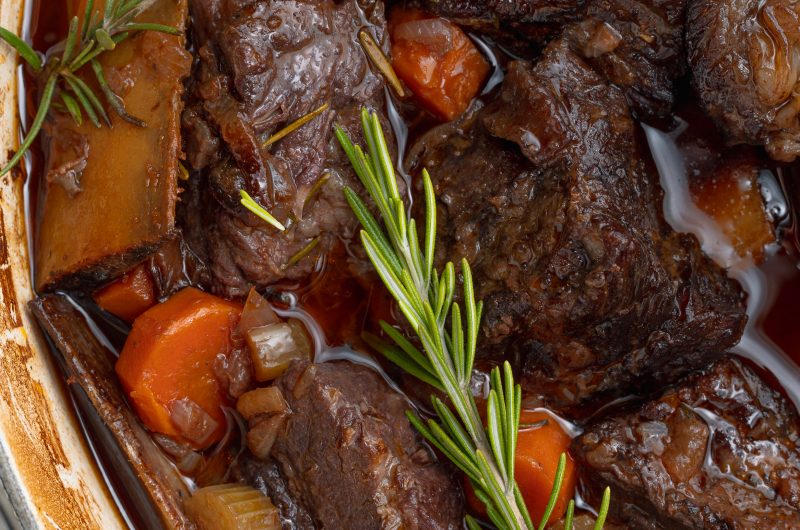
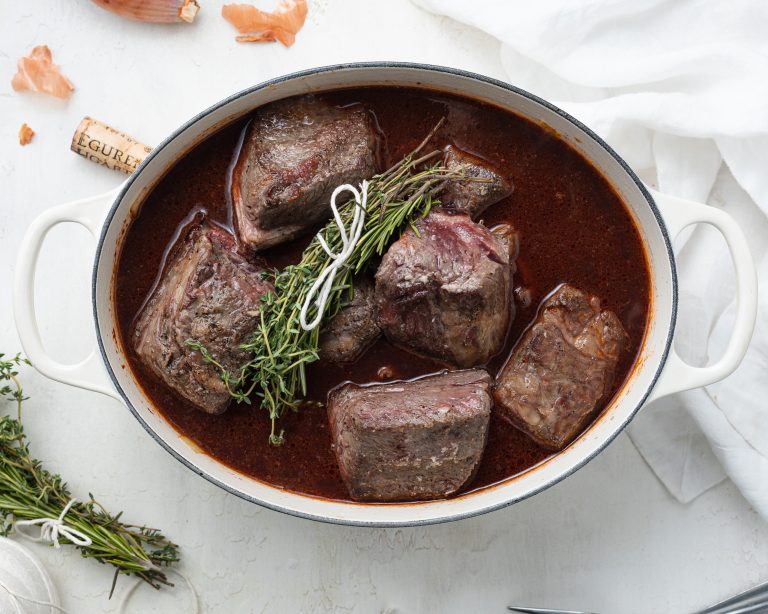
This Red Wine Braised Short Ribs with Cauliflower Mash Potatoes recipe is the ultimate comfort dish during the colder months and a great recipe to use around the holidays! It’s hearty and flavorful, made with Cauliflower instead of traditional Mash for less carbs, and packed with tons of veggies and delicious seasonings like thyme and rosemary.

Braised Short Ribs with Cauliflower Mash

Main Ingredients Needed

  • Bone-in Beef Short Ribs

  • Avocado Oil

  • Veggies – Onions, Carrots, Celery Stalks, Shallot

  • Tomato Paste

  • Red Wine

  • Beef or Chicken Broth

  • Fresh Thyme & Rosemary

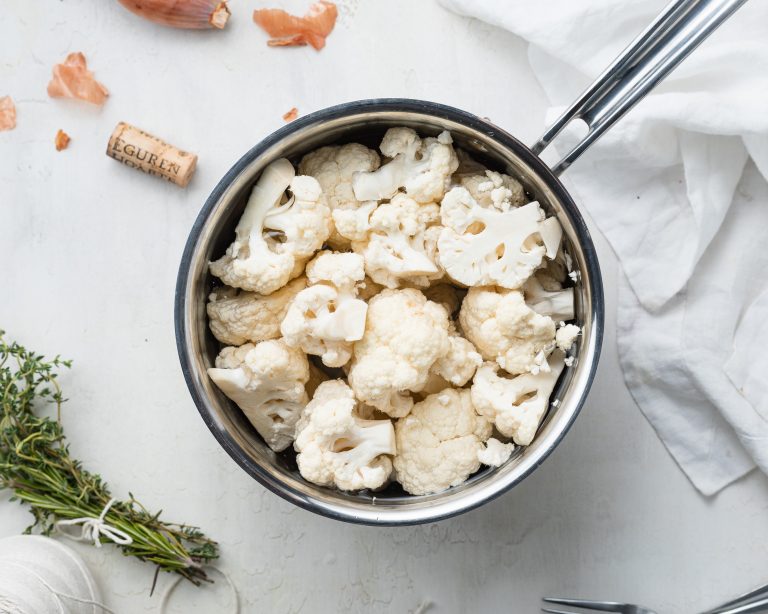
  • Head of Cauliflower – Cut into florets.

  • Butter – I used non-dairy.

  • Garlic Cloves

  • Milk – Any milk will work but I used almond milk.

  • Salt & Pepper – To taste.

Tips When Making Braised Short Ribs With Cauliflower Mash Potatoes

  • You can substitute red wine for the balsamic.

  • Save a little bit of time on your chopping by buying cauliflower florets instead of a head of cauliflower.

Red Wine Braised Short Ribs with Cauliflower Mash

5 from 1 vote
Recipe by Samantha Course: MainDifficulty: Medium
Servings

4

servings
Prep time

15

minutes
Cooking time

2

hours 

10

minutes
Total time

2

hours 

25

minutes

This Red Wine Braised Short Ribs with Cauliflower Mash Potatoes recipe is hearty and flavorful and packed with tons of veggies and delicious seasonings like thyme and rosemary.

Ingredients

  • For the short ribs:
  • 3-5 Lbs Bone-In Beef Short Ribs

  • Salt & Pepper (to taste)

  • 3 Tablespoons Avocado Oil

  • 1 Onion (chopped)

  • 3 Carrots (chopped)

  • 2 Celery Stalks (chopped)

  • 1 Shallot (peeled & chopped)

  • 2 Tablespoons Tomato Paste

  • 2 Cups Red Wine

  • 1 Cup Beef or Chicken Broth

  • 1 Bunch Fresh Thyme

  • 3 Sprigs Fresh Rosemary

  • For the cauliflower mash:
  • 1 Head Cauliflower (cut into florets)

  • 3 Tablespoons Butter (dairy or non-dairy)

  • 6 Garlic Cloves (roughly chopped)

  • 2 Shallots (roughly chopped)

  • 1 Tablespoon Milk (dairy or non-dairy)

  • Salt & Pepper (to taste)

Directions

  • Preheat oven to 350° Fahrenheit.
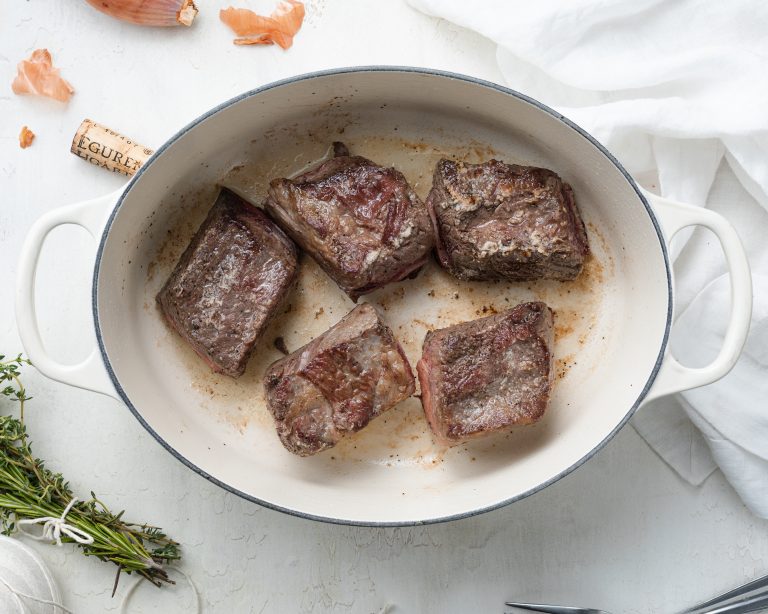
  • Season all sides of short ribs with a generous pinch of salt and black pepper. Heat avocado oil in a large pot over medium-high heat, then brown short ribs in oil, rotating to evenly brown on all sides. 
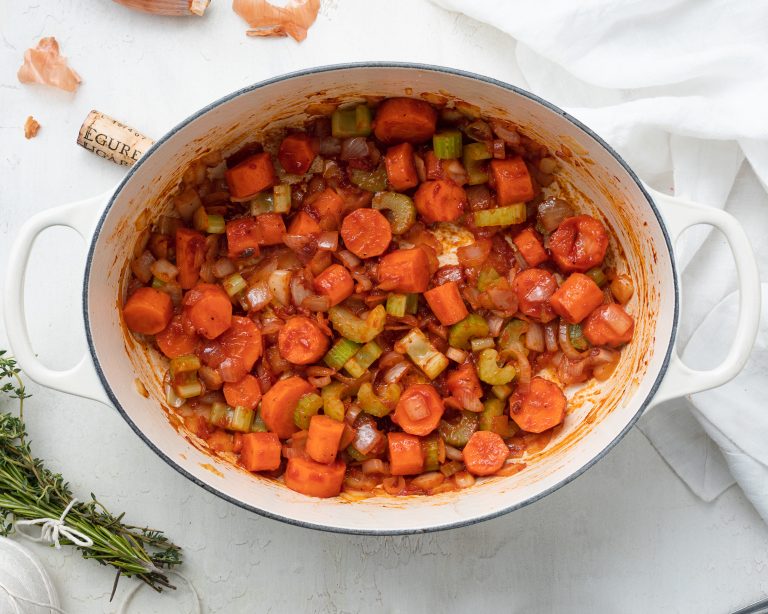
  • Remove short ribs from pot then add in onion, carrot, celery, and shallot. Cook until soft, about 5 minutes, then stir in tomato paste and cook for another 2-3 minutes.
  • Place short ribs back into pot, along with any juices that have been released from the meat. Add in red wine, beef or chicken broth, fresh thyme, and fresh rosemary.
  • Bring everything to a boil, then cover pot with lid, and transfer it into preheated oven. Cook for about 2 hours or until short ribs are super tender.
  • While short ribs cook, make the cauliflower mash by boiling cauliflower florets in a large pot of salted boiling water until tender, about 10 minutes. Strain cauliflower then set aside to cool slightly before pureeing. 
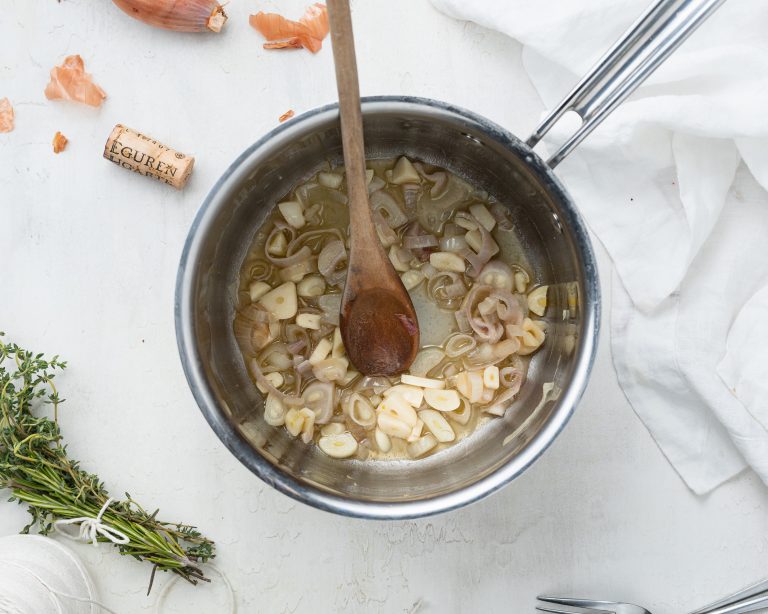
  • While cauliflower cools, melt butter in the same pot over medium-low and add in garlic, cook for about 2 minutes or until fragrant.
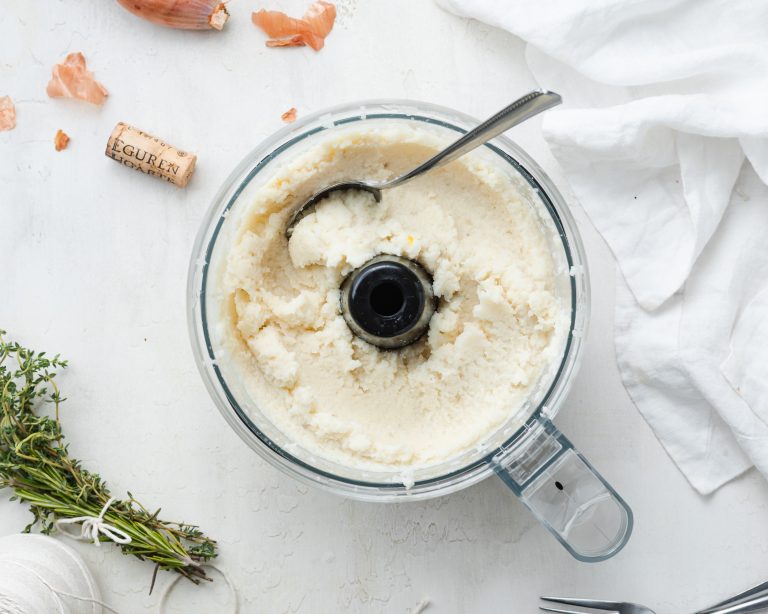
  • Transfer cooled cauliflower, sautéed garlic, milk, salt, and black pepper to a food processor or high-speed blender. Pulse cauliflower until smooth, then scoop onto plates, and serve with braised short ribs on top.

Did you make this recipe?

Share it and tag @samdoesherbest on Instagram!

Like this recipe?

Follow us @samdoesherbest on Pinterest

More Healthy & Hearty Recipes

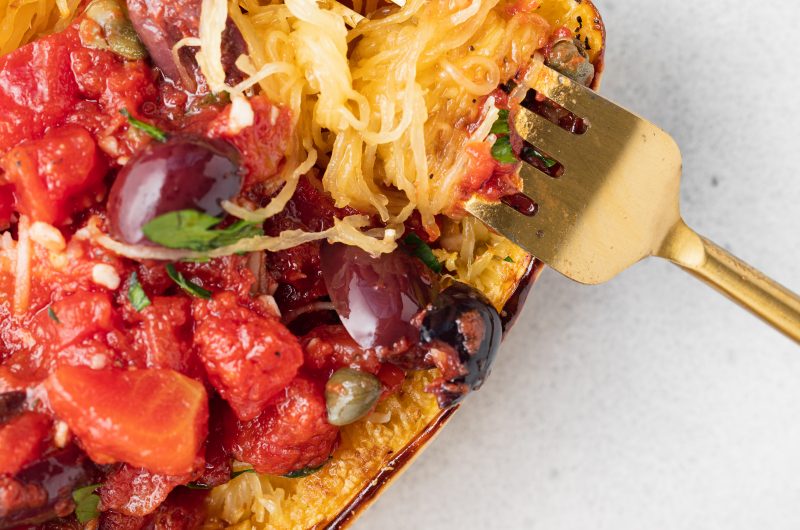
Spaghetti Squash Alla Puttanesca is a rich, robust vegan meal that is low in carbs and gluten-free!  Made with lots of garlic, tomatoes, olives, and capers, this is a simple and easy dinner that is healthy and delicious!

This vegan and gluten-free Spaghetti Squash Alla Puttanesca recipe is a lighter pasta dish that calls for mostly basic pantry ingredients. We can all use a few more of those recipes, right? Keep in mind that this dish relies on some very briny ingredients for flavor, so if you aren’t a fan of olives and capers, this one is probably not for you. (more pasta recipes here, though).

WHAT YOU NEED TO MAKE SPAGHETTI SQUASH ALLA PUTTANESCA

Spaghetti Squash – This is a fantastic substitute for pasta. It’s easy to cook, lower in carbs and calories, and high in fiber and other important nutrients.

Tomatoes –  Diced tomatoes in puree is best since they have a lot more flavor!

Capers – These green, pea-sized balls are actually pickled flower buds and they add a floral, tangy, and salty flavor to dishes.

Olives – Specifically Kalamata olives because it also adds a strong, tangy flavor to the dish.

Fresh Parsley or Basil – This comes down to personal preference. Pick whichever herb you like best, and add it to your recipe.

ADJUST THIS RECIPE TO YOUR DIET

  • Add vegan protein: add in some sautéed mushrooms, pan-fried tofu, or white beans.

  • Add meat: mix a pound of cooked ground turkey into the sauce before filling the squash.

  • Sprinkle on some cheese: If not dairy-free, add in any cheese you’d like to this recipe.

Vegan Spaghetti Squash Alla Puttanesca (Gluten-Free)

0 from 0 votes
Recipe by Samantha Course: Dinner, LunchCuisine: ItalianDifficulty: Medium
Servings

4

servings
Prep time

15

minutes
Cooking time

40

minutes
Calories

300

kcal
Total time

55

minutes

Spaghetti Squash Alla Puttanesca is a rich, robust vegan meal that is low in carbs and gluten-free!  Made with lots of garlic, tomatoes, olives, and capers, this is a simple and easy dinner that is healthy and delicious!

Ingredients

  • 1 spaghetti squash

  • 2 tablespoons avocado oil

  • Salt, to taste

  • Black pepper, to taste

  • For the sauce:
  • ¼ cup olive oil

  • 4 garlic cloves, minced

  • ½ teaspoon red pepper flakes

  • ½ cup kalamata olives, pitted and halved

  • 2 tablespoons capers

  • 1 teaspoon caper brine*

  • 1 (28-ounce) can diced tomatoes (see notes)

  • ½ teaspoon salt

  • ¼ teaspoon black pepper

  • Fresh chopped parsley, for serving

Directions

  • Preheat oven to 400° Fahrenheit.
  • Slice spaghetti squash in half then scoop the seeds out. Drizzle the inside flesh with avocado oil then sprinkle with salt and pepper.
  • Transfer spaghetti squash to a baking sheet with the flesh-side facing down and roast for 30-40 minutes or until fork tender. 
  • While the squash cooks, heat olive oil in a large skillet over medium heat. Then add in the garlic and red pepper flakes, cook for about 1 minute or until fragrant.
  • Add in the olives, capers, and caper brine then stir and cook for about 2-3 minutes.
  • Pour in the can diced tomatoes, salt, and black pepper before leaving the sauce to simmer for 15 minutes. Taste and adjust any seasoning as desired.
  • Once squash is done, remove from the oven and let cool slightly before using a fork to scrape and fluff the inside strands. Fill each squash with puttanesca sauce and top with fresh chopped parsley.

Recipe Video

Notes

  • *Caper brine = liquid from the jar of capers
  • Diced tomatoes in puree is best since it adds a lot more flavor.
  • Storage: you can store this cooked dish in an airtight container for 3 to 5 days.

Did you make this recipe?

Share it and tag @samdoesherbest on Instagram!

Like this recipe?

Follow us @samdoesherbest on Pinterest

MORE HEALTHY PASTA RECIPES

If your only experience with fried rice is Chinese take-out, you’ll love this fresher-tasting, gluten-free version.

One of my favorite parts of hibachi is the fried rice! Whether you want it as a full meal or a side dish, you can’t go wrong with this hibachi fried rice recipe. Made with gluten-free soy sauce, and full of good-for-you vegetables, it is quick and easy to make, and is sure to be a big hit.

What You Need To Make Hibachi Fried Rice

  • Rice – Jasmine, calrose, short-grain rice, and long-grain rice are some of my favs to use when cooking hibachi fried rice. 
  • Vegetables – I’ve used onions, corn and carrots, but you can also add in other veggies of your choice. If all you have is a bag of frozen vegetables, that’ll work just fine!
  • Grated Ginger – Just two teaspoons of fresh grated ginger goes a long way in making this hibachi fried rice. The next time you’re at the store, pick up a knob of fresh ginger in the produce section. Once home, store it in the freezer to make it last longer.
  • Soy Sauce & Toasted Sesame Oil – Along with the delicious taste, soy sauce also adds a nice brown color in the recipe.  Although optional, the toasted sesame oil brings tons of nutty flavor to this hibachi fried rice.
  • Avocado oil – When compared to traditional olive oil used in a lot of recipes, avocado oil will perform better when heated to high temperatures.

Adjust This Hibachi Fried Rice Recipe To Your Diet

  • Make it Vegan: Use vegan butter and omit the egg.
  • Make it Grain-Free: Substitute the rice for some cauliflower rice (the dish won’t get as crispy and “fried,” but will still taste delicious!)
  • Make it Paleo: Use cauliflower rice, coconut aminos instead of soy sauce, and avocado oil instead of butter.

Tips For Making Hibachi Fried Rice

  • Use rice you’ve made ahead of time instead of freshly cooked rice. Freshly cooked rice tends to clump together and does not crisp up as easily.
  • For more protein, add some cooked shrimp or cubes of tofu!
  • Consider varying the veggies like snow peas, broccoli florets and chopped zucchini for delicious additions.

Hibachi Fried Rice Recipe (Gluten-Free, Dairy-Free, Vegan Option)

3 from 11 votes
Recipe by Samantha Course: Main, SidesCuisine: AsianDifficulty: Easy
Servings

4

servings
Prep time

5

minutes
Cooking time

10

minutes
Total time

15

minutes

One of my favorite parts of hibachi is the fried rice! Whether you want it as a full meal or a side dish, you can’t go wrong with this hibachi fried rice recipe. Made with gluten-free soy sauce, ginger and full of good-for-you vegetables, it is quick and easy to make, and is sure to be a big hit.

Ingredients

  • 2 tablespoons avocado oil

  • ½ onion, chopped

  • 1 cup frozen mixed vegetables

  • 2 teaspoons grated ginger

  • 2 eggs, whisked

  • 2 tablespoons butter, I used non-dairy butter

  • 3 cups cooked rice, cooled

  • 3 tablespoons soy sauce

  • 1 teaspoon toasted sesame oil, optional

Directions

  • Heat avocado oil in a large skillet over medium-high heat, add in onion, frozen vegetables, and ginger – sauté for 2-3 minutes.
  • Move vegetables to the side of the skillet and pour whisked eggs into the center. Scramble eggs in pan until fully cooked, then toss with the veggies.
  • Add in the rice and butter, cook for 5 minutes stirring every 30 seconds.
  • Pour in soy sauce and sesame oil, toss to coat rice in sauce then pack into bowls and serve.

Recipe Video

Notes

  • Serve it with Gluten-Free Dumplings for an Asian-inspired meal.
  • Store it away: divide this recipe into meal prep containers to grab-and-go throughout the week or refrigerate it in one big container to reheat for dinner.

Did you make this recipe?

Share it and tag @samdoesherbest on Instagram!

Like this recipe?

Follow us @samdoesherbest on Pinterest

Other Recipes You’ll Love

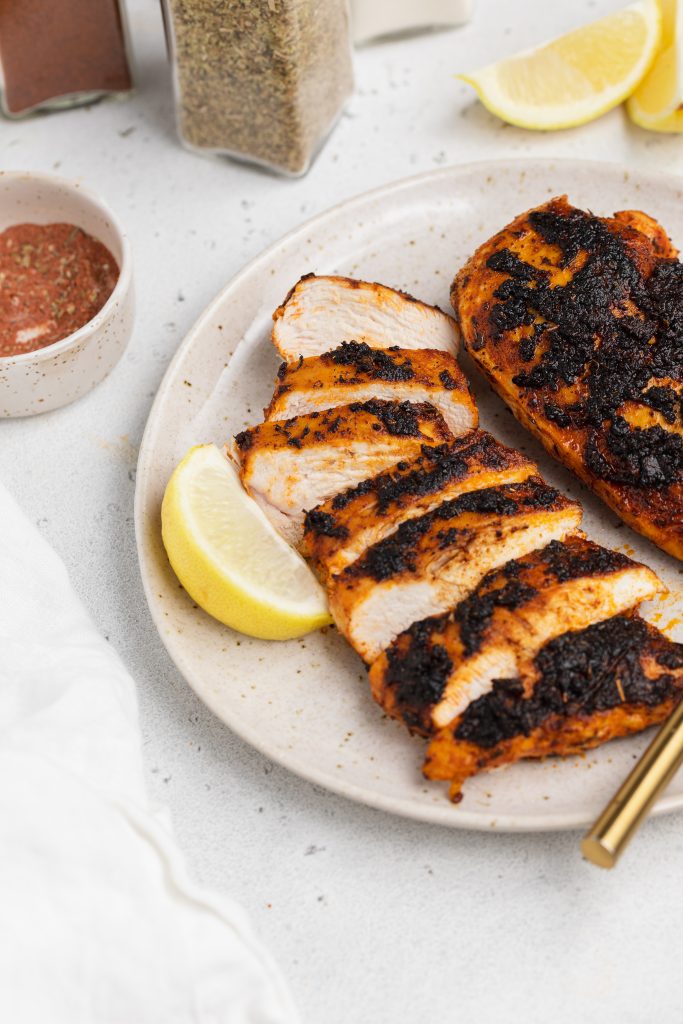
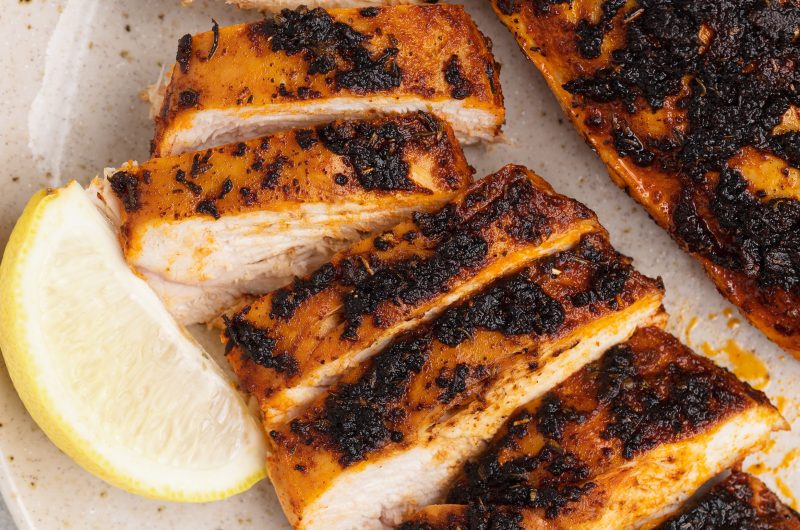
This blackened chicken is incredibly tender and juicy! With a handful of delicious spices, and just one pan, you’ll have an intensely flavorful protein. Enjoy this blackened chicken over a salad, with your favorite veggies, or whatever your heart desires for a quick and healthy meal!

blackened chicken on a plate with lemon wedges on the side and blackened seasoning on the side

What You Need To Make Blackened Chicken

Smoked Paprika – The main spice in our blackened seasoning is the incredible smoked paprika! Unlike regular paprika, smoked paprika has this irresistible smoky flavor that simply can’t be beat. If you don’t already have this delicious spice in your spice cabinet, then I highly recommend you buy some.

Cayenne Pepper – The amount of cayenne pepper you use in this blackened chicken recipe is entirely up to you and your spice preferences. I personally love a bit of spice, so I use almost 1/4 teaspoon in my seasoning. However, if you’re averse to spice, you can simply leave the cayenne pepper out altogether.

Chicken Breasts – Boneless and skinless chicken breasts are the way to go! Without the skin, the spices can better penetrate into the meat. This makes your chicken that much more delicious. And as far as boneless goes, it’s easier to eat – a no brainer if you ask me!

Adjust This Recipe To Your Diet

  • Make it Less Spicy: If you don’t like spice, simply omit the cayenne pepper in this blackened chicken recipe.
  • Make it Vegan: Turn this into a blackened tofu recipe by taking a block of tofu, pressing as much water out of it as possible, then slicing it down the center to create two tofu “steaks.” Then, season the tofu exactly how you would the chicken and cook for 3-5 minutes per side!

Tips For Making Blackened Chicken

  • Cook over medium-high heat, nothing lower! The key to blackened chicken is placing the seasoned breasts into a very hot pan. Then, do not touch the chicken until it’s ready to be flipped. This way, the crust will cook up super crispy and delicious!
  • Don’t forget to let your chicken rest after cooking. Once out of the pan, your chicken is holding on to a ton of its flavorful juices. Therefore, if you slice into it too soon, you risk having all that flavor pour out. So do yourself a favor and leave the chicken alone for at least 5 minutes!
  • Serve this chicken however you’d like! I enjoyed mine over a salad loaded with my favorite fresh vegetables. However, for a heartier meal, I recommend pairing this blackened chicken with a side of rice and/or roasted potatoes – yum!

Blackened Chicken (Gluten-Free, Dairy-Free)

0 from 0 votes
Recipe by Samantha Russo Course: MainDifficulty: Easy
Servings

2

servings
Prep time

5

minutes
Cooking time

10

minutes
Total time

15

minutes

This blackened chicken is incredibly tender and juicy! With a handful of delicious spices, and just one skillet, you’ll have an intensely flavorful protein. Enjoy this blackened chicken over a salad, with your favorite veggies, or whatever your heart desires for a quick and healthy meal!

Ingredients

  • 3 teaspoons smoked paprika

  • 1/2 teaspoon onion powder

  • 1 teaspoon salt

  • 1/2 teaspoon garlic powder

  • 1/2 teaspoon dried thyme

  • 1/2 teaspoon dried oregano

  • 1/4 teaspoon black pepper

  • pinch of cayenne pepper, optional

  • 2 boneless skinless chicken breasts

  • spray cooking oil

  • 2 tablespoons avocado oil

Directions

  • Mix together the smoked paprika, onion powder, salt, garlic powder, dried thyme, dried oregano, black pepper, and cayenne pepper in a small bowl.
  • Coat both chicken breasts with either spray cooking oil or a drizzle of avocado oil, then sprinkle evenly with blackened seasoning.
  • Heat avocado oil in a large skillet over medium-high heat, then transfer chicken to skillet and cook for 5 minutes per side, or until cooked through. Remove chicken from heat, transfer to a plate, and cover with foil then let rest for 5-10 minutes before serving.

Recipe Video

Notes

  • This blackened chicken recipe can be easily doubles or even tripled! Making it the perfect and healthy meal to throw together for friends or family.

Did you make this recipe?

Share it and tag @samdoesherbest on Instagram!

Like this recipe?

Follow us @samdoesherbest on Pinterest

Other One-Pan Recipes You’ll Love