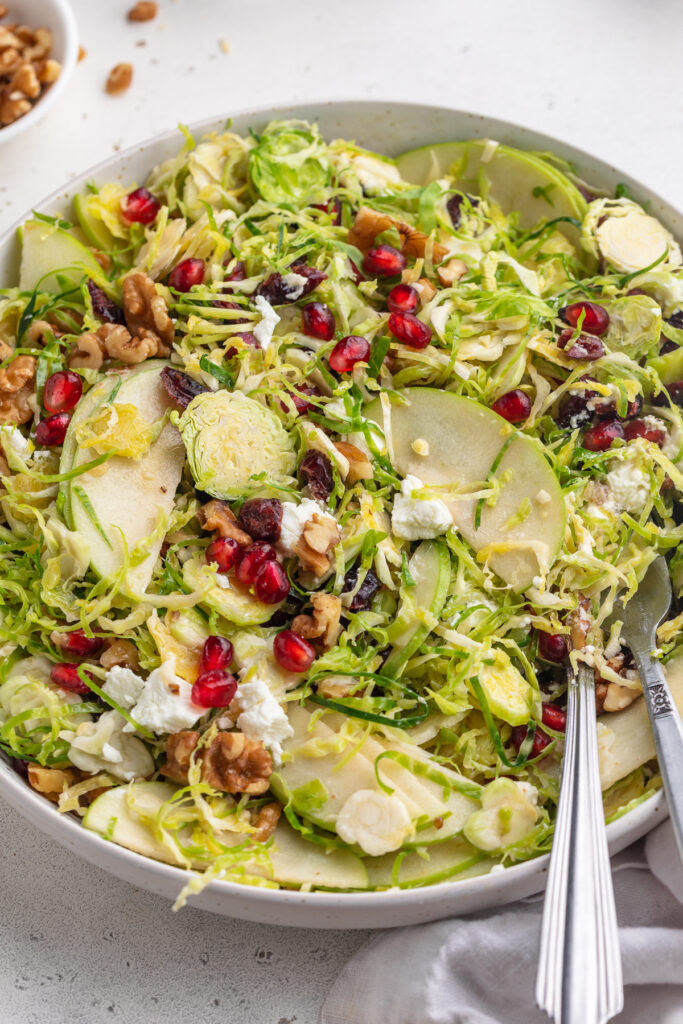
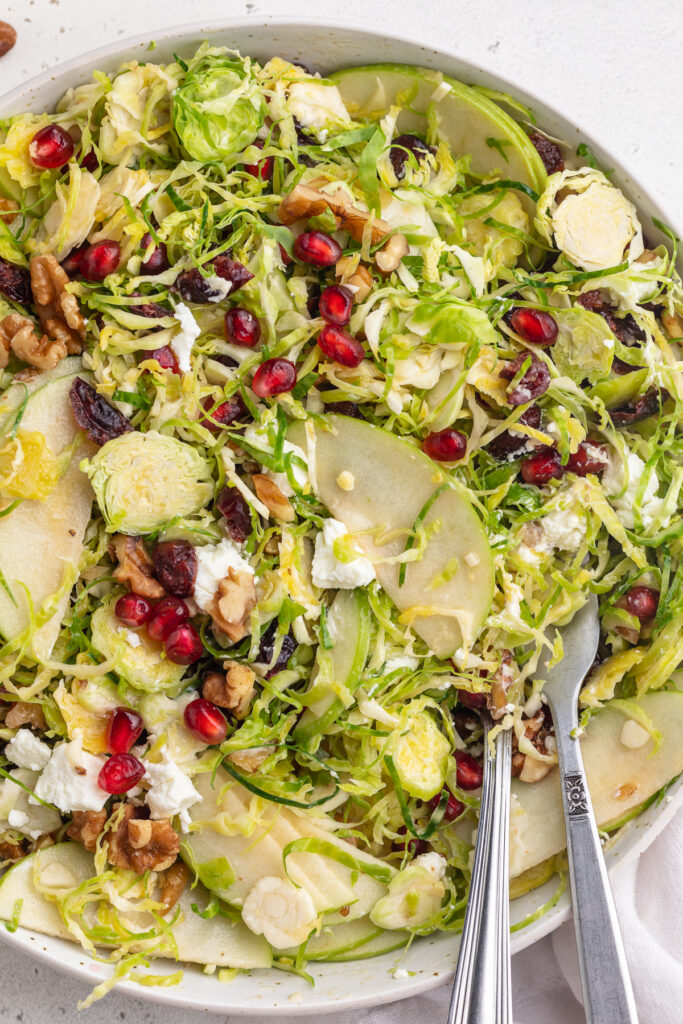
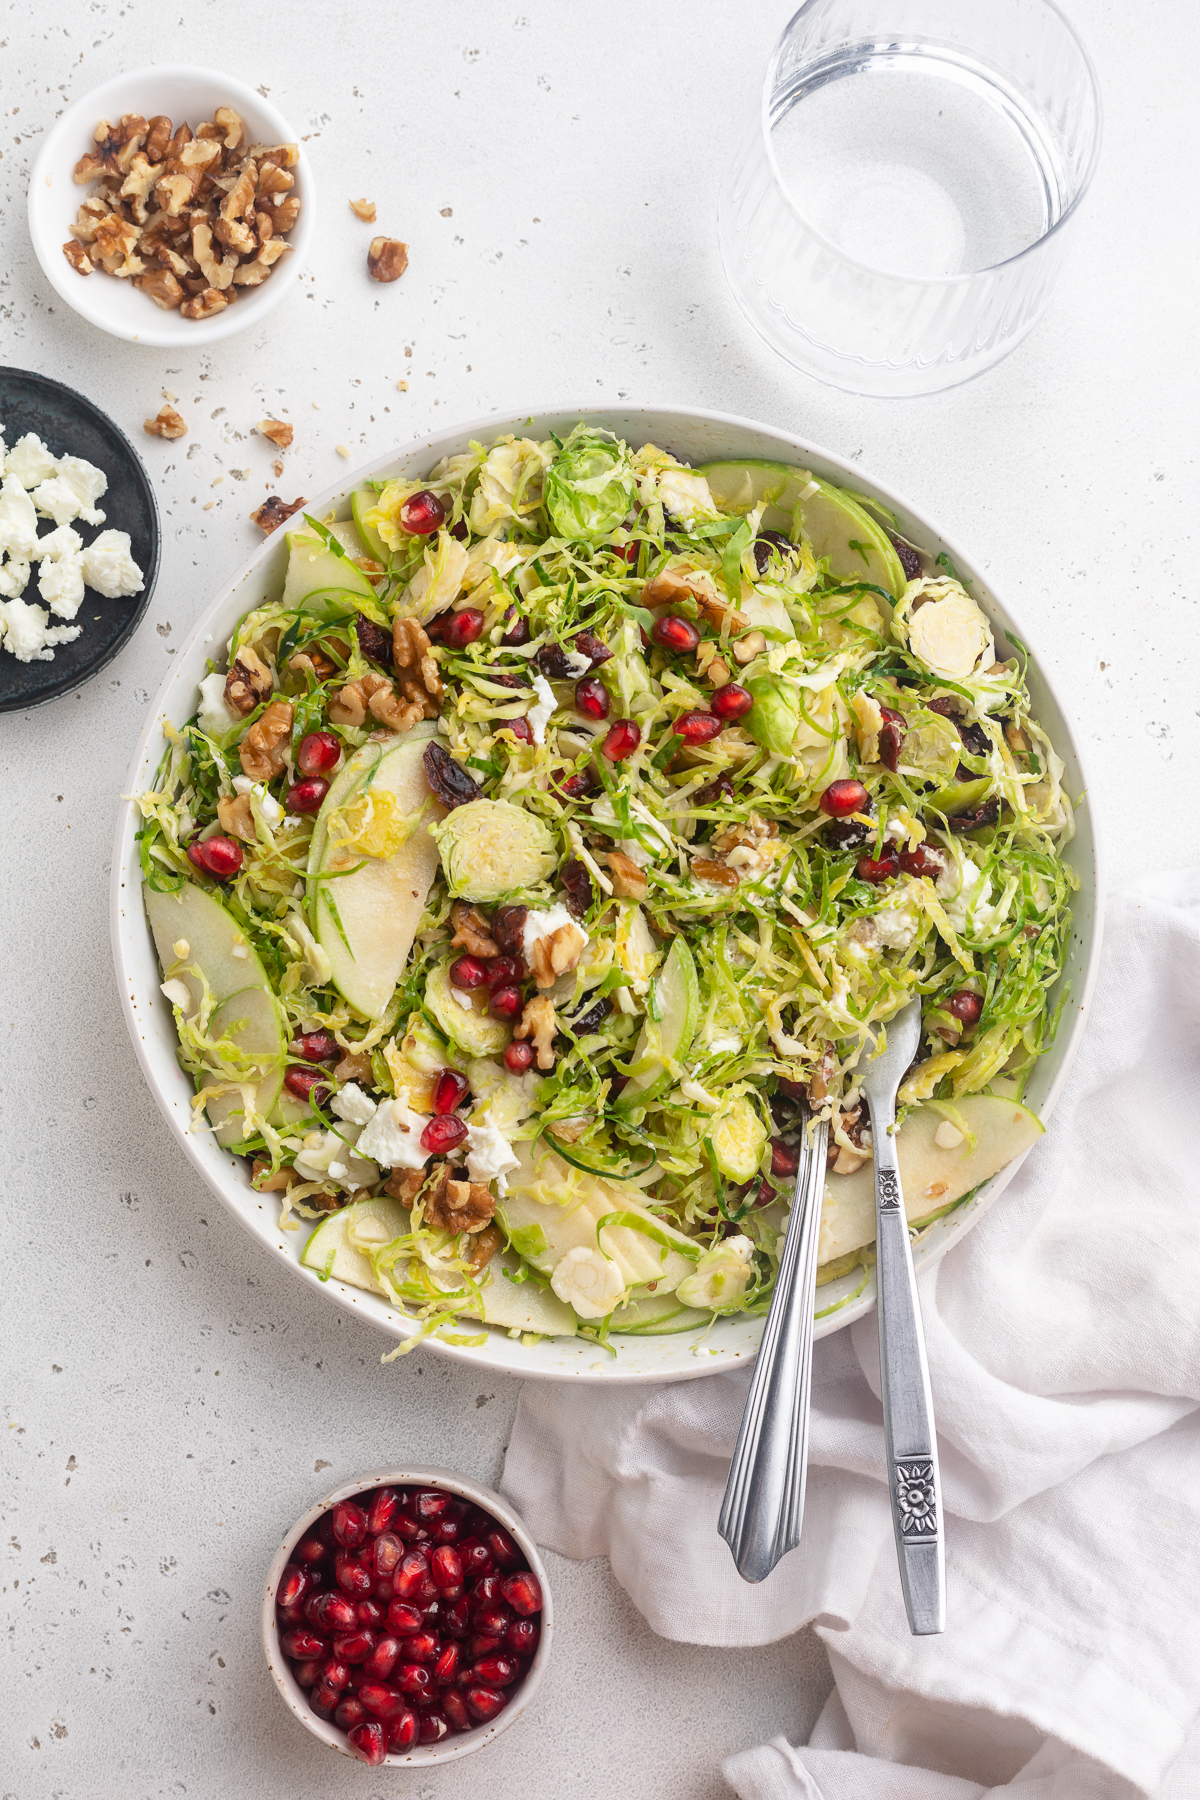
Fresh and crunchy shaved Brussels sprout salad, finished off with an out-of-this-world maple dijon dressing! A quick and easy side dish, comes together in just 10 minutes. A gluten-free salad, with nut-free and vegan options!
What You’ll Need to Make Brussels Sprout Salad
Brussels Sprouts – You can either buy shaved Brussels sprouts, or shave them yourself with a mandoline or sharp knife. If using a mandoline, cut off the the stem end of each sprout, then run the sprout down the mandoline to thinly slice. Or, if using a knife, remove the stem end then place the sprout on its side on a cutting board, then make thin slices through the sprout. Once shaved, your sprouts are ready to add to this delicious salad!
Pomegranate Arils/Seeds – First thing I want to note is that pomegranate arils are the exact same thing as pomegranate seeds. When buying your pomegranate for this salad, you have two options, you can either purchase the seeds out of the pomegranate, or you can purchase a whole pomegranate and remove the seeds yourself. I always opt for the latter option because it’s so much cheaper, and super easy to do! For help on how to cut a pomegranate, check out my step-by-step tutorial HERE.
Walnuts – Chopped walnuts add the perfect crunch to this recipe! Walnuts are creamy and buttery, and simply so good in this salad. However, if you don’t have walnuts, feel free to use any nut you have on-hand! Others I recommend are pine nuts, chopped pecans, or even unsalted pumpkin seeds.
Soft Cheese – Any soft cheese will taste great in this Brussels sprout salad! I used a soft chèvre goat cheese, and it was perfectly tangy and delicious. Though crumbled feta, blue cheese, or even freshly grated parmesan cheese work perfectly too.

Tips and Tricks
- This is the perfect make-ahead side dish for holiday parties or potlucks! The flavors get better with time, so go ahead and dress the salad then let it sit in the fridge until ready to serve. I just wouldn’t recommend letting it sit for more than 4 hours before eating, at that point, it’ll begin to lose its crunch.
- Have fun with this recipe! Don’t be shy, switch up ingredients based on your preferences. Sub pears for the apples, blueberries for the pomegranate, and use any kind of cheese you’d like!
Adjust This Recipe to Your Dietary Needs
Make it Vegan: For a vegan Brussels sprout salad, either replace the cheese with your favorite vegan soft “cheese,” or leave the cheese out altogether, it’ll still be delicious and full of flavor!
Make it Nut-Free: Simply leave out the walnuts, or replace them with unsalted pumpkin or sunflower seeds.
Add Protein: Take this from a side dish to the main course by adding some lightly seasoned chicken (grilled or oven-roasted is best), or bulk it up with a can of your favorite white beans!
Brussels Sprout Salad
Ingredients
For the salad:
- 4 cups thinly sliced Brussels sprouts
- 1 apple, thinly sliced
- 1/2 cup pomegranate arils (seeds)
- 1/3 cup walnuts, roughly chopped (pecans or pine nuts work too!)
- 1/4 cup dried cranberries
- 1/4 cup soft cheese, crumbled (goat cheese, feta, gorgonzola, etc)
For the dressing:
- 1/3 cup olive oil
- 2 tablespoons apple cider vinegar
- 1 tablespoon Dijon mustard
- 1 tablespoon maple syrup
- 1 garlic clove, minced
- 1/2 teaspoon salt
Instructions
- Add all salad ingredients to a large bowl and toss.
- Add all dressing ingredients to a small bowl and whisk to combine.
- Pour dressing over salad, then either let sit in fridge for up to 3 hours, or serve immediately.
")