Tag

gluten-free

Browsing

Pregnancy cravings are something I take very seriously. And this week’s cravings?? Cheez its! Or really just anything with cheese – ha! (I’ve also been obsessed with my 3-ingredient gluten free bagel bites slathered with tons of cream cheese – YUM!) Though because classic Cheeze-Its are not gluten-free, I decided to make this entirely gluten-free version with just 3 ingredients. They’re crispy, salty, extra cheesy, and honestly much better than the real thing.

overhead image of a bowl of gluten free cheez its crackers.

Why You’ll Love These Gluten-Free Cheez-Its

  • Simple Ingredients: Only three main ingredients needed!
  • Gluten-Free Goodness: Perfect for those with gluten sensitivities, or looking for a healthier version of their favorite cracker.
  • Deliciously Cheesy: These gluten free cheez its are packed with REAL cheddar cheese, for even better flavor!

Frequently Asked Questions

Are Cheez-Its gluten-free?

Traditional Cheez-Its contain wheat and are not gluten-free. This homemade version uses gluten-free flour, making them suitable for those avoiding gluten.​

Do I need to use a food processor?

While a food processor makes the process easier, you can also use a pastry cutter, a fork, or your hands to combine the ingredients.​

How do I store these gluten-free crackers?

Store the cooled crackers in an airtight container at room temperature for up to a week.​

Can I make these dairy-free?

Yes, you can substitute the cheddar cheese with a dairy-free cheese alternative and use plant-based butter. Keep in mind that the flavor and texture may vary slightly.​

gluten free cheez its on a table with flaky sea salt.

Sam’s Recipe Tips

  • Cheese Choice: Use freshly shredded sharp cheddar for the best flavor and texture.
  • Rolling the Dough: Rolling the dough between parchment paper prevents sticking and makes for easier cleanup!
  • Uniform Size: Cutting the crackers into uniform sizes ensures even baking. You can cut these crackers into whatever shape you’d like though.
overhead image of a bowl of gluten free cheez its crackers.
5 from 3 votes

3-Ingredient Gluten Free Cheez-Its

These homemade gluten free cheez its are crispy, cheesy, and made with just 3 simple ingredients. They're the perfect easy snack that’s gluten-free, kid-friendly, and way better than store-bought. Whip up a batch in under 30 minutes for a satisfying, cheesy crunch everyone will love!
Print Pin Rate
Prep Time: 10 minutes
Cook Time: 15 minutes
Total Time: 25 minutes
Servings: 8 servings

Equipment

  • 1 food processor
  • 2 sheets parchment paper
  • 1 large baking sheet

Ingredients

  • 1 cup all purpose gluten-free flour
  • 6 ounces shredded cheddar cheese
  • 3 tablespoons cold butter cut into cubes
  • 4-5 tablespoons cold water
  • pinch of salt

Instructions

  • Preheat oven to 350° Fahrenheit.
  • Add the all purpose gluten-free flour, shredded cheddar cheese, cold butter, and a pinch of salt to a food processor. Pulse until a dry and crumbly mixture comes together (it should resemble breadcrumbs).
  • Pour in 3 tablespoons of cold water, then pulse a few more times until the dough comes together in the ball. If the dough still seems too dry, add in the remaining 1-2 tablespoons of cold water.
  • Transfer the dough to a large sheet of parchment paper and place another sheet of parchment paper on top of the dough. Roll out the dough between the parchment paper until it’s about 1/8-inch thick.
  • Remove the top sheet of parchment paper and cut the dough into 1-inch crackers. Poke a small hole into the center of each cracker and sprinkled the crackers with crackers with flaky sea salt.
  • Then, transfer the dough (still on top of the parchment paper) to a large baking sheet and bake for 12-15 minutes, or until the crackers are lightly golden brown. Allow the crackers to cool completely before serving or storing.

Nutrition

Serving: 1serving | Calories: 180kcal | Carbohydrates: 12g | Protein: 6g | Fat: 11g

It’s finally strawberry season and I’m SO excited to celebrate with this incredible gluten-free strawberry shortcake recipe! There’s just something about this warm spring air (after a VERY long winter) that makes me wanna whip out all the fresh fruit recipes I can think up. I kicked berry season off a couple weeks ago with my 5-ingredient triple berry crisp, then kept the party going with my new healthy strawberry peanut butter cups. And now – this absolutely flawless gluten-free strawberry cake! It’s a light and tender cake topped with a single-ingredient homemade whipped cream and ultra sweet strawberries. This is another one of those gluten-free cake recipes everyone (and I mean everyone) will LOVE!

a slice of gluten-free strawberry shortcake on a plate with whipped cream and strawberries on top.

Why You’ll Love This Gluten-Free Strawberry Shortcake

  • It’s made with just 6 easy-to-find, wholesome ingredients.
  • Fluffy, soft, and sweet with the perfect balance of fresh fruit and homemade whipped cream!
  • Naturally gluten-free, with easy swaps to make it dairy-free or even keto-friendly.

Frequently Asked Questions

How do I store this gluten-free strawberry shortcake?
Store any leftover cake separately from the whipped cream and strawberries in an airtight container at room temperature for up to 2 days. Once topped, store in the fridge for up to 1 day for best texture.

Can I use a different kind of fruit?
Absolutely! Try blueberries, raspberries, peaches, or a mix of berries depending on the season.

What can I substitute for almond flour?
If you need a nut-free option, try oat flour. Note that texture and flavor may vary slightly.

gluten free strawberry shortcake on a table with whipped cream and strawberries on top.

Sam’s Recipe Tips

  • Be sure to beat the eggs and sugar until they’re superrrr airy and fluffy – this gives the cake its light, sponge-like texture.
  • Let the cake cool completely before adding the whipped cream to prevent it from melting!
  • Make the whipped cream just before serving for the fluffiest, creamiest texture.

Adjust This Recipe to Your Dietary Needs

  • Make it Dairy-Free: Use coconut cream or your favorite non-dairy whipped topping in place of heavy whipping cream.
  • Make it Keto: Replace the sugar with a keto-friendly sweetener like monk fruit or erythritol.
the inside cut of gluten free strawberry shortcake.

What Makes This the BEST Gluten-Free Strawberry Shortcake Recipe

This gluten-free strawberry shortcake is soft, simple, and super impressive. It’s a breeze to whip up in under an hour and delivers the perfect combination of sweet cake, whipped cream, and fresh fruit – no one will ever believe it’s gluten-free! Whether you’re hosting brunch or celebrating something special, this shortcake has your back.

gluten-free strawberry shortcake on a table with whipped cream and fresh strawberries on top.
5 from 1 vote

6-Ingredient Gluten Free Strawberry Shortcake

This gluten-free strawberry shortcake is the easy, light, and summery dessert you’ll want to make again and again! With just 6 simple ingredients, it’s fluffy, naturally gluten-free, and topped with a generous layer of whipped cream and sweet, juicy strawberries. It's perfect for birthdays, holidays, or any warm-weather gathering, this shortcake is a no-fuss, totally delicious crowd-pleaser!
Print Pin Rate
Prep Time: 15 minutes
Cook Time: 30 minutes
Total Time: 45 minutes
Servings: 8 servings

Equipment

  • 2 large bowls
  • 1 small bowl

Ingredients

  • 4 large eggs at room temperature
  • 1/2 cup sugar
  • 1 1/2 cups almond flour
  • 1 teaspoon baking powder

For the whipped cream:

  • 1 cup heavy whipping cream

For the strawberries

  • 1 cup fresh strawberries sliced
  • 1 tablespoon sugar

Instructions

  • Preheat oven to 350° Fahrenheit and grease a 6-inch cake pan.
  • Beat together the eggs and sugar with a hand or stand mixer on high speed until pale and thick, about 5 minutes.
  • Add in the almond flour and baking powder. Beat for another 30 seconds to one minute, until batter is just combined.
  • Transfer the batter to your prepared cake pan. Bake the cake 30-35 minutes, or until a toothpick inserted down the center of the cake comes out clean.
  • Remove cake from the pan and transfer it to a wire cooling rack to cool. While the cake cools, add the sliced strawberries and a tablespoon of sugar to a bowl, and stir until the strawberries are coated in sugar. Set the strawberries aside while you make the whipped cream.
  • Pour the heavy whipping cream into a large bowl and use a hand or stand mixer to beat the cream until it’s super light and fluffy and stiff peaks have formed (about 5 minutes).
  • Once the cake has completely cooled, top it with the homemade whipped cream then the strawberries. This cake is best served immediately!

Nutrition

Serving: 1serving | Calories: 200kcal | Carbohydrates: 10g | Protein: 5g | Fat: 16g | Sugar: 6g

Honestly, before this recipe – I did NOT like cottage cheese. And trust me, I really wanted to love it. It’s a great source of protein, nutrients, calcium, etc. but I just could not see past the texture. Which is why in the first step of this healthy cottage cheese cookie dough recipe we blend the cottage cheese with maple syrup until it’s completely smooth. What you’re left with is a silky smooth, ultra creamy, high-protein cookie dough that tastes nothing like cottage cheese! All that to say, if you’re like me and convinced you don’t like cottage cheese… you might want to give this recipe a try, I’m sure it’ll change your mind. 😉

And for more cookie dough recipes, you have to try my 4-Ingredient Healthy Cookie Dough Bark, Cookie Dough Protein Balls, and Cookie Dough Frozen Yogurt Bites next!

Why You’ll Love This Recipe

  • High-Protein & Satisfying: Packed with protein from cottage cheese and protein powder, this treat keeps you full and energized.​
  • Quick & Easy: No baking required – just blend, mix, and enjoy!​
  • Wholesome Ingredients: Made with simple, nutritious ingredients for a healthier treat.​
overhead image of chocolate chip cottage cheese cookie dough in a dish with a spoon.

What Makes This Cottage Cheese Cookie Dough Healthy?

This recipe is a healthier alternative to traditional cookie dough, thanks to its high protein content and use of natural sweeteners. Cottage cheese provides a creamy texture and a good source of protein, while maple syrup offers a natural sweetness without refined sugars. Almond flour adds healthy fats and fiber, making this treat both delicious and nourishing.​

Recipe Substitutions

  • Almond Flour: Swap with oat flour or coconut flour for a nut-free or different flavor profile.​
  • Maple Syrup: Use honey or agave nectar as alternative natural sweeteners.​
  • Chocolate Chips: Replace with cacao nibs or dairy-free chocolate chips to suit your dietary needs!​
cottage cheese cookie dough in a small cup with a spoon.

Adjust This Recipe to Your Dietary Needs

  • Nut-Free: Use oat flour instead of almond flour and ensure chocolate chips are nut-free.​
  • Dairy-Free: Opt for a plant-based yogurt instead of cottage cheese and use dairy-free chocolate chips.​
  • Keto-Friendly: Use sugar-free maple syrup alternatives and low-carb chocolate chips, and consider coconut flour as a low-carb flour option!
overhead image of cottage cheese cookie dough in a small dish.
5 from 10 votes

5-Ingredient Cottage Cheese Cookie Dough

This cottage cheese cookie dough recipe is a high-protein, no-bake treat made with just six wholesome ingredients! Blending cottage cheese with maple syrup and vanilla creates a creamy base, which is then combined with almond flour, vanilla protein powder, and chocolate chips for a delicious, edible cookie dough. It's an easy, healthy snack that's perfect for satisfying your sweet tooth while keeping your health on track!
Print Pin Rate
Prep Time: 5 minutes
Total Time: 5 minutes
Servings: 6 servings

Equipment

  • 1 small bowl

Ingredients

  • 1 cup cottage cheese
  • 1/4 cup maple syrup or honey
  • 1 teaspoon vanilla extract optional
  • 1 cup almond flour
  • 1 scoop vanilla protein powder
  • 1/2 cup chocolate chips

Instructions

  • Add the cottage cheese, maple syrup, and vanilla extract to a blender or food processor and blend until completely smooth.
  • Transfer the cottage cheese mixture to a bowl and mix in the almond flour and vanilla protein powder, then fold in the chocolate chips.
  • Serve immediately or store in an airtight container in the fridge for up to 5 days.

Nutrition

Serving: 1serving | Calories: 260kcal | Carbohydrates: 22g | Protein: 12.5g | Fat: 15g | Sugar: 14g

I went on a sort of healthier candy spree last fall with my healthy snickers recipe, 4 ingredient date caramels, and healthy homemade butterfingers. All of which are delicious, but I was missing one of the most popular (and one of my personal faves) candies – peanut butter cups! And honestly, had I known making your own homemade healthy peanut butter cups was this easy, I’d have been making them for yearssss. Just chocolate (I used dark, but use whatever you prefer!), peanut butter, almond flour, coconut oil, and just a touch of maple syrup is all you’ll need for this super easy and no-bake dessert recipe!

healthy strawberry peanut butter cups on a sheet of parchment paper.

Why You’ll Love These Healthy Strawberry Peanut Butter Cups

  • Made with just 5 wholesome ingredients, these peanut butter cups are easy, no-bake, and naturally gluten-free and dairy-free.
  • The creamy peanut butter filling paired with rich dark chocolate and a touch of strawberry makes them a perfectly indulgent yet nourishing treat.
  • Customizable to suit your dietary needs – refined sugar-free, nut-free, or vegan – without compromising flavor.

What Makes This Recipe Healthy?

Unlike traditional peanut butter cups loaded with refined sugars and additives, this recipe uses natural sweeteners like maple syrup or honey. The inclusion of almond flour adds a dose of healthy fats and fiber, while the use of dark chocolate chips provides antioxidants. By choosing unsweetened peanut butter, you control the sweetness and ensure a treat that’s both delicious and nourishing!

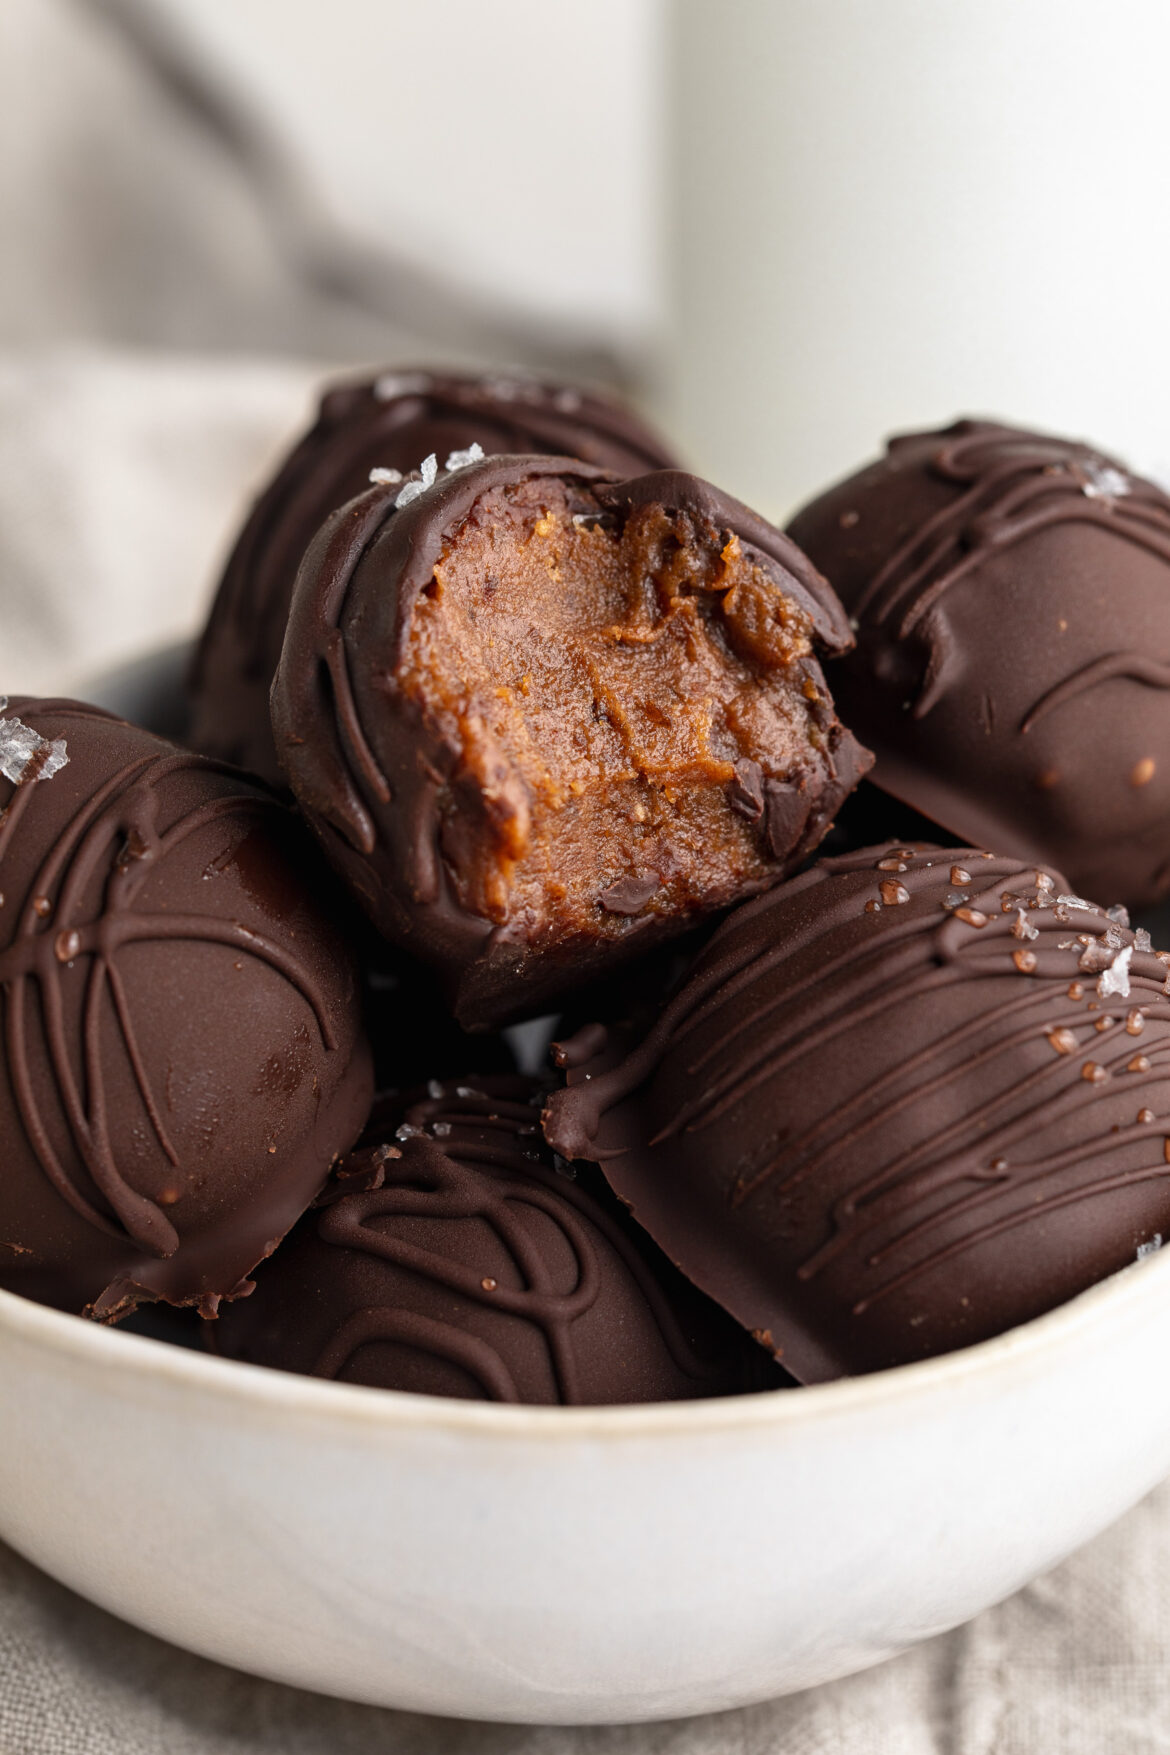
close up image of a healthy strawberry peanut butter cup with a bite taken out.

Can I Use a Different Sweetener?

Absolutely! If you prefer a different natural sweetener, options like agave nectar or coconut sugar work well in this recipe. Keep in mind that the sweetness level may vary, so adjust to taste. For a sugar-free version, consider using a monk fruit sweetener or stevia, but be sure to check the conversion rates as they differ from traditional sweeteners.​

Adjust This Recipe to Your Dietary Needs

  • Make it Nut-Free: Replace peanut butter with sunflower seed butter and almond flour with oat flour to eliminate nuts while maintaining texture and flavor.​
  • Make it Dairy-Free: Use dairy-free chocolate chips to ensure the entire recipe remains free from dairy products.​
  • Make it Refined Sugar-Free: Opt for dark chocolate chips sweetened with coconut sugar or stevia, and use maple syrup or honey as your sweetener of choice.​
a healthy strawberry peanut butter cup with a bite taken out.
5 from 2 votes

Healthy Strawberry Peanut Butter Cups

These healthy strawberry peanut butter cups are a delicious, no-bake treat made with just 5 simple ingredients. Naturally gluten-free and dairy-free, they’re perfect for a quick snack or a better-for-you dessert. Easy to customize and bursting with sweet, chocolatey flavor, they’re the ultimate healthy twist on a classic favorite.
Print Pin Rate
Prep Time: 10 minutes
Chill Time: 18 minutes
Total Time: 28 minutes
Servings: 16 servings

Equipment

  • 2 small bowls
  • 1 mini muffin pan

Ingredients

For the chocolate layer:

  • 1 cup chocolate chips
  • 1 tablespoon coconut oil

For the peanut butter filling:

  • 1/2 cup peanut butter unsweetened
  • 2-3 tablespoons almond flour or 1-2 tablespoons coconut flour
  • 2 tablespoons maple syrup or honey

Instructions

  • Line a mini muffin pan with mini liners.
  • Melt together the chocolate chips and coconut oil in either the microwave or over a double boiler until completely melted and smooth.
  • Once the chocolate is melted, pour about 1 teaspoon of melted chocolate into the bottom of each liner and use a spoon to spread the chocolate around to cover the entire bottom of the liner. Once all liners are lined with chocolate, transfer your muffin pan to the freezer to set and set the remaining melted chocolate aside.
  • While the chocolate sets, add all peanut butter filling ingredients to a bowl and stir together until smooth, slightly thick, and combined.
  • Spoon about 1 teaspoon of the peanut butter filling mixture into the palm of your hands and roll it into a ball, then flatten it slightly to form a disk. Remove the muffin tin from the freezer and place one disk on top of each cup lined with chocolate. Repeat this process until all cups have been filled with peanut butter.
  • Pour 1-2 teaspoons of melted chocolate over each peanut butter cup, making sure you completely cover the peanut butter inside. Once all peanut butter cups are filled with chocolate, place a strawberry slice on top of each cup, then transfer the pan back into the freezer for 10-15 minutes or until the chocolate is completely set. Remove the strawberry peanut butter cups from the freezer, transfer to an airtight container and store in the fridge or enjoy right away!

Nutrition

Serving: 1serving | Calories: 120kcal | Carbohydrates: 9g | Protein: 3g | Fat: 8g | Sugar: 6g

Some of my most requested recipes are for healthy high-protein snacks! And while I have quite a few already – high protein snack boxes, single serve protein cookie, and 5 healthy protein smoothies – I, too, am always looking for more. I actually started making this chia seed protein pudding for my husband who was tired of our same old protein snacks and loved that this tasted like dessert, but in healthier high-protein form!

I love topping my chia pudding with a scoop of peanut butter, a sprinkling of my homemade granola, and whatever fresh or frozen fruit we have on-hand. It’s such a quick and easy grab-and-go protein snack, easily made dairy-free and packed with over 30 grams of protein. OH! And it’s delicious, too. 😉

Why You’ll Love This Chia Protein Pudding

  • High-Protein: With over 30g of protein per serving, it’s a satisfying and energizing option to start your day of get you through that afternoon slump!
  • Minimal Ingredients: You only need 4 (or 5 if you want it a little sweet!) ingredients, most of which you probably already have at home.
  • Meal Prep Friendly: Make it once and enjoy it all week! It stays fresh in the fridge for up to 3 days.
close up image of chia seed protein pudding in a jar with granola and fresh berries on top.

Ingredients You’ll Need

  • Chia Seeds: These tiny super seeds expand in liquid to create that signature pudding texture. They’re also packed with fiber and omega-3s.
  • Vanilla Protein Powder: Adds a delicious flavor boost and turns this pudding into a protein powerhouse. Unsweetened works best so you can control the sweetness in this recipe!
  • Greek Yogurt (or Dairy-Free Yogurt): Adds creaminess, thickness, a boost of probiotics, and extra protein. Use non-dairy yogurt to keep it dairy-free and vegan!
  • Milk (or Non-Dairy Milk): Any milk will work here – almond, oat, coconut, or regular dairy milk. Choose what fits your dietary preferences.
  • Maple Syrup (Optional): Just a touch adds natural sweetness without overwhelming the flavor.

How to Make Chia Seed Protein Pudding

  1. Add all ingredients to an 8-ounce jar or container and stir to combine.
  2. Secure the lid and refrigerate for at least 2 hours (or overnight).
  3. Before serving, stir again to ensure everything is evenly mixed. Add your favorite toppings and enjoy!
overhead image of chia seed protein pudding with granola and fresh berries on top.

Flavor Variations

  • Chocolate Chia Protein Pudding: Use chocolate protein powder and top with cacao nibs.
  • Very Berry: Stir in a handful of mashed berries or layer with a berry compote.
  • Peanut Butter Banana: Add 1 tablespoon peanut butter and a few banana slices on top. YUM!

Topping Ideas

Top your protein pudding with:

  • Fresh fruit (berries, banana, mango)
  • Nut butters
  • Granola (I topped mine with my homemade granola!)
  • Coconut flakes
  • Cacao nibs or dark chocolate shavings

Adjust This Recipe to Your Dietary Needs

  • Make it Dairy-Free: Use plant-based yogurt and non-dairy milk like almond, oat, or coconut.
  • Make it Vegan: Use dairy-free yogurt and a vegan protein powder.

Storage Instructions

Store chia protein pudding in an airtight jar or container in the fridge for up to 3 days. Stir before serving, and top with fresh ingredients right before eating for best texture and flavor.

chia seed protein pudding in a glass jar with fresh blueberries and homemade granola on top.
No ratings yet

4-Ingredient Chia Seed Protein Pudding

This easy chia seed protein pudding is the perfect make-ahead breakfast or snack packed with over 30 grams of protein per serving! Made with just 4 simple ingredients and ready in minutes, it’s creamy, customizable, and keeps you full for hours. Whether you’re fueling post-workout or starting your morning strong, this chia pudding will quickly become a staple in your healthy routine.
Print Pin Rate
Prep Time: 5 minutes
Chill Time: 2 hours
Total Time: 2 hours 5 minutes
Servings: 1 serving

Equipment

  • 1 8 ounce jar

Ingredients

  • 2 tablespoons chia seeds
  • 1 scoop (25 grams) vanilla protein powder
  • 1/2 tablespoon maple syrup or honey (optional)
  • 1/4 cup Greek yogurt or non-dairy yogurt
  • 1/2 cup milk or non-dairy milk

Instructions

  • Add all ingredients to an 8-ounce jar or container and stir to combine, then secure with a lid. Place the chia pudding in the fridge for at least 2 hours and up to 3 days, then remove from the fridge and give it another stir before serving. Top with whatever you’d like!

Notes

Nutrition info may vary depending on the brand of ingredients used. The above nutrition info was calculated without the maple syrup and toppings.

Nutrition

Serving: 1serving | Calories: 295kcal | Carbohydrates: 21g | Protein: 30g | Fat: 11g | Sugar: 3g