1
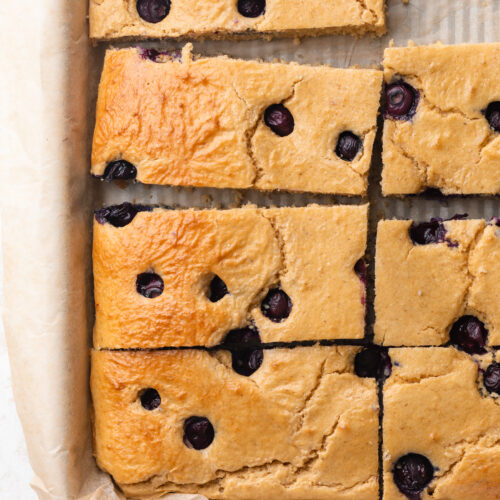
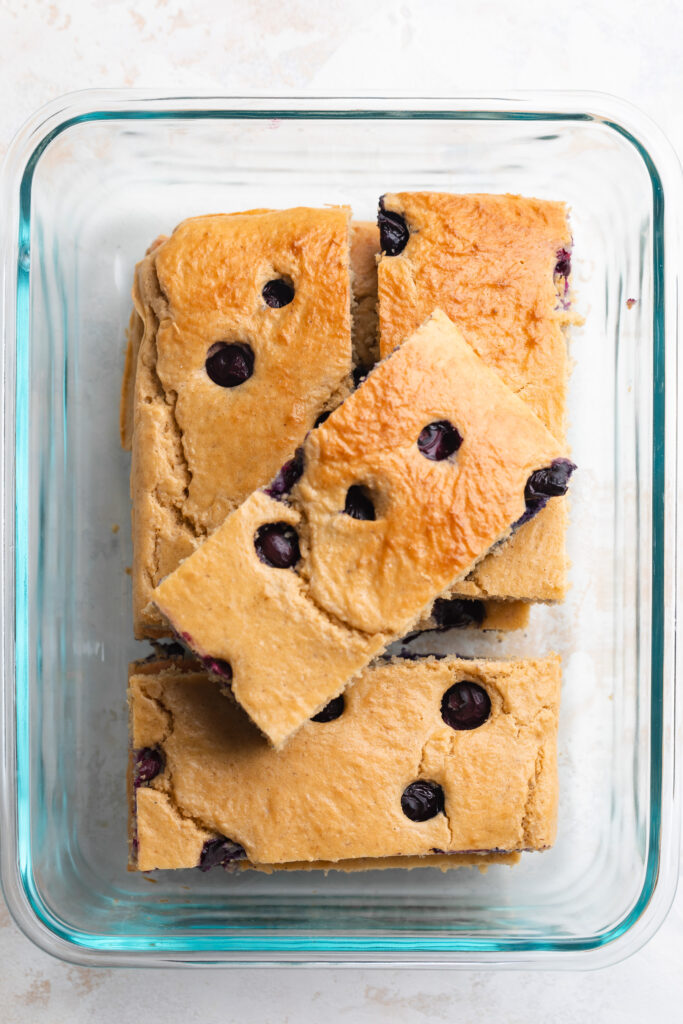
Meal Prep Protein Pancake Bars
These protein pancake bars are a healthy, high-protein breakfast with over 25 grams of protein and just 300 calories per serving. Made in the blender with simple ingredients, they’re gluten-free, low sugar, and perfect for meal prep. If you love pancakes but need a quick grab-and-go option, these protein pancake bars are ideal for busy mornings all week long.
Get the recipe!
2
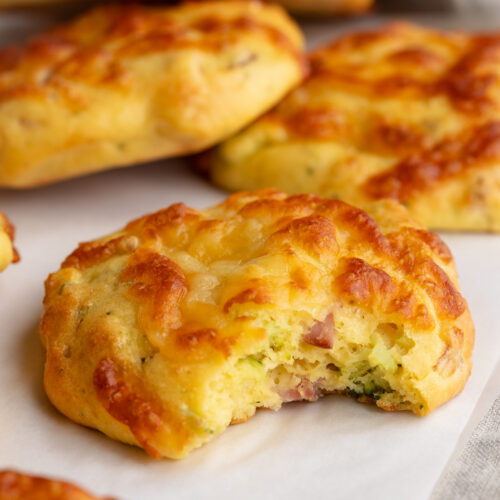
High-Protein Breakfast Biscuits (gluten-free!)
These protein breakfast biscuits are delicious, savory, and packed with over 10 grams of protein each for just 120 calories. They’re easy to make, great for meal prep, and perfect for a healthy grab-and-go breakfast. Naturally gluten-free and freezer-friendly, these high protein biscuits are ideal for busy mornings all week long.
Get the recipe!
3
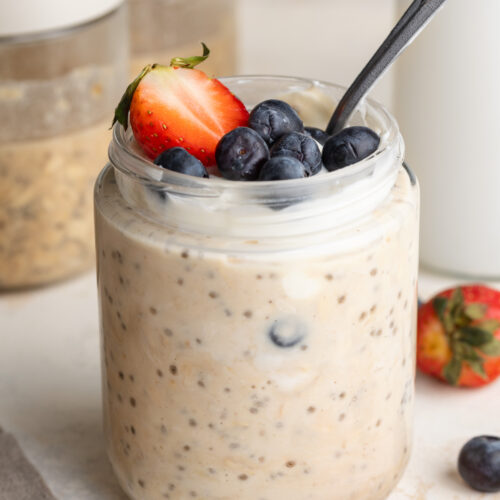
High-Protein Overnight Oats with 35g Protein!
These high protein overnight oats are creamy, filling, and packed with 35 grams of protein, making them a perfect healthy breakfast. They come together in just a few minutes, are great for meal prep, and make an easy grab-and-go option for busy mornings. Naturally gluten-free and endlessly customizable, these overnight oats will keep you full and satisfied all week long.
Get the recipe!
4
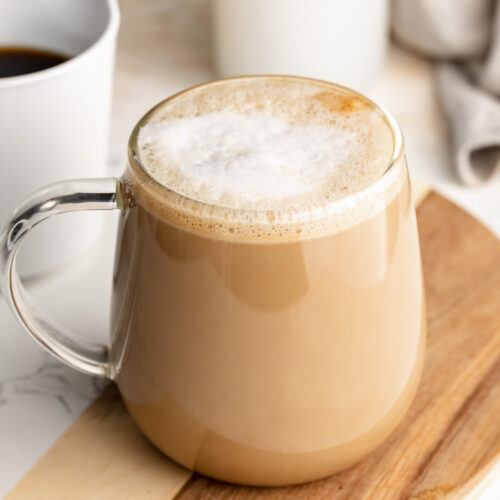
Protein Coffee (15g+ protein!)
Wake up to this easy protein coffee recipe that adds at least 15 grams of protein to your morning without sacrificing that rich, cozy coffee flavor you love! It’s creamy, energizing, dairy-free (if you want it to be!), and the perfect way to stay fuller longer. Whether you use a protein drink, protein powder, or collagen, this high-protein coffee is the delicious, healthy upgrade your morning routine needs!
Get the recipe!
5
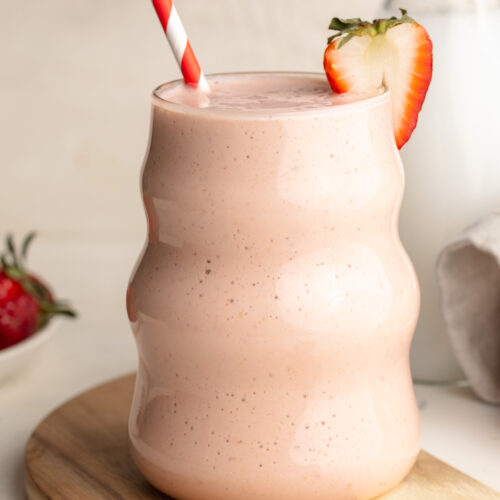
Cottage Cheese Protein Smoothie
This cottage cheese smoothie is thick, creamy, and packed with over 35 grams of protein, making it a perfect healthy breakfast or high-protein snack. You can’t taste the cottage cheese at all—it blends smoothly with frozen fruit for a delicious, naturally sweet flavor. Made with simple ingredients, this protein smoothie is quick, filling, and ideal for busy mornings or post-workout fuel.
Get the recipe!
6
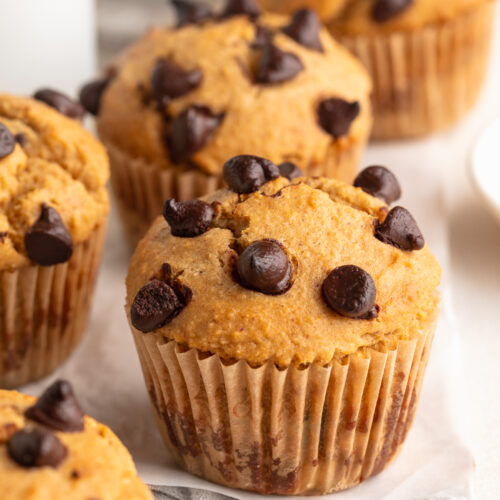
6-Ingredient Protein Muffins (no added sugar!)
These easy protein muffins are made with just 6 simple ingredients in one bowl – perfect for a healthy, high-protein snack or breakfast. They’re gluten-free, dairy-free, and naturally sweetened with applesauce, making them a nutritious option the whole family will love. With added vanilla protein powder and optional chocolate chips, these muffins are as delicious as they are nourishing!
Get the recipe!
7
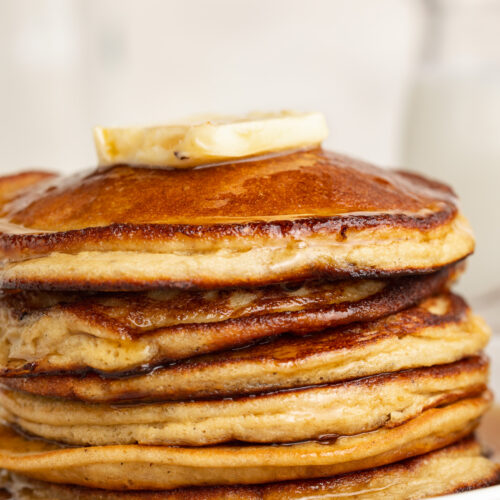
3-Ingredient Protein Pancakes
These 3-ingredient protein pancakes are the perfect way to kickstart your day! Packed with protein, naturally sweetened, and ready in minutes, they’re the ultimate healthy breakfast. Whether you’re fueling up post-workout or just want a quick and easy recipe, these pancakes have you covered!
Get the recipe!
8
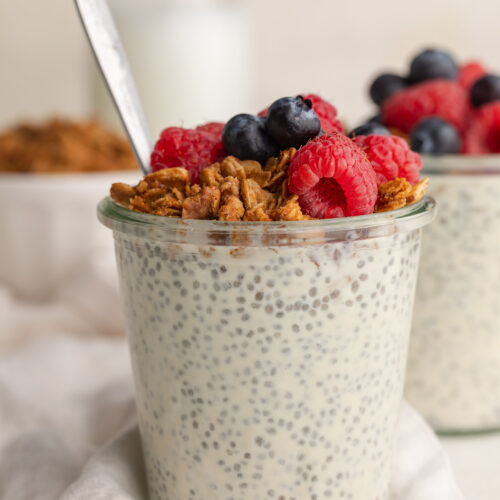
Chia Seed Protein Pudding (30g protein!)
This easy chia seed protein pudding is the perfect make-ahead breakfast or snack packed with over 30 grams of protein per serving! Made with just 4 simple ingredients and ready in minutes, it’s creamy, customizable, and keeps you full for hours. Whether you’re fueling post-workout or starting your morning strong, this chia pudding will quickly become a staple in your healthy routine.
Get the recipe!
9
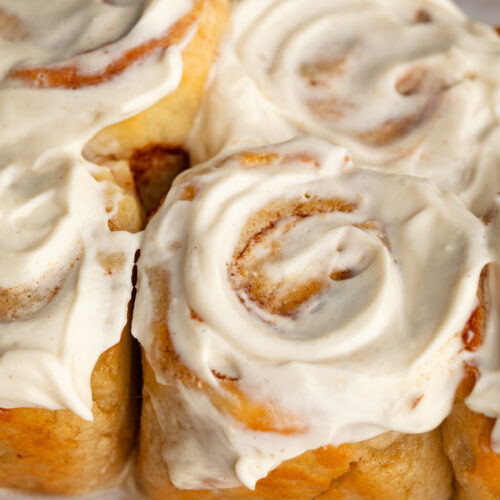
Protein Cinnamon Rolls with Greek Yogurt Frosting
These Protein Cinnamon Rolls are soft, fluffy, and secretly packed with 10 grams of protein per roll! With only 6 ingredients, they’re an easy, healthy twist on your favorite breakfast treat – no yeast or rising required. Perfect for meal prep, brunch, or a cozy weekend bake, these cinnamon rolls are gluten-free, high-protein, and absolutely delicious!
Get the recipe!
10
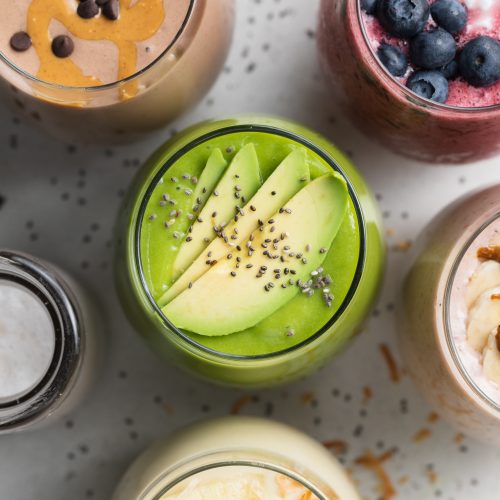
5 Healthy Protein Smoothies
Here are the 5 smoothie recipes I make constantly! They’re SUPER healthy, incredibly delicious, and come together in only a few minutes. These healthy smoothies are the perfect quick, easy, and portable breakfast or snack!
Get the recipe!
")


")