Tag

healthy

Browsing

I’ve been itching to develop more high protein snack recipes. So when I set out to create these snack boxes, I knew just who to call! My friend Natalia (find her on Instagram as @nutritionbynarlie) is the protein QUEEN. She’s also the most knowledgable person I know when it comes to nutrition. She helped me build the most well-rounded, nutrient dense, and high protein snack boxes possible. Each of these boxes contain a whopping 25 grams of protein! And don’t worry, we personally taste-tested every single box, and can vouch for their deliciousness. I really think you’re going to LOVE these high protein snack boxes that we put together!

overhead image of all four high protein snack boxes, each containing 25 grams of protein.

I purchased these meal prep glass containers on Amazon, linked HERE!

Which High Protein Snack Box is Right For You?

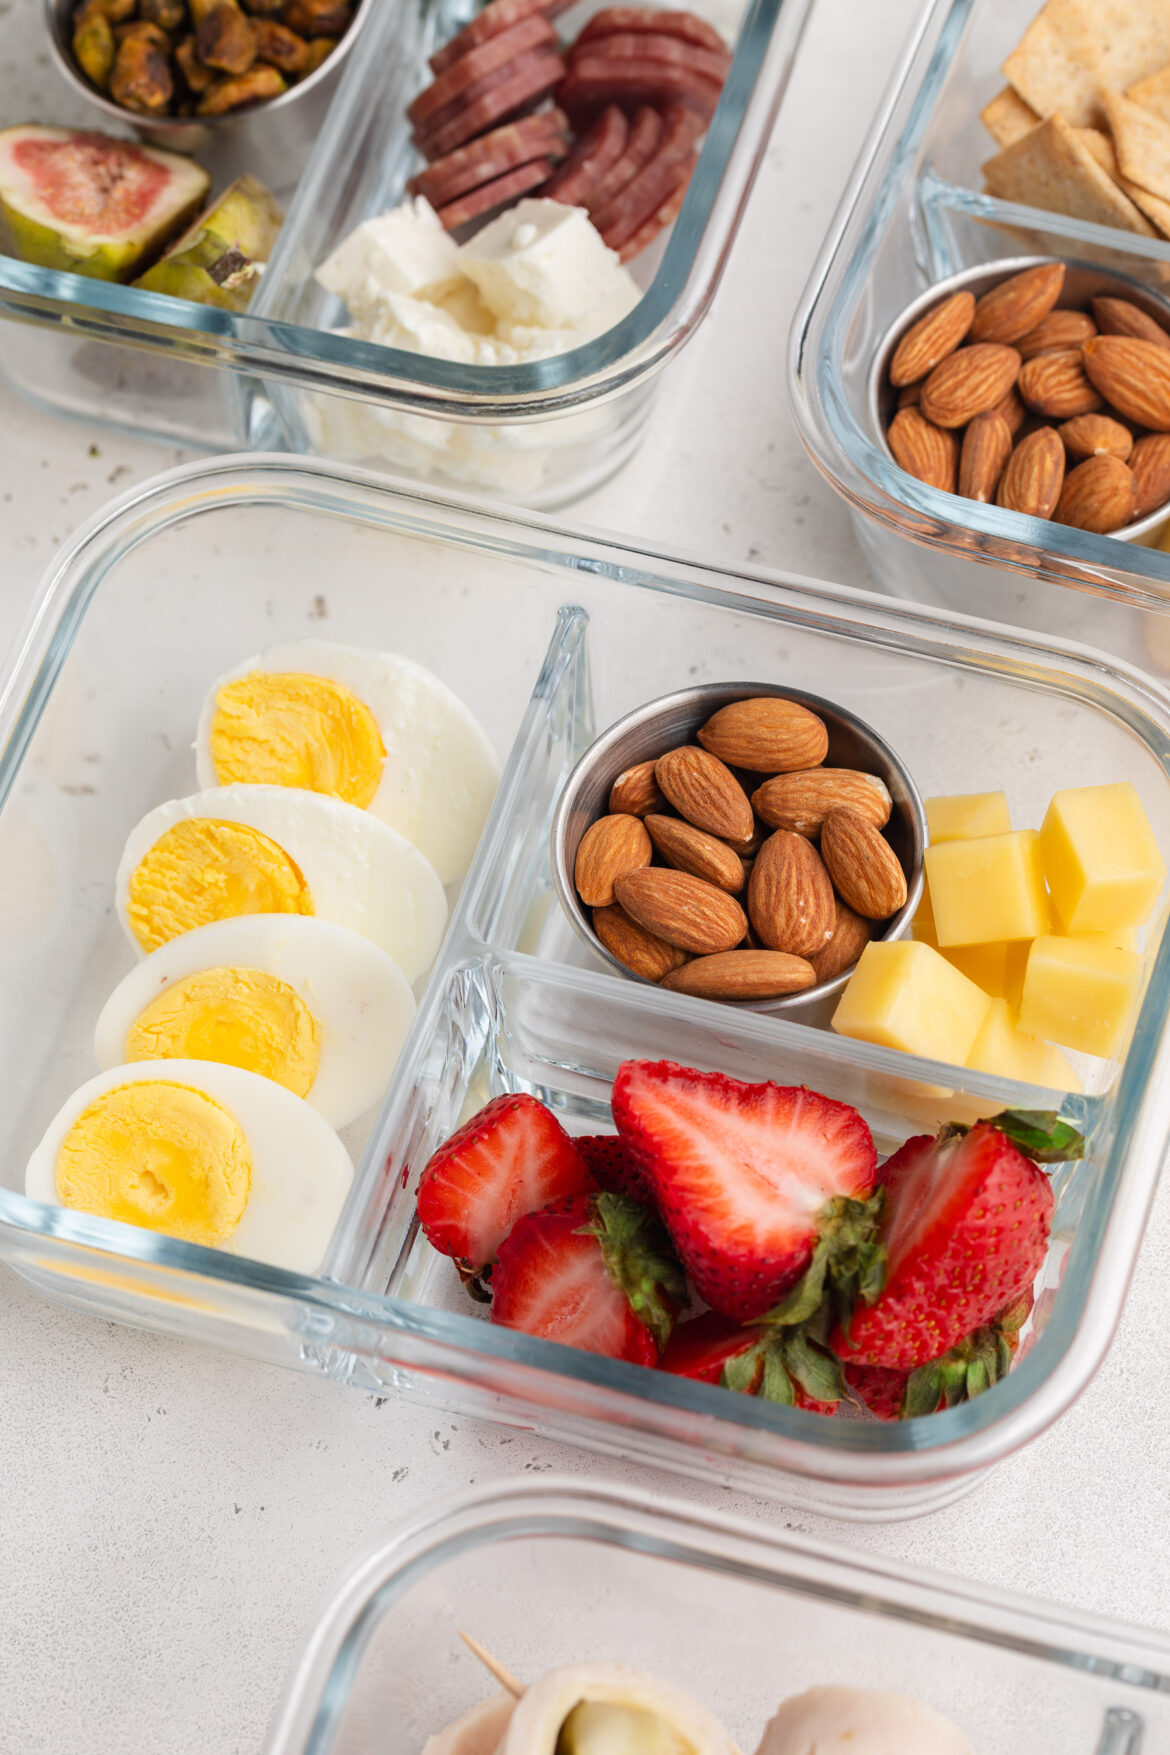
Back to Basics: This classic combination is simple yet effective. Boiled eggs provide a substantial protein boost, while almonds and cheddar cheese add extra protein and healthy fats. The berries offer a refreshing burst of antioxidants and natural sweetness.

Greek: Inspired by Greek cuisine, this box features salami and feta cheese for a savory protein punch. Greek yogurt pairs perfectly with cucumber and dill for a refreshing snack, while pistachios and figs add a delightful mix of crunch and sweetness.

American: This American-themed box combines turkey, Swiss cheese, and a pickle for a flavorful and protein-packed roll-up. The kettle corn popcorn and peanuts bring a nostalgic Crackerjack vibe, while the orange slices add a citrusy zing!

Dairy-Free: For those avoiding dairy, this box offers a delicious mix of hummus with gluten-free crackers, salami, turkey, almonds, and apple slices. It’s a well-rounded option that doesn’t compromise on flavor or nutrition!

Tips and Tricks

  • Save time during the week by preparing your high-protein snacks in advance. Boil eggs, slice veggies, and portion out nuts and cheese on the weekend so you can easily assemble your snack boxes each morning.
  • Keep things interesting by rotating different protein sources and accompaniments. This prevents snack fatigue and ensures you’re getting a range of nutrients.
  • Use small containers or silicone muffin cups to portion out your snacks. This helps you keep track of serving sizes and prevents overeating.
hand holding up Greek themed high protein snack box

Additional High Protein Snack Ideas

Looking to switch things up? Here are some other high-protein snacks that can be swapped into your boxes:

Cottage Cheese: A ½ cup serving contains about 14 grams of protein.
Protein Bars: Choose bars with at least 10 grams of protein and minimal added sugars.
Jerky: Beef, turkey, or chicken jerky provides a portable protein punch, with about 10 grams of protein per ounce.
Edamame: One cup of edamame contains about 17 grams of protein, making it a fantastic plant-based option.
Tuna Packs: A single serving tuna pack can offer up to 20 grams of protein, perfect for a quick and easy addition.

overhead image of the dairy-free high protein snack box
5 from 1 vote

High Protein Snack Boxes (4 ways!)

These high-protein snack boxes are perfectly balanced with protein, healthy fats, and complex carbs, making them an ideal choice for anyone on the go. Each box contains a whopping 25 grams of protein, ensuring you stay fuller and more satisfied for longer. Whether you’re heading to work, school, or the gym, these snack boxes will keep you energized and ready to tackle whatever comes your way.
Print Pin Rate

Ingredients

Back to Basics Snack Box

  • 2 boiled eggs
  • 1 ounce almonds
  • 1 ounce cheddar cheese, cubed
  • small handful fresh berries

Greek Snack Box

  • 3 slices salami, or Loza
  • 1 ounce feta cheese, cubed
  • 3 ounces Greek yogurt
  • 1/4 cup sliced cucumber
  • 1 ounce shelled pistachios
  • 2 figs, sliced in half

American Snack Box

  • 1 pickle
  • 1 ounce sliced turkey
  • 1 slice Swiss cheese
  • 1 ounce kettle corn popcorn
  • 1 ounce shelled peanuts
  • 1/2 orange, sliced

Dairy-Free Snack Box

  • 3 ounces hummus
  • 6-8 gluten-free crackers
  • 3 slices salami
  • 1 ounce sliced turkey
  • 1 ounce almonds
  • 1/2 apple, sliced

Instructions

  • Choose which snack box you’d like to make and prepare all ingredients.
  • Then, place ingredients into snack containers.
  • Seal the containers and store in the fridge for up to 4 days.

It’s CORN! Summer bbq season is upon us, and we need a side dish for our watermelon margaritas, mediterranean grilled chicken salad, and healthy summer fruit crisp. Add this simple and delicious Mexican street corn salad to that lineup and you’ve got yourself a killer summer meal!

This recipe’s specifically for those people who enjoy their corn off the cob. It’s all the incredible flavors of Mexican street corn added to one big bowl, perfect for sharing and much easier to eat! Fresh (or frozen) corn, cilantro, paprika, and cotija cheese come together to make this super flavorful and surprisingly healthy salad.

Ingredients laid out for Mexican street corn salad recipe.

What You’ll Need to Make Mexican Street Corn Salad

Corn: Fresh corn is recommended, but if it’s not in season you can use frozen corn instead! And if you opt for fresh corn, follow the instructions below on how to cut the corn off the cob before using it in this recipe.

Fresh Cilantro: Finely chopped cilantro adds a refreshing burst of herbaceous flavor to the salad, complementing the other ingredients beautifully.

Cotija or Feta Cheese: Crumbled cotija cheese lends a salty, tangy flavor to the salad, while feta cheese can be used as a delicious alternative.

Jalapeño: For a spicy kick, add finely chopped jalapeño to the salad. Omit or adjust the amount according to your heat preference.

Mayonnaise: Creamy mayonnaise binds the ingredients together and adds richness to the salad, while also balancing the flavors.

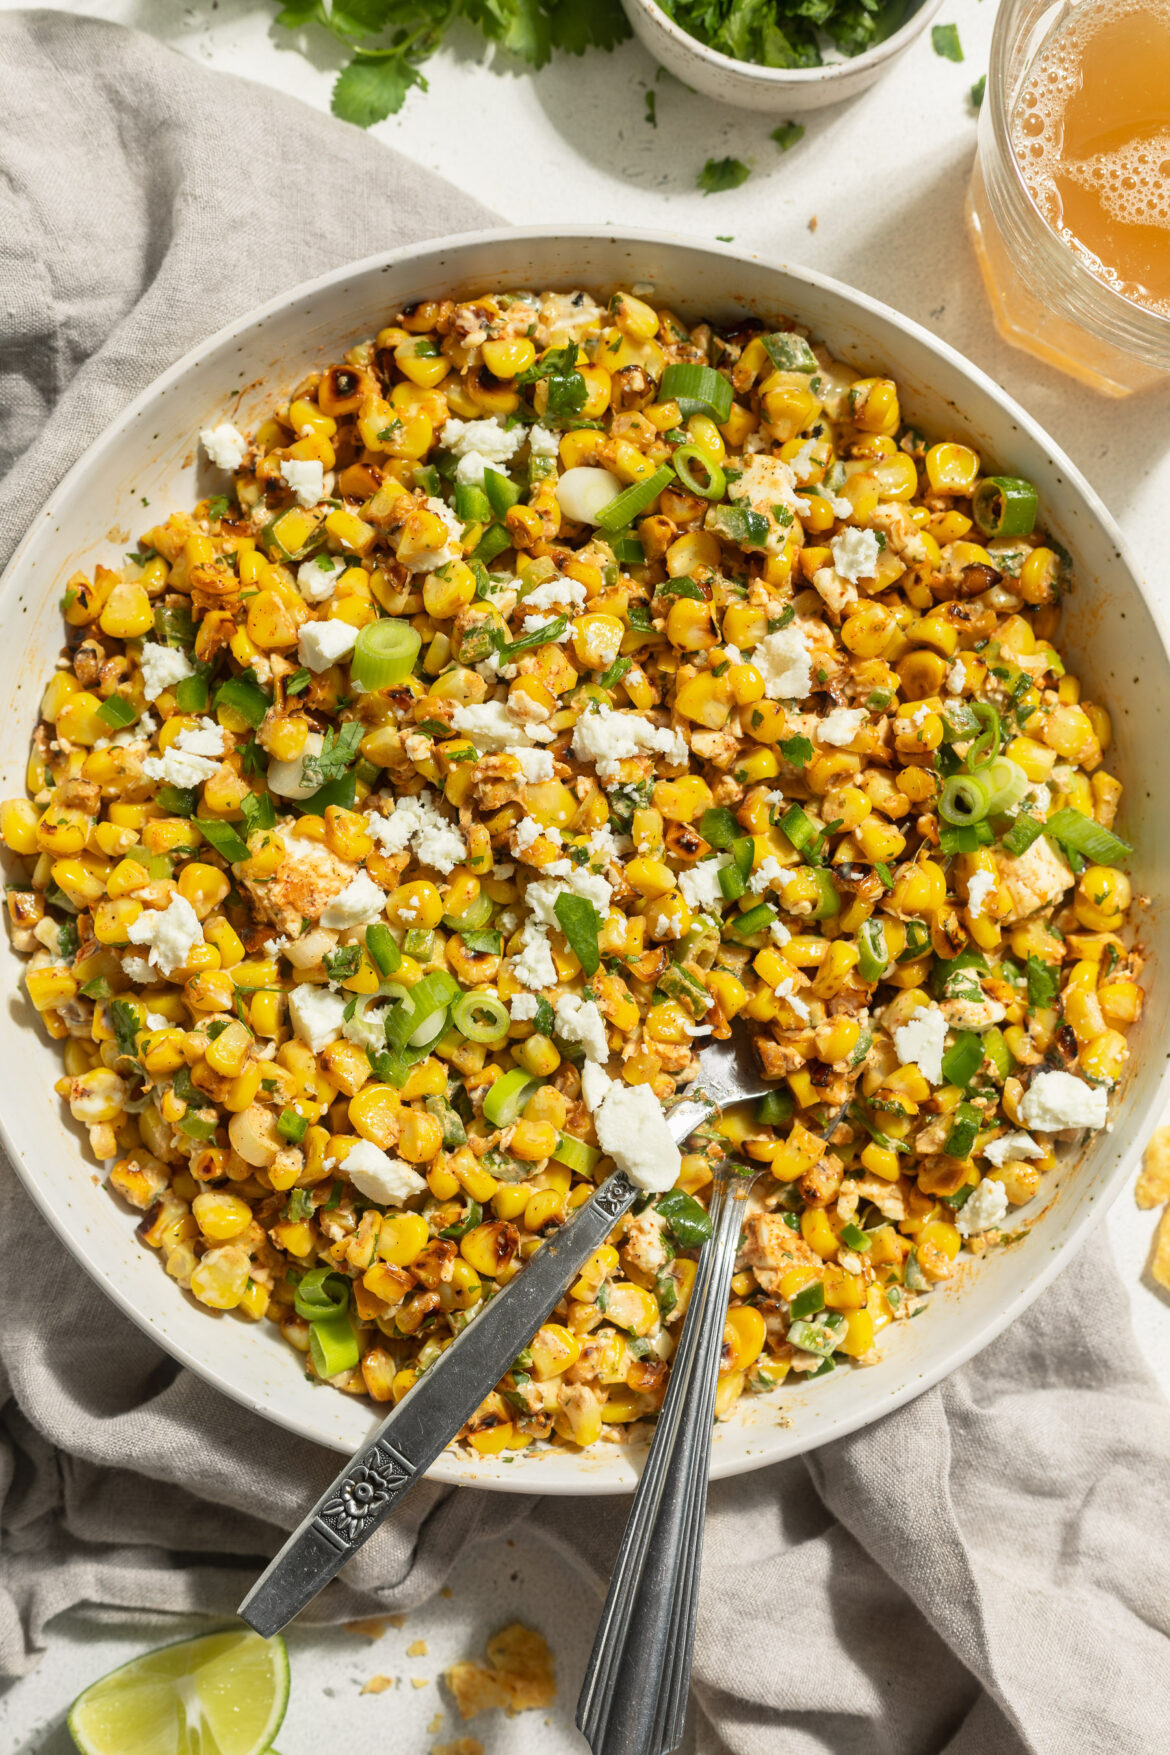
close up image of Mexican street corn salad in a bowl.

How to Cut Corn Off The Cob

  1. Shuck the corn by peeling off the outer leaves and removing as much of the tassel (the stringy stuff) from the corn as possible.
  2. Stand the corn upright on a cutting board, then carefully slide a knife down one side of the cob, slicing off the corn kernels as the knife moves down the cob. Continue this process all around the cob until all corn kernels have been removed.
  3. Place the corn kernels in a large bowl, then repeat steps 1 and 2 with remaining ears of corn until all corn kernels have been removed. Discard the corn cobs and use just the kernels in this recipe.

Tips and Tricks

Char the Corn: Achieve the perfect smoky flavor by char-grilling the corn kernels in a hot skillet. Stir occasionally to ensure even charring and caramelization. Or, if you can grill whole corn, then remove the charred corn kernels from the cob and use it in this salad.

Customize the Spice Level: Adjust the amount of jalapeño according to your preference for heat. For milder palates, use just half a jalapeño, or no jalapeño at all!

Make-Ahead Option: Prepare the salad ahead of time and refrigerate it until ready to serve. The longer this salad sits, the more flavorful it will get!

Mexican street corn salad in a bowl with fresh limes.

Adjust This Recipe to Your Dietary Needs

Make it Dairy-Free: To make this salad dairy-free, use your favorite non-dairy feta instead of cotija cheese. I’ve used and love this Violife dairy-free feta.

Make it Vegan: For a vegan Mexican street corn salad, take the dairy-free option above and use vegan mayo in place of the regular mayo.

overhead image of Mexican street corn salad in a large serving dish with fresh cilantro on the side.
5 from 1 vote

Mexican Street Corn Salad

This Mexican street corn salad is the perfect addition to any summer meal! It’s fresh, delicious, packed with flavor, and surprisingly easy to make.
Print Pin Rate
Prep Time: 10 minutes
Cook Time: 10 minutes
Total Time: 20 minutes
Servings: 6 servings

Ingredients

  • 4 ears fresh corn, shucked and kernels removed (or 2 10-ounce bags frozen corn)
  • 1 tablespoon olive oil
  • pinch of salt
  • 1/2 cup fresh cilantro, finely chopped
  • 1/4 cup mayonnaise
  • 1/4 cup scallions (green onion), sliced
  • 1/4 cup crumbled cotija cheese or feta cheese
  • 1 jalapeño, seeds removed and finely chopped
  • 2 garlic cloves, minced
  • zest and juice of 1 lime
  • 1/2 teaspoon smoked paprika
  • 1/4 teaspoon chili powder, or chipotle chili powder

Instructions

  • Heat olive oil in a large skillet over high heat until the oil is shimmering. Add corn kernels to the skillet (fresh or frozen) and a pinch of salt. Cook corn for about 10 minutes, stirring about every 2 minutes, until it’s nicely charred.
    Mexican street corn salad step 1
  • Remove corn from the heat and add to a large bowl. Add all remaining ingredients to the bowl with the corn. Toss to combine, then give it a taste and adjust any seasoning as desired.

Notes

  • Either serve this Mexican street corn salad immediately, or cover the bowl and store it in the fridge for up to 8 hours before serving!
  • Before my husband and I started dating, he ate chipotle everyday. And when I say everyday.. I mean, EVERY single day! The chipotle employees by his office knew him and his order by heart. Ya, it was pretty bad. So when things between us got more serious, I urged him to quit his chipotle habit and enjoy homemade tacos bowls instead!

    Now, for the last 3 years, these ground beef taco bowls have been a staple in our weekly dinner rotation. These, along with my healthy teriyaki chicken and rice bowls and my blackened salmon and coconut rice bowls (SO GOOD!). We love any meal in a bowl. Can you tell?? We also require lots of protein (my husband’s chipotle order included “double protein”), and LOTS of flavor. These ground beef taco bowls with cilantro lime cream check all those boxes!

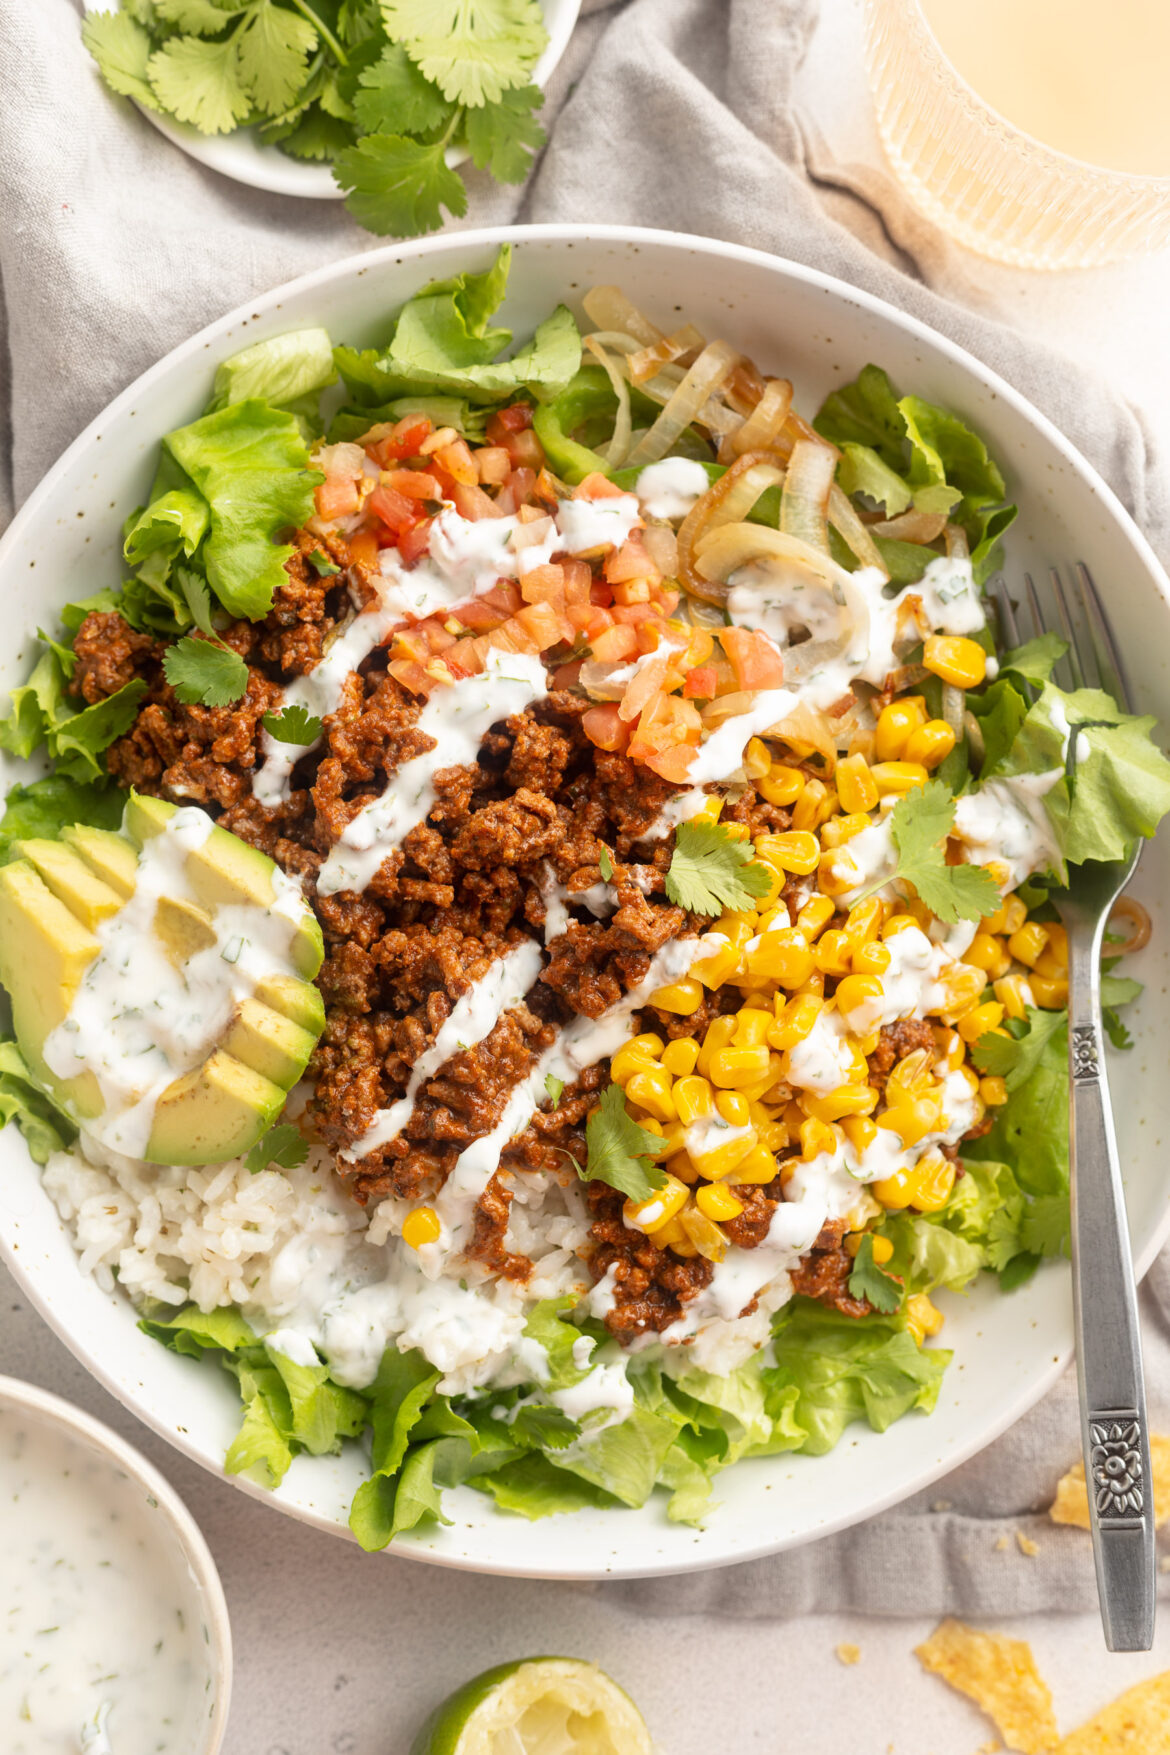
    taco bowls with cilantro lime crema on top and chips on the side.

    What You’ll Need to Make These Taco Bowls

    Cilantro: Fresh cilantro adds a pop of color and fresh flavor to both the cilantro lime rice and crema, enhancing the overall taste of the dish! If you don’t like cilantro, feel free to leave it out of this recipe altogether. But, if you’re like me, you can totally add extra fresh cilantro to suit your cravings.
    Fresh Lime Juice: Use freshly squeezed lime juice to brighten up the cilantro lime rice and crema. It adds a refreshing zing that complements the savory components of the dish. And if you don’t have fresh limes, bottle lime juice works too.
    Ground Beef: Choose lean ground beef for a healthier option. Browned to perfection and seasoned with taco seasoning, it forms the hearty base of these taco bowls. Or, if you prefer, use ground turkey instead!
    Taco Seasoning: A packet of taco seasoning infuses the ground beef with rich, savory flavors and spices, taking these bowls to the next level!

    Tips and Tricks

    • For extra flavor, char the frozen corn in the skillet until it’s tender and slightly charred. This adds a delicious smoky off-the-grill type flavor to the dish!
    • Allow the seasoned ground beef to simmer in the taco seasoning sauce for a few minutes. This helps the flavors meld together and creates a rich, saucy texture. YUM!
    • Get creative with your toppings! Add your favorite garnishes such as sliced avocado, diced tomatoes, or a dollop of guacamole to personalize your taco bowls.
    overhead image of cilantro lime crema in a bowl prepped for taco bowls

    Can You Meal Prep These Taco Bowls?

    Of course you can! Prep these taco bowls ahead of time and divide everything except the cilantro lime crema between four large containers. Store the crema separately, then when ready to eat, reheat your bowls for 30 seconds in the microwave and drizzle the crema on top.

    Adjust This Recipe to Your Dietary Needs

    Make it Dairy-Free: To make this recipe dairy-free, simply replace the Greek yogurt in the cream with your favorite non-dairy Greek yogurt or non-dairy sour cream! I’ve used Kite Hill non-dairy sour cream to make this recipe and it turned out great.

    Make it Vegan: For vegan taco bowls, take the dairy-free option above and swap out the ground beef for either a can of drained lentils, crumbled tofu, or finely chopped mushrooms. These are also great high protein vegan swaps!

    Make it Paleo: Replace the white rice with cauliflower rice and substitute the Greek yogurt in the cilantro lime crema for 1/2 cup avocado oil mayonnaise instead.

    overhead image of taco bowls with cilantro lime crema drizzled on top
    5 from 2 votes

    Ground Beef Taco Bowls with Cilantro Lime Crema

    Fresh, flavorful, and fully loaded ground beef taco bowls with a cilantro lime crema! Ditch the takeout this week and make this delicious and healthy meal at home. Cilantro lime rice, seasoned ground beef, sautéed corn and veggies, and an irresistibly creamy and tangy cilantro lime crema – YUM!
    Print Pin Rate
    Prep Time: 10 minutes
    Cook Time: 20 minutes
    Total Time: 30 minutes
    Servings: 4 servings

    Ingredients

    For the cilantro lime rice:

    • 1 cup uncooked long grain rice, rinsed and drained
    • 1 1/4 cups water
    • 1/4 cup fresh lime juice
    • 2 tablespoons fresh cilantro, finely chopped
    • 1 teaspoon salt
    • 1 tablespoon olive oil

    For the ground beef:

    • 1 pound ground beef
    • pinch of salt
    • 1 packet taco seasoning (1/4 cup)

    For the bowls:

    • 1 cup frozen corn
    • 2 bell peppers, cored and sliced
    • 1 onion, peeled and sliced
    • 3 cups chopped romaine or iceberg lettuce
    • pico de gallo

    For the cilantro lime crema:

    • 1 cup plain unsweetened Greek yogurt or sour cream
    • 1/2 cup fresh cilantro, finely chopped
    • 2 tablespoons lime juice
    • 1/2 teaspoon salt

    Instructions

    • Make the cilantro lime crema by adding all ingredients to a bowl and mixing it together. Cover the bowl and place in the refrigerator while you prep the rest of your ingredients.
      cilantro lime crema in a bowl
    • Cook the cilantro lime rice by adding all ingredients to a medium pot and placing it over high heat. Bring the rice to a bowl, then as soon as it’s boiling reduce the heat to low and cover the pot with a lid. Leave the rice to cook with the lid on for 15 minutes, then remove the lid, remove it from the heat, and set the rice aside.
      cilantro lime rice in a saucepan
    • Place a large skillet over medium heat, add a tablespoon of oil to the skillet then add in the frozen corn. Sauté corn for 3-5 minutes, or until it’s tender and slightly charred. Remove corn from the skillet and set aside.
    • Next, add the sliced peppers and onions to the hot skillet (still over medium heat), and sauté those for 5-7 minutes or until soft and cooked to your liking. Remove the peppers and onions from the skillet and set aside.
    • Last, add the ground beef to the hot skillet with a big pinch of salt. Cook the beef until it’s no longer pink, breaking it up into small pieces with a large spoon as it cooks.
    • Once the beef is cooked through, add in your packet of taco seasoning and 1/3 cup of water. Reduce the heat to low and let the ground beef simmer for 5 minutes, or until the taco seasoning sauce has thickened.
    • Assemble your bowls by adding chopped lettuce to 4 bowls, then diving up the cooked corn, peppers and onion, ground beef, pico de gallo, and sliced avocado between four bowls.
    • Finish off each bowl with a drizzle of cilantro lime cream and enjoy!

    Think snickers can’t be healthy?? Think again! I’ve pretty much made it my life’s work to take unhealthy treats and make them healthy. Like my healthy gluten-free mug cake, and my healthy cookie dough bars (another no-bake dessert in constant rotation around here!). These 4-ingredient healthy snickers fit seamlessly into my healthier treats lineup. My recent nighttime routine has included getting my baby to bed, popping 3 or 4 of these healthy snickers out of the freezer, and cozying up on the couch while I savor every last bite. My husband’s also obsessed, so I’ve been doubling this recipe to make sure there’s plenty to go around!

    For this recipe, you’ll want to start with a silicone ice cube tray. I purchased these ones (they come in a 2-pack) and have loved them so far! They’re also great for making ice cubes too, as the silicone helps the cubes slide right out. From there, you’ll need just four simple ingredients – chocolate, coconut oil, dates, and peanut butter. All relatively healthy ingredients, but they come together to create a treat that tastes seriously indulgent, but won’t hurt your stomach… no matter how many you eat! *wink wink*

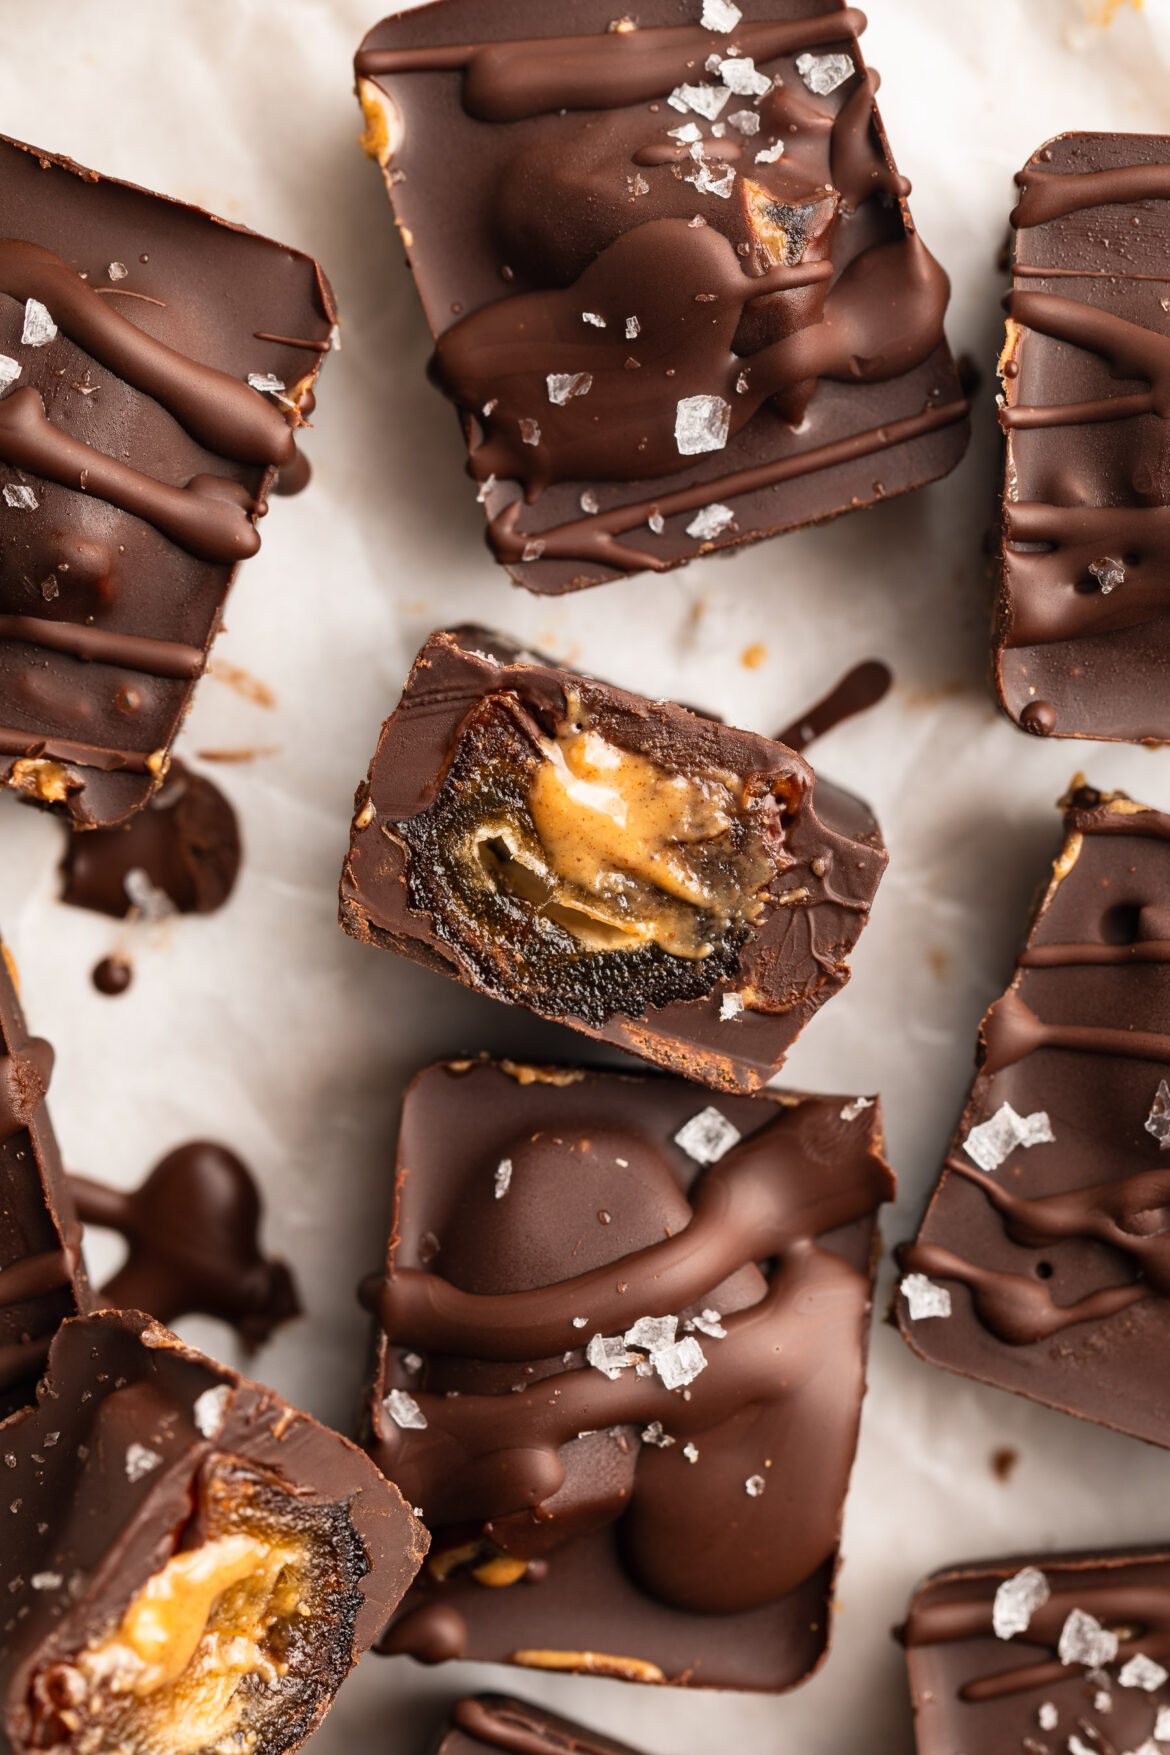
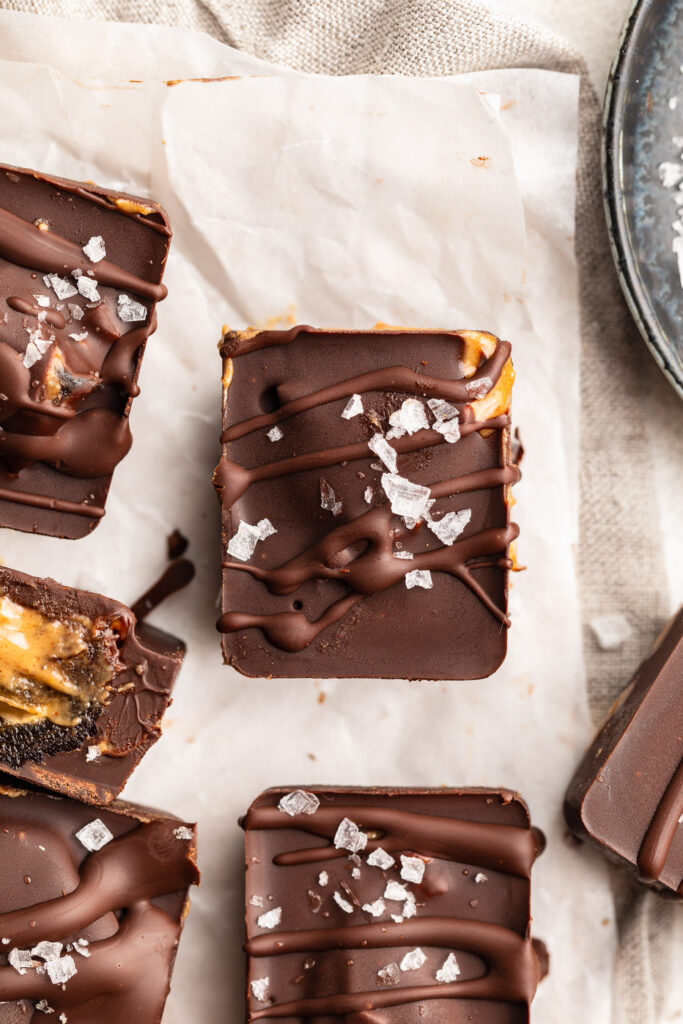
    overhead image of a healthy snicker with flaky sea salt on top.

    What You’ll Need To Make These Healthy Snickers

    Chocolate Chips: Opt for dairy-free or dark chocolate chips for a healthier option. These provide the rich, chocolatey coating for your snickers bites.

    Coconut Oil: Coconut oil helps melt the chocolate chips and creates a smooth, glossy texture for your healthy candy bars.

    Medjool Dates: These naturally sweet and chewy dates serve as the caramel-like layer in your snickers, providing natural sweetness and a satisfying texture.

    Crunchy Peanut Butter: Choose your favorite brand of crunchy peanut butter to add nutty flavor and crunch to your guilt-free treats!

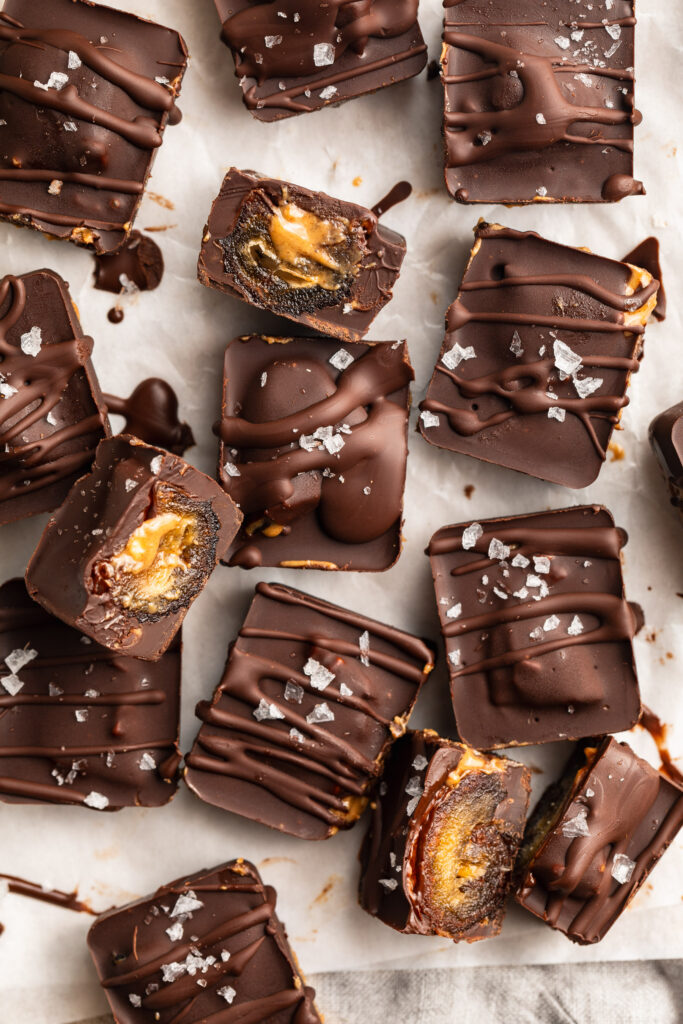
    overhead image of healthy snickers bars with flaky sea salt on top.

    Tips and Tricks

    • If your dates are too firm, soak them in warm water for 10-15 minutes before using. This will help soften them and make them easier to work with.
    • Using a silicone ice cube tray makes it easier to remove the snickers bites once they’re frozen. If you don’t have one, you can line a regular ice cube tray with plastic wrap for easy removal.
    • To ensure even distribution of ingredients, use a layering technique when assembling your healthy snickers bites. Start with a layer of melted chocolate, followed by a date and a dollop of peanut butter, then top with another layer of melted chocolate.
    overhead image of healthy snickers cut in half with peanut butter inside.
    5 from 2 votes

    4-Ingredient Healthy Snickers

    This healthy snickers recipe is the perfect healthier treat to satisfy your sweet tooth! Made with just 4 wholesome ingredients; chocolate chips, coconut oil, medjool dates, and crunchy peanut butter. They taste just like a snickers, but with a fraction of the sugar!
    Print Pin Rate
    Prep Time: 5 minutes
    Total Time: 5 minutes
    Servings: 15 snickers

    Ingredients

    • 1 cup chocolate chips
    • 1 tablespoon coconut oil
    • 8 medjool dates, pits removed and cut in half
    • 1/4 cup crunchy peanut butter

    Instructions

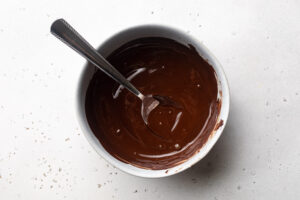
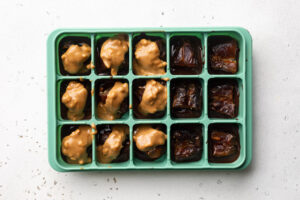
    • Melt the chocolate chips and coconut oil together in a small bowl in the microwave.
      healthy-snickers-step-1
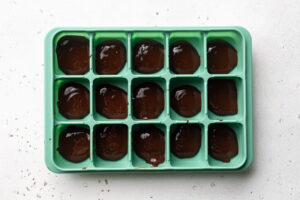
    • Take a silicone ice cube tray and fill 15 cavities of the tray with 1/2 tablespoon each of the melted chocolate.
      healthy-snickers-step-2
    • Place one pitted date half into each cavity on top of the chocolate.
      healthy-snickers-step-3
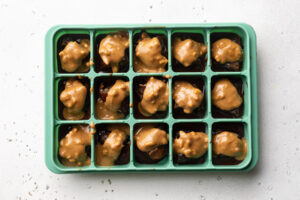
    • Then, add about ½ a tablespoon of crunchy peanut butter to each ice cube cavity, on top of each date.
      healthy-snickers-step-4
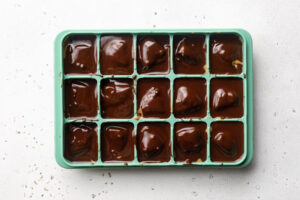
    • Pour the remaining melted chocolate into each ice cube cavity, covering the dates and peanut butter completely.
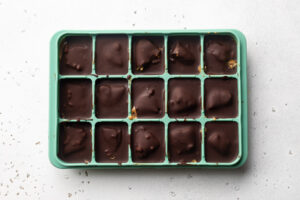
    • Place the ice cube tray in the freezer for about 20 minutes, or until the chocolate has completely hardened. Remove the tray from the freezer and pop out the healthy snickers. Store snickers in the fridge or freezer for up to 3 months!
      healthy-snickers-step-6

    Notes

  • Here’s a link to the silicone ice cube trays I used to make my healthy snickers! They worked wonders and were super easy to clean.
  • We LOVE a healthy sweet treat around here, and this gluten free mug cake fits right in! If you know me, you know I’m a total dessert person. I eat dessert quite literally every single night. Lately, my go-to simple dessert recipes have been my healthy gluten free cookie dough, or if I have a few extra minutes I’ll bake these one-bowl gluten free almond flour chocolate chip cookies (SO GOOD!). But now, I’m super excited to add this 6-ingredient gluten free mug cake to the rotation!

    This recipe is gluten-free, paleo, and dairy-free! But still perfectly sweet and totally indulgent. It’s also one of those recipes you can customize however you’d like. I love adding a small handful of chocolate chips to mine for a chocolate chip mug cake. Or, when I’m feeling festive, I’ll mix in a tablespoon of rainbow sprinkles! However you serve it, I guarantee you’ll love it.

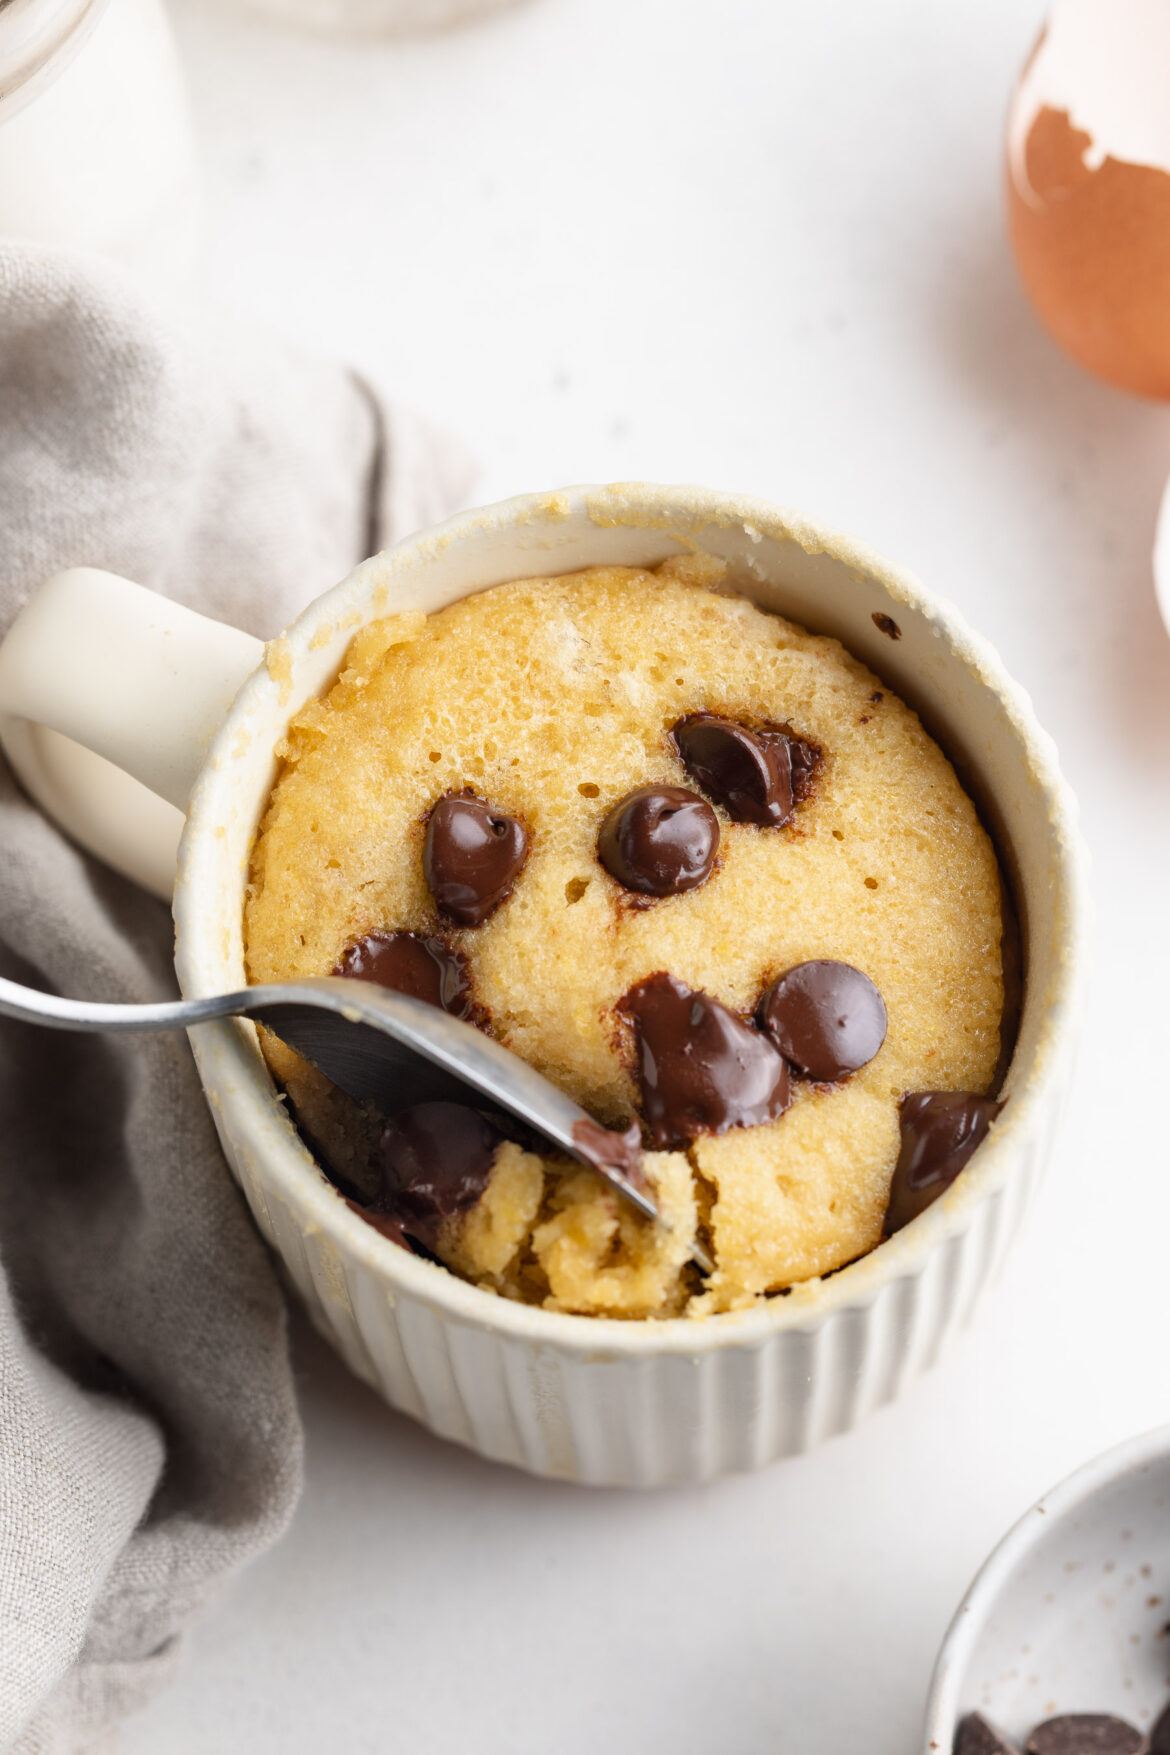
    overhead image of healthy gluten free mug cake with chocolate chips on top.
    Here’s a link to the microwave-safe mugs I used for this recipe!

    What You’ll Need To Make A Healthy Gluten Free Mug Cake

    Almond Flour: Almond flour serves as the base for this mug cake, providing a nutty flavor and tender texture. It’s also a great gluten-free alternative to traditional flour. I buy my almond flour in bulk, so I always have some on-hand for this recipe!

    Maple Syrup: Sweeten your mug cake naturally with maple syrup, adding a touch of sweetness without refined sugars.

    Egg: A large egg helps bind the ingredients together and provides structure and extra fluffiness to the mug cake.

    Coconut Oil: Melted coconut oil adds moisture to the cake, resulting in a soft and fluffy texture. Feel free to use any oil or melted butter of your choice if coconut oil isn’t available.

    Vanilla Extract: Enhance the flavor of your mug cake with a splash of vanilla extract, adding depth and richness!

    Baking Powder: Baking powder is a pantry stables, and it helps this gluten free mug cake rise and become light and airy.

    healthy gluten free mug cake ingredients laid out on a table.

    Tips and Tricks

    • Ensure all ingredients are well combined to prevent any pockets of unmixed flour or egg in your mug cake. Use a fork or small whisk to thoroughly whisk the batter until smooth.
    • Microwave cooking times may vary, so keep an eye on your mug cake as it cooks. If the cake looks like it’s about to overflow, pause the microwave and allow it to settle before continuing to cook.
    • After microwaving, resist the temptation to dive right into your mug cake. Let it cool for a few minutes to avoid burning your mouth! Trust me, learn from my mistakes.

    How To Bake It In The Oven Instead

    1. Preheat the oven to 350° Fahrenheit.
    2. Whisk together all ingredients in an oven-safe mug or ramekin.
    3. Bake for 15 minutes, or until a toothpick inserted down the center of the mug cake comes out clean.
    4. Let it cool for a few minutes, then enjoy!

    Make This Gluten-Free Mug Cake Vegan (No Egg)

    For a vegan version of this recipe, simply replace the egg with 2 tablespoons of apple sauce or 2 tablespoons of non-dairy milk. The cake won’t rise quite as much, but it’ll taste just as delicious!

    gluten free mug cake with chocolate chips on top.
    5 from 3 votes

    Healthy Gluten Free Mug Cake

    This gluten free mug cake is the perfect quick and easy sweet treat! Perfectly sweet, moist, and totally delicious. Throw this healthier dessert together with just 6 ingredients in 5 minutes.
    Print Pin Rate
    Prep Time: 3 minutes
    Cook Time: 2 minutes
    Total Time: 5 minutes
    Servings: 1 serving

    Ingredients

    • 1/4 cup almond flour
    • 2 tablespoons maple syrup
    • 1 large egg
    • 1 tablespoon melted coconut oil, or any vegetable oil
    • 1 teaspoon vanilla extract
    • 1/2 teaspoon baking powder

    Instructions

    • Add all ingredients to a mug and whisk until a batter comes together.
    • Microwave the mug for 2 minutes, then carefully remove from the microwave (the mug will be hot!) and let it cool for a few minutes.
    • Top with whipped cream or a scoop of ice cream and enjoy!

    Notes

  • Check the bottom of your mug to make sure it’s microwave safe before using it in this recipe!