If my healthy edible brownie batter and 4-ingredient date caramels had a baby, it’d be these healthy no-bake brownie balls! They’re rich, fudgy, naturally sweetened with dates, and even include some sneaky protein. And the best part? They’re entirely NO bake! Because let’s face it, this summer’s already been too hot to turn the oven on. I honestly keep a batch of these healthier brownie treats in my fridge at all time for when I need just a little something sweet!

Why You’ll Love These Healthy Brownie Balls
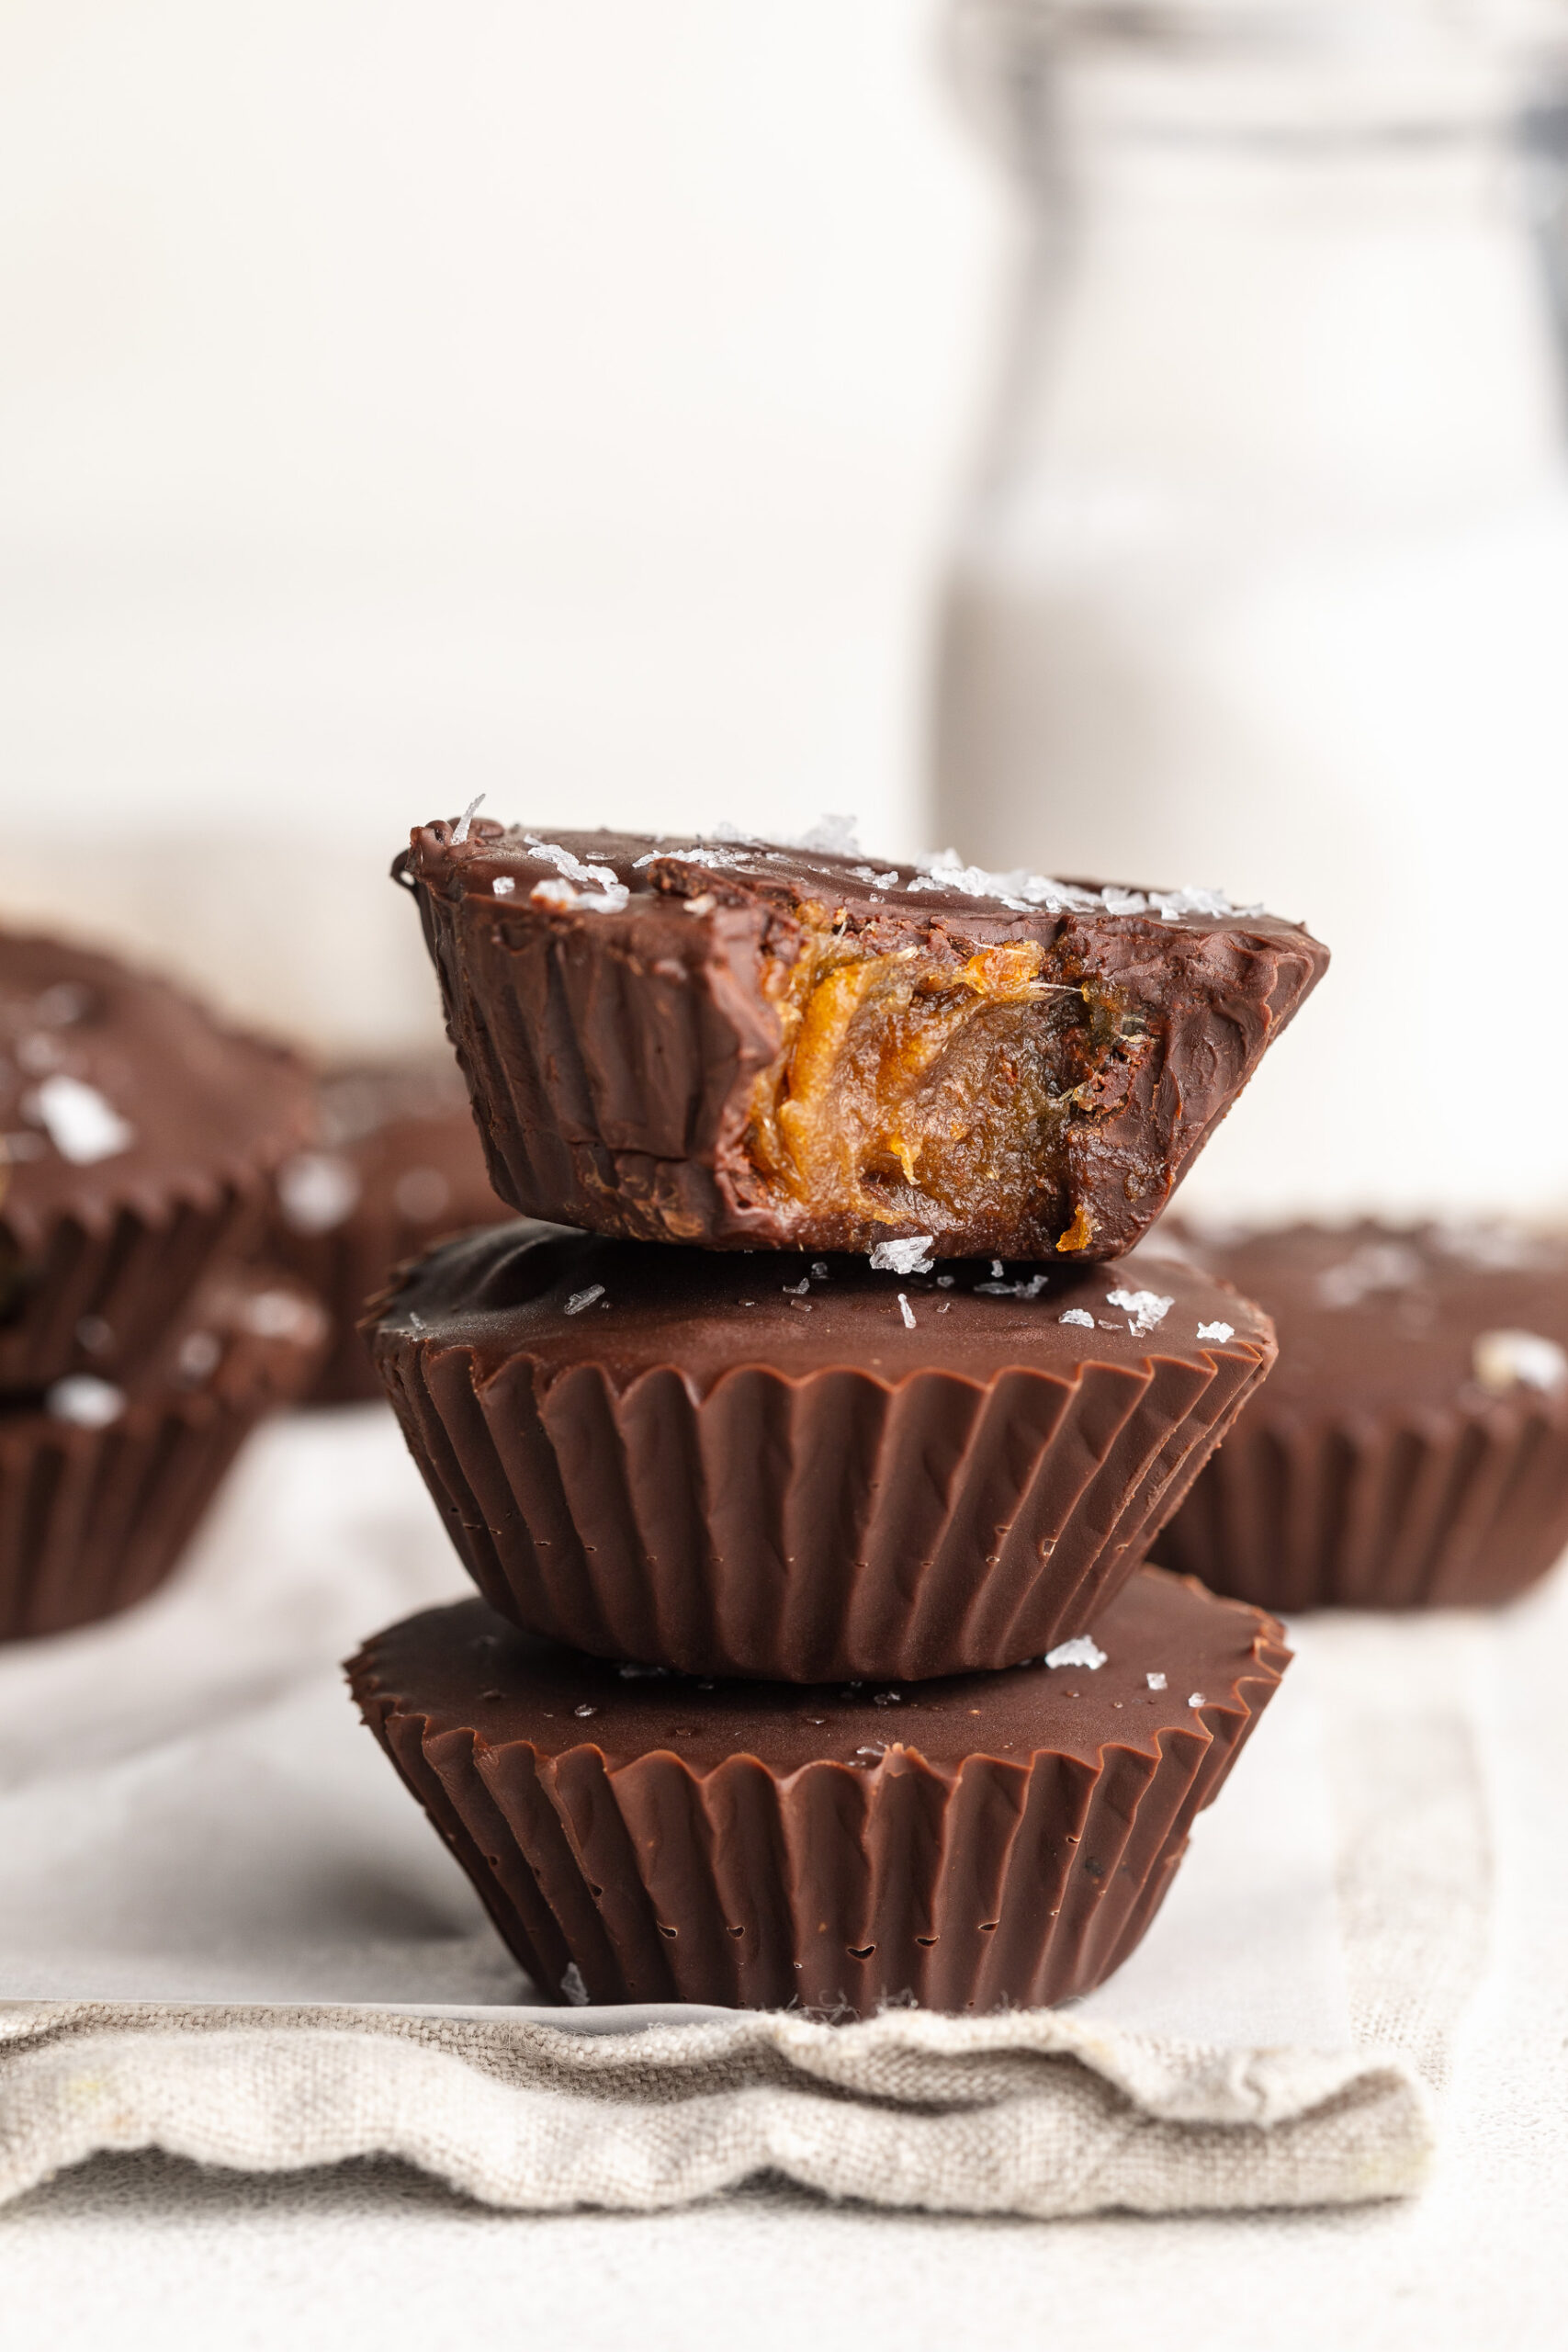
These no-bake healthy brownie balls are the perfect healthy treat! Whether you’re craving something sweet post-workout or want a better-for-you treat during the day, these bites are loaded with flavor and come together in just minutes. Plus, they’re naturally sweetened with dates, made with wholesome plant-based ingredients, and dipped in chocolate for that irresistible finish!
What Makes This Recipe Healthy?
- Naturally Sweetened – These brownie balls are sweetened entirely with medjool dates, offering fiber and natural sugars with zero refined sugar.
- High in Plant-Based Protein – Thanks to chocolate protein powder and almond butter, these bites offer a nice protein boost to keep you satisfied.
- No Bake + Easy Prep – Just toss the ingredients in a food processor, roll, dip, and chill. That’s it!
- Allergy-Friendly – They’re gluten-free, dairy-free, and vegan-friendly, depending on your protein powder and chocolate chip choices.

Frequently Asked Questions
What can I use instead of almond flour?
You can use oat flour as a 1:1 substitute. It keeps the texture soft and fudgy and is also naturally gluten-free!
What kind of protein powder did you use?
I used Aloha Chocolate Plant-Based Protein Powder (use this link for 20% OFF Aloha!). It’s dairy-free, soy-free, and adds a rich chocolate flavor without any artificial ingredients.
How do I store these brownie balls?
Keep them stored in an airtight container in the fridge for up to 1 week, or freeze for longer storage—just let them thaw for a few minutes before enjoying!
Sam’s Recipe Tips
- Soak your dates if they’re dry or firm. Just 10 minutes in hot water makes them easier to blend.
- Chill the dough if it’s too soft to roll into balls. Even 10 minutes in the fridge can help.
- Use parchment paper when dipping the balls in chocolate to avoid sticking and messy cleanup.
- Add toppings like crushed nuts, flaky sea salt, or shredded coconut to the chocolate coating before it sets for a decorative (and delicious) twist.

Healthy No-Bake Brownie Balls
Equipment
- 1 food processor or high speed blender
- 1 small bowl
Ingredients
For the brownie balls:
- 1 cup medjool dates pitted
- 1/4 cup almond flour or oat flour
- 1/4 cup chocolate protein powder or cocoa powder
- 1/3 cup almond butter or any nut/seed butter
- 1/2 teaspoon Vanilla Extract optional but recommended
For the chocolate coating:
- 1 cup chocolate chips I used extra dark chocolate chips
- 2 teaspoons coconut oil
Instructions
- Add all brownie ball ingredients to a food processor and pulse until a dough form.
- Use a cookie scoop to scoop the mixture, then roll it between palms into a ball. Place the balls on a parchment-lined plate and transfer to the freezer for a few minutes while you make the chocolate coating.
- Make the chocolate coating by melting together the chocolate chips and coconut oil in either a microwave or over a double boiler until completely smooth.
- Remove the brownie balls from the freezer, dip each ball into the chocolate until it’s evenly coated, then place them back on the parchment-lined plate. Transfer the chocolate coated brownie balls to the fridge for about 30 minutes, or until the chocolate has hardened. Either enjoy right away or store in the fridge for later.