Tag

no bake

Browsing

Summer’s almost here, and so is the most fun, refreshing, healthy treat you’ll make all season! This frozen yogurt bark is creamy Greek yogurt swirled with your favorite fruit jam, loaded with fresh berries and a generous handful of crunchy chopped nuts, frozen solid, and broken into gorgeous pieces that look like they came from a fancy dessert shop. It tastes like ice cream, takes about 10 minutes of actual effort, and is healthy enough to eat for breakfast. Truly, what more could you ask for?!

I love making this with my toddler – he goes absolutely crazy for it, and I love that he thinks he’s eating a special treat while I know it’s just Greek yogurt and fruit! If you love easy no-bake summer recipes, this one belongs in your rotation alongside my Cottage Cheese Ice Cream and High-Protein Froyo Bites for the ultimate freezer snack lineup.

Why You’ll Love This Frozen Yogurt Bark

  • It tastes like ice cream! Cold, creamy, sweet, and loaded with fruit – frozen yogurt bark genuinely hits the same spot as a bowl of ice cream, but it’s made with wholesome ingredients you can feel great about.
  • 10 minutes of prep, NO baking. Spread, swirl, sprinkle, freeze. That’s the entire recipe. No oven, no heat, no complicated steps – just a sheet pan and your freezer.
  • Gluten-free and endlessly customizable. This recipe is naturally gluten-free, and the toppings are entirely up to you. Different jams, different fruits, different nuts – every batch can be a little different.
  • The perfect healthy summer treat. Great for kids, great for adults, great for parties and cookouts and afternoons by the pool!
  • Great for meal prep. Make a big batch on Sunday and keep it in the freezer all week. It’s ready whenever you want a cool, sweet treat – no thawing, no prep, just grab a piece and enjoy.
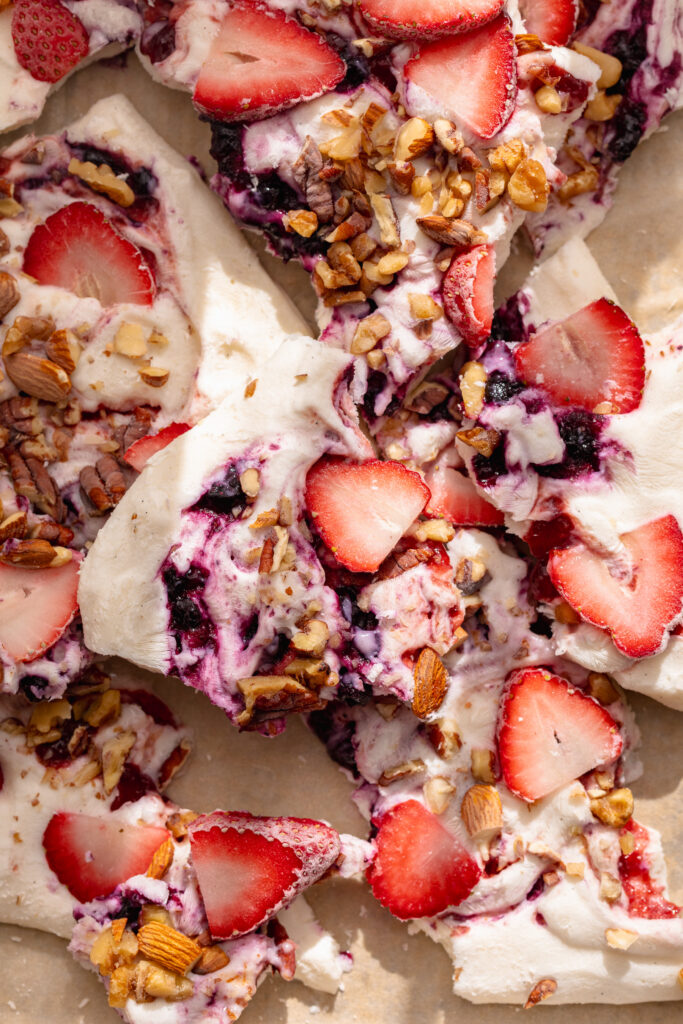
frozen yogurt bark broken into pieces on a tray.

Frequently Asked Questions

What is the best type of yogurt to use for frozen yogurt bark?

Full-fat Greek yogurt is the best choice for frozen yogurt bark, hands down. The higher fat content gives you a creamier, less icy texture once frozen — low-fat or fat-free yogurts tend to freeze much icier and harder, which can make the bark difficult to bite into. Any flavor of Greek yogurt works great here! Vanilla, strawberry, blueberry, or plain are all delicious — if using plain, stir in 2–3 tablespoons of honey or maple syrup and a splash of vanilla extract to sweeten it before spreading.

How long does this stay good in the freezer?

Frozen yogurt bark keeps well in the freezer for up to 1 month stored in an airtight container or zip-lock freezer bag. For easy grabbing, layer pieces between sheets of parchment paper so they don’t stick together. Give it a minute or two at room temperature before eating — it softens quickly and the texture is best when it’s slightly thawed rather than rock solid.

What else can I add?

So many things! This recipe is endlessly customizable. Try drizzling melted chocolate or peanut butter over the top before freezing for an extra indulgent touch. Mini chocolate chips are always a hit. Granola adds a fantastic crunch and makes it feel a little more like a breakfast bark. Shredded coconut adds a lovely tropical chewiness. Other fresh or frozen fruits like mango, kiwi, raspberries, or blackberries all work beautifully. For a more dessert-forward version, swirl in Nutella instead of jam. And a pinch of flaky sea salt on top takes everything to another level.

Can I make dairy-free frozen yogurt bark?

Absolutely! Simply swap the Greek yogurt for your favorite thick, plain dairy-free yogurt. Coconut yogurt works especially well — it’s naturally thick, rich, and creamy, and freezes beautifully with minimal iciness. Oat milk yogurt and cashew yogurt are also great options. Just make sure to choose an unsweetened or lightly sweetened variety since the jam and toppings will add their own sweetness.

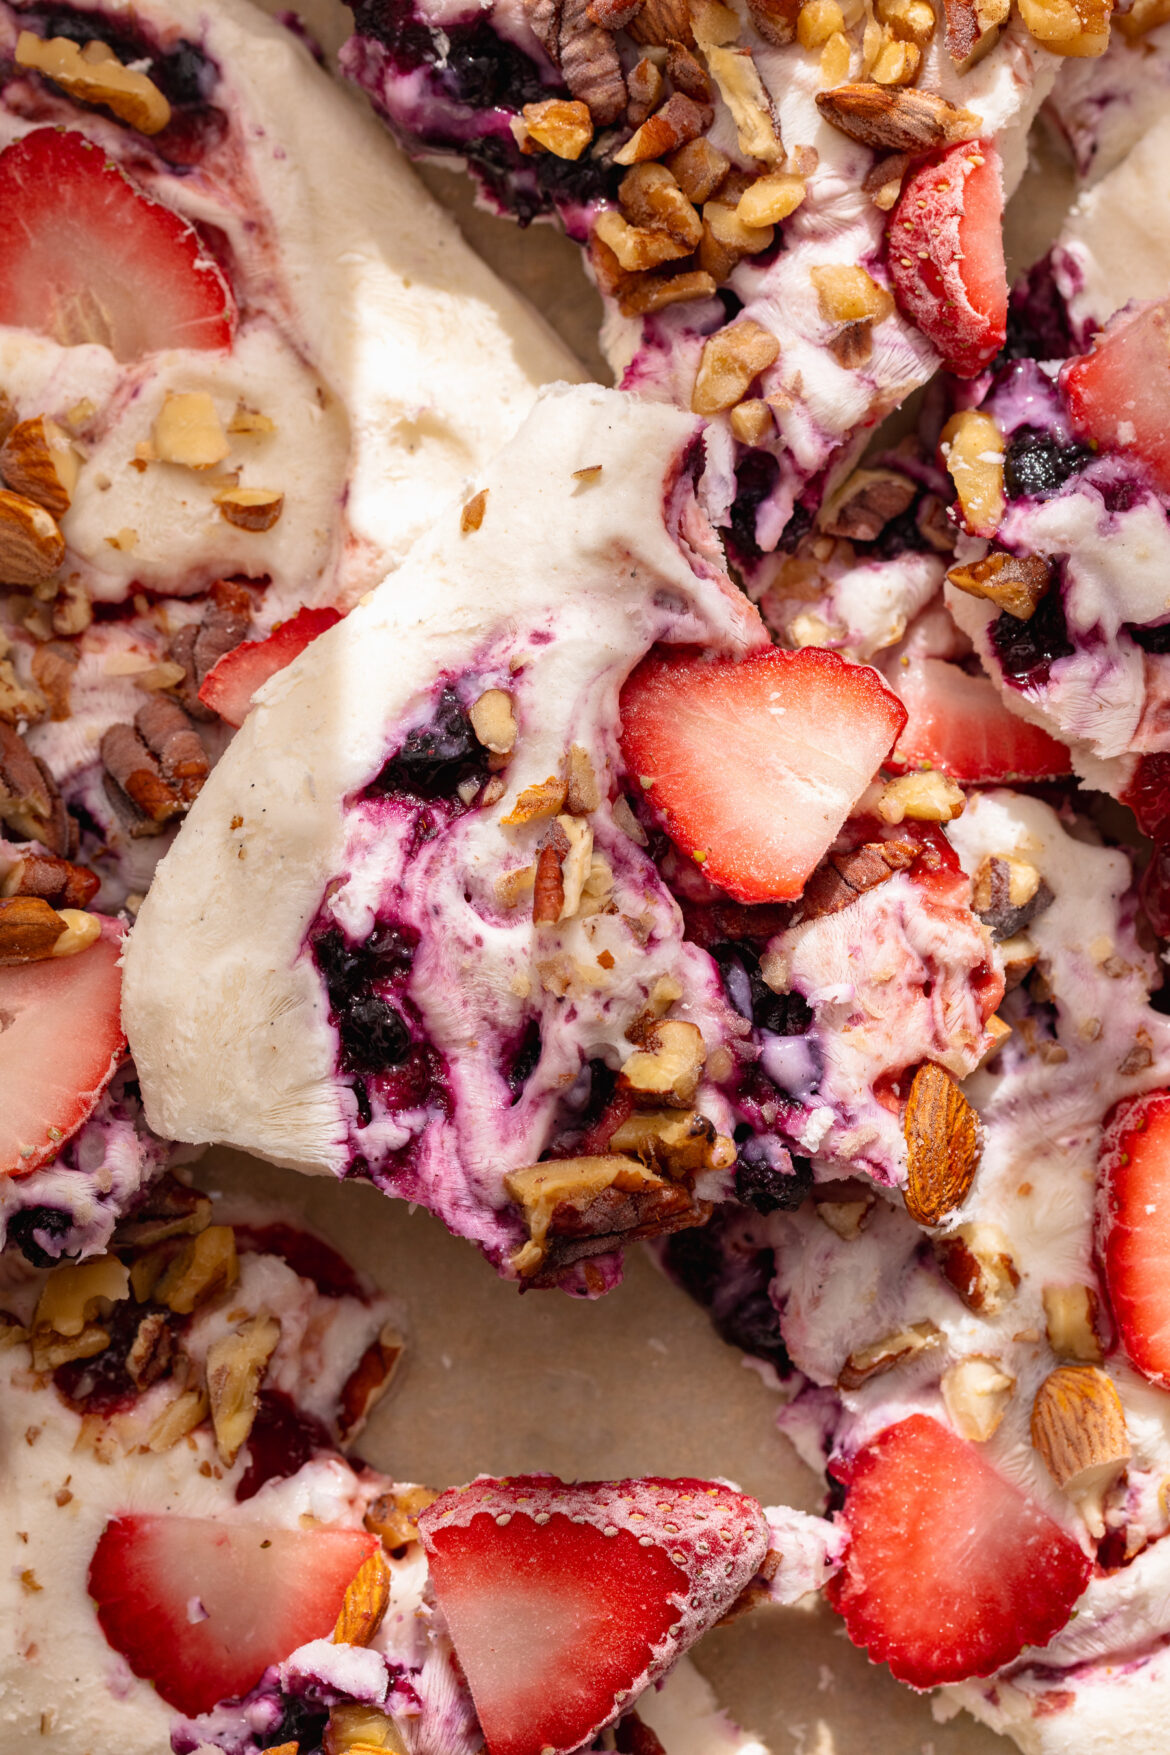
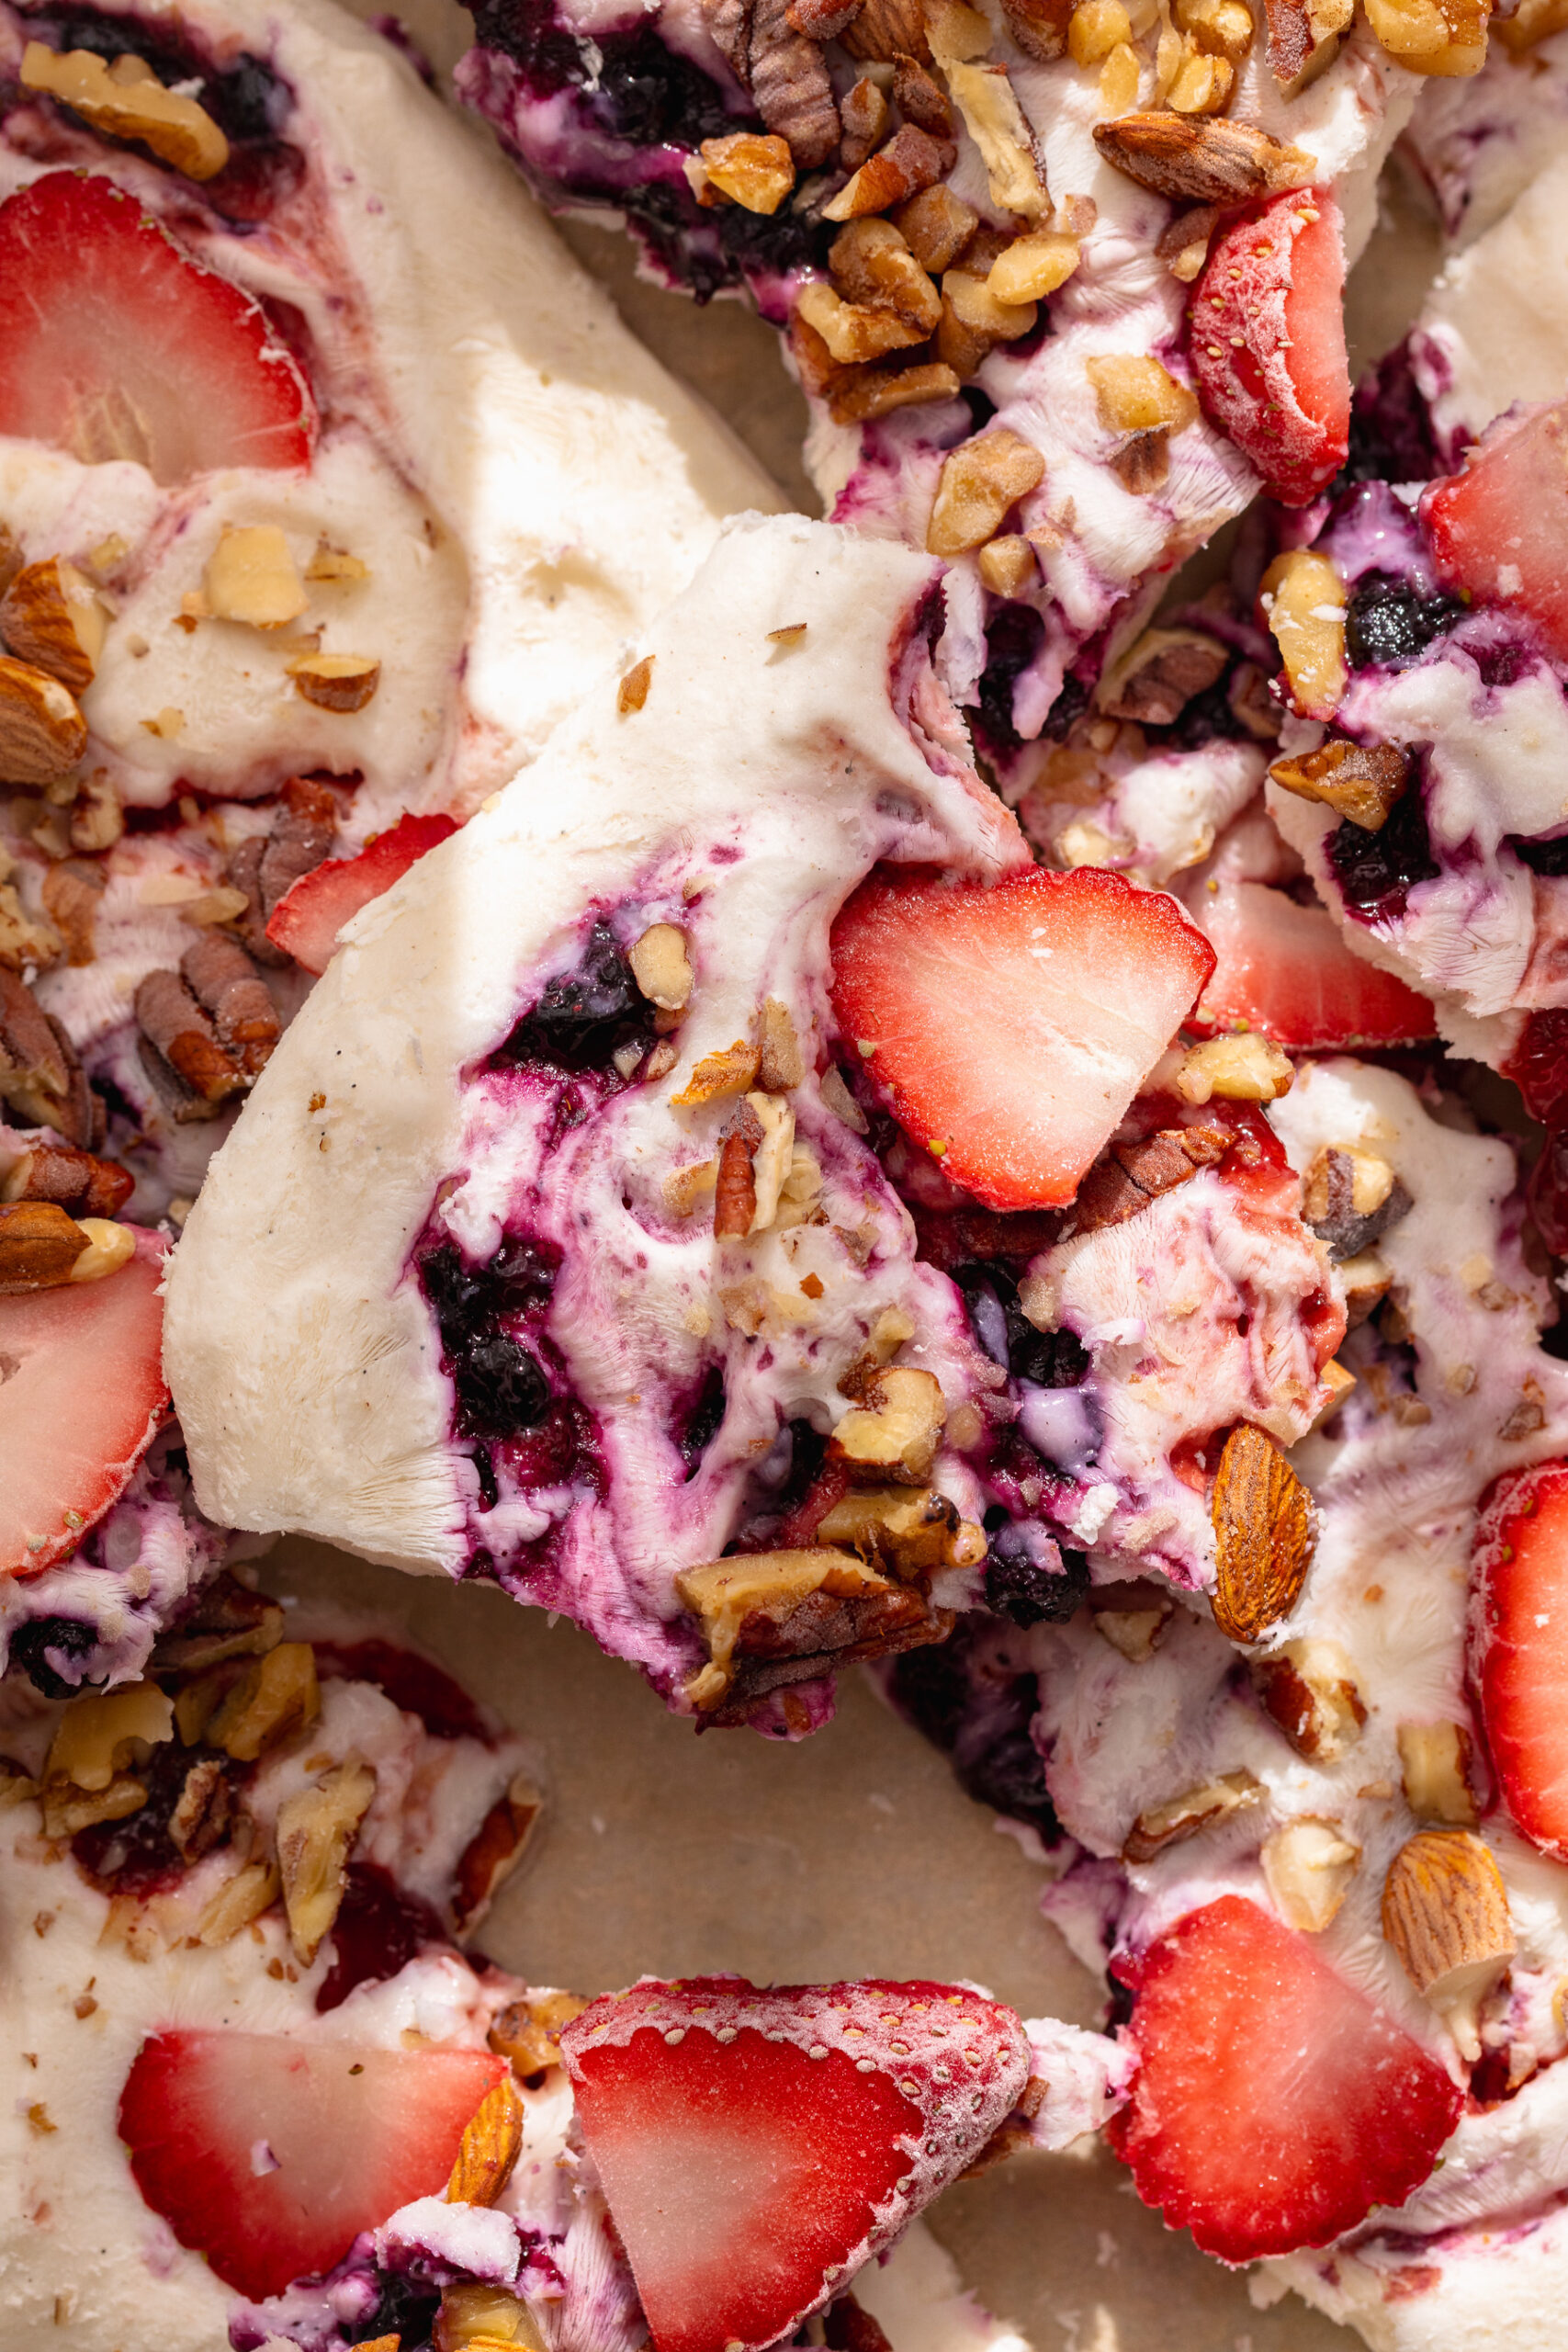
close up image a piece of frozen yogurt bark with fresh strawberries on top.
5 from 1 vote

Easy & Healthy Frozen Yogurt Bark

This frozen yogurt bark is a creamy, colorful summer treat made with vanilla Greek yogurt, swirled with fruit jam, and loaded with fresh berries, and crunchy nuts! It takes just 10 minutes to prep, NO baking, and tastes like ice cream. An easy, healthy frozen yogurt bark recipe that's as beautiful as it is delicious!
Print Pin Rate
Prep Time: 10 minutes
Freeze Time: 1 hour
Total Time: 1 hour 10 minutes
Servings: 12 pieces

Equipment

  • 1 9×14-inch baking dish

Ingredients

  • 1 (32-ounce) container Greek yogurt I used vanilla Greek yogurt
  • 1/4 cup fruit jam
  • 1/2 cup fresh berries
  • 1 cup nuts chopped

Instructions

  • Line a 9×14-inch baking sheet with parchment paper. Spread the Greek yogurt into an even layer on the baking sheet.
  • Scoop dollops of fruit jam all over the top of the yogurt, and swirl it into the yogurt with a butter knife.
  • Sprinkle the berries and chopped nuts on top of the yogurt in an even layer. Then, transfer the yogurt to the freezer for about 4 hours, or until it’s frozen solid.
  • Remove the bark from the freezer, break it into pieces and either enjoy right away or store it in an airtight container in the freezer for later!

Nutrition

Serving: 1serving | Calories: 145kcal | Carbohydrates: 22g | Protein: 6g | Fat: 4g | Fiber: 1g | Sugar: 14g

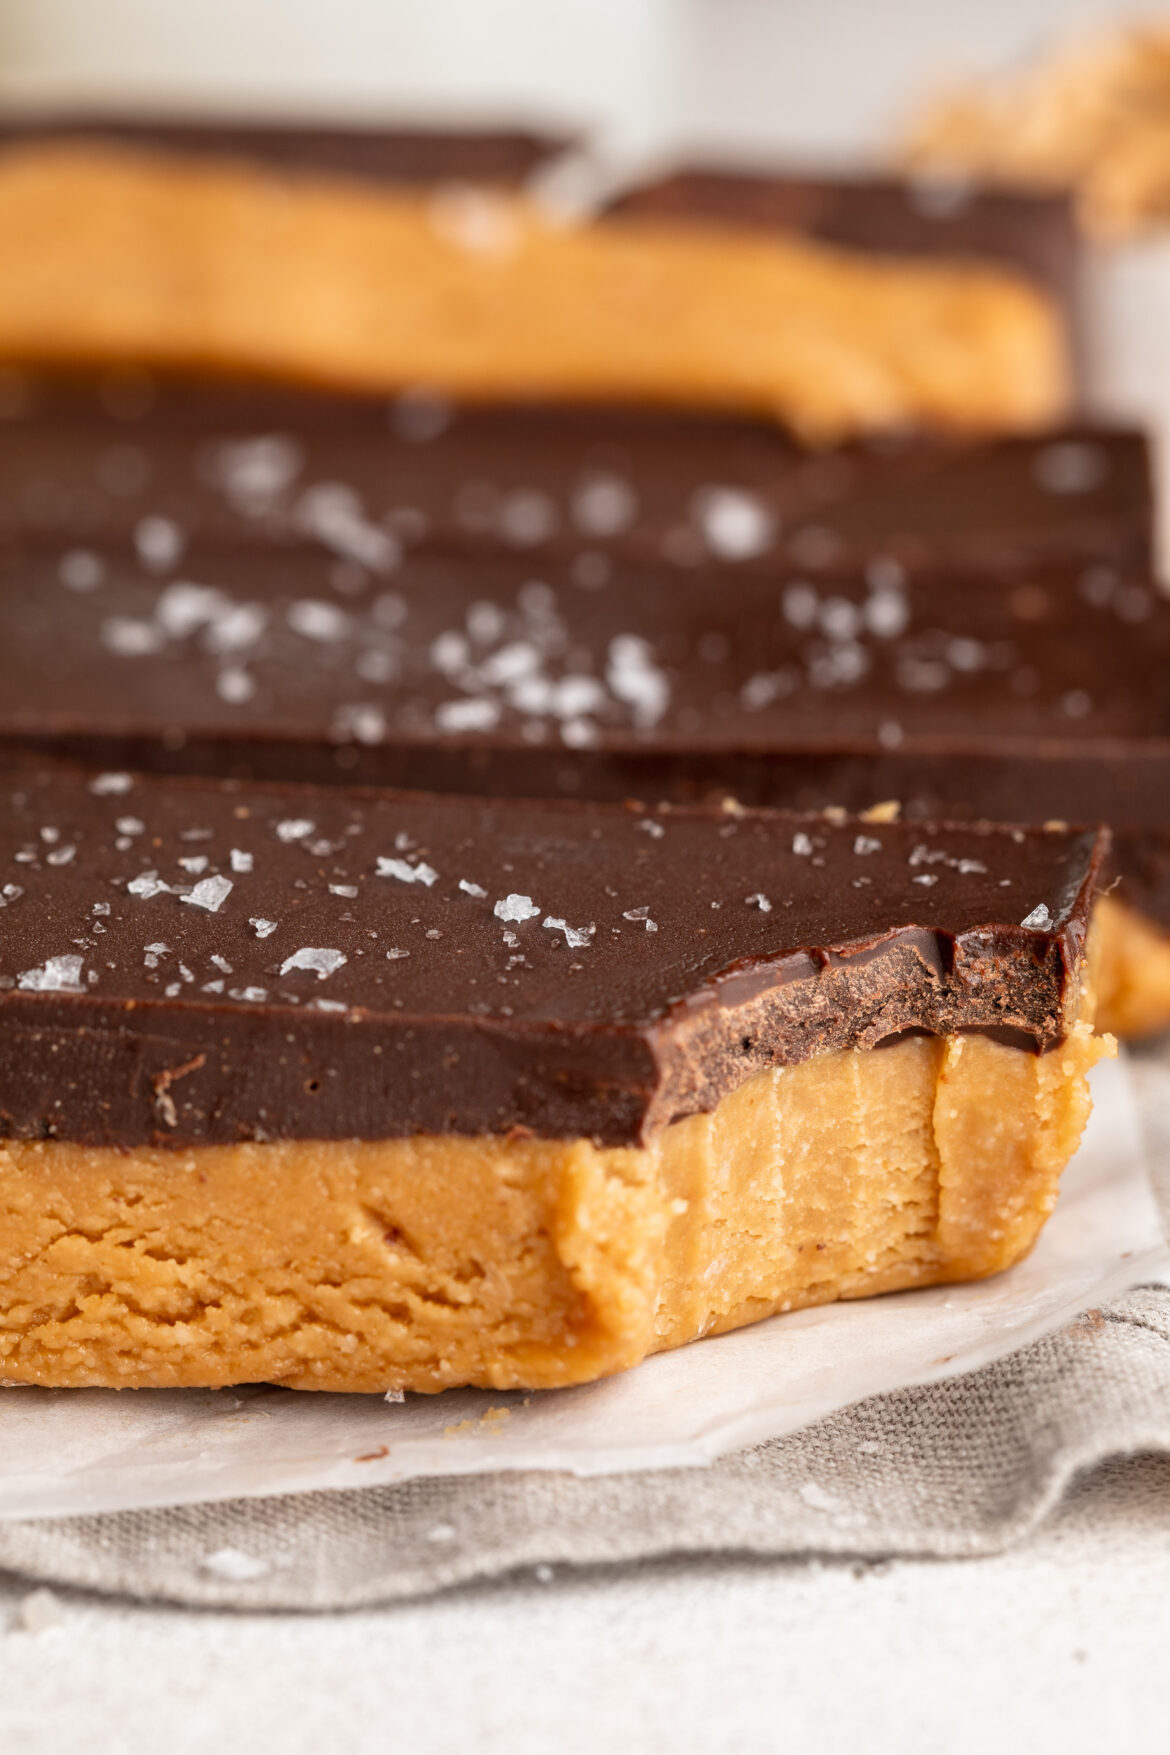
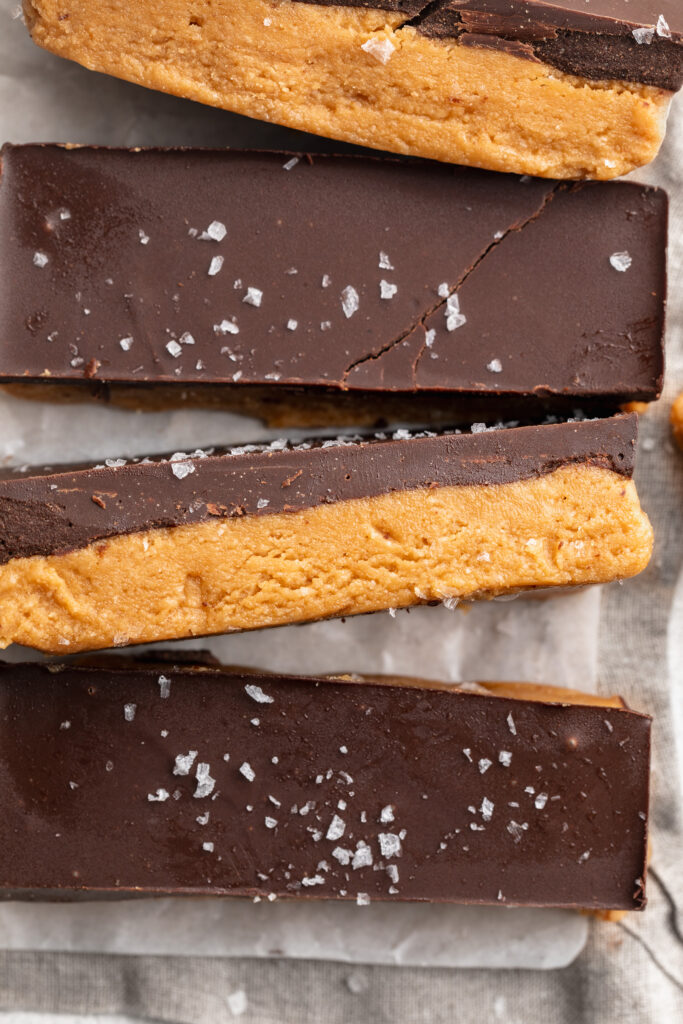
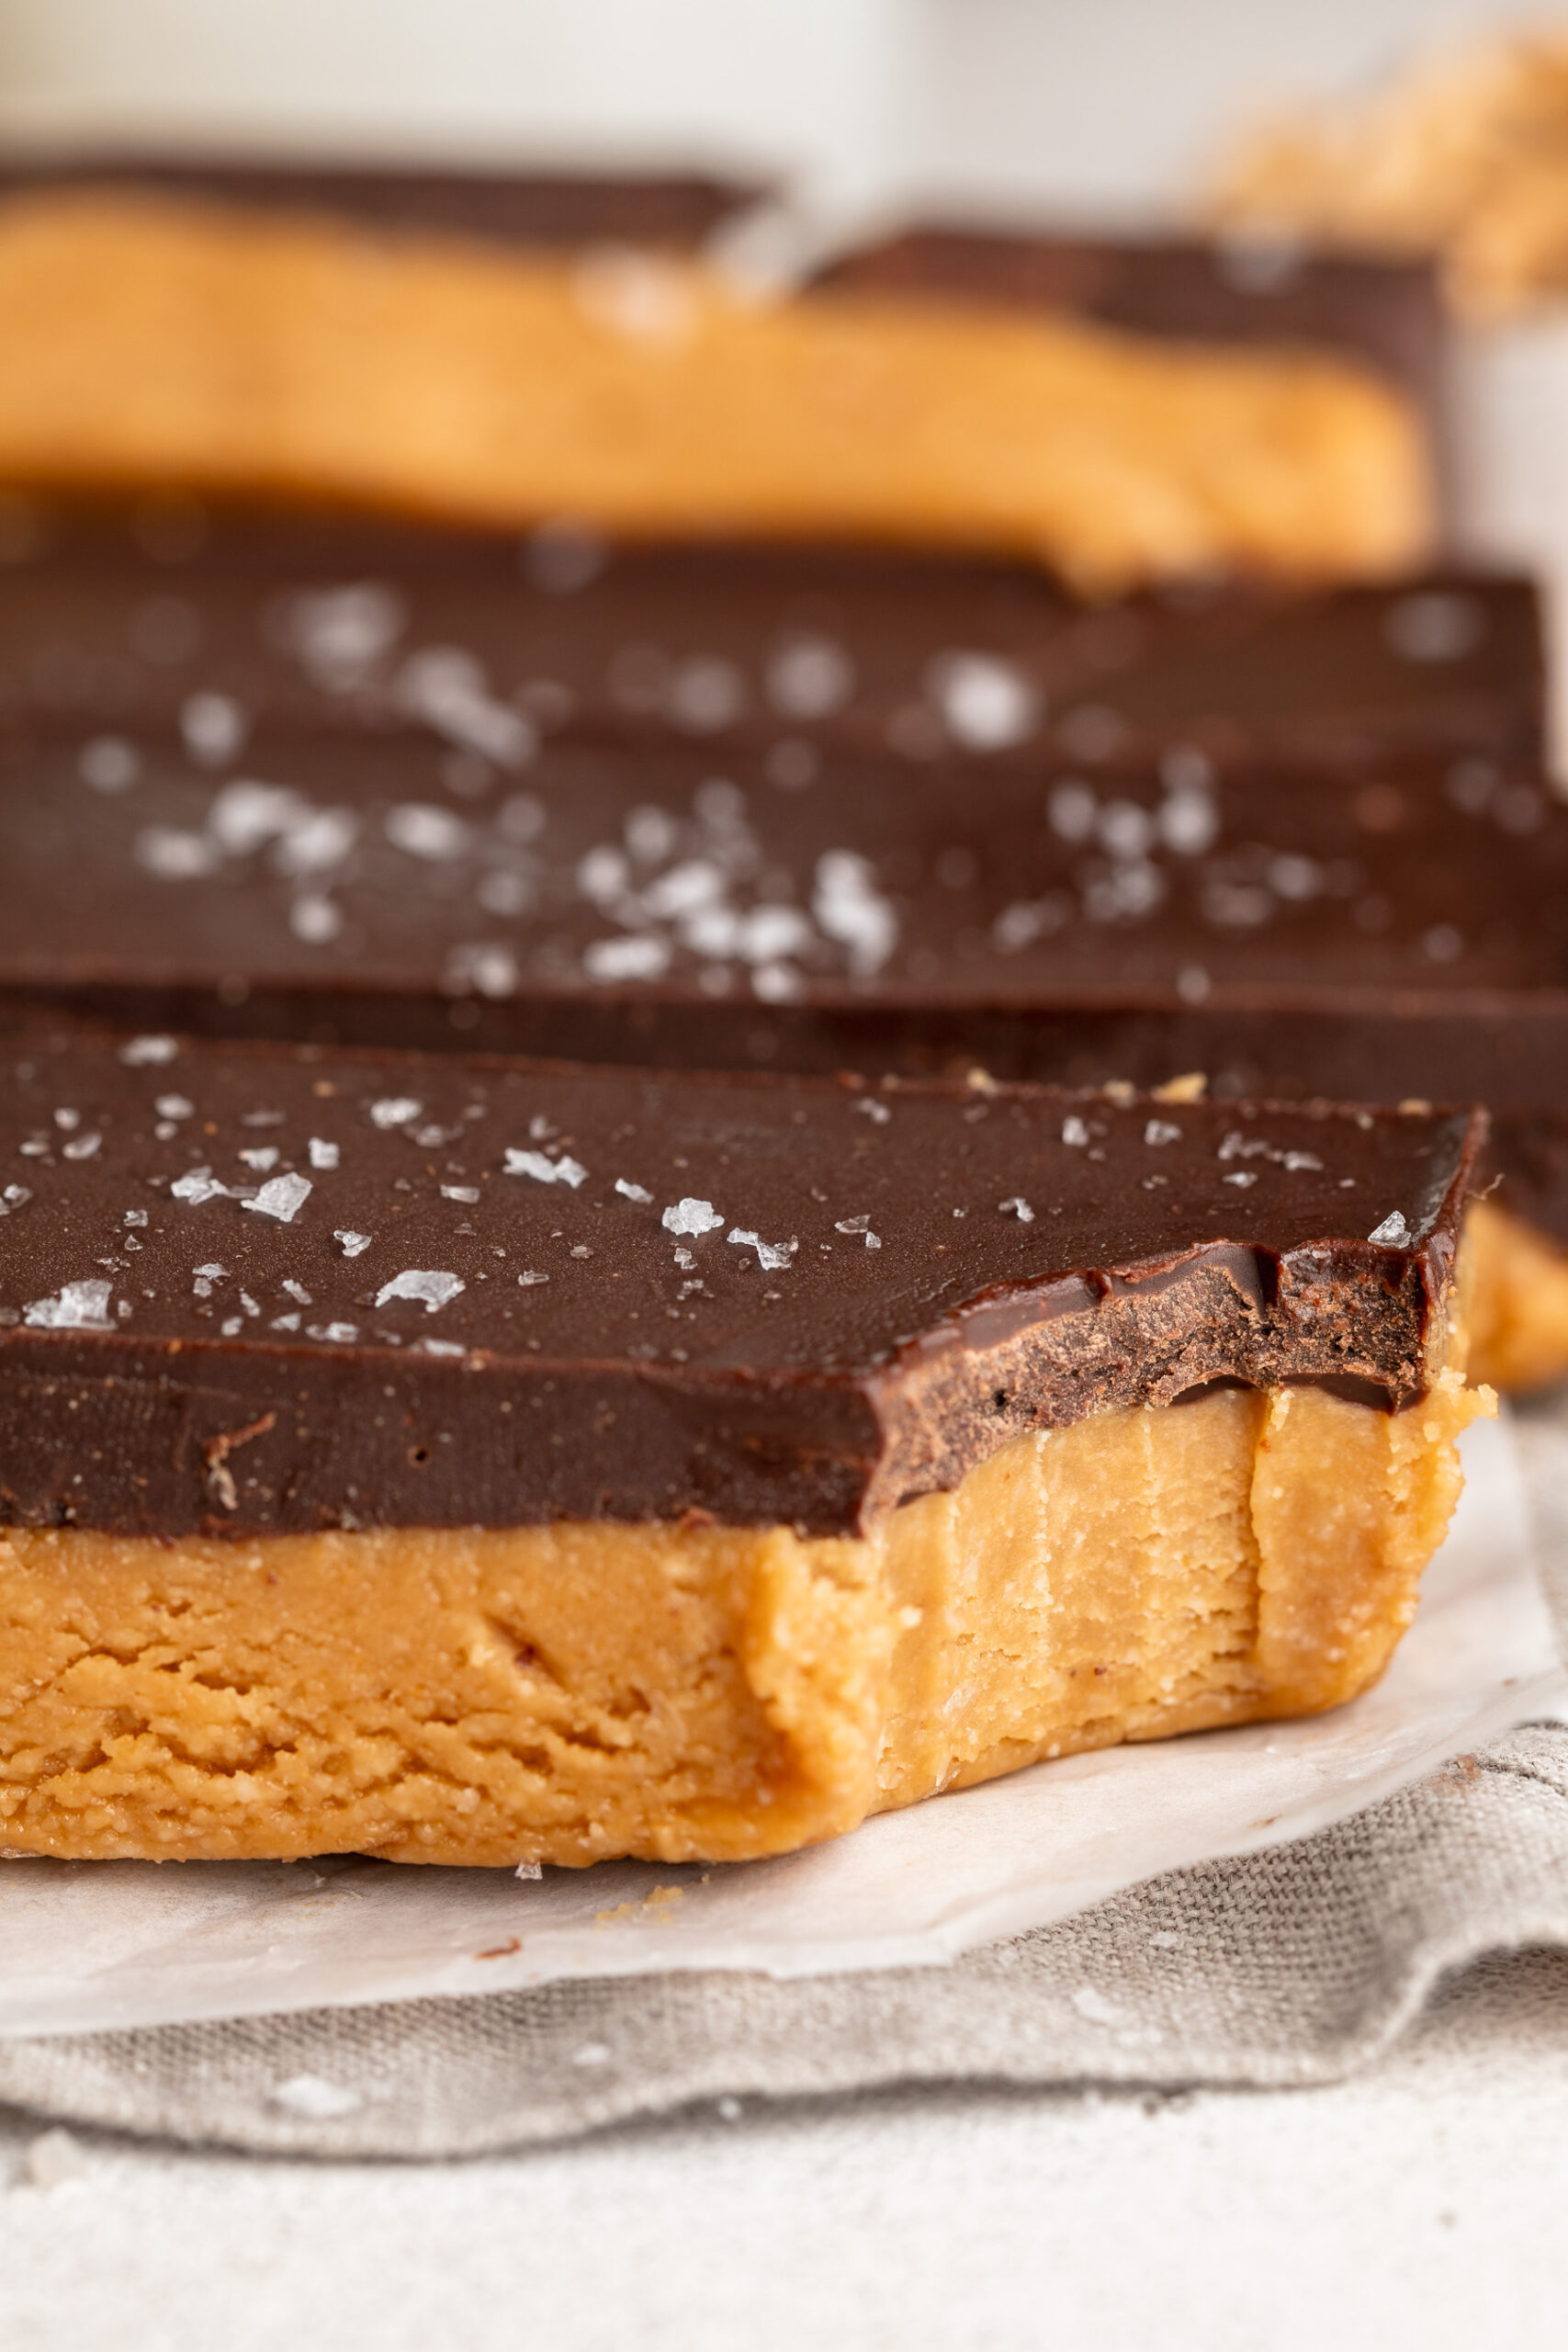
If you love Reese’s peanut butter cups (and honestly, who doesn’t?!) these healthy peanut butter bars are about to become your new favorite treat! A thick peanut butter base topped with a smooth chocolate-peanut butter layer, sliced into individual bars. They taste like a giant peanut butter cup, but made with just 4 better-for-you ingredients. Entirely no-bake, and even gluten-free, dairy-free, and refined sugar-free!

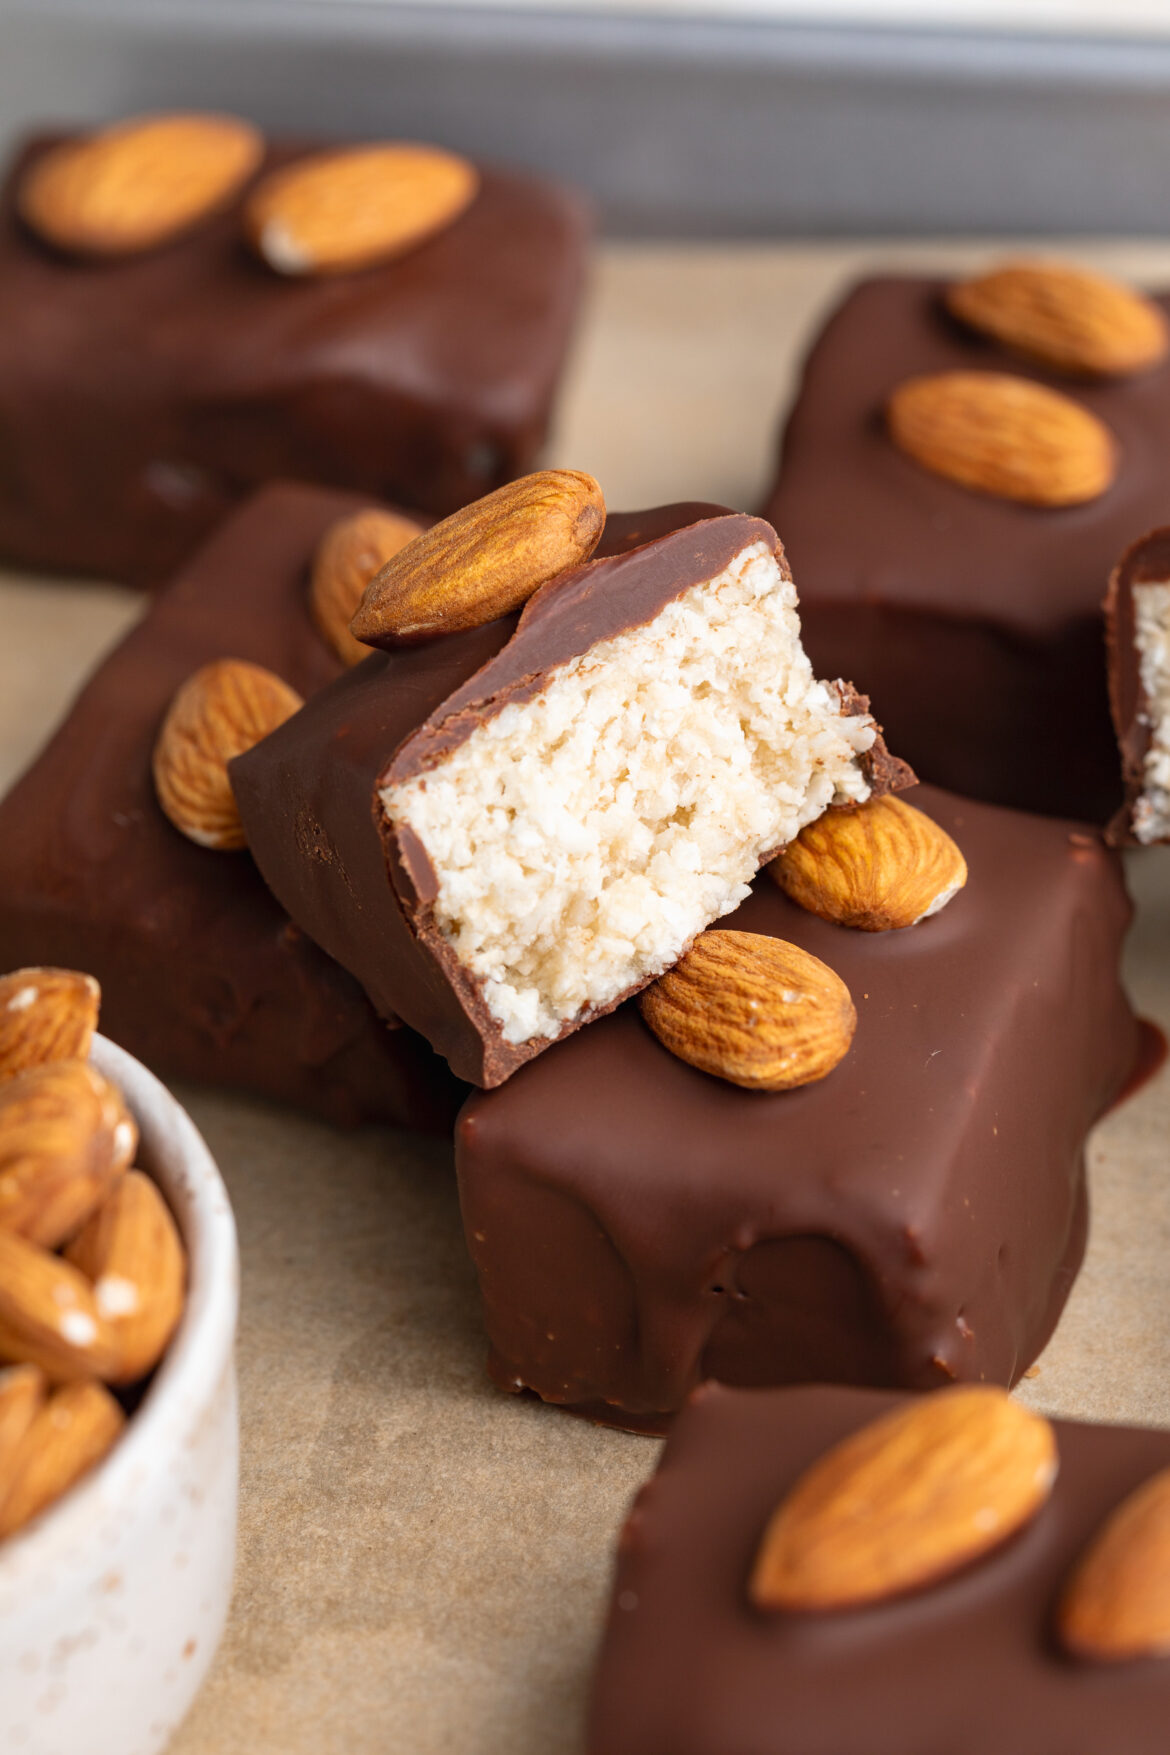
I keep a batch of these in my freezer at all times – right alongside my 4-Ingredient Healthy Date Caramels and 6-Ingredient Healthy Snickers – perfect for when I’m craving a little something sweet. These bars take about 10 minutes to make, and then the freezer does the rest!

healthy peanut butter cup bars sliced with flaky salt on top.

Why You’ll Love These Healthy Peanut Butter Cup Bars

  • Just 4 ingredients. Peanut butter, almond or oat flour, maple syrup, and chocolate chips. That’s the whole list – no powdered sugar, no butter, no overly processed ingredients!
  • No-bake and incredibly easy. Mix, press, pour, chill. There’s no oven involved, no special equipment, and no complicated steps.
  • Gluten-free and dairy-free. Made with almond or oat flour and dairy-free chocolate chips, these bars work for almost every diet.
  • Refined sugar-free. Naturally sweetened with maple syrup – just enough to bring out the best in that peanut butter flavor without going overboard.
  • A healthy sweet treat everyone loves! Kids, adults, healthy-dessert-skeptics, chocolate-lovers – these bars are everyone’s favorite. They taste like dessert but are made with real, healthier ingredients.
  • Great for meal prep. Make a batch on Sunday, slice into bars, and store in the fridge or freezer for a ready-to-grab treat all week long.

Frequently Asked Questions

Can I freeze these peanut butter bars?

Absolutely – and I highly recommend it! These bars freeze beautifully and are honestly even better straight from the freezer. Freeze in the pan until completely set, then slice and store in an airtight freezer-safe container or zip-lock bag for up to 3 months. When you’re ready to eat one, let it sit at room temperature for 5 minutes or enjoy it cold — both are delicious. For easy grab-and-go portions, layer the bars between sheets of parchment paper so they don’t stick together.

What can I use instead of almond flour?

Oat flour is the best swap – use the same amount (1 cup) and the bars will come out just as thick and fudgy. You can make your own oat flour by blending rolled oats in a food processor until fine. Coconut flour is another option, but it absorbs more moisture than almond or oat flour, so you’ll want to use less — start with ¼ cup and adjust from there. If the mixture feels too dry, add an extra tablespoon or two of peanut butter to bring it together.

How much protein does each bar contain?

Each bar contains approximately 6–7 grams of protein, primarily from the natural peanut butter and almond flour. For an extra protein boost, you can stir a scoop of vanilla protein powder into the peanut butter base — just reduce the almond flour slightly so the texture stays right. My 4-Ingredient Protein Reese’s Eggs use a similar method if you want an even higher-protein peanut butter chocolate treat!

close up image of a bite taken out of a healthy peanut butter cup bars.
5 from 4 votes

Healthy Peanut Butter Cup Bars

These healthy peanut butter bars are a no-bake, 4-ingredient treat that tastes exactly like a giant peanut butter cup! With a thick, fudgy peanut butter base and a smooth chocolate-peanut butter layer on top – they're gluten-free, dairy-free, refined sugar-free, and come together in just 10 minutes. If you're looking for an easy healthy peanut butter bar recipe that's as delicious as it is healthy, this is it!
Print Pin Rate
Prep Time: 10 minutes
Freeze Time: 1 hour
Total Time: 1 hour 10 minutes
Servings: 12 servings

Equipment

  • 1 9×4-inch loaf pan
  • 1 large bowl
  • 1 small bowl

Ingredients

For the peanut butter layer:

  • 1 cup creamy peanut butter unsweetend
  • 1 cup almond flour or oat flour
  • 1/4 cup maple syrup
  • 1 teaspoon vanilla extract optional

For the chocolate layer:

  • 1 cup chocolate chips
  • 1/4 cup creamy peanut butter unsweetened

Instructions

  • Line a 9×4-inch baking pan with parchment paper.
  • Make the peanut butter layer by mixing together the peanut butter, almond or oat flour, maple syrup, and vanilla extract (if using) in a large bowl.
  • Transfer the peanut butter mixture to your prepared baking pan and press it into an even layer in the pan.
  • Make the chocolate layer by melting the chocolate chips and peanut butter in either the microwave or over a double boiler until completely smooth. Pour the melted chocolate mixture on top of the peanut butter layer and spread until it’s smooth and even.
  • Chill the bars in the freezer for one hour, then remove and slice into small bars.

Nutrition

Serving: 1serving | Calories: 265kcal | Carbohydrates: 18g | Protein: 4g | Fat: 19g | Fiber: 2g | Sugar: 10g

If you loved my Cottage Cheese Cookie Dough, get ready — because this cottage cheese brownie batter is about to be your new obsession. Same concept, same creamy no-bake magic, but make it chocolate. We’re blending cottage cheese until it’s completely smooth (so you’d never know it’s in there!), then mixing in almond flour and chocolate protein powder for a thick, fudgy, brownie batter-like treat that’s packed with protein and ready in just 5 minutes!

And yes — it really does taste like brownie batter. Rich, chocolatey, and superrrr satisfying! Whether you eat it straight from the bowl with a spoon (trust me, I don’t judge), or use it as a dip for strawberries and pretzels, I promise you’re going to be making this on repeat. For more no-bake chocolate treats, you’ll also love my 4-Ingredient Protein Brownies and 3-Ingredient Protein Cookies!

Why You’ll Love This Recipe

  • High-Protein & Satisfying: Packed with protein from cottage cheese and chocolate protein powder, this brownie batter keeps you full and fueled — not just for a minute, but for real.
  • Quick & Easy: No baking, no cooking, no fuss. Just blend, mix, and dig in. Start to finish in 5 minutes.
  • Wholesome Ingredients: Made with simple, real-food ingredients that you can feel great about eating. No refined sugar – simply delicious!
  • Two Ways to Make It: Use chocolate protein powder for a protein boost, or swap in unsweetened cocoa powder if you prefer to keep it protein powder-free. Both versions are incredible!
overhead image of cottage cheese brownie batter in a small dish with a spoon.

What Makes This Cottage Cheese Brownie Batter Healthy?

This brownie batter is a genuinely nourishing treat, not just a “better than nothing” swap. Cottage cheese is the star ingredient, delivering a creamy texture along with a solid dose of protein and calcium — all without any of the heavy cream, butter, or eggs you’d find in traditional brownie batter. Maple syrup keeps the sweetness natural and free of refined sugar, while almond flour adds healthy fats, fiber, and a subtle nuttiness that perfectly complements the chocolate. Fold in some chocolate chips at the end and you’ve got something that feels indulgent but is actually doing something good for your body.

Recipe Substitutions

  • Almond Flour: Swap with oat flour or coconut flour if needed. If using coconut flour, start with just ¼ cup — it absorbs a lot more moisture than almond flour.
  • Maple Syrup: Honey, agave nectar, or any other liquid sweetener you love all work great here.
  • Chocolate Protein Powder: No protein powder? No problem! Use 2 tablespoons of unsweetened cocoa powder instead. The batter will be slightly less thick but just as chocolatey and delicious.
  • Chocolate Chips: Cacao nibs or dairy-free chocolate chips work perfectly if you need a dairy-free version.

Adjust This Recipe to Your Dietary Needs

  • Dairy-Free: Swap the cottage cheese for a thick, plain dairy-free yogurt (like coconut or cashew-based) and use dairy-free chocolate chips.
  • Nut-Free: Replace the almond flour with oat flour and make sure your chocolate chips are processed in a nut-free facility.
  • Keto-Friendly: Use a sugar-free liquid sweetener like monk fruit syrup in place of maple syrup, opt for low-carb chocolate chips, and swap almond flour for coconut flour.
  • Extra Protein: Use a high-quality chocolate protein powder instead of cocoa powder to bump the protein content up even further!
cottage cheese brownie batter scooped into a small cup.
No ratings yet

Cottage Cheese Brownie Batter

This cottage cheese brownie batter is a high-protein, no-bake treat that tastes just like the real thing – rich, fudgy, and deeply chocolatey but made with wholesome ingredients! Ready in just 5 minutes with 5 simple ingredients, it's the easiest healthy dessert you'll ever make. If you're looking for a healthier way to satisfy your chocolate cravings, this is the recipe you've been waiting for!
Print Pin Rate
Prep Time: 5 minutes
Total Time: 5 minutes
Servings: 6 servings

Equipment

  • 1 food processor or high speed blender
  • 1 small bowl

Ingredients

  • 1 cup cottage cheese
  • 1/4 cup maple syrup
  • 1 teaspoon vanilla extract optional
  • 1 cup almond flour
  • 1 scoop chocolate protein powder or 2 tablespoons cocoa powder
  • 1/2 cup chocolate chips

Instructions

  • Add the cottage cheese, maple syrup, and vanilla extract to a blender or food processor and blend until completely smooth.
  • Transfer the cottage cheese mixture to a bowl and mix in the almond flour and chocolate protein powder, then fold in the chocolate chips.
  • Serve immediately or store in an airtight container in the fridge for up to 5 days.

Nutrition

Serving: 1serving | Calories: 250kcal | Carbohydrates: 21g | Protein: 12g | Fat: 14g | Fiber: 3g | Sugar: 13g

The iconic spring time candy just got a major protein upgrade! Now I LOVE a Reese’s egg. Yes, even more than a peanut butter cup – the ratio of peanut butter to chocolate is simply so much better. But I don’t love the ingredients in a Reese’s egg. Which is exactly why I developed these protein Reese’s eggs. Just 4 ingredients, NO baking, high in protein, and super easy to make. And if you like this recipe, then you gotta give my healthy strawberry peanut butter cups a try this summer! Just as delicious and easy to make. 🙂

Why You’ll Love These Protein Reese’s Eggs

  • Just 4 ingredients. Peanut butter, vanilla protein powder, chocolate chips, and coconut oil. That’s the whole list — no powdered sugar, no fillers, no ingredients you can’t pronounce!
  • 8 grams of protein per egg. Every single egg pulls its weight. That’s more protein than most protein bars, in something that tastes like candy.
  • WAY healthier than the real thing. Store-bought Reese’s Eggs are packed with refined sugar, hydrogenated oils, and a long list of additives. These are made with real, wholesome ingredients you can actually feel good about eating.
  • No bake and SO easy. Mix, shape, freeze, dip. That’s the entire process. Prep time is under 10 minutes.
  • Perfect for Easter — or any time of year. Yes, these are egg-shaped and perfect for Easter baskets, but honestly I keep a batch in my freezer year-round. They’re that good.
  • Completely customizable. Use whatever chocolate you love — dark, semi-sweet, or sugar-free. Swap peanut butter for almond butter. Have fun and make them your own!
overhead image of protein reese's eggs with flaky salt on top.

Frequently Asked Questions

How much protein does each Reese’s Egg contain?

Each egg contains approximately 8 grams of protein, primarily from the vanilla protein powder and natural peanut butter. That’s a significant upgrade from store-bought Reese’s Eggs, which contain less than 3 grams of protein per egg. It also means these make a genuinely satisfying snack — not just a treat — that will actually keep you full!

Can I make these sugar-free?

Yes! This recipe is already very low in added sugar since the only sweetener comes from the protein powder and whatever is naturally present in your chocolate chips. To make them completely sugar-free, simply swap the chocolate chips for a sugar-free variety like Lily’s (sweetened with stevia) or Hu Kitchen chocolate (sweetened with coconut sugar, which is lower on the glycemic index). The peanut butter filling itself contains zero added sugar as long as you’re using an unsweetened, natural peanut butter.

What can I use instead of protein powder?

If you don’t have protein powder or prefer not to use it, there are a few great swaps. Coconut flour is the most popular alternative — use 2–3 tablespoons (it absorbs more moisture than protein powder, so use less). Almond flour also works well; use about 3–4 tablespoons for a similar texture. Keep in mind that skipping the protein powder will lower the protein content per egg significantly, but the flavor will still be delicious!

Tips for the Best Protein Reese’s Eggs

  • Use natural, drippy peanut butter. The kind where the oil separates at the top is ideal. Avoid thick, sugar-added peanut butters – they make the filling too stiff and overly sweet.
  • Don’t skip the freeze before dipping. Cold eggs = fast chocolate set = a cleaner, smoother shell. If the eggs aren’t frozen solid when you dip them, the chocolate will slide right off and pool on the parchment.
  • Add flaky sea salt on top. I know I already said it, but it genuinely takes these to another level. The saltiness against the sweet chocolate is everythingggg!
  • Use a fork for dipping. It gives you control and lets the excess chocolate drip off cleanly. If you have dipping tools, even better!
  • Make a double batch. These store in the freezer for up to 3 months in an airtight container. Future you will thank you!

More High-Protein Treats You’ll Love

Made these? I want to see them! Tag me on Instagram @samdoesherbest or TikTok @samdoesherbest — chocolate-covered creations always get a reshare. And if you loved this recipe, please leave a ⭐⭐⭐⭐⭐ rating below. It helps so much!

three protein reese's eggs stacked on top of each other.
5 from 1 vote

4-Ingredient Protein Reese’s Eggs

These 4-Ingredient Protein Reese's Eggs taste just like the classic Easter candy – but with 8 grams of protein per egg! Made with natural peanut butter, vanilla protein powder, chocolate chips, and coconut oil, they come together in just a few minutes with NO baking required. If you're looking for a healthy Reese's Eggs recipe that actually satisfies your chocolate-peanut butter craving, this is the one!
Print Pin Rate
Prep Time: 10 minutes
Freeze Time: 28 minutes
Total Time: 38 minutes
Servings: 10 eggs

Equipment

  • 2 small bowls
  • 1 small baking sheet

Ingredients

Peanut butter filling:

  • 1/2 cup creamy peanut butter unsweetened
  • 1/3 cup vanilla protein powder

Chocolate coating:

  • 1 cup chocolate chips
  • 1 tablespoon coconut oil

Instructions

  • Mix together the peanut butter and protein powder in a small bowl until a thick dough forms.
  • Scoop about 2 tablespoons of mixture per egg, shape into egg forms and place on a parchment-lined baking sheet. Freeze the eggs for about 10 minutes, or while you make the chocolate coating.
  • Melt the chocolate chips and coconut oil together in either the microwave or over a double boiler until completely smooth.
  • Dip each frozen egg in melted chocolate, coat fully, tap off excess, and return to the parchment-lined baking sheet.
  • Freeze for 10 minutes, or until the chocolate has set. Then, enjoy right away or store in the fridge for later!

Notes

  • Use natural, unsweetened peanut butter for best texture and flavor.
  • Sub coconut flour (2–3 tbsp) or almond flour (3–4 tbsp) in place of protein powder if needed.
  • Store in an airtight container in the fridge for up to 1 week or the freezer for up to 3 months.

Nutrition

Serving: 1egg | Calories: 180kcal | Carbohydrates: 11g | Protein: 8g | Fat: 13g | Fiber: 2g | Sugar: 4g

Quick stats: 15g protein per serving · 3 ingredients · No ice cream maker needed · Ready in 6 hours

If you’ve been on TikTok or Instagram lately, you’ve probably seen cottage cheese ice cream everywhere — and for good reason. This 3-ingredient cottage cheese ice cream is creamy, naturally sweet, packed with protein, and shockingly easy to make. No churning, no ice cream maker, no fancy equipment. Just a blender, a container, and your freezer. If you’re already a fan of my cottage cheese cookie dough, you already know how magical this ingredient can be in a sweet recipe.

I’ve been making this on repeat all summer, and it has completely replaced my store-bought ice cream habit. With 15 grams of protein per serving, it satisfies my sweet tooth and keeps me full — which is honestly the dream. Whether you’re following a high-protein diet, trying to eat a little healthier, or just craving something cold and delicious, this recipe is for you. (And if you’re on a high-protein kick, you’ll also want to bookmark my 4-ingredient protein brownies and 3-ingredient protein cookies — they’re just as easy and just as good.)

Why You’ll Love This Cottage Cheese Ice Cream

  • Only 3 ingredients. Cottage cheese, mixed berries, and a touch of honey or maple syrup. That’s it. No hidden ingredients, no weird additives — just real food!
  • Seriously high in protein. With 15 grams of protein per serving, this ice cream works as hard as you do. It’s the ultimate healthy treat that actually keeps you satisfied.
  • Incredibly easy to make. Toss everything in a blender, pour it into a container, and let the freezer do the work. Prep time is under 5 minutes — I promise!
  • No ice cream maker required! No special equipment needed whatsoever. A blender and a freezer-safe container are all you need.
  • Healthy and wholesome. Made with real ingredients and naturally sweetened, this ice cream is low in added sugar and free from the artificial stuff you find in most store-bought pints.
  • Perfect for satisfying cravings. This isn’t a sad “diet food” situation. It’s genuinely creamy, sweet, and delicious — and it really does taste like ice cream.
three scoop of cottage cheese ice cream in a bowl with a spoon.

Frequently Asked Questions

How much protein does one serving of cottage cheese ice cream contain?

This recipe makes approximately 4 servings, and each serving contains about 15 grams of protein — almost entirely from the cottage cheese. For reference, a serving of traditional ice cream typically has just 3–4 grams of protein. That’s a pretty incredible upgrade for something that tastes this good!

Can I make this added sugar-free?

Absolutely! If you want to skip the added sugar entirely, you have a couple of options. First, you can simply leave out the honey or maple syrup — the natural sweetness from the berries may be enough for you, especially if you’re using ripe, sweet fruit. Alternatively, you can sweeten with a few pitted Medjool dates blended right into the mixture for a completely natural, whole-food sweetener with zero added sugar.

How long does this stay good in the freezer for?

Stored in an airtight container, this cottage cheese ice cream keeps well in the freezer for up to 1 month. For the absolute best texture and flavor, try to enjoy it within the first week or two. Since cottage cheese is high in water content, the ice cream can get a bit icier over time. Just a heads up: every time you pull it out and let it thaw, then refreeze it, the texture can become a little more crystallized, so try to avoid too many thaw-refreeze cycles.

overhead image of cottage cheese chocolate ice cream being scooped out of a container.

Flavor Variations

The beauty of this recipe is how endlessly customizable it is. Once you’ve nailed the base, the flavor possibilities are truly unlimited! Here are some of my favorites:

🍓 Strawberry Cheesecake Swap the mixed berries for 1 cup of fresh or frozen strawberries and add ½ teaspoon of pure vanilla extract. The vanilla plays up the natural tang of the cottage cheese, making it taste incredibly close to strawberry cheesecake.

🍫 Chocolate Berry Add 2 tablespoons of unsweetened cocoa powder to the blender along with your mixed berries. The result is a rich, fudgy chocolate-berry ice cream that feels indulgent but is still packed with protein.

🥜 Peanut Butter & Honey Skip the berries and blend in 2–3 tablespoons of natural peanut butter along with your honey. Stir in a handful of chocolate chips before freezing. This one is wildly addictive.

🍋 Lemon Blueberry Use 1 cup of blueberries (fresh or frozen), swap the honey for maple syrup, and add the zest of one lemon and a tablespoon of lemon juice. Bright, refreshing, and absolutely delicious.

🍑 Peach Mango Replace the mixed berries with ½ cup frozen peaches and ½ cup frozen mango chunks. The tropical sweetness of the mango pairs perfectly with the creamy cottage cheese base.

🍪 Cookies & Cream Skip the berries and blend the cottage cheese with maple syrup and a splash of vanilla. Once the mixture is in your container, stir in crushed chocolate sandwich cookies before freezing. A total crowd-pleaser.

Tips for the Creamiest Cottage Cheese Ice Cream

  • Use full-fat cottage cheese. I know I said it already, but it’s worth repeating — full-fat is non-negotiable if you want creamy (not icy) results.
  • Blend until completely smooth. Don’t rush this step. Blend on high until there are zero lumps or curds remaining. The smoother the base, the creamier the final texture.
  • Let it thaw properly before scooping. Pulling it straight from the freezer will make it rock solid. Give it a full 10 minutes (sometimes more!) on the counter before attempting to scoop.
  • Store it right. Press a piece of plastic wrap directly onto the surface of the ice cream before sealing your container. This helps prevent ice crystals from forming on top.
  • Try it in a Ninja Creami. If you have one, this recipe works amazingly well in the Ninja Creami. Freeze the blended mixture overnight, then run it through the Creami for an ultra-creamy, soft-serve-like texture.

Made this recipe? I’d love to see it! Tag me on Instagram @samdoesherbest or TikTok @samdoesherbest — I repost my favorites! And if you loved it, please leave a ⭐⭐⭐⭐⭐ rating below. It means the world and helps other readers find this recipe!

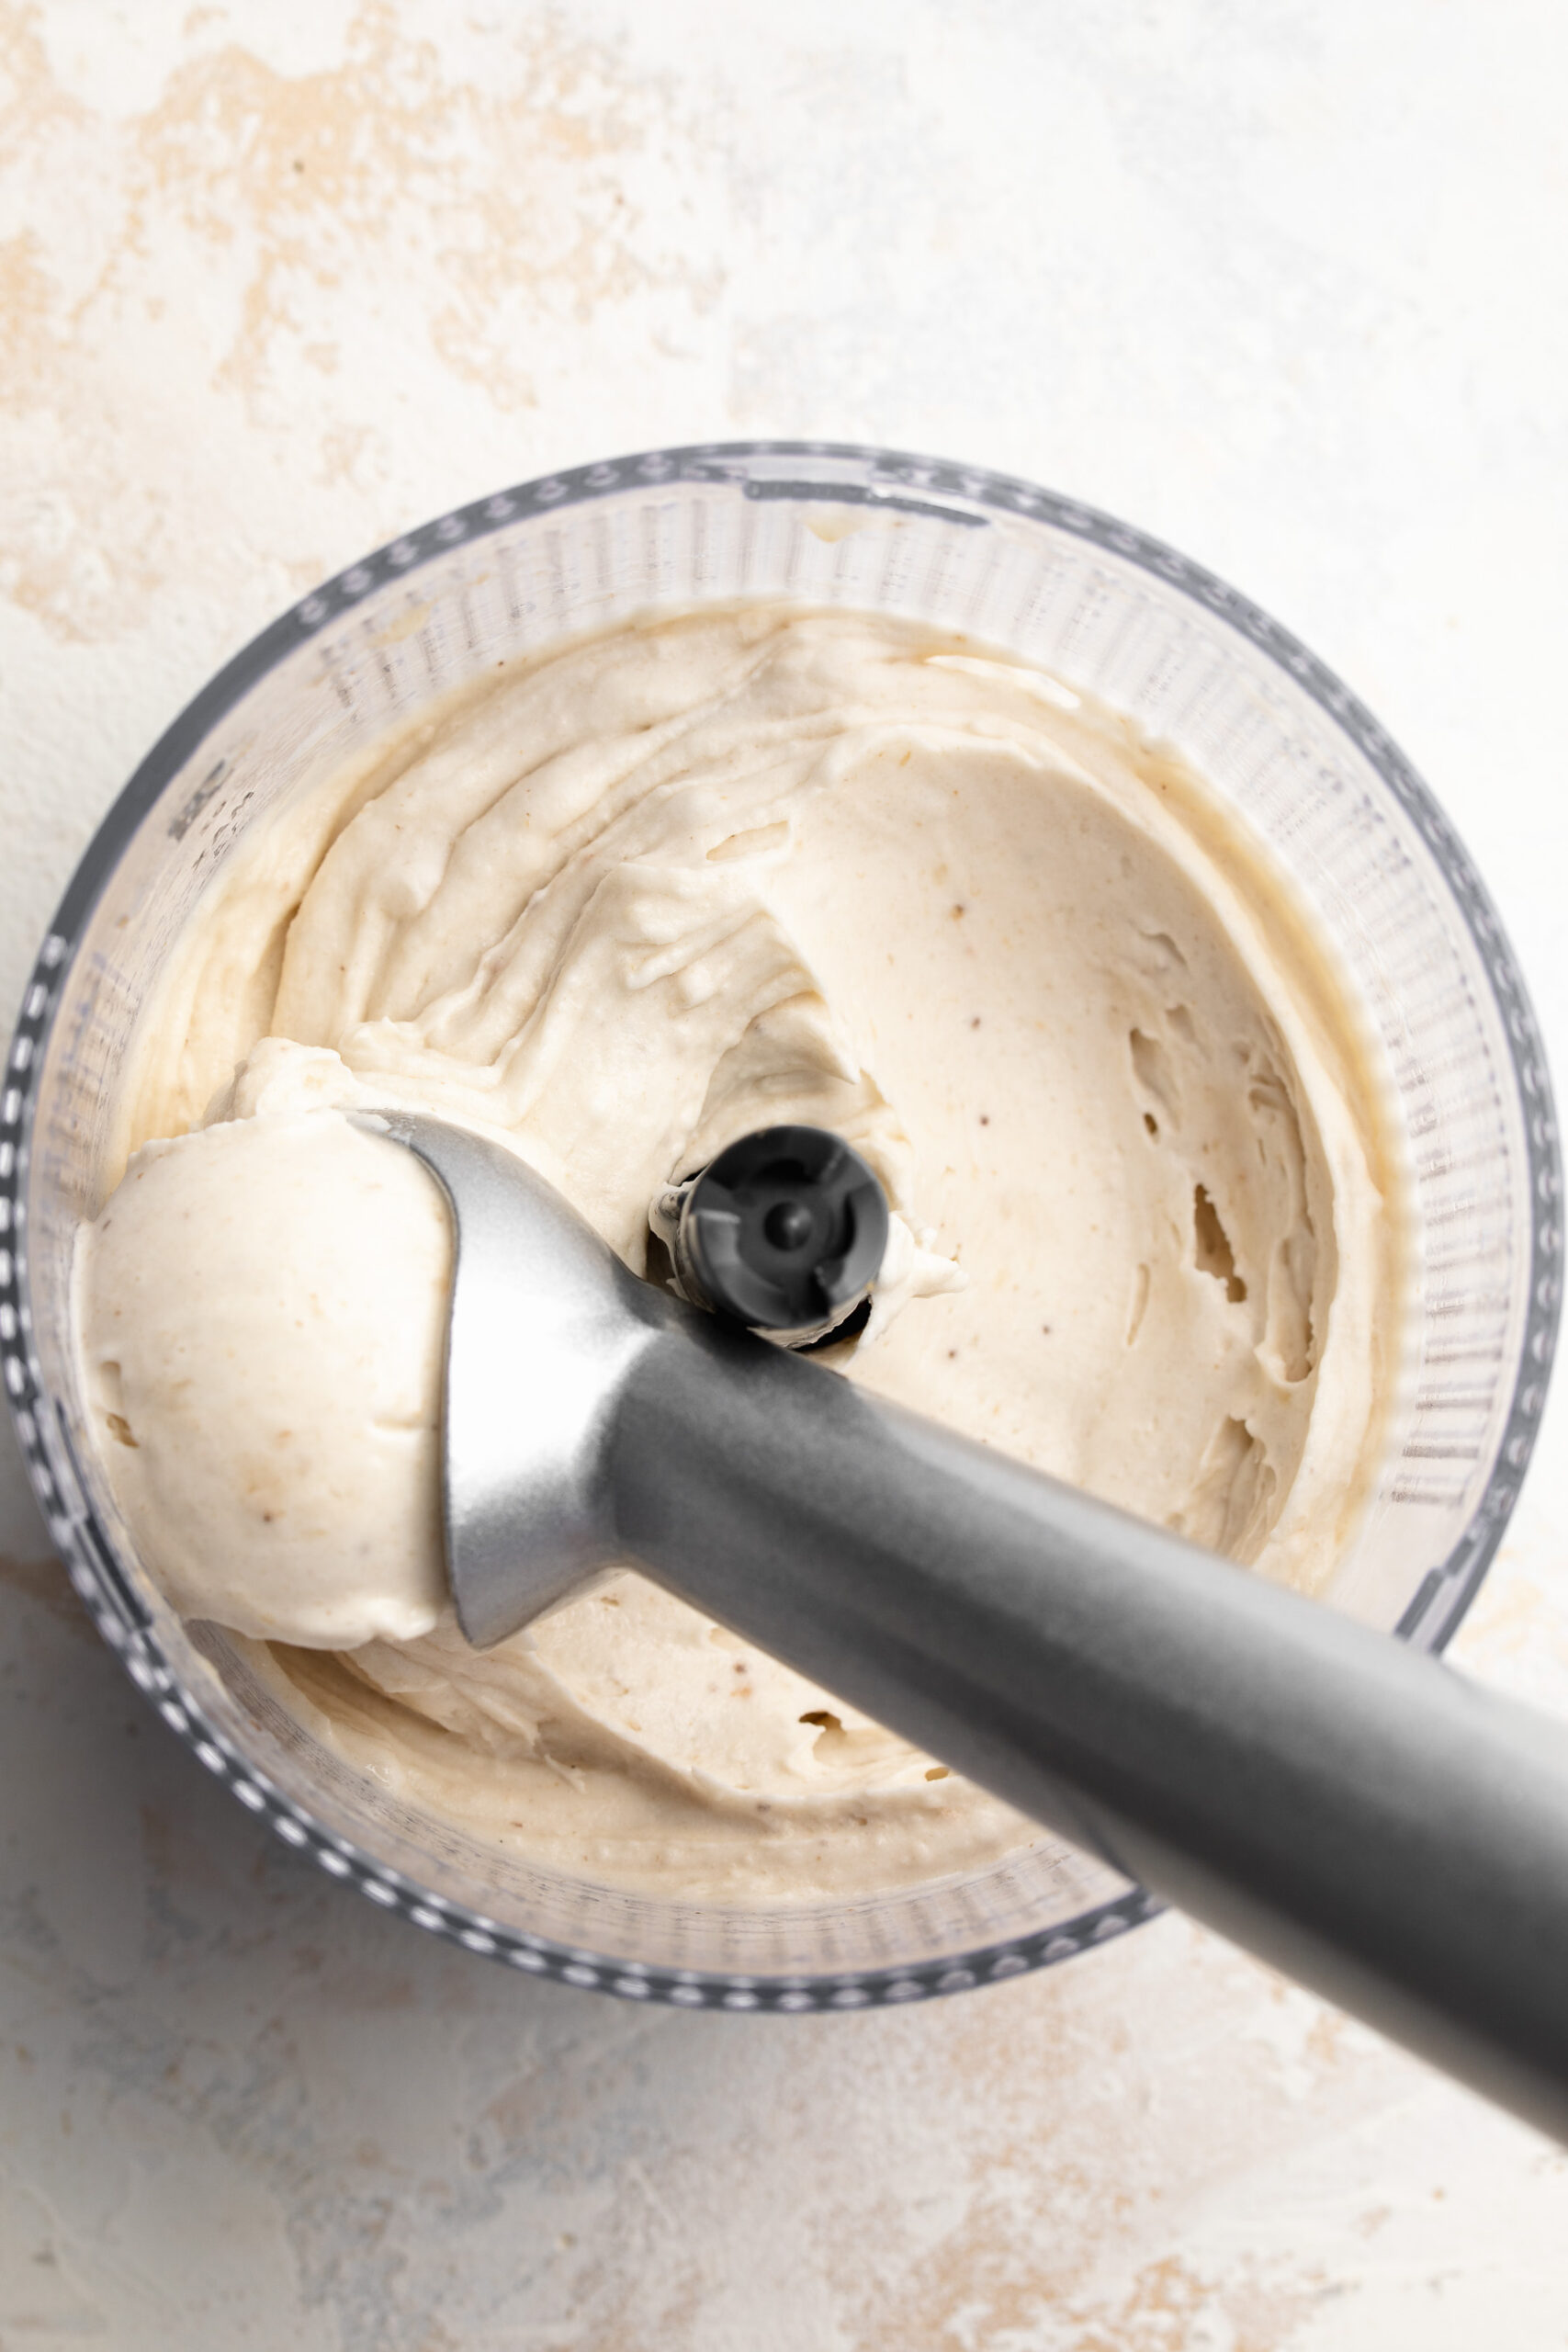
overhead image of cottage cheese ice cream being scooped with an ice cream scoop.
5 from 2 votes

3-Ingredient Cottage Cheese Ice Cream

This 3-ingredient cottage cheese ice cream is creamy, naturally sweet, and packed with 15 grams of protein per serving. No ice cream maker needed — just a blender and your freezer. It's the easiest, healthiest way to satisfy an ice cream craving!
Print Pin Rate
Prep Time: 5 minutes
Freeze Time: 6 hours
Total Time: 6 hours 5 minutes
Servings: 4 servings

Equipment

  • 1 blender or food processor
  • 1 freezer-safe airtight container

Ingredients

Berry Ice Cream:

  • 2 cups whole milk cottage cheese
  • 1 cup mixed berries fresh or frozen
  • 3 tablespoons honey or maple syrup

Chocolate Ice Cream:

  • 2 cups whole milk cottage cheese
  • 1/4 cup unsweetened cocoa powder
  • 1/4 cup maple syrup
  • mini chocolate chips optional

Instructions

Berry Ice Cream:

  • Add the cottage cheese, mixed berries, and honey (or maple syrup) to a blender. Blend until completely smooth and creamy with no lumps remaining.
  • Pour the mixture into a large freezer-safe container and spread evenly. Transfer to the freezer for at least 6 hours, or until frozen solid.
  • When ready to serve, remove from the freezer and let sit at room temperature for at least 10 minutes, or until soft enough to scoop. Scoop into bowls and enjoy!

Chocolate Ice Cream:

  • Add the cottage cheese, cocoa powder, and maple syrup to a lender. Blend until completely smooth and creamy with no lumps remaining.
  • Pour the mixture into a large freezer-safe container, stir in the chocolate chips (if using) then spread the ice cream into an even layer. Transfer to the freezer for at least 6 hours, or until frozen solid.
  • When ready to serve, remove from the freezer and let sit at room temperature for at least 10 minutes, or until soft enough to scoop. Scoop into bowls and enjoy!

Notes

  • Use full-fat cottage cheese for the creamiest texture. Low-fat versions are more watery and can result in an icy consistency.
  • Store in an airtight container in the freezer for up to 1 month. Press plastic wrap directly onto the surface before sealing to prevent ice crystals.
  • Let thaw for at least 10 minutes before scooping — it freezes very solid!
  • Ninja Creami tip: Freeze the blended mixture overnight, then run through the Creami for an ultra-creamy, soft-serve texture.

Nutrition

Serving: 1serving | Calories: 180kcal | Carbohydrates: 22g | Protein: 15g | Fat: 4g | Fiber: 1g | Sugar: 18g