Tag

no bake

Browsing

These s’mores rice crispy treats are insanely delicious and super easy to make! They’re loaded with gluten-free cookies, crisp rice cereal, gooey melted marshmallow, and plenty of chocolate chips.

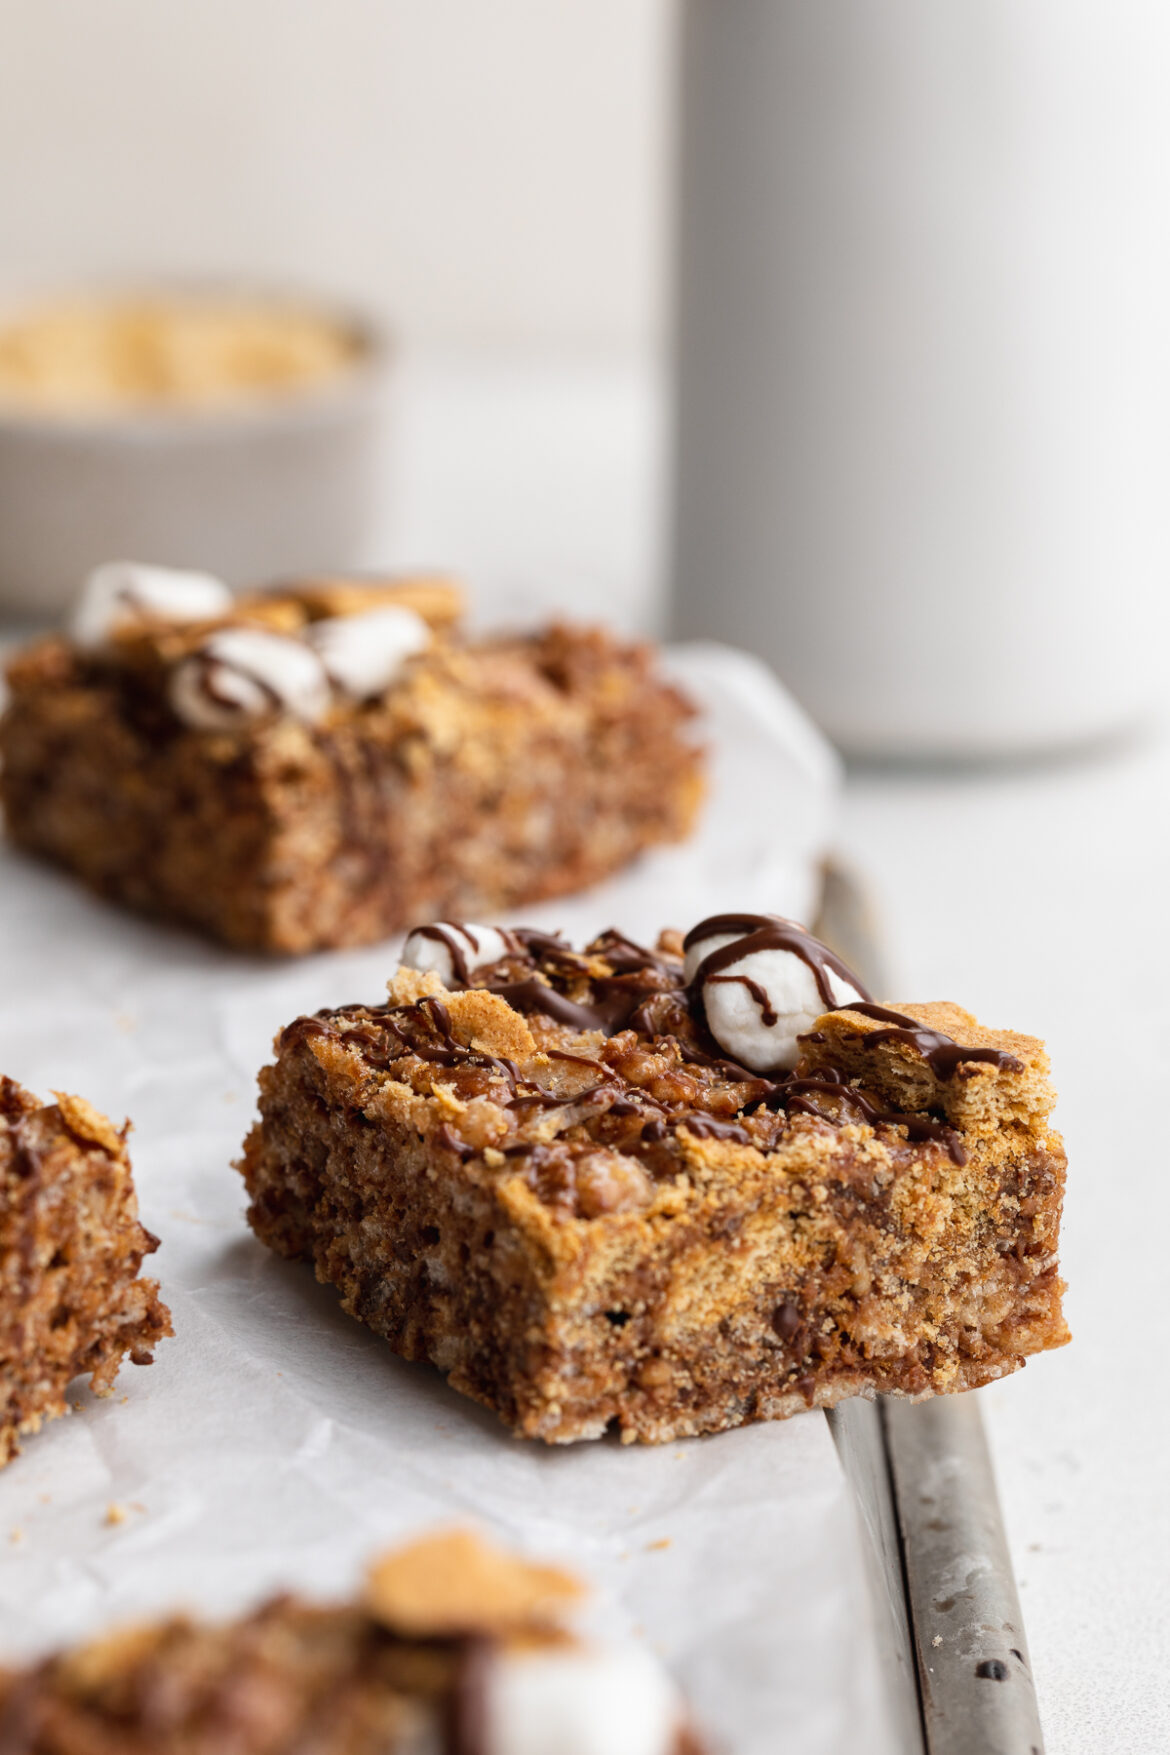
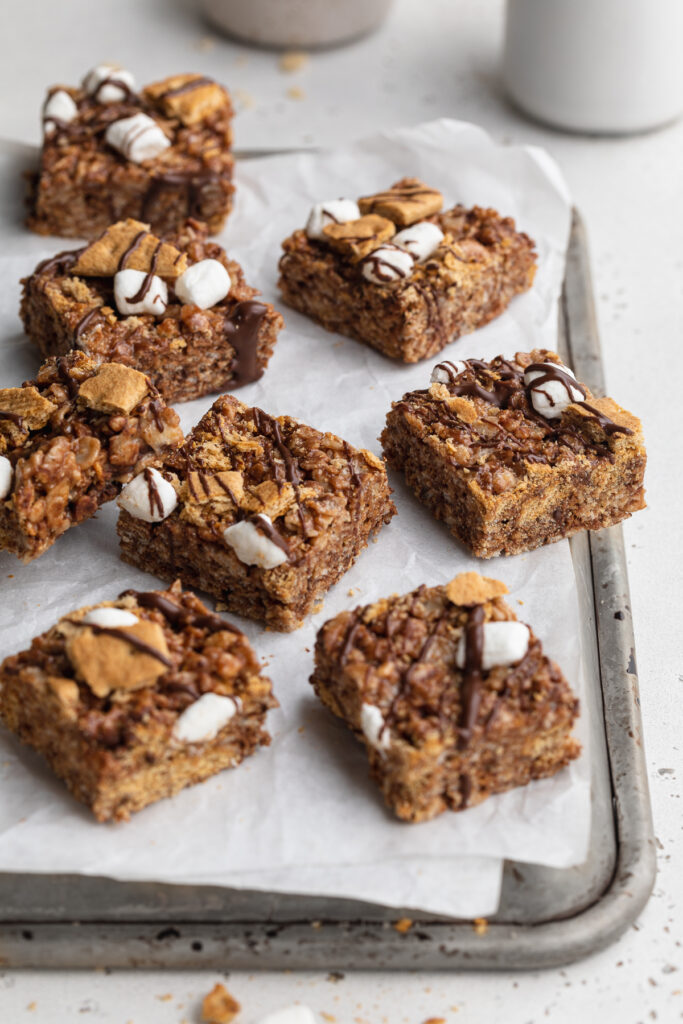
close-up overhead image of s'more rice crispy treats with graham cracker pieces, mini marshmallows, and drizzled chocolate on top.

What You Need To Make S’mores Rice Crispy Treats

Rice Cereal – Classic Rice Krispies cereal is my favorite in this recipe! They’re light and remain super crunchy in these treats. I have to say, I’ve tried a handful of off-brand rice cereals for this recipe and none taste nearly as good as Rice Krispies do. I’m not sure what it is, but most other kinds end up too soft and almost soggy when mixed into these s’mores rice crispy treats.

Graham Crackers – Any graham cracker will work here! I’ve tested this recipe using my homemade vegan and gluten-free graham crackers, and oh man were they delicious. O, for an organic option, I recommend Annie’s Organic Honey Graham Crackers.

Marshmallows – I used regular-sized marshmallows to make my s’mores rice crispy treat. However, you can use a 10-ounce bag of mini marshmallows instead. I also recommend topping your treats with a small handful of mini marshmallows for a super cute look!

s'mores rice crispy treats spread onto an upside down baking sheet.

Adjust This Recipe To Your Dietary Needs

Make it Vegan: Make sure the chocolate, marshmallows, and butter you use are all vegan! I love and recommend Dandies vegan marshmallows and Miyoko’s vegan butter.

Make it Gluten-Free: Replace the graham crackers with gluten-free Simple Mill’s Honey Cinnamon Sweet Thins.

Make it Nut-Free: Use nut-free graham crackers/cookies!

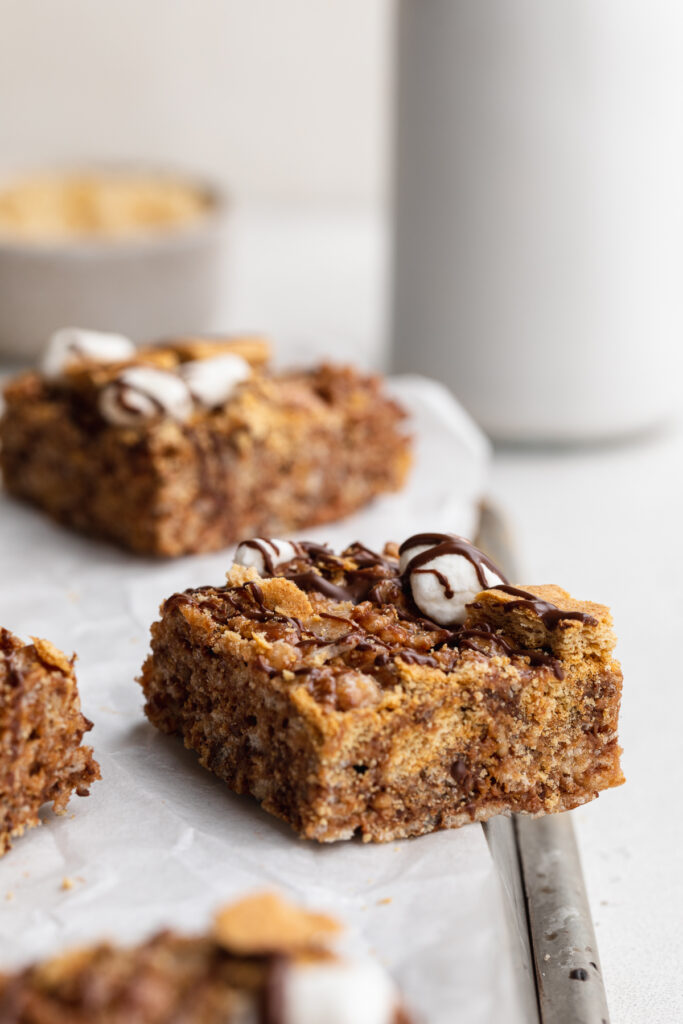
close-up image of a s'mores rice crispy treat on a baking sheet.

Tips For Making S’mores Rice Crispy Treats

  • Move quickly when adding the melted marshmallow mixture into the cereal mixture. The melted marshmallows will immediately start to cool once removed from the heat. And you’ll notice that as soon as they cool, they also begin to seize up and can be quite difficult to work with.
  • Spray a little cooking oil on your hands before handling the treats! I like to sprits a little cooking oil on one hand and then rub them together right before transferring the treats to the baking dish.
  • Similar to your hands, spray a little cooking oil on your knife before slicing! A greased knife will glide through these s’mores rice crispy treats. However, an un-greased knife will almost certainly get stuck and struggle to make it through your treats!
overhead image of s'mores rice crispy treats with milk and rice cereal on the side.
5 from 1 vote

S’mores Rice Crispy Treats (Vegan, Gluten-Free)

These s’mores rice crispy treats are insanely delicious and super easy to make! They’re loaded with gluten-free cookies, crisp rice cereal, gooey melted marshmallow, and plenty of chocolate chips.
Print Pin Rate
Prep Time: 10 minutes
Cook Time: 5 minutes
Total Time: 15 minutes
Servings: 12 treats

Ingredients

  • 1 (12-ounce) bag marshmallows
  • 6 ounces butter
  • 4 cups rice cereal
  • 1 cup graham crackers, crushed
  • 1/2 cup chocolate chips

Instructions

  • Line a 9×9-inch baking dish with parchment paper, then melt butter and marshmallows in a large saucepan over medium-low heat.
  • Mix together the rice cereal, crushed graham crackers, and chocolate chips in a large bowl.
  • Add melted marshmallows to the cereal mixture, mix well.
  • Transfer treats mixture to your lined baking dish and let sit at room temperature for 1 hour before slicing.

Notes

  • Optional Step: Top finished treats off with an extra sprinkling of crushed graham crackers, marshmallows, and chocolate. Then place it in the oven on broil for 1 minute or until marshmallows are golden brown and toasty!
  • Nutrition

    Calories: 300kcal

    Other Vegan and Gluten-Free Desserts

    Crunchy peanut butter balls covered in chocolate! Perfectly sweet, surprisingly healthy, and super easy to make. This no-bake dessert is the perfect summer treat when it’s too hot to turn on the oven!

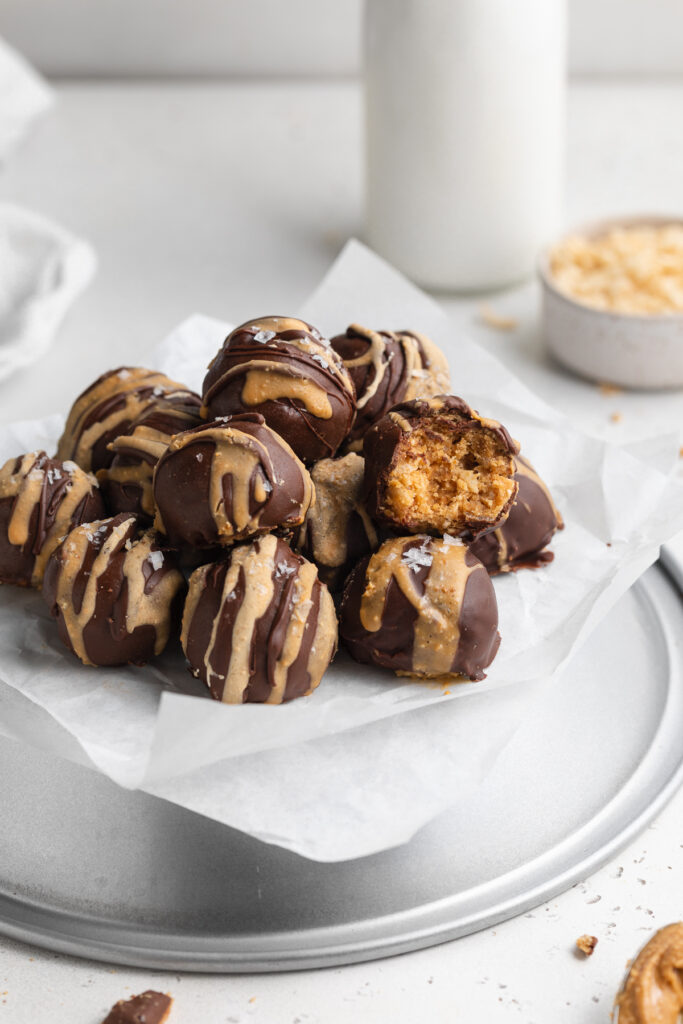
    crunchy peanut butter balls stacked on parchment paper with milk on the side.

    What You’ll Need to Make Crunchy Peanut Butter Balls

    Creamy Peanut Butter – Unsweetened, creamy peanut butter is the base of this easy dessert recipe. Check your peanut butter labels closely and make sure it doesn’t contain any sugar! Added sugar in the peanut butter would totally throw off the sweetness in this recipe. For unsweetened peanut butter, I love both Trader Joe’s and Teddie’s brand.

    Maple Syrup – Really any liquid sweetener will work in these peanut butter balls. Maple syrup, along with honey and date syrup, are the three least processed options which is why I always use and recommend them. Though is you don’t have those, you can use agave nectar instead. Or, for a sugar-free dessert option, check the “Make it Sugar-Free” section below!

    Almond Flour – This gluten-free, low-carb flour is one of my favorites! It’s healthy, super easy to find, and virtually flavorless. The almond flour is also super helpful in holding these dessert balls together, so don’t go without it.

    Crispy Rice Cereal – One cup of crispy rice cereal gives these peanut butter balls their unexpected crunch! Feel free to use whichever brand you like best. Or, for an even healthier option, use one cup of puffed quinoa instead.

    overhead image of crunchy peanut butter balls on an upside-down pie pan.

    Tips and Tricks

    • Don’t feel like dipping in chocolate? Save major time and energy my melting the chocolate, then simply drizzling over the top of each ball!
    • For an extra salty plus sweet combo, finish off these crunchy no-bake peanut butter balls with a pinch of flaky sea salt! A bit of salt balances out the sweetness, and adds an extra layer of crunch.
    • These treats are best stored in the refrigerator! The freezer works too, but the fridge helps them hold their shape while also maintaining their crunchiness. But whatever you do, don’t store them at room-temperature, and especially not in the summertime because they will melt!
    a stack of no-bake peanut butter balls, one with a bite taken out.

    Adjust This Recipe To Your Dietary Needs

    Make it Nut-Free: For a nut-free no-bake dessert, sub sunflower seed butter for the peanut butter and 3 tablespoons of coconut flour in place of the almond flour! Still just as delicious, and totally nut-free friendly.

    Make it Sugar-Free: Replace the maple syrup in this recipe with your favorite liquid sugar-free sweetener.

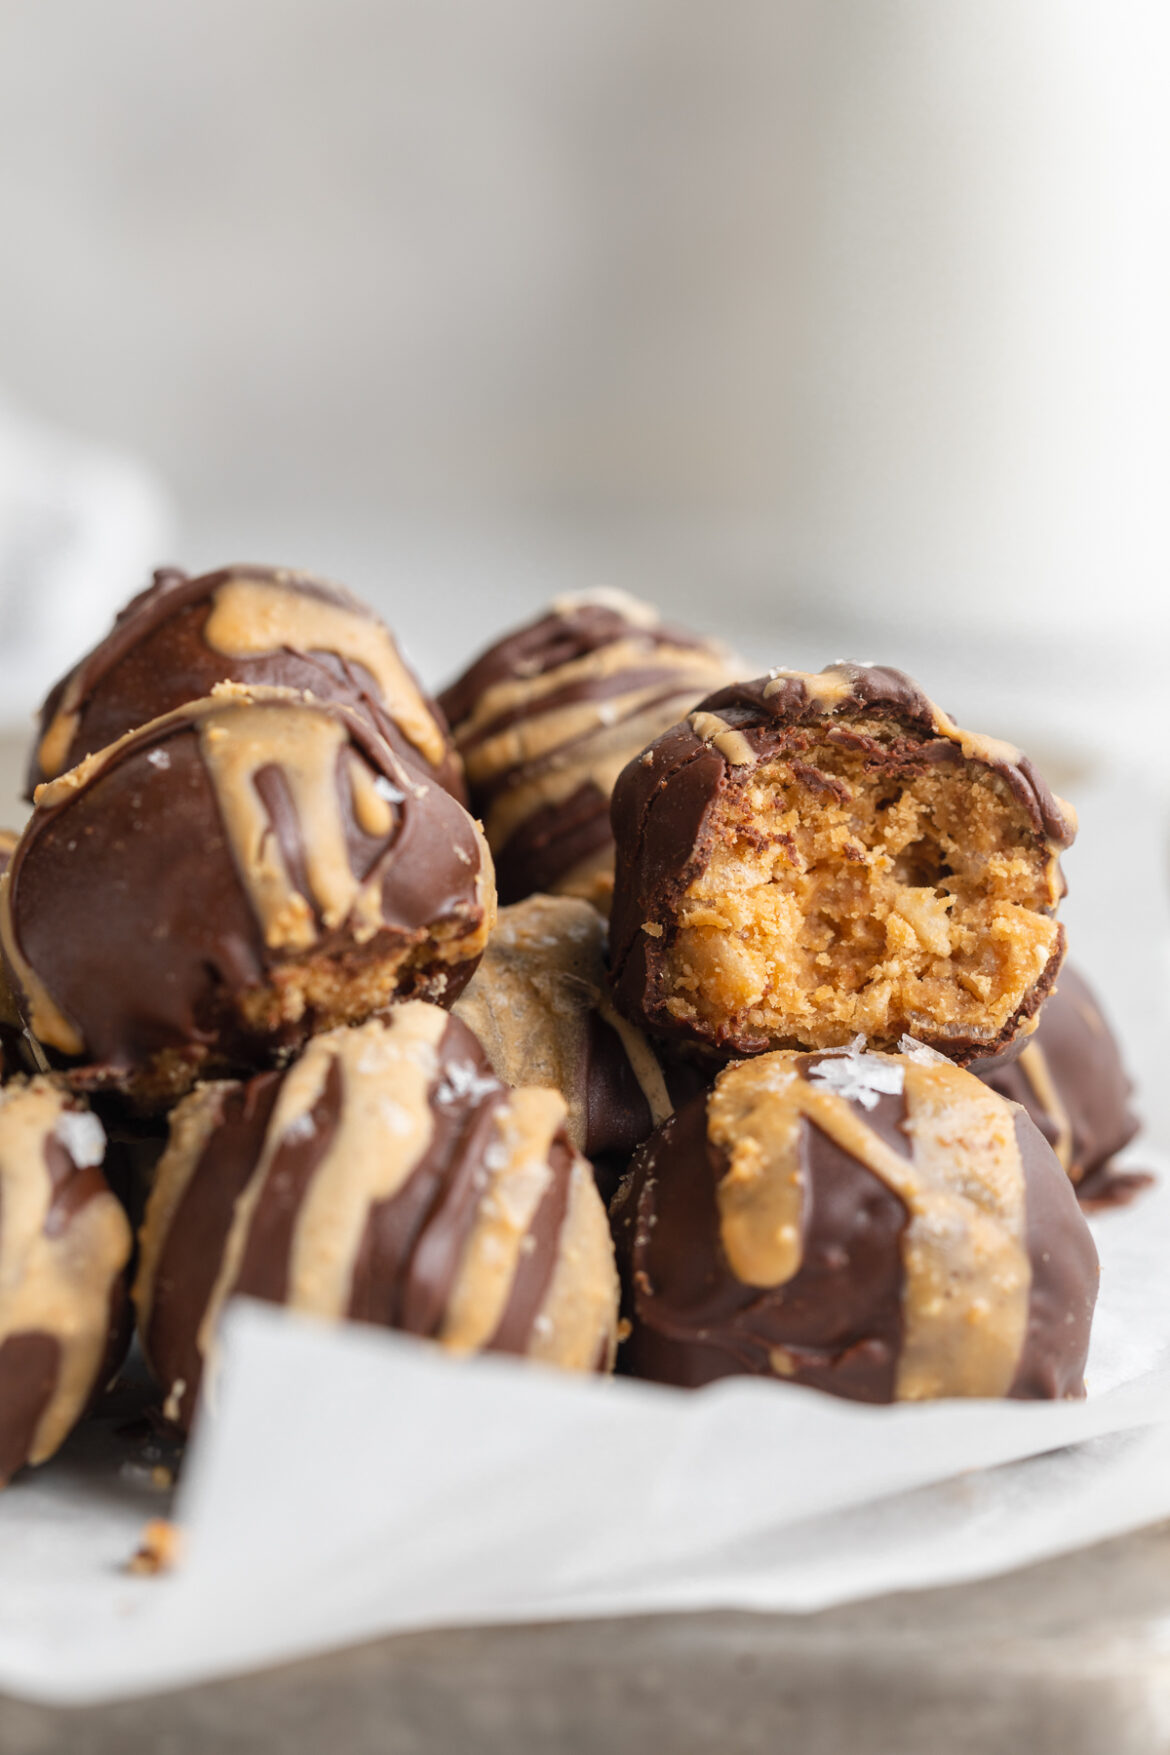
    close-up image of crunchy peanut butter balls.
    5 from 3 votes

    Crunchy No-Bake Peanut Butter Balls

    Crunchy peanut butter balls covered in chocolate! Perfectly sweet, surprisingly healthy, and super easy to make. This no-bake dessert is the perfect summer treat when it’s too hot to turn on the oven!
    Print Pin Rate
    Prep Time: 15 minutes
    Total Time: 10 minutes
    Servings: 16 balls

    Ingredients

    • 1 cup creamy peanut butter, unsweetened
    • 1/3 cup maple syrup
    • 1 teaspoon vanilla extract
    • 1/2 cup almond flour
    • 1 cup crispy rice cereal

    For dipping/drizzling:

    • 1 cup chocolate chips
    • 1 teaspoon coconut oil

    Instructions

    • Mix together the creamy peanut butter, maple syrup, and vanilla extract in a large bowl.
    • Add in almond flour and crispy rice cereal, mix to combine.
    • Scoop and roll tablespoon-sized balls of the peanut butter ball mixture between the palms of your hands. Repeat this process until no more mixture remains, should make about 12 crunchy peanut butter balls.
    • Place balls in freezer for 10-15 minutes, and add chocolate chips and coconut oil to a small bowl. Microwave chocolate in 30 second increments until fully melted.
    • Once crunchy peanut butter balls are chilled, dip or drizzle with melted chocolate before placing back in the freezer. Freeze for at least 10 minutes before eating, then store in the fridge.

    Nutrition

    Calories: 300kcal

    Perfectly smooth and creamy vegan ice cream – no fancy equipment required! Only three ingredients, this super easy plant-based recipe comes together in just two steps. The BEST sweet (but not too sweet) summertime treat!

    hand holding a cone of vegan ice cream

    What You’ll Need To Make No-Churn Vegan Ice Cream

    Full-Fat Coconut Milk – Two cans (must be canned!) of full-fat coconut milk are the base of this creamy vegan ice cream recipe. I use and love the Native Forest Coconut Milk, but any unsweetened full-fat coconut milk should work. Other brands I recommend are Thai Kitchen and A Taste of Thai Coconut Milk.

    Sweetened Condensed Coconut Milk – I used Nature’s Charm Sweetened Condensed Coconut Milk in my ice cream and it turned out perfect! However, I’m sure any brand of sweetened condensed coconut milk will work. And it doesn’t have to be coconut milk either, your sweetened condensed milk can be made of any non-dairy milk!

    Vanilla Extract – A touch of vanilla extract for that deliciously sweet vanilla flavor! For an extra fancy ice cream, you can add a touch of vanilla bean paste as well.

    Pinch of Salt – While not totally necessary, a pinch of salt helps to bring out the sweetness of this recipe! You’re gonna have to trust me on this one, a tiny pinch of salt goes a long way here. I highly recommend giving it a try!

    vegan vanilla ice cream inside a loaf pan

    Adjust The Flavors

    Make it Vegan Chocolate Ice Cream: For a chocolate version, add 1/2 cup cocoa powder into the blender. And, for double chocolate (because why the heck not?!) swirl in some mini chocolate chips before freezing.

    Add Cookie Dough: If you’re a cookie dough ice cream lover like me, sprinkle small scoops of this Healthy Cookie Dough into the coconut milk mixture right before freezing.

    Make it Vegan Coffee Ice Cream: Blend a quarter cup of instant coffee powder in with the rest of the ingredients for a caffeinated twist!

    4.12 from 9 votes

    No-Churn Vegan Vanilla Ice Cream

    Perfectly smooth and creamy vegan ice cream – no fancy equipment required! Only three ingredients, this super easy plant-based recipe comes together in just two steps. The BEST sweet (but not too sweet) summertime treat!
    Print Pin Rate
    Prep Time: 5 minutes
    Total Time: 5 minutes
    Servings: 8 servings

    Ingredients

    • 2 (14-ounce) cans full-fat coconut milk
    • 1 (11.2-ounce) can sweetened condensed coconut milk
    • 1 teaspoon vanilla extract
    • small pinch of salt

    Instructions

    • Add all vegan vanilla ice cream ingredients to a blender and blend until smooth.
    • Transfer to a lined loaf pan or large container, then freeze for 6 hours. Thaw for at least 10 minutes before serving.

    Nutrition

    Calories: 300kcal

    My Mom’s famous watergate salad recipe will blow your mind! A pistachio whipped cream base, with plenty of chopped fruit and mini marshmallows. I grew up on this best EVER no-bake dessert, my favorite for summer parties or barbecues!

    overhead image of watergate salad in a glass with a cherry on top

    What You’ll Need To Make Watergate Salad

    Pistachio Pudding Mix – Any brand of pistachio pudding mix will taste delicious in this pistachio-flavored dessert! Use whatever you can find, whether that’s instant, low-sugar, etc.

    Whipped Cream – For a dairy-free version, sub regular whipped cream for coconut whipped cream in this no-bake dessert recipe. I went the dairy-free route this time and used a tub of So Delicious Coconut Whipped Cream in my watergate salad. This is the only tweak I made from my Mom’s original recipe!

    Fruit Cocktail – I think the fruit cocktail is my favorite part of this entire recipe. Chunks of peaches, pears, grapes, pineapple, and cherries swirled into the pistachio whipped cream base. My sister and I used to fight over who got the most cherries in their serving of watergate salad growing up. If ya ask me, those fruit cocktail cans never have enough maraschino cherries in ’em!

    Crushed Pineapple – Crushed pineapple, sometimes labeled as “pineapple tidbits,” give this dessert its perfect texture. Smooth, creamy, light, and fluffy with just a little something to bite down on! If you can’t find crushed pineapple, you can finely chop up a can of cut pineapple instead.

    Mini Marshmallows – My Mom always made her watergate salad with these rainbow mini marshmallows, but I couldn’t find any near me so I used the classic white mini marshmallows instead. The rainbow kind contribute a bit more fruity flavor, but the classic kind are just as delicious! Feel free to use whichever you prefer, or have on-hand.

    one glass of watergate salad with chopped pistachios and a cherry on top.

    Adjust This Recipe To Your Dietary Needs

    Make it Vegan – Make this watergate salad vegan by using a tub of coconut whipped cream, and vegan mini marshmallows. I tested this recipe with these Dandie’s Vegan Marshmallows and couldn’t even taste the difference!

    two glasses of watergate salad with cherries on top
    4.67 from 3 votes

    Mom’s FAMOUS Watergate Salad

    My Mom’s famous watergate salad recipe will blow your mind! A pistachio whipped cream base, with plenty of chopped fruit and mini marshmallows. I grew up on this best EVER no-bake dessert, my favorite for summer parties or barbecues!
    Print Pin Rate
    Prep Time: 5 minutes
    Total Time: 5 minutes
    Servings: 12 servings

    Ingredients

    • 1 (3.4 ounce) box pistachio pudding mix
    • 1 (9 ounce) tub whipped cream, or coconut whipped cream to make it dairy-free
    • 1 (15 ounce) can fruit cocktail, drained
    • 1 (20 ounce) can crushed pineapple, drained
    • 2 cups mini marshmallows

    Instructions

    • Mix together pistachio pudding mix and whipped cream in a large bowl until fully combined.
    • Add in drained fruit cocktail, crushed pineapple, and mini marshmallows. Leave to set in fridge for at least one hour, then serve cold.

    Nutrition

    Calories: 300kcal

    A perfectly sweet, light, and fluffy marshmallow fruit dip! Comes together in a few simple steps with only four ingredients. This fruit dip is both gluten-free and dairy-free, perfect recipe for potlucks and/or summer parties!

    overhead image of marshmallow fruit dip in a bowl with berries and sliced pears.

    What You’ll Need To Make Marshmallow Fruit Dip

    Egg Whites – Use your favorite method to separate four egg whites from their yolks. I use this method to separate my eggs, which takes some practice but doesn’t require any special kitchen tools. And don’t discard your egg yolks! Instead, save and add them to your morning scramble for extra vitamins and minerals.

    Sugar – Either cane sugar or white sugar will work in this recipe. I used unbleached cane sugar, for the simple fact that it’s less processed than white sugar. However, feel free to use whichever sugar you have on-hand. And for a paleo option, check out the “adjust this recipe to your dietary needs” section below!

    Cream of Tartar – I know what you’re thinking …cream-of-what?? Cream of tartar is a white powder, found in either the baking or spice aisle of most grocery stores. It’s a stabilizer that gives this marshmallow fruit dip it’s ultra-fluffy texture. Sure, you can make this recipe without it, but your egg whites won’t whip up as nicely.

    Vanilla Extract – A touch of vanilla extract makes this fruit tip taste just like homemade marshmallow fluff! While you can certainly leave the vanilla out, it does add a nice hint of extra delicious flavor.

    strawberry being dipped into marshmallow fruit dip.

    Serve This Marshmallow Fruit Dip With…

    • Strawberries
    • Blueberries
    • Blackberries
    • Raspberries
    • Sliced Apples
    • Pears
    • Grapes
    • Pineapple
    • Melon
    • or whatever fruit you have on-hand!
    marshmallow fruit dip on a fresh strawberry, on a fork.

    Adjust This Recipe To Your Dietary Needs

    Make it Sugar-Free: For a sugar-free dessert recipe, replace the regular sugar with your favorite granular sugar substitute. I recommend either granular monk fruit sweetener, or swerve.

    Make it Paleo: Use coconut sugar for a paleo marshmallow fruit dip! If taking this option, your dip will appear a caramel/brown color, rather than the white you see in these photos.

    close-up image of marshmallow fruit dip with fresh berries.
    5 from 1 vote

    Marshmallow Fruit Dip (just 4 ingredients!)

    A perfectly sweet, light, and fluffy marshmallow fruit dip! Comes together in a few simple steps with only four ingredients. This fruit dip is both gluten-free and dairy-free, perfect recipe for potlucks and/or summer parties!
    Print Pin Rate
    Prep Time: 5 minutes
    Cook Time: 10 minutes
    Total Time: 15 minutes
    Servings: 12 servings

    Ingredients

    • 4 large egg whites
    • 1 cup sugar
    • 1/2 teaspoon cream of tartar
    • 1 teaspoon vanilla extract
    • fresh fruit, for serving

    Instructions

    • Place the egg whites, sugar, and cream of tarter in a large bowl.
    • Bring 2-inches of water in a saucepan to a simmer, then place the bowl on top of the saucepan. Do not let the bowl touch the water.
    • Whisk egg white mixture constantly for 3-4 minutes, or until thin, smooth, and sugar has completely dissolved. If you have a kitchen thermometer, check that the temperature has reached 160° Fahrenheit.
    • Remove bowl from saucepan, add in vanilla extract, then while still hot beat with a hand or stand mixer until super light and fluffy, about 5 minutes. Serve marshmallow dip alongside fresh fruit.

    Nutrition

    Calories: 300kcal