")
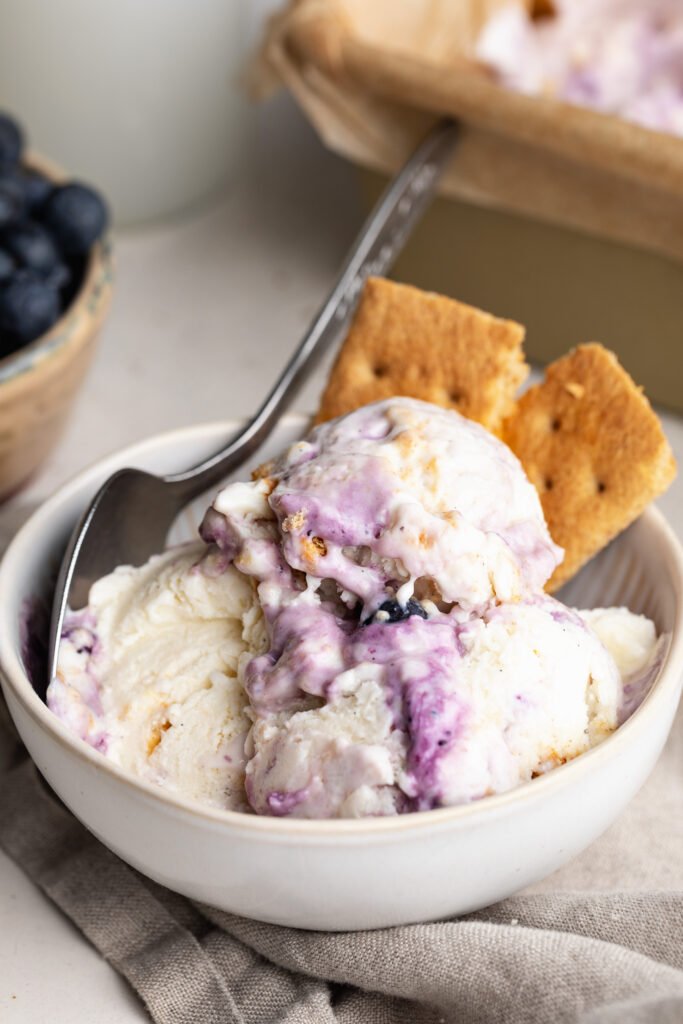
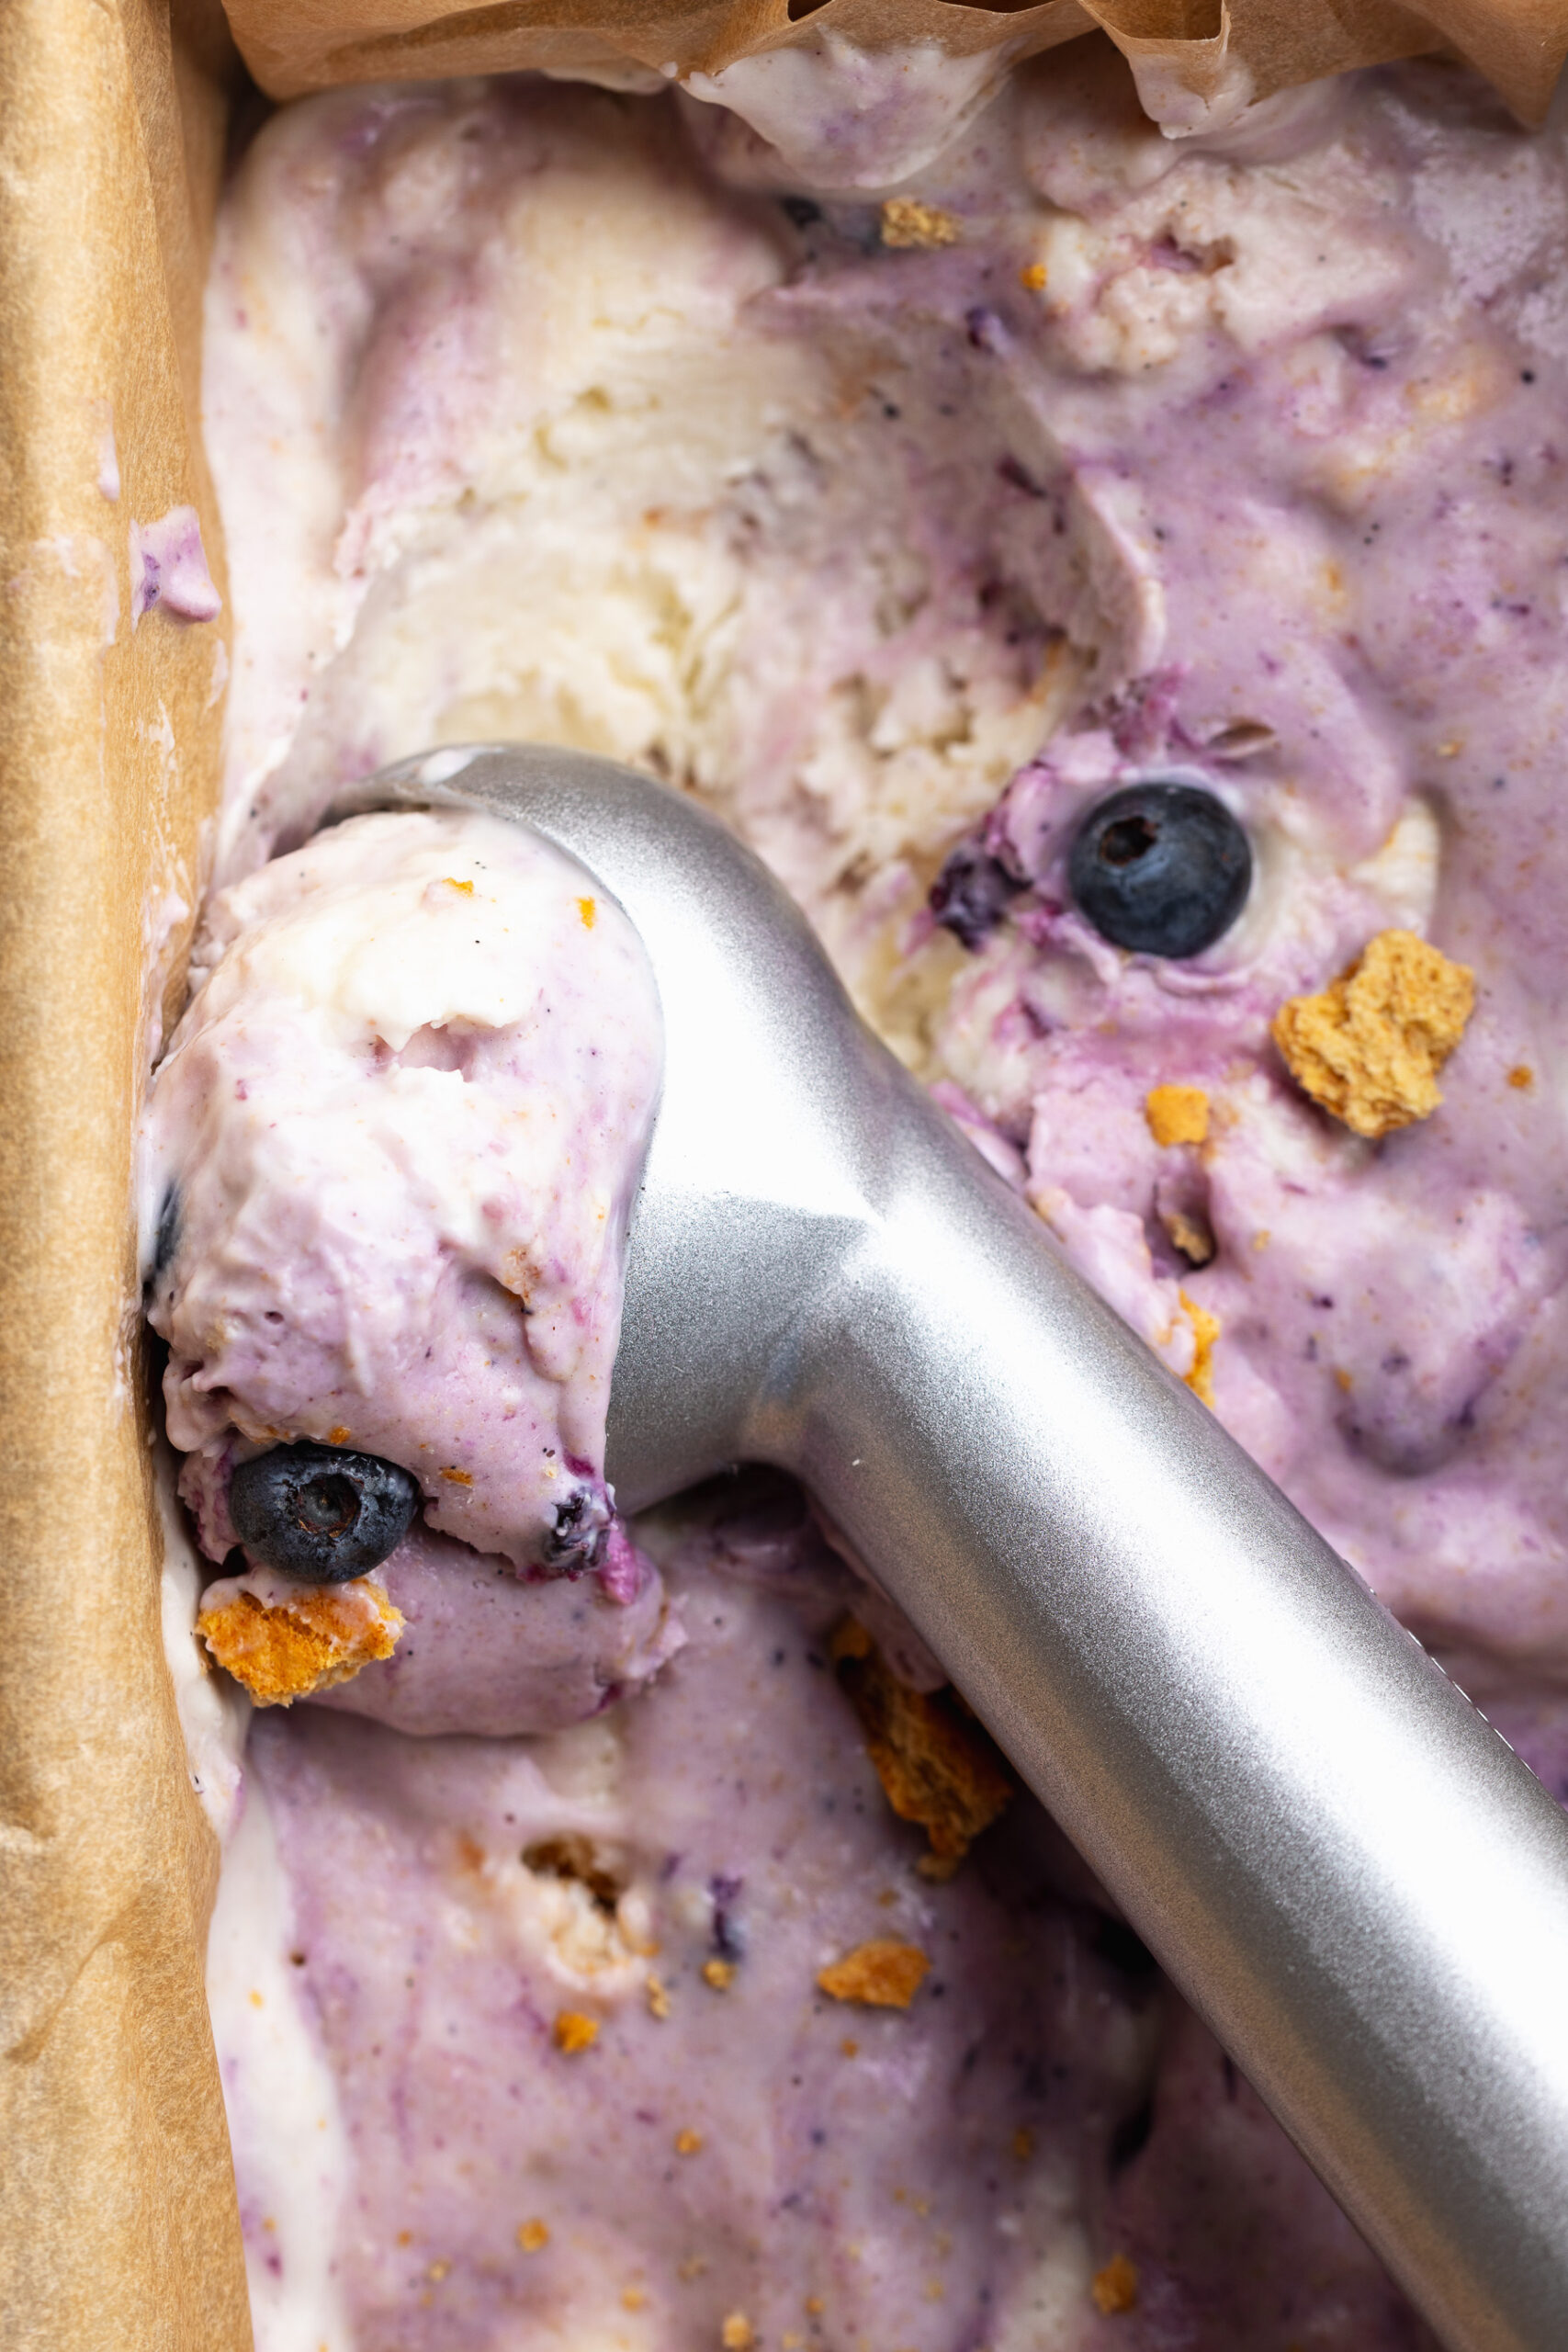
If you liked my 3-Ingredient Cottage Cheese Ice Cream, then you’re going to LOVE this blueberry pie version! Same creamy, high-protein base, still NO ice cream machined required, but swirled with blueberry preserves and crushed graham crackers for a flavor that just exactly like a slice of blueberry pie! 5 ingredients, under 5 minutes of prep, and your freezer does all the hard work.
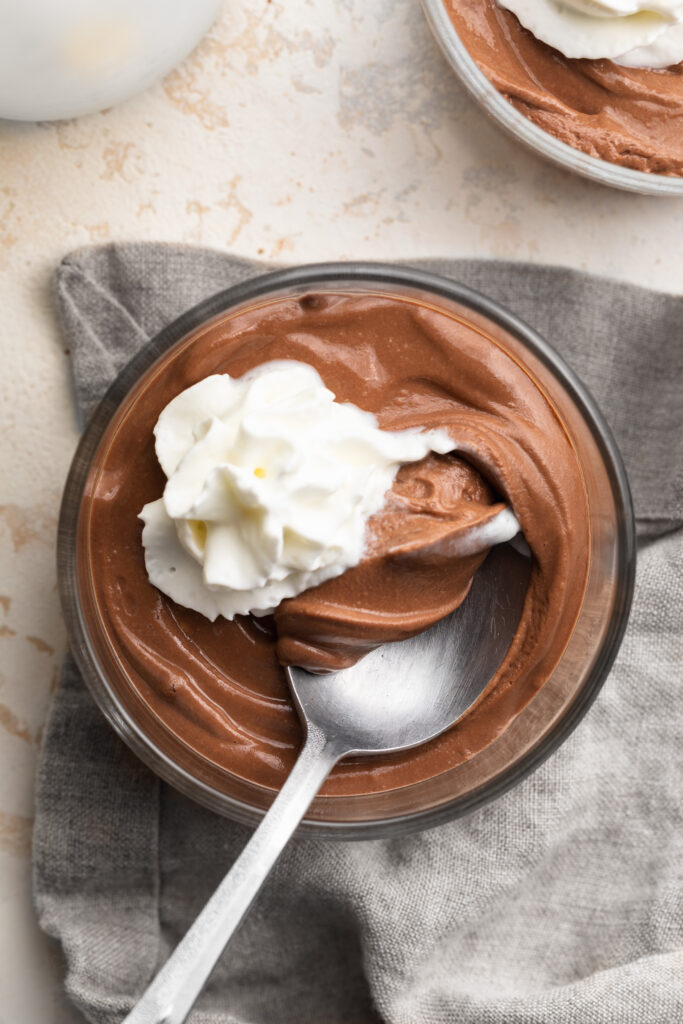
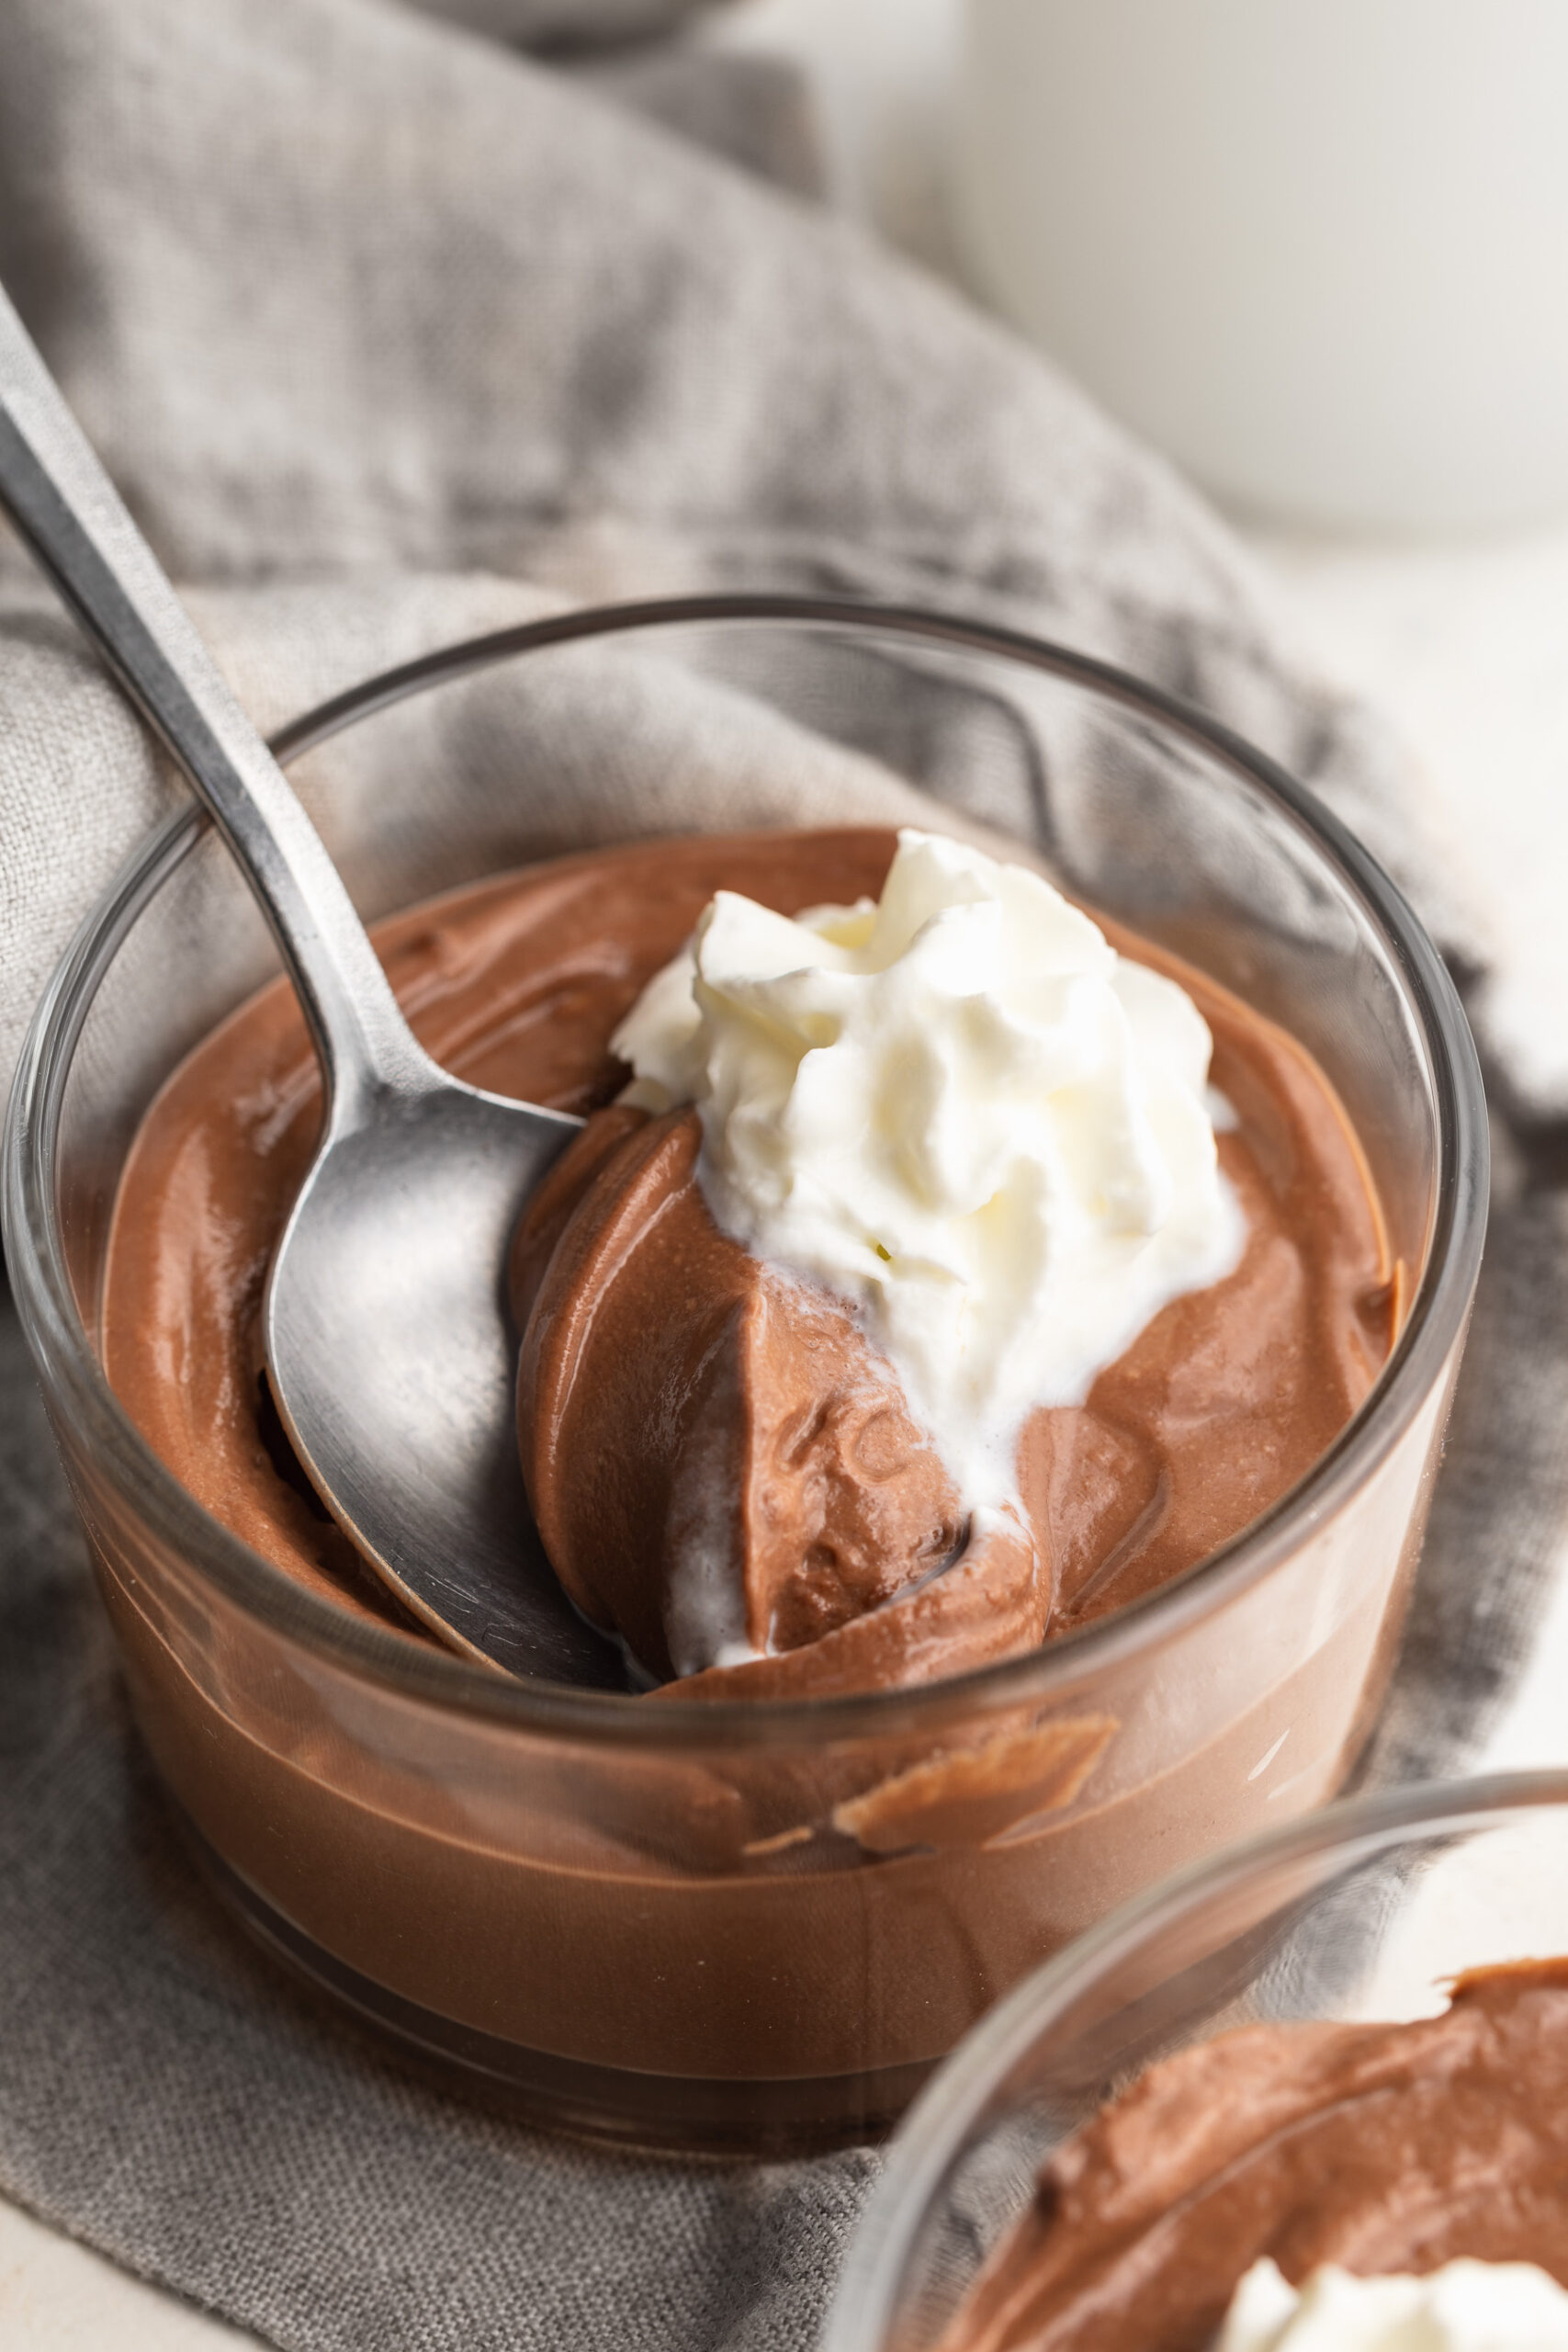
I’ve been making this healthy, high-protein ice cream all summer! It’s rich, not too sweet, and honestly… doesn’t make my stomach hurt like most other ice creams. I just love how much protein it has (20g per serving, to be exact!), and how much lower in sugar it is compared to traditional ice cream. So throw a batch in your freezer today, trust me – you’ll thank yourself later! & If you’re on a cottage cheese kick (and after this, you will be!), you’ll also love my Cottage Cheese Cookie Dough and Cottage Cheese Chocolate Mousse.
Why You’ll Love This Cottage Cheese Blueberry Pie Ice Cream
- Just 5 ingredients. Cottage cheese, maple syrup, vanilla extract, graham crackers, and blueberry preserves. That’s it – no heavy cream, no eggs, no fancy ingredients.
- Tastes just like blueberry pie. The combination of the creamy vanilla base, jammy blueberry swirl, and buttery graham cracker pieces is absolutely unreal. Every scoop tastes like dessert heaven.
- No ice cream maker required! A blender and a freezer-safe container are the only equipment you need. It could not be easier.
- High in protein. Cottage cheese is the secret weapon here — it blends up completely smooth and delivers a serious protein boost in every serving without compromising on creaminess or flavor.
- Healthy and wholesome. Made with real, simple ingredients and naturally sweetened with maple syrup, this ice cream is a treat you can genuinely feel good about.
- Perfect for satisfying cravings. This is not a sad “diet dessert” situation. It’s rich, creamy, sweet, and genuinely delicious — it tastes like the real thing because it basically is.
Frequently Asked Questions
How much protein does each serving contain?
This recipe makes approximately 4 servings. The exact protein count per serving will vary depending on the cottage cheese brand you use (I used Daisy 4% cottage cheese), but thanks to the high-protein cottage cheese base, each serving delivers an impressive 20 grams of protein – significantly more than traditional ice cream, which typically contains just 3–4 grams per serving.
Can I make this without the graham crackers?
Absolutely! The blueberry preserves swirl on its own is delicious and the ice cream is fantastic without any mix-ins at all. If you want to keep it completely grain-free, simply skip the graham crackers. You could also swap them for crushed gluten-free cookies, coconut macaroons, or even a handful of granola for a different kind of crunch.
How long does this stay good in the freezer?
Stored in an airtight container, this cottage cheese blueberry pie ice cream keeps well in the freezer for up to 1 month. For the best texture and flavor, try to enjoy it within the first week or two. Since cottage cheese is naturally high in water content, the ice cream can get slightly icier over time, and repeated thawing and refreezing can cause ice crystals to form.
Can I use fresh or frozen blueberries instead of preserves?
You can! If you’d prefer to use fresh or frozen blueberries, you can either blend a small amount directly into the base for a blueberry-flavored ice cream, or warm the blueberries in a small saucepan with a tablespoon of maple syrup and cook until jammy (about 5 minutes), then let cool before swirling into the ice cream base. The preserves are the easiest option since they’re ready to use straight from the jar!
Tips for the Creamiest Cottage Cheese Blueberry Pie Ice Cream
- Use full-fat (4%) cottage cheese. This is the single most important tip. Full-fat cottage cheese gives you a creamy, rich, scoopable ice cream. Low-fat versions are more watery and will result in an icier texture.
- Blend until completely smooth. Don’t rush the blending step. Blend on high for at least 60 seconds, scraping down the sides as needed, until there are zero curds remaining. The smoother the base going into the freezer, the creamier it’ll be coming out!
- Don’t over-swirl the mix-ins. When adding the graham crackers and blueberry preserves, use a gentle hand. A few swirls with a butter knife is all you need.
- Let it thaw before scooping. This ice cream freezes solid, so patience is key! Let it sit at room temperature for at least 10 minutes before scooping. If you try to scoop it straight from the freezer, it will be rock solid.
- Press plastic wrap onto the surface. Before sealing your container, press a piece of plastic wrap directly onto the surface of the ice cream. This prevents ice crystals from forming on top and keeps the texture as smooth as possible.
- Try it in a Ninja Creami. This recipe works beautifully in the Ninja Creami! Freeze the blended base overnight in a Creami pint, then run through the Creami for an ultra-creamy, soft-serve-like texture before adding your mix-ins.
Made this recipe? I’d love to see it! Tag me on Instagram @samdoesherbest or TikTok @samdoesherbest – I repost my favorites! And if you loved it, please leave a ⭐⭐⭐⭐⭐ rating and written review below. It means the world and helps other readers find this recipe!
Cottage Cheese Blueberry Pie Ice Cream
Equipment
- 1 blender or food processor
- 1 large freezer-safe container
Ingredients
- 24 ounces cottage cheese (4% milkfat is best!)
- 1/4 cup – 1/2 cup maple syrup or honey depending on your desired sweetness
- 1 teaspoon vanilla extract
- 3 graham cracker sheets crushed into small pieces
- 3 tablespoons blueberry preserves or jam
Instructions
- Add the cottage cheese, maple syrup, and vanilla extract to a blender. Blend until completely smooth and creamy with no lumps remaining.
- Pour the mixture into a large freezer-safe container and spread evenly. Sprinkle crushed graham crackers on top and add dollops of blueberry preserves, then gently swirl the mix-ins into the ice cream using a butter knife.
- Transfer to the freezer for at least 6 hours, or until frozen solid.
- When ready to serve, remove from the freezer and let sit at room temperature for at least 10 minutes, or until soft enough to scoop. Scoop into bowls and enjoy!
Notes
- Use full-fat (4%) cottage cheese for the creamiest, least icy texture.
- Blend the base completely smooth — no curds remaining — before pouring into the container.
- Don’t over-swirl the mix-ins; keep beautiful streaks of blueberry throughout.
- Store in an airtight container in the freezer for up to 1 month. Press plastic wrap directly onto the surface to prevent ice crystals.
- Let thaw for at least 10 minutes before scooping.
- Ninja Creami tip: Freeze the blended base overnight in a Creami pint, then process before adding mix-ins for an ultra-creamy soft-serve texture.
")

")