Tag

protein

Browsing

I know what you’re thinking – yogurt for breakfast is supposed to be sweet, but hear me out… this savory yogurt bowl is about to completely change the way you think about your morning meal! Creamy Greek yogurt topped with crispy roasted chickpeas, fresh avocado, juicy tomatoes, crunchy cucumber, and a perfectly boiled egg. It’s fresh, filling, packed with protein and healthy fats, and honestly one of the most satisfying breakfasts I’ve ever had! It tastes like something you’d order at your favorite brunch spot, but it comes together in just 30 minutes at home.

If you’re stuck in a breakfast rut – same smoothie, same overnight oats, same avocado toast on repeat – this is the recipe to shake things up! It’s the perfect way to switch up your morning routine with something that’s genuinely nourishing, surprisingly delicious, and totally different from anything else in your rotation. Pair it with my High-Protein Breakfast Biscuits for an extra protein boost, or serve it alongside my La Scala Chopped Salad for a light and satisfying lunch.

Why You’ll Love This Savory Yogurt Bowl

  • The perfect way to switch up your boring breakfast. If you eat the same thing every morning, this savory yogurt bowl is your sign to mix it up. It’s unexpected, exciting, and so delicious that you’ll genuinely look forward to breakfast again.
  • Packed with protein, veggies, fiber, and healthy fats. Greek yogurt, a soft-boiled egg, and crispy chickpeas deliver serious protein. Avocado brings healthy fats. Tomatoes and cucumber add freshness and fiber. This bowl truly does it all.
  • Surprisingly delicious. I know savory yogurt sounds a little unusual, but don’t knock it until you try it! The creamy, tangy yogurt is the perfect backdrop for the crispy chickpeas and fresh toppings – the combination just works.
  • Easy and quick to make. The crispy chickpeas take about 25 minutes to roast, but everything else comes together in minutes. Soft-boil your egg while the chickpeas roast and you’re ready to assemble right away.
  • Healthy and genuinely satisfying. This bowl will keep you full for hours – no mid-morning crash, no snacking before lunch. It’s the kind of breakfast that actually fuels your day!
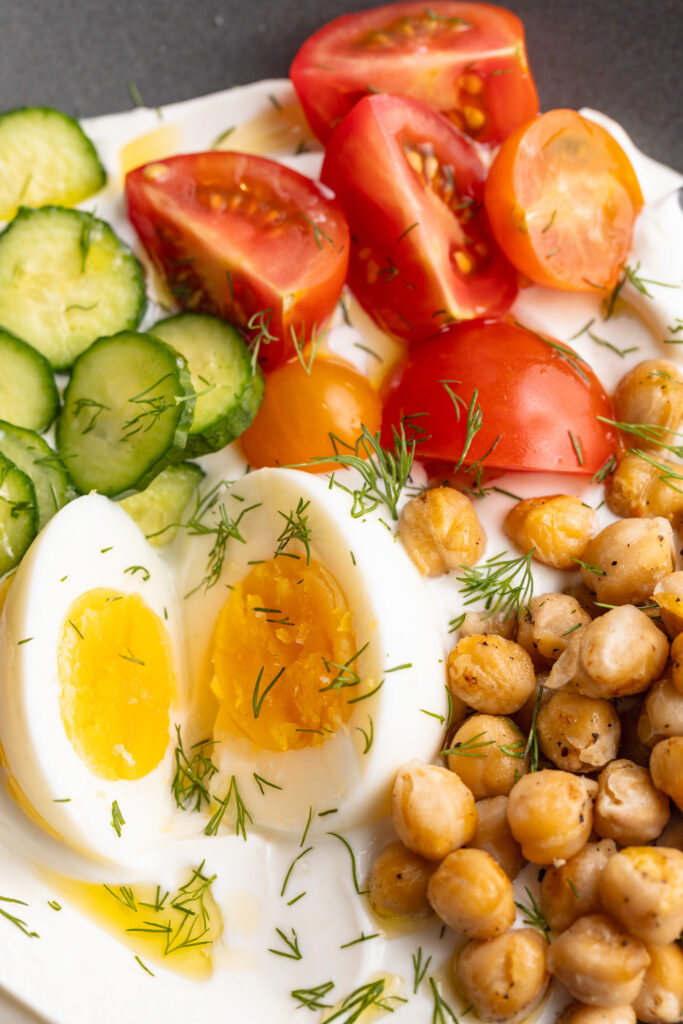
close up image of the toppings in a savory yogurt bowl.

Recipe Variations and Substitutions

  • Greek Yogurt: Any plain, full-fat yogurt works here – regular, dairy-free coconut yogurt, or even a thick labneh for an extra tangy, creamy base. For a dairy-free version, a thick plant-based yogurt like coconut or cashew yogurt both work well.
  • Egg: Not an egg fan? Skip it entirely – the bowl is still incredible without it. Hard-boiled eggs work too if you prefer a fully cooked yolk. For extra protein, add a few slices of smoked salmon instead.
  • Chickpeas: Short on time? Use canned chickpeas warmed in a skillet with olive oil and spices instead of roasting, or swap for white beans, lentils, or edamame.
  • Vegetables: This bowl is endlessly customizable. Swap the tomato and cucumber for whatever fresh vegetables you have on hand – radishes, roasted red peppers, shredded carrots, roasted sweet potato, or baby spinach all work beautifully.
  • Avocado: Not an avocado fan? Try hummus, a drizzle of tahini, or a handful of olives instead for a similar richness.
  • Add More Flavor: A sprinkle of everything bagel seasoning, za’atar, or red pepper flakes on top of the yogurt takes this bowl to an entirely different level. Highly recommended!
  • Make it a Meal Prep Breakfast: Roast a big batch of chickpeas at the beginning of the week (they keep for 3–4 days in an airtight container at room temperature) and keep all your toppings prepped in the fridge. In the morning, all you need to do is assemble – it takes under 5 minutes!
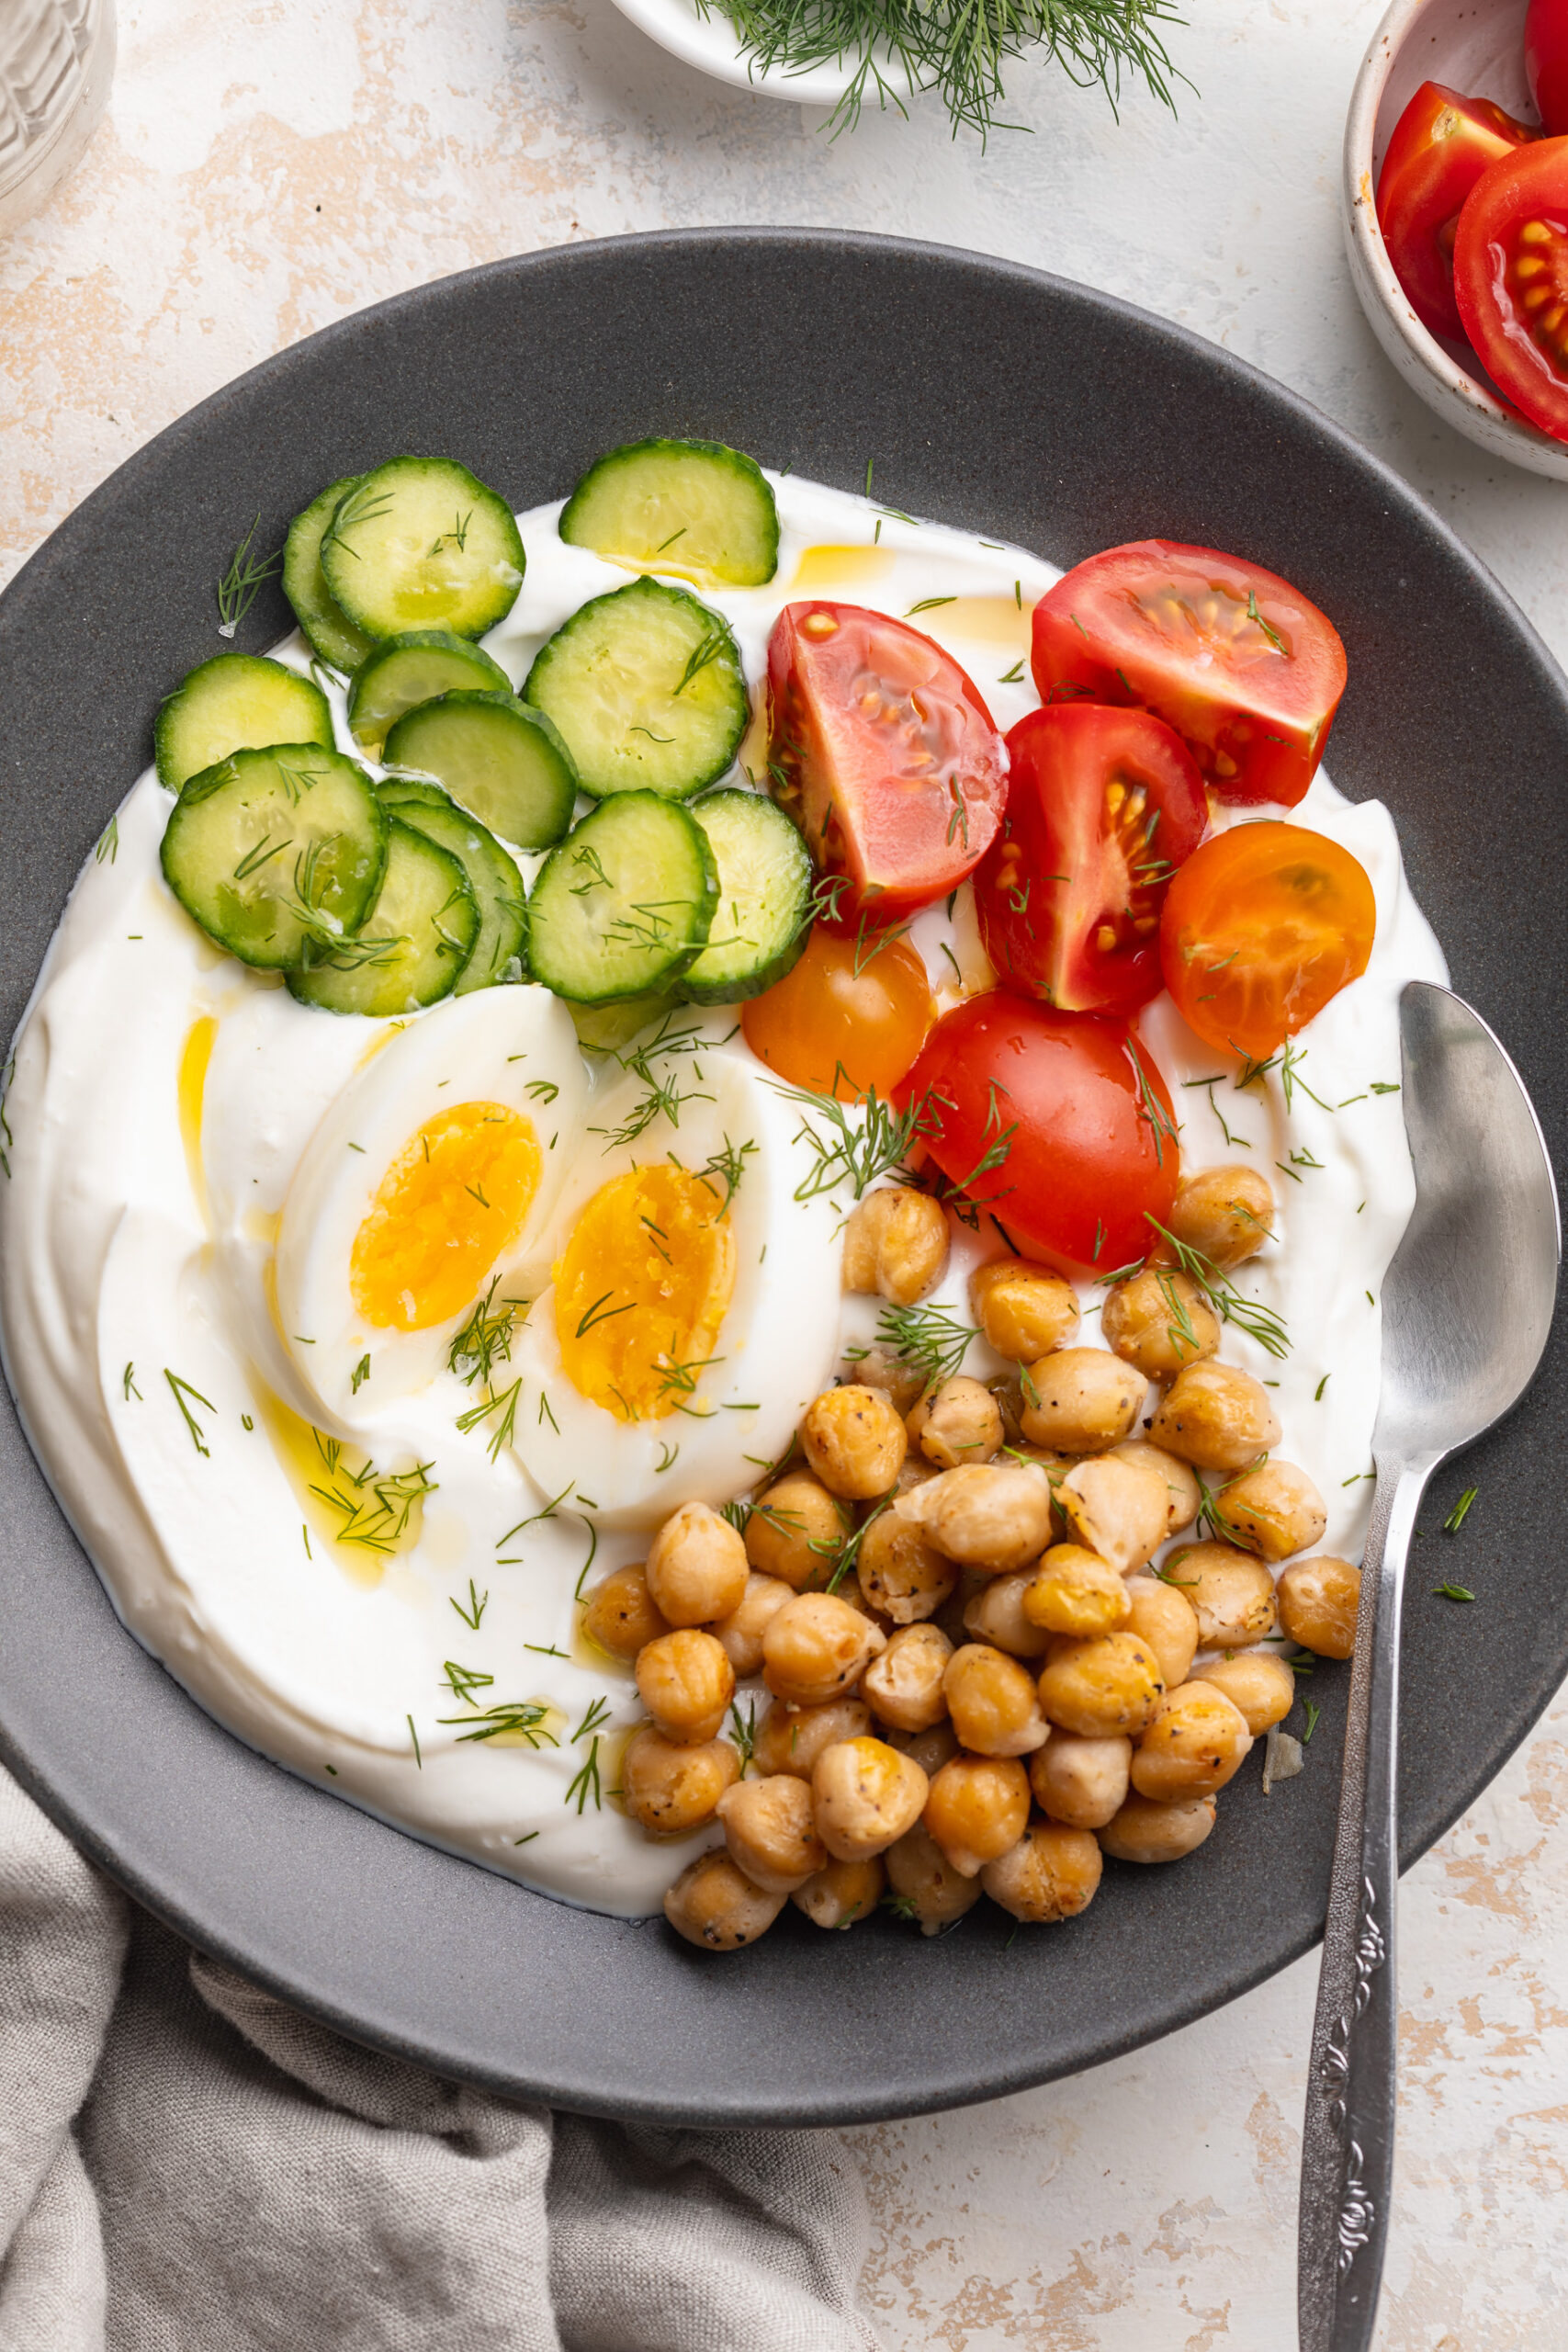
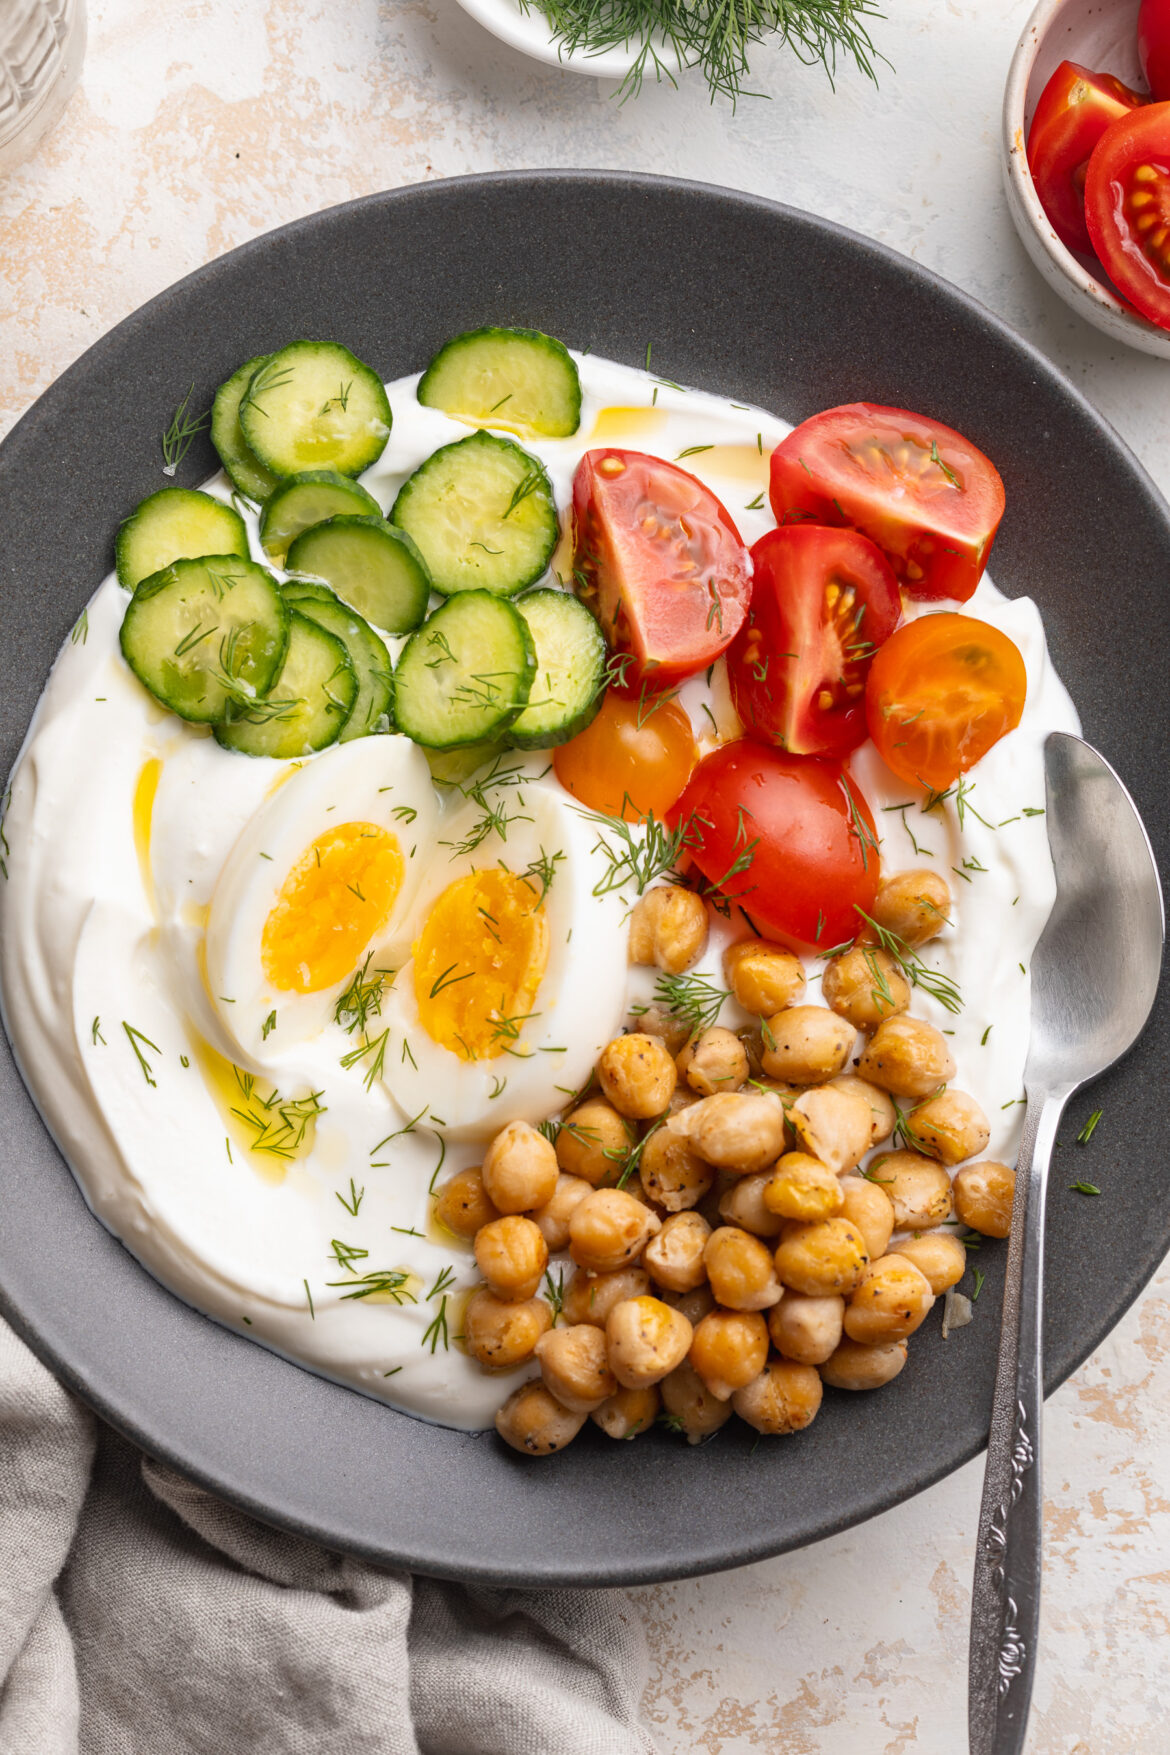
overhead image of a savory yogurt bowl on a table with a spoon.
No ratings yet

Savory Yogurt Bowl (25g+ protein!)

This savory yogurt bowl is a fresh, filling, and surprisingly delicious twist on your usual morning routine – topped with crispy roasted chickpeas, a jammy soft-boiled egg, avocado, tomatoes, and cucumber for a breakfast that's packed with protein, healthy fats, and feel-good ingredients! It comes together in just 30 minutes and tastes like something you'd order at a fancy brunch spot, but it's super EASY to make at home. If you've been stuck in a breakfast rut and are looking for a healthy protein-packed breakfast recipe that will actually keep you full all morning, this is it!
Print Pin Rate
Prep Time: 5 minutes
Cook Time: 25 minutes
Total Time: 30 minutes
Servings: 1 serving

Equipment

  • 1 baking pan
  • 1 serving bowl

Ingredients

  • 1/2 – 1 cup Greek yogurt
  • 1 boiled egg cooked to your liking!
  • 1/2 cup chickpeas
  • 1/4 avocado sliced or diced
  • 1/4 cup cherry tomatoes
  • 1/4 cup cucumber thinly sliced or diced
  • olive oil for roasting and drizzling
  • salt, pepper, garlic powder to taste
  • flaky sea salt to finish

Instructions

  • Preheat oven to 400°F. Pat chickpeas dry, toss with olive oil, salt, pepper, and garlic powder, and roast for 20–25 minutes until crispy.
  • Soft-boil the egg in boiling water for 6–7 minutes, then transfer to an ice bath for 5 minutes. Peel and slice in half.
  • Spoon Greek yogurt into a shallow bowl and spread to the edges. Drizzle with olive oil and a pinch of salt.
  • Top with crispy chickpeas, soft-boiled egg, avocado, tomato, and cucumber.
  • Finish with a drizzle of olive oil, flaky sea salt, and black pepper. Serve immediately!

Notes

  • Pat the chickpeas completely dry before roasting for the crispiest result.
  • Use full-fat Greek yogurt for the richest, creamiest base.
  • Add za’atar, everything bagel seasoning, or red pepper flakes on top for extra flavor.
  • For meal prep, roast a big batch of chickpeas and store at room temperature for up to 3–4 days.
  • Assemble just before eating — the yogurt will get watery if left to sit with the toppings for too long.
Nutrition

Serving: 1serving | Calories: 420kcal | Carbohydrates: 28g | Protein: 25g | Fat: 25g | Fiber: 8g | Sugar: 6g

Vodka pasta is one of those recipes that feels like a special occasion meal but comes together on a weeknight in under 30 minutes – and this version just got a serious upgrade! This cottage cheese pasta takes the classic vodka sauce and swaps in blended cottage cheese for the heavy cream, giving you all the silky, rich, tomato-y creaminess you love at a fraction of the calories and with a whole lot more protein. The sauce is velvety smooth, deeply savory, and clings to every strand of pasta beautifully. My toddler clears his bowl every single time, and honestly, so do I!

Just like my Cottage Cheese Alfredo and Cottage Cheese Pizza Crust, the secret is blending the cottage cheese completely smooth before it ever hits the pan – so there’s not a single curd in sight and nobody at your table is any the wiser. What you’re left with is a healthy, high-protein pasta dinner that tastes indulgent, comes together in one pan, and is genuinely loved by the whole family – even the pickiest eaters!

Why You’ll Love This Cottage Cheese Vodka Pasta

  • Higher in protein and lighter than classic vodka pasta. Traditional vodka sauce is made with heavy cream. This version swaps it for blended cottage cheese, which delivers a creamy, luxurious texture with significantly more protein and fewer calories per serving.
  • Tastes just like the real thing. The blended cottage cheese disappears completely into the sauce. What you’re left with is a rich, creamy, tangy vodka sauce that is genuinely indistinguishable from the classic – nobody will ever guess the secret ingredient.
  • Even picky eaters love it. My toddler is obsessed with this pasta, which is basically the highest endorsement a recipe can get! The sauce is mild, creamy, and comforting — all the things that make pasta so universally beloved.
  • Easy enough for a weeknight. One blender, one pan, one pot of pasta. The whole dinner is on the table in under 30 minutes, which makes this a regular in our weekly dinner rotation.
  • Healthy and wholesome. Made with real, simple ingredients – no heavy cream, no processed anything – just a genuinely nutritious dinner that the whole family will LOVE.
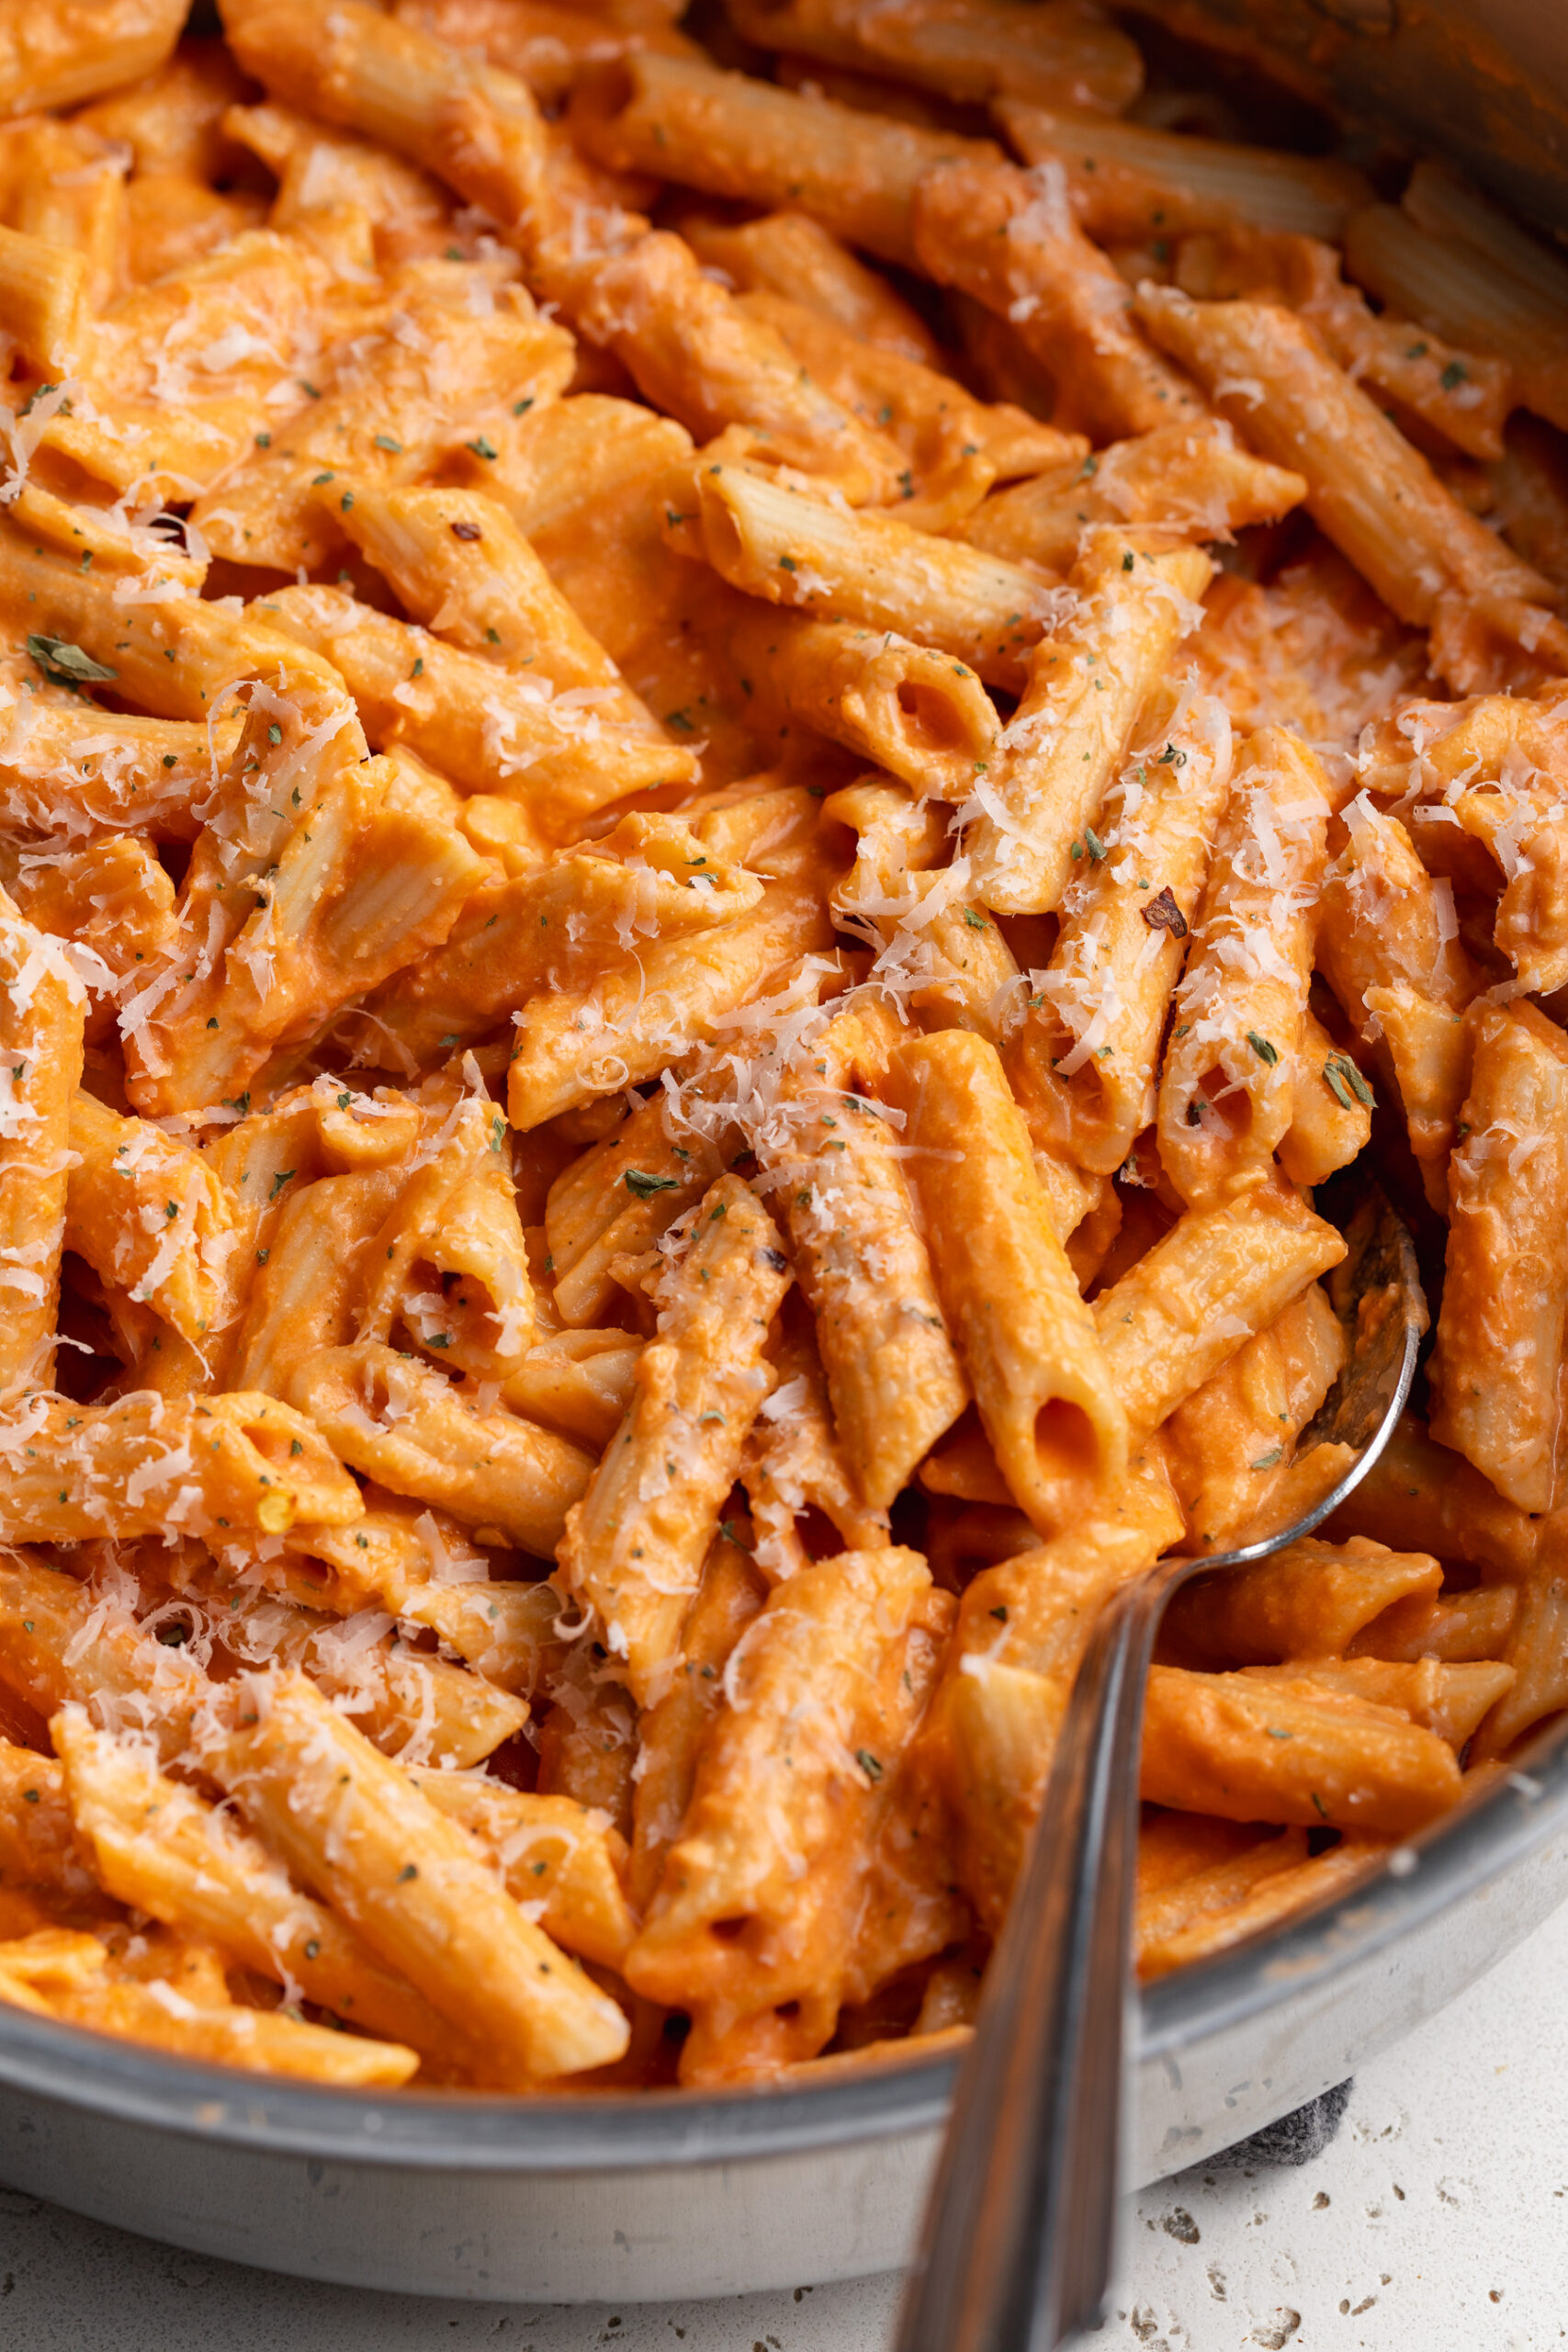
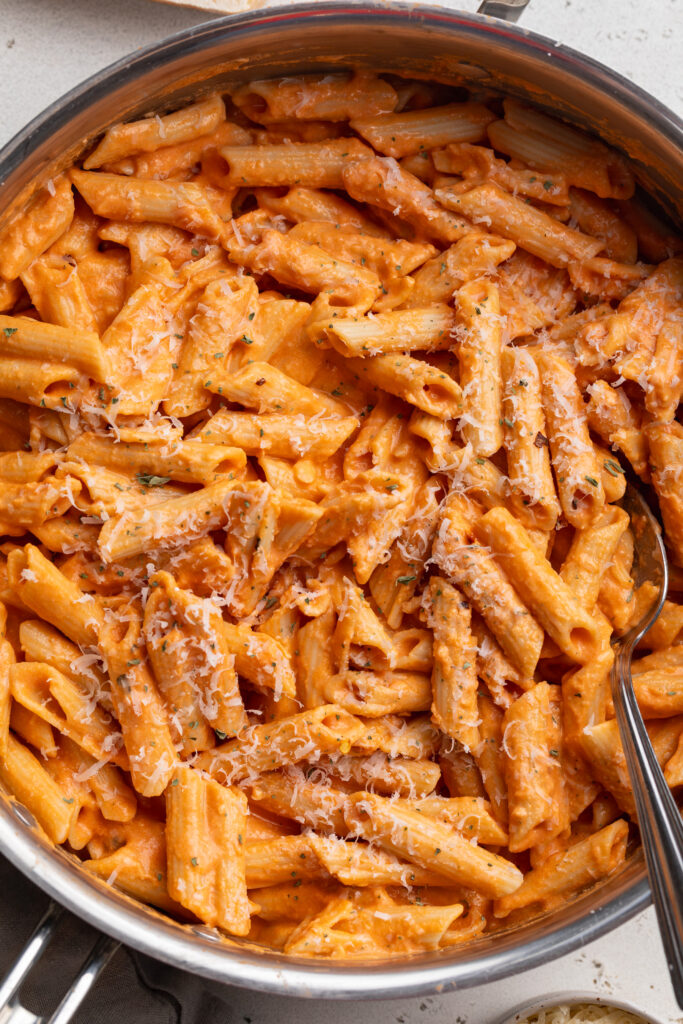
overhead image of cottage cheese vodka pasta in a large skillet.

Recipe Variations and Substitutions

  • Pasta: Any shape you love works here! Short pasta like rigatoni, penne, or fusilli are classic for vodka sauce, but spaghetti, linguine, or even gluten-free pasta all pair beautifully.
  • Vodka: Not a fan of cooking with alcohol? Swap for ¼ cup of chicken broth or vegetable broth. The flavor will be slightly different but equally delicious!
  • Add Protein: Stir in grilled chicken, sautéed shrimp, or Italian turkey sausage to turn this into an even heartier meal.
  • Add Vegetables: Toss in a big handful of fresh spinach at the end (it will wilt quickly in the hot sauce), or stir in roasted cherry tomatoes, sautéed mushrooms, or sun-dried tomatoes.
  • Make it Spicier: Double the red pepper flakes or add a pinch of cayenne for a spicier sauce that really brings the heat.
  • Make it Dairy-Free: Swap the parmesan for a vegan parmesan alternative and use a dairy-free cottage cheese substitute.

Sam’s Recipe Tips

  • Blend the cottage cheese with the pasta water. The starchy pasta water doesn’t just help the texture; it also helps the blended cottage cheese emulsify smoothly into the tomato sauce without curdling or separating. Don’t skip the pasta water step!
  • Blend until completely, completely smooth. Any remaining curds from the cottage cheese will be visible in the final sauce. Take a full 60 seconds on high speed, scraping down the sides as needed. A high-speed blender gives the silkiest result.
  • Don’t skip caramelizing the tomato paste. Cooking the tomato paste in the pan for a few minutes before adding the vodka deepens the flavor significantly. You’ll notice it darkens slightly in color – that’s exactly what you want. This step takes less than 3 minutes but makes a huge difference.
  • Reserve more pasta water than you think you need. I always reserve at least 1 full cup, even though the recipe only calls for 1/2 cup. You may need extra to loosen the sauce when adding the pasta, and pasta water is the best way to do it without diluting the flavor.
  • Serve immediately. Like most pasta dishes, this is best eaten right away while the sauce is hot and silky. The pasta will continue to absorb the sauce as it sits, so don’t let it linger too long before serving!
  • Leftovers tip: Store leftovers in an airtight container in the fridge for up to 4 days. Reheat on the stovetop over low heat or in the microwave, adding a splash of milk, water, or broth to loosen the sauce back up.
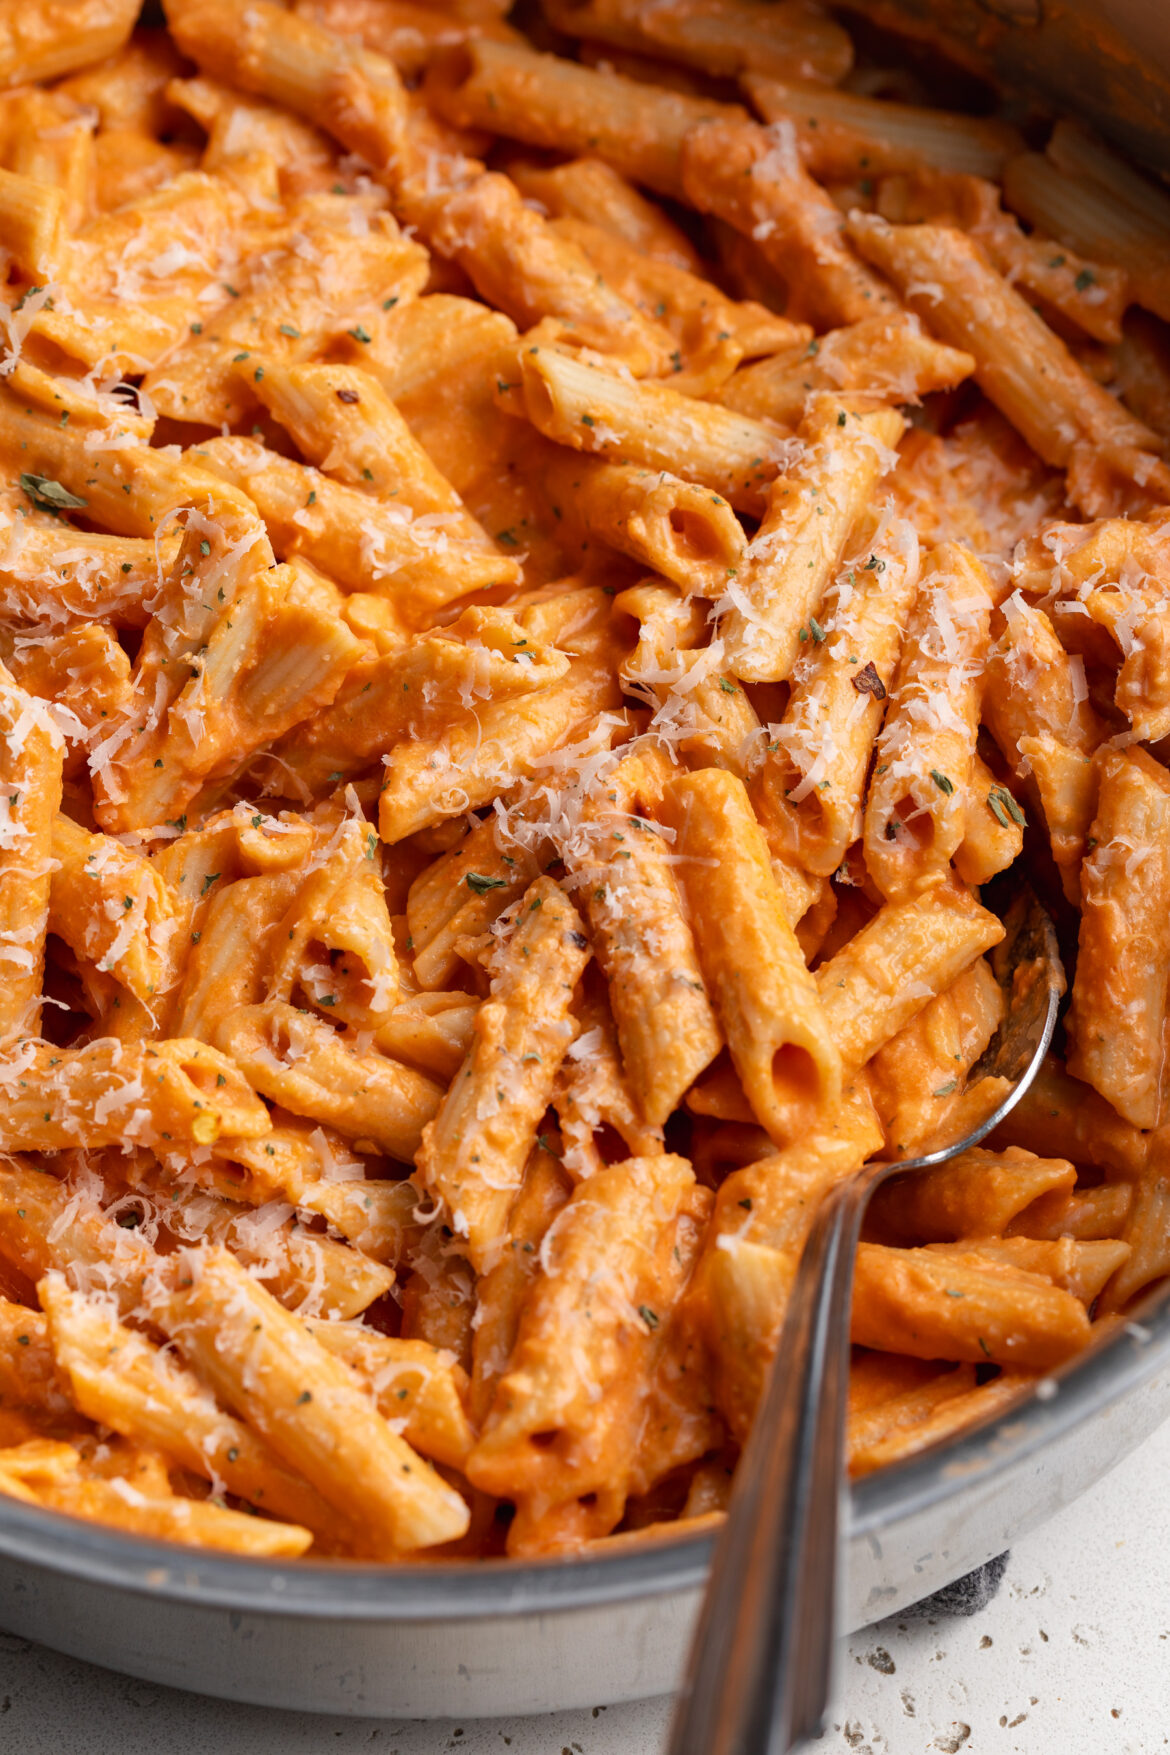
cottage cheese vodka pasta in a skillet with a spoon.
5 from 1 vote

Cottage Cheese Vodka Pasta

This cottage cheese vodka pasta is a lighter, higher-protein twist on the classic – made with blended cottage cheese instead of heavy cream for a silky, rich, restaurant-worthy sauce that comes together in just 30 minutes! The cottage cheese disappears completely into the tomato vodka base, giving you all the creamy indulgence of the original with significantly more protein and fewer calories per serving. If you're looking for an easy healthier pasta recipe that the whole family will love (even the pickiest eaters) this is the one to make tonight!
Print Pin Rate
Prep Time: 5 minutes
Cook Time: 15 minutes
Servings: 4 servings

Equipment

  • 1 blender or food processor
  • 1 large pot
  • 1 large skillet

Ingredients

  • 1 pound pasta I used gluten-free
  • 1 cup cottage cheese
  • 1/2 cup pasta water (reserved from cooking the pasta)
  • 1 tablespoons olive oil
  • 1/2 small onion finely diced
  • 1/2 cup tomato paste
  • 1/4 cup vodka or chicken broth
  • 1 teaspoon salt
  • pinch of red pepper flakes
  • 1/2 cup freshly grated parmesan cheese

Instructions

  • Cook pasta according to package directions. Reserve 1/2 cup pasta water before draining.
  • Blend cottage cheese and reserved pasta water until completely smooth. Set aside.
  • Heat olive oil in a large skillet over medium heat. Add onion and cook 5–7 minutes until softened.
  • Add tomato paste and cook for 2–3 minutes, stirring frequently, until slightly caramelized.
  • Add vodka and cook for 2–3 minutes until mostly cooked off.
  • Reduce heat to low. Add blended cottage cheese, salt, red pepper flakes, and parmesan. Stir and cook 3–5 minutes until smooth and heated through.
  • Add drained pasta and toss to coat. Add pasta water as needed to adjust consistency.
  • Serve immediately with fresh parsley and extra parmesan.

Nutrition

Serving: 1serving | Calories: 500kcal | Carbohydrates: 80g | Protein: 24g | Fat: 8g | Fiber: 4g | Sugar: 7g

I must admit, my sweet tooth has been out of control lately! But lucky for me, I have plentyyy of healthier sweet treats in my archives to satisfy it. I’ve been making my cottage cheese cookie dough pretty much once a week, and 4-ingredient protein brownies whenever I get the chance. And now, I prep and store this cottage cheese chocolate mousse in my fridge at all times. It’s just the perfect balance between light and indulgent, chocolatey yet not too sweet – and of course, super easy to make! And the best part? It packs in over 30 grams of protein per serving. Now that’s a sweet treat you can enjoy and feel good about!

Why You’ll Love This Cottage Cheese Chocolate Mousse

  • High-protein dessert with 30g protein per serving!
  • Made with just 4 simple ingredients, and naturally sweetened with maple syrup.
  • Super easy to make in just a few minutes!
  • Thick, creamy texture just like classic chocolate mousse.
  • Perfect for a healthy dessert or snack.
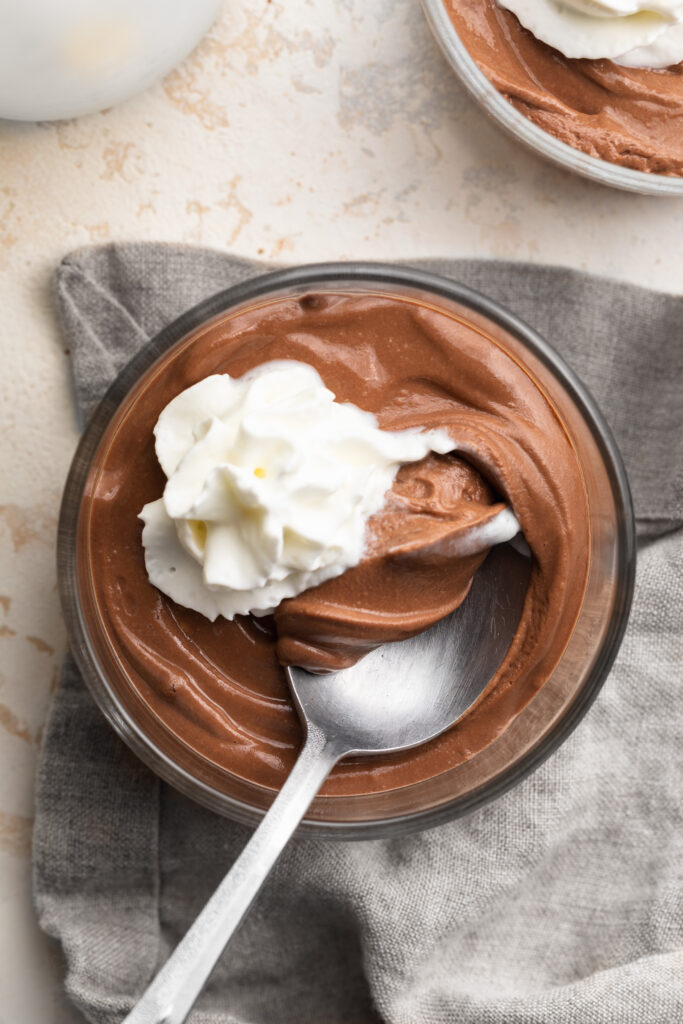
overhead image of cottage cheese chocolate mousse in a small dish.

The 4-ounce meal prep jars I use to store my cottage cheese chocolate mousse are linked here.

Frequently Asked Questions

What kind of protein powder did you use?

I used the Aloha Chocolate Protein Powder (use this link for 20% off your order!) and it makes a perfectly thick and airy chocolate mousse – with tons of protein.

How much protein is in this chocolate mousse?

Each serving contains about 30 grams of protein and just 300 calories, depending on the cottage cheese and protein powder you use.

Can I make this sugar-free?

Yes. You can replace the maple syrup with a sugar-free liquid sweetener such as monk fruit or stevia. Just adjust the amount to taste since sweetness levels vary.

How long does this stay good in the fridge?

Store the mousse in an airtight container in the refrigerator for up to 4 days. The texture may thicken slightly as it chills, so give it a quick stir before serving if needed.

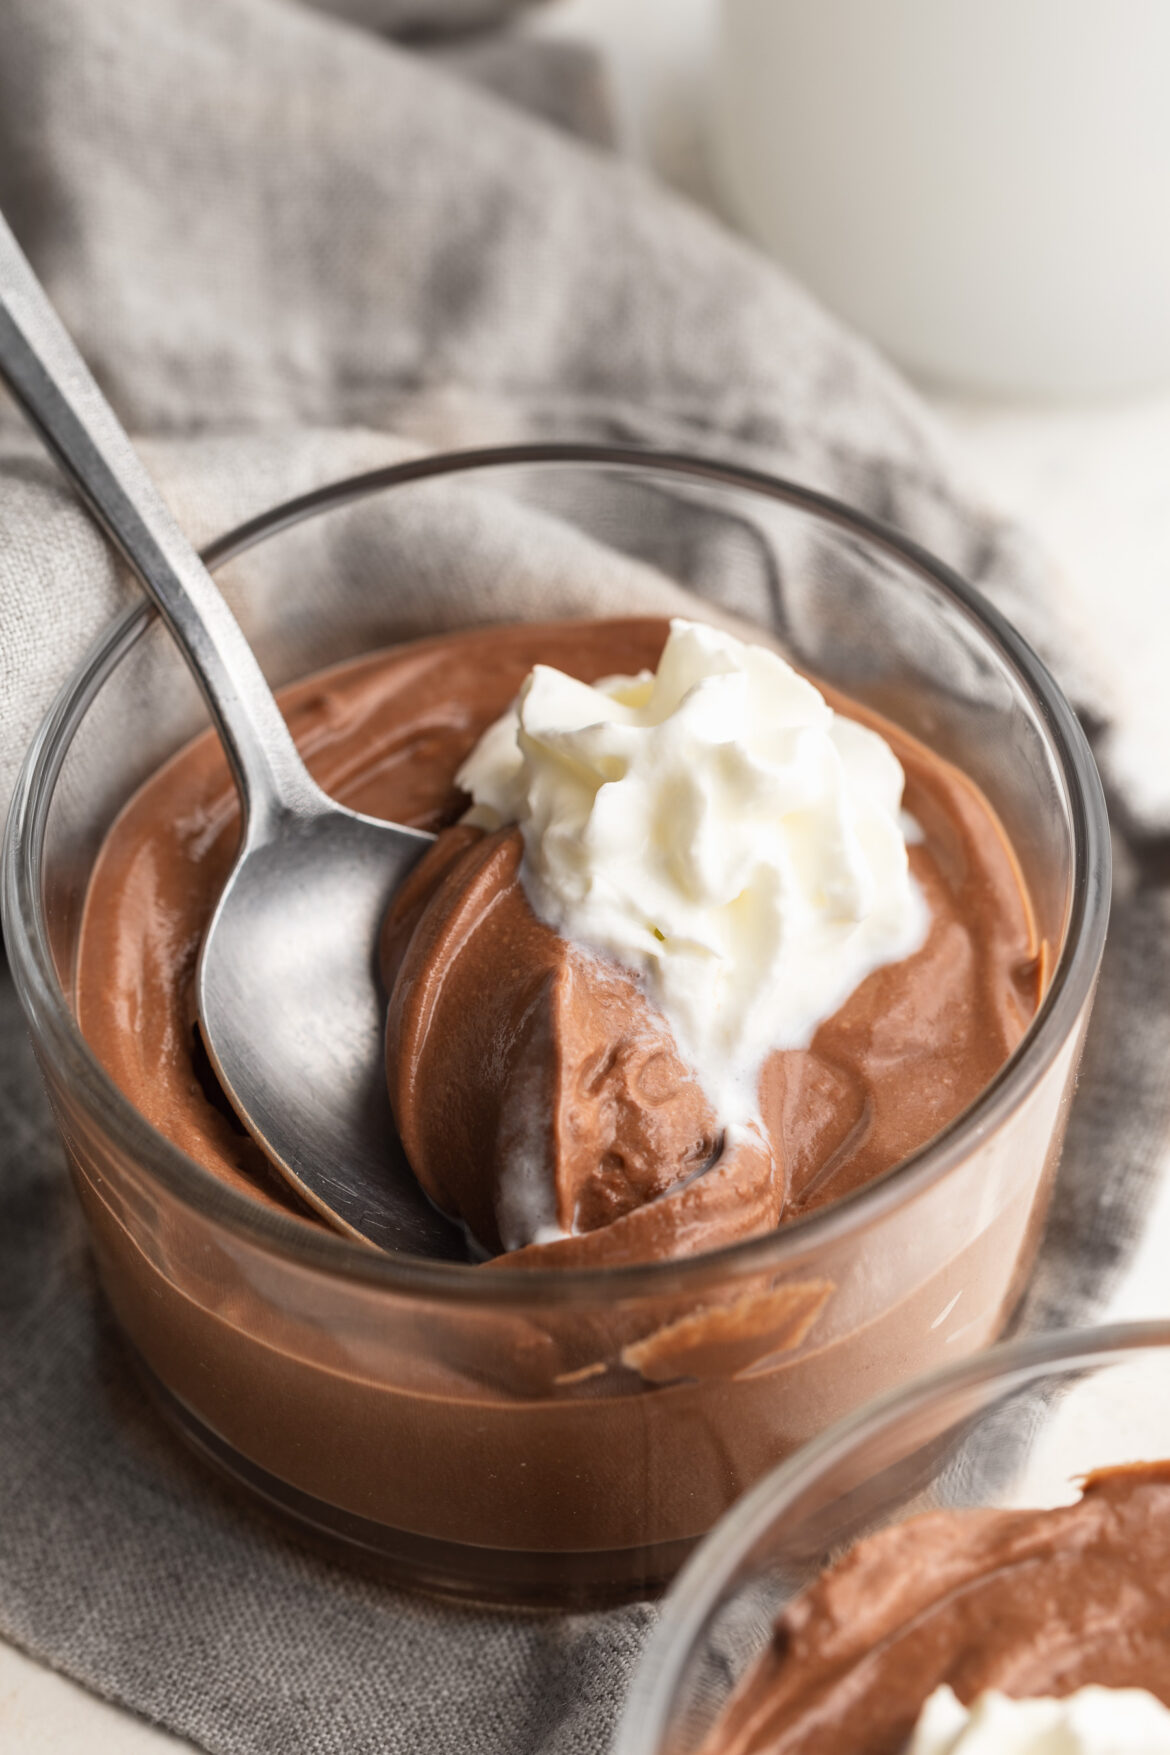
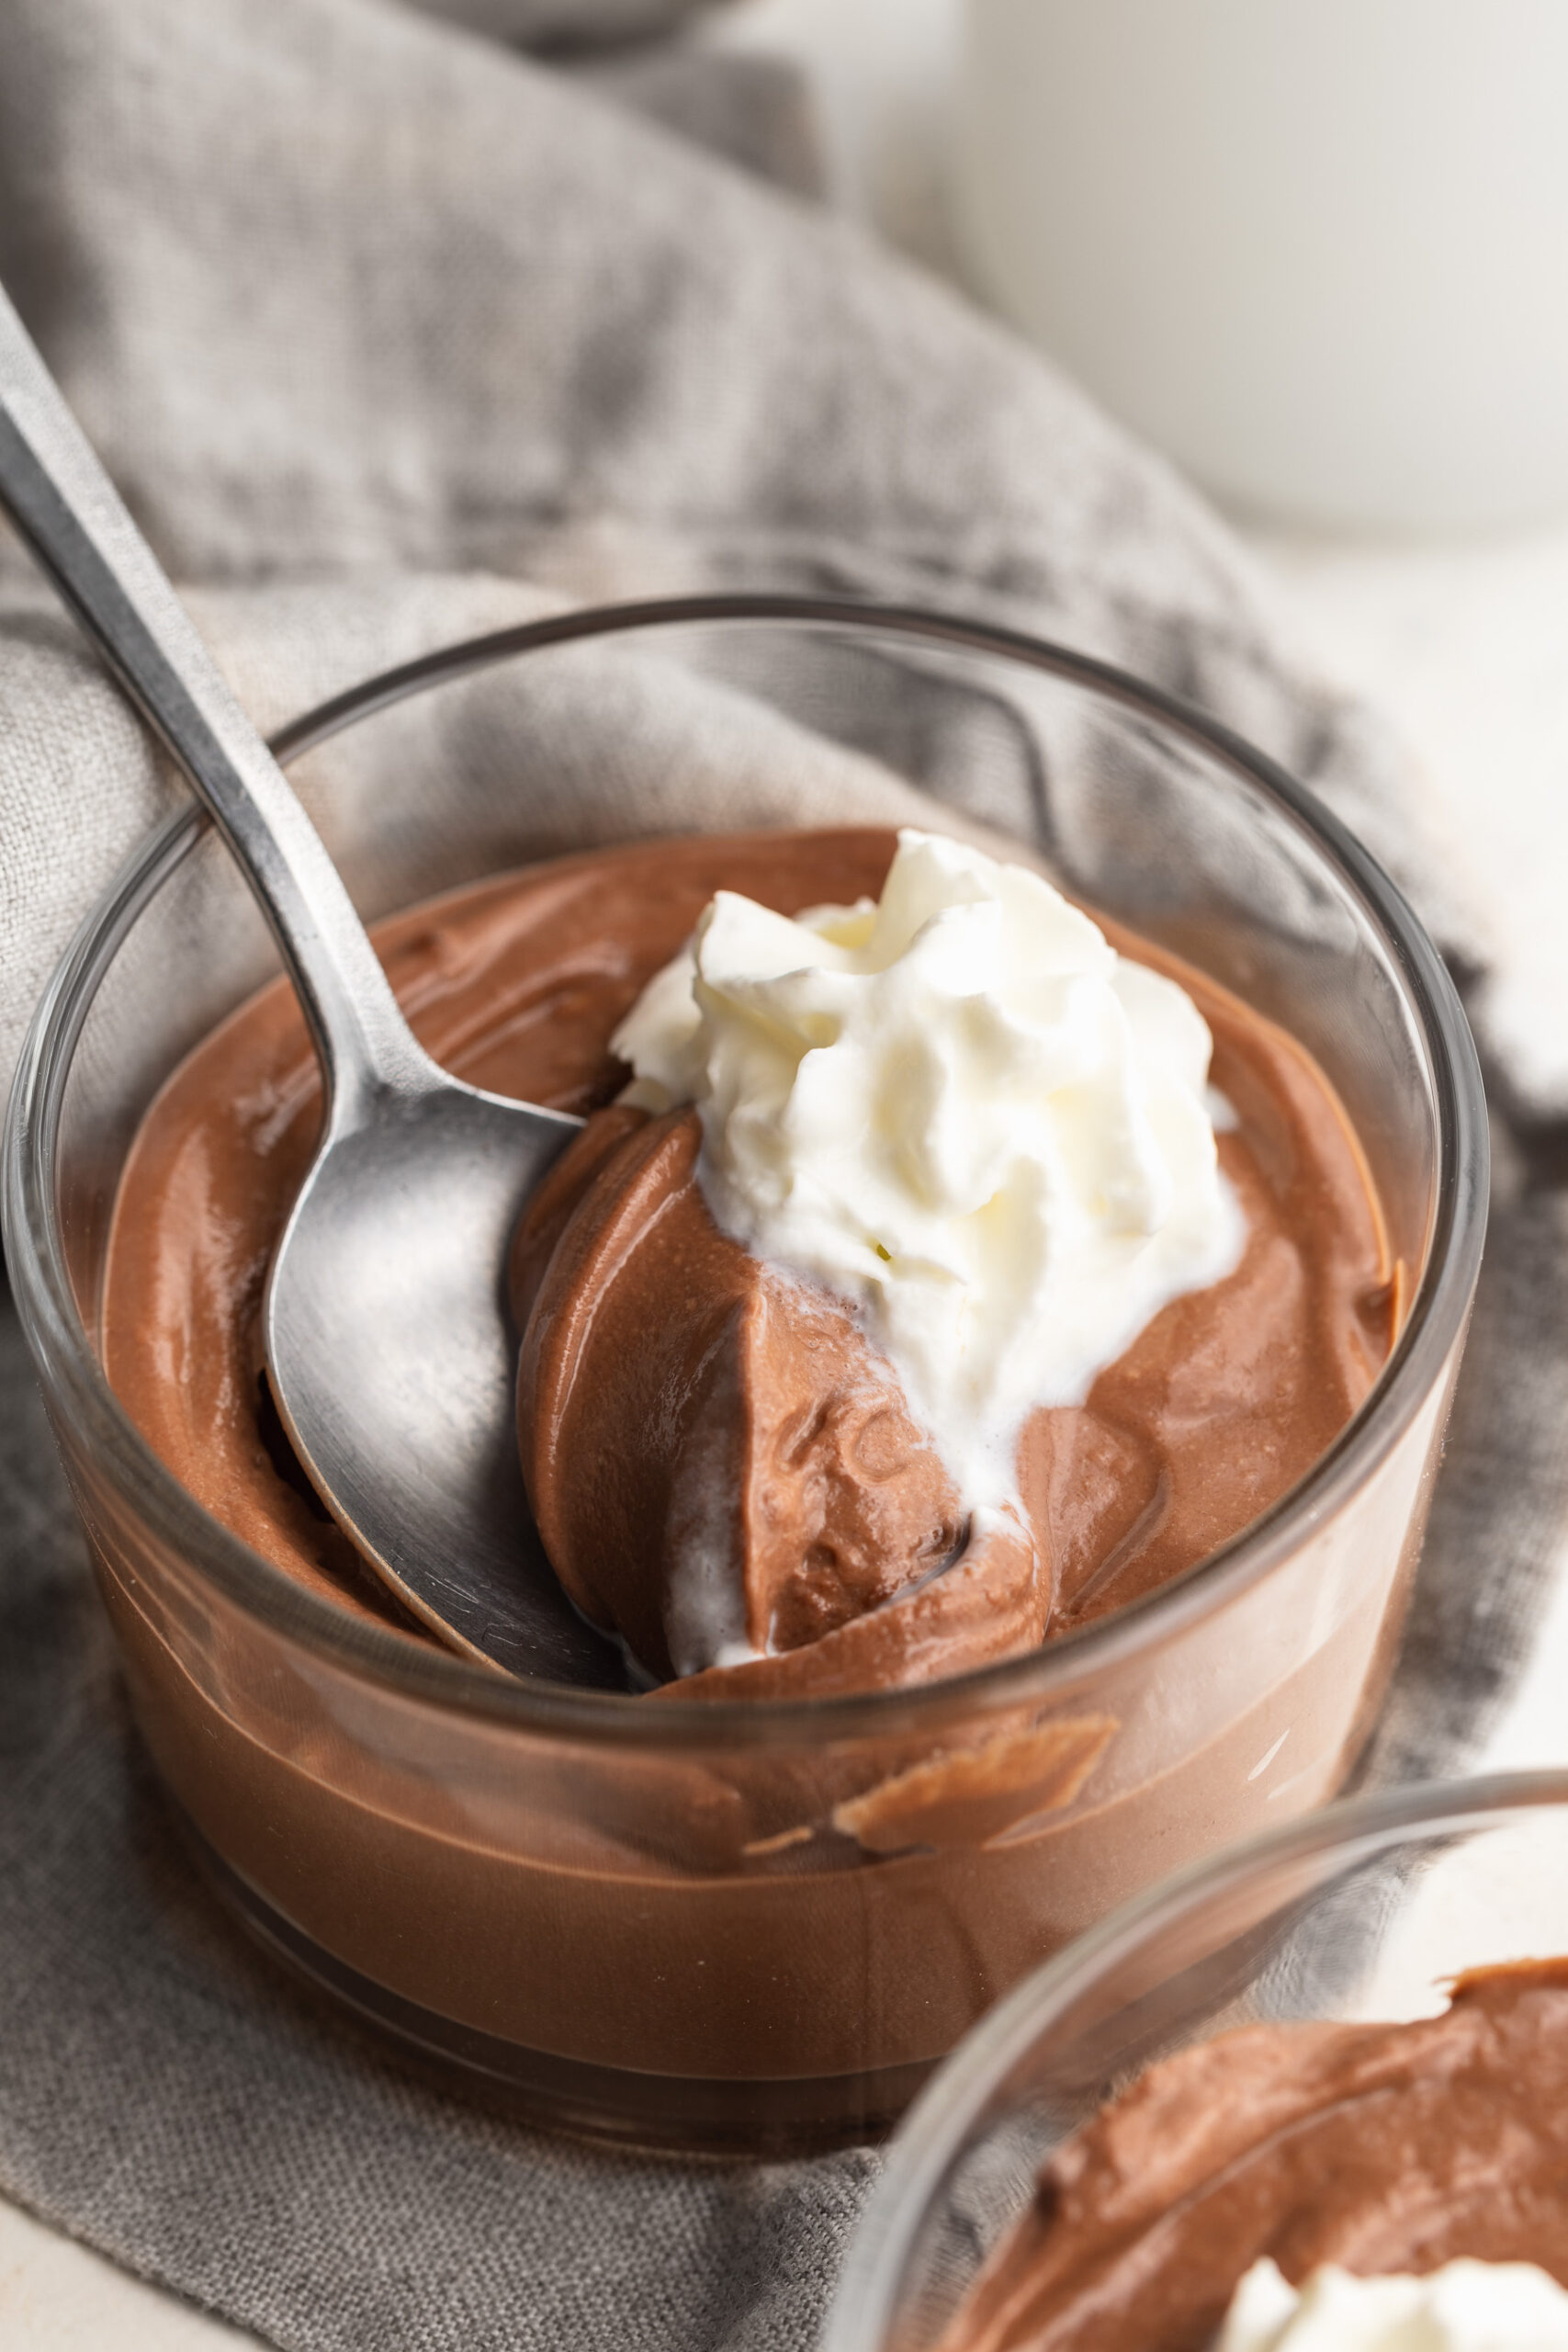
cottage cheese chocolate mousse in a small dish with whipped cream and a spoon.
No ratings yet

4-Ingredient Cottage Cheese Chocolate Mousse

This cottage cheese chocolate mousse is a creamy, high-protein dessert made with just 4 simple ingredients! Each serving has over 30 grams of protein, making it a satisfying and healthy treat. Blended until smooth and chilled to perfection, this easy chocolate mousse is just as rich and delicious as the classic version!
Print Pin Rate
Prep Time: 5 minutes
Chill Time: 1 hour
Total Time: 1 hour 5 minutes
Servings: 2 servings

Equipment

  • 1 food processor or high speed blender
  • 2 small jars

Ingredients

  • 1 cup cottage cheese
  • 2 scoops chocolate protein powder
  • 1 tablespoon unsweetened cocoa powder
  • 2-3 tablespoons maple syrup or your preferred liquid sweetener

Instructions

  • Add all ingredients to a blender and blend until completely smooth.
  • Transfer the chocolate mousse to small jars or containers, and refrigerate for at least an hour, or until the mousse has thickened.
  • Remove the cottage cheese chocolate mousse from the fridge, top with whipped cream and/or fresh fruit and enjoy!

Nutrition

Serving: 1serving | Calories: 300kcal | Carbohydrates: 29g | Protein: 31g | Fat: 6g | Fiber: 3g | Sugar: 19g

A warm, rich, deeply chocolatey brownie *in a mug* in 90 seconds! This protein mug cake is the recipe I turn to every single time I want something sweet but don’t want to wait, bake, or really work too hard. It’s made with just 5 simple ingredients, packs a serious protein boost, and tastes truly indulgent – even though it’s completely healthy, gluten-free, and refined sugar-free!

What makes this one different from other protein mug cake recipes? Two things: Greek yogurt and cocoa powder. The Greek yogurt makes the cake incredibly moist and fudgy – no dry, chalky protein cake here. The cocoa powder doubles down on the chocolate flavor for a true brownie experience. If you like my Single Serve Protein Cookie or my 4-Ingredient Protein Brownies, then you’re going to LOVE this one!

Why You’ll Love This Protein Mug Cake

  • Ready in just 90 seconds. 90 seconds in the microwave and you’ve got a warm, freshly baked brownie. It doesn’t get faster than that. (No microwave? Bake it at 350°F for 25 minutes — equally delicious!)
  • High in protein. With both Greek yogurt and chocolate protein powder in the batter, this mug cake delivers a genuinely impressive amount of protein per serving — no sad, barely-there protein content here.
  • Gluten-free and healthy. No flour, no butter, no refined sugar — just clean, wholesome ingredients that come together in the most satisfying single-serve dessert.
  • Perfectly moist and fudgy. The Greek yogurt is the secret weapon here. It keeps this mug cake soft, rich, and brownie-like — not dry, not rubbery, not chalky. Just perfect.
  • 5 ingredients, one bowl. Mix it all in the mug you’re going to eat it from and call it a day. Minimal cleanup, maximum satisfaction.
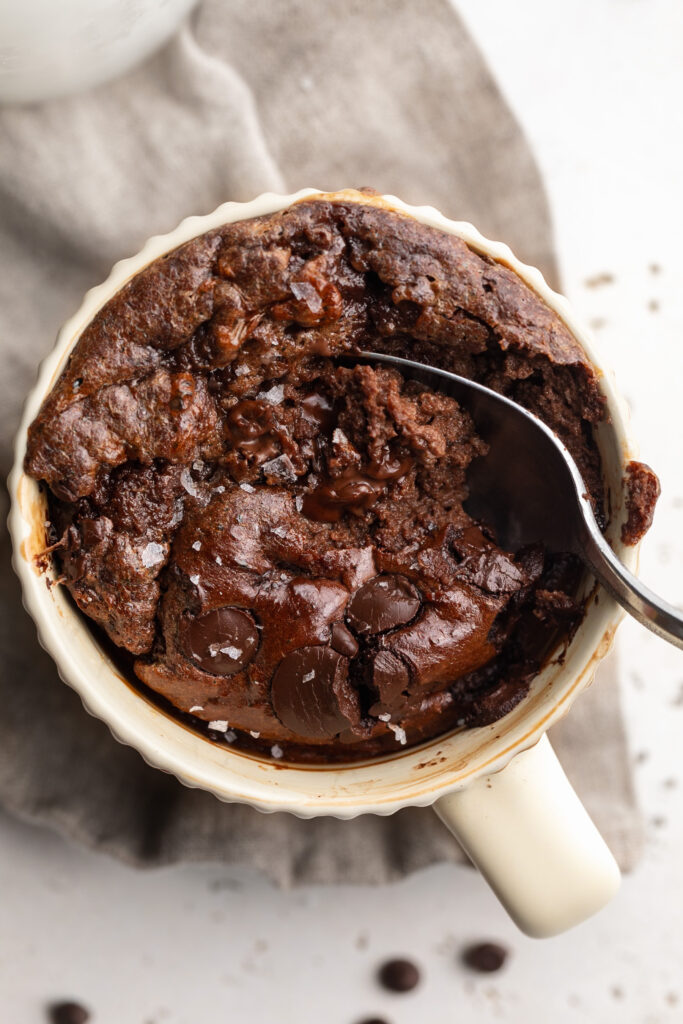
overhead image of a protein brownie mug cake with a spoon in it.

Frequently Asked Questions

How much protein does this protein mug cake have?

This mug cake contains approximately 28–36 grams of protein per serving, depending on the brand of protein powder you use. The protein comes from two sources: the chocolate protein powder (typically 20–30g per scoop) and the Greek yogurt (approximately 6g per ¼ cup). That’s more protein than most store-bought protein bars — in something that tastes like a warm brownie!

What protein powder did you use?

I used Be Well By Kelly Chocolate Protein Powder, and it’s genuinely my favorite for baking. It has a delicious, natural chocolate flavor that makes this mug cake taste like the real thing — not like a protein shake. It also bakes up moist and soft, not dry or rubbery. That said, any chocolate protein powder you love will work in this recipe! Just keep in mind that different brands absorb liquid differently, so your batter consistency may vary slightly.

Can I make this dairy-free?

Yes! Swap the Greek yogurt for a thick, plain dairy-free yogurt — coconut yogurt or a thick oat milk yogurt both work great. The texture may be very slightly different depending on which dairy-free yogurt you use, but it will still be delicious. Make sure your protein powder is also dairy-free (most plant-based protein powders are) and you’re all set.

Sam’s Recipe Tips

  • Stir it VERY well. I mean it – stir until there are zero dry spots, NO lumps, and the batter looks completely smooth and uniform. Protein powder and cocoa powder can be stubborn and clump together, and any unincorporated pockets will result in a dry, uneven texture once cooked. Take the extra 30 seconds to really mix it thoroughly – it makes a huge difference!
  • Don’t overcook it. The number one mistake with mug cakes is overcooking. Start at 90 seconds and check it – the edges should look set, but the center can look slightly underdone. It will continue to cook and firm up as it rests. Every microwave is different, so if yours runs hot, start checking at 75 seconds.
  • Let it rest before eating. Give it a full minute to rest after microwaving. Not only will it be dangerously hot straight out of the microwave, but resting allows the center to finish setting into that perfect fudgy brownie texture.
  • Use a large mug. Make sure your mug is at least 12 ounces – the batter will bubble and rise as it cooks. A mug that’s too small can overflow in the microwave. A wide, short mug or a ramekin gives the most even cooking.
  • Top it generously. A drizzle of peanut butter, a dollop of Greek yogurt, or a handful of chocolate chips on top takes this from great to absolutely incredible. Don’t skip the toppings!
  • Oven method tip: If baking in the oven, use a greased 6-ounce ramekin and bake at 350°F for 25 minutes. The result is slightly more cake-like and less fudgy than the microwave version – equally delicious, just a different texture.
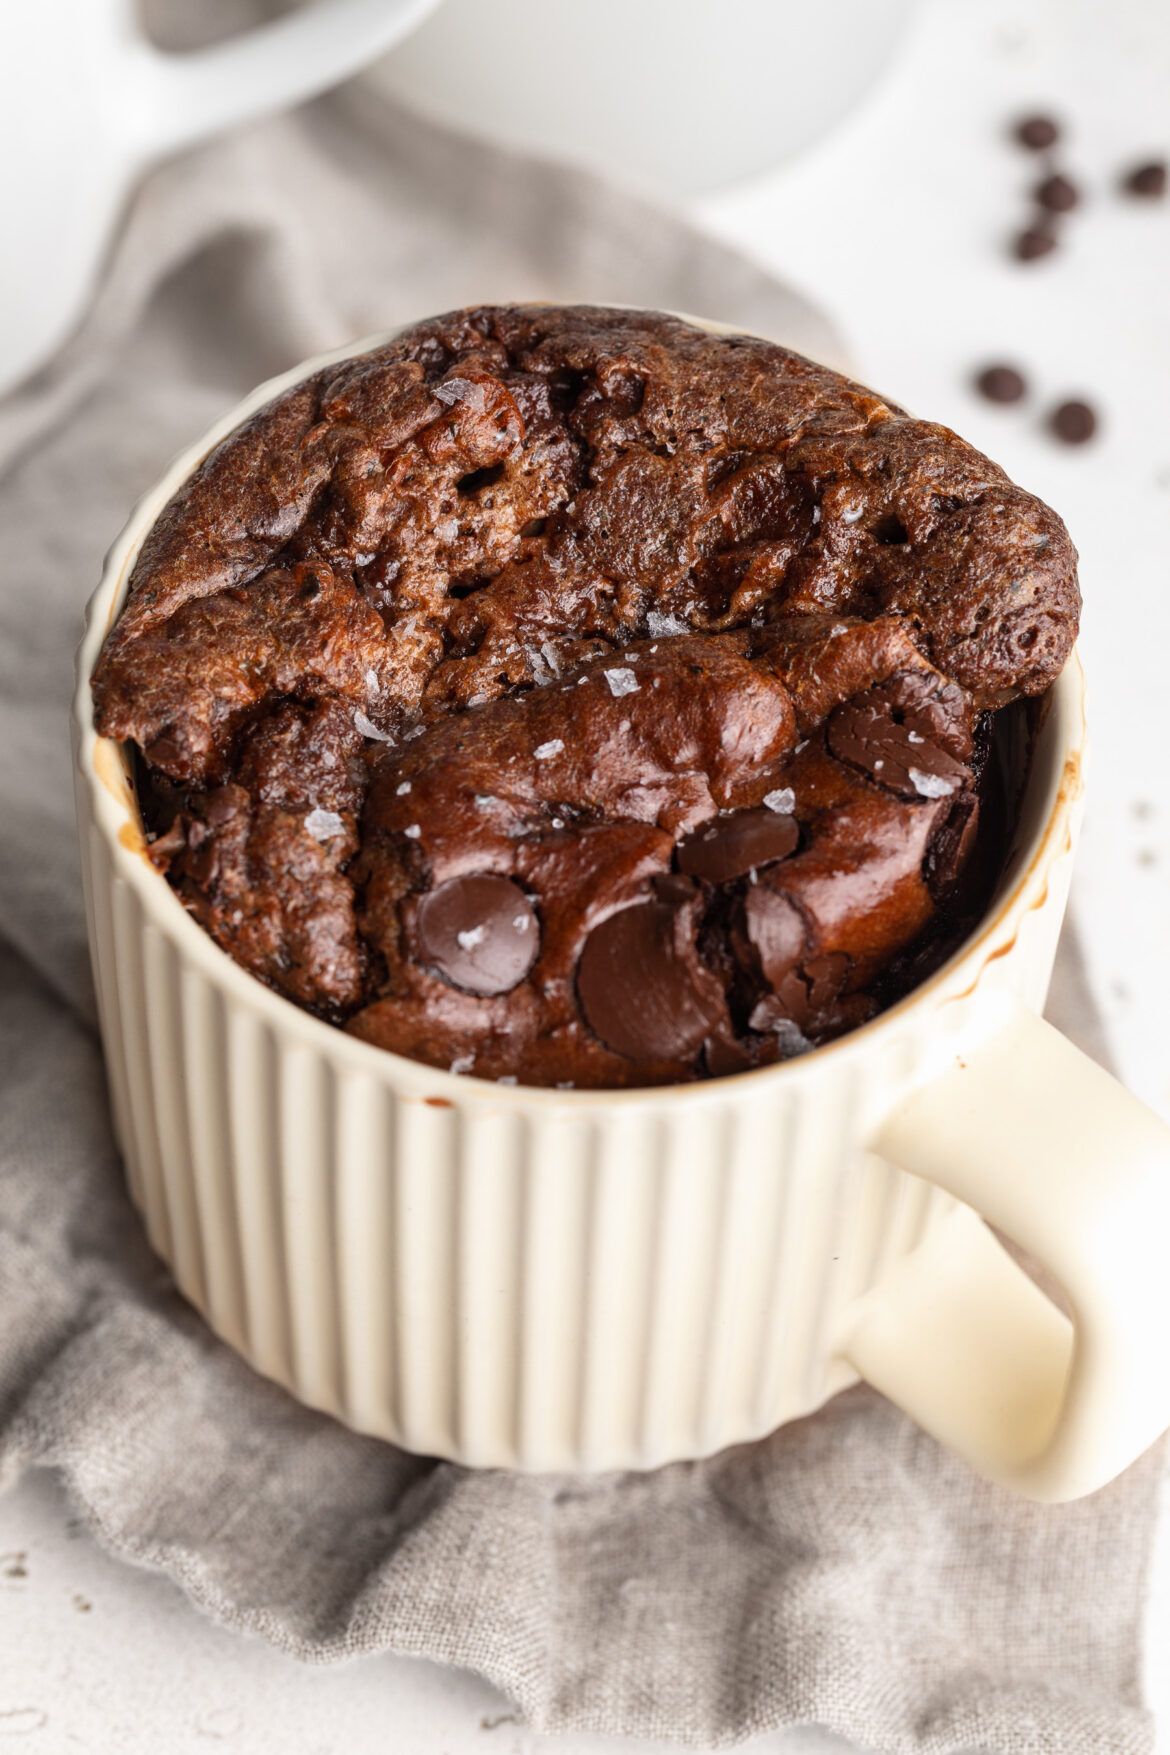
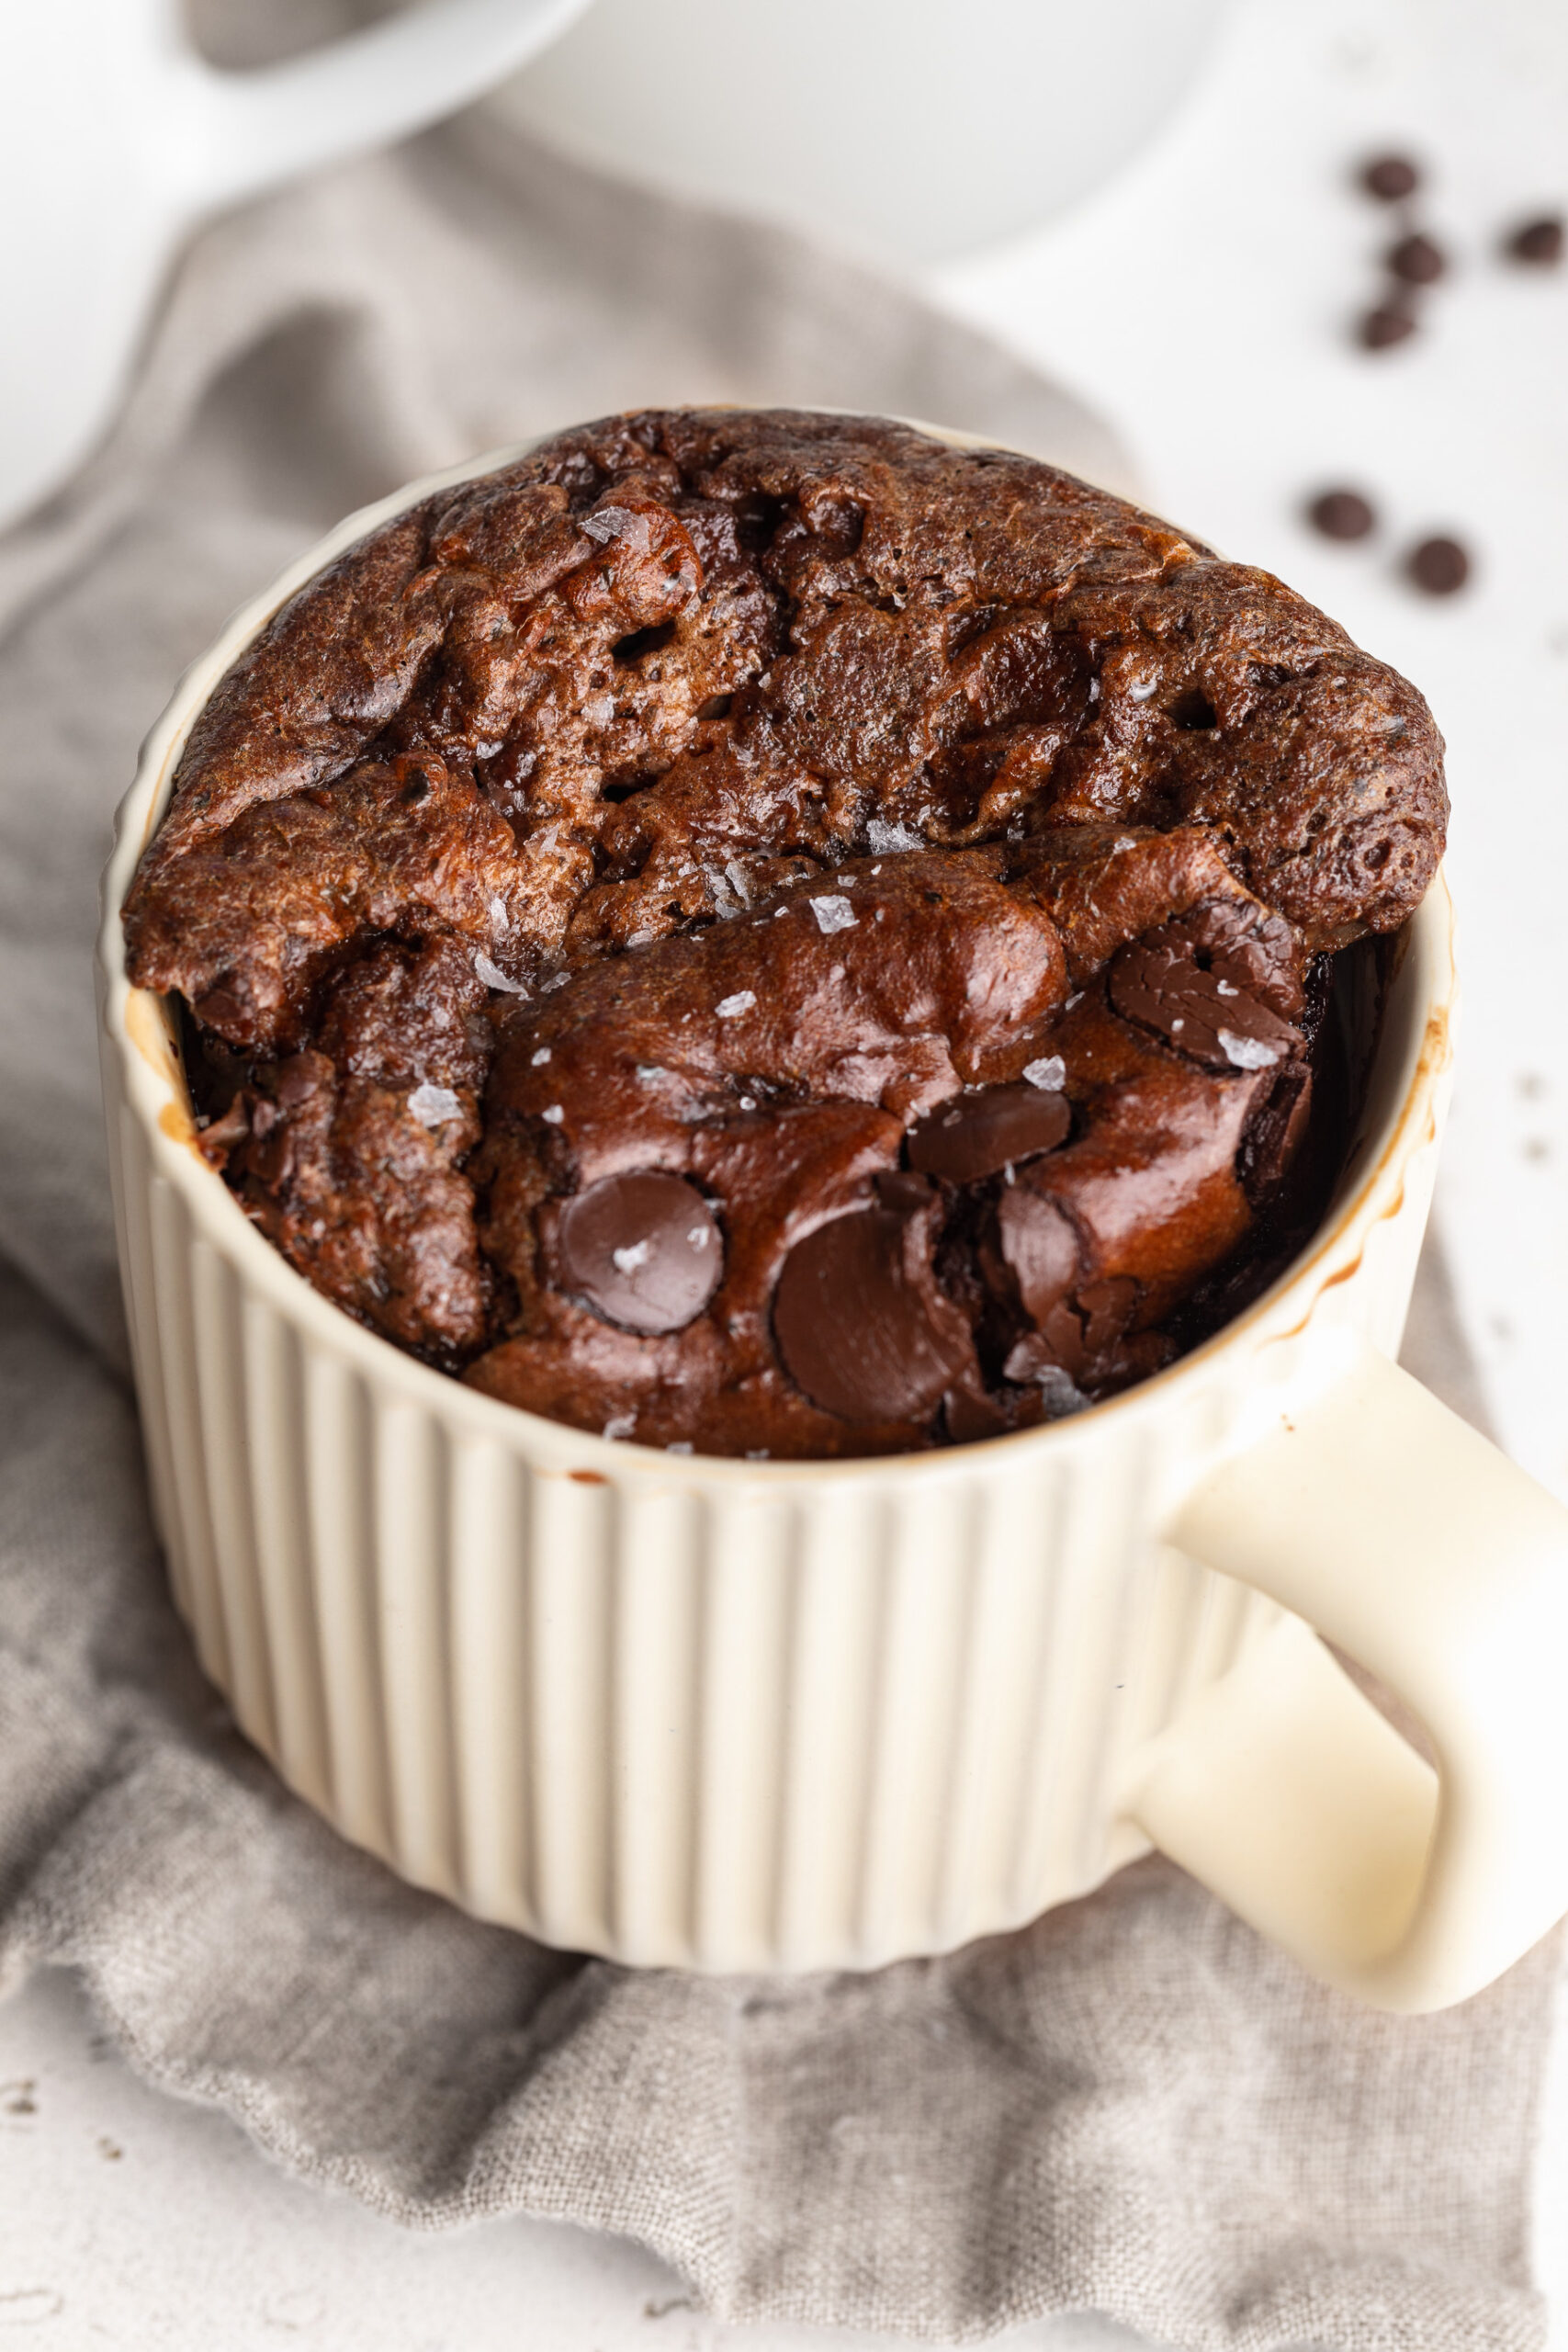
freshly baked protein brownie mug cake with chocolate chips and flaky salt on top.
4.67 from 3 votes

5-Ingredient Protein Brownie Mug Cake

This protein brownie mug cake is a warm, rich, deeply chocolatey single-serve dessert made with just 5 simple ingredients! It's gluten-free, refined sugar-free, and packs over 30 grams of protein per serving, making it the ultimate healthy treat that actually tastes indulgent. For a protein mug cake that's moist, fudgy, and genuinely delicious – THIS is it!
Print Pin Rate
Prep Time: 2 minutes
Cook Time: 2 minutes
Total Time: 4 minutes
Servings: 1 serving

Equipment

  • 1 microwave-safe mug

Ingredients

Instructions

  • Add all ingredients to a large microwave-safe mug and stir VERY well until completely smooth with no lumps or dry spots.
  • Microwave: Cook on high for 90 seconds. Let rest 1 minute before eating.
  • Oven: Pour into a greased ramekin and bake at 350°F for 25 minutes.
  • Top with peanut butter, Greek yogurt, chocolate chips, or your favorite toppings. Enjoy immediately!

Nutrition

Serving: 1serving | Calories: 280kcal | Carbohydrates: 16g | Protein: 36g | Fat: 9g | Fiber: 2g | Sugar: 10g

Bright, creamy, perfectly tart, and perfectly sweet – these healthy lemon bars are everything you want a lemon bar to be, but made with better-for-you ingredients! The filling is silky smooth, tangy from fresh lemon juice, and naturally sweetened with maple syrup. And the secret high-protein ingredient? Cottage cheese! I know, I know – but trust me on this one. Just like my Cottage Cheese Cookie Dough and Cottage Cheese Ice Cream, once it’s blended you’ll never know it’s there! What you’re left with is a luscious, custardy lemon bar perfect for Easter, Mother’s Day brunch, or your next spring party. 🥰

Why You’ll Love These Healthy Lemon Bars

  • Higher in protein. Thanks to the cottage cheese and cream cheese in the filling, these bars pack in more protein than your average lemon bar — making them a genuinely satisfying treat, not just a dessert.
  • Perfectly sweetened. Maple syrup does all the work here, delivering just the right level of sweetness without any refined sugar. The fresh lemon juice keeps it beautifully balanced — bright and tangy, never cloying.
  • Super easy to make. A quick blitz in the blender for the filling, a simple 2-ingredient crust, and the oven does the rest. No double boiler, no tempering eggs, no complicated steps.
  • A dessert everyone will love. These lemon bars taste like the real thing — maybe even better! Creamy, tangy, buttery, and bright. They’re crowd-pleasing in the best possible way.
  • Great for any occasion! Easter, Mother’s Day, spring brunch, summer cookouts, or just because — these bars are always the right call.
  • Made with real, wholesome ingredients. No refined sugar, no artificial anything. Just simple ingredients that come together into something really, truly delicious.
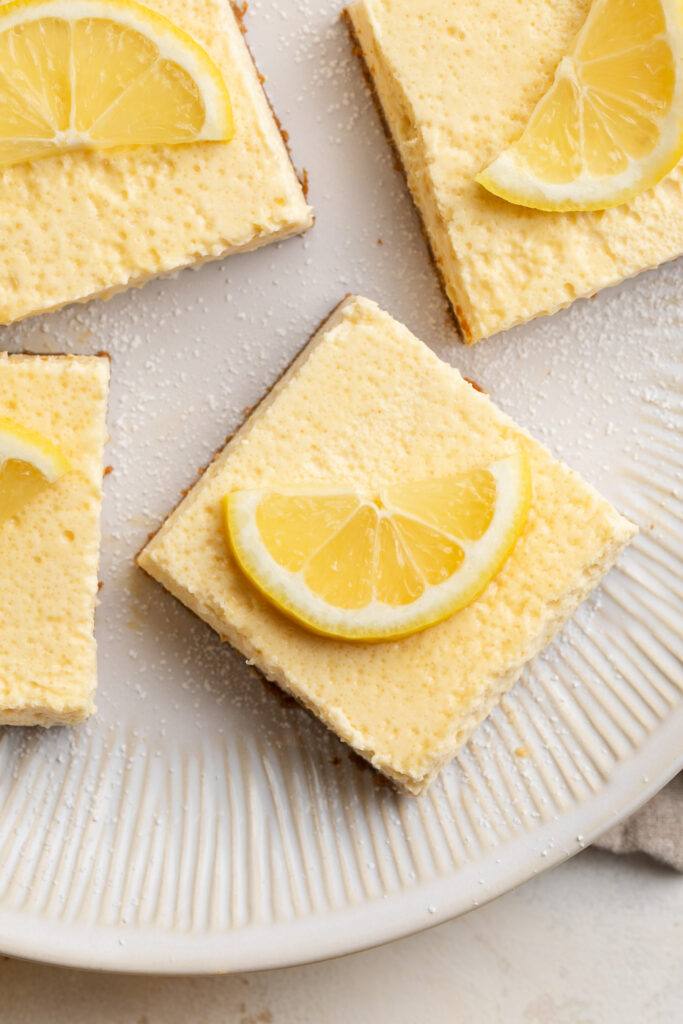
overhead image of a healthy cottage cheese lemon bar on a plate with a lemon slice on top.

Recipe Variations and Substitutions

  • Crust: Graham crackers are the classic choice, but vanilla wafers, digestive biscuits, or gluten-free cookies all work wonderfully. For a grain-free option, use 1 cup almond flour mixed with 2 tablespoons melted coconut oil and 1 tablespoon maple syrup – press and bake as directed.
  • Butter or Coconut Oil: Either works for the crust. Butter gives a richer, more buttery flavor; coconut oil is a great dairy-free swap.
  • Cottage Cheese: Full-fat cottage cheese gives the creamiest result. If you can’t have dairy, a thick, plain dairy-free yogurt (like coconut yogurt) can be used in a pinch, though the texture will be slightly different.
  • Cream Cheese: Dairy-free cream cheese works great as a 1:1 swap for a fully dairy-free filling.
  • Maple Syrup: Honey works as a direct swap. If you’d like a slightly less sweet bar, start with ¼ cup and taste before adding more.
  • Lemon Juice: This recipe is specifically written for lemon, but lime juice works beautifully for a healthy lime bar variation! Start with the same amount and adjust to taste.

Sam’s Recipe Tips

  • Bake in a water bath to avoid cracks. Because this filling contains eggs and cream cheese (similar to a cheesecake), it can crack on top if it bakes too quickly or unevenly. To prevent this, place your 8×8 baking pan inside a larger roasting pan and fill the roasting pan with about an inch of hot water before putting it in the oven. The steam keeps the heat gentle and even, giving you a perfectly smooth, crack-free top every time.
  • Fresh lemon juice is best, but bottled works in a pinch. Fresh lemon juice gives you that vibrant, bright, sunshine-y flavor that makes lemon bars so irresistible. You’ll need about 3–4 lemons for ½ cup of juice.
  • Blend the filling until completely smooth. Any lumps from the cottage cheese or cream cheese will bake into the filling, so take an extra 30 seconds to make sure your blender has done its job fully. A high-speed blender gives the best results.
  • Don’t skip the chill time. I know it’s hard to wait, but lemon bars need that fridge time to fully set and develop their best flavor and texture. Three hours is the minimum — overnight is even better. Cutting them while they’re still warm will result in a runny, messy bar.
  • Use the parchment paper overhang to lift. Line your pan so the parchment paper hangs over all four sides. This makes it incredibly easy to lift the whole slab out cleanly before cutting.
  • Clean your knife between cuts. For the neatest, most beautiful squares, wipe your knife with a damp cloth between each cut. It makes a huge difference in how the final bars look!
  • Freeze for later. These lemon bars freeze well! Wrap individual squares in plastic wrap and freeze for up to 2 months. Thaw in the fridge overnight before serving.
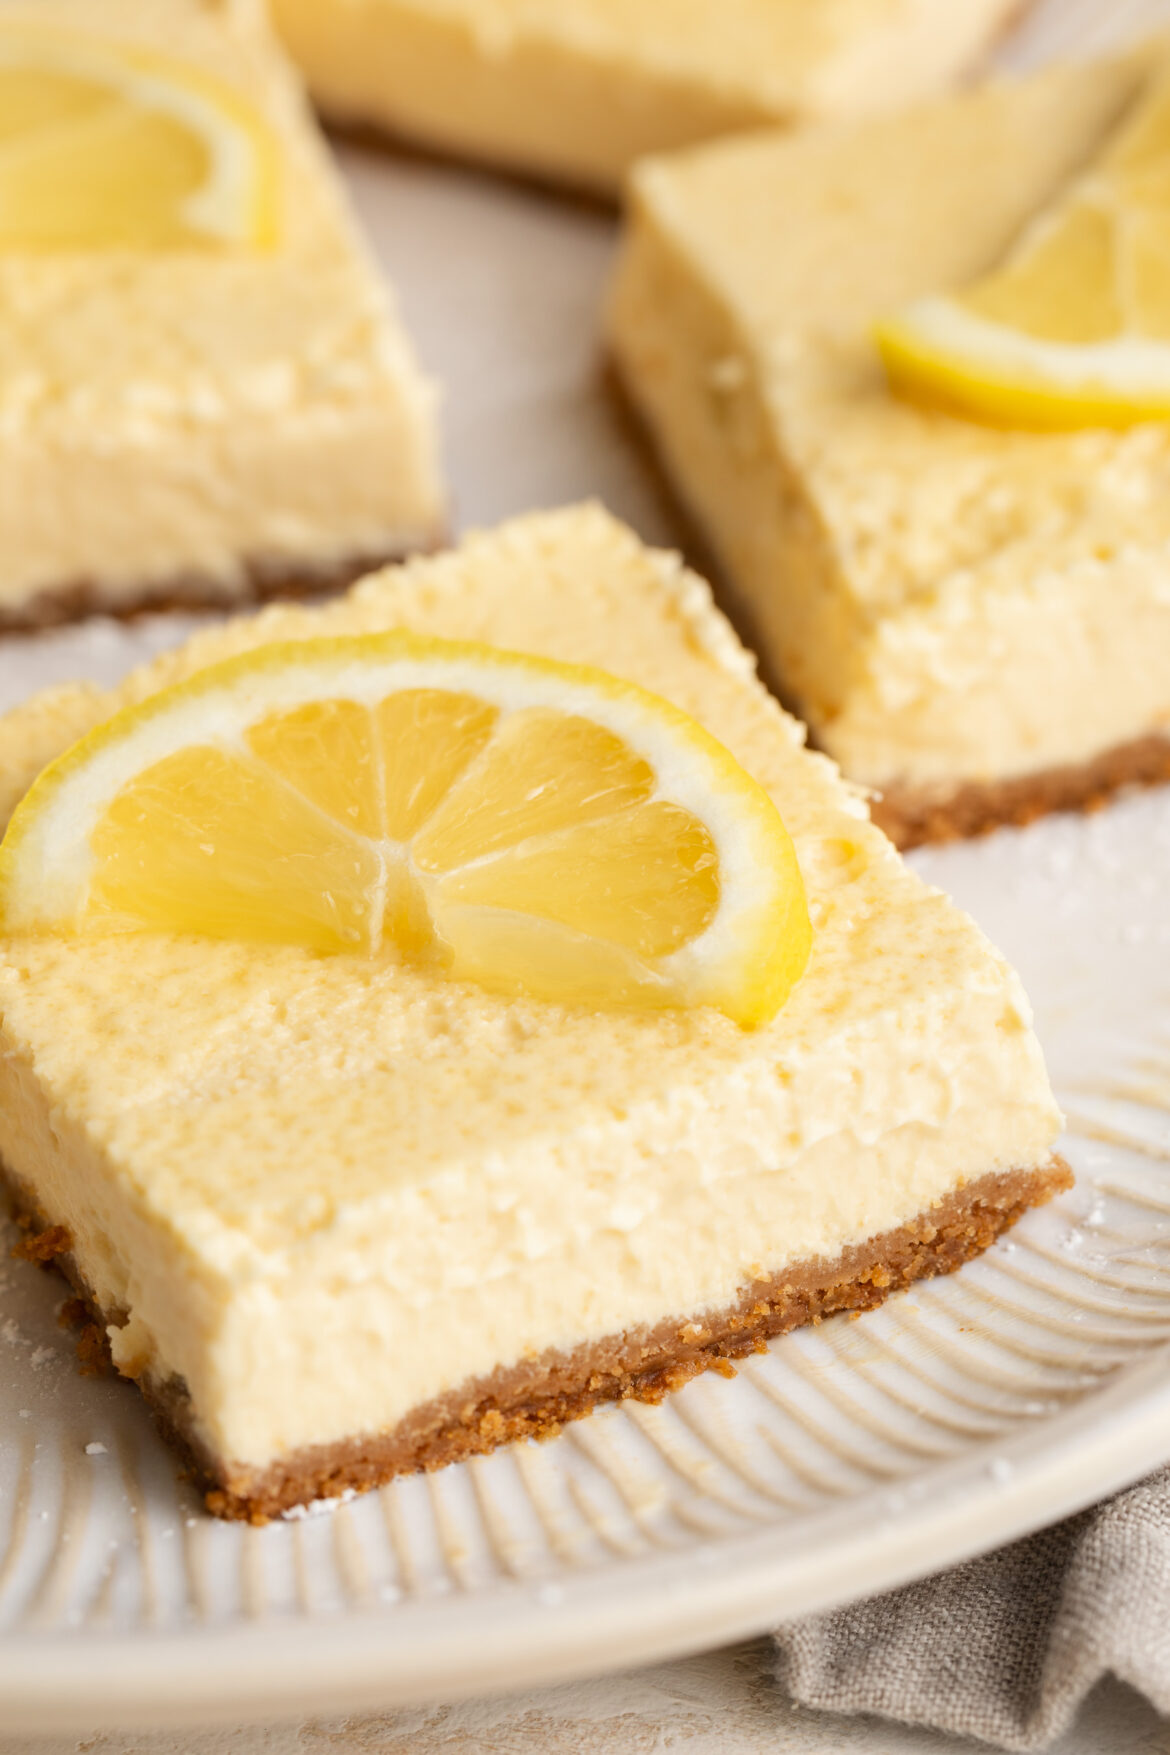
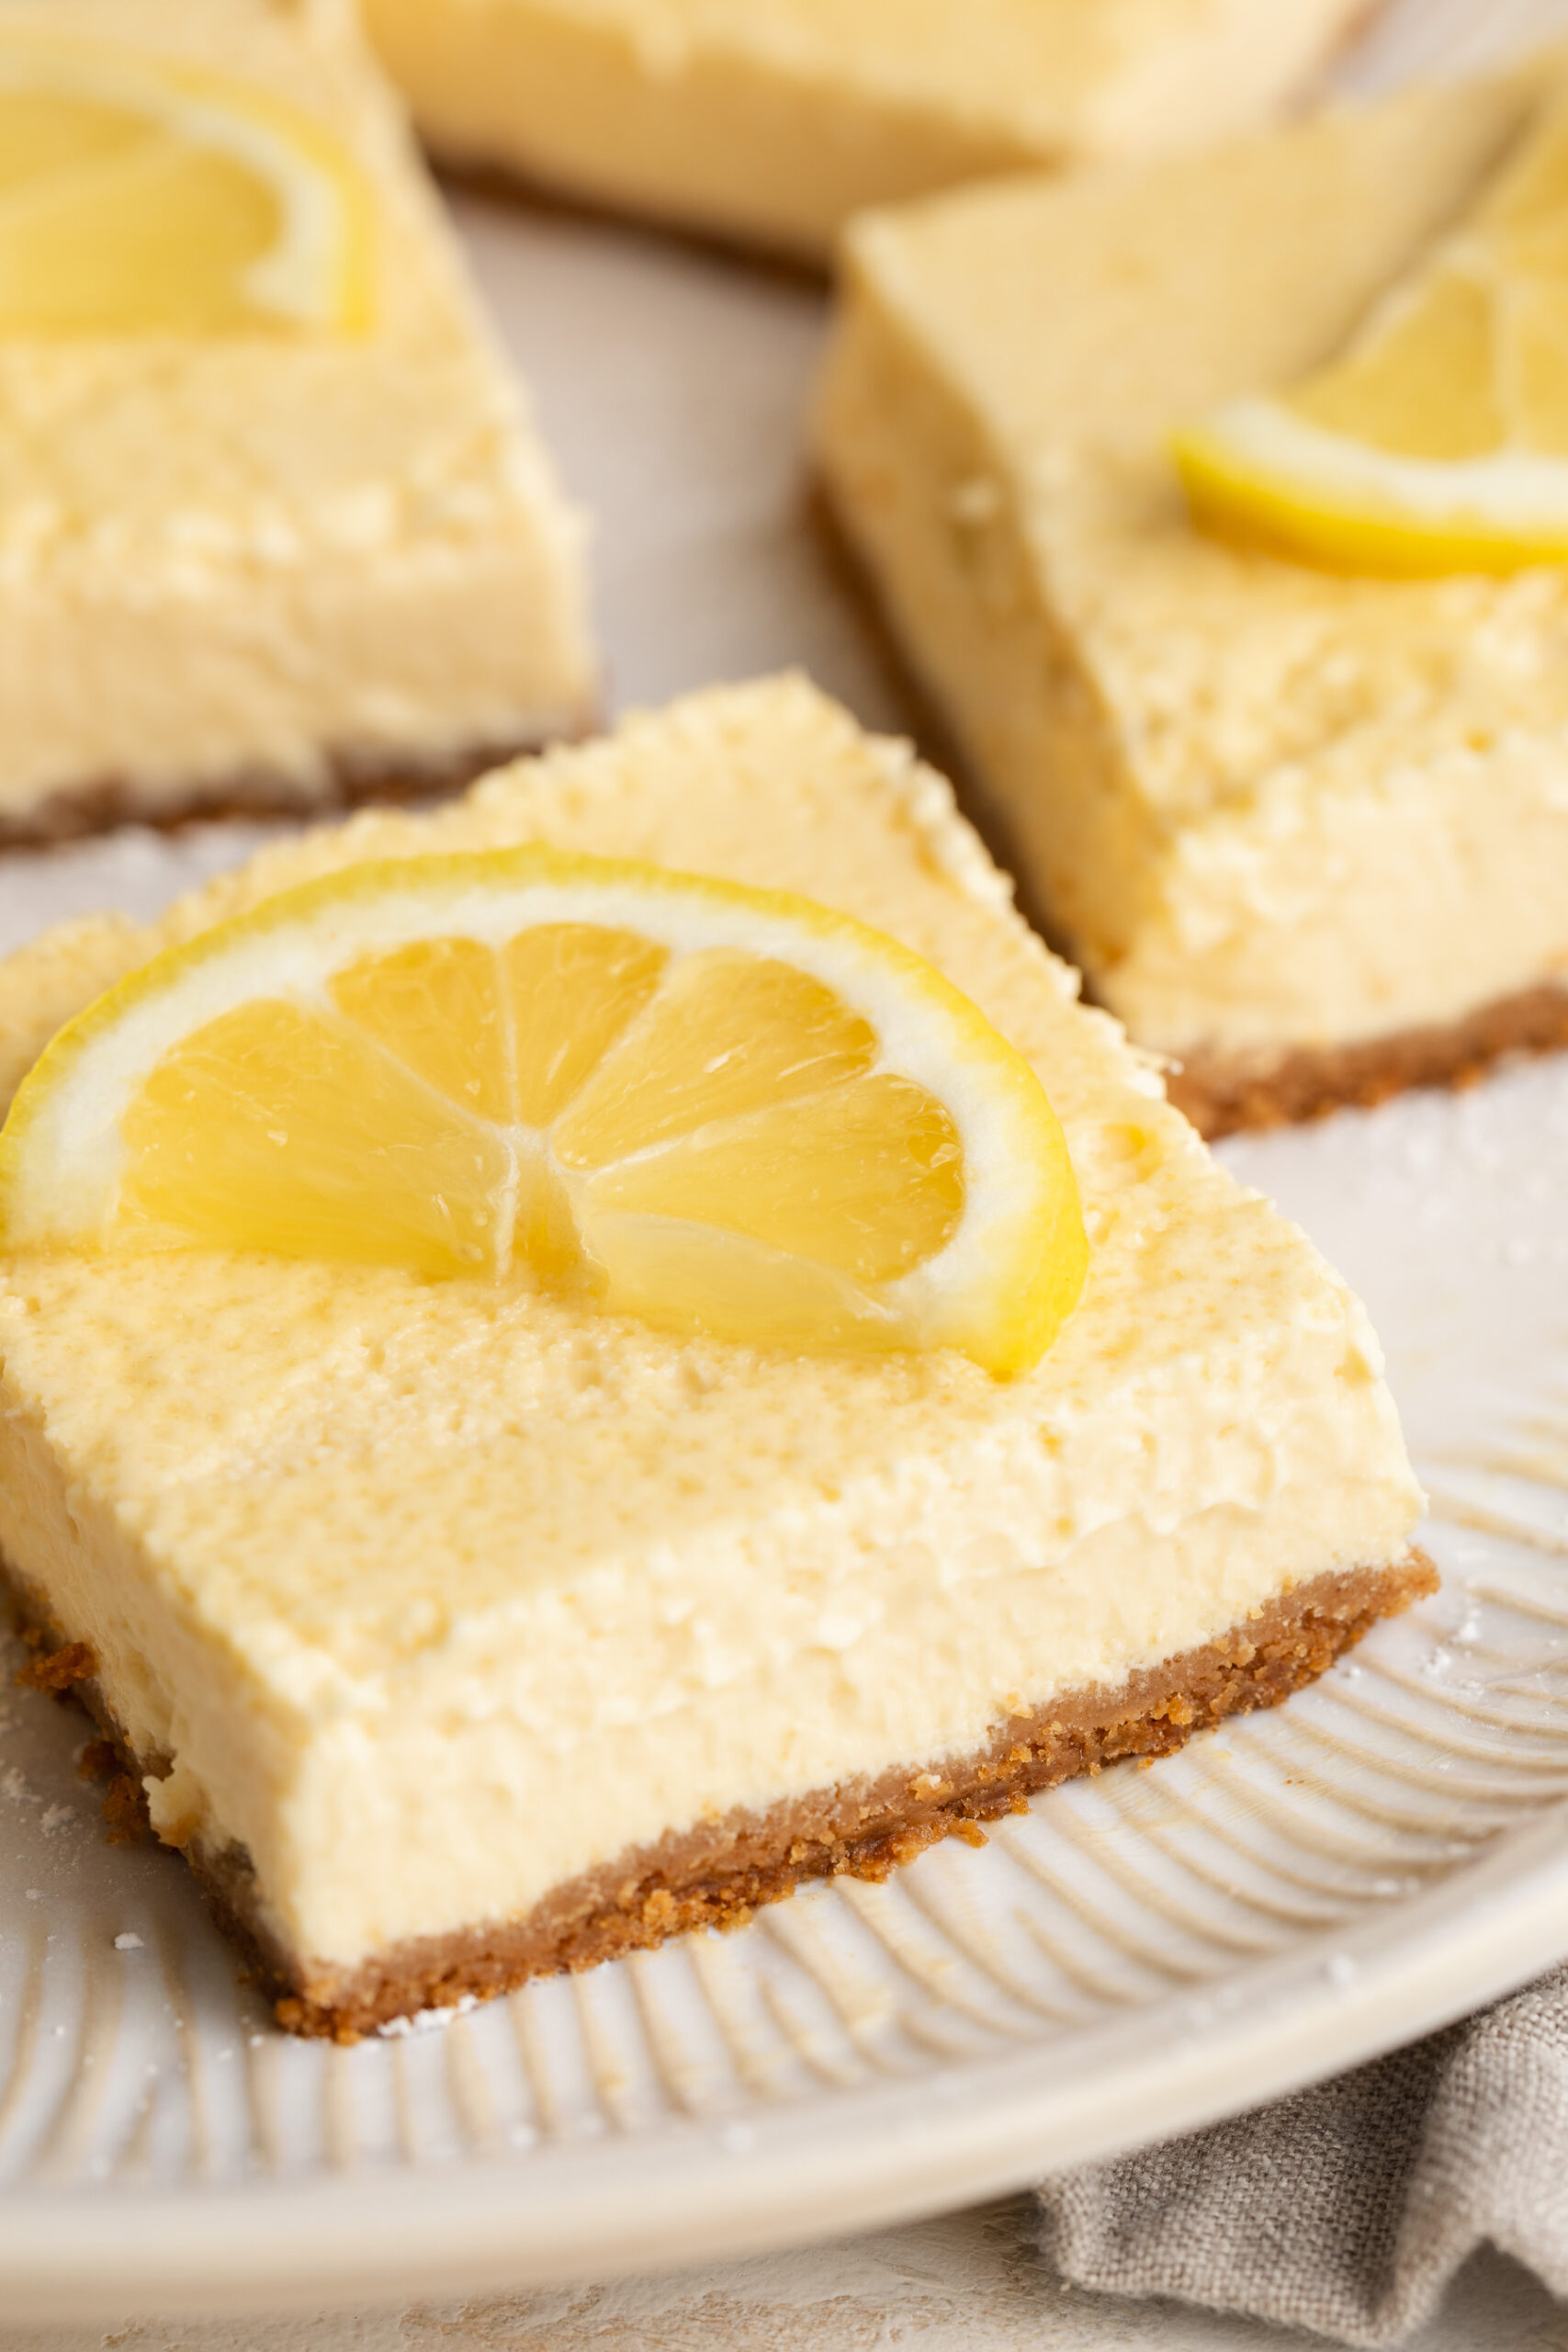
close up image of a healthy cottage cheese lemon bar on a plate with a lemon slice on top.
5 from 2 votes

Healthy Cottage Cheese Lemon Bars

These healthy lemon bars are creamy, perfectly tart, and naturally sweetened with maple syrup – made with a secret ingredient (cottage cheese!) that keeps them higher in protein and silky smooth without any refined sugar. Built on a buttery graham cracker crust and baked to custardy perfection. These healthy lemon bars taste just as indulgent as the classic version but with healthier ingredients.
Print Pin Rate
Prep Time: 10 minutes
Cook Time: 25 minutes
Chill Time: 1 hour
Total Time: 3 hours 35 minutes
Servings: 9 servings

Equipment

  • 1 9×9-inch baking pan
  • 1 food processor or high speed blender

Ingredients

For the crust:

  • 1 cup graham cracker or cookie crumbs
  • 3 tablespoons melted butter or coconut oil

For the lemon filling:

  • 1/2 cup (4 ounces) cream cheese softened at room temperature
  • 1 cup cottage cheese
  • 4 large eggs at room temperature
  • 1/2 cup lemon juice (fresh is best!)
  • 1/3 cup maple syrup

Instructions

  • Preheat oven to 325° Fahrenheit and line a 8×8-inch baking pan with parchment paper, then lightly grease the inside.
  • Make the crust by mixing together the graham cracker or cookie crumbs and melted butter or coconut oil in a bowl, then press the mixture into the bottom of your prepared baking pan. Bake the crust for 10 minutes.
  • While the crust bakes, make the filling by adding all filling ingredients to a blender and blend until smooth. Pour the filling over the crust, then bake for 25-30 minutes or until the bars are just set in the middle. (See Notes below on how to bake in a water bath to avoid any cracks).
  • Remove the bars from the oven and leave them to cool at room temperature for 1 hour, then transfer them in the fridge to chill for at least 3 hours (or overnight).
  • Once the bars have chilled, remove them from the pan and cut into squares. Enjoy the lemon bars right away, or store them in an airtight container in the fridge for up to 5 days!

Notes

  • Blend the filling until completely smooth for the best texture.
  • Do not skip the chill time — the bars need at least 3 hours to fully set.
  • Top with a dusting of powdered sugar or fresh lemon zest before serving for a beautiful finish.
  • Water bath (optional, prevents cracking): Place your 8×8 pan inside a larger roasting pan and fill the roasting pan with about 1 inch of hot water before placing in the oven. The steam creates gentle, even heat that prevents the filling from cracking on top.

Nutrition

Serving: 1serving | Calories: 210kcal | Carbohydrates: 18g | Protein: 8g | Fat: 12g | Sugar: 13g