Tag

vegan

Browsing

This vegan pesto is the easiest and tastiest recipe you’ll make all week! Simply toss all ingredients in a blender, then serve over your favorite pasta. This classic recipe is exploding with fresh, bright, and savory flavor!

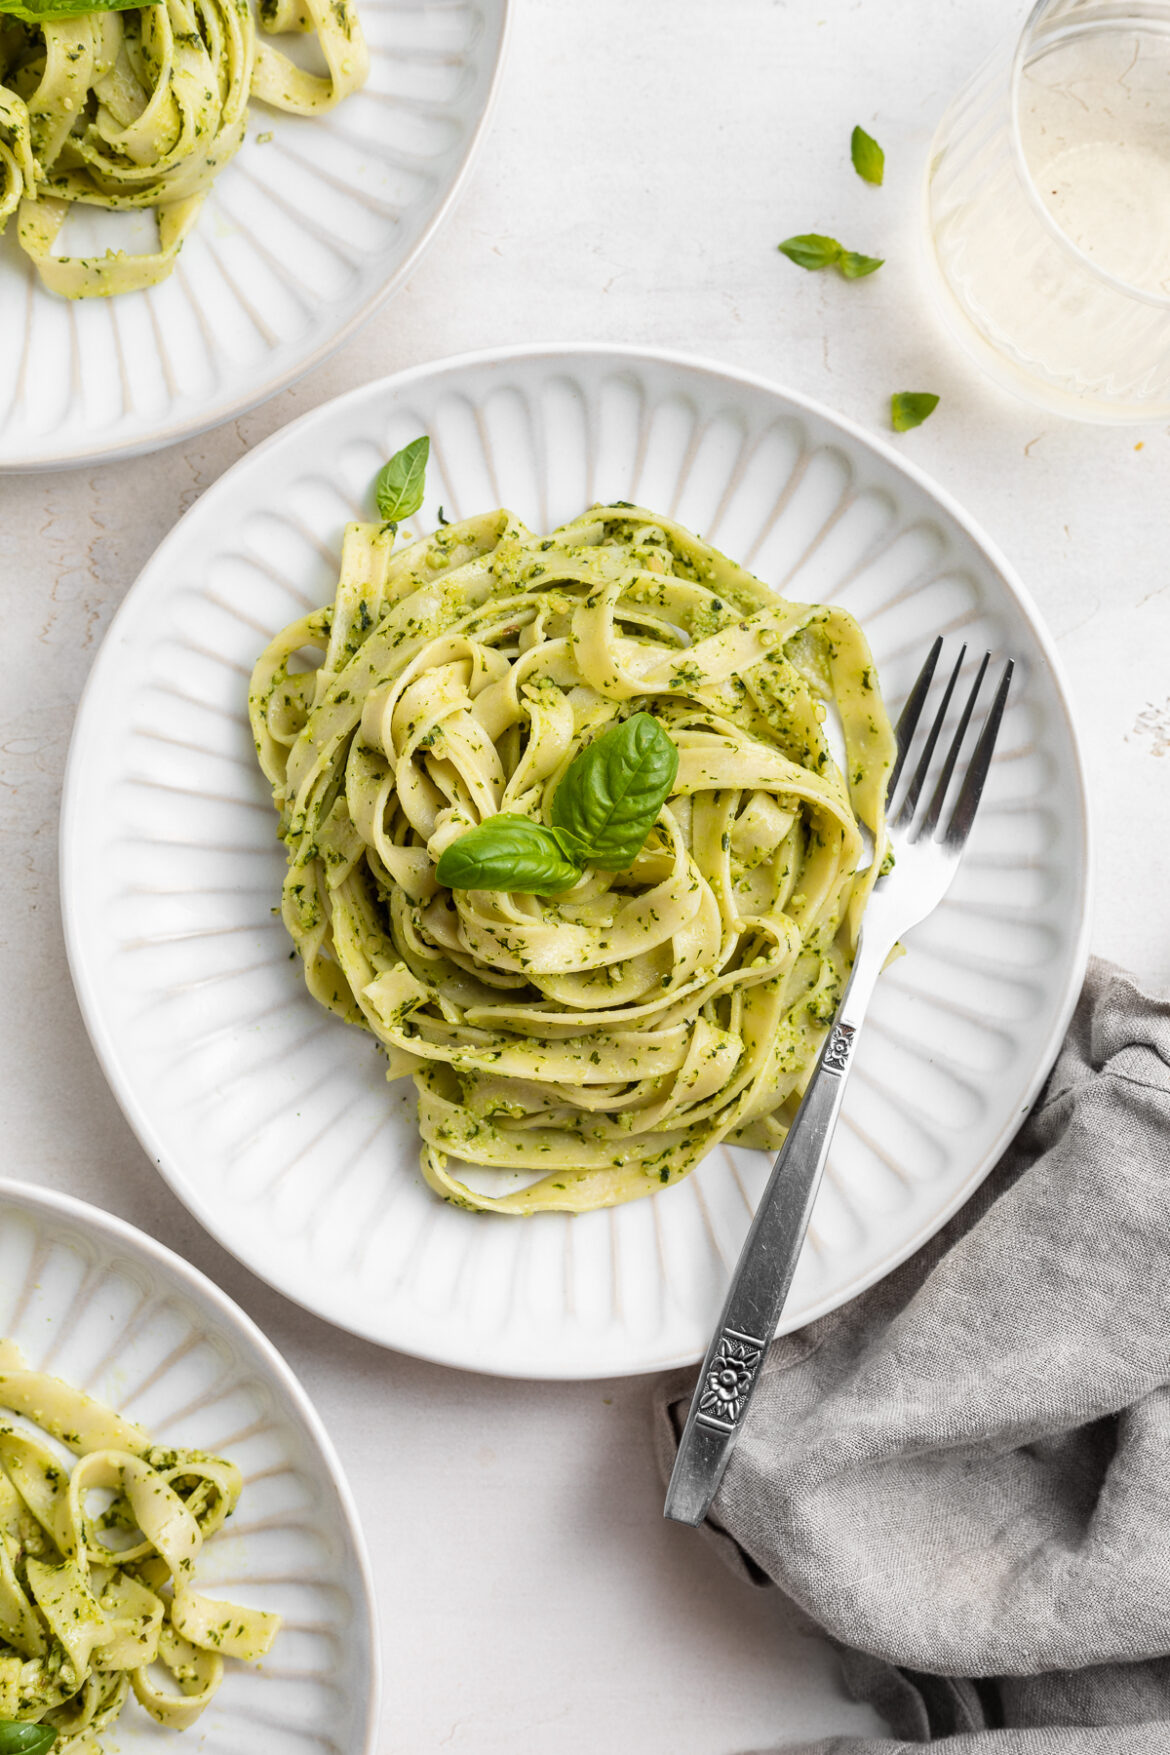
overhead image of vegan pesto in a bowl with a spoon.

I don’t mean to brag, but I’m kind of famous for my pesto. Even cheese-lovers rave about my cheese-less pesto! It was just sort of a recipe that evolved over time based on my dietary restrictions. Growing up, my mom would take me to the local farmer’s market on Saturdays and this one bread stand would hand out samples of thick sliced bread with a big ole’ slathering of pesto on it. It was my FAVORITE part of the farmers market and truly where my deep love of pesto began.

When I moved away for college, I had no choice but to start making pesto myself. Also, around this same time is when I started experimenting with a dairy and gluten-free diet. So one day I randomly decided to just leave the parmesan cheese out of my pesto and see how I’d like it. And well, I LOVED it! Then I began playing around with different nuts in my pesto – the traditional recipes call for pine nuts but those can be pretty hard to come by. So I tried literally every nut I could think of and ultimately landed on cashews for creating the best and creamiest vegan pesto EVER. This recipe is perfectly tangy, incredibly fresh, and tastes just as good as (if not better than) the stuff I used to get at the farmer’s market growing up!
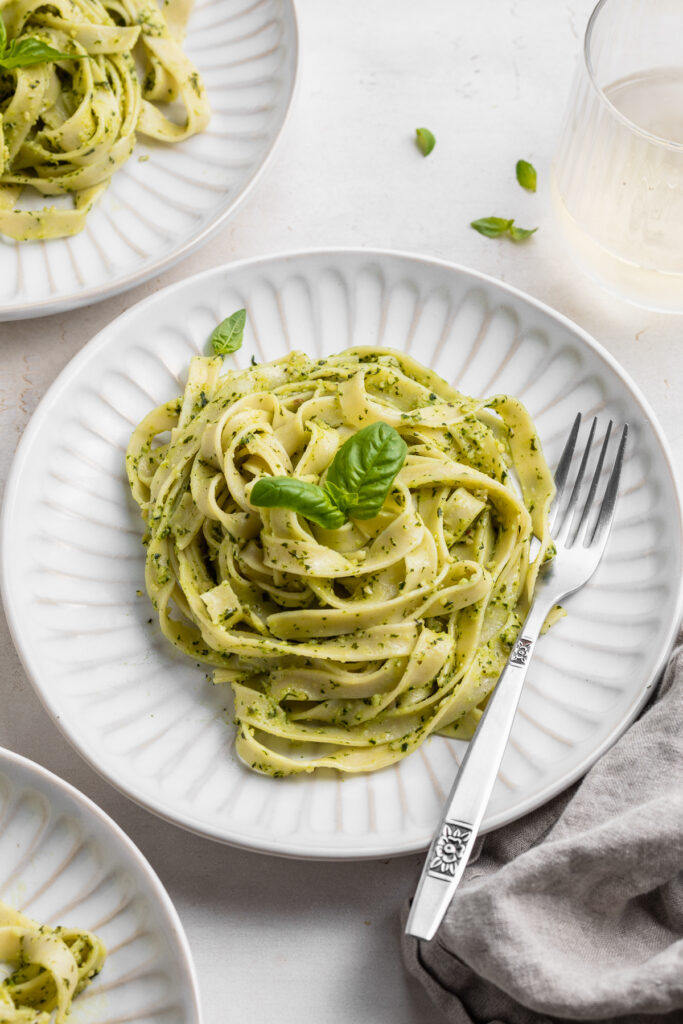
vegan pesto pasta in a bowl with a fork and white wine on the side.

What You Need To Make Vegan Pesto

Basil – If you’re growing basil this year, definitely use it in this vegan pesto! I love doubling or tripling this recipe at the end of summer and freezing leftovers to make sure none of that gorgeous, fresh basil goes to waste. And if you don’t have your own basil plant, simply pick up a package of this delicious herb the next time you’re at the grocery store or farmer’s market. To prepare the basil for this recipe, start by giving it a quick rinse under cold water. Once clean, remove the leaves from the stems and add them to your blender. When I say “2 heaping cups,” I mean 2 HEAPING cups – pack that basil in there, and throw in a little extra if you’d like!

Cashews – Traditional pesto is made with pine nuts, but this vegan pesto tastes even better with cashews. Cashews do an incredible job at contributing an almost cheesy flavor to this pesto, in the absence of parmesan cheese! Though feel free to use any nut or seed you’d like to in this recipe. Walnuts, almonds, or sunflower seeds would all make great substitutions. However, whichever option you choose, please make sure that it is raw and, most importantly, unsalted!

Lemon Juice – Lemon juice adds a touch of brightness to this pesto and emphasizes the delicious fresh flavor. Start small on the lemon juice and add more to taste. I loooove a super lemony pesto so I tend to go a bit crazy, but feel free to customize this recipe to your liking! If you don’t have lemon juice, you can use a teaspoon or two of apple cider vinegar or white wine vinegar instead.
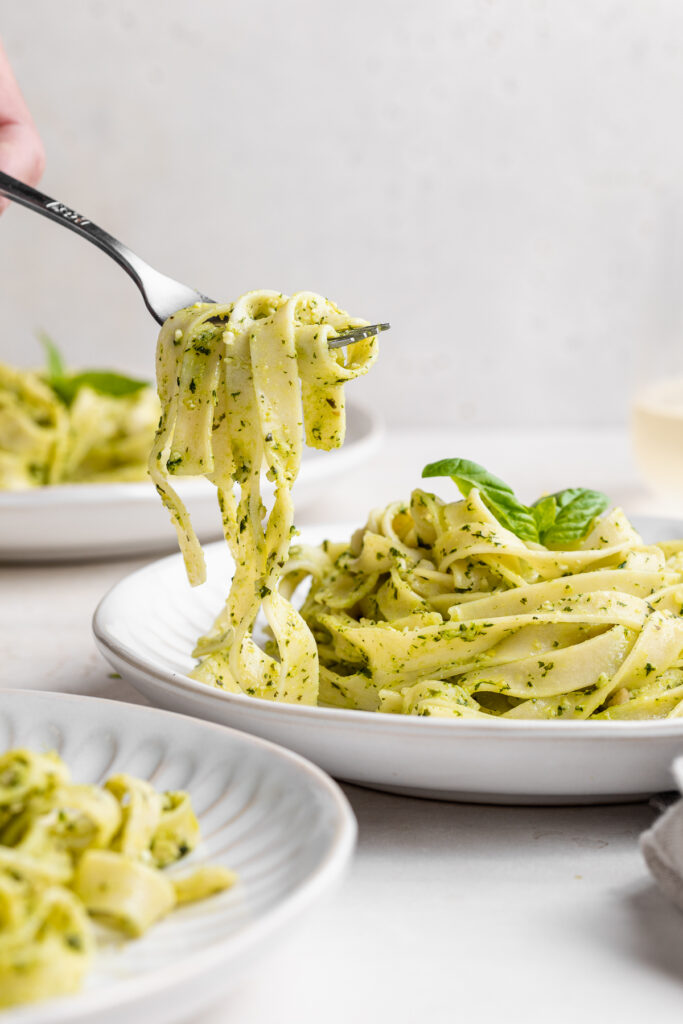
vegan pesto pasta being lifted out of a bowl with a fork.

Adjust This Recipe To Your Dietary Needs

  • Make it Nut-Free: Use raw and unsalted sunflower seeds or pumpkin seeds in place of the cashews to make this a nut-free pesto!
  • Make it Oil-Free: Substitute 2-3 tablespoons of water for the olive oil in this recipe.
  • Add Cheese: Throw 1/4 cup of parmesan cheese in with the rest of the ingredients if you’d like.
overhead image of three bowls of vegan pesto pasta.
5 from 1 vote

Vegan Pesto

This vegan pesto is the easiest and tastiest recipe you’ll make all week! Simply toss all ingredients in a blender, then serve over your favorite pasta. This classic recipe is exploding with fresh, bright, and savory flavor!
Print Pin Rate
Prep Time: 5 minutes
Total Time: 5 minutes
Servings: 4 servings

Ingredients

  • 2 heaping cups fresh basil
  • 1/2 cup raw unsalted cashews, see Notes
  • 2-3 tablespoons lemon juice
  • 3 garlic cloves
  • 1/4 cup olive oil
  • 1/2 teaspoon salt, plus more to taste

Instructions

  • Add all ingredients to a blender or food processor and blend until smooth. Taste and adjust seasoning as desired.
Notes

  • Cashews: You can substitute the cashews in this recipe for pine nuts, pistachios, almonds, walnuts, hemp seeds, sunflower seeds, or pumpkin seeds if you’d like!
  • Nutrition

    Calories: 300kcal

    More Quick and Easy Vegan Recipes

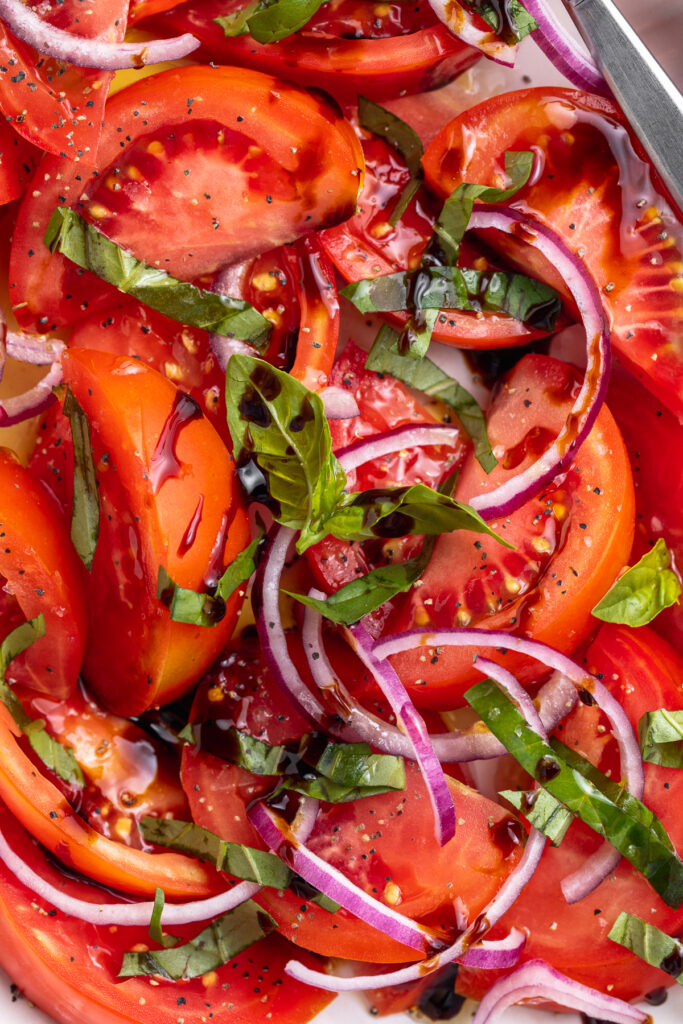
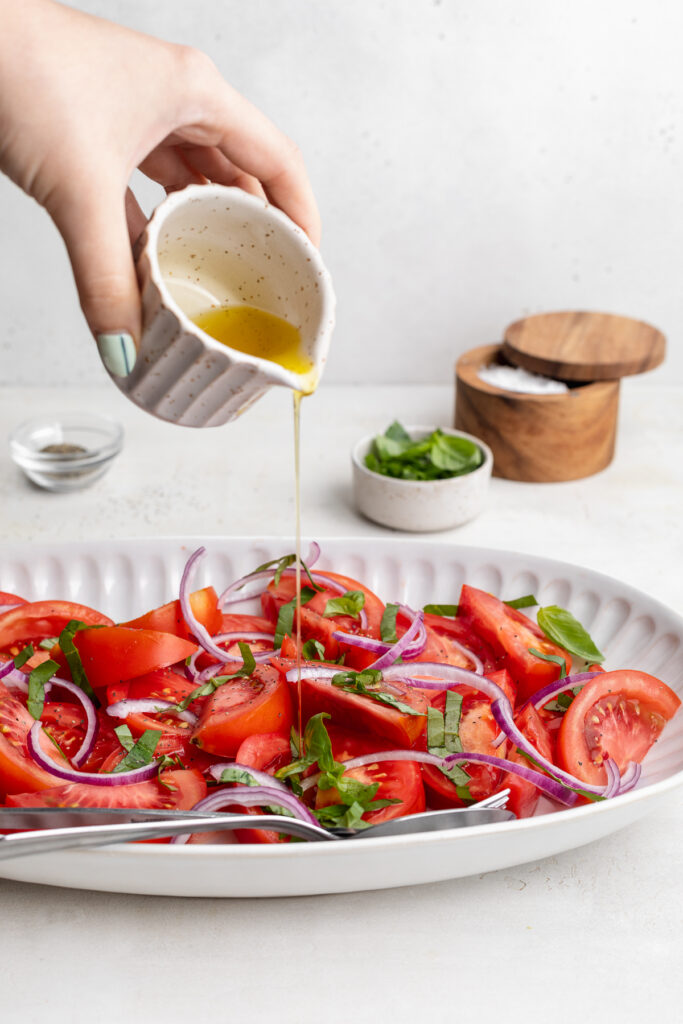
    Fresh, easy, and totally delicious tomato salad! Made with a handful of simple ingredients, this summer salad comes together in just 5 minutes. Fresh tomatoes, basil, and red onion finished off with a sweet balsamic glaze – YUM!

    olive oil being poured over tomato salad.

    What You’ll Need to Make Tomato Salad

    Tomatoes – Use any variety of tomato you’d like in this recipe! I used heirloom tomatoes, cut into wedges. However, I’ve also made this salad with cherry tomatoes and it was just as incredible.

    Fresh Basil – Tomatoes and fresh basil are the perfect pair! Grab a small handful of fresh basil leaves, and stack them on top of each other. Then, gently roll the leaves (like you would a cigar), and run a knife through the basil creating thin basil “ribbons.” Or, if that’s too much work for you, simply grab a handful of basil and gently tear it, then toss into your salad!

    Red Onion – Or really any kind of onion! A sweet yellow onion would also taste delicious, it’s totally up to you.

    Balsamic – A touch of acidity brings out the fresh flavors in this easy plant-based salad recipe. I LOVE a sweet, yet savory balsamic glaze, but a drizzle of regular balsamic vinegar will also do the trick!

    super close-up image of tomato salad with fresh basil on top.

    Tips and Tricks

    • Toss your tomato salad together, then refrigerate for at least 15 minutes before serving. This rest time will allow the tomatoes to marinate in all of their delicious flavor. And remember, the longer your salad sits, the more flavorful it’ll be!
    • Have fun with this recipe, and don’t be afraid to make it your own! Add or remove anything you’d like. This salad is super simple, and should remain uncomplicated.
    close-up image of tomato salad on a serving platter.

    Delicious Additions

    Any or all of the following would make delicious additions to your tomato salad!

    • Fresh Cucumber
    • Chickpeas
    • Grilled Chicken
    • Mozzarella Cheese

    This side dish is vegan, plant-based, gluten-free, and dairy-free!

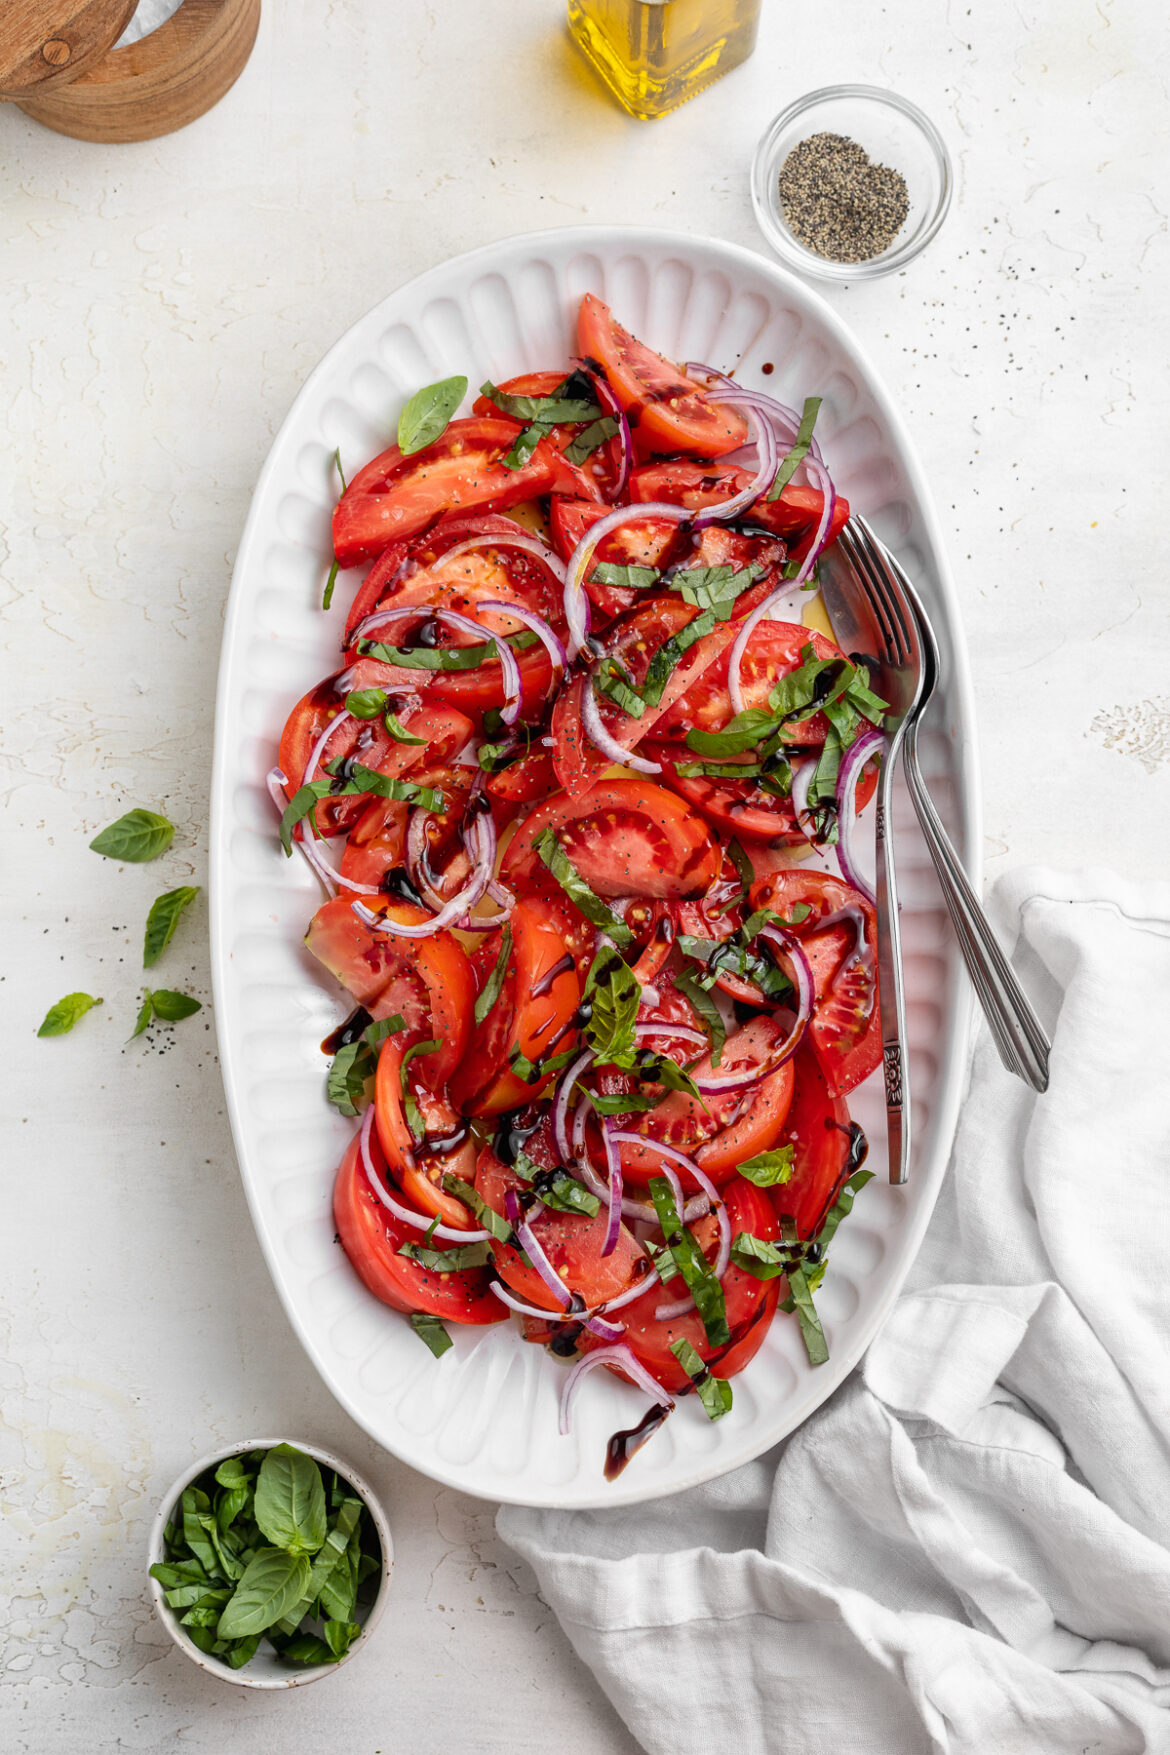
    overhead image of tomato salad on a serving platter with a fork and spoon.
    No ratings yet

    Simple Tomato Salad

    Fresh, easy, and totally delicious tomato salad! Made with a handful of simple ingredients, this summer salad comes together in just 5 minutes. Fresh tomatoes, basil, and red onion finished off with a sweet balsamic glaze – YUM!
    Print Pin Rate
    Prep Time: 5 minutes
    Total Time: 5 minutes
    Servings: 6 servings

    Ingredients

    • 1 pound tomatoes (I recommend cherry, grape, and/or heirloom tomatoes), sliced
    • 1/4 cup fresh basil, sliced
    • 1/2 red onion, thinly sliced
    • 2 tablespoons olive oil
    • 1 tablespoon balsamic vinegar, or balsamic glaze
    • 1/2 teaspoon salt
    • 1/4 teaspoon black pepper

    Instructions

    • Arrange the sliced tomatoes, fresh basil, and red onion on a large platter or in a large bowl.
    • Top with olive oil, balsamic vinegar, salt, and black pepper then cover and refrigerate for at least 15 minutes before serving. 

    Nutrition

    Calories: 300kcal

    Cool and refreshing frozen daiquiri, with a secret ingredient! My Mom’s famous recipe for this best EVER frozen cocktail. Just four ingredients, perfectly sweet, and totally delicious.

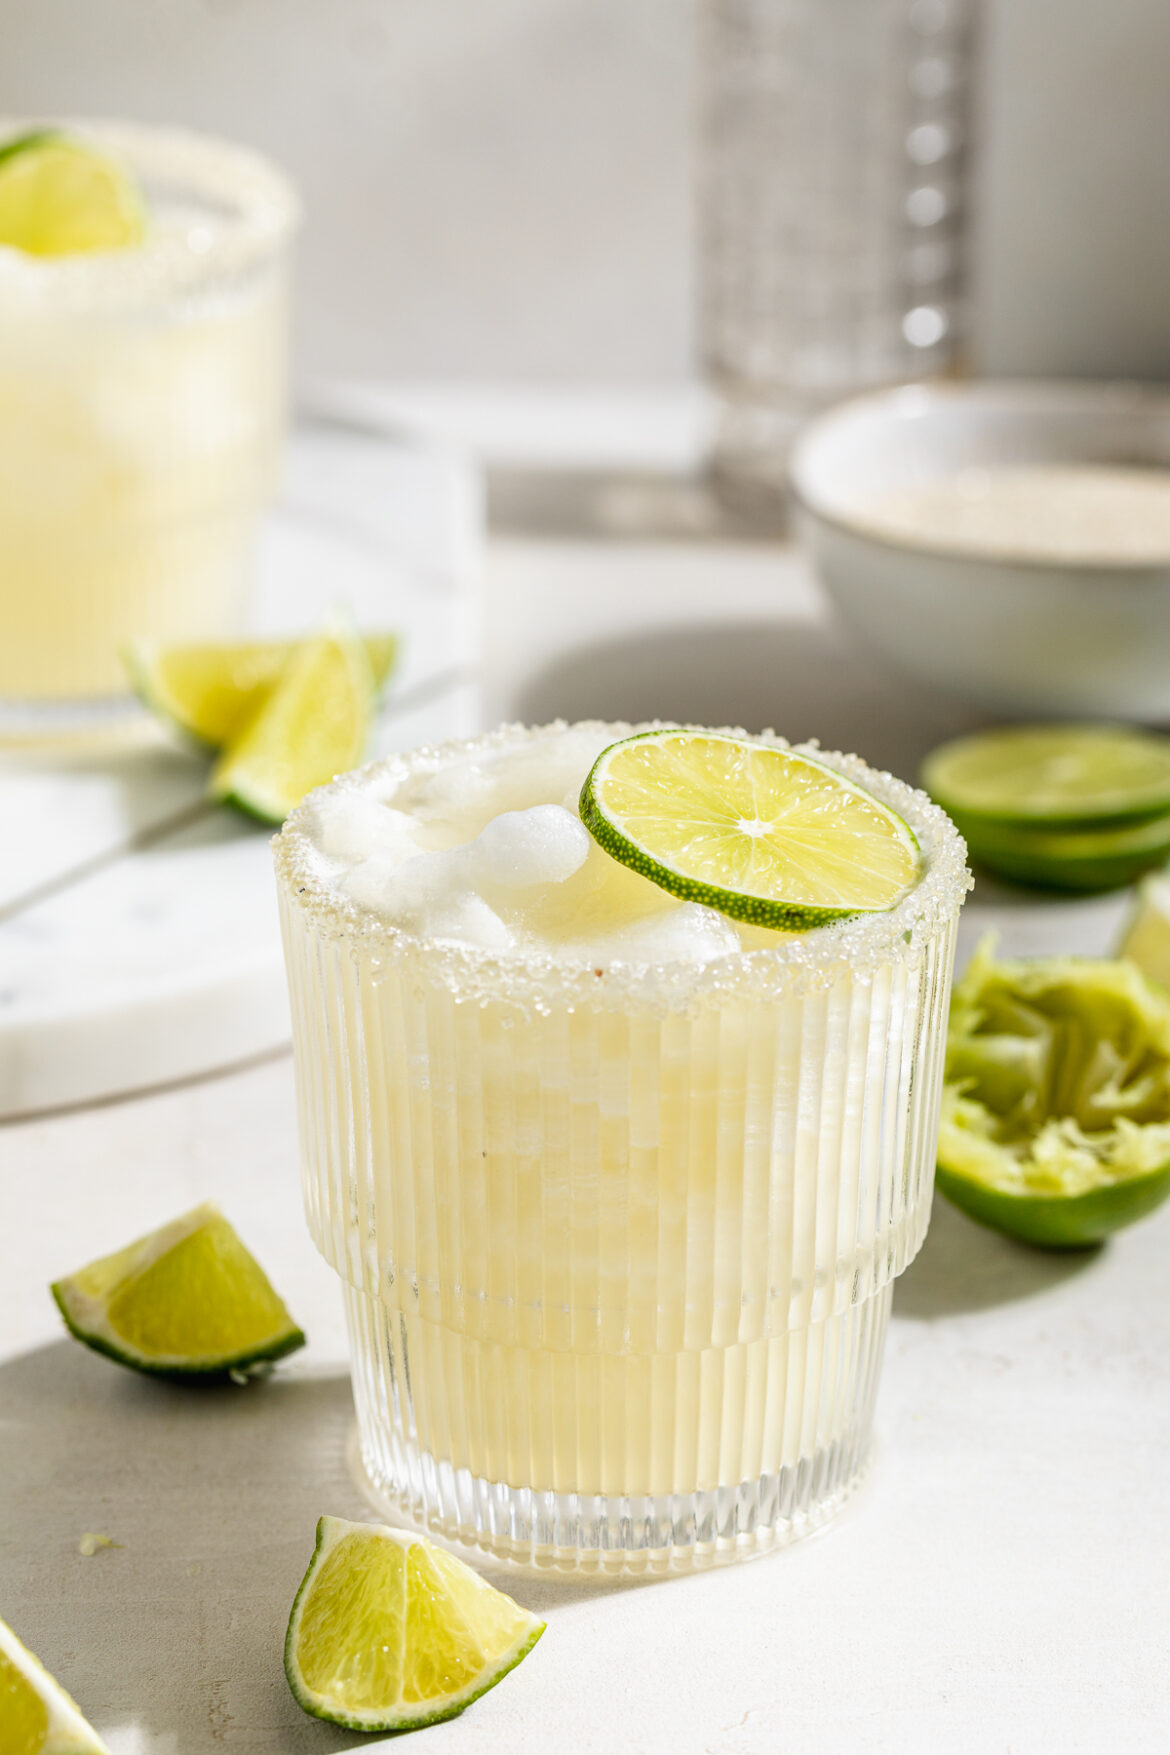
    two frozen daiquiris with fresh limes on the side

    The Secret Ingredient: Coconut Rum

    A few weeks ago, my Mom had the genius idea to swap out regular rum in her frozen daiquris for coconut rum. And boy, it made allllll the difference! A hint of coconut in this tropical cocktail left everyone asking “what is that?! that’s DELICIOUS!” It’s sort of like a cross between a classic daiquiri and a piña colada. The coconut is light, not at all overpowering, and simply perfect.

    My Mom – a fan of the finer things in life – uses an exclusive small-batch brand of coconut rum. But let me tell you, I recreated her recipe with this Bacardi Coconut Rum (purchased for $15!) and my frozen daiquiris tasted just as good!

    closeup image of a frozen daiquiri with limes on the side.

    What Else You’ll Need to Make a Frozen Daiquiri

    Lime Juice – Fresh squeezed is best! My Mom insists on using freshly-squeezed juice in all of her cocktails. And I must admit, fresh squeezed lime juice makes a world of a difference in these frozen daiquiris!

    Simple Syrup or Agave – Feel free to use whichever you have on-hand! I used agave nectar because it’s what I had leftover from these Skinny Strawberry Margaritas.

    Ice – This one seems pretty self-explanatory, ha! Though I will say, if you’d like a frozen strawberry daiquri instead, replace the ice with two cups of frozen strawberries.

    Blender – I own and LOVE my Vitamix blender. It’s super powerful, and there truly isn’t anything it can’t blend. However, any blender will work to blend this frozen cocktail. You could even use a Nutribullet for easier cleanup!

    overhead image of a frozen daiquiri with a lime on top.

    Adjust This Recipe to Your Dietary Needs

    Make it Sugar-Free: For a sugar-free option, replace the simple syrup with your favorite sugar-free liquid sweetener.

    Make it a Mocktail: Turn this into a delicious non-alcoholic frozen beverage by using equal parts coconut water in place of the coconut rum!

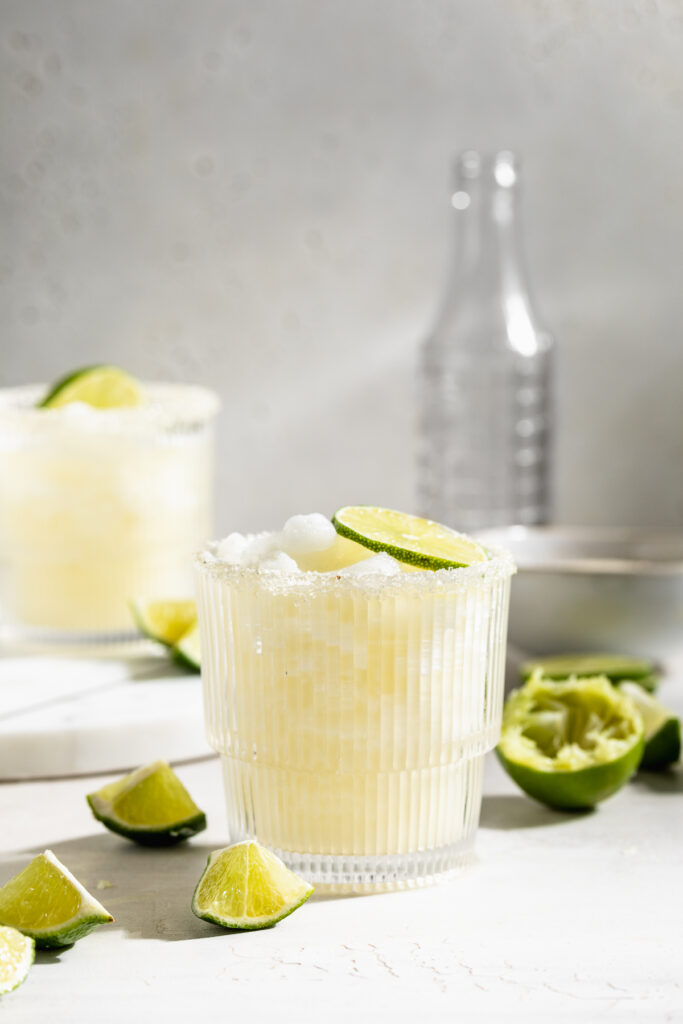
    frozen daiquiri with fresh limes on the side.
    3 from 3 votes

    Mom’s BEST Frozen Daiquiri

    Cool and refreshing frozen daiquiris, with a secret ingredient! My Mom’s famous recipe for this best EVER frozen cocktail. Just four ingredients, perfectly sweet, and totally delicious.
    Print Pin Rate
    Prep Time: 3 minutes
    Total Time: 3 minutes
    Servings: 2 daiquiris

    Ingredients

    • 4 ounces coconut rum
    • 2 ounces lime juice
    • 1 1/2 ounces simple syrup (or agave)
    • 2 cups ice

    Instructions

    • Add all ingredients to a blender and blend until smooth, serve immediately.

    Nutrition

    Calories: 300kcal

    How to make pickles in a matter of minutes! This quick, homemade pickle brine is loaded with flavor, and made to preserve freshness. These pickles are perfectly salty, and extra crunchy!

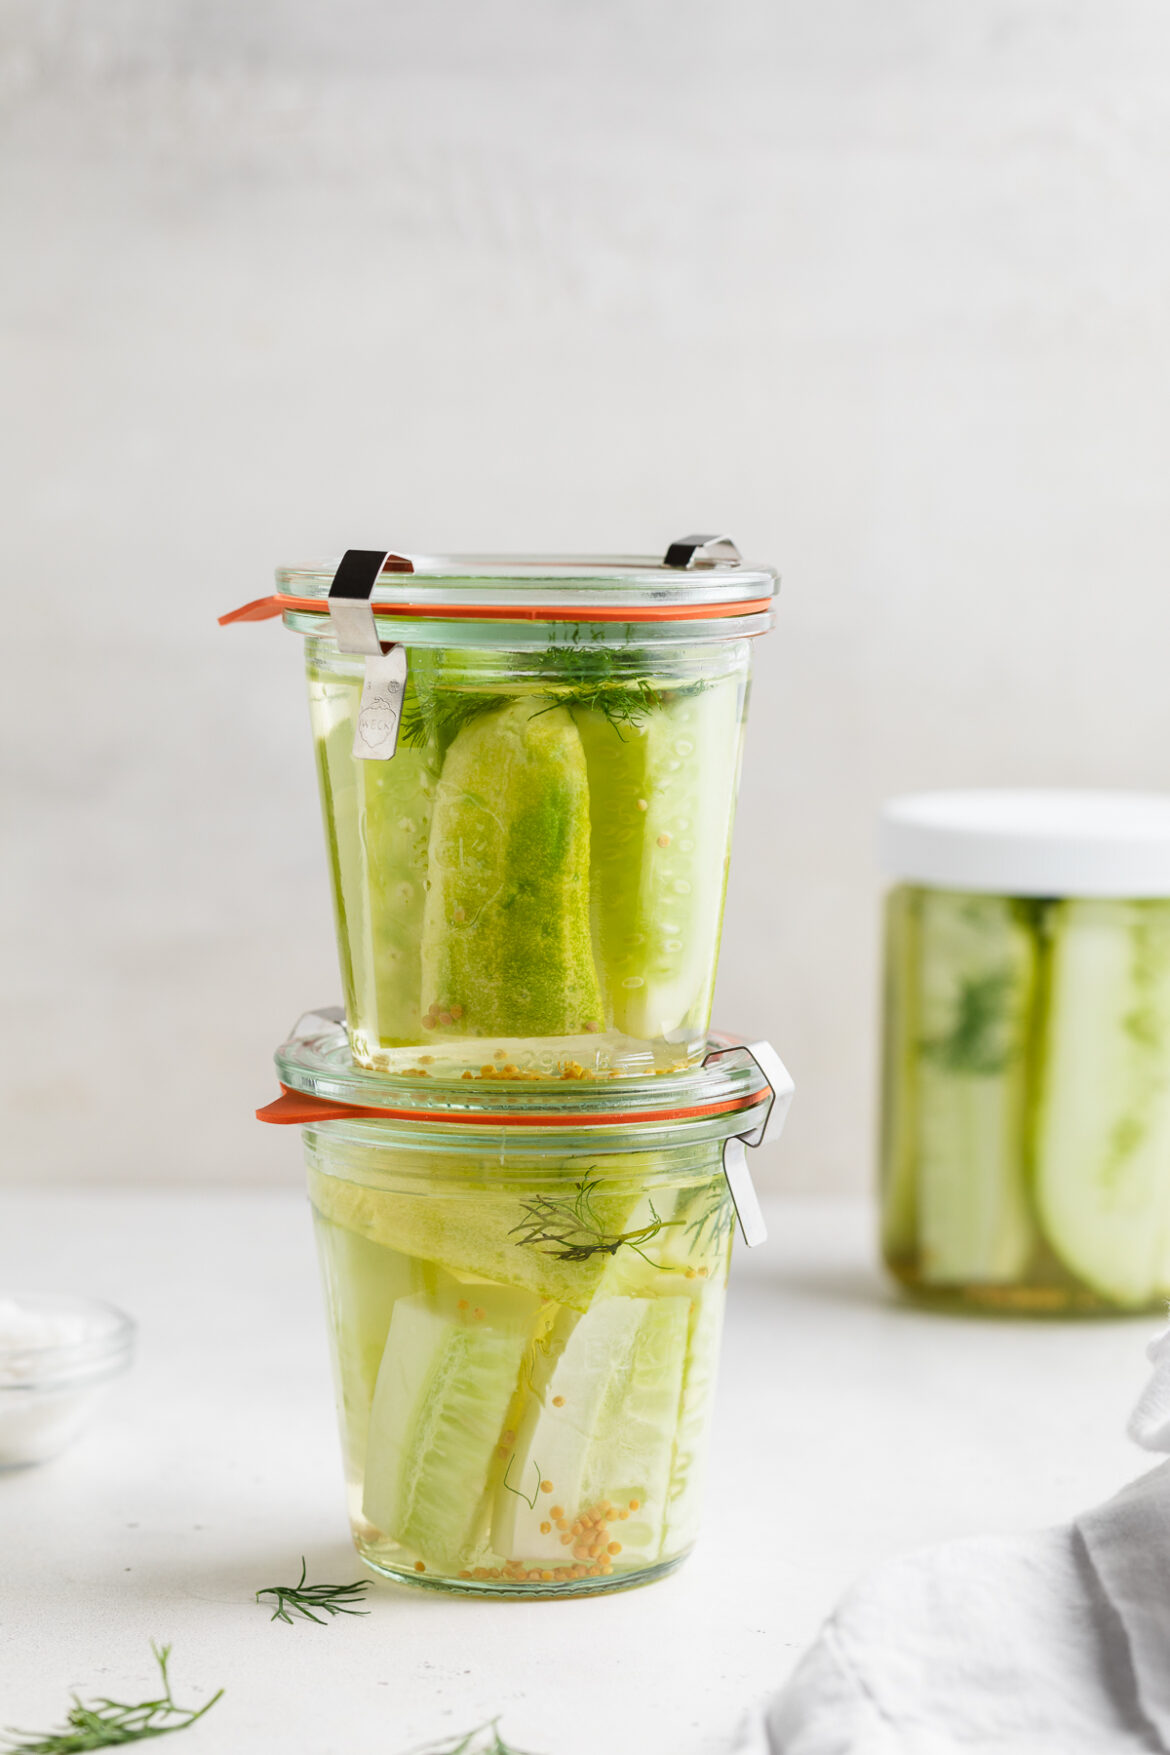
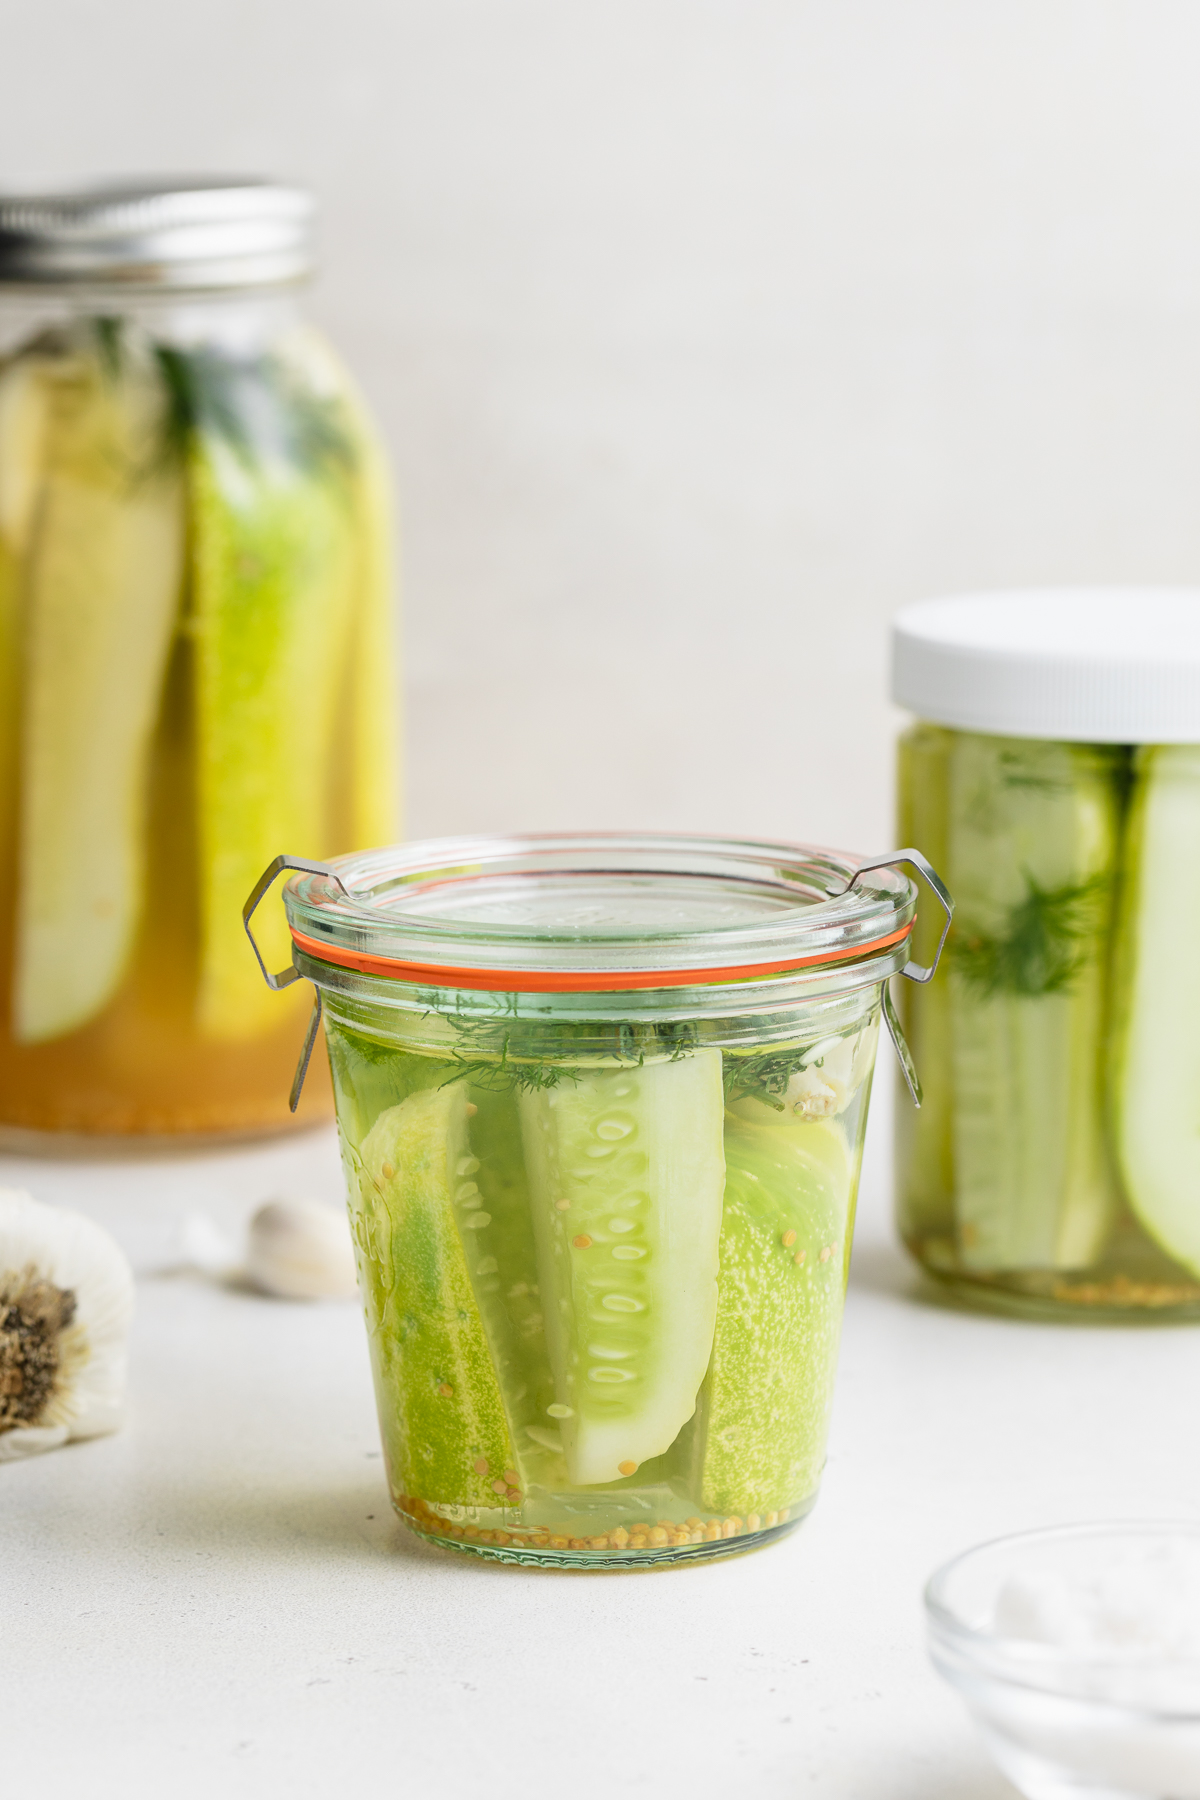
    three jars of pickles line up on a table.

    What You’ll Need

    Cucumbers – Either pickling cucumbers, Persian cucumbers, or an English cucumber will work! For pickling or Persian cucumbers, I recommend cutting them into spears before pickling. Though for an English cucumber, those are better sliced into 1/4-inch rounds. I use and recommend pickling cucumbers because they maintain their shape and satisfying crunch, even after pickled. However, Persian or an English cucumber still taste just as delicious using this method!

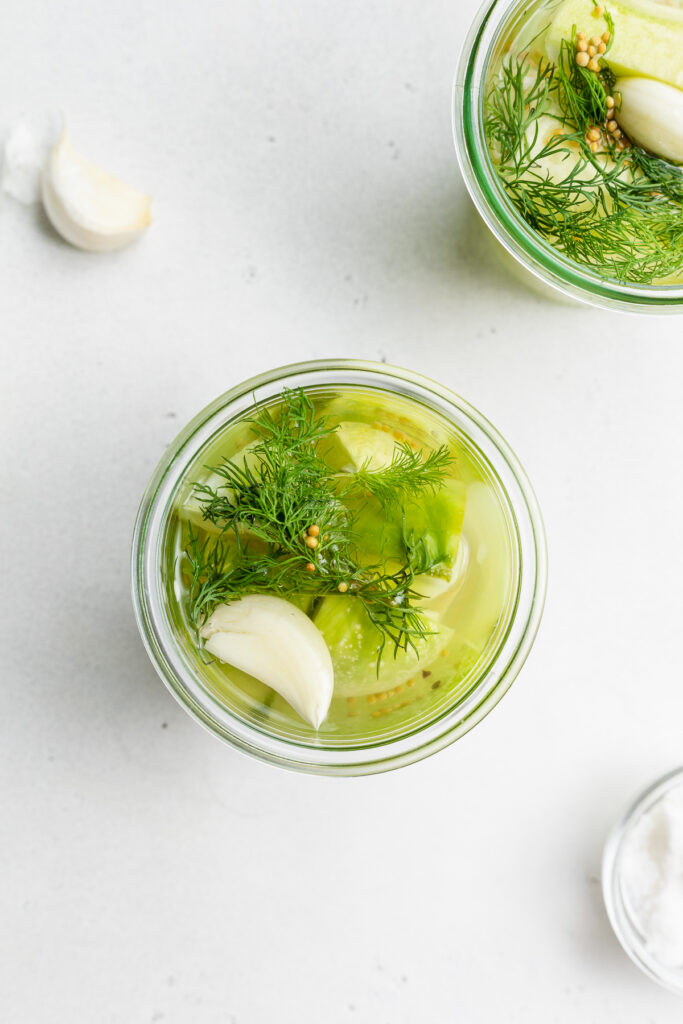
    Fresh Dill – You simply can’t make pickles without fresh dill! A few sprigs of this herb help to lock in freshness and pack in tons of delicious flavor.

    Garlic – Three whole cloves of garlic truly take this recipe to the next level! The pickling liquid aids in mellowing out that tangy garlic flavor, leaving you with the best essence of garlic throughout your pickles. And if you’re like me (a garlic LOVER), feel free to throw in a few extra cloves!

    overhead image of pickles with garlic and fresh dill.

    Vinegar – Vinegar plus water is the base of any pickling liquid. I’ve tried this recipe with pretty much every type of vinegar out there. Apple cider vinegar, white wine vinegar, red wine vinegar, white vinegar, rice wine vinegar – you name it, I’ve tried it! And while they all taste delicious, apple cider and white wine vinegars are my personal favorites. Though use whichever you have on-hand and/or whichever you prefer.

    Salt – For extra salty pickles, add two whole teaspoons of salt to your brine. Or, for a more mild pickle, add just one teaspoon of salt. I like ultra-savory pickles – you know, the ones that make your mouth water just thinking about them – so two teaspoons did the trick for me!

    Yellow Mustard Seed – While optional, a pinch of whole yellow mustard seeds add a hint of spice. A few seeds go a long way, packing in tons of flavor!

    a pickle being lifted out of a jar of pickles.

    Tips and Tricks on How to Make Pickles

    • Clean/rinse out your mason jars well before adding in your pickles. A clean glass jar will reduce the risk of any unwanted bacteria growing while your pickles, well… pickle. The best way to achieve an extra-clean mason jar is by rinsing it out with boiling hot water – this’ll kill most, if not all bacteria!
    • Homemade pickles will last up to three month in the fridge! And remember, the longer these pickles sit in their brine, the tastier they’ll be. But if you live in my house, you’ll know these don’t last more than ONE WEEK.
    • Feel free to switch up the ingredients in this recipe however you’d like! For spicy pickles, add in a pinch of red pepper flakes. Or, for sweet pickles, sprinkle in a teaspoon of sugar.

    *These homemade pickles are gluten-free, dairy-free, vegan, and paleo!

    three jars of pickles with garlic and salt on the side.
    5 from 1 vote

    How to Make Pickles

    How to make pickles in a matter of minutes! This quick, homemade pickle brine is loaded with flavor, and made to preserve freshness. These pickles are perfectly salty, and extra crunchy!
    Print Pin Rate
    Prep Time: 3 minutes
    Cook Time: 2 minutes
    Total Time: 7 minutes
    Servings: 10 servings

    Ingredients

    • 3-4 small pickling cucumbers, cut into spears (or 1 English cucumbers, cut into 1/4-inch rounds)
    • 4-5 sprigs fresh dill
    • 3 garlic cloves, peeled and smashed
    • 1 cup water
    • 1 cup vinegar, such as white vinegar or apple cider vinegar
    • 1-2 teaspoons salt
    • 1/2 teaspoon whole yellow mustard seeds

    Instructions

    • Place cut cucumber, fresh dill, garlic cloves, and whole yellow mustard seed into one large glass jar, or separate into 2 smaller glass jars.
    • Heat water, vinegar, and salt in a small saucepan over medium heat until salt has dissolved completely.
    • Pour water mixture into jar(s) until cucumbers are completely covered. Secure jar with lid, then refrigerate for at least 24 hours before eating.

    Nutrition

    Calories: 300kcal

    Crunchy peanut butter balls covered in chocolate! Perfectly sweet, surprisingly healthy, and super easy to make. This no-bake dessert is the perfect summer treat when it’s too hot to turn on the oven!

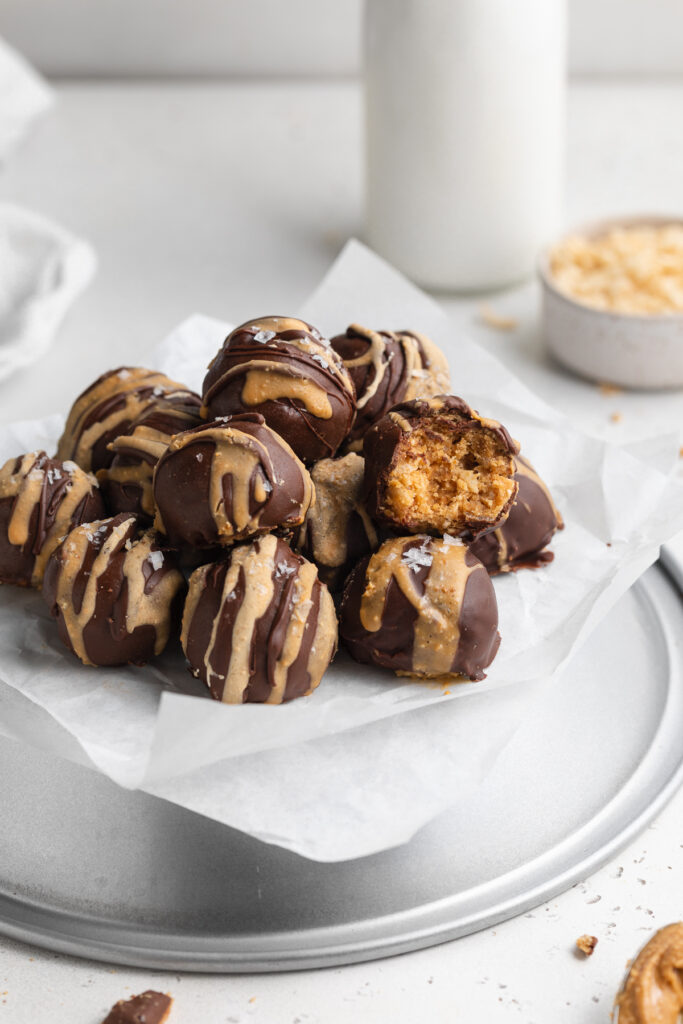
    crunchy peanut butter balls stacked on parchment paper with milk on the side.

    What You’ll Need to Make Crunchy Peanut Butter Balls

    Creamy Peanut Butter – Unsweetened, creamy peanut butter is the base of this easy dessert recipe. Check your peanut butter labels closely and make sure it doesn’t contain any sugar! Added sugar in the peanut butter would totally throw off the sweetness in this recipe. For unsweetened peanut butter, I love both Trader Joe’s and Teddie’s brand.

    Maple Syrup – Really any liquid sweetener will work in these peanut butter balls. Maple syrup, along with honey and date syrup, are the three least processed options which is why I always use and recommend them. Though is you don’t have those, you can use agave nectar instead. Or, for a sugar-free dessert option, check the “Make it Sugar-Free” section below!

    Almond Flour – This gluten-free, low-carb flour is one of my favorites! It’s healthy, super easy to find, and virtually flavorless. The almond flour is also super helpful in holding these dessert balls together, so don’t go without it.

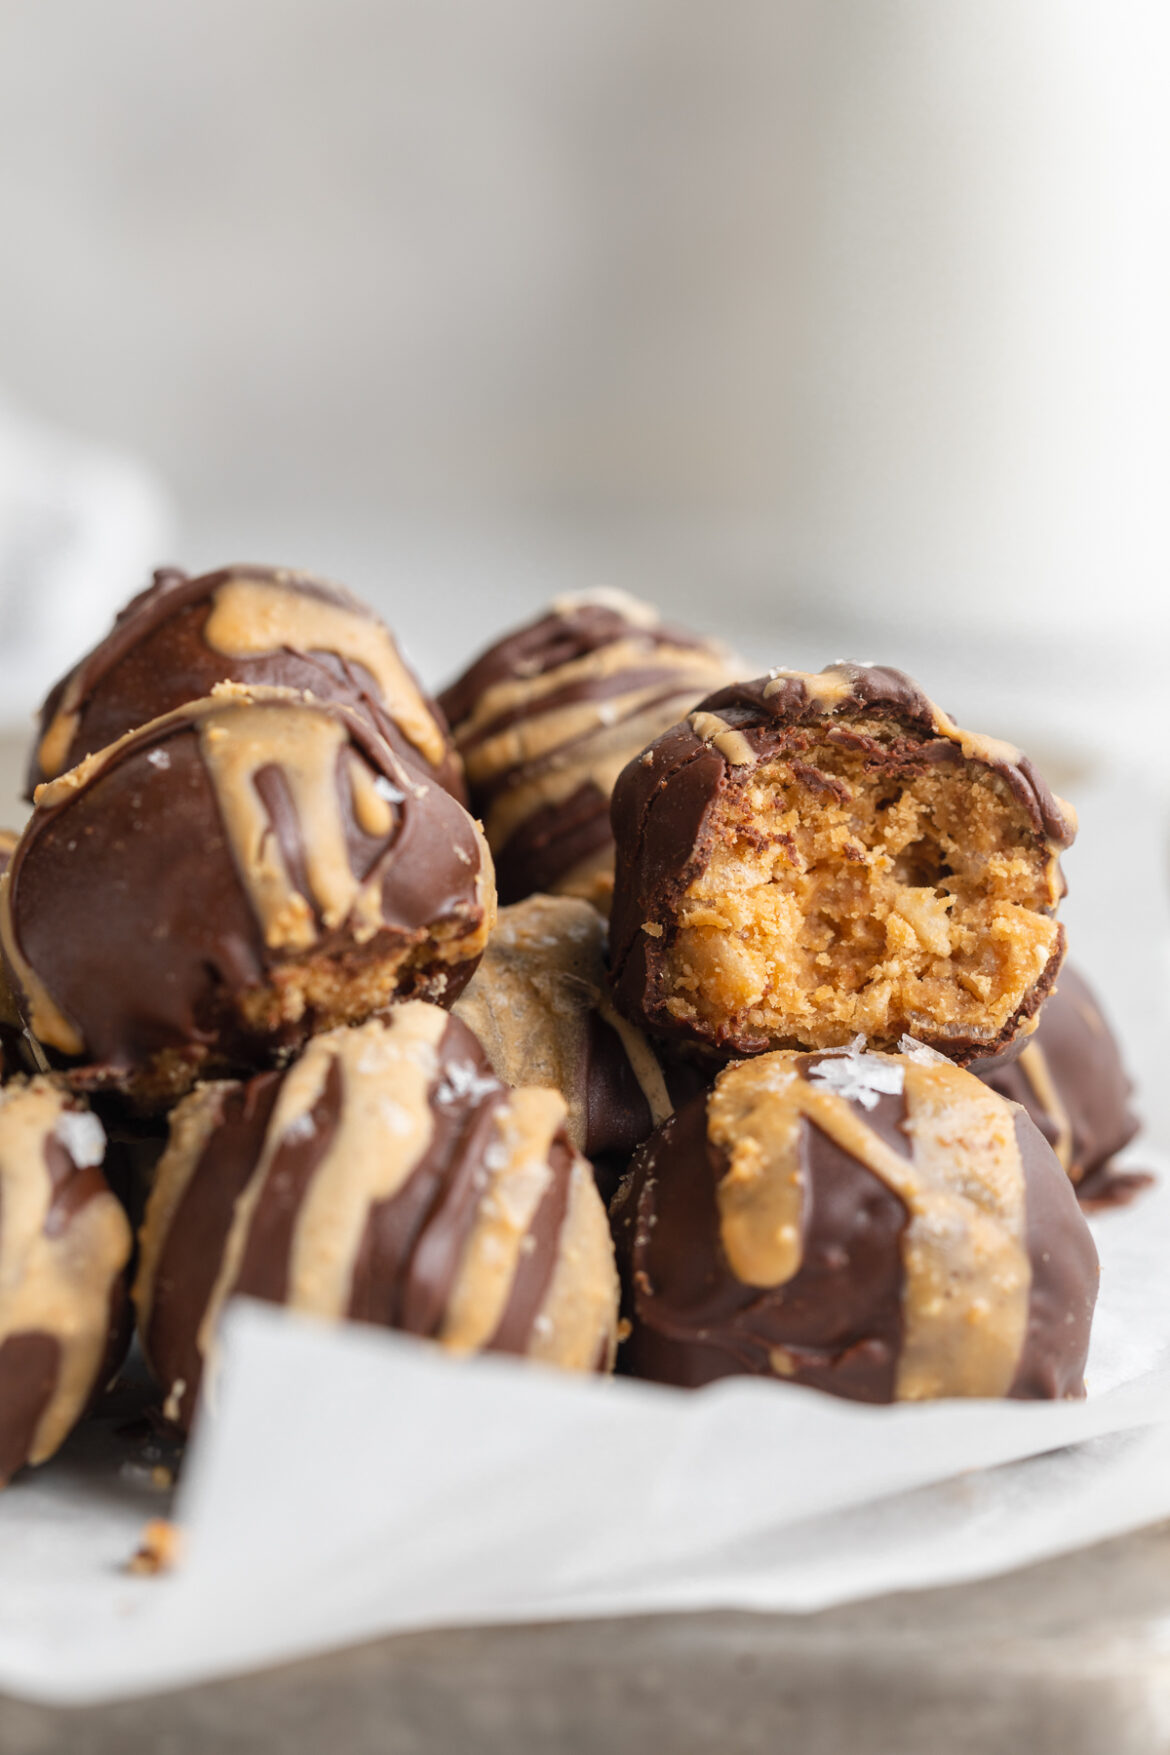
    Crispy Rice Cereal – One cup of crispy rice cereal gives these peanut butter balls their unexpected crunch! Feel free to use whichever brand you like best. Or, for an even healthier option, use one cup of puffed quinoa instead.

    overhead image of crunchy peanut butter balls on an upside-down pie pan.

    Tips and Tricks

    • Don’t feel like dipping in chocolate? Save major time and energy my melting the chocolate, then simply drizzling over the top of each ball!
    • For an extra salty plus sweet combo, finish off these crunchy no-bake peanut butter balls with a pinch of flaky sea salt! A bit of salt balances out the sweetness, and adds an extra layer of crunch.
    • These treats are best stored in the refrigerator! The freezer works too, but the fridge helps them hold their shape while also maintaining their crunchiness. But whatever you do, don’t store them at room-temperature, and especially not in the summertime because they will melt!
    a stack of no-bake peanut butter balls, one with a bite taken out.

    Adjust This Recipe To Your Dietary Needs

    Make it Nut-Free: For a nut-free no-bake dessert, sub sunflower seed butter for the peanut butter and 3 tablespoons of coconut flour in place of the almond flour! Still just as delicious, and totally nut-free friendly.

    Make it Sugar-Free: Replace the maple syrup in this recipe with your favorite liquid sugar-free sweetener.

    close-up image of crunchy peanut butter balls.
    5 from 3 votes

    Crunchy No-Bake Peanut Butter Balls

    Crunchy peanut butter balls covered in chocolate! Perfectly sweet, surprisingly healthy, and super easy to make. This no-bake dessert is the perfect summer treat when it’s too hot to turn on the oven!
    Print Pin Rate
    Prep Time: 15 minutes
    Total Time: 10 minutes
    Servings: 16 balls

    Ingredients

    • 1 cup creamy peanut butter, unsweetened
    • 1/3 cup maple syrup
    • 1 teaspoon vanilla extract
    • 1/2 cup almond flour
    • 1 cup crispy rice cereal

    For dipping/drizzling:

    • 1 cup chocolate chips
    • 1 teaspoon coconut oil

    Instructions

    • Mix together the creamy peanut butter, maple syrup, and vanilla extract in a large bowl.
    • Add in almond flour and crispy rice cereal, mix to combine.
    • Scoop and roll tablespoon-sized balls of the peanut butter ball mixture between the palms of your hands. Repeat this process until no more mixture remains, should make about 12 crunchy peanut butter balls.
    • Place balls in freezer for 10-15 minutes, and add chocolate chips and coconut oil to a small bowl. Microwave chocolate in 30 second increments until fully melted.
    • Once crunchy peanut butter balls are chilled, dip or drizzle with melted chocolate before placing back in the freezer. Freeze for at least 10 minutes before eating, then store in the fridge.

    Nutrition

    Calories: 300kcal