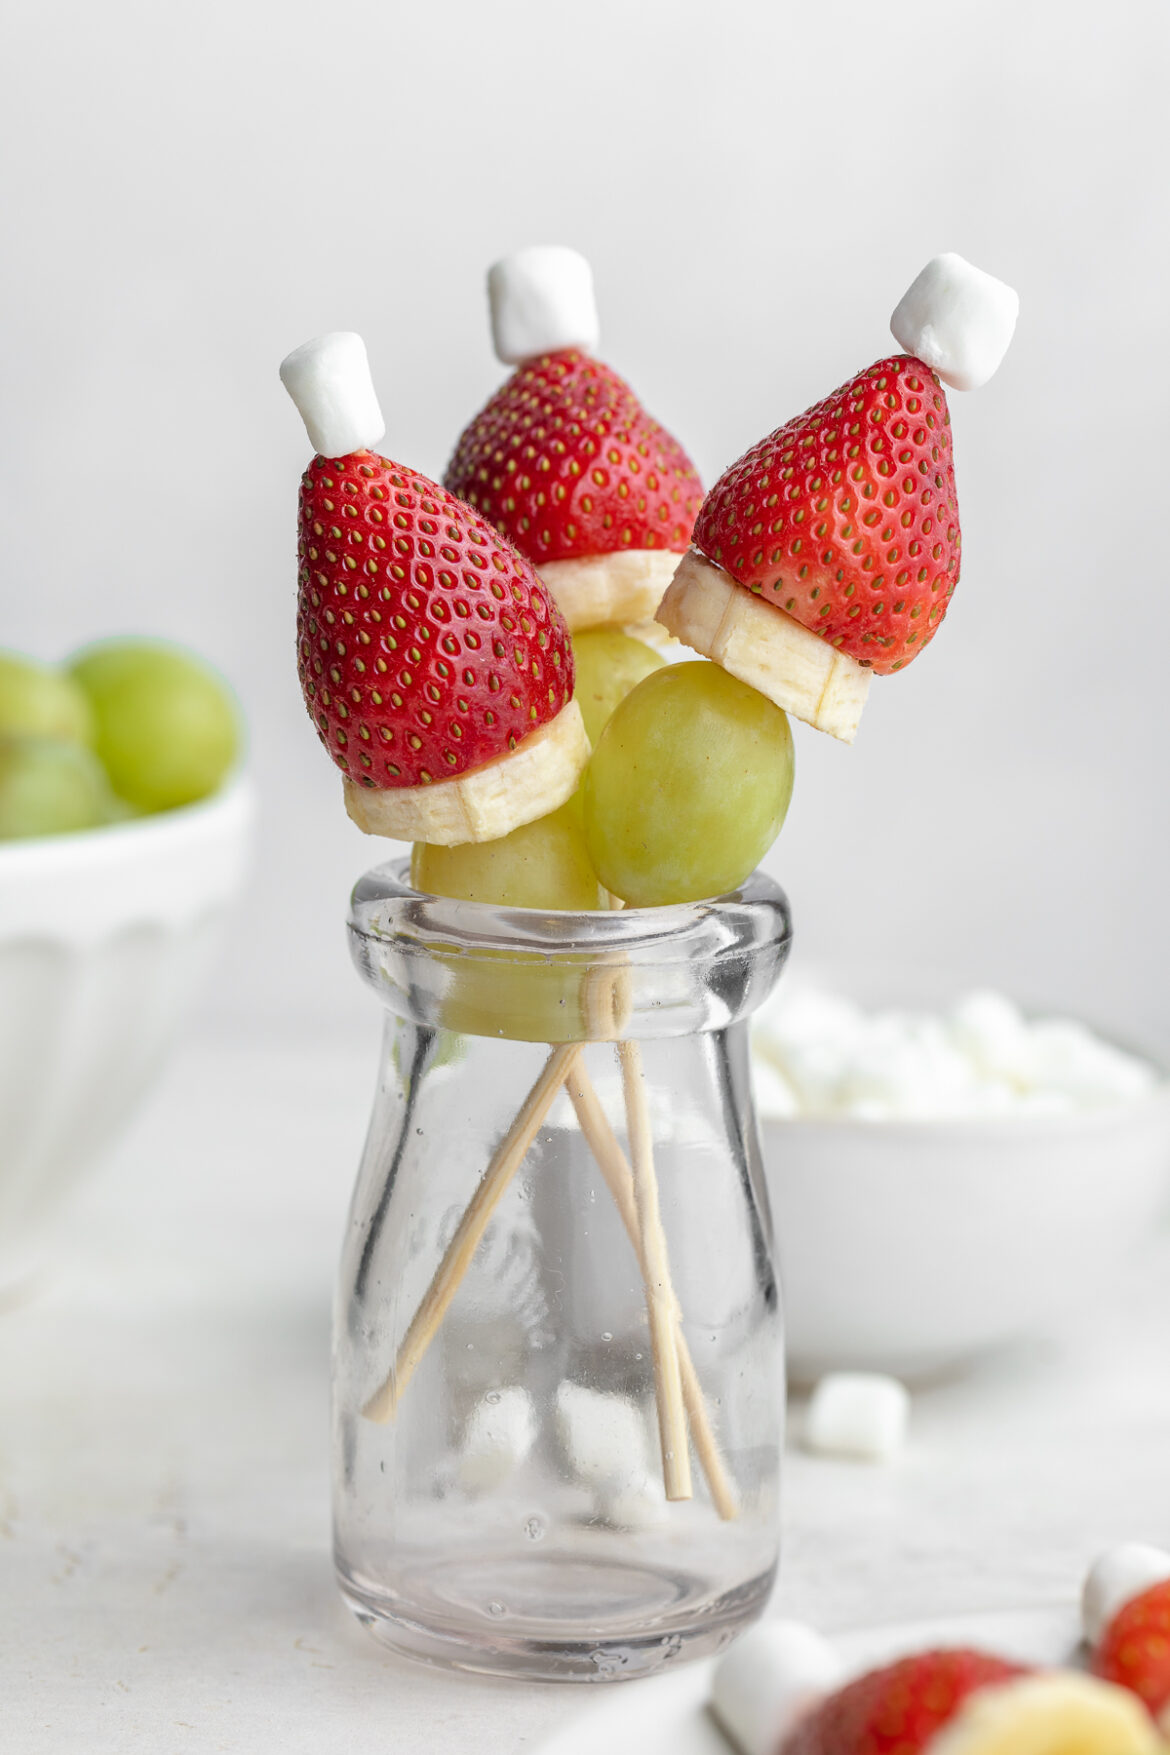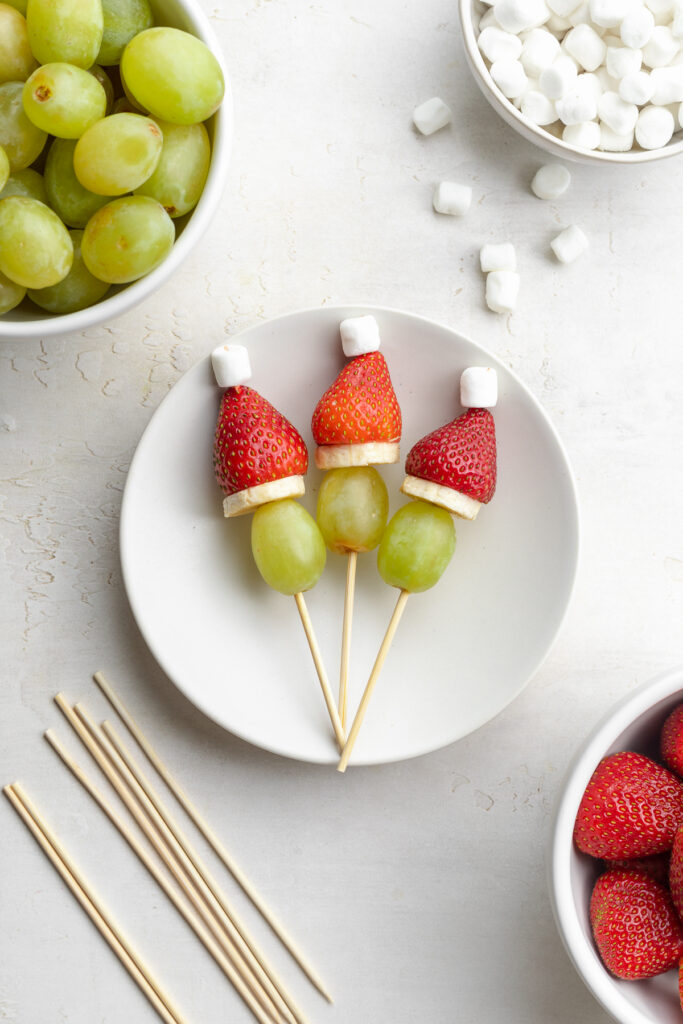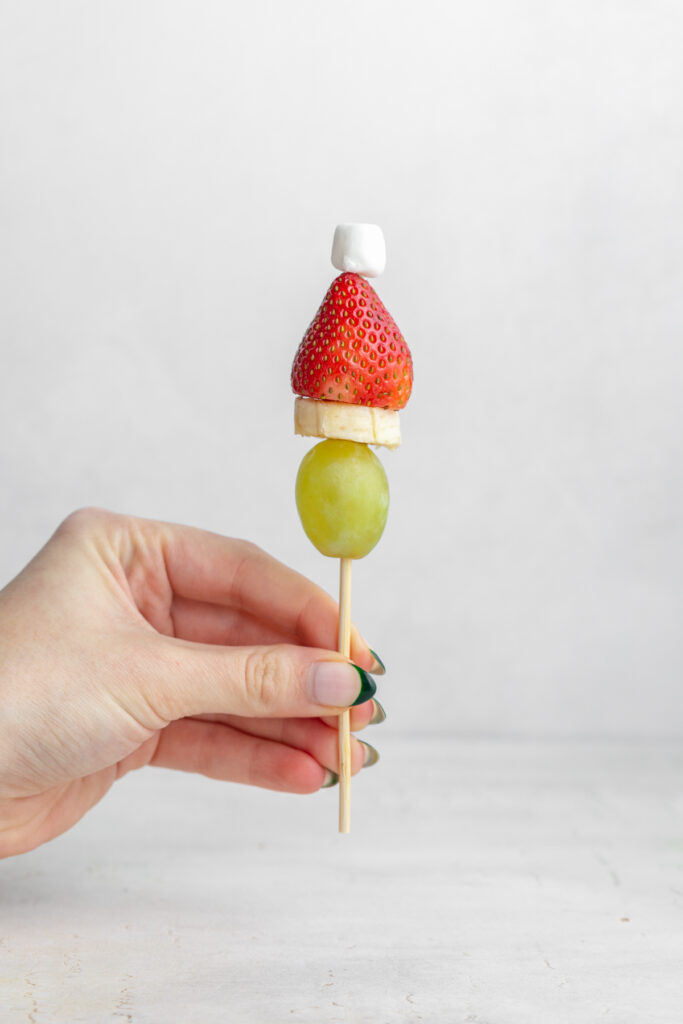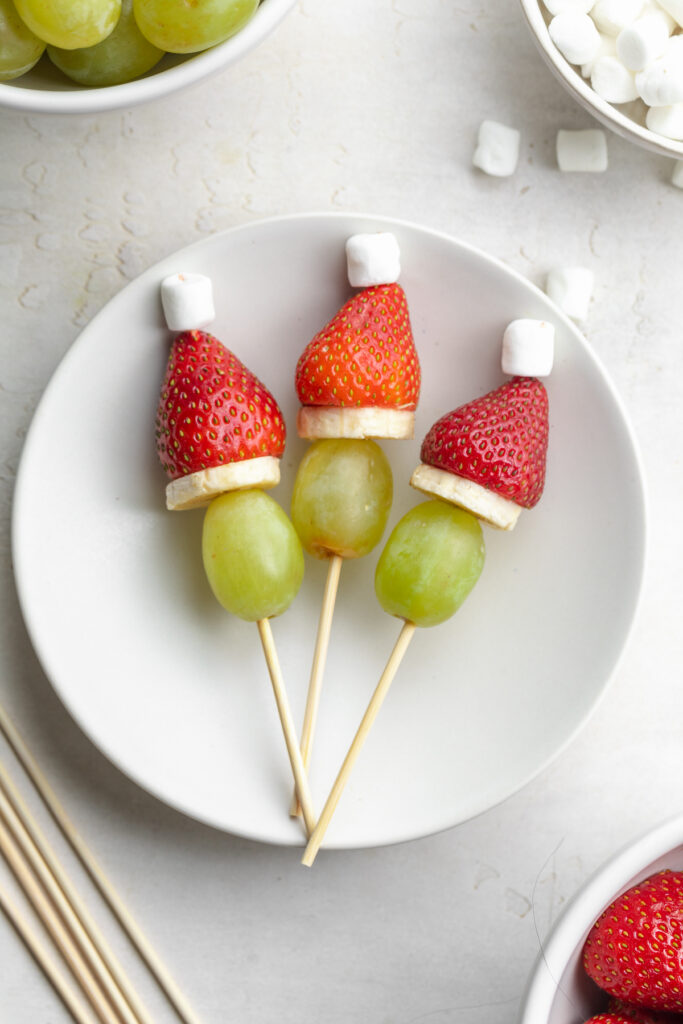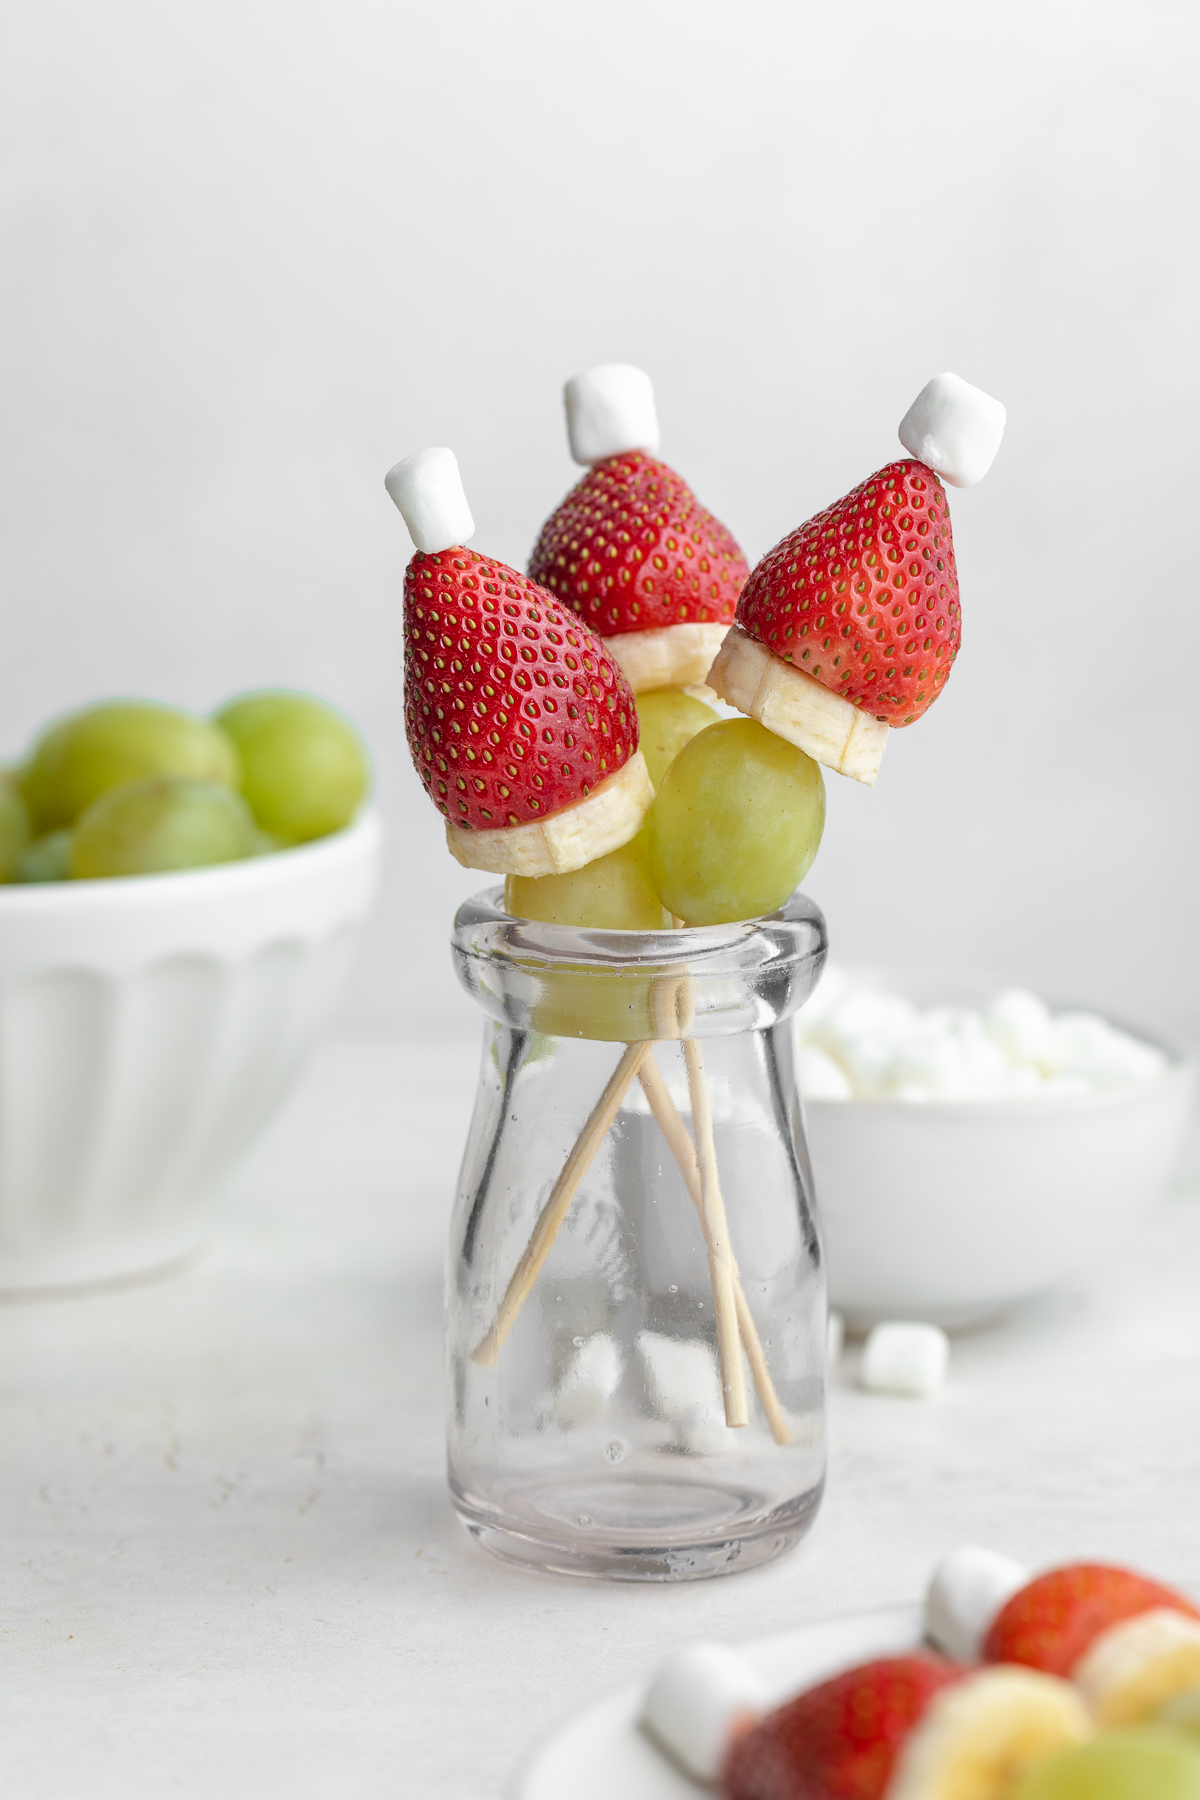
The easiest holiday treat of all time – Grinch fruit kabobs! Slide fruit onto skewers and you’ve got yourself a festive snack or dessert. Get the kids involved in this fun Christmas activity!
What You’ll Need to Make Grinch Fruit Kabobs
Green Grapes – Green, not red grapes for this Grinch-themed treat!
Banana – Slice your banana into 1/2-inch pieces before sliding onto your skewers.
Strawberries – Hull your strawberries before using in this recipe! That basically just means remove the green leaves on top.
Store these Grinch fruit kabobs in an airtight container in the fridge for one day. They may last longer than a day, but the banana will begin to oxidize and turn brown – not ideal! For best results, I recommend making them right before serving.
The easiest holiday treat of all time – Grinch fruit kabobs! Slide fruit onto skewers and you’ve got yourself a festive snack or dessert. Get the kids involved in this fun holiday activity!
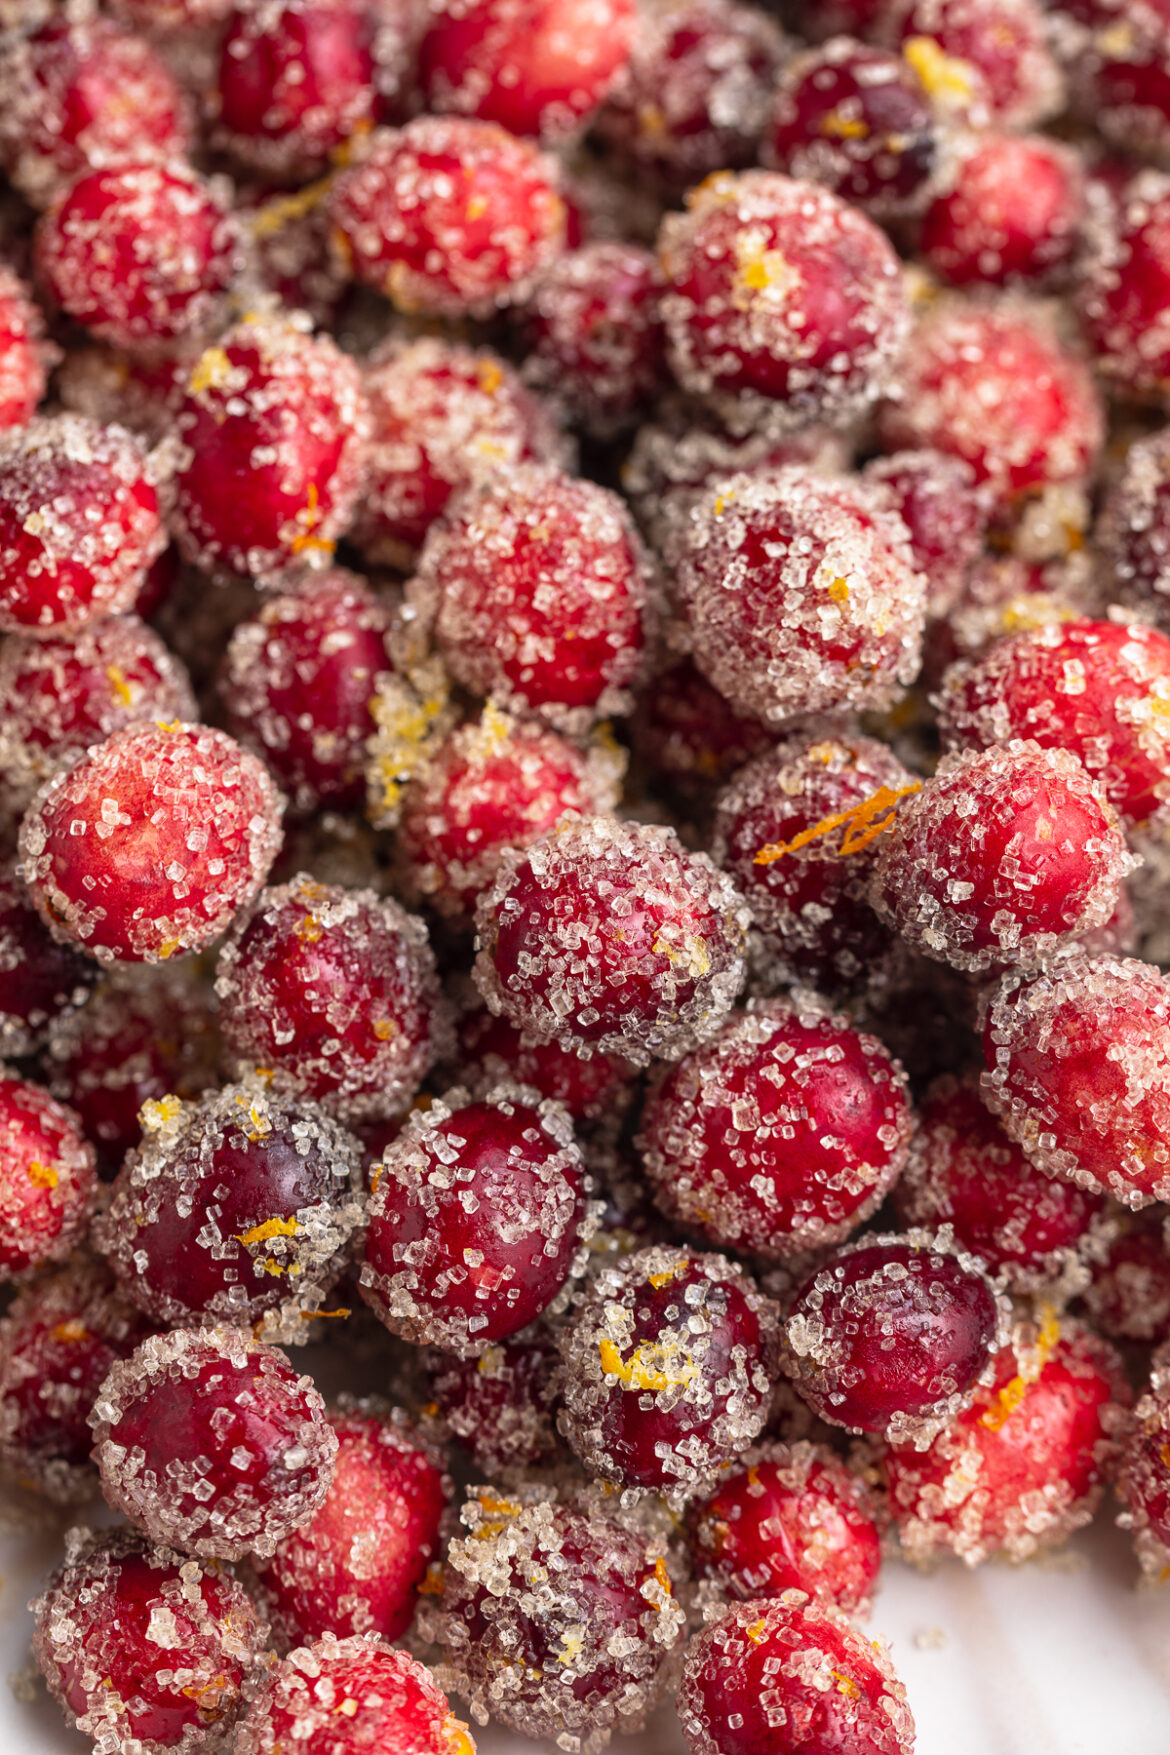
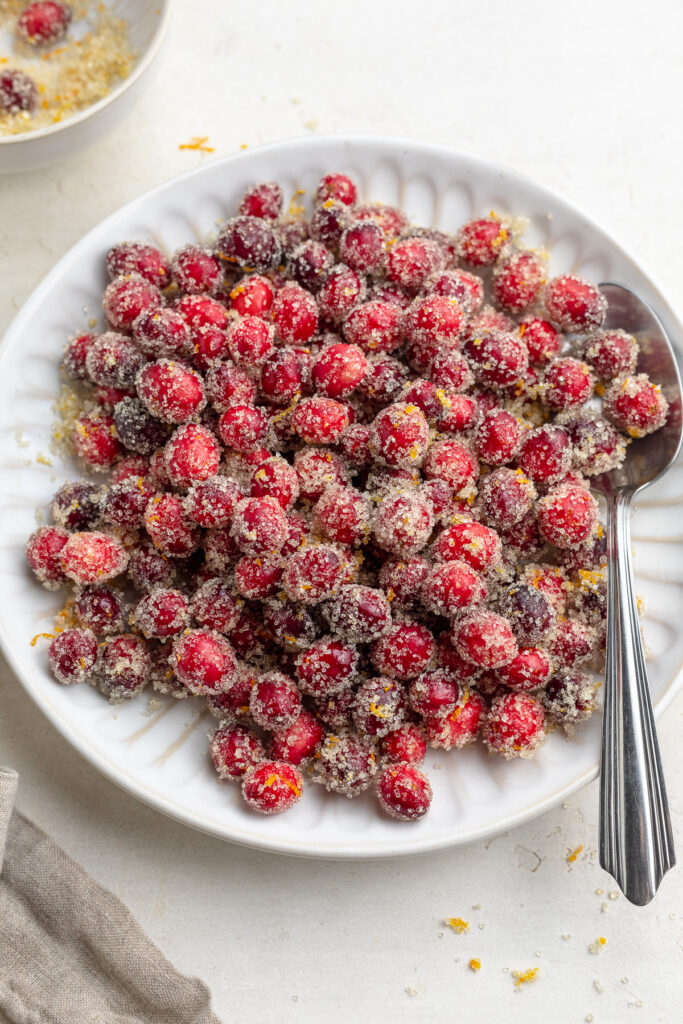
Super simple sugared cranberries with a hint (just a hint!) of orange! Perfectly tart, yet sweet, and totally addictive. These sugared cranberries are a great cocktail garnish, cake/pie topping, or delicious on their own!
What You’ll Need to Make Sugared Cranberries
Sugar – Sugar’s needed for both the simple syrup and the sugar coating. I used organic cane sugar for my sugared cranberries, but regular white sugar works great too!
Cranberries – Whole fresh, not frozen, cranberries! We’ll start by coating them in a 3-ingredient simple syrup, then rolling in sugar and orange zest. Fresh cranberries are extremely tart, so the sugar in this recipe works wonders to help balance that out. The end result is a perfectly tart, yet sweet dessert or snack!
Orange Juice & Zest – While you can totally make this recipe without any orange, I highly recommend adding it. A hint of citrus is the perfect compliment to fresh cranberries. Orange juice and zest brighten up this entire recipe, and make it EXTRA special!
Tips and Tricks
If the sugar doesn’t seem to be sticking to your cranberries, give them an extra 30 minutes to dry out. The drying time of your cranberries all depends on the climate in your kitchen. Therefore, make adjustments as you see necessary.
This is the perfect holiday recipe! I love making a double batch of these sugared cranberries for friends and family. I divide them up into small cellophane bags, complete with a ribbon, and they’re the perfect little holiday treat hand-out!
Super simple sugared cranberries with a hint (just a hint!) of orange! Perfectly tart, yet sweet, and totally addictive. These sugared cranberries are a great cocktail garnish, cake/pie topping, or delicious on their own!
Combine water, orange juice, and ½ cup sugar in a medium saucepan over medium heat. Bring to a boil, then reduce to a simmer, and cook for 3 minutes stirring frequently.
Remove from heat, then add in the fresh cranberries. Stir to coat cranberries in sugar syrup, then use a slotted spoon to drain and transfer cranberries to a parchment-lined baking sheet. Spread into an even layer and let dry for 1 hour.
Mix together remaining sugar and orange zest in a large bowl, then add dried cranberries about a cup at a time to bowl. Toss cranberries in sugar until all are evenly coated, then repeat with remaining batches until all cranberries are coated in sugar. Store in an airtight container for up to 3 days.
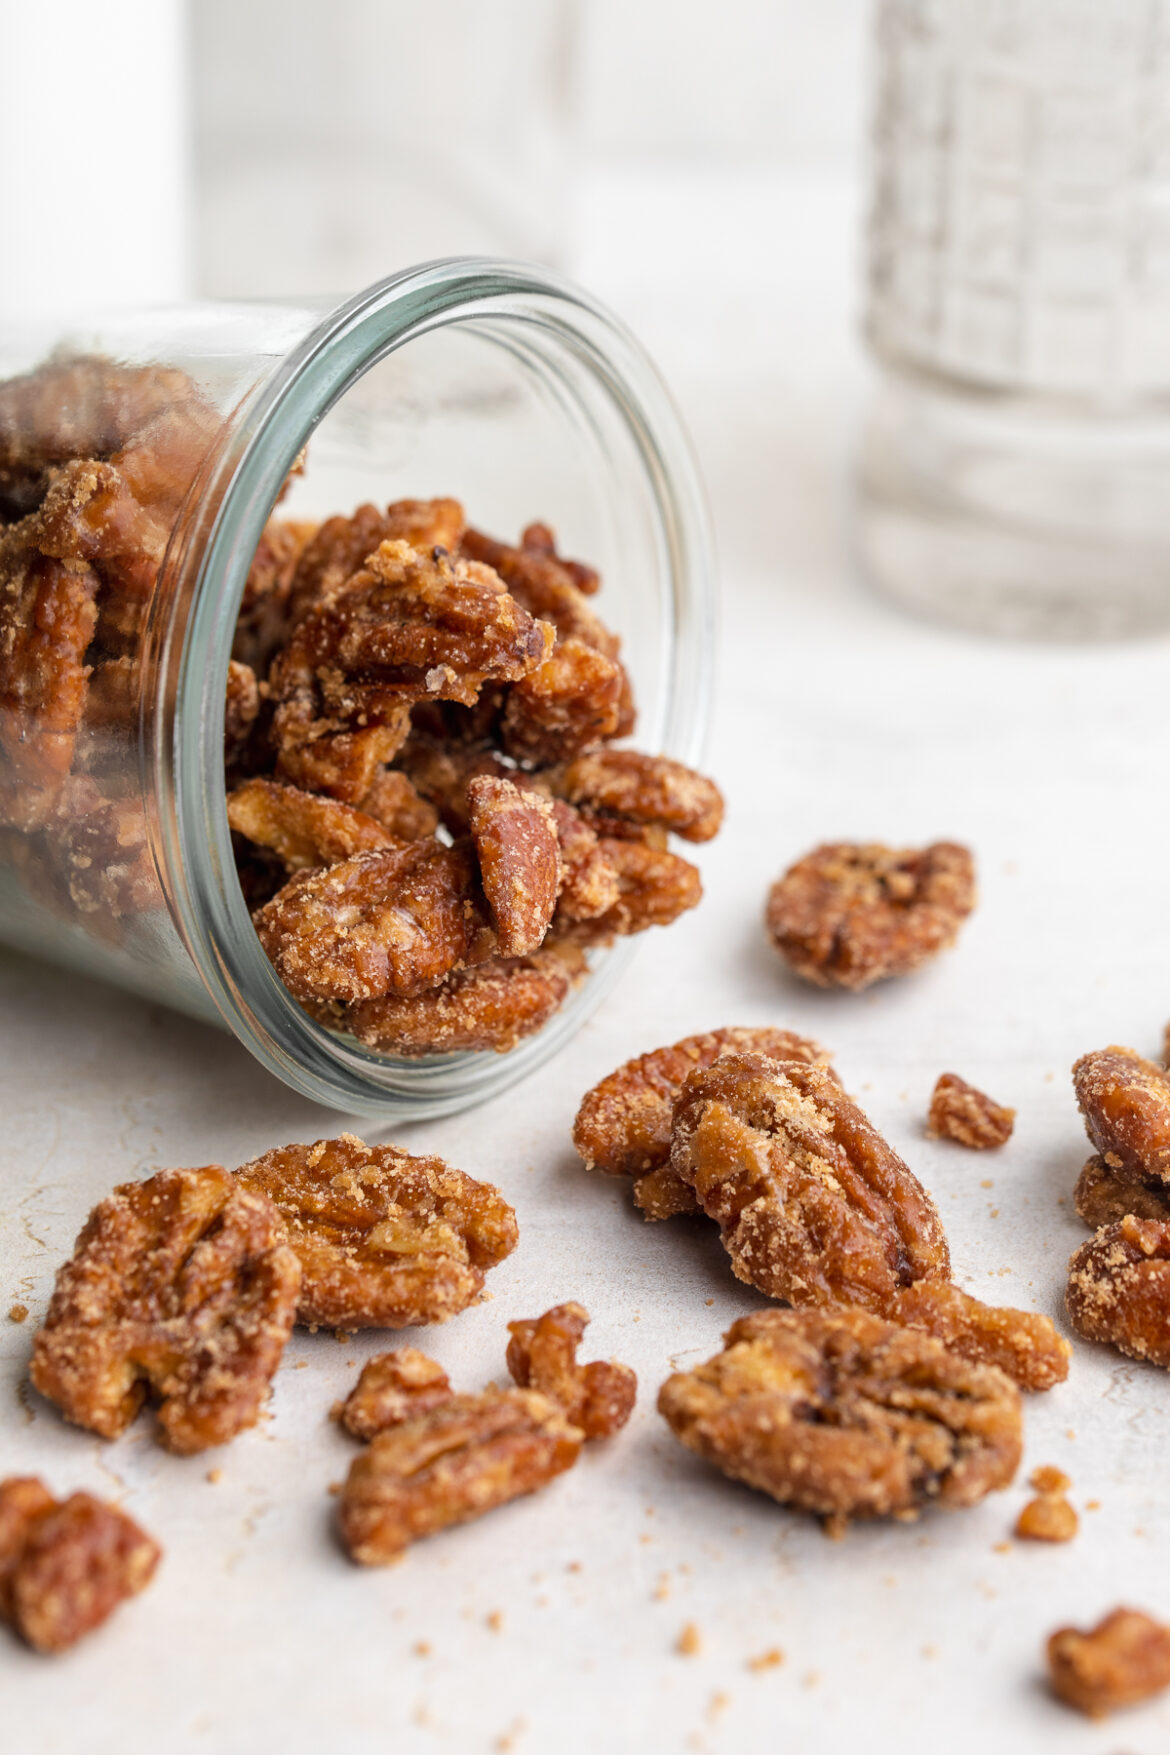
Just 3 ingredients to make these maple candied pecans! Perfectly sweet, crunchy, and totally delicious. Cooked on the stovetop in under 20 minutes!
What You’ll Need to Make Maple Candied Pecans
Pecans – Start with raw and unsalted pecans for this recipe. The cooking and flavoring of the pecans happens throughout this recipe, so it’s best to start with a blank canvas! Also, be sure to use whole pecan halves, not pecan pieces.
Maple Syrup – Just half a cup of maple syrup to sweeten these maple candied pecans! I love this unrefined sugar alternative, it’s healthier and tastes just as good. As the pecans cook, the maple syrup will begin to crystalize and coat the pecans, just like sugar would.
Salt – A pinch of salt to help round out those flavors! Salt seems like a counteractive addition to this recipe, but trust me, it brings it all together. And believe it or not, salt actually brings out the sweetness in this candy recipe!
Tips and Tricks
Avoid cooking these maple candied pecans at a high temperature. High heat will quickly cause the maple syrup to burn, which could ruin your recipe. Therefore, maintain a simmer, and continue stirring the pecans every few minutes to avoid burning.
Have fun with this recipe! Throw in a pinch of cinnamon, or a dash of vanilla extract while the pecans cook. Or, for an extra festive addition, serve them with a handful of festive candies or sprinkles!
Maple candied pecans are best stored at room temperature, in an airtight container for up to one week. You can even store them in the fridge for up to one month, or the freezer for up to three months!
Add all ingredients to a large pan over medium heat. Stir and bring the maple syrup to a simmer. Once simmering, reduce the heat to low.
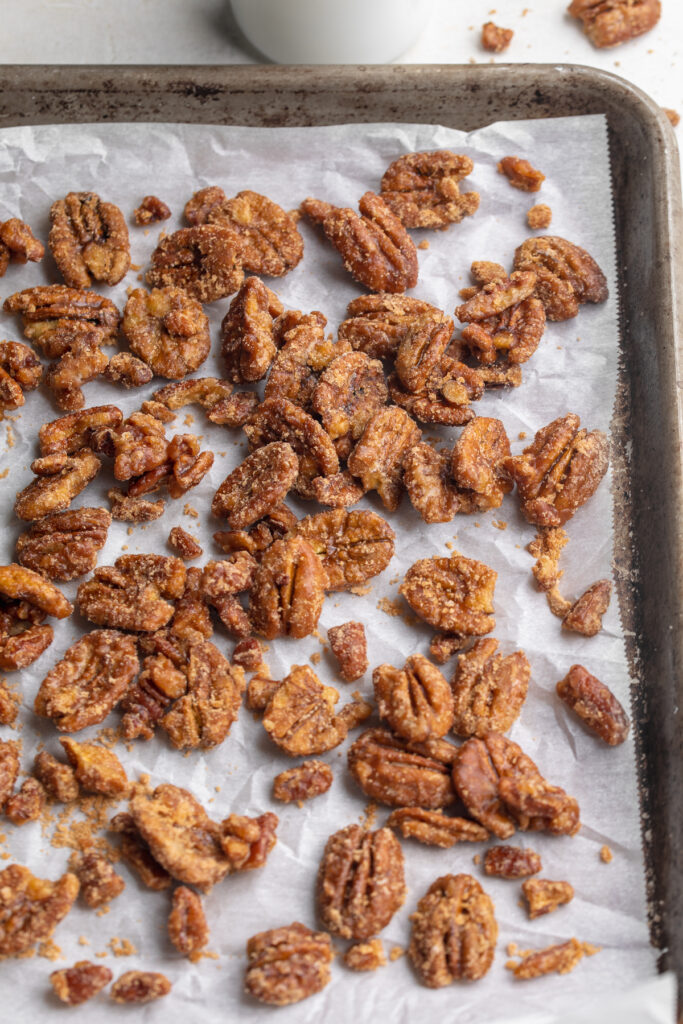
Continue cooking on low for 20 minutes, stirring every couple of minutes. After 20 minutes, the maple syrup should begin to crystalize and look like sugar coating the pecans.
Once syrup has crystalized, pour the pecans onto a parchment-lined baking sheet. Spread pecans into an even layer, then let cool completely before eating or storing.
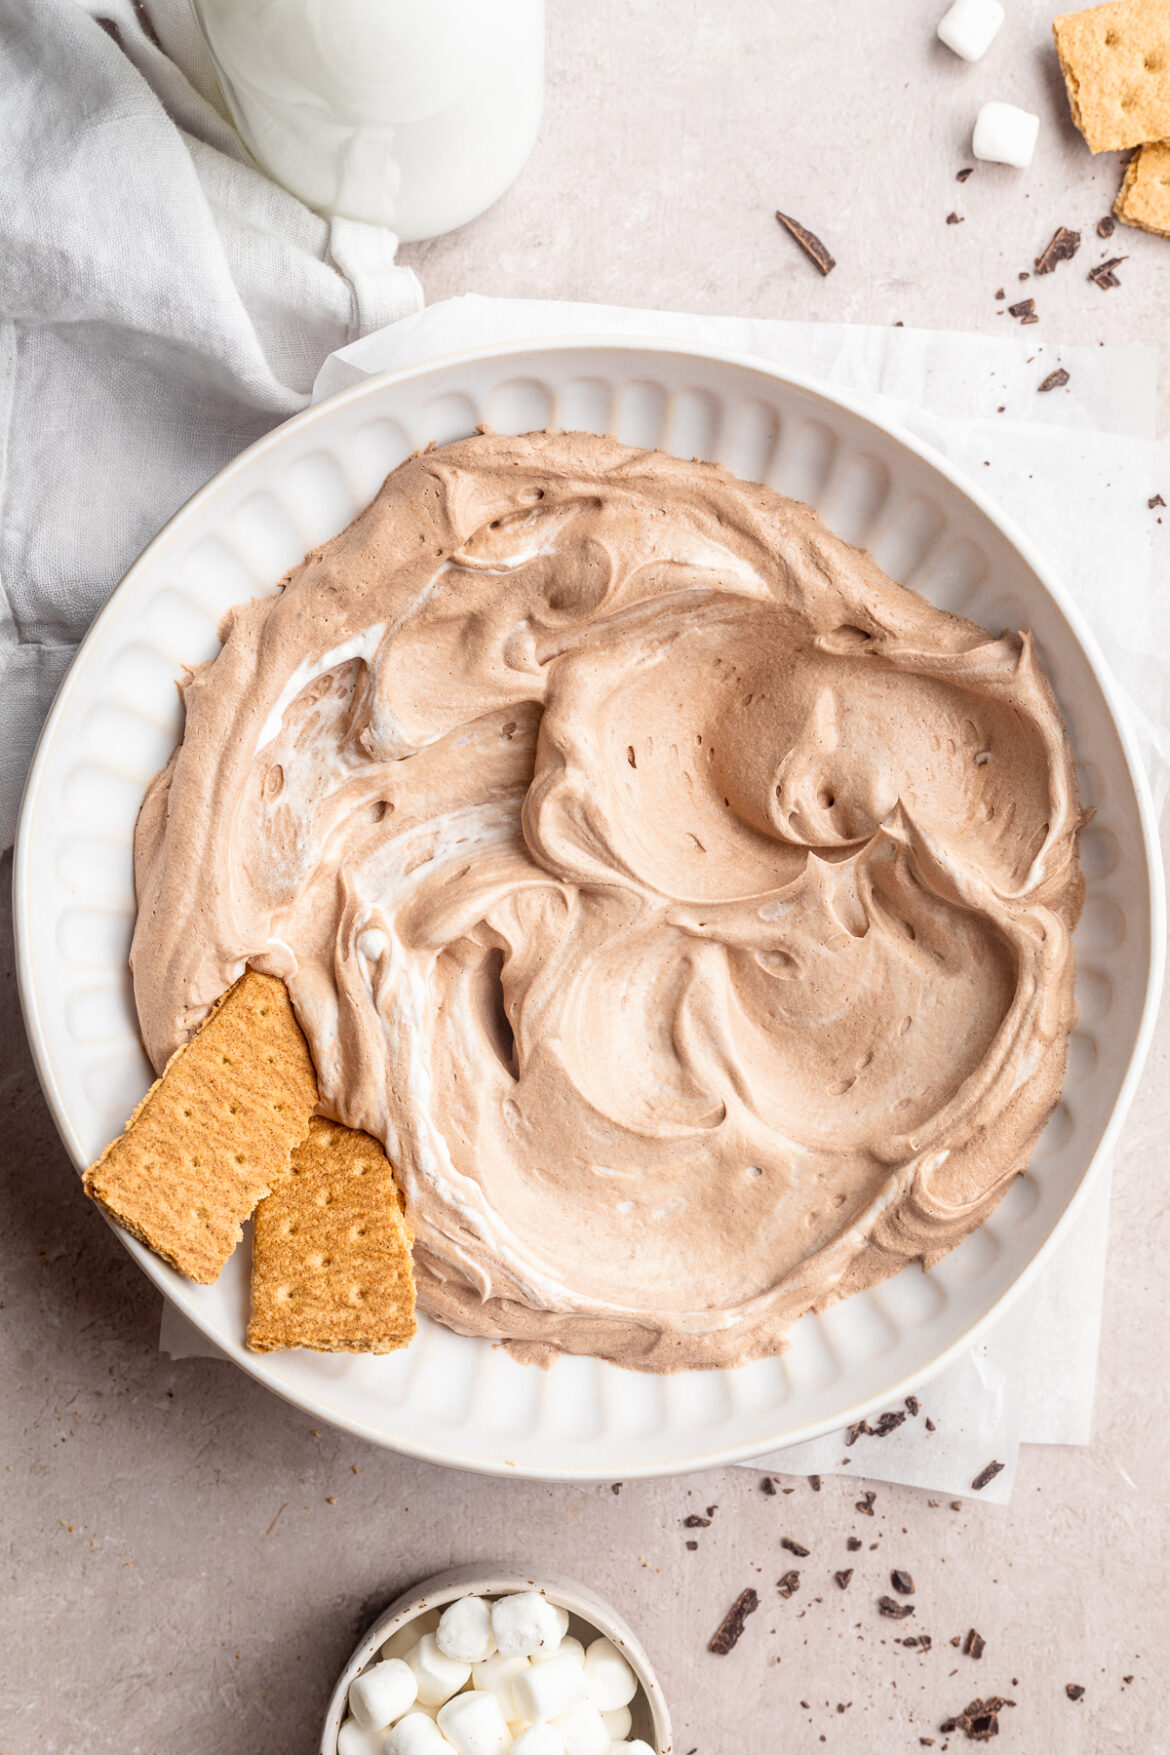
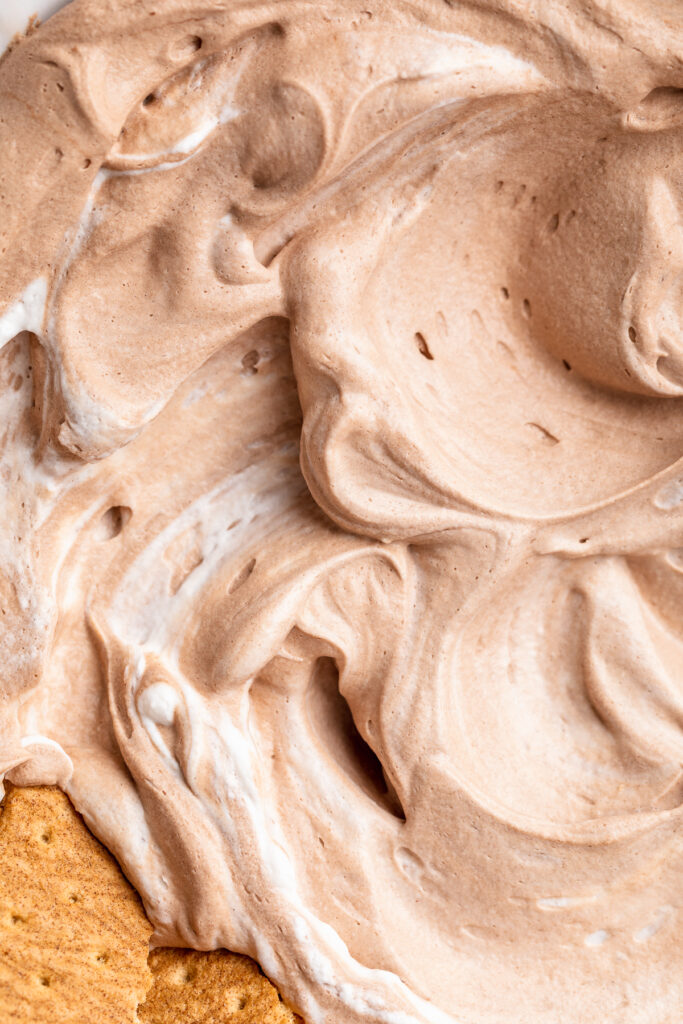
Blissfully easy and delicious vegan hot chocolate dip! Made with just 3 ingredients, no cooking or baking required. This fool-proof dessert recipe is perfect for holiday parties or potlucks!
What You’ll Need to Make Vegan Hot Chocolate Dip
Vegan Whipped Cream – If not vegan, feel free to use regular ole’ whipped cream instead. However, I used Truwhip’s Vegan Whipped Topping and it tastes just like the real thing. I’ve also tested this recipe with So Delicious cocowhip, and it turned out fabulous! Or, for a healthier option, feel free to make a homemade coconut whipped cream. To do this, whip together the coconut cream (not the liquid part) from two cans of full-fat coconut milk with either a hand or stand mixer until light and fluffy. If taking this option, I recommend adding in at least 3 tablespoons of sugar to help sweeten this dessert dip!
Unsweetened Cocoa Powder – It’s super important to use unsweetened cocoa powder in this vegan hot chocolate dip recipe. If sweetened, you risk an overly sweet dip. Therefore, check the baking aisle at your grocery store for an unsweetened cocoa powder, such as this Hershey’s one.
Vanilla Extract – A splash of vanilla extract is the finishing touch to this vegan dessert recipe! It brings the hot chocolate flavor together, and is seriously so good.
Tips and Tricks
Don’t over-mix your dip! An over-mixed dip will turn runny, and lose its fluffiness. Simply stir until everything’s incorporated, then enjoy!
Feel free to prepare this vegan hot chocolate dip in advance! To do this, store in an airtight container in either the freezer for up to 2 months, or the fridge for up to 4 days. If freezing, simply transfer to the fridge a few hours before serving to thaw, then give it a quick stir.
Serve this chocolatey dessert dip however you’d like! I love mine with graham crackers and fresh strawberries. Though chocolate chip cookies, teddy grahams, apple slices, or even marshmallows all make for great dippers!
Adjust This Recipe to Your Dietary Needs
Make it Paleo: For a paleo version, make a homemade coconut whipped cream and sweeten with either coconut sugar or a splash of maple syrup – YUM!
5 from 1 vote
Vegan Hot Chocolate Dip
Blissfully easy and delicious vegan hot chocolate dip! Made with just 3 ingredients, no cooking or baking required. This fool-proof dessert recipe is perfect for holiday parties or potlucks!
Butter – I used Miyoko’s vegan butter to keep this latte recipe vegan-friendly! It melts beautifully into the caramel sauce, giving it that smooth, buttery flavor. However, you can certainly use regular butter if you’d like!
Coconut Sugar – This natural sweetener is unrefined and lower on the glycemic index (meaning less of a spike in blood sugar). It also has a slightly deeper flavor, which only adds to the flavor of our caramel sauce! Though if you don’t have any coconut sugar, feel free to use regular sugar or even brown sugar instead.
Espresso – Either one shot of espresso, or 1/4 cup of strong coffee will do the trick. Or, if you’re like me and can’t get enough caffeine in your life, make it a double and add an extra shot of espresso!
Tips and Tricks
Keep a close eye on your caramel sauce while it cooks! The sugar can burn quickly, and needs to be stirred frequently. So I recommend tending to it the entire 5 minutes it cooks – trust me, it’ll be worth it!
Turn this recipe into an iced latte by serving it over ice! To do this, I recommend letting your hot caramel milk come to room temperature first, as well as your espresso.
Adjust This Recipe to Your Dietary Needs
Make it Vegan: That’s easy – just use all the vegan swaps I outlined above!
Make it Decaf: For a caffeine-free version, use your favorite decaf espresso or decaf coffee in your latte.
Make the caramel sauce by melting butter and sugar in a small saucepan over medium heat, stirring frequently. Once butter has melted, cook for an additional 4-5 minutes, stirring constantly until dark brown and bubbling.
Combine milk, 2 tablespoons of caramel sauce, and vanilla extract in a small saucepan over low heat. Bring to a simmer, then whisk until frothy.
Add espresso or strong coffee to a mug, then pour milk mixture over the top. Top with whipped cream an extra drizzle of caramel sauce.