Tag

vegan

Browsing

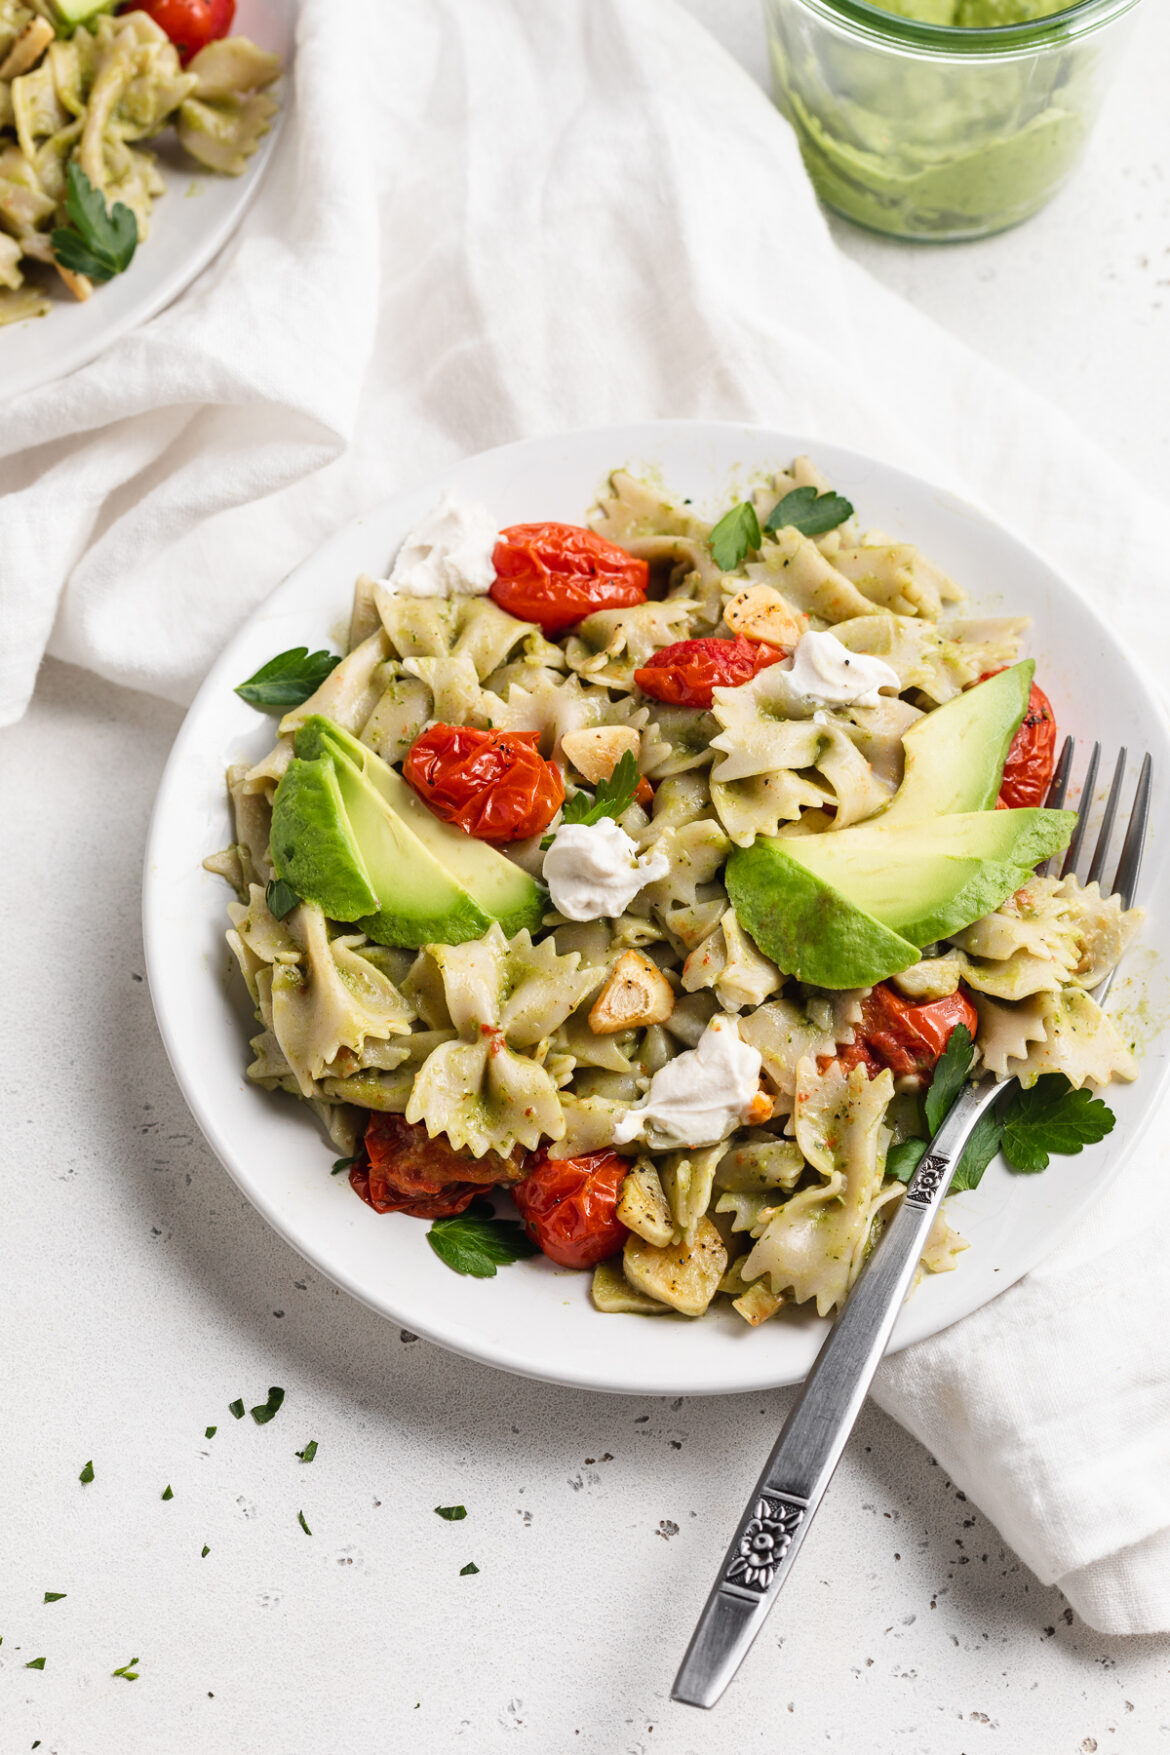
Vibrantly green and irresistibly creamy avocado pasta, finished off with roasted garlic and tomatoes! Whip up this quick, easy, and healthy dinner recipe in under 20 minutes. Perfect when you’re short on time and/or craving something comforting and delicious.

close-up image of avocado pasta with roasted garlic and tomatoes on a plate

What You’ll Need To Make Avocado Pasta

Avocado – LOL, duh! Pick up two perfectly ripe avocados for this plant-based recipe. To know whether your avocados are ripe or not, give them a gentle squeeze. If the skin gives a tiny bit then they’re ready to eat! Though if your avocados feel hard as rocks, leave them out at room temperature for another day or two until ripe. I almost always buy a big bag of avocados while at the store, and use leftovers to make avocado toast in the morning – yum!

Fresh Herbs – Feel free to use any fresh herbs you’d like, or have on-hand! I used a combo of fresh basil and fresh parsley, which made for a perfectly fresh-tasting sauce. However, a bunch of fresh cilantro would taste equally as delicious.

Garlic – Plenty of garlic is necessary for this avocado pasta recipe! We pretty much use an entire garlic bulb between the roasted garlic and tomatoes, and the avocado sauce. When roasted, garlic releases intense flavor which is straight up heavenly. I could eat roasted garlic all by itself, it’s that good! Together with the tomatoes, olive oil, and a little bit of salt and pepper – the roasted garlic in this recipe is to-die-for.

overhead image of avocado pasta on two plate

Tips and Tricks

  • Use any pasta shape you’d like! I used bow-ties since they’re what I had, but shape truly makes no difference here. I can imagine this avocado pasta tastes just as delicious with spaghetti, penne, fusilli, elbows, etc.
  • Remember to reserve half a cup of pasta water! This pasta water will be added back into the pasta, after you’ve strained it, and added the avocado sauce in. The starches from the reserved water help your sauce latch onto the pasta.
  • Typically served hot, this pasta can also be served cold as an avocado pasta salad. For a cold pasta dish, cook up everything the same. Then, cover and leave to chill for about an hour before serving.

Adjust This Recipe To Your Dietary Needs

Make it Gluten-Free: This pasta is easily made gluten-free with the use of your favorite gluten-free pasta. Now my personal favorite gluten-free pasta is Jovial’s Brown Rice pasta, and is actually exactly what I used in the photos here!

Make it Paleo/Grain-Free: For a paleo pasta, simply use zucchini noodles or spaghetti squash in place of the pasta in this dinner recipe.

Avocado Pasta with Roasted Garlic and Tomatoes

0 from 0 votes
Recipe by Samantha Course: MainDifficulty: Easy
Servings

4

servings
Prep time

5

minutes
Cooking time

15

minutes
Total time

20

minutes

Vibrantly green and irresistibly creamy avocado pasta, finished off with roasted garlic and tomatoes! Whip up this quick, easy, and healthy dinner recipe in under 20 minutes. Perfect when you’re short on time and/or craving something comforting and delicious.

Ingredients

  • 1 pound pasta, uncooked

  • For the roasted garlic and tomatoes:
  • 1 pint grape tomatoes

  • 6-8 garlic cloves, sliced

  • 2 tablespoons olive oil

  • salt and black pepper, to taste

  • For the avocado sauce:
  • 2 ripe avocados, peeled and pits removed

  • 1/2 cup fresh basil, parsley, and/or cilantro

  • 1/4 cup olive oil

  • 2 garlic cloves

  • 1 lemon, juiced

  • 1/2 teaspoon salt

  • 1/4 teaspoon black pepper

Directions

  • Preheat oven to 400° Fahrenheit. Make the roasted garlic and tomatoes by placing tomatoes and sliced garlic on a baking sheet, then drizzling with olive oil and seasoning with salt and pepper. Roast for 15 minutes or until soft and very fragrant.
  • While garlic and tomatoes roast, cook pasta in a large pot of salted water until al dente and reserve ½ cup pasta water.
  • While pasta cooks, add all avocado sauce ingredients to a blender and blend until smooth.
  • Once pasta is cooked, strain then add back into pot along with avocado sauce and reserved pasta water. Toss pasta in sauce before adding in roasted garlic and tomatoes, serve immediately.

Did you make this recipe?

Share it and tag @samdoesherbest on Instagram!

Like this recipe?

Follow us @samdoesherbest on Pinterest

Irresistibly soft and flaky vegan biscuits! They’re chock-full of gorgeous layers and surprisingly easy to make in under 30 minutes. Top these flawless vegan biscuits off with a simple two-ingredient vegan maple butter for a perfectly sweet touch.

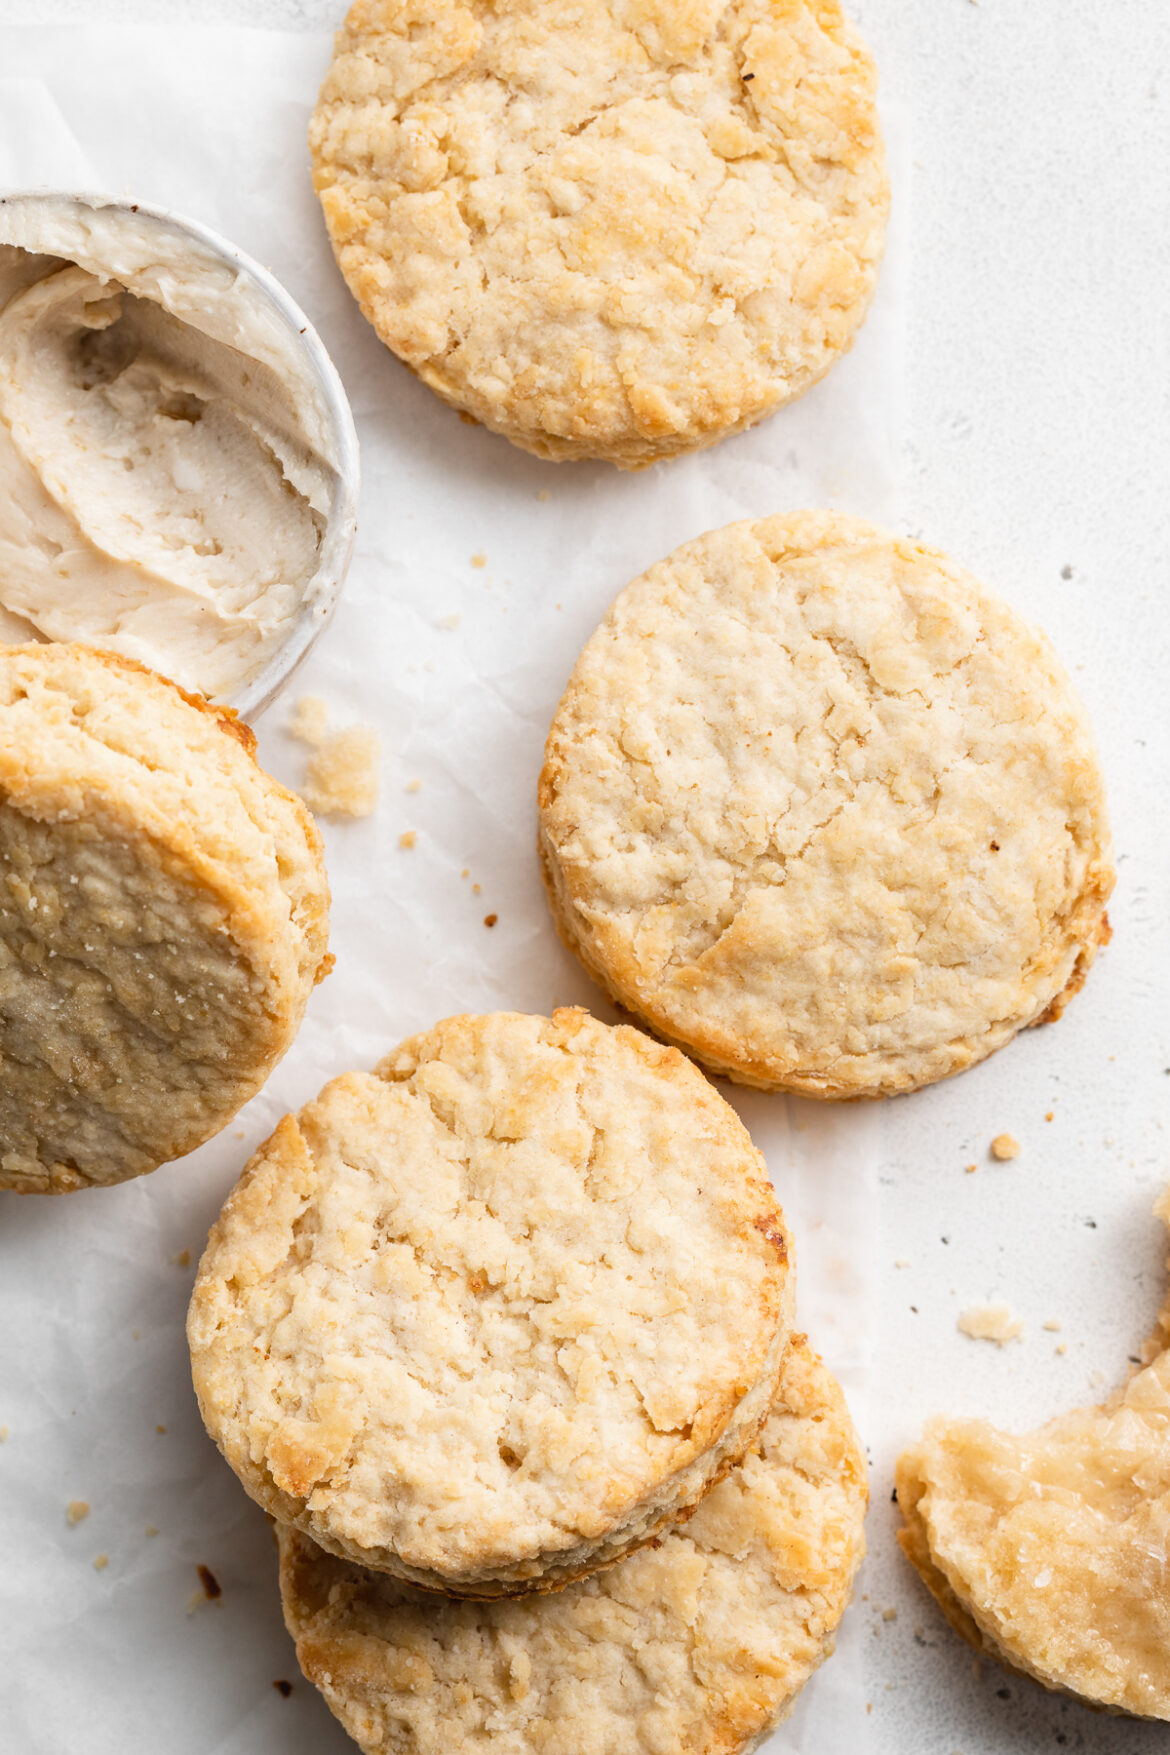
vegan biscuits on parchment paper with maple butter on the side

What You’ll Need To Make Vegan Biscuits

Non-Dairy Milk – Any non-dairy milk will work in this plant-based bread recipe! I used almond milk, but you can definitely use soy, hemp, cashew, or even coconut milk if you’d like.

Apple Cider Vinegar – Ever notice that tiny bit of tanginess found in most biscuits? Well, that’s the buttermilk speaking. And since we obviously can’t use regular ole’ buttermilk in these vegan biscuits, we make our own vegan version instead. By mixing apple cider vinegar into cold non-dairy milk, then leaving it to sit for a few minutes, we make vegan buttermilk – yup, it’s that easy!

All Purpose Flour – We wouldn’t have biscuits without flour. Specifically, all purpose flour, which bakes up the best biscuits. I’ve pretty much grown up on the King Arthur Organic Unbleached All Purpose Flour. It’s been a staple in my kitchen for years and has seriously never ever failed me. However, you can definitely replace the all purpose flour for gluten-free 1:1 baking flour if you’d like.

Vegan Butter – I use and love the Earth Balance Vegan Buttery Sticks for all my vegan baking needs. Unlike most baking recipes which call for softened butter, we actually want super cold butter for these biscuits. Therefore, leave your vegan butter in the fridge until the second you need to use it. You can even pop it in the freezer for a couple minutes to get it extra cold!

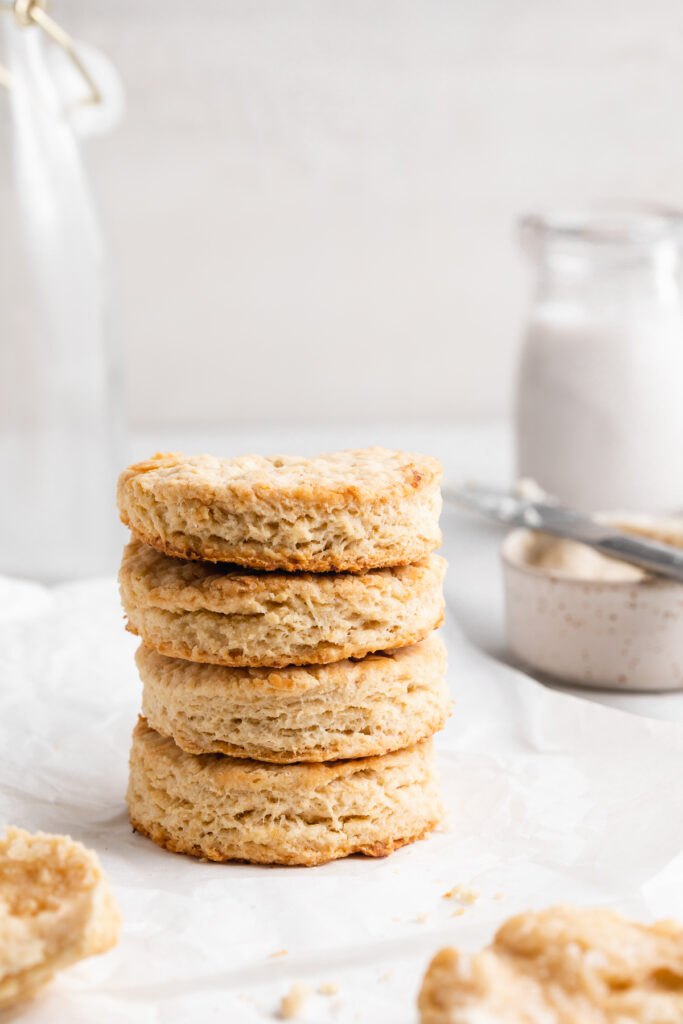
a stack of vegan biscuits on a table

Tips and Tricks

  • Don’t overmix the dough! An overmixed dough will bake up tough and chewy, instead of soft and flaky. So once all ingredients are incorporated, stop mixing and move on to shaping.
  • No biscuit cutter? No problem! I used a metal cocktail shaker in place of a biscuit cutter for this bakery-style recipe. Really any round object will work to cut biscuits.
  • If not a maple butter fan, top these vegan biscuits with any spread you’d like. Some homemade jam, vegan butter, and/or vegan cream cheese would all taste just as delicious!
vegan biscuits with maple butter on top and a butter knife

Adjust This Recipe To Your Dietary Needs

Make it Gluten-Free: For gluten-free vegan biscuits, replace the all purpose flour with 1:1 gluten-free baking flour. I swear by the Bob’s Red Mill Gluten-Free Baking Flour for all my gluten-free baking needs!

Make it Nut-Free: To ensure these biscuits are completely nut-free, use a nut-free non-dairy milk such as soy or oat milk, and a non-dairy butter without any nuts in it.

Flawless Vegan Biscuits with Maple Butter

0 from 0 votes
Recipe by Samantha Course: SidesDifficulty: Intermediate
Servings

10

biscuits
Prep time

10

minutes
Cooking time

15

minutes
Total time

25

minutes

Irresistibly soft and flaky vegan biscuits! They’re chock-full of gorgeous layers and surprisingly easy to make in under 30 minutes. Top these flawless vegan biscuits off with a simple two-ingredient vegan maple butter for a perfectly sweet touch.

Ingredients

  • 1/2 cup non-dairy milk

  • 1 tablespoon apple cider vinegar

  • 2 cups all purpose flour

  • 1 tablespoon baking powder

  • 1 tablespoon sugar

  • 1 teaspoon salt

  • 1/2 cup vegan butter, very cold

  • For the maple butter:
  • 1/4 cup vegan butter, softened

  • 1 tablespoon maple syrup

Directions

  • Preheat oven to 425° Fahrenheit.
  • Whisk together the non-dairy milk and apple cider vinegar in a small bowl, set aside.
  • In a large bowl, mix together the all purpose flour, baking powder, sugar, and salt.
  • Add butter into flour mixture and use either a pastry cutter or fork to “cut” butter into flour until crumbly. (The mixture should resemble coarse sand)
  • Make a well in the center of the flour and slowly pour in the milk and vinegar. Gently stir until a sticky dough forms.
  • Transfer biscuit dough to a floured surface and roll into a 1-inch thick disc. Use a biscuit cutter or something similar to cut biscuits out of dough.
  • Place biscuits on a baking sheet then bake for 12-15 minutes or until slightly golden.
  • White the biscuits bake, make the maple butter by whisking both ingredients together in a small bowl until combined. Spread maple butter over warm vegan biscuits.

Recipe Video

Did you make this recipe?

Share it and tag @samdoesherbest on Instagram!

Like this recipe?

Follow us @samdoesherbest on Pinterest

Deliciously bright and zesty citrus salad with avocado and pistachios! Put this season’s best produce to good use in a fresh and healthy salad. Quick and easy to make in just three steps, and under 10 minutes!

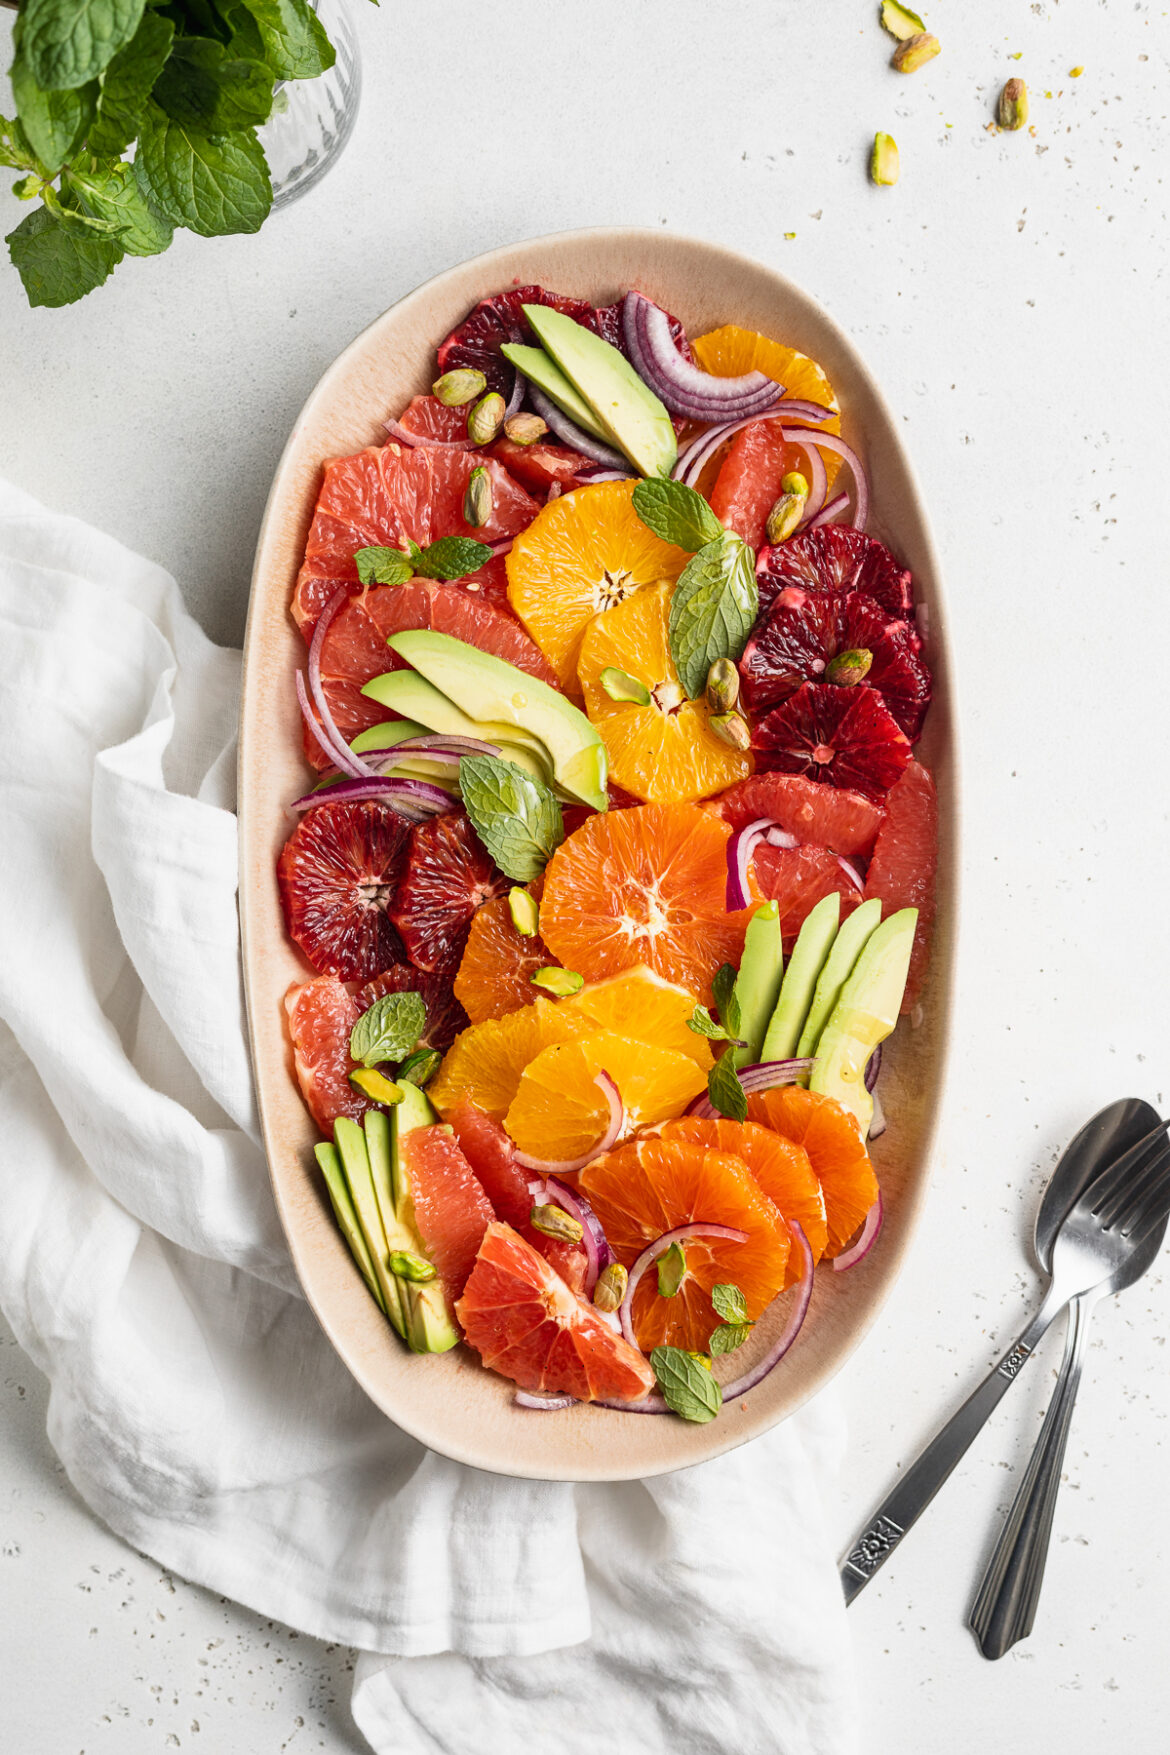
overhead image of citrus salad on a platter with fresh mint on the side

What You’ll Need To Make Citrus Salad

Blood Oranges – While they most certainly add flavor, they just as importantly add a stunning deep red color to this side dish. Less tangy and more tart than most other oranges, blood oranges diversify the overall recipe. However, if you can’t find blood oranges or they’re simply not your thing, feel free to replace them with any other type of orange you’d like.

Cara Cara or Navel Oranges – I know many people rave about cara cara oranges this time of year, and for obvious reasons – they’re freaking delicious! Though for this citrus salad recipe I used navel oranges, due to the simple fact that they were on sale. And let me tell ya, there wasn’t a thing I’d change about how this plant-based dish turned out.

Avocado – Peak avocado season is January through March, which coincidentally is also peak citrus season. So I figured, since we’re on a seasonal produce kick over here, why not use as much winter produce in this salad as possible?! And that’s exactly what I did. While not necessary, avocado does add in some healthy fats and mild flavor.

Pistachios – Every salad needs a good crunch, and this citrus salad is no exception! Unsalted pistachios play perfectly with the other textures in this dish.

Sherry Vinegar – Either sherry vinegar, apple cider vinegar, or lemon juice would taste delicious in this citrus salad dressing. Feel free to use whichever you have on-hand and/or like the most!

dressing being poured over citrus salad

Tips and Tricks

  • Avoid serving this citrus salad right away, and instead leave it to sit for at least 10 minutes before eating. This time will allow the flavors to develop and marinate, making for an even more delicious salad!
  • If not gluten-free, serve this citrus salad with a side of toasted crusty bread! Bread is the perfect pairing to this fresh and bright recipe, and ideal for soaking up that orange and grapefruit juice.
  • You can either peel then segment your citrus fruit, or peel then slice it for this dish. For instructions on how to segment and slice oranges, check out this video I posted!
close-up image of citrus salad with avocado and pistachios

Adjust This Recipe To Your Dietary Needs

Make it Nut-Free: Replace the pistachios with either unsalted sunflower seeds or pumpkin seeds for a nice, nut-free crunch!

Make it Vegan: This recipe is already almost completely vegan! The only thing that’s not is the honey in the dressing, so to make it 100% vegan, simply replace the honey with maple syrup.

Citrus Salad with Avocado and Pistachios

0 from 0 votes
Recipe by Samantha Course: Sides, Appetizers, Salads
Servings

6

servings
Prep time

10

minutes
Total time

10

minutes

Deliciously bright and zesty citrus salad with avocado and pistachios! Put this season’s best produce to good use in a fresh and healthy salad. Quick and easy to make in just three steps, and under 10 minutes!

Ingredients

  • 2 blood oranges, peeled and sliced

  • 2 cara cara or navel oranges, peeled and sliced

  • 1 pink grapefruit, peeled and sliced

  • 1 avocado, sliced

  • 1/2 small red onion, thinly sliced

  • 1/4 cup pistachios, unsalted

  • For the citrus salad dressing:
  • 3 tablespoons olive oil

  • 1 tablespoon sherry vinegar, see Notes

  • 1 teaspoon honey, or maple syrup

  • squeeze of fresh lime juice

  • salt and black pepper, to taste

  • For serving:
  • fresh mint leaves

Directions

  • Assemble all salad ingredients on a large platter.
  • Whisk together all dressing ingredients in a small bowl.
  • Drizzle dressing over salad, garnish with fresh mint leaves and serve immediately or let sit for 10-20 minutes to let flavors marinate.

Notes

  • Sherry Vinegar: You can use apple cider vinegar or lemon juice in place of sherry vinegar.

Did you make this recipe?

Share it and tag @samdoesherbest on Instagram!

Like this recipe?

Follow us @samdoesherbest on Pinterest

Perfectly crispy, yet healthy sweet potato fries! Four ingredients and 15 minutes is all it takes for this addictive appetizer or side dish. Don’t have an air fryer? No worries, I’ve included an oven-baked option that still yields incredibly crispy fries!

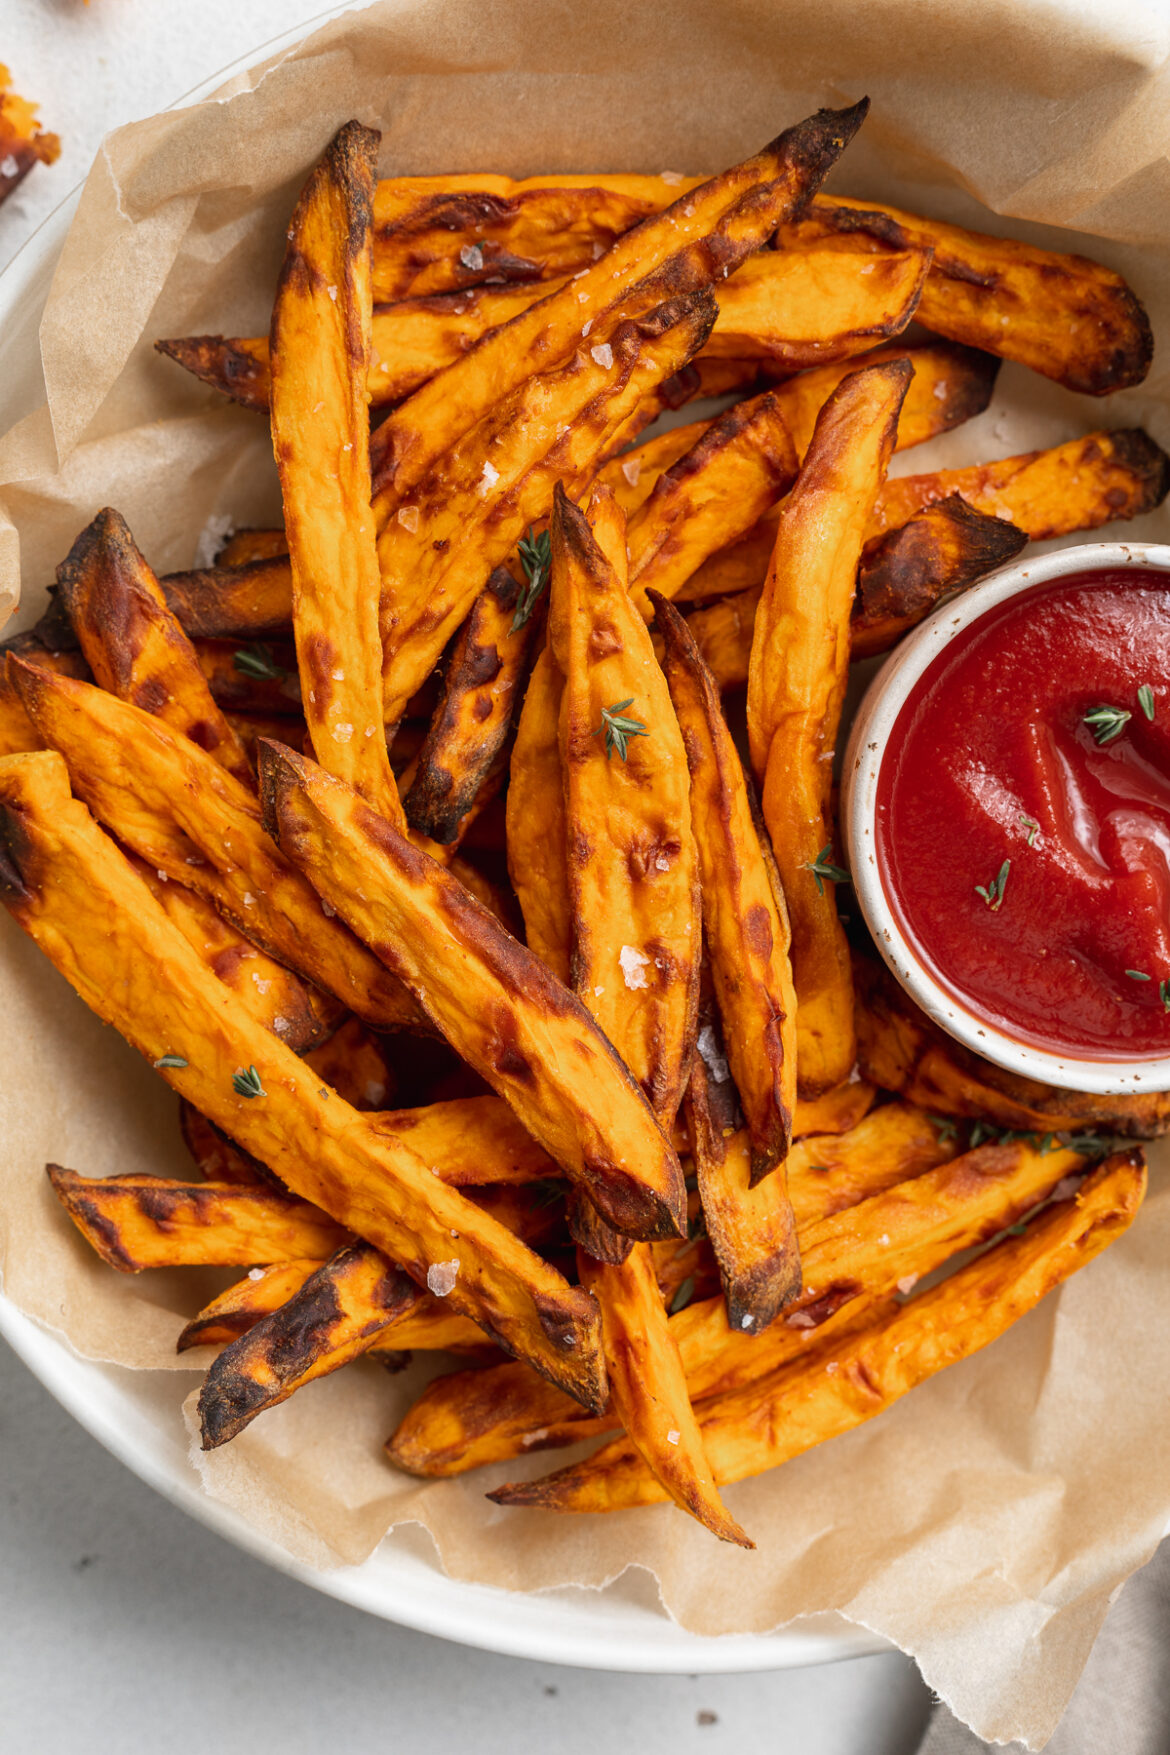
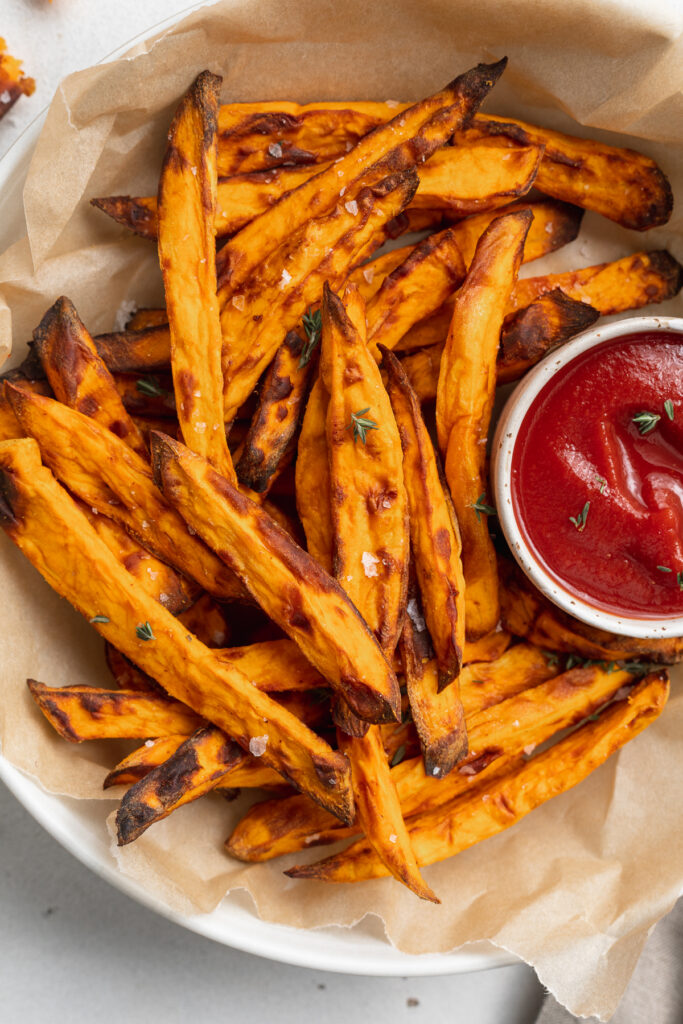
close-up overhead image of air fryer sweet potato fries on a plate with ketchup on the side

The air fryer is truly the kitchen device of the century (ok, well it’s right up there with the Instant Pot). I only just got my hands on about a year ago, and holy moly it changed the homemade fry game for me, forever. After quite a bit of research for the best air fryer out there, I eventually landed on the Cosori Pro Air Fryer. It’s fairly priced and works like a champ, can’t recommend it enough!

What You Need To Make Air Fryer Sweet Potato Fries

Sweet Potatoes – The star of our show! You can use any variety of sweet potatoes you’d like for this recipe. Just remember, peel them and then slice them into thin matchsticks. Thinner = crispier. And try your best to cut them as evenly as possible, so that they “fry” evenly.

Avocado Oil – My oil of choice, but you can use any oil you’d like here. Just one tablespoon is all you’ll need, that’s A LOT less oil than if you deep-fried these!

Salt – Duh! Salt is non-negotiable for fries of any kind. Though start small and add more salt once the fries are done. You can, of course, salt to your preference.

Garlic Powder – This is my little special touch. I love the extra flavor garlic powder gives these fries, and I promise you will too. Though if you’re not a garlic fan (how?!), then you can leave this ingredient out.

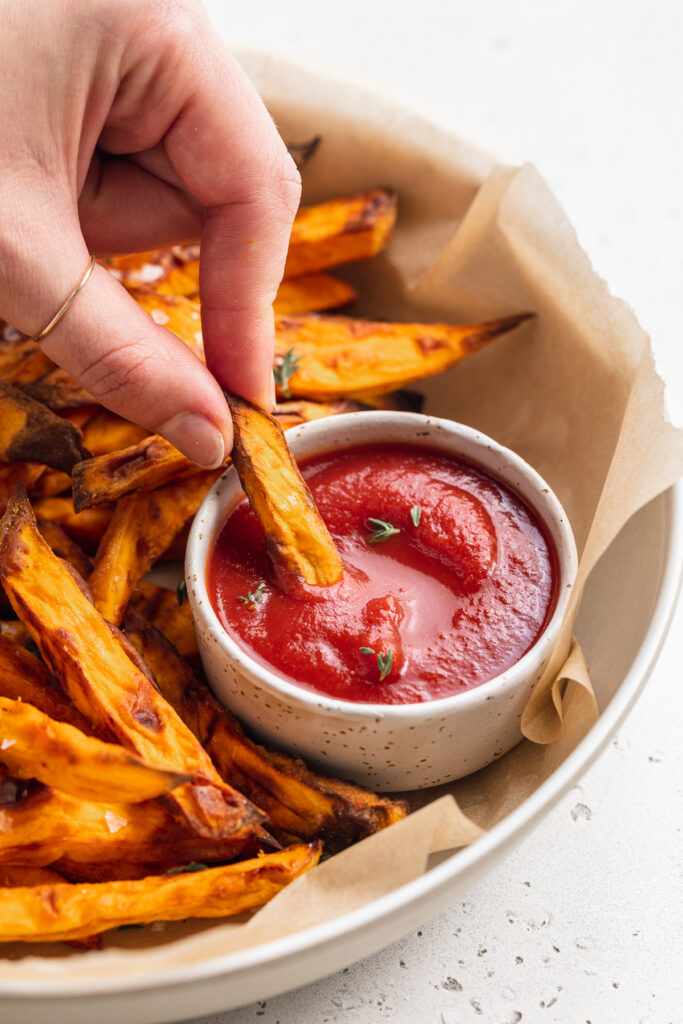
air fryer sweet potato fries being dipped into ketchup

Tips and Tricks

  • The secret to these crispy sweet potato fries is working in batches when you air fry them. Just a single layer at a time, avoiding cramming too many into the air fryer, will give you the crispiest non-deep-fried sweet potato fry of all time.
  • No air fryer? No problem! See below for an oven baked option.
  • If you’re looking for something to pair with these sweet potato fries, I can’t help but recommend these crispy air fryer buffalo chicken wings! The perfect healthy game-day, or any day, appetizer duo.

Air Fryer Sweet Potato Fries

0 from 0 votes
Recipe by Samantha Russo Course: SidesDifficulty: Easy
Servings

4

servings
Prep time

5

minutes
Cooking time

15

minutes
Total time

20

minutes

Perfectly crispy, yet healthy sweet potato fries! Four ingredients and 15 minutes is all it takes for this addictive appetizer or side dish. Don’t have an air fryer? No worries, I’ve included an oven-baked option that still yields incredibly crispy fries!

Ingredients

  • 2 large sweet potatoes, see Notes

  • 1 tablespoon avocado oil

  • 1 teaspoon salt

  • 1/2 teaspoon garlic powder

Directions

  • In the air fryer:
  • Preheat air fryer to 380° Fahrenheit. While the air fryer preheats, peel and slice sweet potatoes into 1/4-inch sticks.
  • Toss sweet potatoes in a bowl with olive oil, salt and garlic powder. Make sure each fry is evenly coated in oil and spices.
  • Transfer a third of the potatoes to the air fryer, then spread in an even layer and cook for 15 minutes. Pause air fryer to shake pan halfway through.
  • Remove fries and repeat for remaining batches.
  • In the oven:
  • Preheat oven to 425° Fahrenheit. While the air fryer preheats, peel and slice sweet potatoes into 1/4-inch sticks.
  • Toss sweet potatoes in a bowl with olive oil, salt and garlic powder. Make sure each fry is evenly coated in oil and spices.
  • Spread potatoes in an even layer on a large baking sheet – space fries about 1/8-inch apart.
  • Bake for 20 minutes, flipping halfway through.

Recipe Video

Notes

  • Sweet Potatoes: Use any variety of sweet potatoes you’d like, white sweet potatoes are my favorite!

Did you make this recipe?

Share it and tag @samdoesherbest on Instagram!

Like this recipe?

Follow us @samdoesherbest on Pinterest

Wholesome and comforting vegan enchiladas! Stuffed with mushrooms, black beans, an easy homemade enchilada sauce, and finished off with creamy vegan queso. It doesn’t get any cozier or more delicious than these “cheesy” vegan enchiladas!

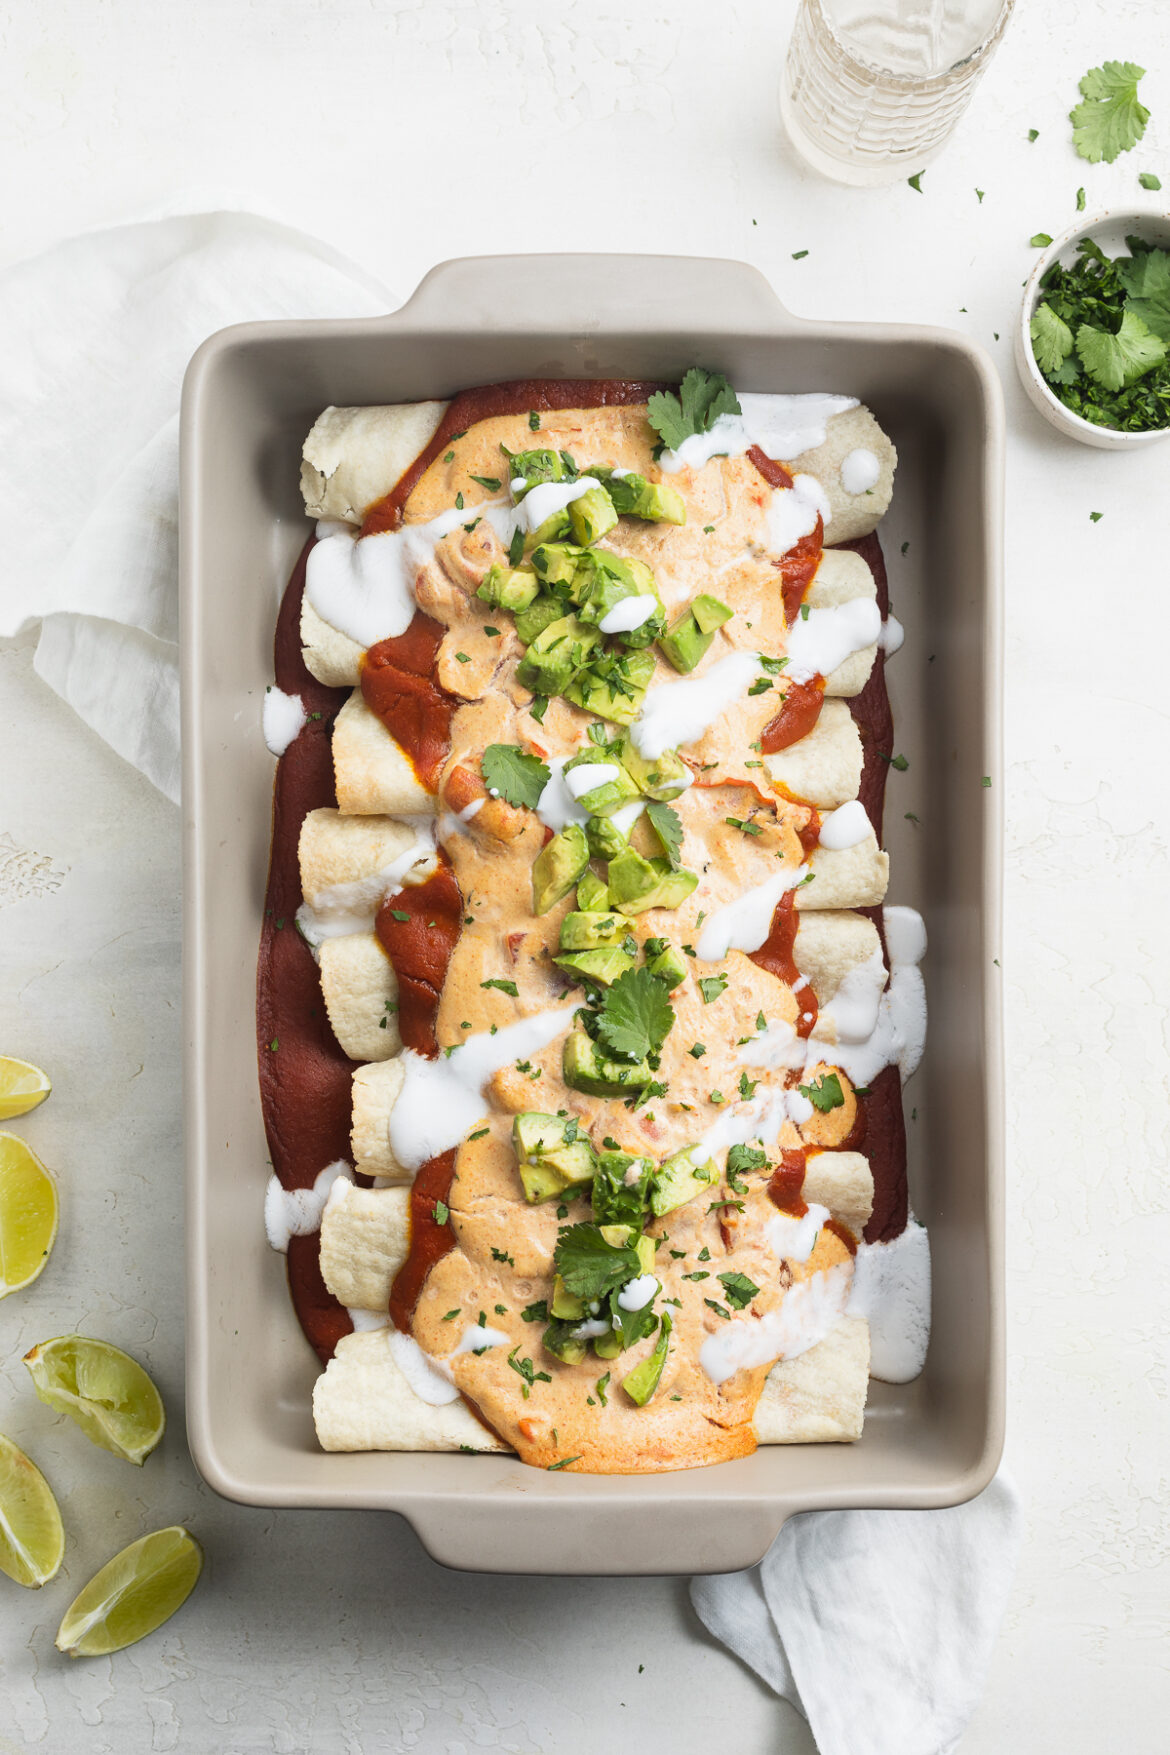
close-up image of vegan enchiladas in a baking dish

What You’ll Need To Make Vegan Enchiladas

Tomato Paste – The key to a rich and creamy enchilada sauce is tomato paste. The concentrated flavor in tomato paste gives our sauce an extra tangy and intense taste.

Vegetable Broth – Most homemade enchilada sauces are made with chicken broth, but to keep ours plant-based, we use vegetable broth instead. Vegetable broth contributes an additional hint of flavor to this already super flavorful recipe. If you don’t have vegetable broth, you can use two cups of water in its place.

Mushrooms – Finely chopped mushrooms provide our vegan enchiladas with a “meaty” texture! I personally love mushrooms, and add them to many of my vegan recipes. They’re a healthy, delicious, and versatile source of plant-based protein. However, if you don’t enjoy mushrooms, you can use 1/2 cup of cooked lentils instead.

Black Beans – Our other source of protein is a can of drained and rinsed black beans! They, similar to mushrooms, give this meatless dinner recipe a heartier texture.

Tortillas – Feel free to use any tortillas you’d like! Corn tortillas or flour tortillas are the standard, but grain-free tortillas taste delicious as well. Though regardless of the type of tortillas you use, make sure they’re no larger than 8-inches. This way, once rolled they’ll fit perfectly in a 9×13-inch baking dish.

Vegan Cashew Queso – The secret ingredient to our “cheesy” vegan enchiladas is half a cup of my vegan cashew queso! It’s super quick and easy to take, coming together in under 10 minutes. While highly recommended, you can make this recipe without the vegan queso if you’d prefer.

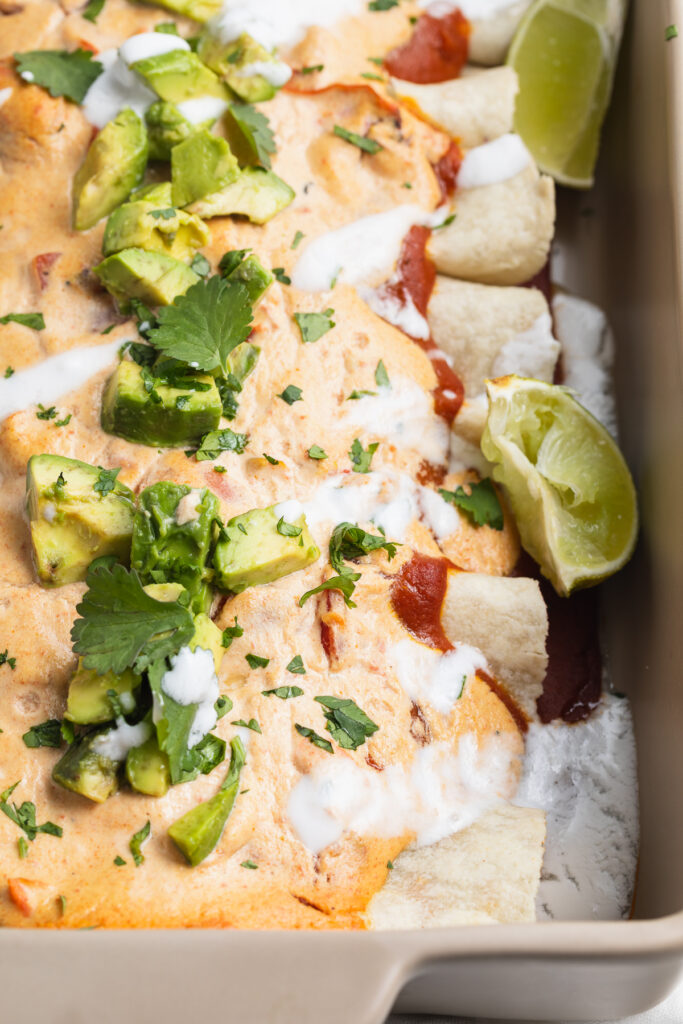
overhead image of vegan enchiladas in a baking dish with cilantro and limes on the side

Adjust This Recipe To Your Dietary Needs

Make it Gluten-Free: For gluten-free enchiladas, use corn tortillas instead of flour tortillas. Also, be sure the corn starch you’re using in the enchilada sauce is also gluten-free.

Make it Paleo: These vegan enchiladas are very easily made paleo as well! To do this, replace the corn starch with arrowroot starch and black beans with diced, then roasted sweet potatoes. Also, use your favorite paleo tortillas, such as Siete Almond Flour Tortillas for rolling your enchiladas.

Add Cheese: If not vegan or dairy-free, finish this dinner recipe off with a sprinkling of your favorite shredded cheese right before baking!

“Cheesy” Vegan Enchiladas

0 from 0 votes
Recipe by Samantha Course: MainDifficulty: Intermediate
Servings

6

servings
Prep time

10

minutes
Cooking time

30

minutes
Total time

40

minutes

Wholesome and comforting vegan enchiladas! Stuffed with mushrooms, black beans, an easy homemade enchilada sauce, and finished off with creamy vegan queso. It doesn’t get any cozier or more delicious than these “cheesy” vegan enchiladas!

Ingredients

  • For the enchilada sauce:
  • 3 tablespoons olive oil

  • 2 tablespoons corn starch

  • 1 tablespoon chili powder

  • 1 teaspoon cumin

  • 1 teaspoon salt

  • 1/2 teaspoon onion powder

  • 1/2 teaspoon garlic powder

  • 1 teaspoon apple cider vinegar

  • 6 ounces tomato paste

  • 2 cups vegetable broth

  • For the filling:
  • 1 tablespoon olive oil

  • 4 ounces (1/2 cup) mushrooms, finely chopped

  • 1 bell pepper, finely chopped

  • 1/2 yellow onion, finely chopped

  • 1 (15-ounce) can black beans, drained and rinsed

  • 1 teaspoon garlic powder

  • 1 teaspoon cumin

  • 1 teaspoon paprika

  • 1/2 teaspoon salt

  • For the enchiladas:
  • 8 8-inch tortillas

  • 1/2 cup vegan cashew queso, optional

Directions

  • Preheat oven to 350° Fahrenheit.
  • Make the enchilada sauce by whisking together olive oil and corn starch in a large skillet over medium heat, until starch has fully dissolved.
  • Add in the chili powder, cumin, salt, onion powder, and garlic powder, cook for 2 minutes.
  • Pour in apple cider vinegar, tomato paste, and vegetable broth, then reduce heat to low and simmer for 5 minutes or until sauce has thickened.
  • Prepare the filling by heating olive oil in a separate large skillet over medium heat. Add in mushrooms, bell pepper, and yellow onion, cook for 3-5 minutes or until veggies are tender.
  • Add in black beans, garlic powder, cumin, paprika, salt, and ½ cup of enchilada sauce you made earlier. Stir and cook for 2 minutes, then remove from heat.
  • Roll enchiladas by placing ¼ cup of filling mixture in the center of each tortilla, ten rolling tortilla around filling to seal. Repeat this process until all 8 tortillas are stuffed and rolled.
  • Spoon half homemade enchilada sauce into the bottom of a large baking dish. Then, place all 8 enchiladas on top of sauce with the seam side facing down.
  • Top with remaining enchilada sauce, then vegan cashew cheese if using. Bake for 20-25 minutes or until bubbly.

Did you make this recipe?

Share it and tag @samdoesherbest on Instagram!

Like this recipe?

Follow us @samdoesherbest on Pinterest