")
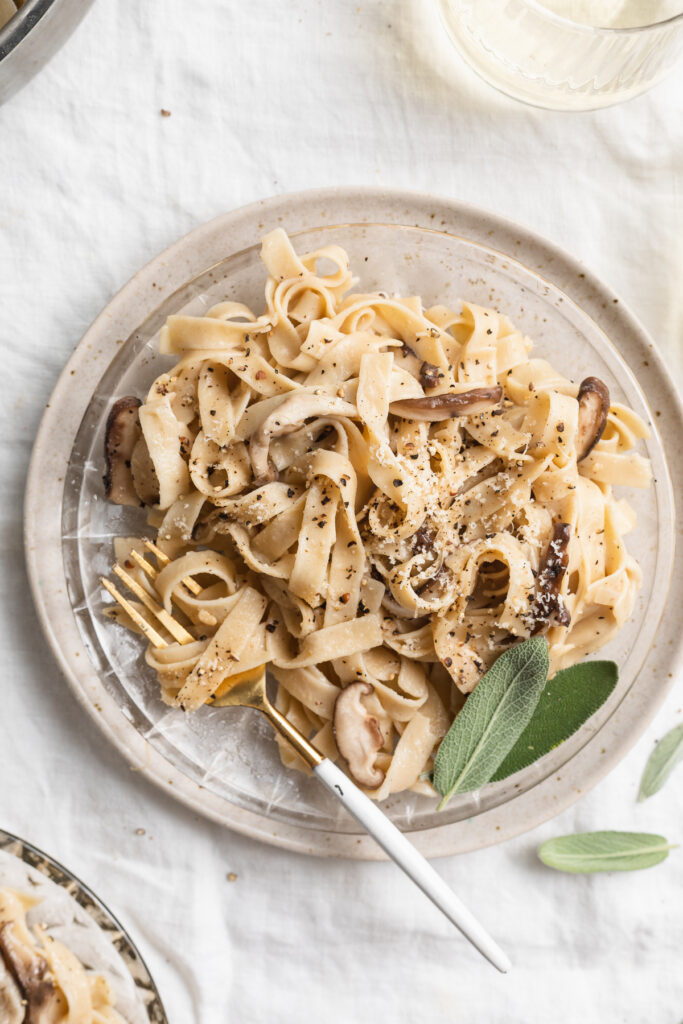
The easiest mushroom pasta – requiring only 7 ingredients and ready in under 20 minutes! Perfectly creamy and comforting, yet entirely vegan and gluten-free. Defying all odds with this easy, next-level-DELICIOUS mushroom pasta recipe!

What You’ll Need To Make Creamy Mushroom Pasta
Pasta – All pasta shapes and sizes are welcome here. I used my all-time favorite Jovial Brown Rice Gluten-Free Tagliatelle, but really any pasta will work. Spaghetti, penne, bow-ties, etc – anything and everything will taste delicious! And for a grain-free option, you can swap the pasta for zucchini noodles.
Butter – I used Myoko’s Cultured Vegan Butter in my mushroom pasta, but you can use any type of butter you’d like. Though if you’re like me and looking to keep this dinner recipe vegan or dairy-free, I highly recommend the Myoko’s butter. It’s made from simple, good-for-you ingredients, and tastes just like the real thing!
Mushrooms – I’m starting to feel like a broken record here, but again, any and all mushrooms will taste great in this dish! I picked up a mushroom variety pack from my local grocery store to keep things exciting.
Garlic – All my fellow garlic fiends, go ahead and add a few extra cloves! I love how well the garlic shines through in this super simple meal. It adds this savory, salty bite that’s seriously so good.
Shallot – Either a shallot or half of a small yellow onion will work. Whichever option you take, be sure to finely chop it before cooking. If left too large, it could get in the way of the carefully curated textures in this dish.

Tips and Tricks
- Don’t forget to reserve pasta water! Pasta water has the perfect amount of starch in it, which will help to thicken the sauce. If forgotten, you can use either regular water or vegetable broth in its place, but risk a thin sauce that won’t lock in as much flavor.
- Get started on the mushrooms as soon as the pasta starts cooking. The pasta will take anywhere from 7 to 12 minutes to cook, which is exactly the amount of time you’ll need to make the sauce. Therefore, time everything perfectly by having both components going at the same time!
- This mushroom pasta is best served immediately after cooking! However, if you ever need to reheat pasta, add a little bit of broth or water to freshen it up. I recommend reheating this mushroom pasta over the stove with 1/4-1/2 cup of vegetable broth, stirring frequently until warm throughout!
Adjust This Recipe To Your Dietary Needs
Make it Vegan: Take my vegan option and use vegan butter instead of regular butter.
Make it Gluten-Free: For gluten-free mushroom pasta, simply use your favorite gluten-free pasta.
Paleo/Grain-Free Option: Make this a paleo pasta recipe by substituting the regular pasta with zucchini noodles, and the butter for olive oil, avocado oil, or ghee!


