My family and I are creatures of habit. When we find a meal we love, we stick to it. Our current favorites are my one-pan hunan chicken recipe and Instant Pot white chicken chili with gluten-free cornbread. We seriously eat those at least once a week!
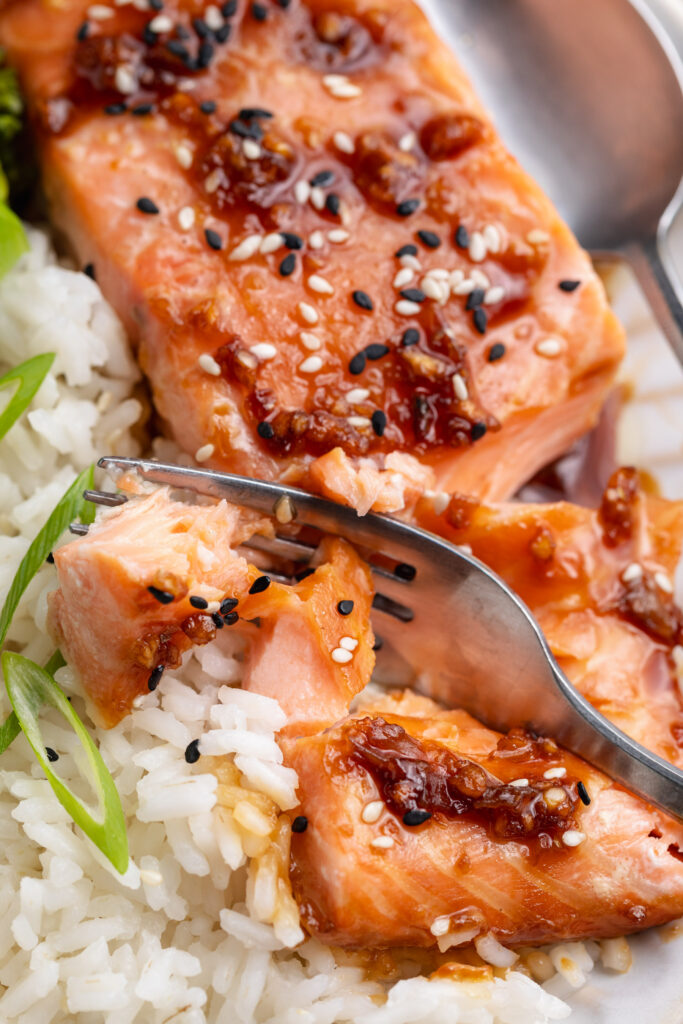
However, as soon as this honey teriyaki salmon recipe came along, I instantly added it to our weekly rotation. My husband went crazy for this perfectly flaky and incredibly flavorful salmon! Served with rice and steamed veggies for a healthy, balanced, and satisfying meal.

What You’ll Need to Make Honey Teriyaki Salmon
Salmon: The star of our show – salmon brings a rich, flaky texture and a dose of omega-3 fatty acids to the dish. Opt for fresh, quality fillets for the best results.
Honey: A natural sweet touch – honey brings a luscious sweetness to the teriyaki sauce, balancing the savory elements.
Tamari or Soy Sauce: Tamari adds a gluten-free option for our sauce, while soy sauce brings that classic umami flavor. Choose based on your dietary preferences.
Fresh Ginger: Opt for fresh, not powdered ginger in this recipe! I like to buy my fresh ginger in bulk, then store it in the freezer until I need some. Then, I cut off a hunk of fresh ginger, peel off the skin, and grate it into the honey teriyaki sauce.

Tips and Tricks
- Allow the salmon to marinate for at least 1 hour for optimal flavor infusion. For an extra boost, marinate it up to 8 hours for an even more succulent result.
- While baking, spoon the sauce from the bottom of the dish over the salmon. This basting ensures that the fillets are coated in the delectable teriyaki goodness.
- Use a meat thermometer to check the salmon’s internal temperature. Aim for 125°F for a perfectly cooked, moist fillet.
Adjust This Recipe to Your Dietary Needs
Make it Gluten-Free: Opt for tamari instead of soy sauce to make this dish gluten-free while maintaining that savory teriyaki taste.
Make it Grain-Free: Serve the honey teriyaki salmon over cauliflower rice for a grain-free option, keeping it light and satisfying.

5-Ingredient Baked Honey Teriyaki Salmon Recipe
Ingredients
- 4 6-8 ounce salmon fillets
- salt, to taste
- 1/4 cup tamari
- 3 tablespoons honey
- 2 garlic cloves, grated
- 1-inch piece fresh ginger, peeled and grated
For serving:
- 2 cups cooked rice
- 1 crown broccoli, steamed
- sliced green onion
- sesame seeds
Instructions
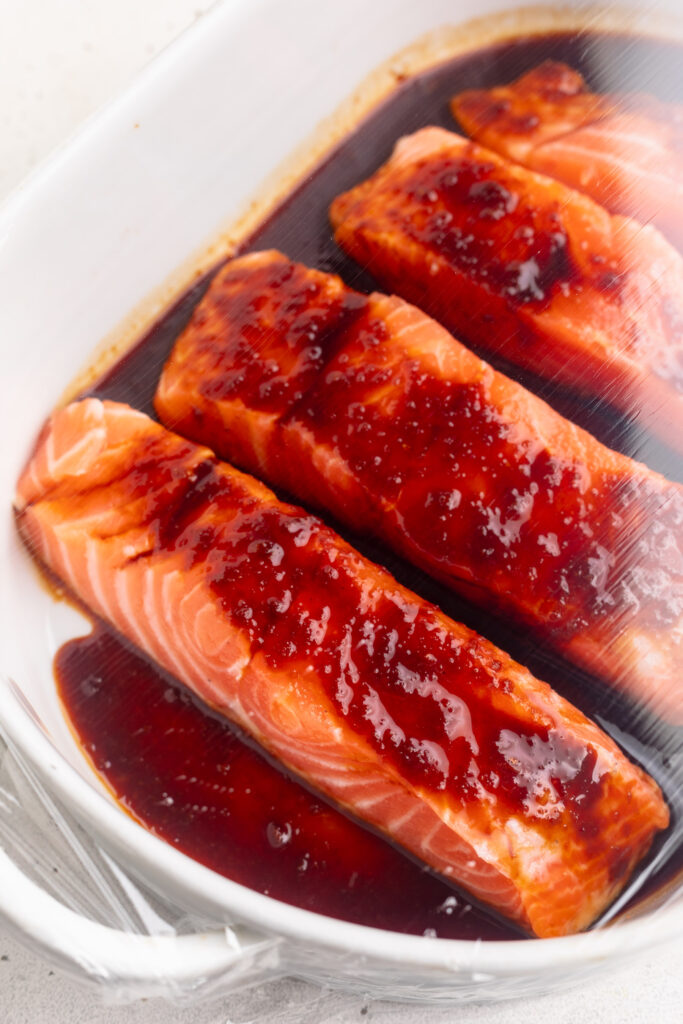
- Place the salmon skin side down in a large baking dish. Pat salmon fillets dry with a paper towel and lightly season with salt.

- In a small bowl, whisk together the tamari or soy sauce, honey, garlic, and ginger.
- Pour the sauce over the salmon fillets, then cover the baking dish and refrigerate for at least 1 hour or up to 8 hours.
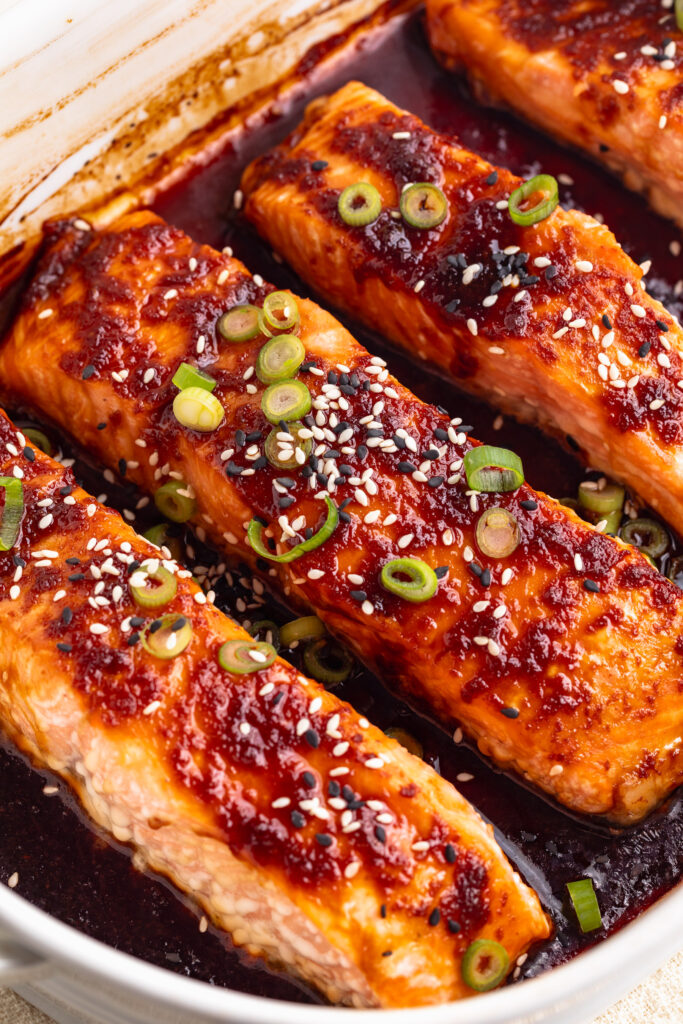
- Preheat oven to 400° Fahrenheit and remove then uncover baking dish with salmon from the fridge.
- Spoon the sauce from the bottom of the baking dish over the salmon, then bake for 10-12 minutes or until a thermometer inserted into the thickest part of the salmon reads 125° Fahrenheit.
- Assemble four bowls with rice and steamed broccoli, then place one salmon fillet into each bowl. Pour they honey teriyaki sauce over top of each fillet, then finish off the bowls with sliced green onion and sesame seeds.


")