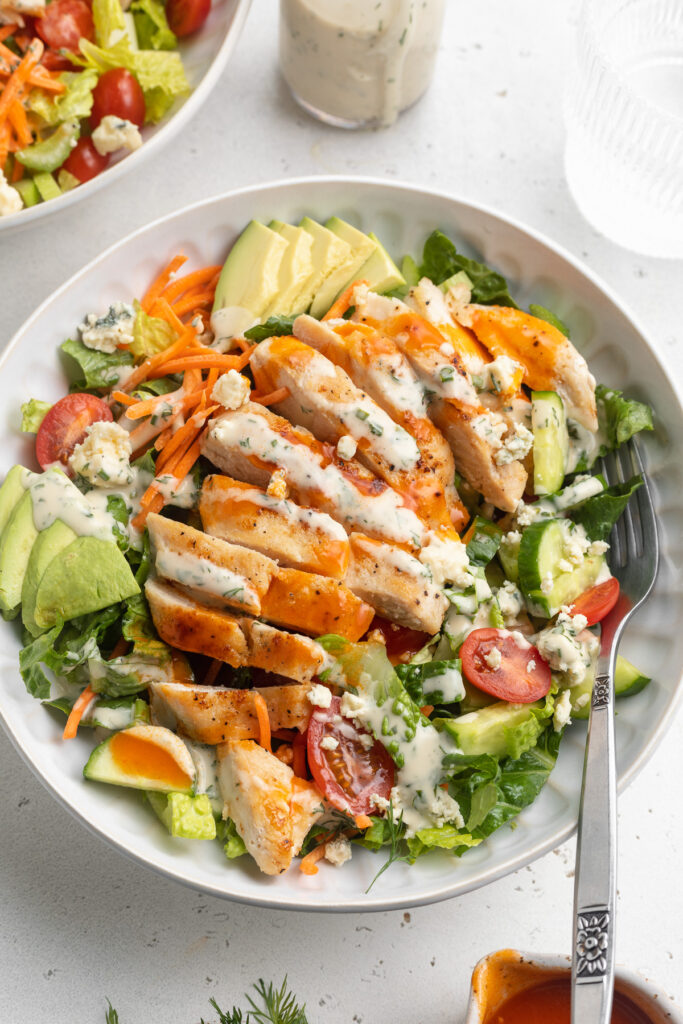
I found myself in a salad rut recently. While I LOVE my buffalo chicken salad, it was getting kinda old. So I switched things up this week and added this La Scala chopped salad into the rotation, along with another reader fave, the Jennifer Aniston salad. I simply assemble the salad, portion it into four containers, then store the dressing separately – and it’s been awesome having a quick and easy lunch ready to go every day of the week!
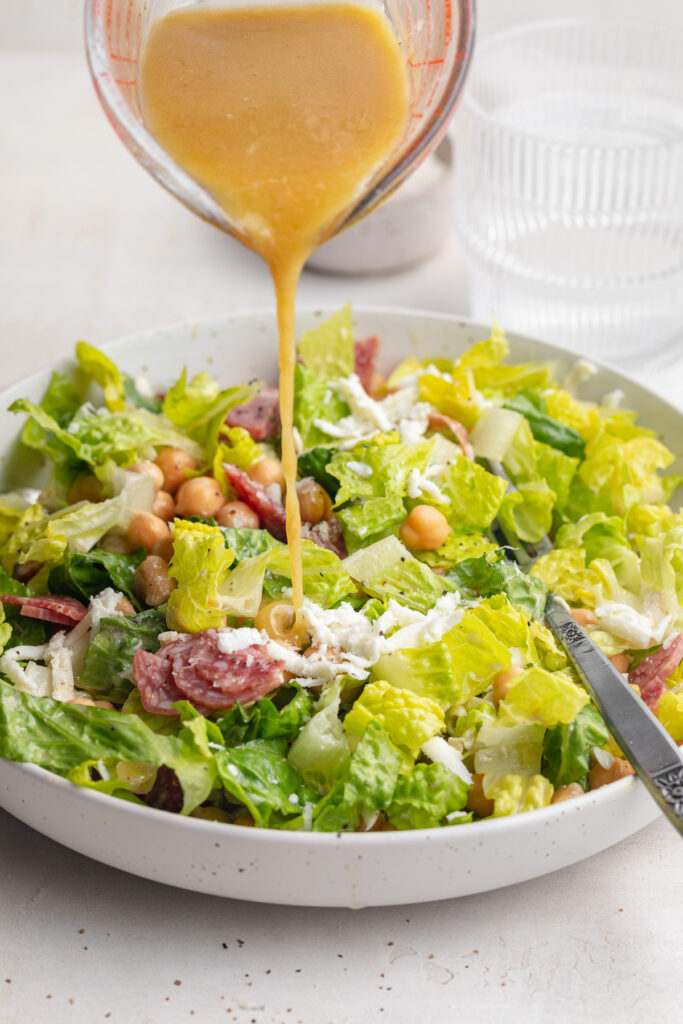
If it’s good enough for a Kardashian, then it’s good enough for me! That’s my motto when it comes to this salad. While I haven’t personally been able to try the original La Scala chopped salad, I scoured the internet for the exact ingredients and recipe to bring you this incredibly delicious replica. It’s fresh, crunchy, full of flavor, and super easy to make. I just know you’re going to love it!

What You’ll Need to Make the La Scala Chopped Salad
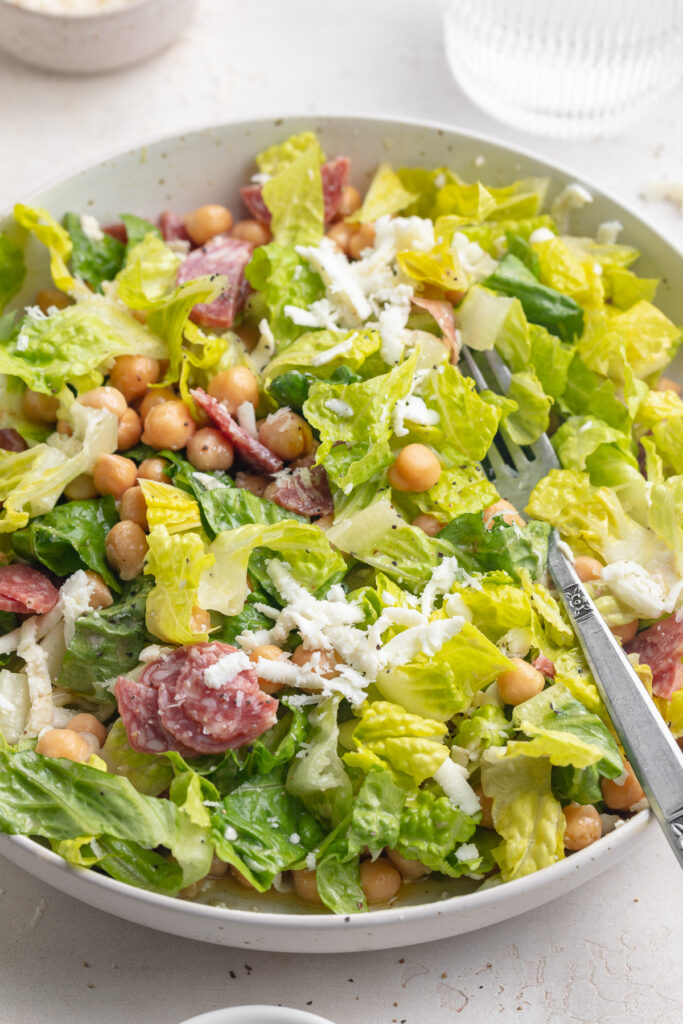
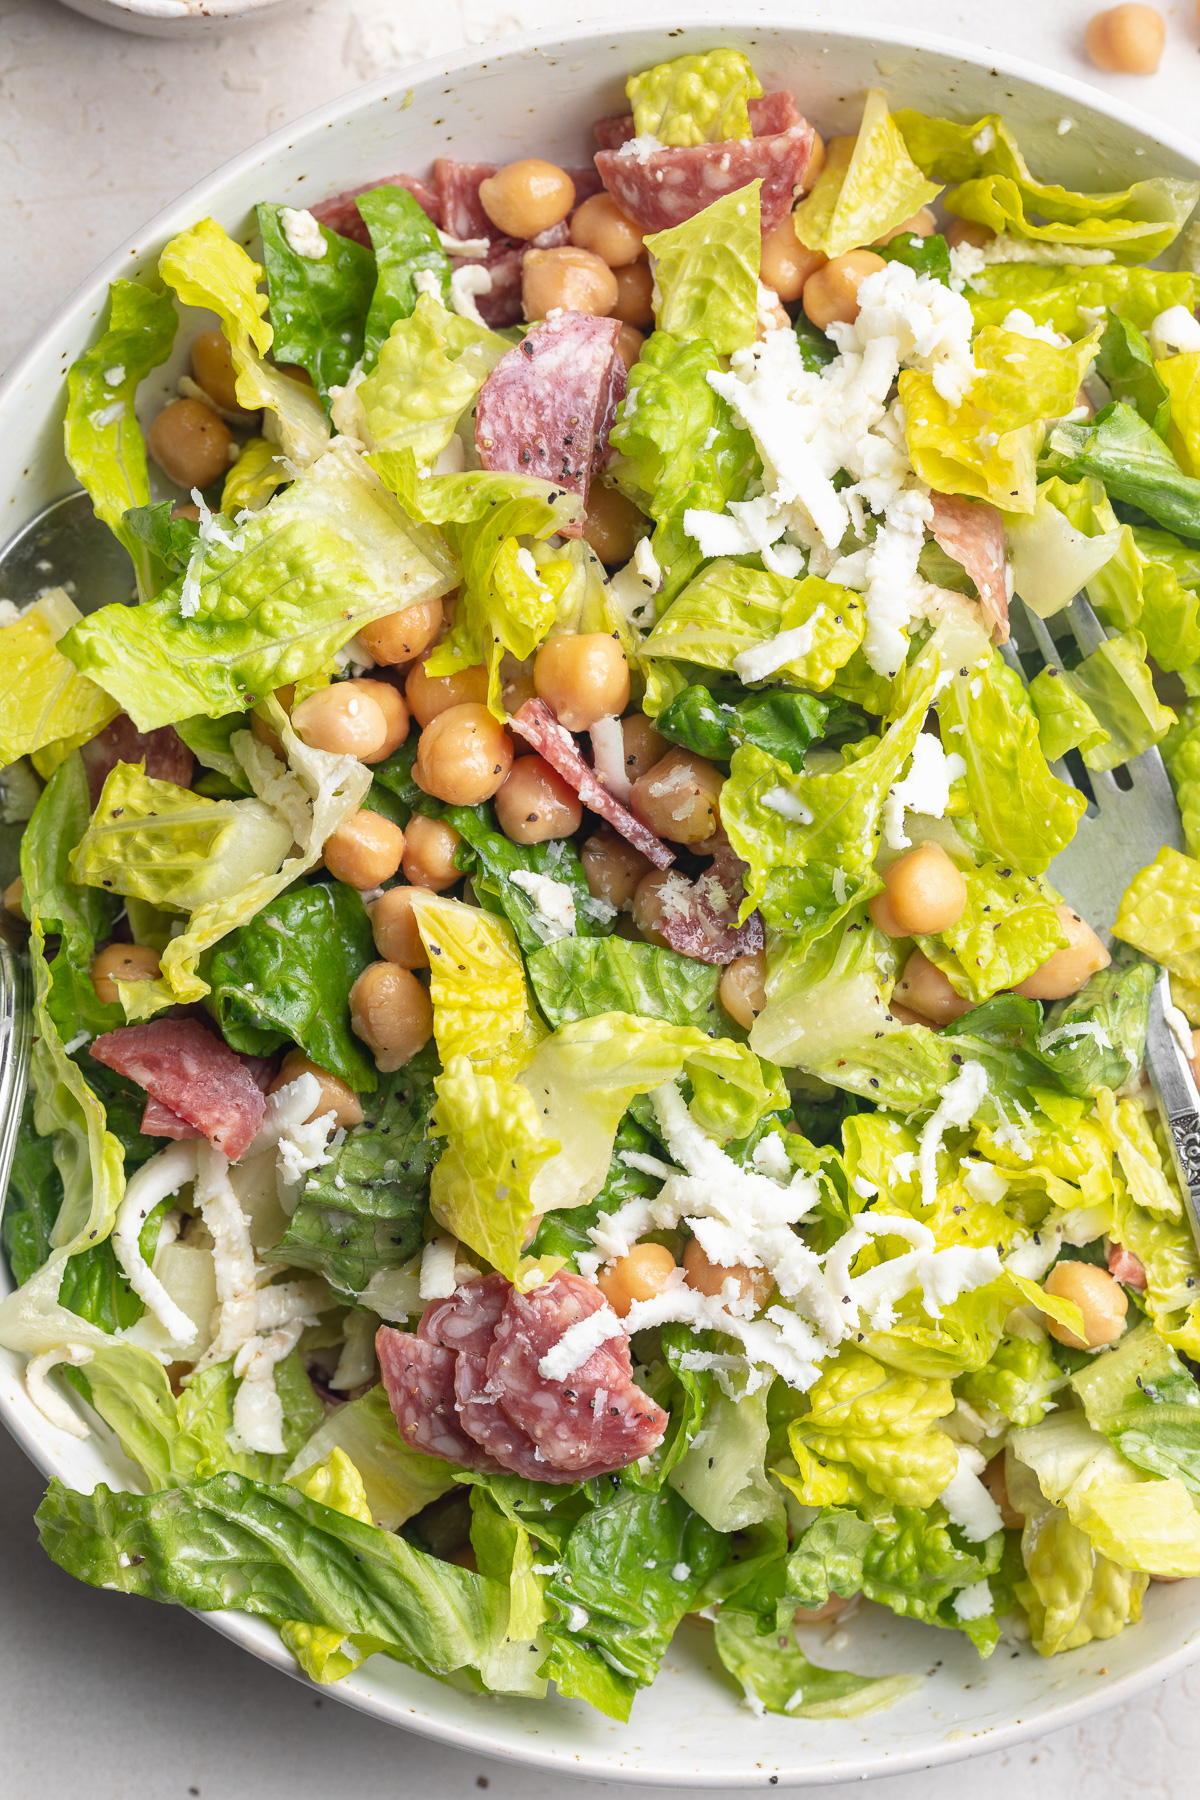
Lettuce – Any crunchy lettuce will work! La Scala uses iceberg lettuce, but I prefer romaine (it has more flavor, in my opinion). Whatever lettuce you use, chop it into small pieces – just like La Scala does!
Chickpeas – Drain and rinse a can of chickpeas, then add to your salad. Chickpeas offer a nice bit of protein to this easy lunch recipe. However, if you don’t have chickpeas, feel free to use any white bean you’d like. Navy beans or cannelloni beans would also taste great!
Italian Salami – Chopped Italian salami adds so much flavor to La Scala’s chopped salad. I recommend using deli salami, and slicing it into strips. Or, you can buy a whole salami, then fully slice it yourself! For a vegetarian/meatless salad, simply leave the salami out.
Mozzarella Cheese – Fresh shredded mozzarella is best, but pre-shredded works as well!
Tips and Tricks
- To meal prep this salad, simply make the salad and divide it between four containers. Then, whisk together the dressing and store separately. When ready to eat, pour dressing over your salad and enjoy!
- This La Scala chopped salad is gluten-free! However, if you want a little extra crunch, a small handful of croutons makes a delicious addition to this salad.
- This “Kardashian” salad recipe is also great for a crowd! Toss together in a big bowl, then bring it to your next potluck or dinner party. Everyone will go crazy for this hearty and oh-so satisfying side dish!
Adjust This Recipe to Your Dietary Needs
Make it Vegan: For a completely plant-based La Scala salad, simply leave out the salami and swap the cheeses for your favorite vegan cheeses. I love Myoko’s Cashew Milk Mozzarella and Violife’s Vegan Parmesan Cheese!
Make it Dairy-Free: Similar to the vegan options, either swap out the cheeses for your favorite non-dairy cheeses, or leave them out of this salad recipe altogether.
La Scala Chopped Salad aka “The Kardashian Salad”
Ingredients
- 1 head lettuce, finely chopped (iceberg, romaine, etc.)
- 1 (15 ounce) can chickpeas, drained and rinsed
- 1/2 pound Italian salami, chopped
- 1 cup freshly shredded mozzarella cheese
For the dressing:
- 1/2 cup olive oil
- 1/4 cup red wine vinegar
- 1 tablespoon Dijon mustard
- 1/2 teaspoon salt
- 1/2 teaspoon black pepper
- 1/4 cup grated parmesan cheese
Instructions
- Add all salad ingredients to a large bowl and toss.
- Add all dressing ingredients to a small bowl and whisk to combine.
- Drizzle dressing over salad right before serving.