
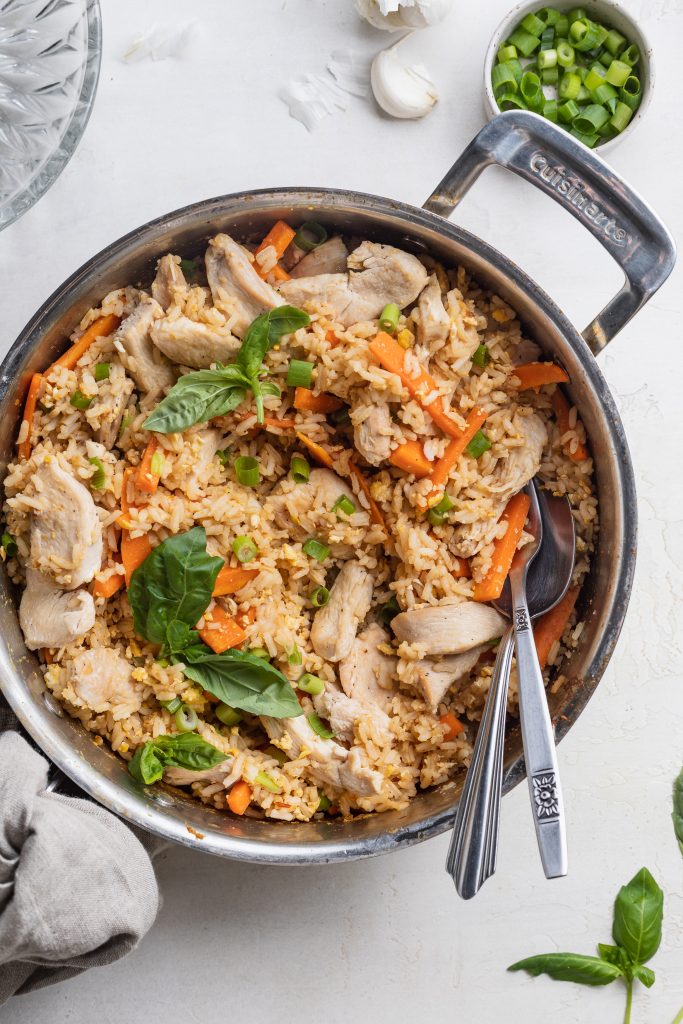
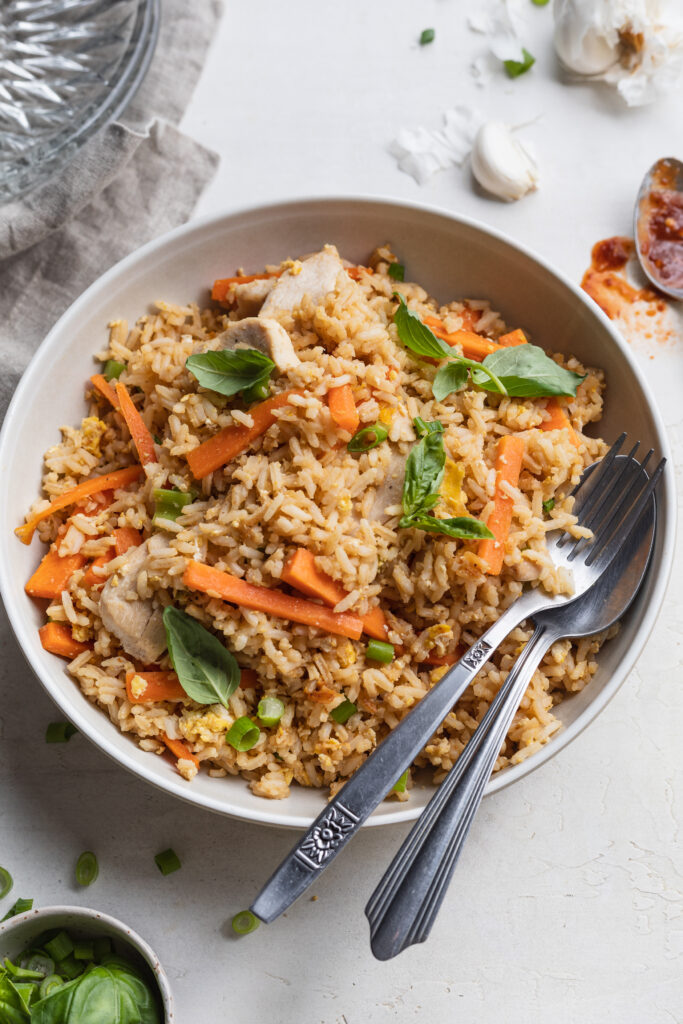
A wholesome and delicious Thai chicken fried rice, ready in under 20 minutes! This healthy one-pan dinner is bursting with flavor. Fresh, savory, hearty, and oh-so satisfying – who doesn’t love a good fried rice?!
What You’ll Need To Make This Thai Fried Rice
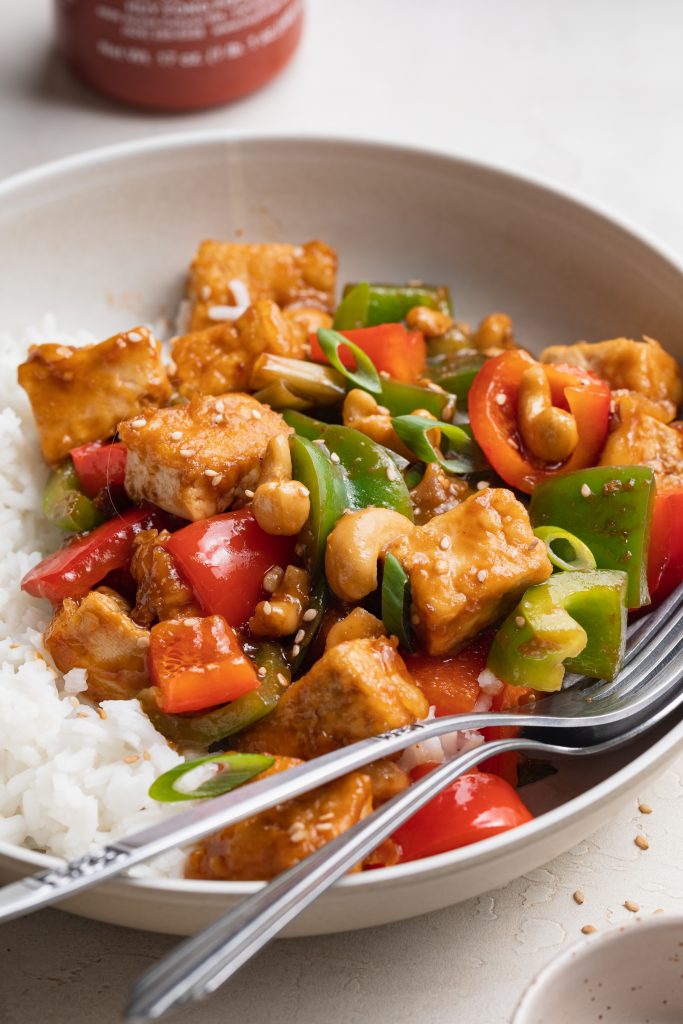
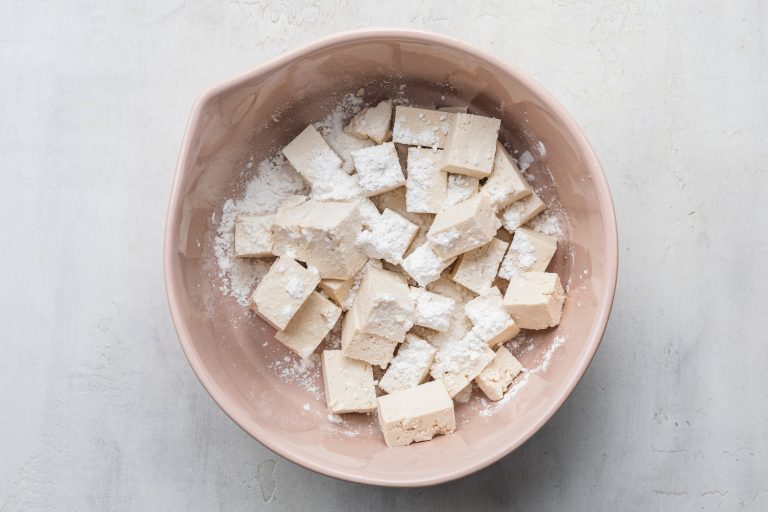
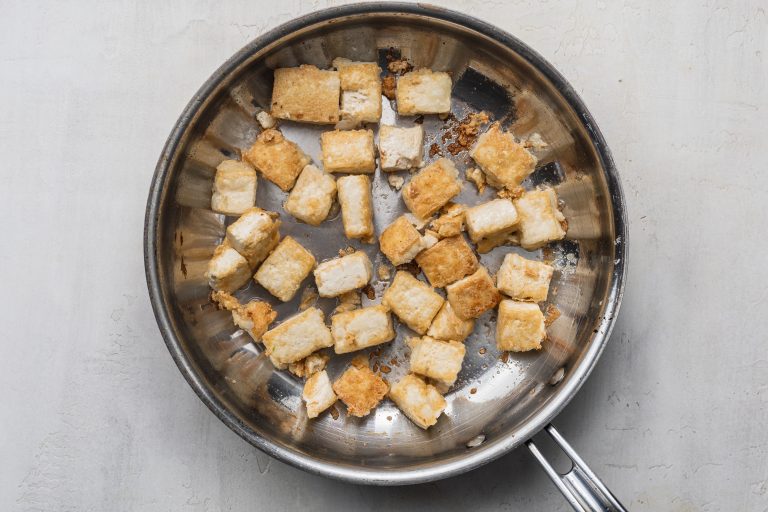
Chicken – Either chicken, shrimp, beef, pork, or tofu will taste amazing in this Thai-inspired recipe. Or, you can easily omit the protein altogether. I chose chicken since it’s a crowd-favorite. But for other proteins, simply slice them into small strips or cubes, then season and cook them just as you would the chicken. For shrimp, beef, and pork adjust the cook time until they’re cooked through. Then, for tofu, simply cook until golden brown and crispy.
Cooked White Rice – The key here is cooked and cooled rice. Leftover rice works especially well since it’s dryer, meaning it’ll cook up even crispier. However, if you don’t have leftover rice, simply make a batch of rice and then leave it to cool, uncovered, for as long as possible before using it in this stir-fry. The less moisture present in your cooked rice, the better. And while white rice tastes the best in this recipe, feel free to use brown rice instead.
Oyster Sauce – What is oyster sauce, you ask?? It’s a thick brown sauce comprised of oyster juices, sugar, and salt. It’s sweet, with a hint of savory, and doesn’t at all taste like oysters in my opinion. Oyster sauce works to balance out the intensely savory flavors of this Thai fried rice.
Adjust This Recipe To Your Dietary Needs
Make it Paleo/Grain-Free: For a paleo meal, use cauliflower rice in place of the cooked white rice in this recipe. Also, replace the soy sauce with coconut aminos and the oyster sauce with 1 tablespoon of maple syrup.
Make it Gluten-Free: Most of this dish is already gluten-free, though to guarantee it’s gluten-free, replace the soy sauce with tamari. Tamari is the gluten-free equivalent to soy sauce and tastes exactly the same!
Make it Vegan: For a vegan Thai fried rice, replace the chicken with cubed extra-firm tofu, and leave out the eggs. Also, replace the oyster sauce with 1 tablespoon of brown sugar.


")