")
It’s no secret I love a protein-packed sweet treat! My favorites lately have been my single serve protein cookie skillet and 3-ingredient protein cookies – but recently, I’ve had a real craving for brownies. But most nights, I don’t have the time (or let’s face it, the energy) to whip up a long and complicated brownie recipe. So that’s exactly why I created this 4-ingredient protein brownies recipe! They’re rich, fudgy, just as delicious as regular brownies, but packed with protein, and made with just 4 simple ingredients. Make a batch today and enjoy a quick protein-packed sweet treat all week long!
Why You’ll Love These Protein Brownies
- 10 grams of protein per brownie!
- Made with just 4 simple ingredients you probably already have at home.
- Gluten-free, dairy-free, vegan, and added sugar-free.
- Quick and super easy to make!
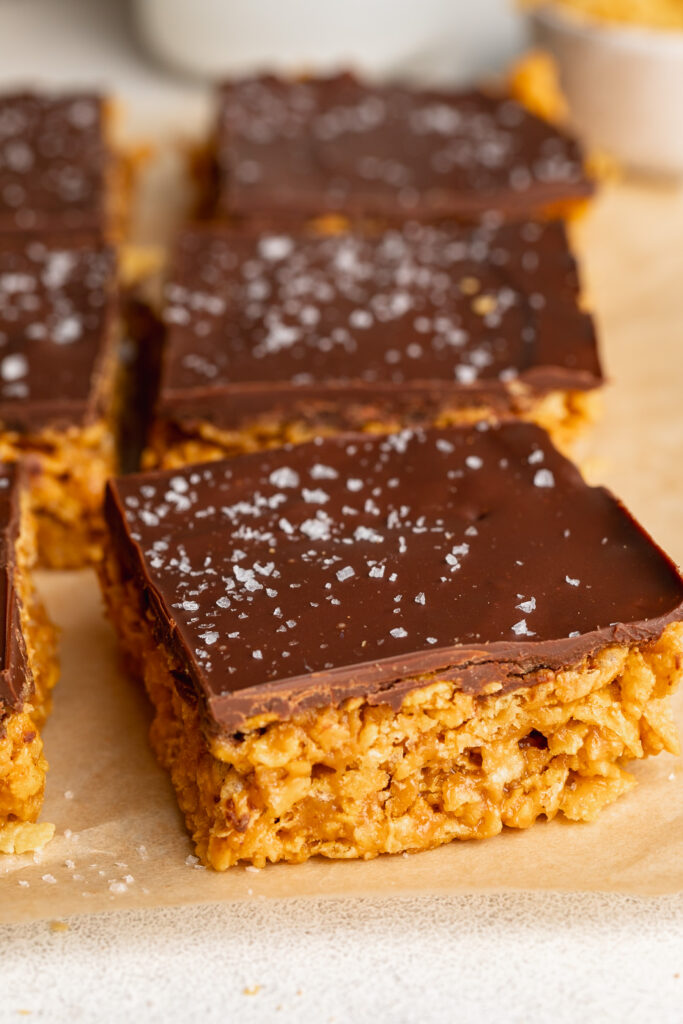
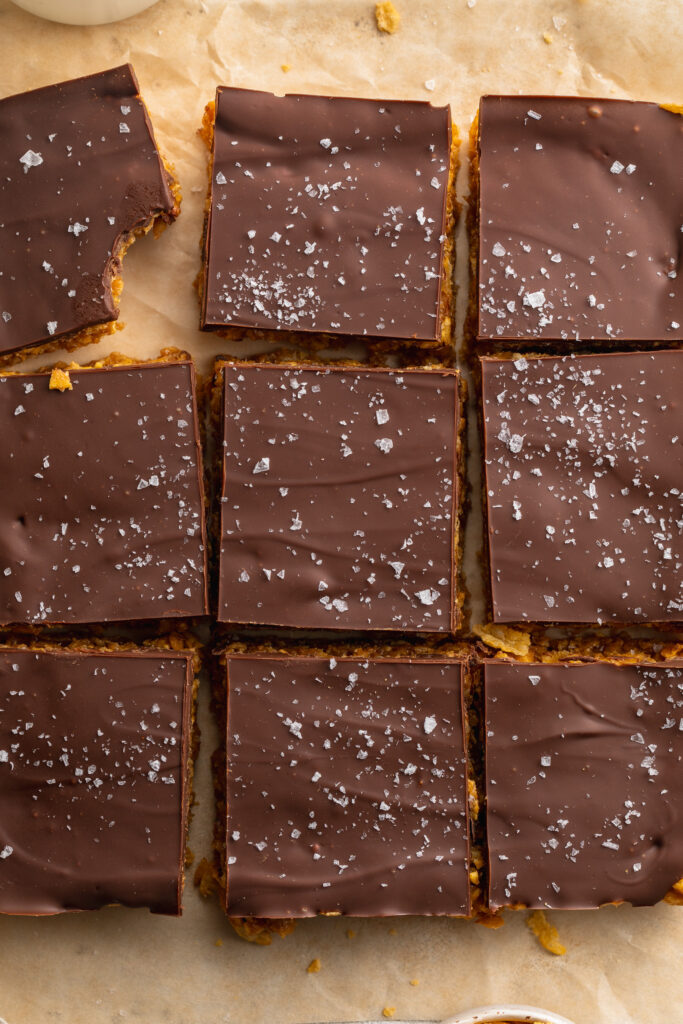
- Soft, fudgy, and chocolatey – like classic brownies, but healthier.
These brownies are perfect for a post-workout snack, dessert, or anytime treat!

Frequently Asked Questions
How much protein does each brownie have?
Each brownie contains 10 grams of protein, depending on your protein powder brand and portion size.
How do I store these protein brownies?
These 4-ingredient protein brownies can be stored in an airtight container. At room temperature, they’ll stay fresh for 1–2 days. In the refrigerator, they last up to 5 days, and for longer storage, you can freeze them for up to 2 months – just thaw or warm slightly before eating.
What kind of protein powder did you use?
I used Aloha plant-based chocolate protein powder, but any chocolate protein powder works! Whey, vegan, or collagen-based protein powders all work well in this recipe.
Recipe Variations and Substitutions
- Nut-free: Replace peanut butter with sunflower seed butter.
- Banana-free: Use unsweetened applesauce or pumpkin puree for a banana-free option.
- Extra chocolatey: Fold in a few chocolate chips.
- Lower sugar: Use unsweetened cocoa powder only and skip the chocolate chips on top!

4-Ingredient Protein Brownies
Equipment
- 1 medium bowl
- 1 9×4-inch loaf pan
Ingredients
- 3 overripe bananas about 1 1/2 cups when mashed
- 1/2 cup peanut butter or any nut/seed butter
- 1/4 cup chocolate protein powder
- 2 tablespoons unsweetened cocoa powder
Instructions
- Preheat oven to 350° Fahrenheit and line a 9×4-inch loaf pan with parchment paper, then grease the inside of the pan with oil or butter.
- Mash the banana in a large bowl until mostly smooth, then add in the peanut butter, chocolate protein powder, and cocoa powder. Mix everything together until fully combined.
- Transfer the brownie batter to your prepared baking pan and top it with chocolate chips (if using), then bake for 18-20 minutes or until the brownies are just set in the middle.
- Remove the pan from the oven and let the brownies cool completely before slicing.
")


")