Tag

vegan

Browsing

Someone asked me recently what my favorite ingredient to bake with is and while it’s tough to choose just one, I’d say medjool dates are in my top three. They’re naturally sweet, super versatile, and great for no-bake sweet treats! Some of my most popular recipes actually feature dates as the main ingredient – like my smashed dates with peanut butter, healthy date snickers, and 5 ingredient chocolate chip date cake. When it comes to dates, the possibilities really are endless! So when I set out to create a new healthy dessert recipe, these healthy date caramel cups were a no-brainer. They’re quick and easy, made with just 3 ingredients, and there’s absolutely no baking required. I also love having a batch of these in my freezer at all times for when I’m craving a little something treat!

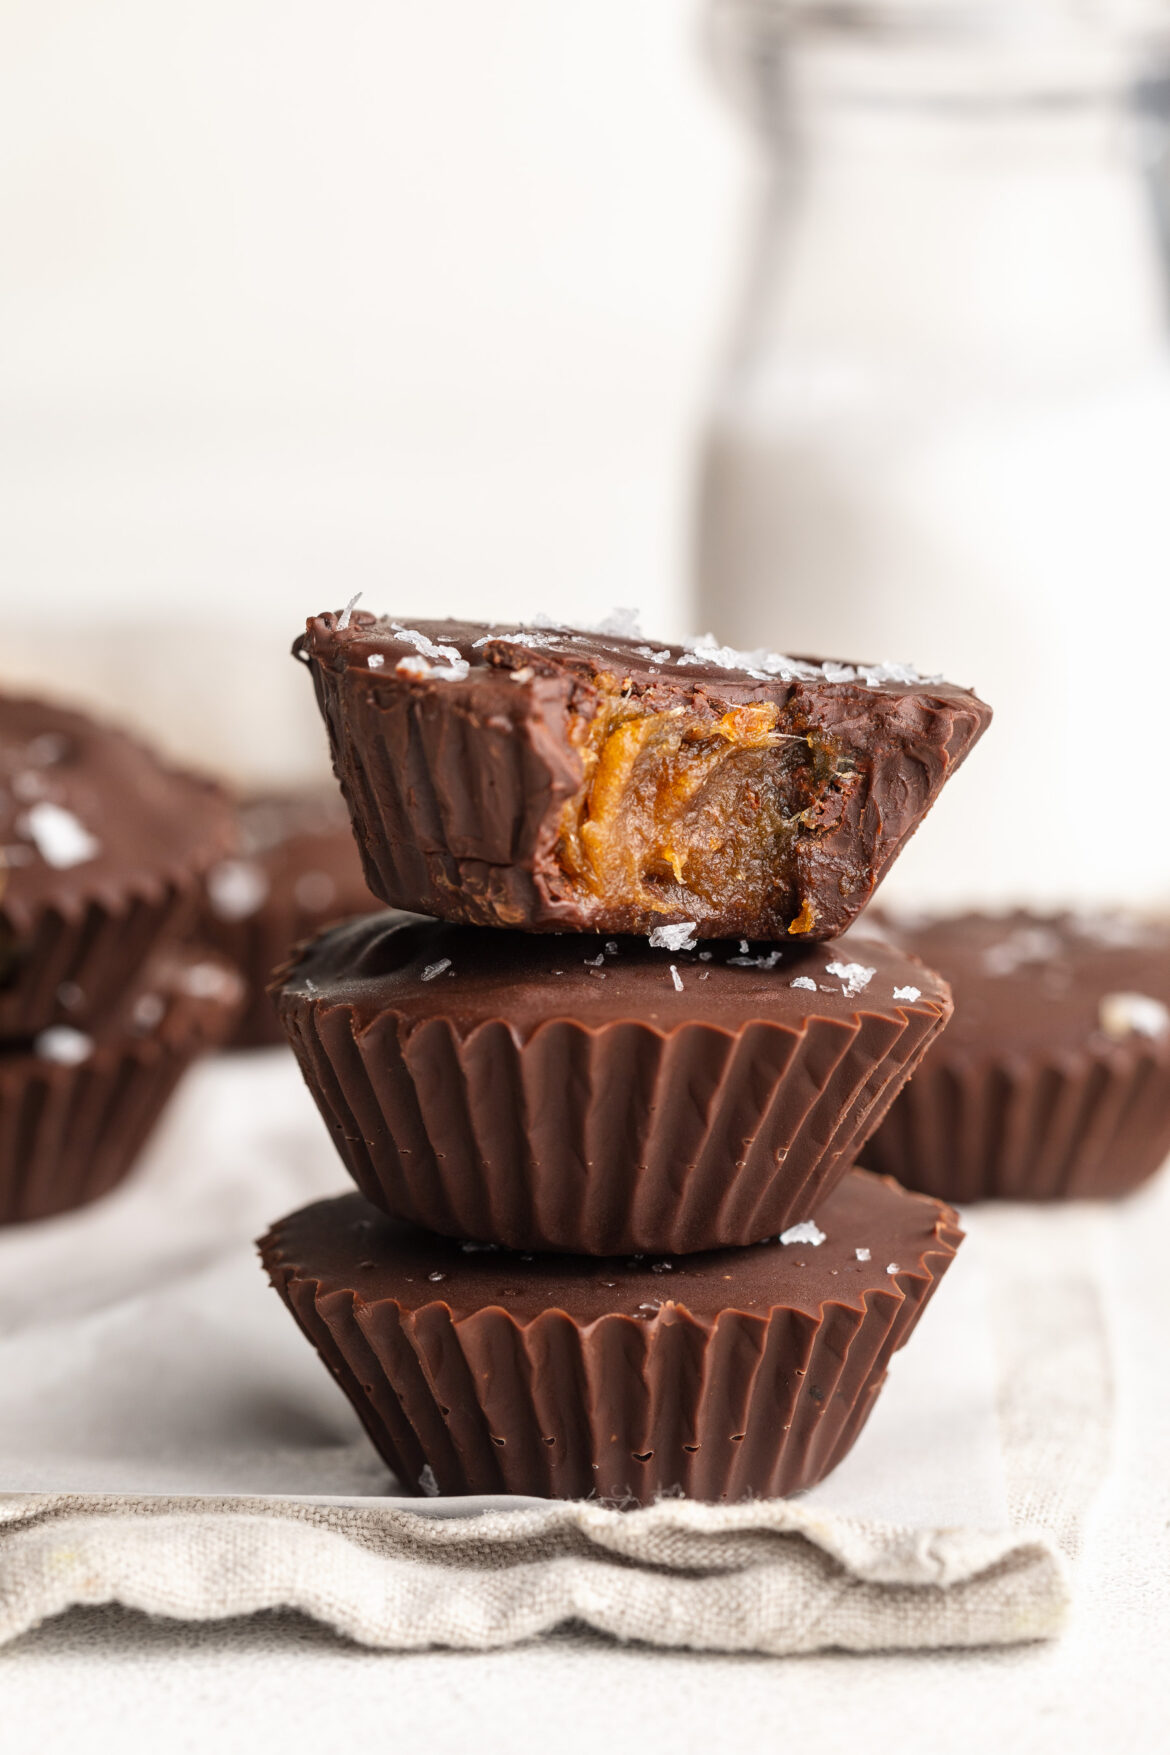
hand holding a healthy date caramel cup with a bite taken out.

Why You’ll LOVE These Healthy Date Caramel Cups

  • Made with only 3 clean, whole-food ingredients
  • Naturally sweetened with dates (no added sugar!)
  • Gluten-free, dairy-free, and vegan
  • No baking required
  • Rich, chocolatey, and deeply satisfying

What Makes This Recipe Healthy

These date caramel cups skip the refined sugars and processed fillings you’d find in store-bought candies. Medjool dates provide natural sweetness and fiber, while dark chocolate adds antioxidants. With no dairy, gluten, or unnecessary additives, they’re a more wholesome option for indulging your sweet tooth!

healthy date caramel cup with flaky sea salt on top.

Frequently Asked Questions

Can I use a regular muffin tin?

Yes! You can absolutely use a standard muffin tin, just note that the caramel cups will be larger and yield fewer total cups. You may want to increase the chocolate and date caramel amounts accordingly.

What kind of chocolate should I use?

Any chocolate chips will work—dark, semi-sweet, or dairy-free depending on your dietary needs. We recommend at least 60% cacao for a richer flavor and lower sugar content.

What if my dates are too hard?

Make sure to soak them in hot water for at least 10 minutes. If they’re still tough, let them soak a bit longer or try chopping them up before blending for smoother caramel.

Storage Tips

Store your caramel cups in an airtight container in the fridge for up to 1 week, or in the freezer for up to 2 months. Let frozen cups thaw for 5–10 minutes before enjoying for the best texture.
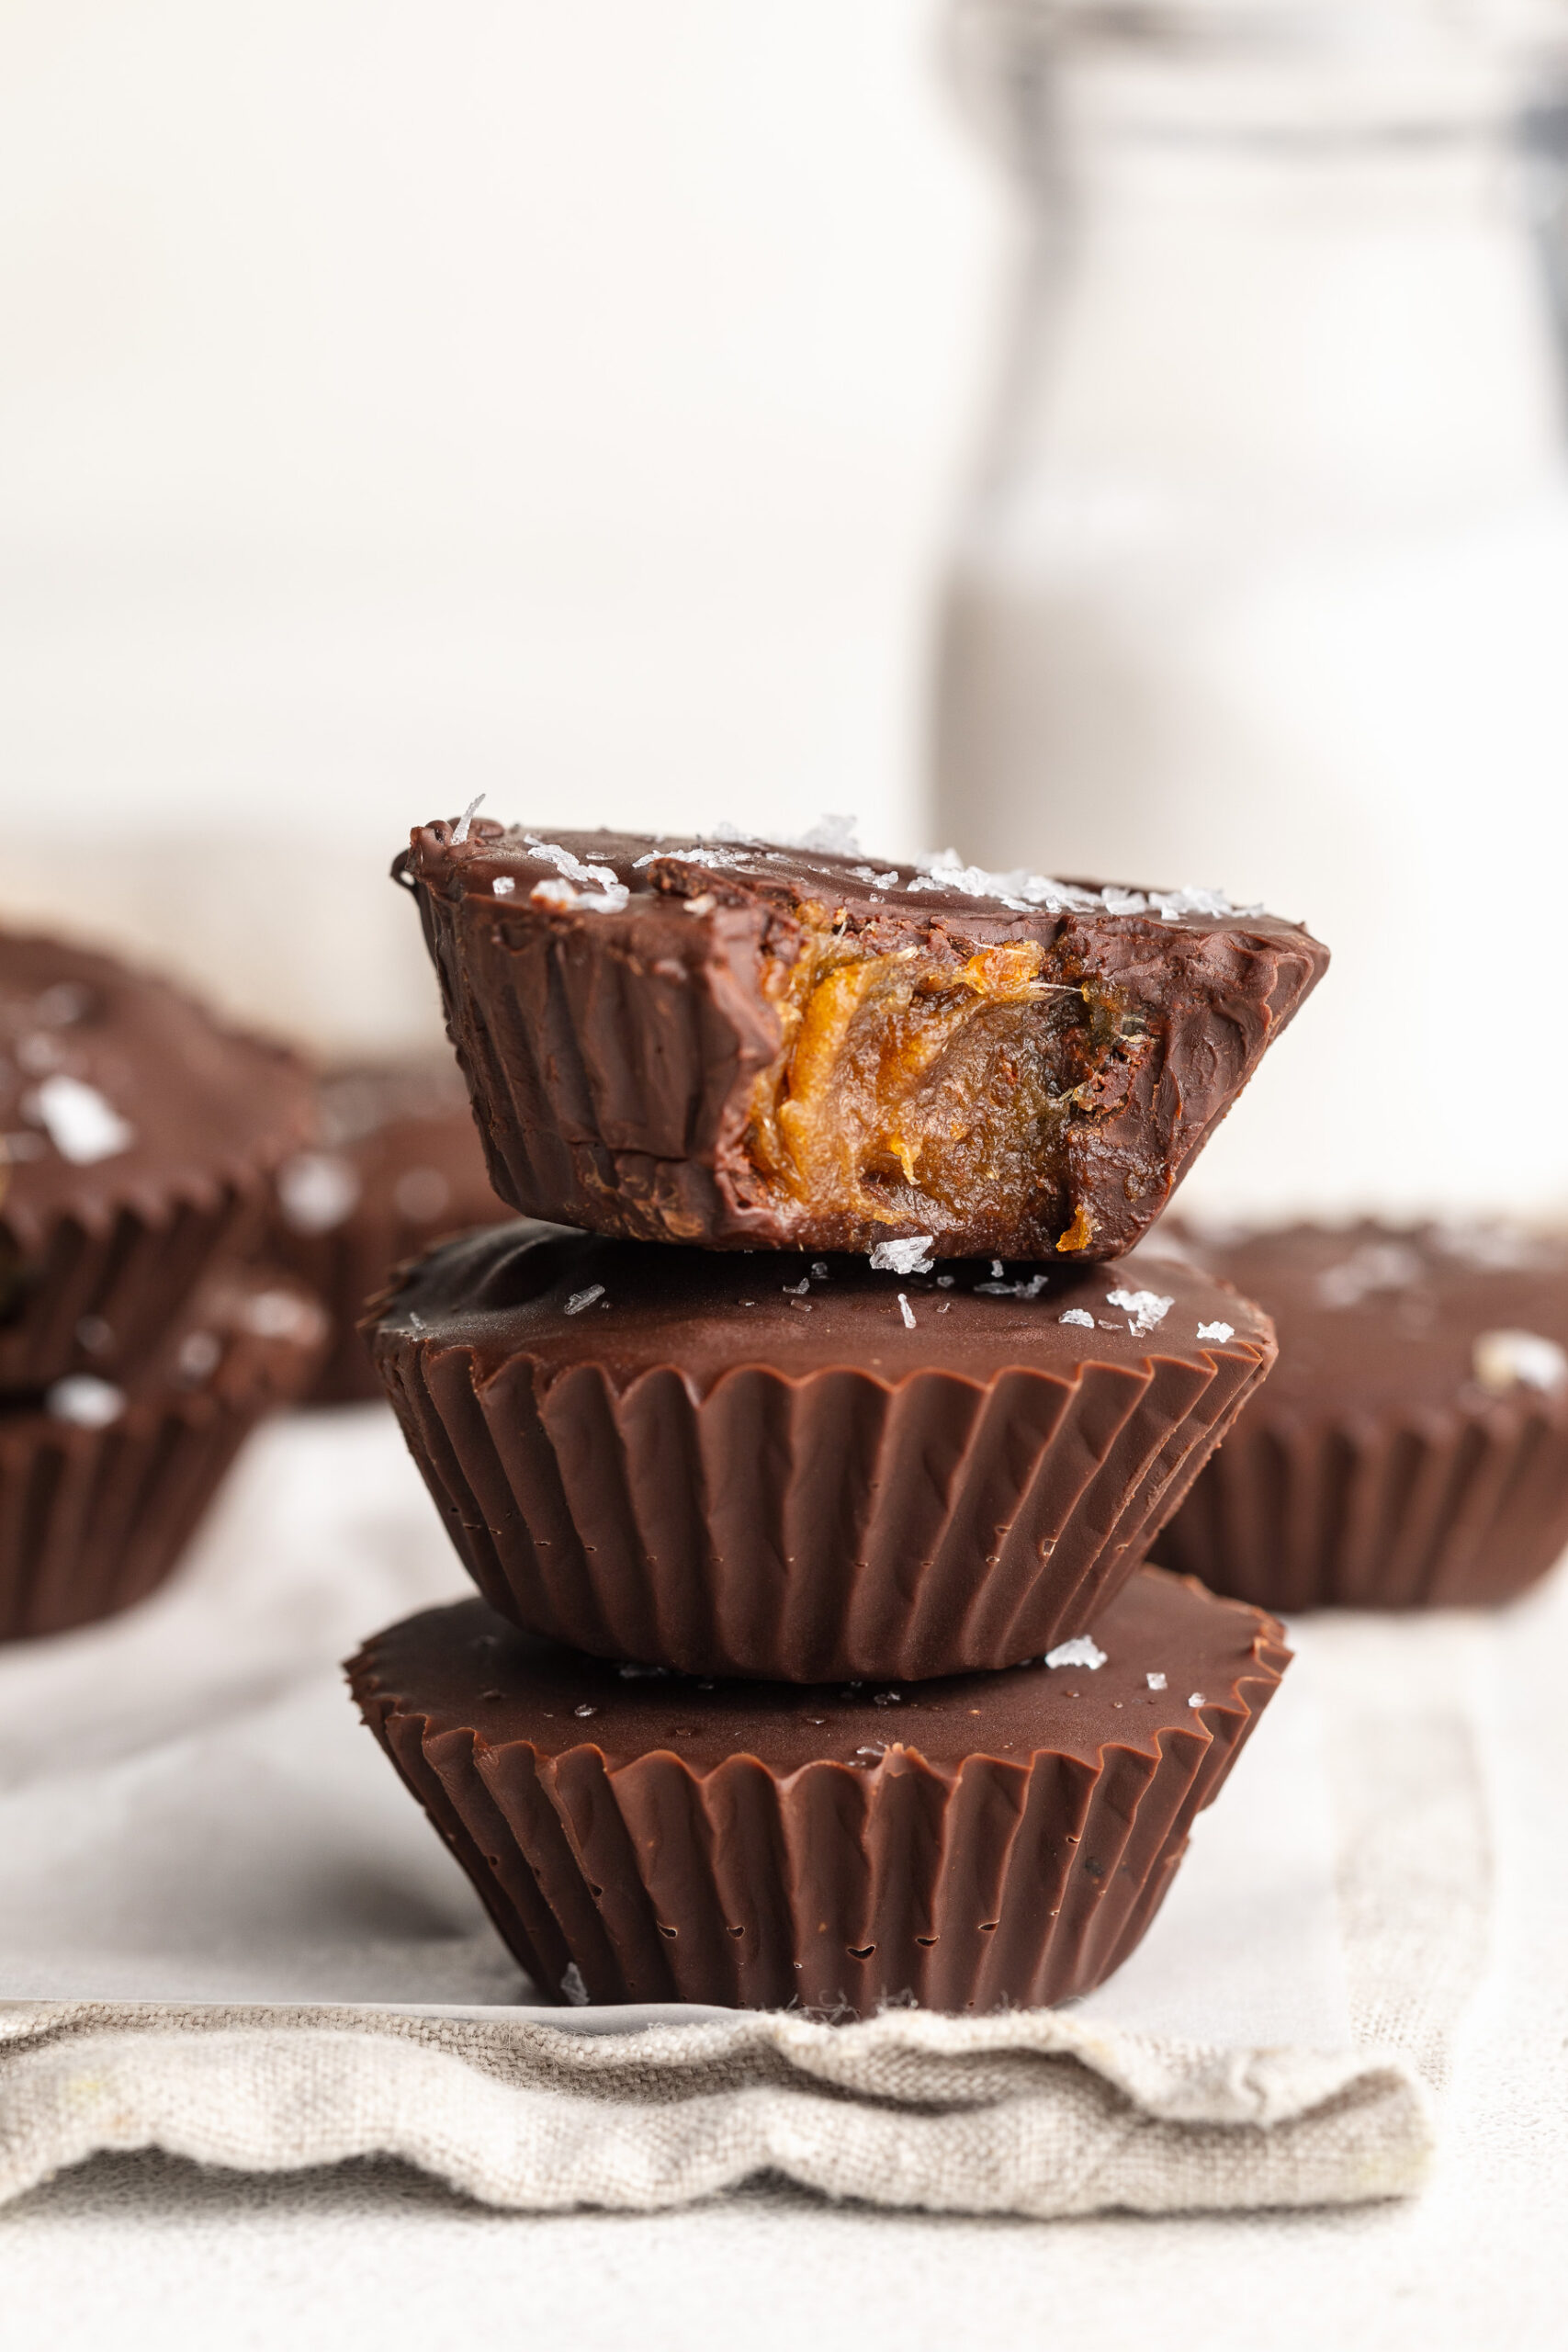
3 healthy date caramel cups stacked on top of each other.
No ratings yet

3-Ingredient Healthy Date Caramel Cups

These 3-ingredient healthy date caramel cups are the perfect no-bake treat – rich, chocolatey, and naturally sweetened with Medjool dates! They're vegan, gluten-free, dairy-free, and made with just chocolate chips, coconut oil, and dates. Whether you're craving a wholesome dessert or a midday snack, these caramel cups are healthy yet indulgent!
Print Pin Rate
Prep Time: 10 minutes
Chilling Time: 20 minutes
Total Time: 30 minutes
Servings: 12 date caramel cups

Equipment

  • 1 mini muffin pan
  • 1 small bowl
  • 1 food processor or high speed blender

Ingredients

  • 1 cup Medjool dates pitted
  • 1 1/2 cups chocolate chips I used extra dark chocolate chips
  • 2 teaspoons coconut oil

Instructions

  • Soak the Medjool dates in a bowl of very hot water for 10 minutes, then line a mini muffin pan with mini liners.
  • Melt together the chocolate chips and coconut oil in either the microwave or over a double boiler until completely melted and smooth.
  • Once the chocolate is melted, pour about 1 teaspoon of melted chocolate into the bottom of each mini muffin liner and use a spoon to spread the chocolate around to cover the entire bottom of the liner. Once all liners are lined with chocolate, transfer your muffin pan to the freezer to set and place the remaining melted chocolate aside for now.
  • Once the dates are very soft, drain them from the water and transfer the soaked dates to a food processor or high-speed blender and blend until they are mostly smooth, scraping down the sides of the food processor or blender as needed.
  • Spoon about 1-2 teaspoons of date caramel into each cup lined with chocolate. Repeat this process until all cups have been filled with date caramel.
  • Pour 1-2 teaspoons of melted chocolate over each date caramel cup, making sure you completely cover the date caramel inside. Once all cups are filled with chocolate, transfer the pan back into the freezer for 10-15 minutes or until the chocolate is completely set. Remove date caramel cups from the freezer, transfer to an airtight container and store in the fridge or enjoy right away!

Nutrition

Serving: 1date caramel cup | Calories: 145kcal | Carbohydrates: 15g | Protein: 1g | Fat: 8g | Sugar: 10g

Why You’ll Love This Chocolate Chip Date Cake

  • Naturally Sweetened: Sweetened entirely with Medjool dates – no added sugar needed.
  • Gluten-Free & Dairy-Free: Made with oat flour and non-dairy milk, suitable for various dietary needs.
  • Simple Ingredients: Only 5 wholesome ingredients required for this chocolate chip date cake!
  • Easy Preparation: Comes together quickly with minimal effort.
  • Versatile: Perfect for dessert, a snack, or even breakfast!
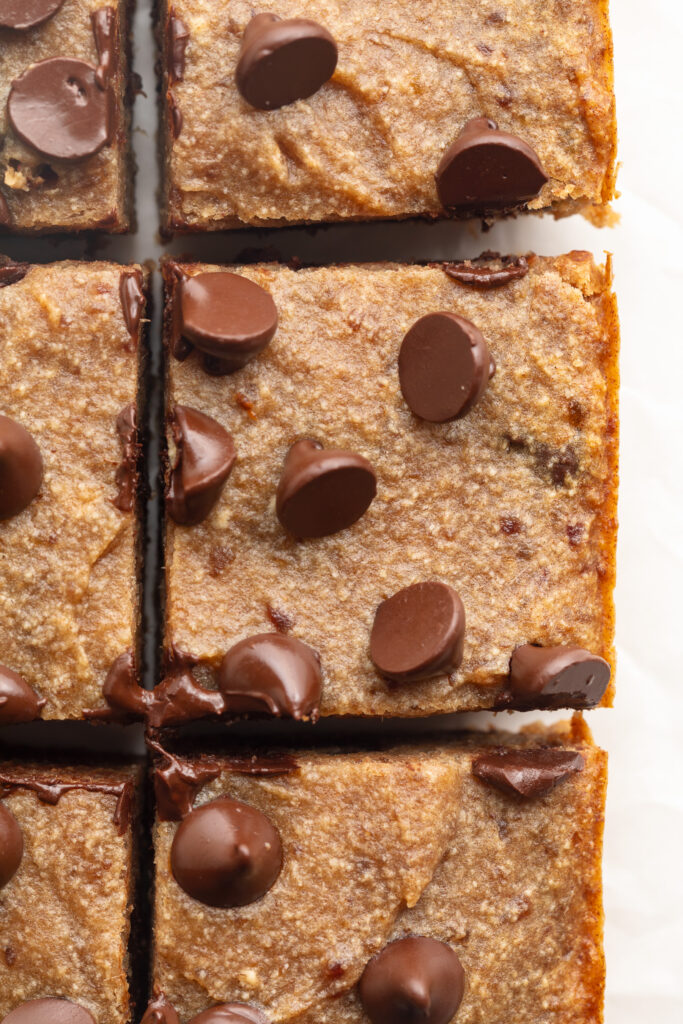
overhead image of chocolate chip date cake cut into squares

Frequently Asked Questions

What can I use instead of oat flour?
You can substitute oat flour with almond flour or a gluten-free all-purpose flour blend. Note that the texture may vary slightly.

How do I store this date cake?
Store the cooled cake in an airtight container at room temperature for up to 3 days, or refrigerate for up to a week.

What kind of dates should I use?
Medjool dates are recommended for their natural sweetness and soft texture. If using other types, ensure they are soft or soak them longer to achieve a smooth blend.

Can I add baking powder for a fluffier cake?
Yes, adding ½ teaspoon of baking powder can provide a lighter texture if desired.

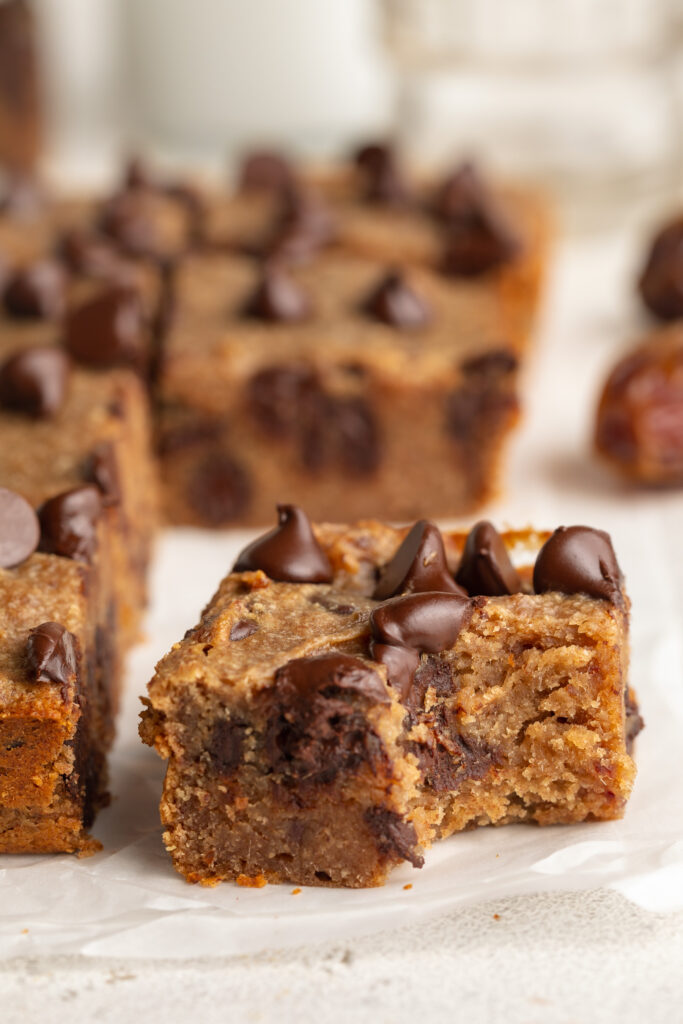
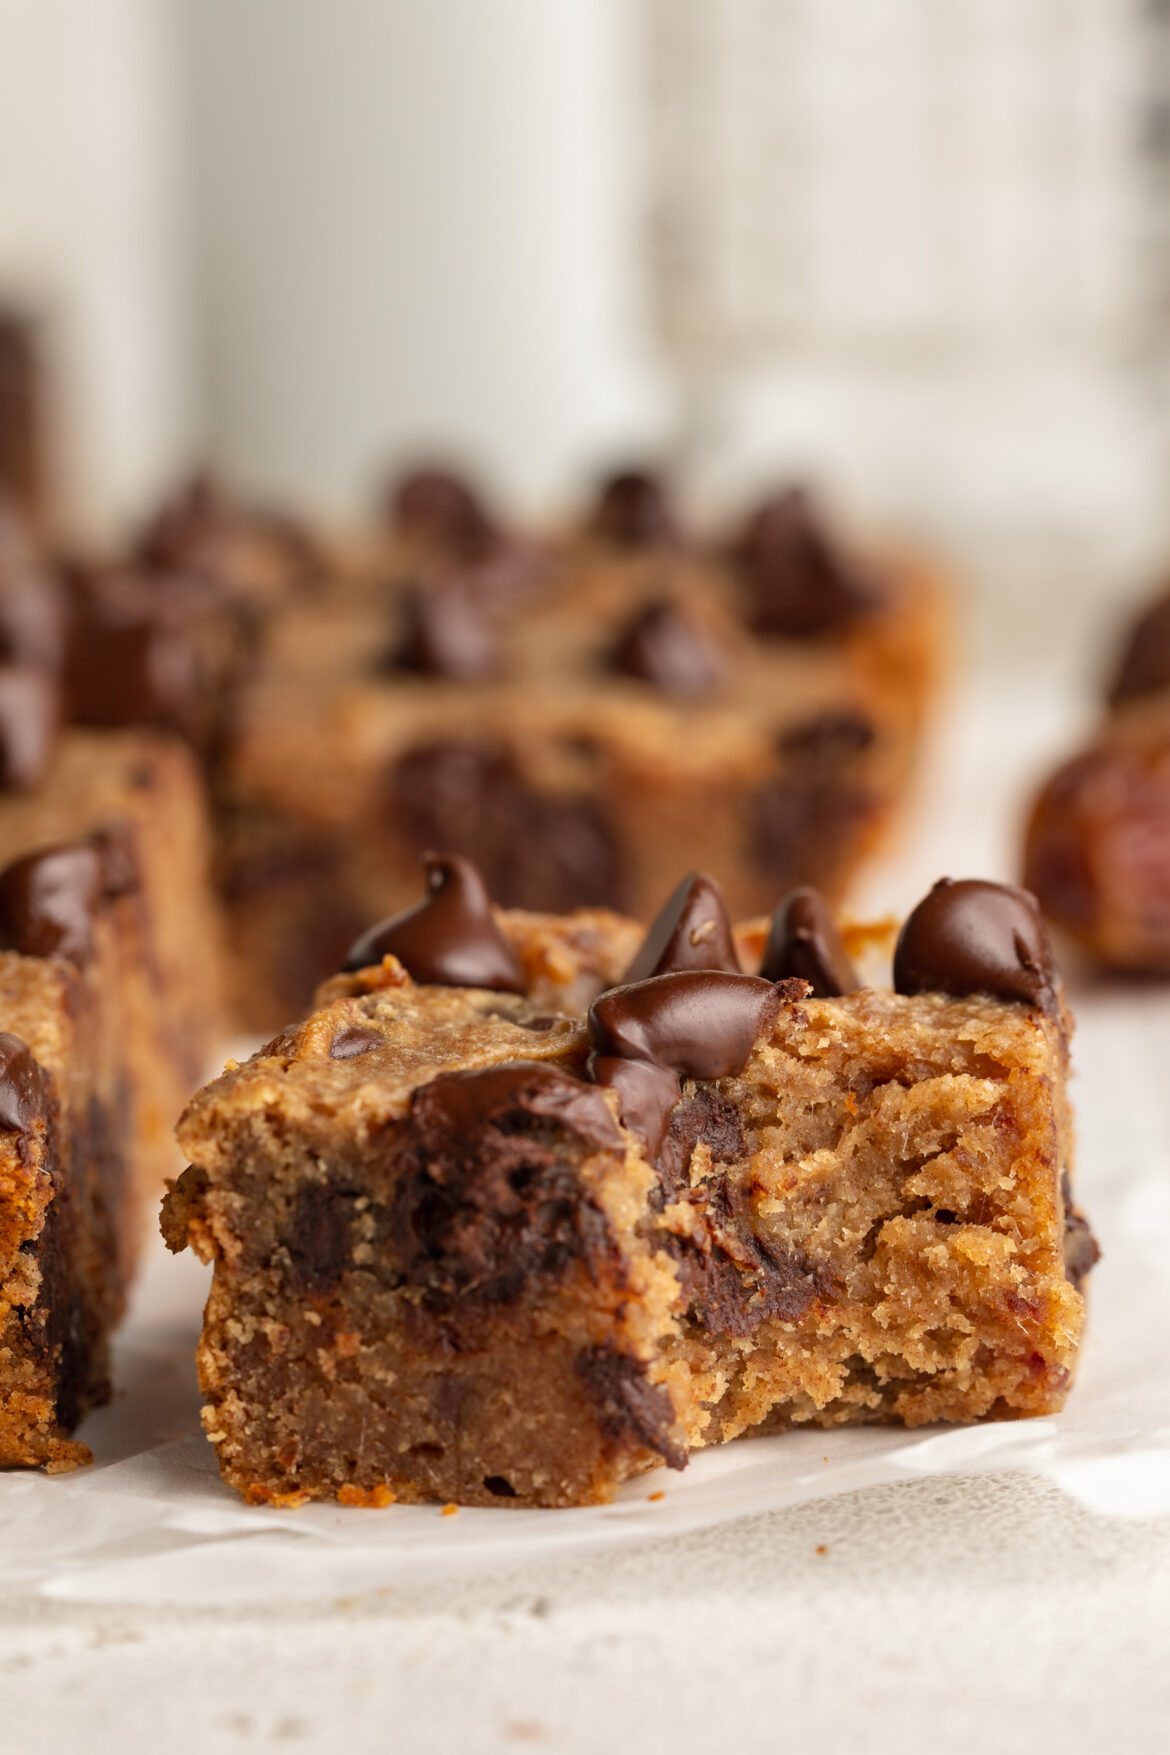
chocolate chip date cake with a bite taken out.

Sam’s Recipe Tips

  • Use Fresh Dates: Ensure your dates are soft and fresh for the best texture and sweetness.
  • Customize Mix-Ins: Feel free to add nuts, dried fruits, or spices like cinnamon for added flavor.
  • Serving Suggestions: Delicious on its own or topped with a dollop of non-dairy yogurt or a drizzle of nut butter!
a slice of chocolate chip date cake with a bite taken out.
No ratings yet

5 Ingredient Chocolate Chip Date Cake

This delicious chocolate chip date cake is naturally sweetened with Medjool dates and made with just 5 simple, wholesome ingredients. It's a gluten-free, dairy-free, and vegan treat that’s perfect for satisfying your sweet tooth without any added sugar. Enjoy a moist, chocolatey slice of this healthy date cake for dessert, breakfast, or as a snack!
Print Pin Rate
Prep Time: 30 minutes
Cook Time: 20 minutes
Total Time: 50 minutes
Servings: 8 servings

Equipment

  • 1 small saucepan
  • 1 large bowl
  • 1 food processor or high speed blender
  • 1 9×4-inch loaf pan

Ingredients

  • 1 cup Medjool dates
  • 3/4 cup non-dairy milk I used almond milk
  • 1/4 cup melted coconut oil
  • 1 cup oat flour
  • 1/2 cup chocolate chips

Instructions

  • Place the Medjool dates in a heat-proof bowl.
  • Heat the milk in a small saucepan over medium heat until it starts to bubble, then immediately remove from the heat and pour it over the Medjool dates. Leave the dates to soak in the milk for at least 30 minutes and up to 1 hour.
  • Preheat oven to 350° Fahrenheit and line a 9×4-inch loaf pan with parchment paper.
  • Transfer the dates and milk to a blender or food processor and blend until completely smooth
  • Pour the date mixture into a mixing bowl, then add in the melted coconut oil and oat flour. Mix until everything is completely combined, then fold in the chocolate chips.
  • Transfer the batter to your prepared loaf pan and bake the cake for 20-25 minutes, or until a toothpick inserted down the center of the cake comes out mostly clean. Remove the cake from the oven and let it cool completely before slicing and serving.

Nutrition

Serving: 1serving | Calories: 200kcal | Carbohydrates: 26g | Protein: 2g | Fat: 11g | Sugar: 14g

I went on a sort of healthier candy spree last fall with my healthy snickers recipe, 4 ingredient date caramels, and healthy homemade butterfingers. All of which are delicious, but I was missing one of the most popular (and one of my personal faves) candies – peanut butter cups! And honestly, had I known making your own homemade healthy peanut butter cups was this easy, I’d have been making them for yearssss. Just chocolate (I used dark, but use whatever you prefer!), peanut butter, almond flour, coconut oil, and just a touch of maple syrup is all you’ll need for this super easy and no-bake dessert recipe!

healthy strawberry peanut butter cups on a sheet of parchment paper.

Why You’ll Love These Healthy Strawberry Peanut Butter Cups

  • Made with just 5 wholesome ingredients, these peanut butter cups are easy, no-bake, and naturally gluten-free and dairy-free.
  • The creamy peanut butter filling paired with rich dark chocolate and a touch of strawberry makes them a perfectly indulgent yet nourishing treat.
  • Customizable to suit your dietary needs – refined sugar-free, nut-free, or vegan – without compromising flavor.

What Makes This Recipe Healthy?

Unlike traditional peanut butter cups loaded with refined sugars and additives, this recipe uses natural sweeteners like maple syrup or honey. The inclusion of almond flour adds a dose of healthy fats and fiber, while the use of dark chocolate chips provides antioxidants. By choosing unsweetened peanut butter, you control the sweetness and ensure a treat that’s both delicious and nourishing!

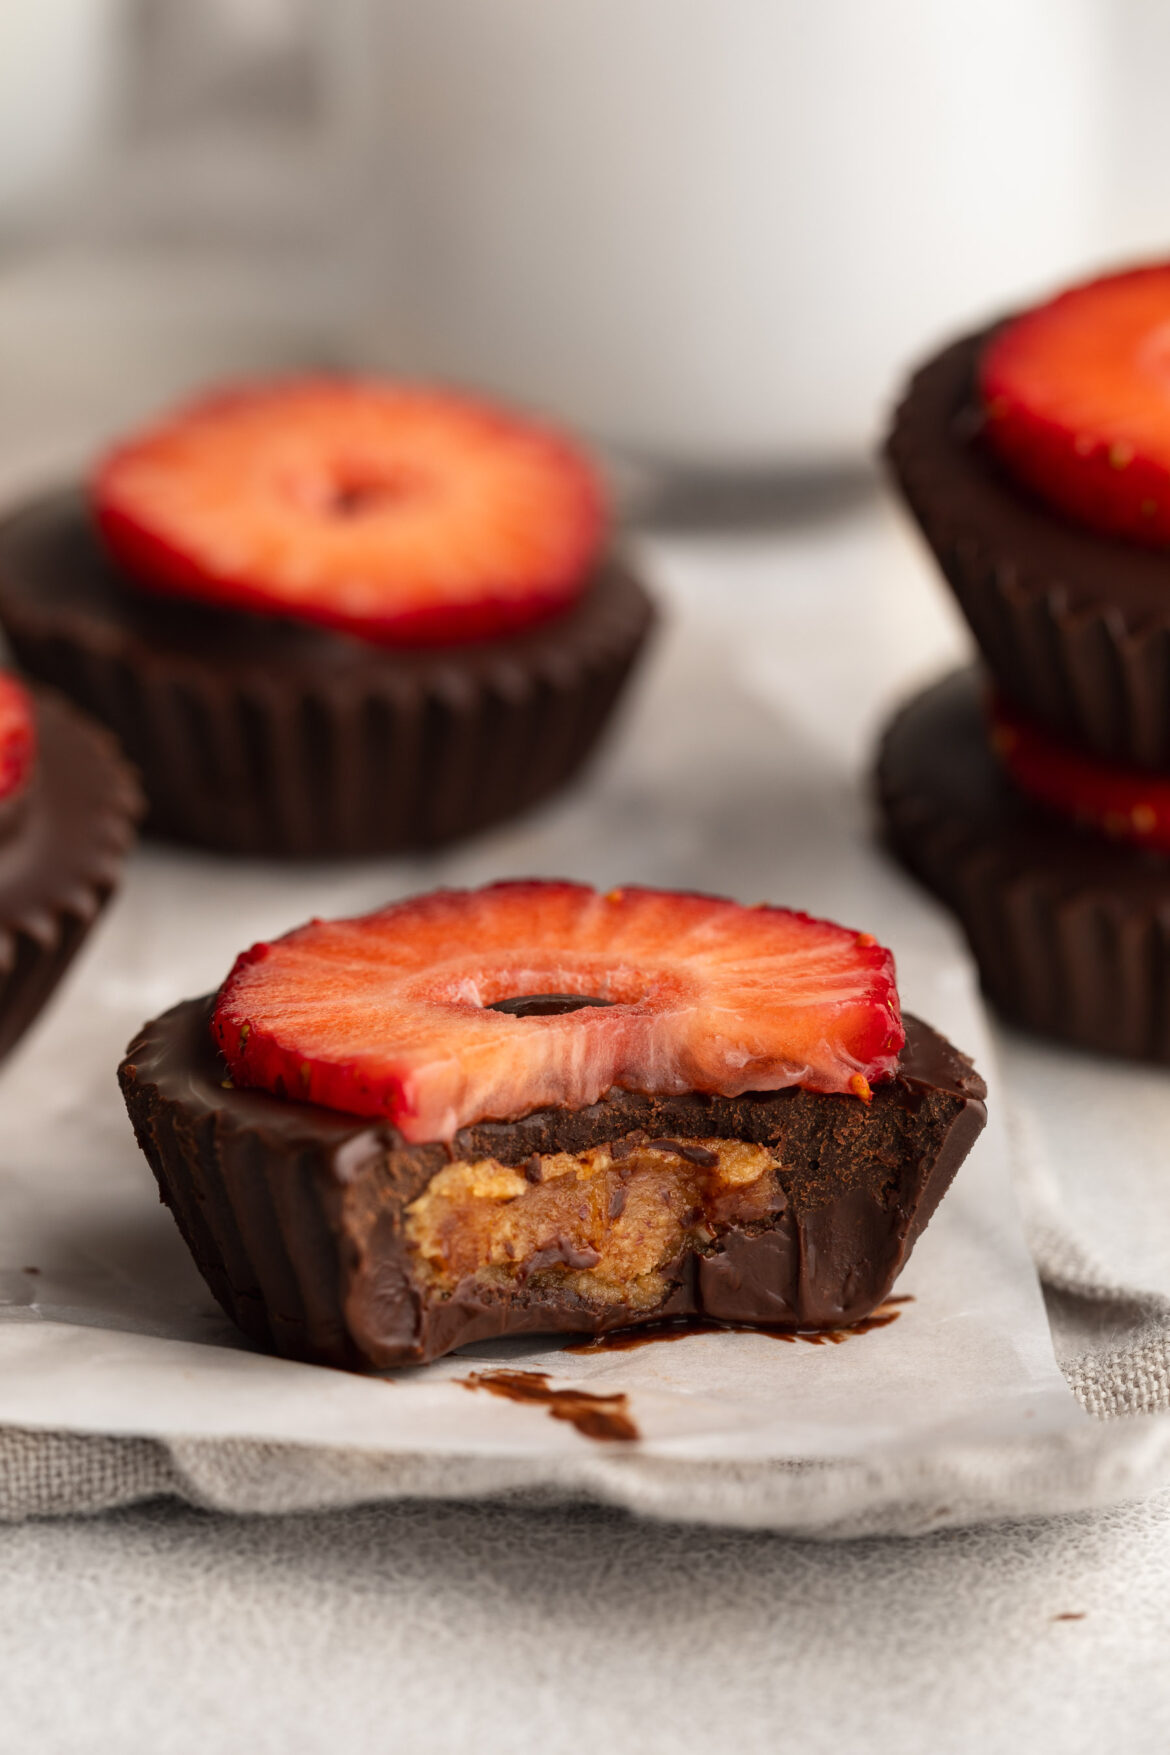
close up image of a healthy strawberry peanut butter cup with a bite taken out.

Can I Use a Different Sweetener?

Absolutely! If you prefer a different natural sweetener, options like agave nectar or coconut sugar work well in this recipe. Keep in mind that the sweetness level may vary, so adjust to taste. For a sugar-free version, consider using a monk fruit sweetener or stevia, but be sure to check the conversion rates as they differ from traditional sweeteners.​

Adjust This Recipe to Your Dietary Needs

  • Make it Nut-Free: Replace peanut butter with sunflower seed butter and almond flour with oat flour to eliminate nuts while maintaining texture and flavor.​
  • Make it Dairy-Free: Use dairy-free chocolate chips to ensure the entire recipe remains free from dairy products.​
  • Make it Refined Sugar-Free: Opt for dark chocolate chips sweetened with coconut sugar or stevia, and use maple syrup or honey as your sweetener of choice.​
a healthy strawberry peanut butter cup with a bite taken out.
5 from 1 vote

Healthy Strawberry Peanut Butter Cups

These healthy strawberry peanut butter cups are a delicious, no-bake treat made with just 5 simple ingredients. Naturally gluten-free and dairy-free, they’re perfect for a quick snack or a better-for-you dessert. Easy to customize and bursting with sweet, chocolatey flavor, they’re the ultimate healthy twist on a classic favorite.
Print Pin Rate
Prep Time: 10 minutes
Chill Time: 18 minutes
Total Time: 28 minutes
Servings: 16 servings

Equipment

  • 2 small bowls
  • 1 mini muffin pan

Ingredients

For the chocolate layer:

  • 1 cup chocolate chips
  • 1 tablespoon coconut oil

For the peanut butter filling:

  • 1/2 cup peanut butter unsweetened
  • 2-3 tablespoons almond flour or 1-2 tablespoons coconut flour
  • 2 tablespoons maple syrup or honey

Instructions

  • Line a mini muffin pan with mini liners.
  • Melt together the chocolate chips and coconut oil in either the microwave or over a double boiler until completely melted and smooth.
  • Once the chocolate is melted, pour about 1 teaspoon of melted chocolate into the bottom of each liner and use a spoon to spread the chocolate around to cover the entire bottom of the liner. Once all liners are lined with chocolate, transfer your muffin pan to the freezer to set and set the remaining melted chocolate aside.
  • While the chocolate sets, add all peanut butter filling ingredients to a bowl and stir together until smooth, slightly thick, and combined.
  • Spoon about 1 teaspoon of the peanut butter filling mixture into the palm of your hands and roll it into a ball, then flatten it slightly to form a disk. Remove the muffin tin from the freezer and place one disk on top of each cup lined with chocolate. Repeat this process until all cups have been filled with peanut butter.
  • Pour 1-2 teaspoons of melted chocolate over each peanut butter cup, making sure you completely cover the peanut butter inside.Once all peanut butter cups are filled with chocolate, transfer the pan back into the freezer for 10-15 minutes or until the chocolate is completely set.Remove the strawberry peanut butter cups from the freezer, transfer to an airtight container and store in the fridge or enjoy right away!
Nutrition

Serving: 1serving | Calories: 120kcal | Carbohydrates: 9g | Protein: 3g | Fat: 8g | Sugar: 6g

Some of my most requested recipes are for healthy high-protein snacks! And while I have quite a few already – high protein snack boxes, single serve protein cookie, and 5 healthy protein smoothies – I, too, am always looking for more. I actually started making this chia seed protein pudding for my husband who was tired of our same old protein snacks and loved that this tasted like dessert, but in healthier high-protein form!

I love topping my chia pudding with a scoop of peanut butter, a sprinkling of my homemade granola, and whatever fresh or frozen fruit we have on-hand. It’s such a quick and easy grab-and-go protein snack, easily made dairy-free and packed with over 30 grams of protein. OH! And it’s delicious, too. 😉

Why You’ll Love This Chia Protein Pudding

  • High-Protein: With over 30g of protein per serving, it’s a satisfying and energizing option to start your day of get you through that afternoon slump!
  • Minimal Ingredients: You only need 4 (or 5 if you want it a little sweet!) ingredients, most of which you probably already have at home.
  • Meal Prep Friendly: Make it once and enjoy it all week! It stays fresh in the fridge for up to 3 days.
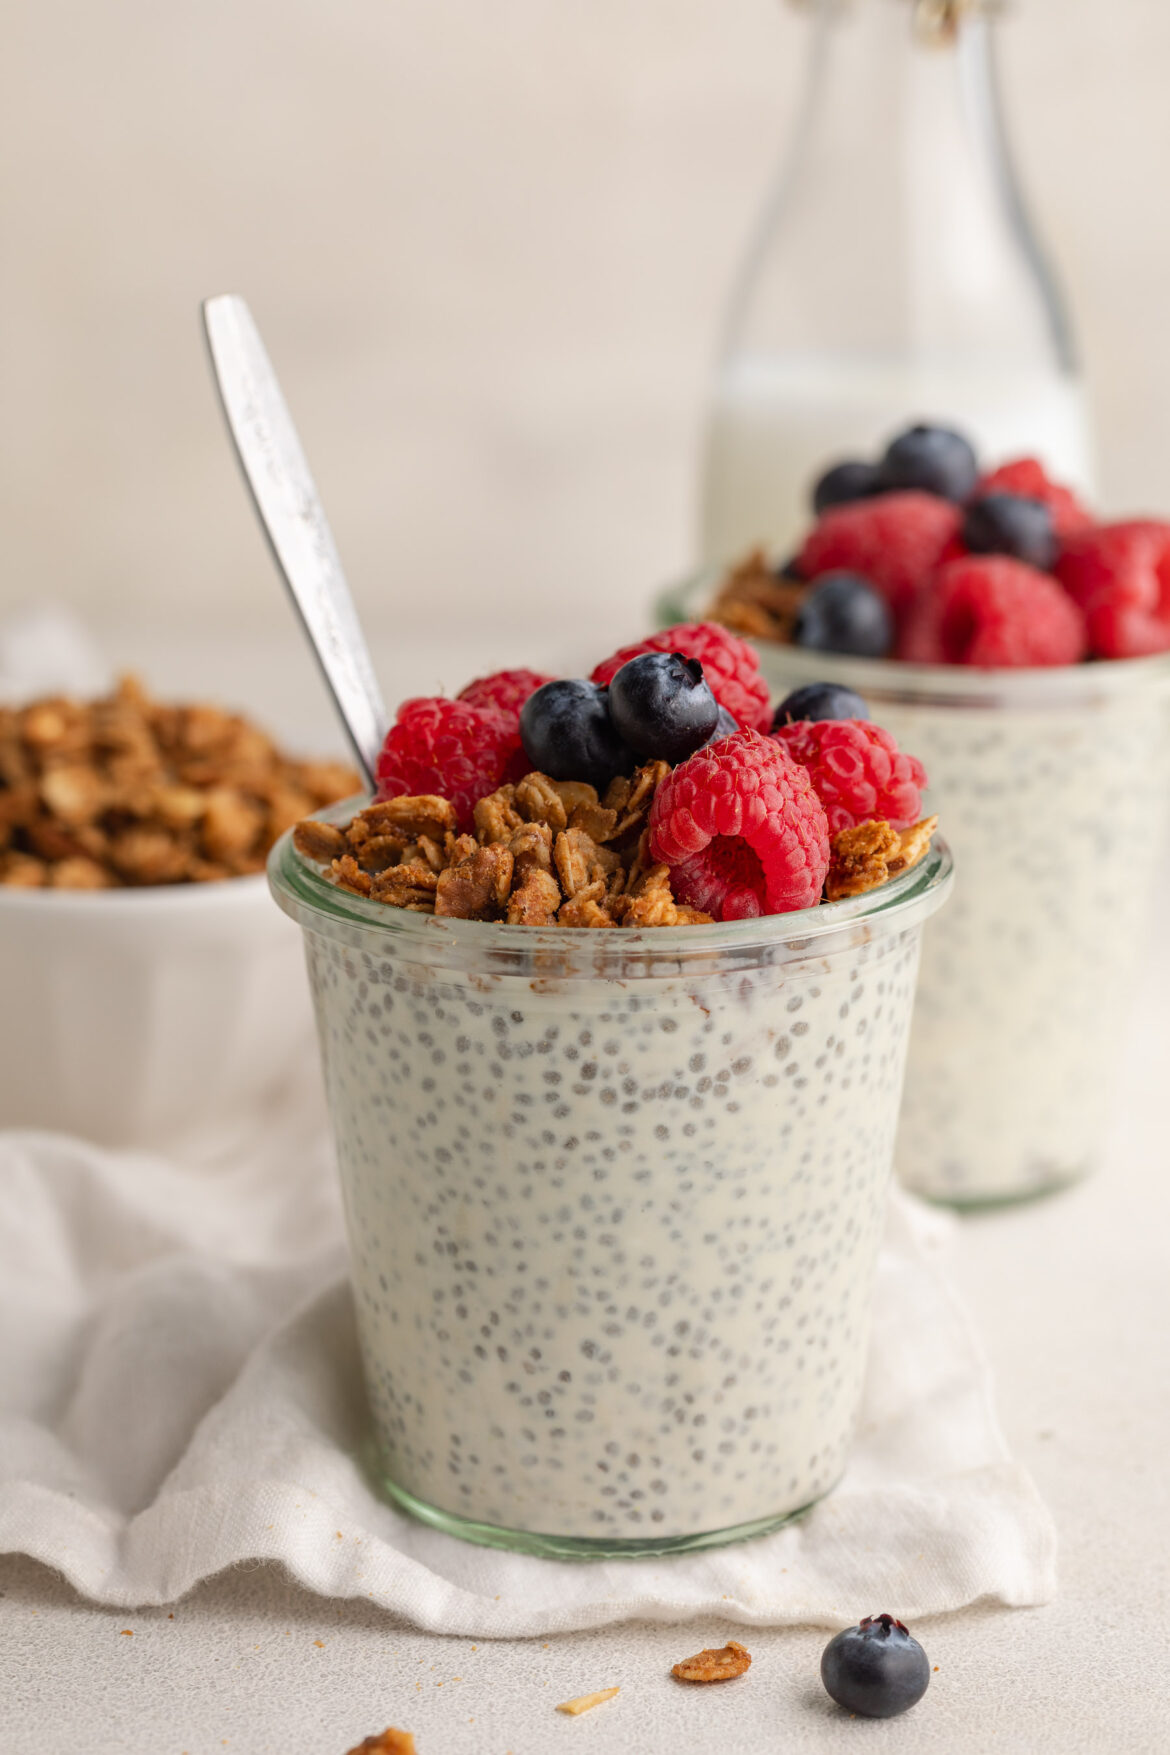
close up image of chia seed protein pudding in a jar with granola and fresh berries on top.

Ingredients You’ll Need

  • Chia Seeds: These tiny super seeds expand in liquid to create that signature pudding texture. They’re also packed with fiber and omega-3s.
  • Vanilla Protein Powder: Adds a delicious flavor boost and turns this pudding into a protein powerhouse. Unsweetened works best so you can control the sweetness in this recipe!
  • Greek Yogurt (or Dairy-Free Yogurt): Adds creaminess, thickness, a boost of probiotics, and extra protein. Use non-dairy yogurt to keep it dairy-free and vegan!
  • Milk (or Non-Dairy Milk): Any milk will work here – almond, oat, coconut, or regular dairy milk. Choose what fits your dietary preferences.
  • Maple Syrup (Optional): Just a touch adds natural sweetness without overwhelming the flavor.

How to Make Chia Seed Protein Pudding

  1. Add all ingredients to an 8-ounce jar or container and stir to combine.
  2. Secure the lid and refrigerate for at least 2 hours (or overnight).
  3. Before serving, stir again to ensure everything is evenly mixed. Add your favorite toppings and enjoy!
overhead image of chia seed protein pudding with granola and fresh berries on top.

Flavor Variations

  • Chocolate Chia Protein Pudding: Use chocolate protein powder and top with cacao nibs.
  • Very Berry: Stir in a handful of mashed berries or layer with a berry compote.
  • Peanut Butter Banana: Add 1 tablespoon peanut butter and a few banana slices on top. YUM!

Topping Ideas

Top your protein pudding with:

  • Fresh fruit (berries, banana, mango)
  • Nut butters
  • Granola (I topped mine with my homemade granola!)
  • Coconut flakes
  • Cacao nibs or dark chocolate shavings

Adjust This Recipe to Your Dietary Needs

  • Make it Dairy-Free: Use plant-based yogurt and non-dairy milk like almond, oat, or coconut.
  • Make it Vegan: Use dairy-free yogurt and a vegan protein powder.

Storage Instructions

Store chia protein pudding in an airtight jar or container in the fridge for up to 3 days. Stir before serving, and top with fresh ingredients right before eating for best texture and flavor.

chia seed protein pudding in a glass jar with fresh blueberries and homemade granola on top.
No ratings yet

4-Ingredient Chia Seed Protein Pudding

This easy chia seed protein pudding is the perfect make-ahead breakfast or snack packed with over 30 grams of protein per serving! Made with just 4 simple ingredients and ready in minutes, it’s creamy, customizable, and keeps you full for hours. Whether you’re fueling post-workout or starting your morning strong, this chia pudding will quickly become a staple in your healthy routine.
Print Pin Rate
Prep Time: 5 minutes
Chill Time: 2 hours
Total Time: 2 hours 5 minutes
Servings: 1 serving

Equipment

  • 1 8 ounce jar

Ingredients

  • 2 tablespoons chia seeds
  • 1 scoop (25 grams) vanilla protein powder
  • 1/2 tablespoon maple syrup or honey (optional)
  • 1/4 cup Greek yogurt or non-dairy yogurt
  • 1/2 cup milk or non-dairy milk

Instructions

  • Add all ingredients to an 8-ounce jar or container and stir to combine, then secure with a lid. Place the chia pudding in the fridge for at least 2 hours and up to 3 days, then remove from the fridge and give it another stir before serving. Top with whatever you’d like!

Notes

Nutrition info may vary depending on the brand of ingredients used. The above nutrition info was calculated without the maple syrup and toppings.

Nutrition

Serving: 1serving | Calories: 295kcal | Carbohydrates: 21g | Protein: 30g | Fat: 11g | Sugar: 3g

Everyone needs a good berry crisp recipe in their back pocket! I’ve made a few berry crisps in my day, but to be completely honest – none were quite right. They were either too dry, didn’t have enough berries, or overly sweet. But this triple berry crisp recipe?? Well… I don’t mean to brag but, she’s just PERFECT! Made with 5 ingredients, in one bowl, with frozen berries (so you can bake it year-round!). I drew some inspo from my healthy apple crisp which was a huge hit last fall! And also my 4 ingredient peach cobbler which I can’t wait to break back out this upcoming peach season.

Why You’ll LOVE This Triple Berry Crisp with Frozen Berries

  • Super Easy to Make: With just 5 simple ingredients, this recipe comes together quickly for a stress-free dessert.​
  • Versatile and Adaptable: Easily customize the recipe to suit gluten-free, dairy-free, nut-free, or vegan diets without compromising on flavor.​
  • Deliciously Healthy: Made with wholesome ingredients, this crisp offers a guilt-free indulgence that’s both satisfying and nutritious.​
close up image of triple berry crisp with frozen berries in a baking dish.

Can I Use Fresh Berries?

Yes, you can use fresh berries in this recipe. However, frozen berries are convenient and available year-round, providing consistent quality and flavor. If using fresh berries, you may need to adjust the baking time slightly, as they release less juice than frozen ones.

Can I Make Ahead and Freeze This Recipe?

Absolutely! This berry crisp can be prepared ahead of time and frozen either before or after baking:​

  • Before Baking: Assemble the crisp, cover it tightly, and freeze. When ready to bake, remove from the freezer, let it thaw in the refrigerator overnight, and bake as directed.​
  • After Baking: Allow the crisp to cool completely, then cover and freeze. To reheat, warm it in the oven at 350°F until heated through.​
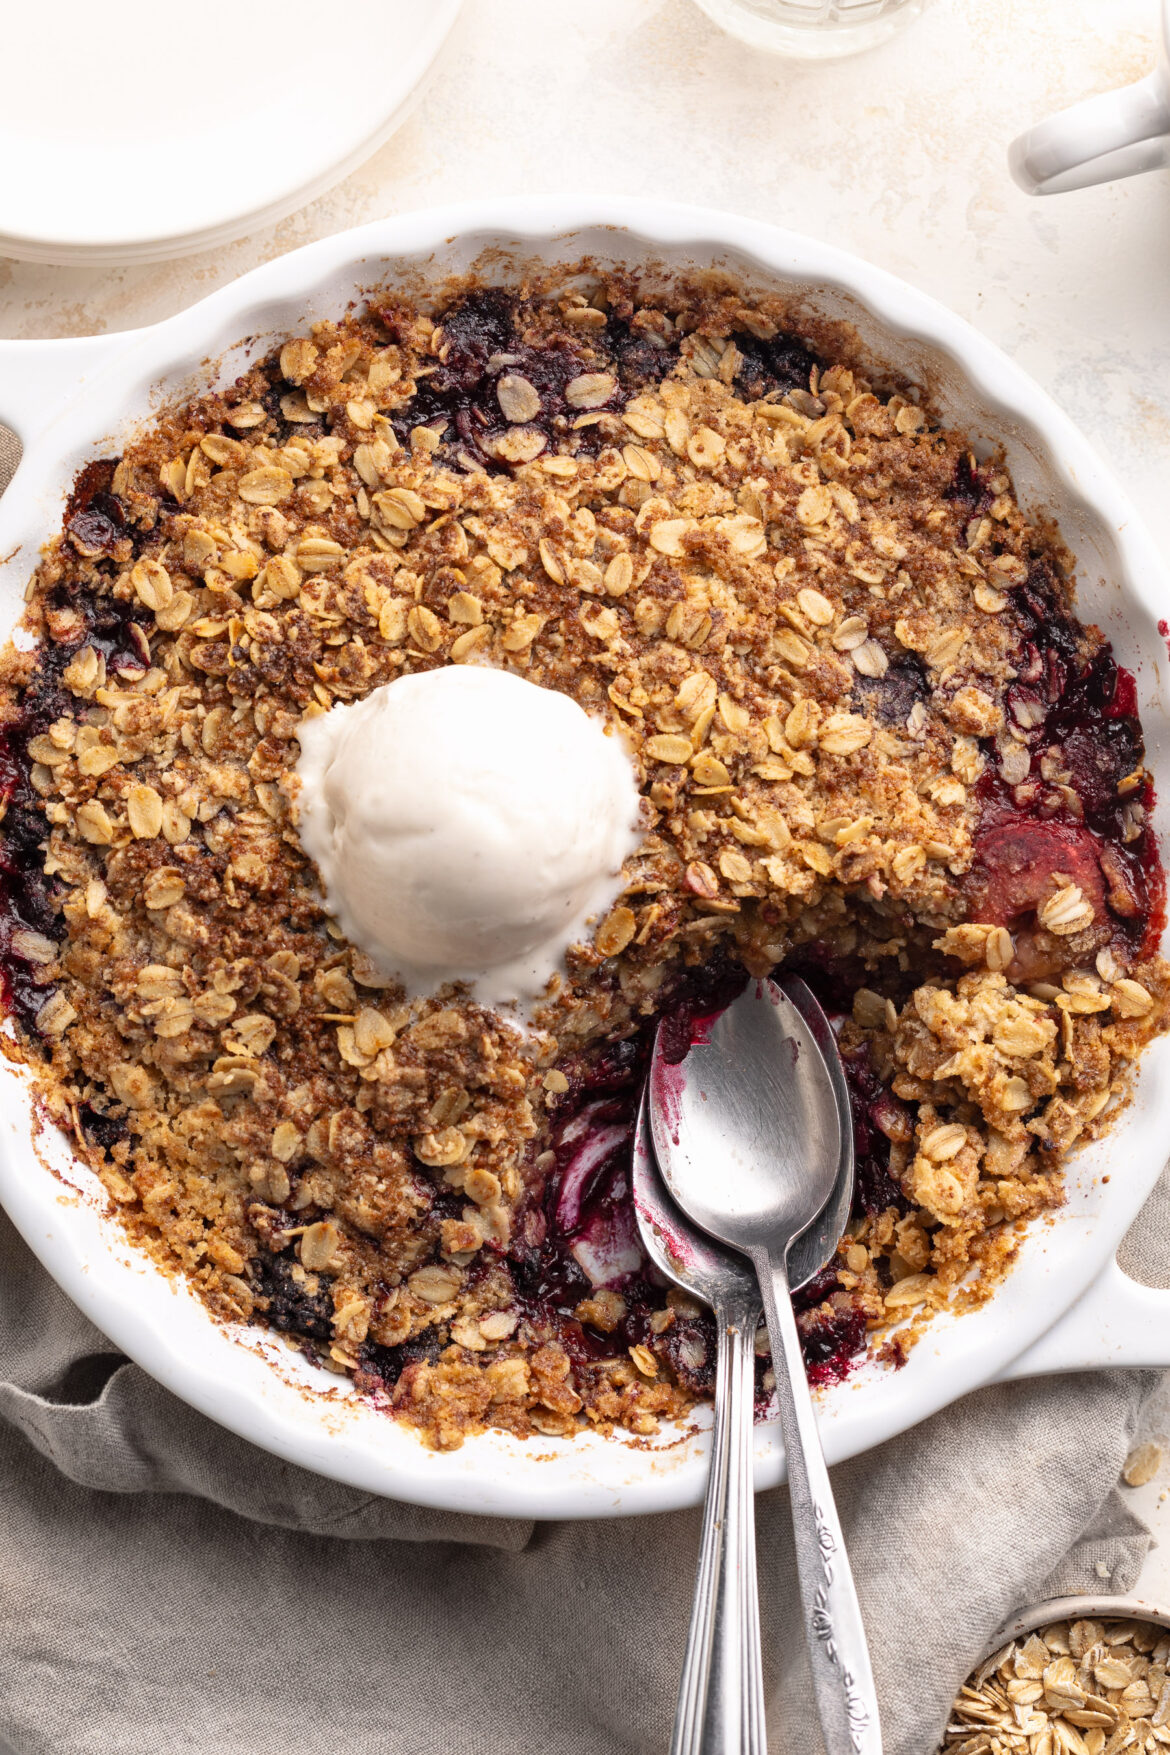
triple berry crisp with frozen berries on a plate with a scoop of vanilla ice cream on top.

Adjust This Recipe to Your Dietary Needs

  • Make it Gluten-Free: Use certified gluten-free oats and gluten-free all-purpose flour or almond flour for the crisp topping.
  • Make it Dairy-Free: Substitute the butter with a non-dairy alternative like coconut oil or a plant-based butter.​
  • Make it Nut-Free: Ensure all ingredients, including oats and flour, are free from cross-contamination with nuts.​
  • Make it Vegan: Replace the butter with a plant-based alternative and use a vegan-friendly sugar.
Overhead image of triple berry crisp with frozen berries in a baking dish with a scoop of vanilla ice cream on top.
No ratings yet

5-Ingredient Triple Berry Crisp with Frozen Berries

Effortless and delicious 5-Ingredient Triple Berry Crisp, crafted with frozen mixed berries and a simple, wholesome crisp topping! This fruit crisp is not only simple to make, but also easy to adapt to a variety of diets, making it a perfect treat for any occasion. Serve it warm with a scoop of vanilla ice cream for a delicious and healthy dessert!
Print Pin Rate
Prep Time: 10 minutes
Cook Time: 40 minutes
Total Time: 50 minutes
Servings: 8 servings

Equipment

  • 1 9-inch baking dish
  • 1 large bowl

Ingredients

For the berries:

  • 4 cups frozen mixed berries
  • 1/4 cup cane sugar or coconut sugar
  • 1/4 cup gluten-free all purpose flour or regular all purpose flour
  • 1/2 tablespoon lemon juice optional
  • 1 teaspoon vanilla extract optional

For the crisp:

  • 1 cup rolled oats
  • 3/4 cup gluten-free all purpose flour or almond flour
  • 1/2 cup cane sugar or coconut sugar
  • 6 ounces butter cut into 1-inch cubes

Instructions

  • Preheat oven to 350° Fahrenheit.
  • Add all berry ingredients to a 9-inch baking dish and toss together until evenly coated, then spread the berries into an even layer around the dish.
  • Add all crisp ingredients to a large bowl. Use a fork to mix together, until a crumbly mixture forms. Sprinkled the crisp topping evenly over the berries.
  • Bake for 40-45 minutes or until the berries are super soft, then let cool slightly before serving with a scoop of vanilla ice cream. YUM!
    berry crisp with frozen berries step 3

Nutrition

Serving: 1serving | Calories: 350kcal | Carbohydrates: 45g | Protein: 2g | Fat: 18g | Sugar: 24g