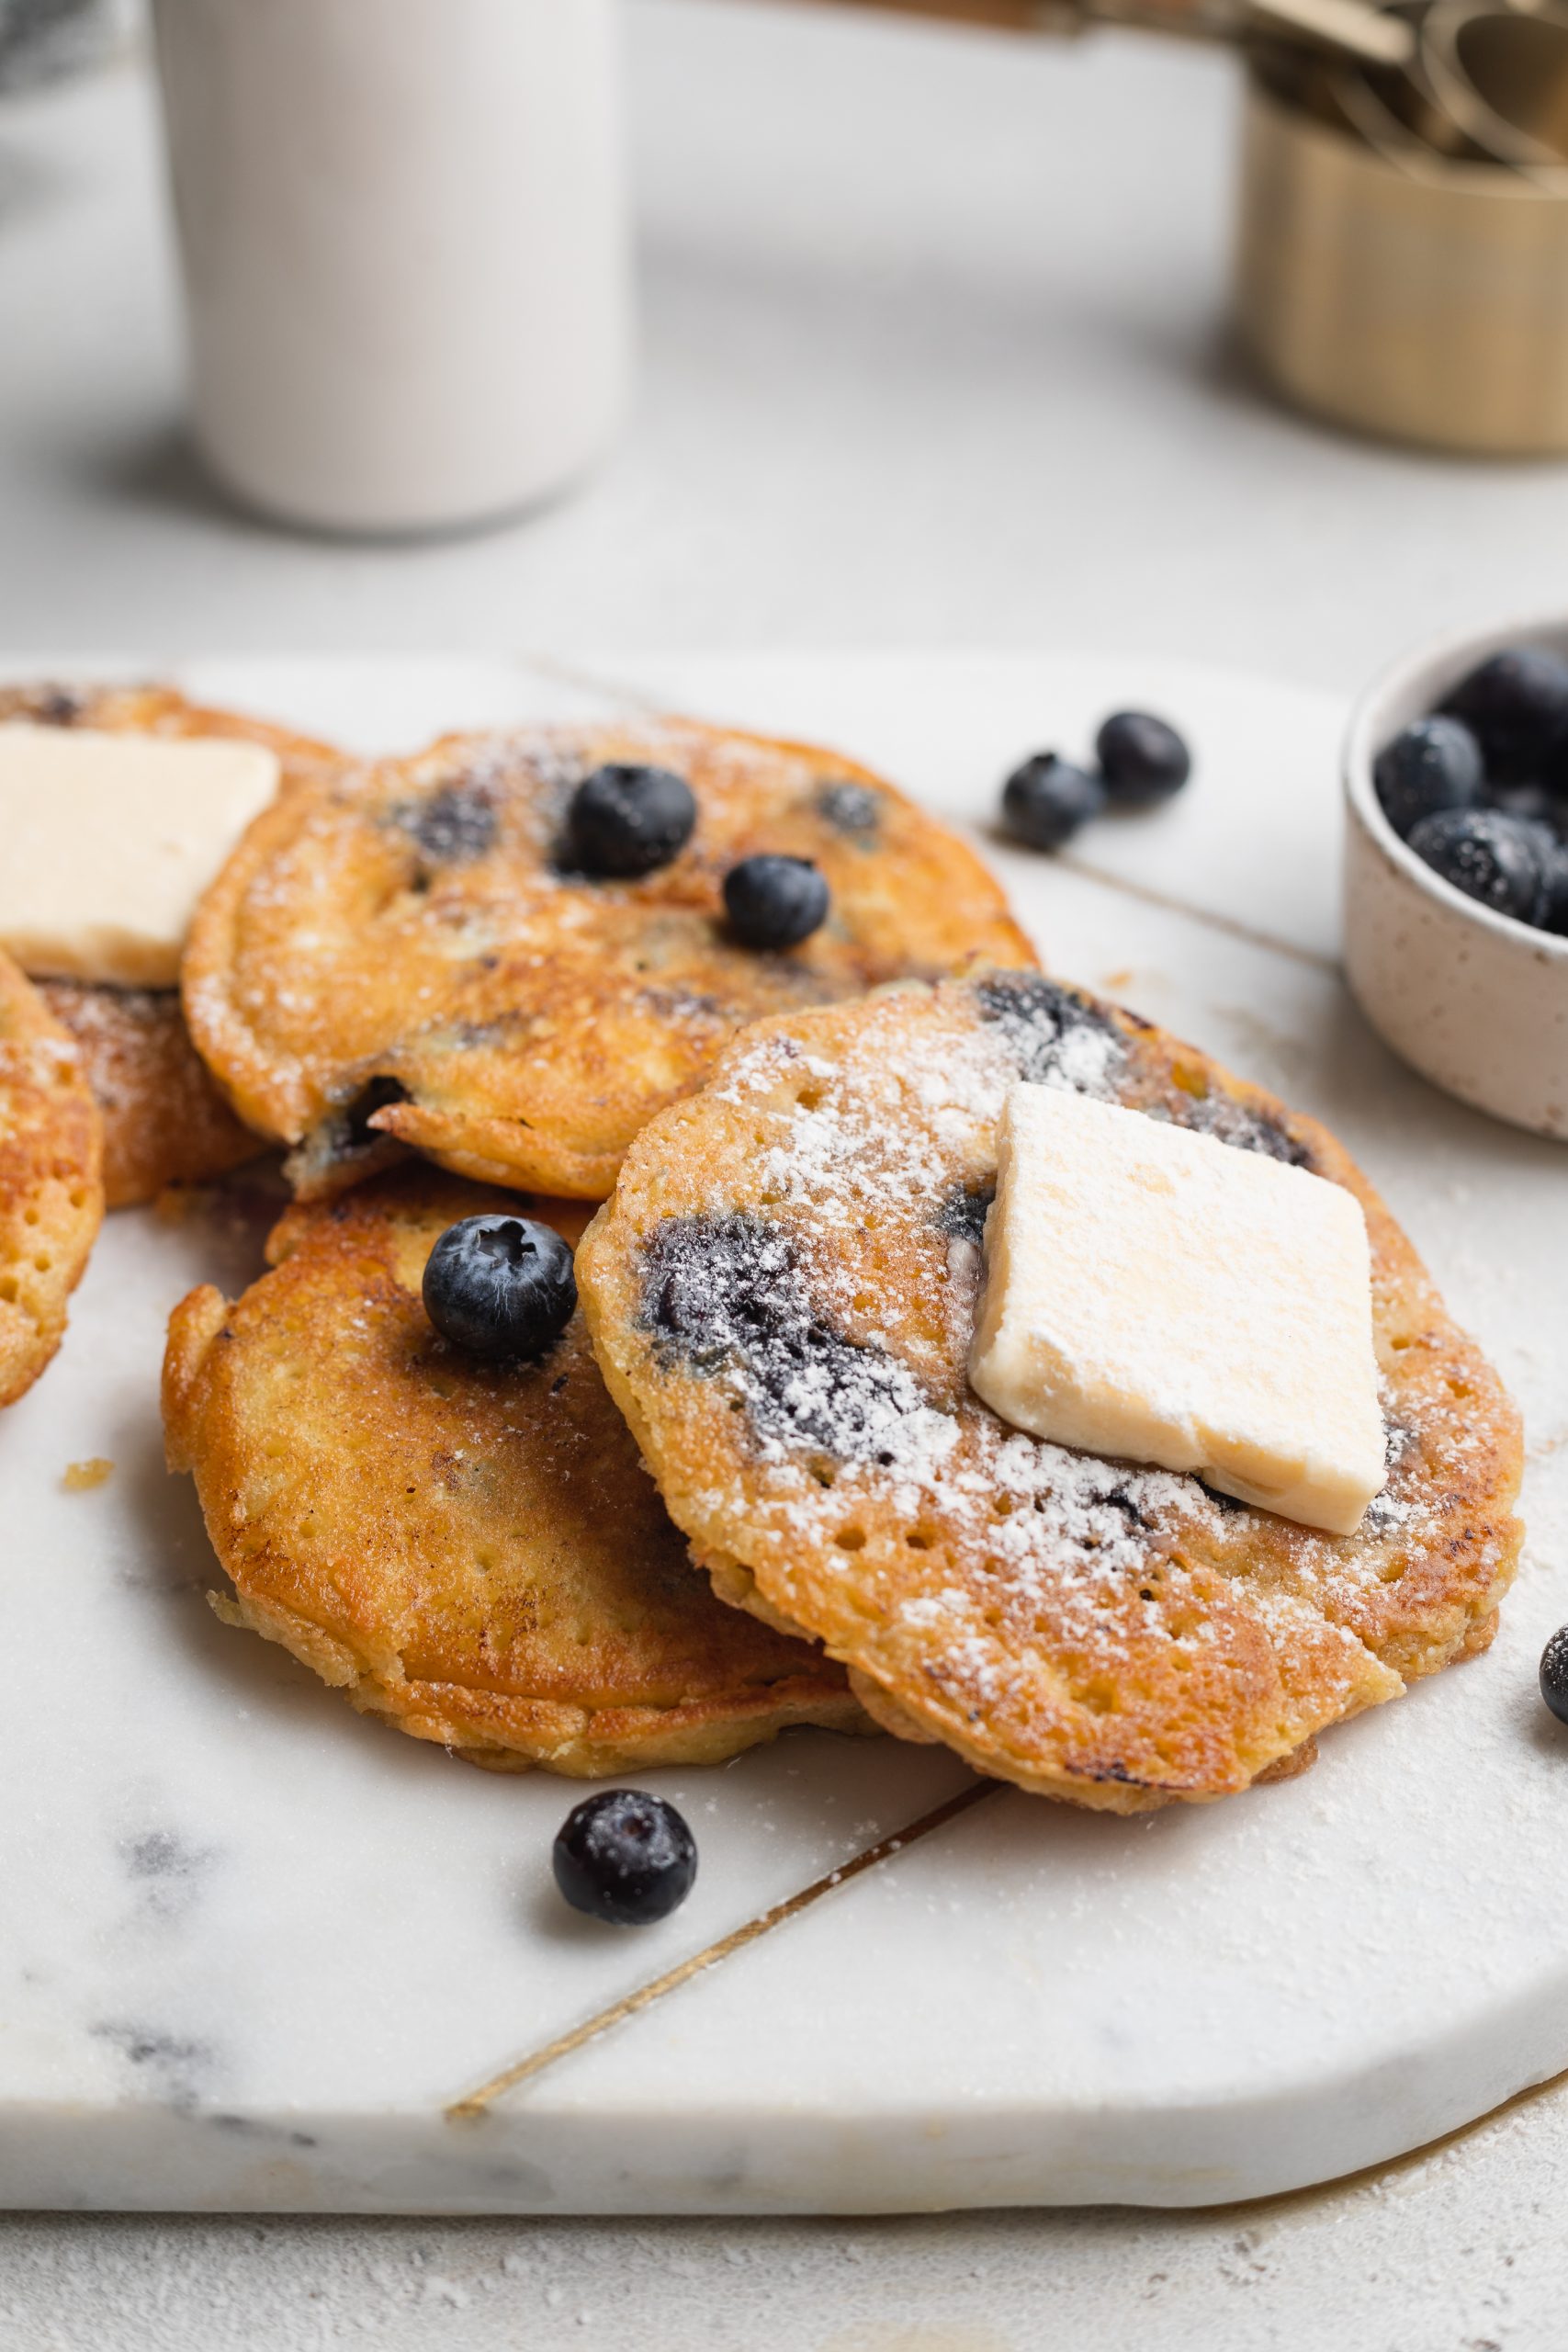
These almond flour pancakes are extra fluffy, delicious, and super easy to make! One bowl, a handful of ingredients, and 15 minutes is all you need to throw this simple gluten-free breakfast together. These almond flour pancakes are also the perfect blank canvas to any toppings you’d like (I went with blueberries – yum!).

What You’ll Need
Almond Flour – The star of our show – almond flour! It’s naturally gluten-free, grain-free, and paleo friendly. Almond flour is actually the only flour you’ll need for this healthy breakfast recipe. The most common misconception when it comes to almond flour is that it can be used as a 1:1 substitution for regular all purpose flour. However, that’s definitely not the case! Almond flour is much more dense and creates a heavier bake than regular flour. Though in this recipe we lighten the pancakes up with two whole eggs and a touch of milk.
Eggs – Eggs are crucial to keeping these almond flour pancakes held together! They are our binding agent, and without them the pancakes would simply fall apart. I highly recommend using large or extra large eggs for this recipe, though really any size will work.
Coconut Oil or Butter – Whether you’re using a non-stick pan or not, a touch or butter or oil is very useful to prevent sticking. For a non-stick pan, you may be able to get away with using less oil or butter than the recipe calls for. But for either a stainless steel or cast-iron pan, you’ll need the full tablespoon. And if you ever begin to notice sticking throughout the cooking process, then go ahead and add a bit more butter or oil to your pan!
How to Make Almond Flour Pancakes
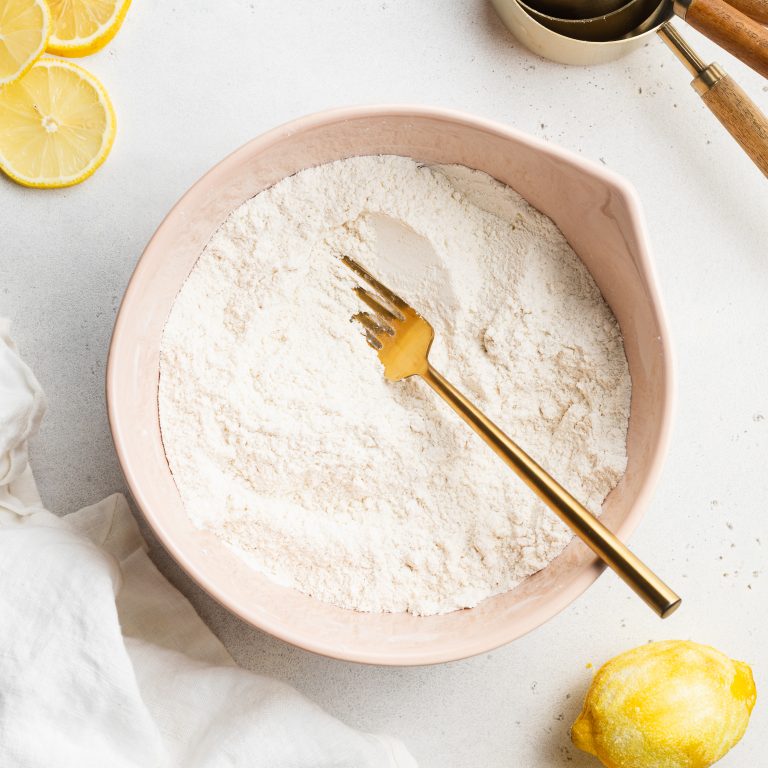
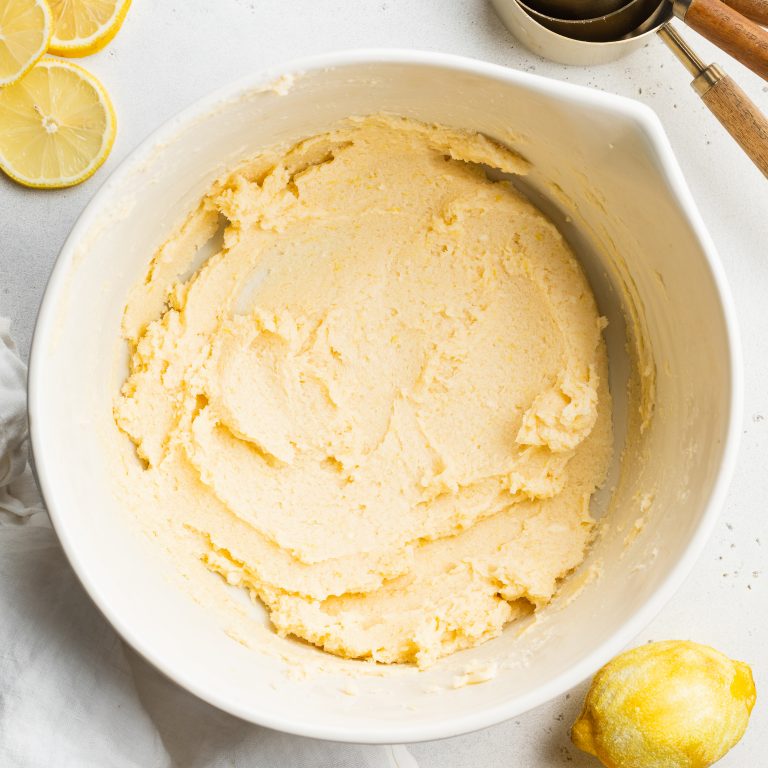
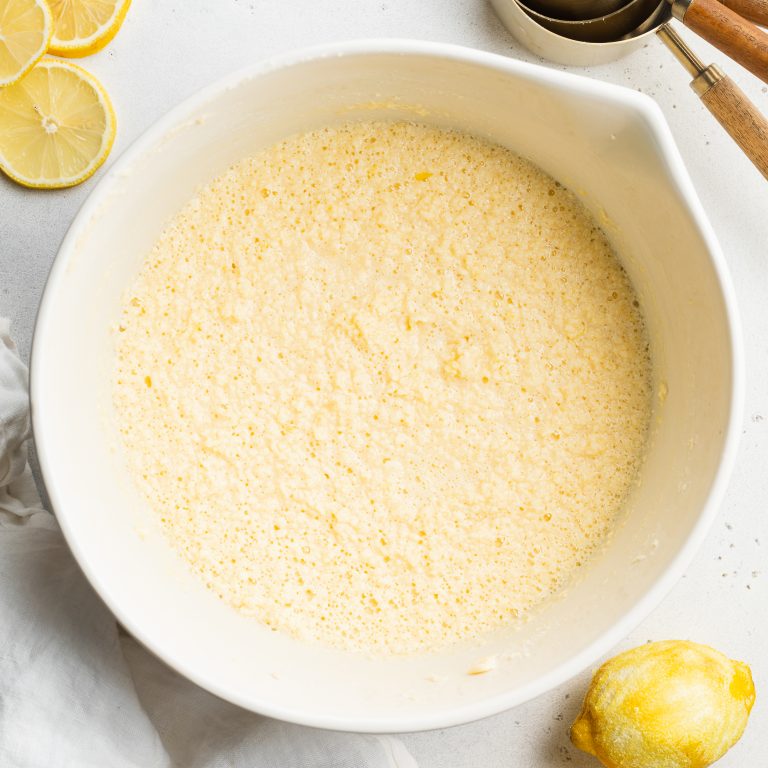
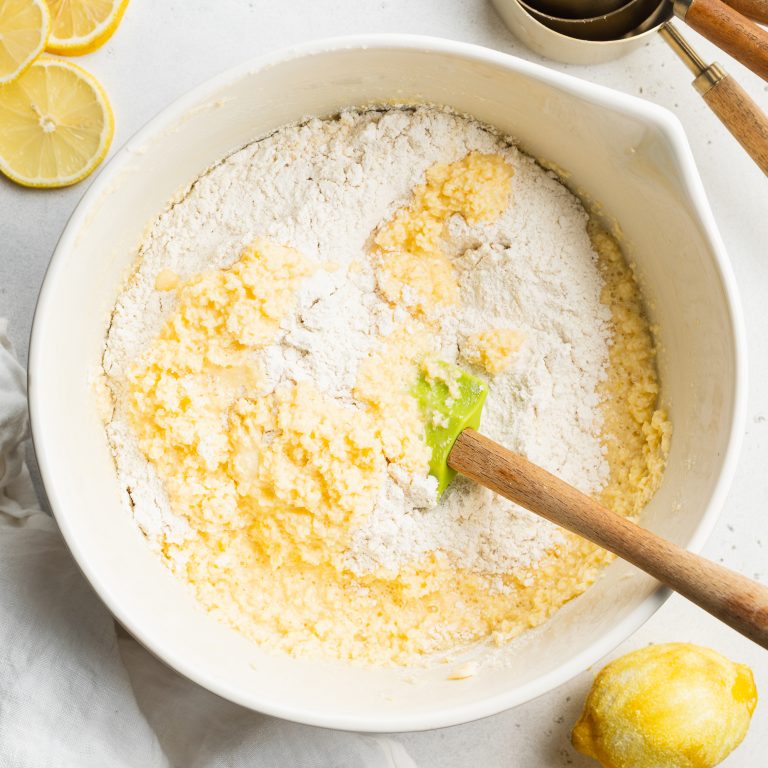
Making homemade almond flour pancakes is super easy! Start by adding the almond flour and baking powder to a large bowl. Whisk those dry ingredients together before adding in the eggs, milk, maple syrup, and vanilla extract. Once your pancake batter is completely combined, then you can add in any fillings/toppings you’d like – fresh blueberries and chocolate chips are my personal favorite!
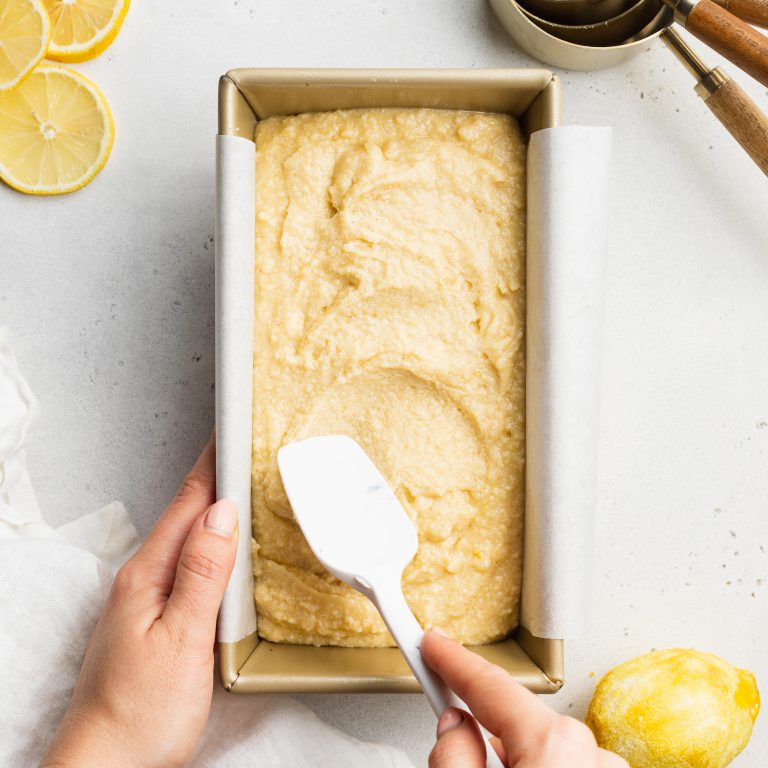
Now that your batter is all prepped, heat a tablespoon of either butter, coconut oil, or any other neutral-tasting oil in a large skillet over medium heat. Once hot, scoop about 1/4 cup of batter into the skillet. The batter will disperse out and form that signature circular pancake shape.
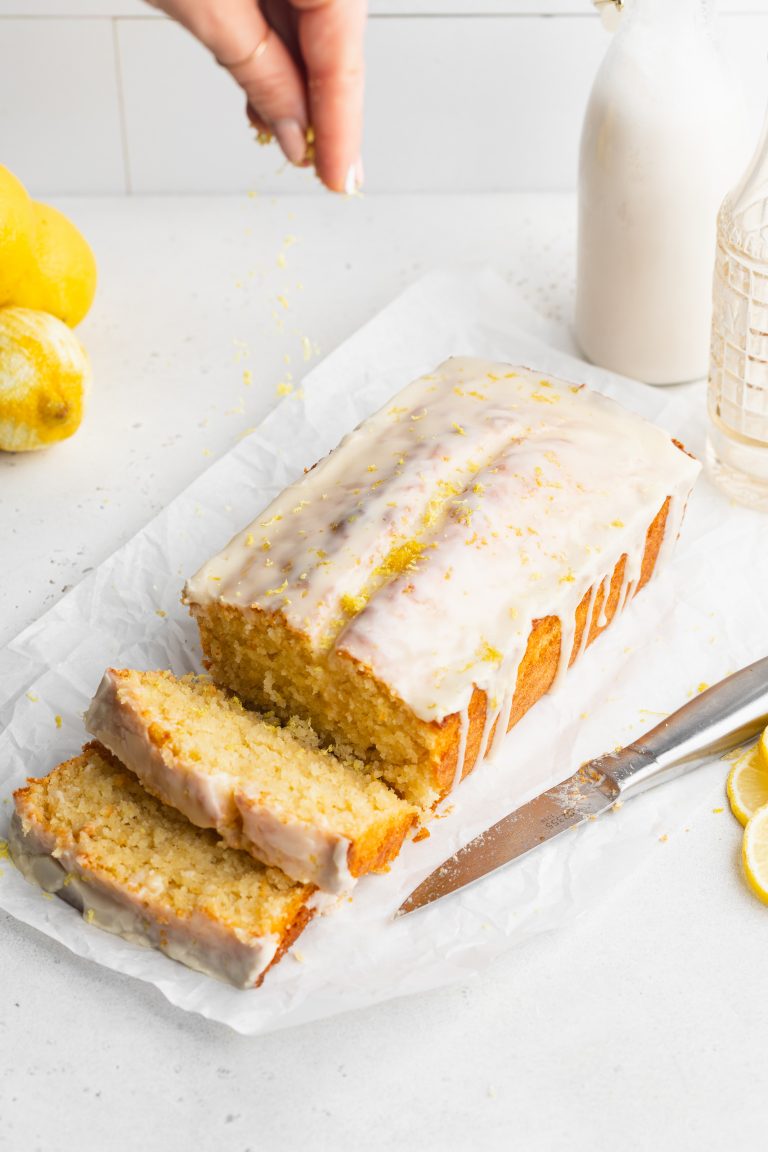
Cook each pancake in the skillet for about 3-5 minutes, or until the bottom is nicely golden brown. Then, use a spatula to carefully flip the pancake and cook the other side. Repeat this cooking process with your remaining better then serve your almond flour pancakes! I recommend finishing them off with a dusting of powdered sugar and a drizzle of maple syrup.
Adjust This Recipe to Your Dietary Needs
Make it Vegan – Make this a vegan almond flour pancake recipe by substituting the two eggs for one flax egg (1 tablespoon of ground flax meal + 3 tablespoons water) and one mashed banana. The flax egg and banana will work together to bind your pancakes and prevent them from falling apart. Also, use your favorite vegan milk in place of the regular milk this recipe calls for.
Make it Dairy-Free – To make this a dairy-free breakfast, simply use almond milk or your favorite non-dairy milk in place of the regular milk in this recipe. Also, be sure to use coconut oil for cooking, instead of butter.
Perfect Almond Flour Pancakes
Ingredients
- 1 cup almond flour, see Notes
- 1 teaspoon baking powder
- 2 eggs
- 1/4 cup milk, I used non-dairy milk
- 1 tablespoon maple syrup
- 1 teaspoon vanilla extract
- 1 tablespoon coconut oil or butter
Instructions
- Whisk together the almond flour and baking powder in a large bowl.
- Add in eggs, milk, maple syrup, and vanilla extract, whisk to combine.
- Melt coconut oil or butter in a large skillet over medium low-medium heat and spoon ¼ cup batter into skillet.
- Cook pancakes for 2-3 minutes per side or until edges are slightly golden brown. Repeat until no more batter remains.


")


")

