")
I made this 4 ingredient peach cobbler for Father’s Day last weekend and let me tell ya, it was a HUGE hit! I even made it gluten-free (see note below), and no one could taste the difference. Now it doesn’t take much scrolling around here to realize that I’m a huge fan of few-ingredient desserts. I’m talkin’ 4 ingredient banana bread, 3 ingredient peanut butter mug cake, and 4 ingredient banana muffins. So ya, I’d say this 4 ingredient peach cobbler fits perfectly into that lineup!
What You’ll Need to Make This Recipe
Fresh Peaches: You’ll need 5-6 large fresh peaches, sliced. Fresh peaches provide the best flavor and texture, but you can also use frozen or canned peaches as an alternative.
Sugar: You can use regular sugar, or swap it for coconut sugar or monkfruit sweetener for a healthier option.
Self-Rising Flour: Use 1 cup of self-rising flour to create the cobbler topping. If you don’t have self-rising flour, you can use all-purpose flour with 1 ½ teaspoons of baking powder added.
Butter: You’ll need ½ cup of melted butter for a rich and flavorful topping. For a dairy-free alternative, substitute with vegan butter or coconut oil.

Types of Peach to Use
- Fresh peaches are ideal for the best flavor and texture. Simply peel, slice, and they’re ready to go.
- Frozen peaches are a great alternative when fresh peaches are out of season. Thaw and drain them before using.
- Canned peaches are convenient and work well in this recipe. Make sure to drain them thoroughly before adding to the pan, and leave the sugar out of the filling since canned peaches are already sweetened.


Adjust This Recipe to Your Dietary Needs
Make it Gluten-Free: Use self-rising gluten-free all-purpose flour in place of regular self-rising flour.
Vegan Option: Substitute melted butter with vegan butter or coconut oil.
Make it Sugar-Free: Replace regular sugar with monkfruit sugar or your preferred sugar substitute.
4 Ingredient Peach Cobbler (gluten-free!)
Ingredients
For the peach filling:
- 4-5 fresh peaches, sliced
- 2 tablespoons sugar
For the cobbler topping:
- 1 cup self-rising flour, see Notes
- 1/2 cup sugar
- 1/2 cup butter, melted
Instructions
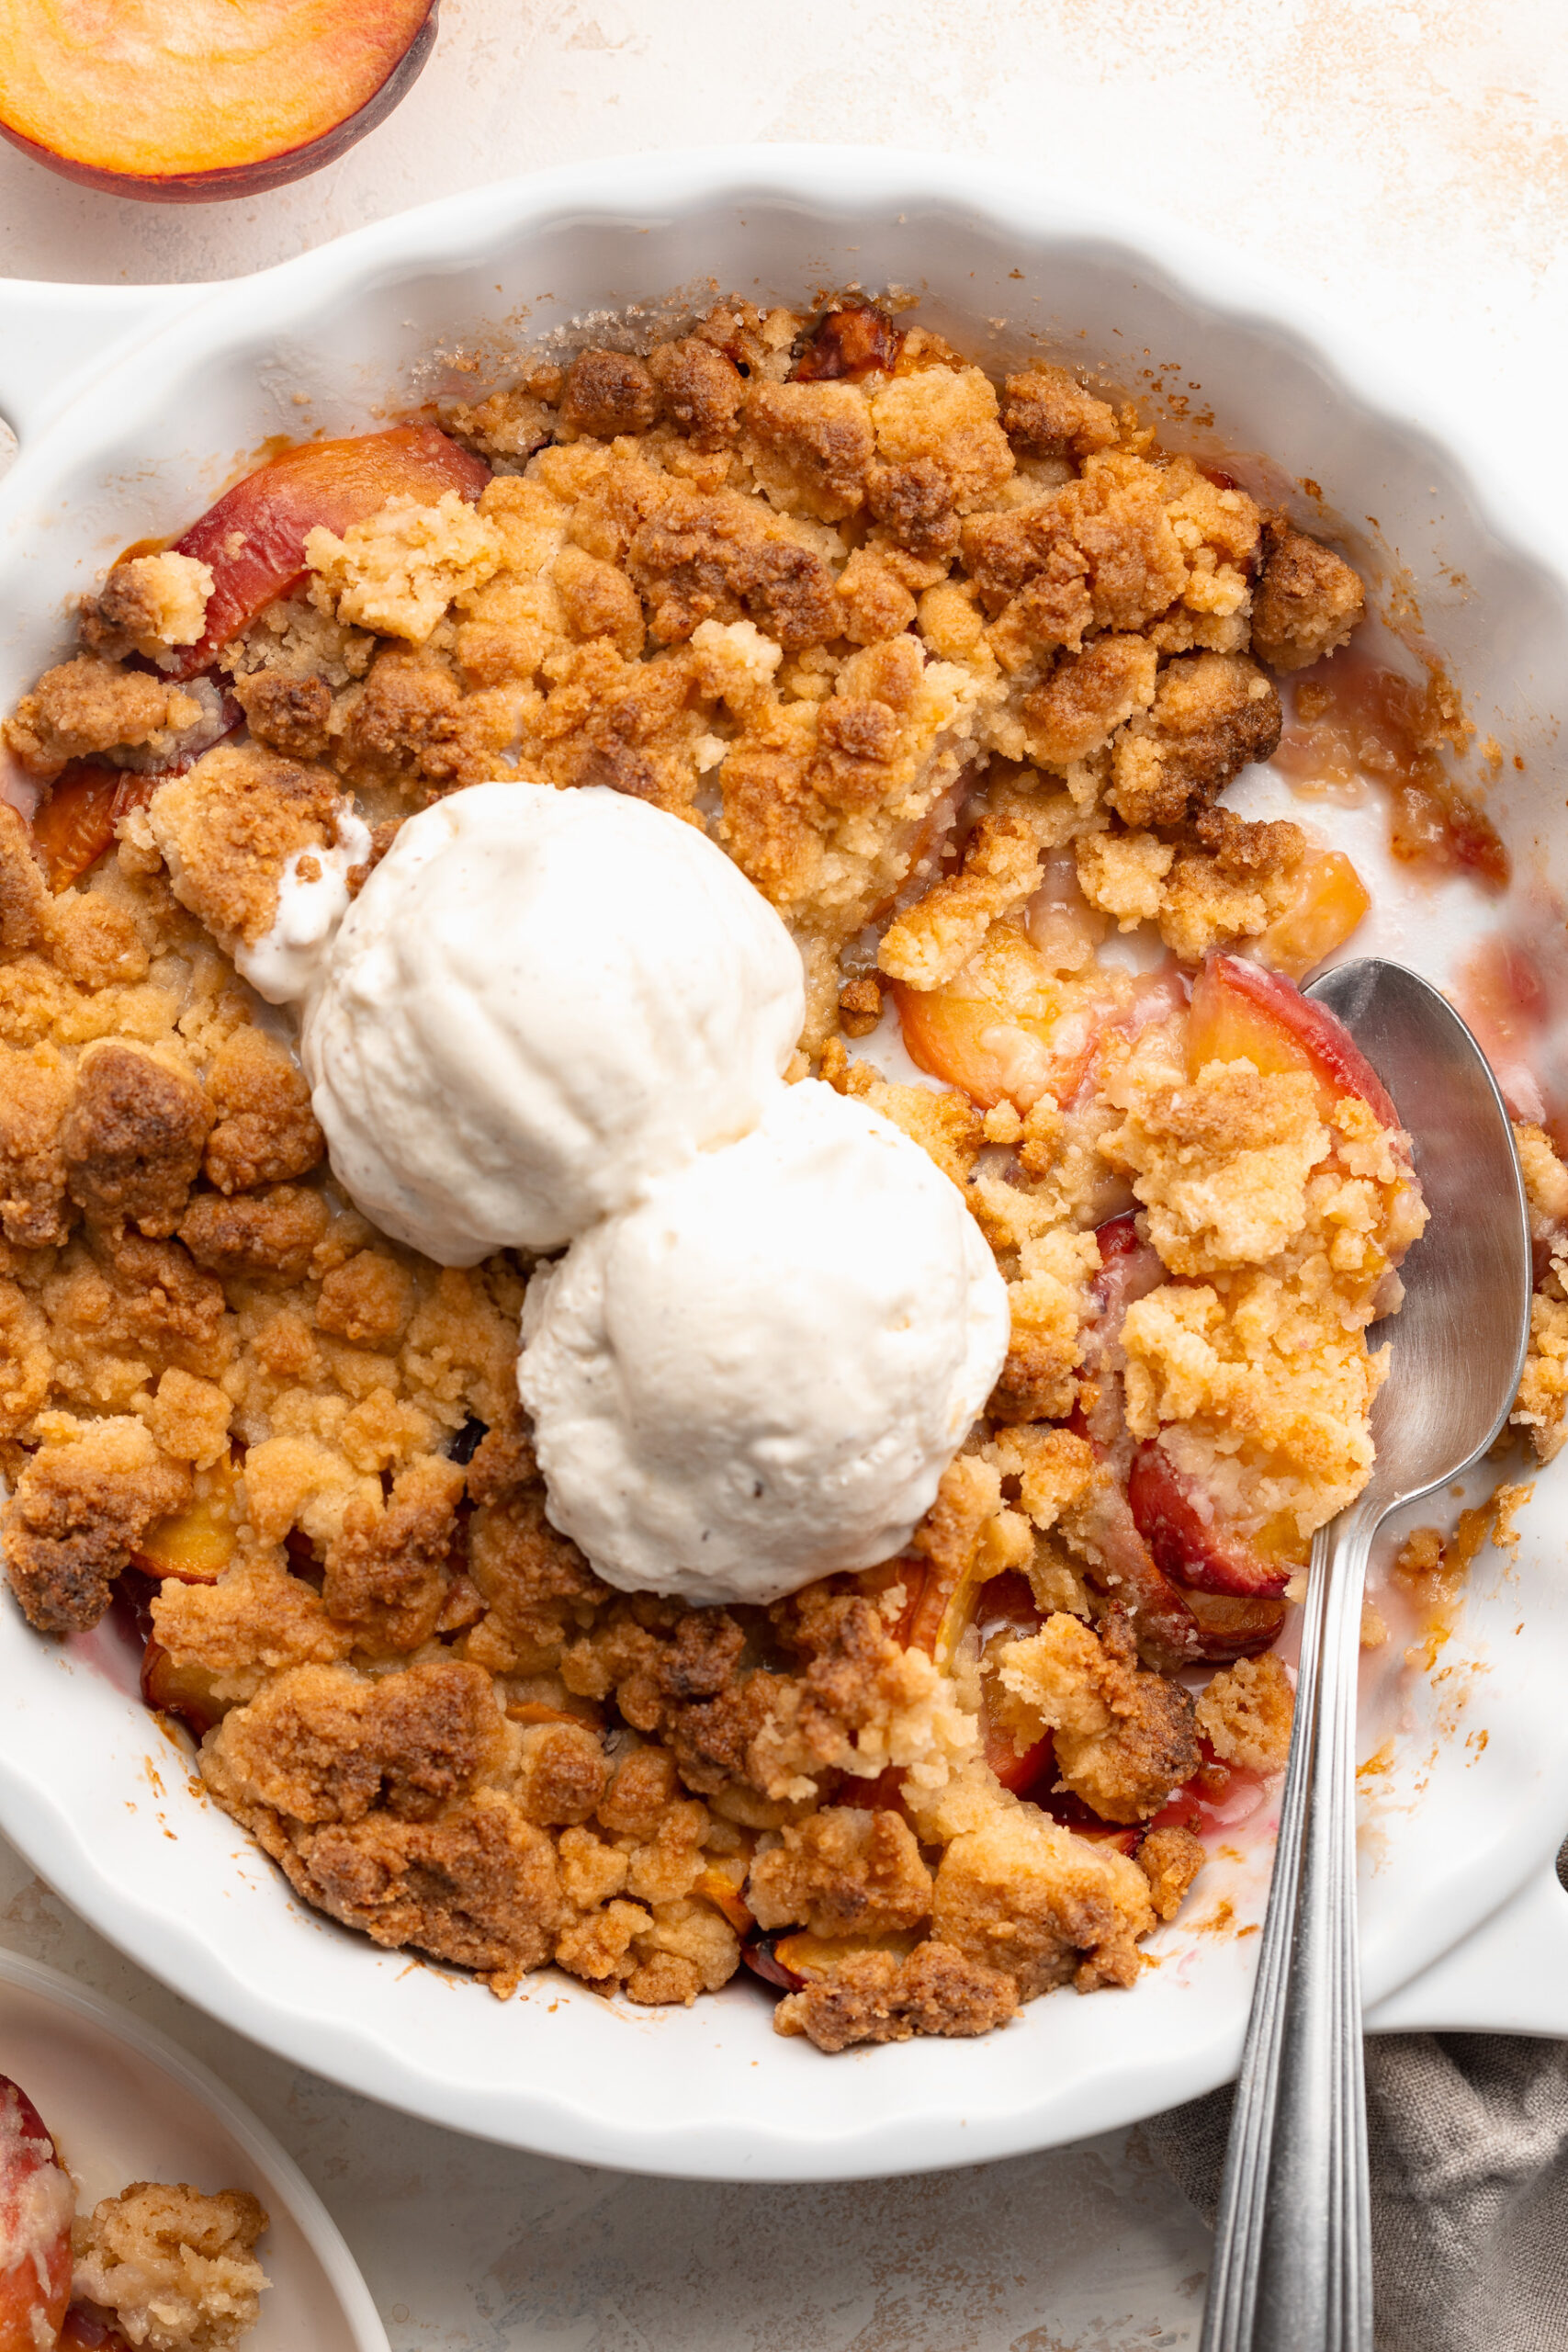
- Preheat the oven to 350° Fahrenheit and lightly grease a 9-inch cake or pie pan. Add the sliced peaches and 2 tablespoons sugar to the prepared pan and mix together.

- In a medium bowl, mix together the self-rising flour, sugar, and melted butter, to form a crumbly consistency.

- Add the drained and sliced peaches to the prepared cake or pie pan, then top the peaches with the flour mixture. Do not stir the peaches and flour mixture together, simply layer then flour mixture evenly on top of the peaches.
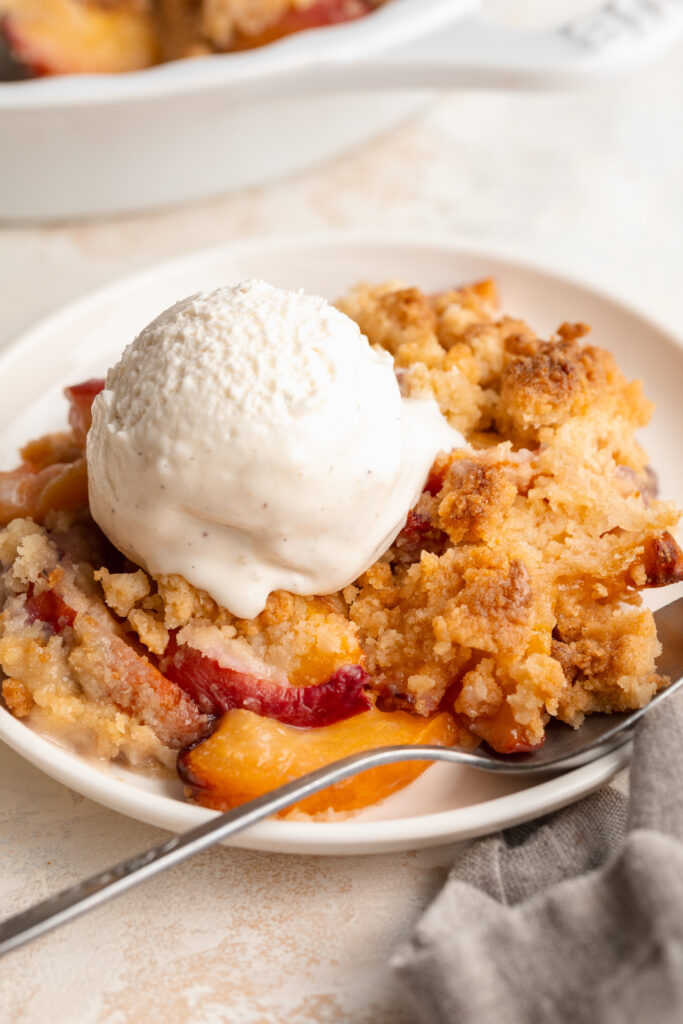
- Bake the peach cobbler for 40-45 minutes, or until it’s golden brown on top and the peaches are bubbly. Let it cool out of the oven for 20 minutes before serving with a scoop of vanilla ice cream – YUM!