I LOVE dates. I almost always have a bag on-hand. They’re perfect for stuffing with peanut butter, like in my 4-ingredient healthy snickers, or blending with oats to make healthy cookie dough date bites. Or… if you’re like my husband, dates are delicious all on their own!
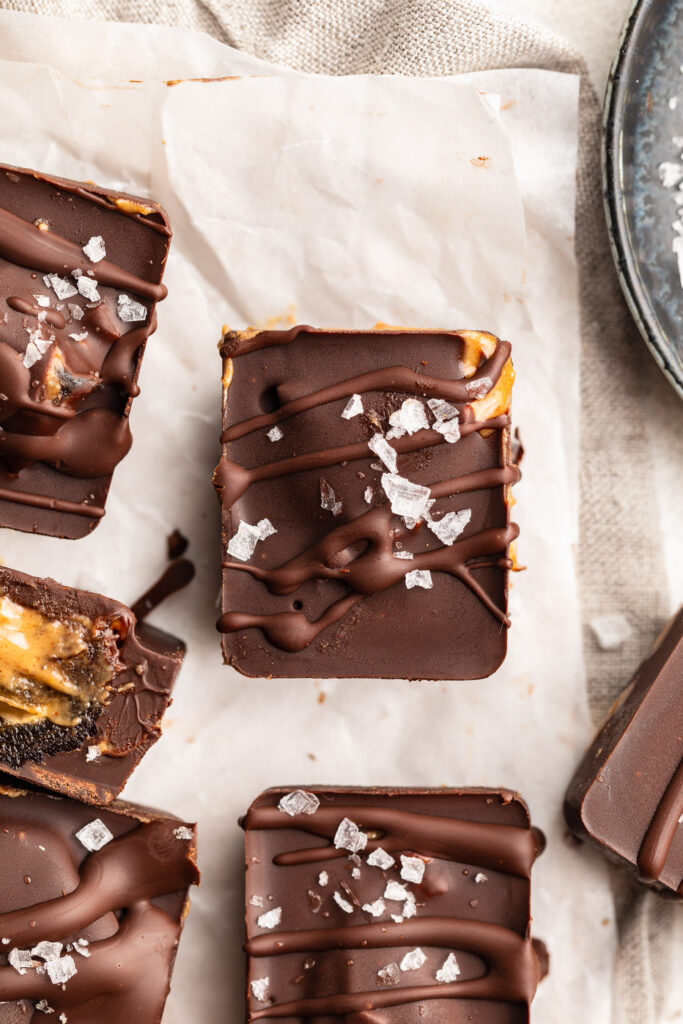
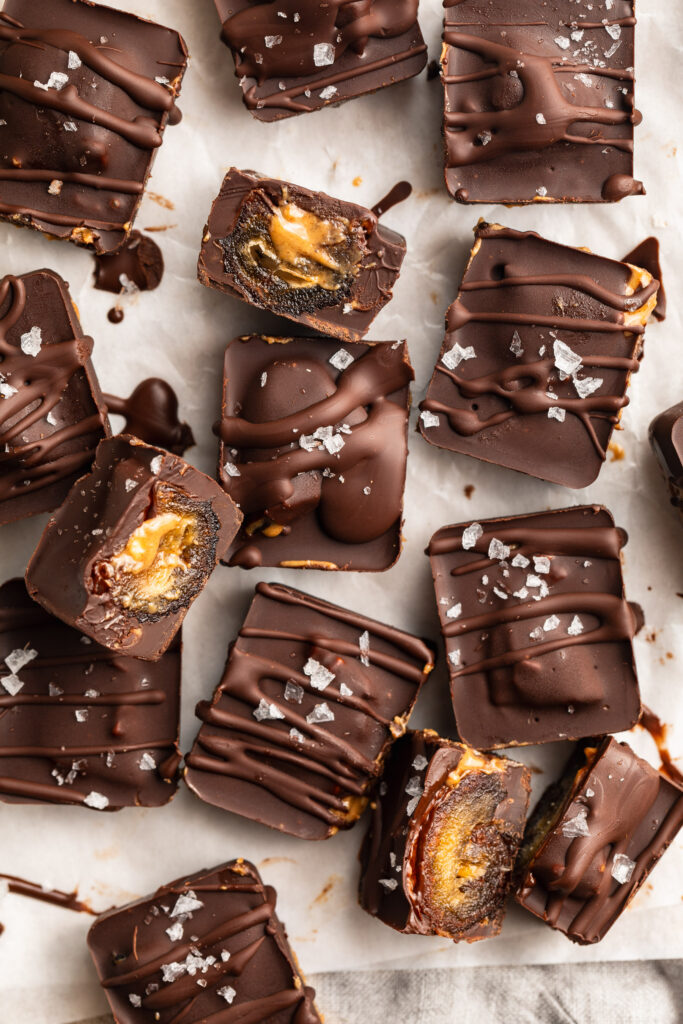
Dates are the main ingredient in these 4 ingredient date caramels. They’re softened with a little hot water, then blended with almond butter and coconut oil to make a lusciousssss healthy date caramel. And because everything tastes better dipped in chocolate (ok ok, MOST things taste better dipped in chocolate), each date caramel is dunked in melted chocolate, then placed in the freezer until firm. The end result is a perfectly sweet and healthier chocolate-covered caramel candy. YUM!

What You’ll Need to Make This Recipe
- Medjool Dates: The star ingredient! Medjool dates are naturally sweet and sticky, making them the perfect base for these caramels. If your dates are a bit dry, soaking them in hot water helps soften them up for easy blending. Here’s a link to the medjool dates I purchase on Amazon!
- Creamy Almond Butter: Adds creaminess and a subtle nutty flavor to the caramels. You can substitute with any nut or seed butter like peanut butter or sunflower seed butter to make the recipe nut-free.
- Coconut Oil: This helps bind the ingredients together and adds a touch of richness. Use refined coconut oil to avoid any coconut flavor, especially if you want the dates’ natural sweetness to shine through.
- Chocolate Chips or Bar: Choose a high-quality dark chocolate for a rich coating. If you’re keeping this treat refined sugar-free, look for a chocolate that’s sweetened with coconut sugar or another natural sweetener. The coconut oil added to the chocolate helps it melt smoothly and gives the caramels a beautiful glossy finish.
How to Make Date Caramels
- Soak the Dates: Start by soaking the dates in hot water for about 10 minutes to soften them, making them easier to blend.
- Blend: After soaking, drain the dates and add them to a food processor along with the almond butter and melted coconut oil. Blend until smooth and creamy.
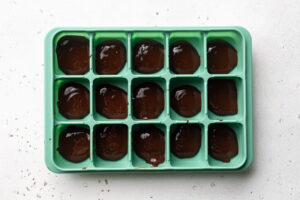
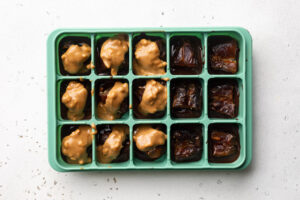
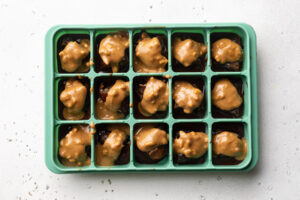
- Shape & Freeze: Spread the date mixture into a parchment-lined loaf pan and freeze for 2-3 hours until firm.
- Cut into Squares: Once firm, remove from the freezer and cut into 12 small squares.
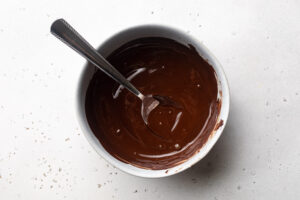
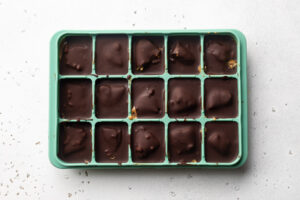
- Dip in Chocolate: Melt the chocolate with a bit of coconut oil, then dip each caramel square into the chocolate until fully coated. Place the coated caramels on a parchment-lined plate and refrigerate until the chocolate is set.

Make Them Nut-Free
If you’re catering to a nut-free crowd, simply swap out the almond butter for sunflower seed butter. The consistency and flavor are just as delicious, making this treat accessible for those with nut allergies!
Tips and Tricks
- Use Fresh Dates: Fresh, soft dates blend more easily and give you a smoother caramel. If your dates are dry, don’t skip the soaking step.
- Don’t Overheat the Chocolate: When melting the chocolate, keep the heat low to prevent burning. A double boiler works well, or microwave in short intervals, stirring in between.
- Storage: These caramels keep best in the fridge or freezer, so you can always have a batch on hand for when the craving hits. They taste great straight from the freezer too!
These caramels are a healthier take on the classic candy, with no need for a candy thermometer or complicated techniques. Perfect for sharing—or keeping all to yourself!

4 Ingredient Date Caramels
Ingredients
For the date caramel:
- 1 cup packed medjool dates, pitted
- 2 tablespoons creamy almond butter, or any nut/seed butter
- 1 tablespoon coconut oil, melted
For the chocolate coating:
- 1 cup chocolate chips, or an 8-ounce chocolate bar
- 2 teaspoons coconut oil, melted
Instructions
- Soak the dates in a bowl of very hot water for 10 minutes.
- Once dates are very soft, drain them from the water and transfer the soaked dates to a food processor or high-speed blender. Add the almond butter and coconut oil to the dates, and pulse until completely smooth.
- Transfer the date caramel to a 9×5-inch loaf pan lined with parchment paper, then place the pan in the freezer for 2-3 hours, or until date caramel is firm to the touch.
- Remove the loaf pan from the freezer, and lift the date caramel out of the pan. Place the date caramel on a cutting board and slice into 12 small squares.
- Melt the chocolate chips and 2 teaspoons coconut oil in a heat-safe bowl in either the microwave or over a double boiler on the stove. Once chocolate is completely smooth and melted, dip each caramel square in the chocolate to fully coat. Carefully lift the caramel out of the chocolate and transfer to a parchment-lined plate.
- Repeat the dipping process with all caramels, then transfer to the fridge for 1 hour or until chocolate has hardened and is completely set. Once set, enjoy your chocolate covered date caramels, or keep stored in the fridge to enjoy later on!
")