Tag

chocolate chips

Browsing

If my healthy edible brownie batter and 4-ingredient date caramels had a baby, it’d be these healthy no-bake brownie balls! They’re rich, fudgy, naturally sweetened with dates, and even include some sneaky protein. And the best part? They’re entirely NO bake! Because let’s face it, this summer’s already been too hot to turn the oven on. I honestly keep a batch of these healthier brownie treats in my fridge at all time for when I need just a little something sweet!

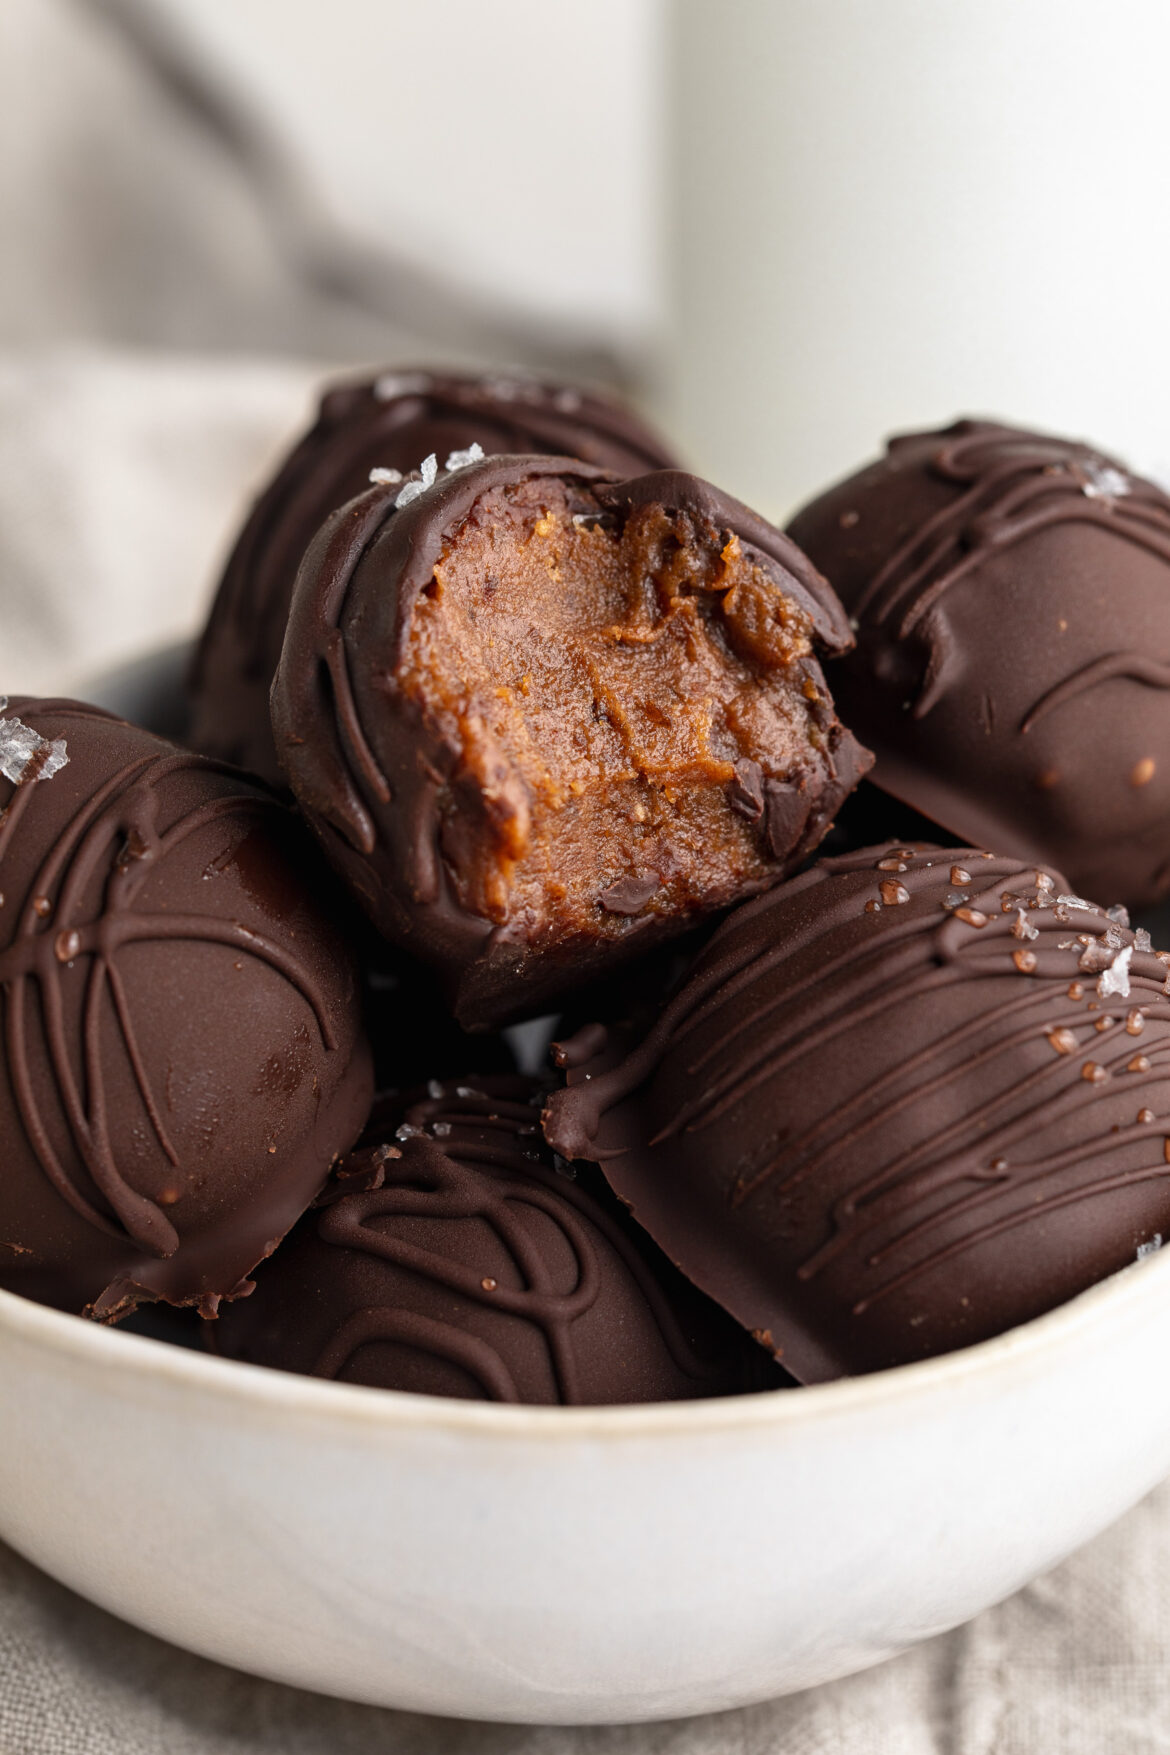
healthy no-bake brownie balls in a small bowl with flaky salt on top.

Why You’ll Love These Healthy Brownie Balls

These no-bake healthy brownie balls are the perfect healthy treat! Whether you’re craving something sweet post-workout or want a better-for-you treat during the day, these bites are loaded with flavor and come together in just minutes. Plus, they’re naturally sweetened with dates, made with wholesome plant-based ingredients, and dipped in chocolate for that irresistible finish!

What Makes This Recipe Healthy?

  • Naturally Sweetened – These brownie balls are sweetened entirely with medjool dates, offering fiber and natural sugars with zero refined sugar.
  • High in Plant-Based Protein – Thanks to chocolate protein powder and almond butter, these bites offer a nice protein boost to keep you satisfied.
  • No Bake + Easy Prep – Just toss the ingredients in a food processor, roll, dip, and chill. That’s it!
  • Allergy-Friendly – They’re gluten-free, dairy-free, and vegan-friendly, depending on your protein powder and chocolate chip choices.
healthy no-bake brownie balls in a small bow, one with a bite taken out.

Frequently Asked Questions

What can I use instead of almond flour?
You can use oat flour as a 1:1 substitute. It keeps the texture soft and fudgy and is also naturally gluten-free!

What kind of protein powder did you use?
I used Aloha Chocolate Plant-Based Protein Powder (use this link for 20% OFF Aloha!). It’s dairy-free, soy-free, and adds a rich chocolate flavor without any artificial ingredients.

How do I store these brownie balls?
Keep them stored in an airtight container in the fridge for up to 1 week, or freeze for longer storage—just let them thaw for a few minutes before enjoying!

Sam’s Recipe Tips

  • Soak your dates if they’re dry or firm. Just 10 minutes in hot water makes them easier to blend.
  • Chill the dough if it’s too soft to roll into balls. Even 10 minutes in the fridge can help.
  • Use parchment paper when dipping the balls in chocolate to avoid sticking and messy cleanup.
  • Add toppings like crushed nuts, flaky sea salt, or shredded coconut to the chocolate coating before it sets for a decorative (and delicious) twist.
close up image of healthy no-bake brownie balls in a bowl, one with a bite taken out.
5 from 1 vote

Healthy No-Bake Brownie Balls

These no-bake healthy brownie balls are rich, fudgy, and made with just 6 simple ingredients! They’re gluten-free, dairy-free, and naturally sweetened with dates. Keep a batch in the fridge for a delicious and healthy treat anytime!
Print Pin Rate
Prep Time: 10 minutes
Chilling Time: 30 minutes
Servings: 8 brownie balls

Equipment

  • 1 food processor or high speed blender
  • 1 small bowl

Ingredients

For the brownie balls:

  • 1 cup medjool dates pitted
  • 1/4 cup almond flour or oat flour
  • 1/4 cup chocolate protein powder or cocoa powder
  • 1/3 cup almond butter or any nut/seed butter
  • 1/2 teaspoon Vanilla Extract optional but recommended

For the chocolate coating:

  • 1 cup chocolate chips I used extra dark chocolate chips
  • 2 teaspoons coconut oil

Instructions

  • Add all brownie ball ingredients to a food processor and pulse until a dough form.
  • Use a cookie scoop to scoop the mixture, then roll it between palms into a ball. Place the balls on a parchment-lined plate and transfer to the freezer for a few minutes while you make the chocolate coating.
  • Make the chocolate coating by melting together the chocolate chips and coconut oil in either a microwave or over a double boiler until completely smooth.
  • Remove the brownie balls from the freezer, dip each ball into the chocolate until it’s evenly coated, then place them back on the parchment-lined plate. Transfer the chocolate coated brownie balls to the fridge for about 30 minutes, or until the chocolate has hardened. Either enjoy right away or store in the fridge for later.

Nutrition

Serving: 1brownie ball | Calories: 150kcal | Carbohydrates: 20g | Protein: 5g | Fat: 9g | Sugar: 14g

My single serve protein cookie recipe went viral, and one of the most frequently asked questions was “how can I make a whole batch of these?!” So, here ya have it – a big batch protein cookies recipe, with just 6 simple ingredients! These cookies are gluten-free, dairy-free, and easily made vegan (just like the last recipe) but totally indulgent and delicious. Throw this recipe into your weekly meal prep as an easy protein snack or protein-packed dessert!

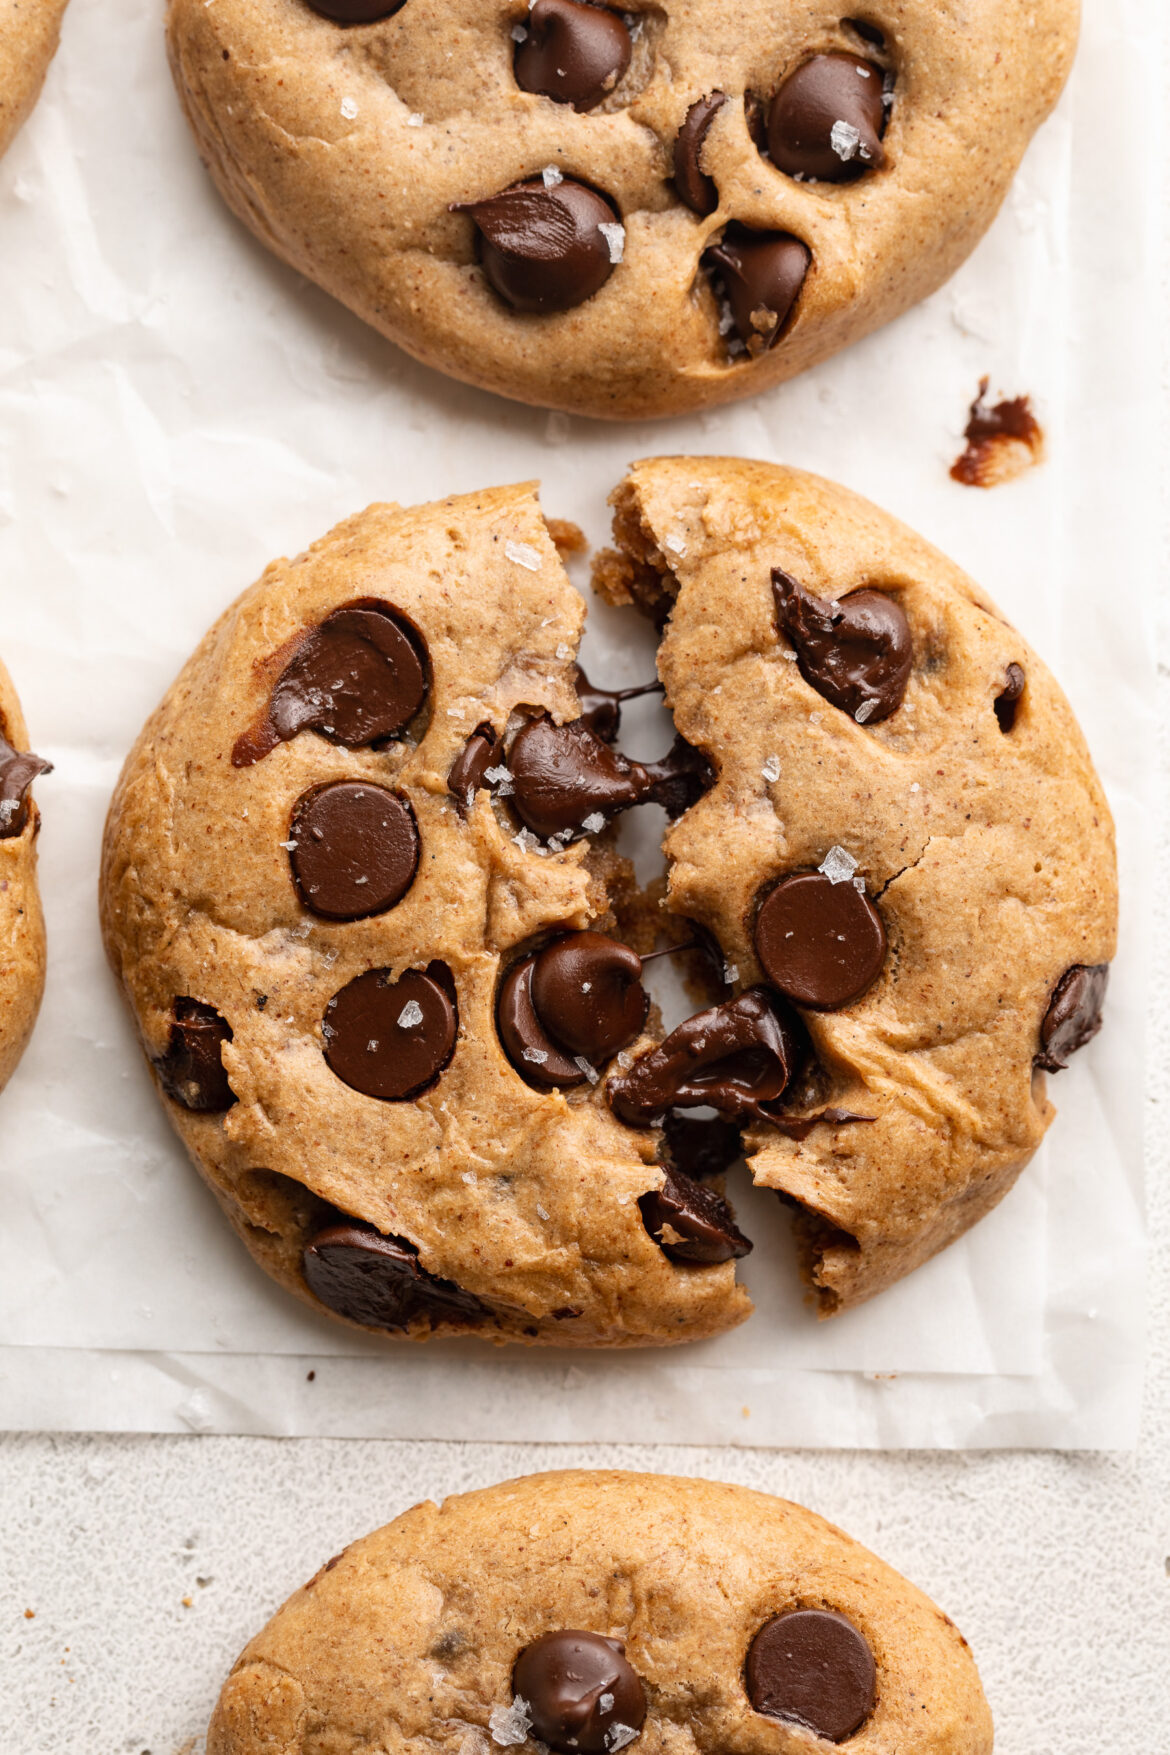
close up image of a protein cookie with a bite taken out.

Why You’ll Love These Protein Cookies

These cookies are everything you could want in a protein-packed treat – rich, soft, chewy, and naturally sweetened. They’re made with protein powder, creamy peanut butter, and your choice of oat flour or almond flour for a nutritious, allergy-friendly alternative to traditional cookies. Plus, there’s no refined sugar, and they’re so easy to customize – add chocolate chips, skip them, or toss in chopped nuts or dried fruit!

  • Made with just 6 ingredients!
  • Ready in under 20 minutes.
  • Naturally gluten-free, dairy-free, and refined sugar-free.
  • High in protein and perfect for a healthy snack or dessert!

Frequently Asked Questions

Can I use almond flour instead of oat flour?
Yes! Almond flour works beautifully in this recipe and gives the cookies a rich, buttery flavor and tender texture. If you’re looking for nut-free, stick with oat flour.

What kind of protein powder did you use?
I used the Be Well By Kelly Vanilla Grass-Fed Beef Protein Powder, which is non-dairy and great for baking. You can use your favorite protein powder – just make sure it’s unsweetened or mildly sweetened for best results.

Can I make these protein cookies sugar-free?
Absolutely! Swap out the maple syrup for a sugar-free alternative like monk fruit syrup or a few drops of liquid stevia. Just note that texture and sweetness may vary slightly depending on your swap.

overhead image of protein cookies on a table.

Sam’s Recipe Tips

  • For best texture, make sure your peanut butter is smooth and runny – not thick or dry.
  • Don’t over-bake! The cookies firm up as they cool, so remove them once they’re lightly golden at the edges.
  • Add-ins like chia seeds, flaxseed, or chopped nuts can boost nutrition even further.

Storing and Freezing Tips

Store these cookies in an airtight container at room temperature for up to 3 days, or in the fridge for up to 1 week. They also freeze beautifully – just pop them in a freezer-safe bag or container and store for up to 2 months. Let them thaw at room temp or warm slightly before enjoying.

More Protein-Packed Recipes You’ll Love

overhead image of a protein cookie cut in half.
5 from 3 votes

The BEST Protein Cookies (one-bowl!)

Soft, chewy, and loaded with protein, these best ever protein cookies are made with just 6 simple ingredients you likely already have at home! They come together in under 20 minutes, are totally gluten-free, dairy-free, and packed with wholesome fuel to satisfy your sweet tooth and power your day!
Print Pin Rate
Prep Time: 5 minutes
Cook Time: 12 minutes
Total Time: 17 minutes
Servings: 8 cookies

Equipment

  • 1 large baking sheet
  • 1 large bowl

Ingredients

  • 1 1/2 cups oat flour or almond flour
  • 1/3 cup non-dairy milk
  • 1/2 cup vanilla or unflavored protein powder
  • 1/2 cup creamy peanut butter unsweetened
  • 1/4 cup maple syrup or your preferred liquid sweetener
  • 1/2 cup chocolate chips optional

Instructions

  • Preheat oven to 350° Fahrenheit and line a cookie sheet with parchment paper.
  • Add all ingredients except chocolate chips to a large bowl and mix until fully combined. Then, fold in the chocolate chips, if using.
  • Scoop 2-tablespoon sized balls of cookie dough onto the cookie sheet, spacing each cookie a few inches apart. Once all cookies are scooped, gently press the top of each cookie to slightly flatten it.
  • Bake for 12-15 minutes, or until cookies are lightly golden brown around the edges then remove from the oven and let cool before serving or storing.

Notes

Nutrition info includes the chocolate chips.

Nutrition

Serving: 1cookie | Calories: 250kcal | Carbohydrates: 23g | Protein: 15g | Fat: 13g | Sugar: 10g

My toddler recently decided that he loves rice cakes. So I’ve been keeping them stocked for him, and have even snacked on a few myself. However, rice cakes are pretty boring… so I wanted to think of a way to dress ’em up a bit! I thought back to my 4-ingredient healthy snickers and my smashed date with peanut butter, and came up with the idea for these 4-ingredient healthy snickers rice cakes. I gave one a try last week and immediately knew you guys would LOVE them too! So I got to work on writing up the recipe and sharing it with you all. 🙂

healthy snickers rice cakes with chopped peanuts on top.

Why You’ll Love These Healthy Snickers Rice Cakes

  • They taste just like a Snickers bar – but are made with real, wholesome ingredients.
  • Completely no-bake and ready in minutes!
  • Naturally gluten-free, dairy-free, and refined sugar-free.
  • Perfect for a quick afternoon pick-me-up or post-dinner dessert!

What Makes This Recipe Healthy

These healthy snickers rice cakes skip the processed ingredients and refined sugars found in traditional candy bars. Medjool dates provide natural caramel-like sweetness and fiber. Peanut butter adds healthy fats and protein to keep you satisfied. And using dairy-free chocolate chips keeps the recipe vegan and allergy-friendly. Plus, the rice cakes offer a crunchy base with fewer calories than most traditional desserts.

overhead image of a healthy snickers rice cake.

Sam’s Recipe Tips

  • Use fresh, soft Medjool dates for the best caramel-like texture. If your dates are a bit dry, soak them in warm water for 5–10 minutes first.
  • Choose natural peanut butter with no added sugar or oil for a cleaner treat.
  • For extra crunch, sprinkle crushed peanuts or sea salt on top before the chocolate sets.

Storage

Store your snickers rice cakes in an airtight container in the refrigerator for up to 1 week. You can also freeze them for longer storage—just let them thaw at room temperature for 5–10 minutes before eating.

Frequently Asked Questions

Can I use almond butter instead of peanut butter?
Yes! Almond butter, cashew butter, or even sunflower seed butter will work well in this recipe.

Can I make these nut-free?
Swap the peanut butter for sunflower seed butter and ensure your chocolate is allergy-safe.

What type of chocolate should I use?
Use dairy-free dark chocolate chips or chopped dark chocolate bars for a rich, clean flavor.

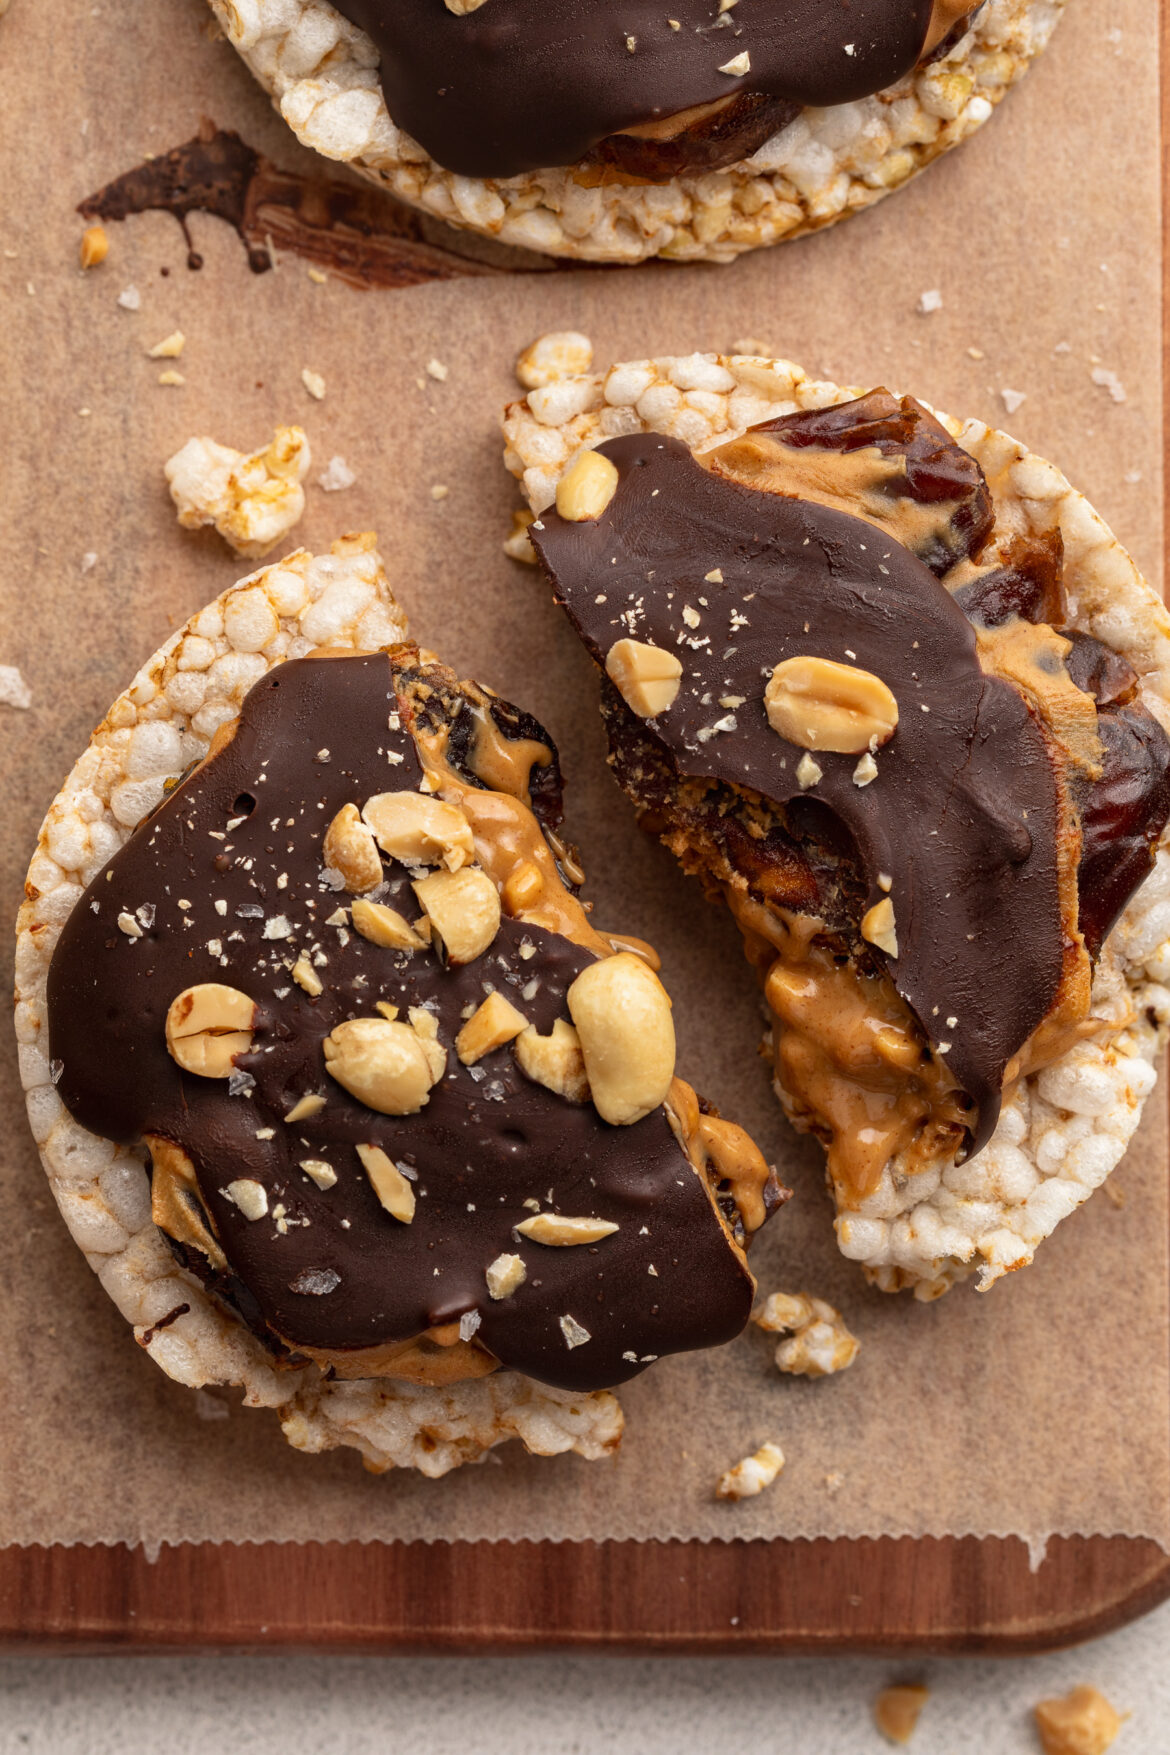
a healthy snicker rice cake broken in half.
No ratings yet

4-Ingredient Healthy Snickers Rice Cakes

These 4-ingredient Healthy Snickers Rice Cakes are gluten-free, dairy-free, and made with wholesome ingredients like Medjool dates, peanut butter, and melted chocolate. They’re the perfect no-bake snack that tastes just like your favorite candy bar!
Print Pin Rate
Prep Time: 3 minutes
Total Time: 5 minutes
Servings: 6 servings

Ingredients

  • 6 rice cakes
  • 12 medjool dates
  • 1/2 cup crunchy peanut butter
  • 1 cup melted chocolate chips

Instructions

  • Open up each date, remove the pit, then gently open up the date and press the inside half of the date onto the rice cake.Repeat this with one more date for a total of two dates pressed into each rice cake.
  • Then, spread a thin layer of peanut butter onto each rice cake (on top of the pressed dates).
  • Arrange all rice cakes on a baking sheet and pour/drizzle chocolate over each rice cake to seal in the dates and peanut butter.
  • Transfer the rice cakes to the fridge to harden for at least 30 minutes, then enjoy right away or store in the fridge for later!

Nutrition

Serving: 1rice cake | Calories: 400kcal | Carbohydrates: 60g | Protein: 9.5g | Fat: 22g | Sugar: 18g

I’ve been on a hunt for more dairy-free and gluten-free protein snacks. And you’d be shocked at just how difficult they are to find! Even the gluten-free protein snacks are never non-dairy. Aside from my single serve protein cookie (which is both gluten-free, dairy-free, and contains over 30 grams of protein!) and my high-protein snack boxes – my protein snack options feel very limited. *Enter these 6-ingredient gluten-free and dairy-free protein muffins.*

These protein muffins are entirely gluten-free, dairy-free, made in just one bowl, with 6 very simple ingredients! They’re also just as light, fluffy, and completely delicious as any other muffin. I love adding chocolate chips to mine, but feel free to keep ’em plain or add whatever mix-in you’d like. Also, this recipe makes 6 muffins, so you might want to consider a double batch… 😉

protein muffins with a bite taken out.

Why You’ll Love These Protein Muffins

  • Gluten-Free & Grain-Free: Made with almond flour, these muffins are naturally gluten-free.
  • Dairy-Free: No dairy ingredients, suitable for lactose-intolerant individuals.
  • No Added Sugar: Sweetened naturally with applesauce.
  • High Protein: Packed with protein from eggs, peanut butter, and protein powder.
  • One-Bowl Recipe: Minimal cleanup required.
  • Customizable: Add your favorite mix-ins like nuts, seeds, or dried fruit.

Frequently Asked Questions

What kind of protein powder do you recommend?
For best results, use a plant-based protein powder or a whey protein blend. Avoid using pure whey isolate, as it may result in a dense texture.

How do I make these low carb/keto?
To reduce the carb content, replace applesauce with mashed avocado or pumpkin puree, and use a low-carb sweetener if desired.

What can I use instead of almond flour?
Coconut flour can be used as a substitute, but it absorbs more moisture. Use ¼ cup of coconut flour in place of 1 cup almond flour and consider adding an extra egg to maintain moisture.

How should I store these protein muffins?
Store the muffins in an airtight container at room temperature for up to 3 days, or refrigerate for up to a week. They can also be frozen for up to 3 months.

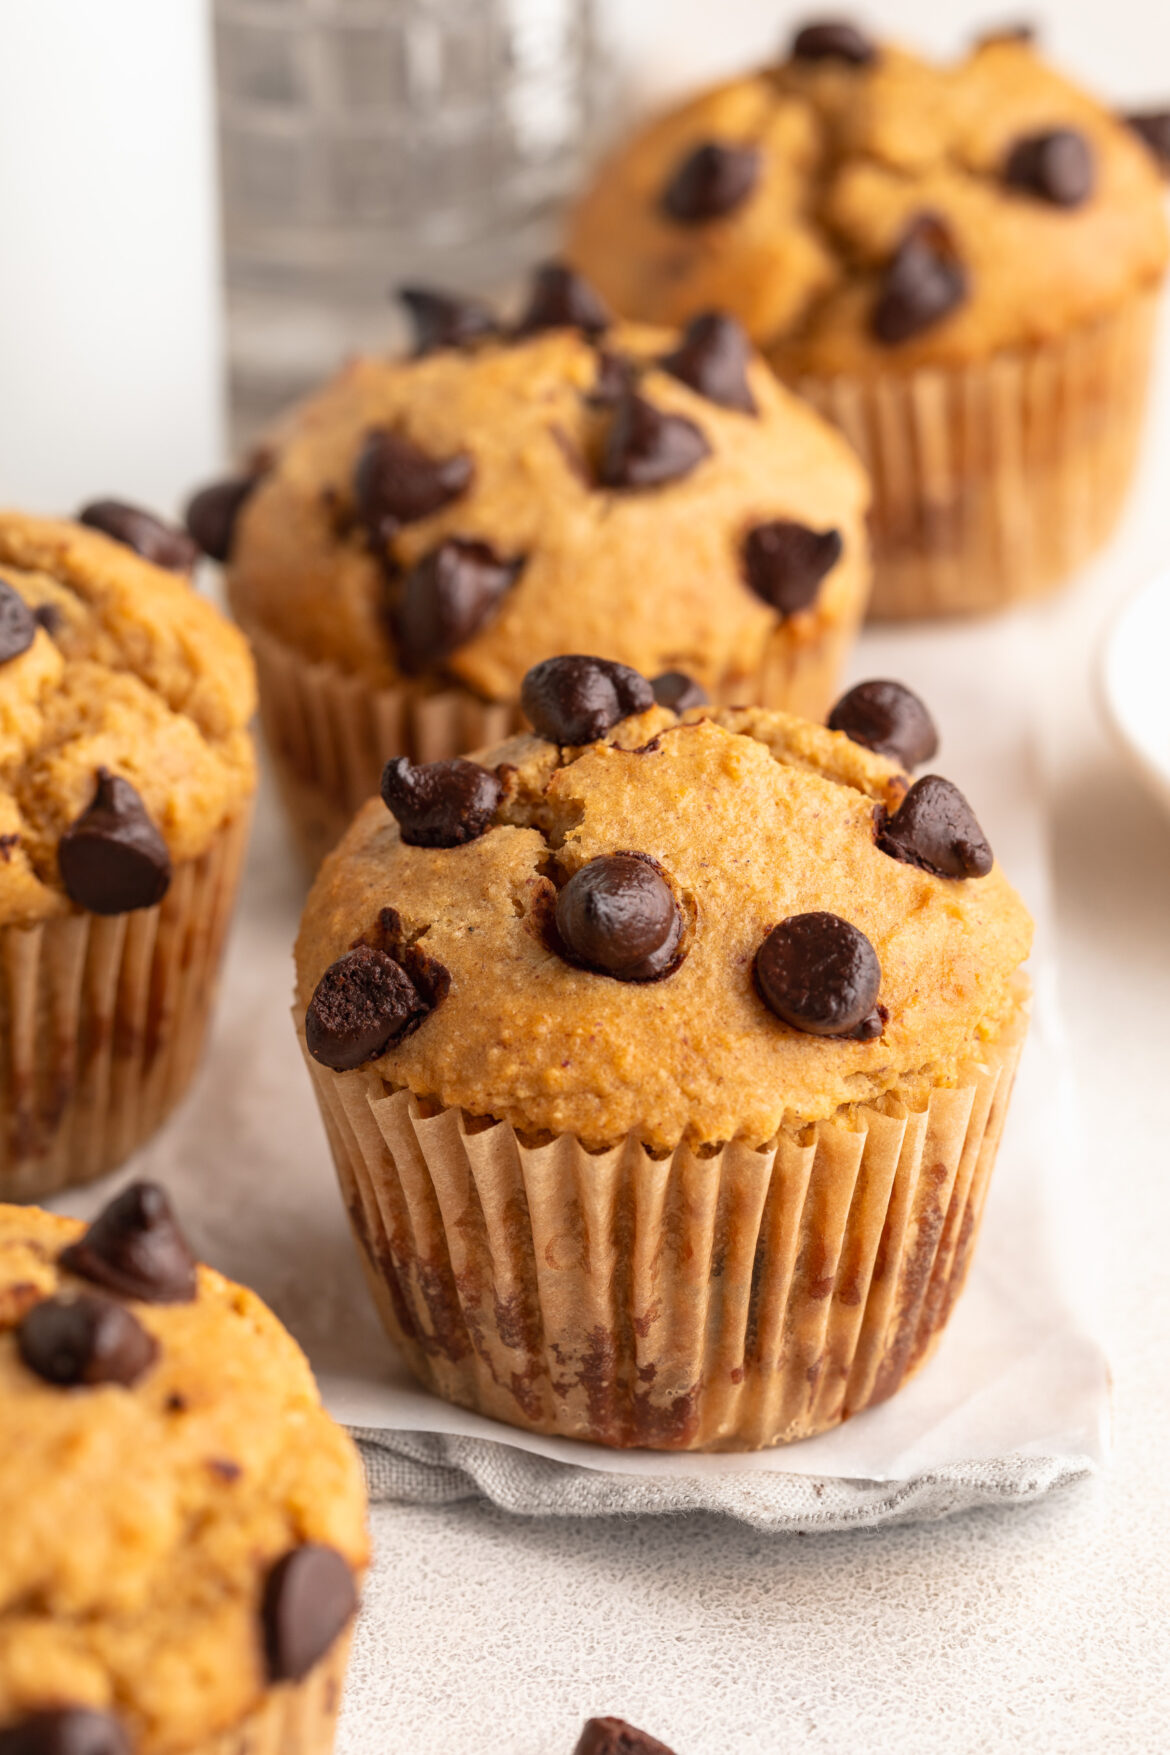
protein muffins with chocolate chips on a table.

Different Mix-Ins

  • Fresh or Dried Fruit: Blueberries, raspberries, or chopped dried apricots.
  • Nuts & Seeds: Chopped walnuts, pecans, or chia seeds.
  • Spices: Cinnamon, nutmeg, or pumpkin spice for added flavor.
  • Zest: Lemon or orange zest for a citrusy twist.
protein muffins on a table with chocolate chips on top.
5 from 2 votes

6-Ingredient Protein Muffins (20g protein!)

These easy protein muffins are made with just 6 simple ingredients in one bowl – perfect for a healthy, high-protein snack or breakfast. They’re gluten-free, dairy-free, and naturally sweetened with applesauce, making them a nutritious option the whole family will love. With added vanilla protein powder and optional chocolate chips, these muffins are as delicious as they are nourishing!
Print Pin Rate
Prep Time: 5 minutes
Cook Time: 20 minutes
Total Time: 25 minutes
Servings: 6 muffins

Equipment

  • 1 large bowl
  • 1 muffin pan

Ingredients

  • 1 cup applesauce
  • 2 eggs
  • 1/4 cup creamy peanut butter unsweetened (or any nut/seed butter)
  • 1 cup almond flour
  • 1/2 cup vanilla protein powder
  • 1 teaspoon baking powder
  • 1/2 cup chocolate chips optional

Instructions

  • Preheat oven to 350° Fahrenheit and line a muffin tin with muffin liners.
  • Mix together the applesauce, eggs, and peanut butter in a large bowl. Add in the almond flour, protein powder, and baking powder then mix until everything is fully combined.
  • Fold in the chocolate chips (or any other mix-in you’d like!), then scoop ¼ cup of muffin batter into each muffin liner. Bake the muffins for 20-25 minutes, or until a toothpick inserted down the center of a muffin comes out clean.
  • Remove the muffins from the oven and let cool completely before storing or enjoying!

Nutrition

Serving: 1muffin | Calories: 240kcal | Carbohydrates: 11g | Protein: 20g | Fat: 16g | Sugar: 5g

I joke that my husband’s favorite recipes are the ones you can eat without teeth. He’s obsessed with my high-protein chia seed pudding, tofu chocolate mousse, and ultra-soft 3-ingredient brownies. Now we have one more recipe to add to that list – this 3-ingredient healthy chocolate mousse! It’s rich and chocolatey, yet airy, healthy, and impressively low in sugar. Also… you can totally eat this without teeth. HA!

Why You’ll LOVE This Healthy Chocolate Mousse

This rich and creamy chocolate mousse is a dream come true for chocolate lovers seeking a healthier indulgence. Made with just three simple ingredients – unsweetened coconut cream, melted chocolate chips, and cocoa powder—it’s a decadent dessert that’s both satisfying and guilt-free. Whether you’re vegan, dairy-free, or simply looking for a low-sugar treat, this mousse fits the bill perfectly!

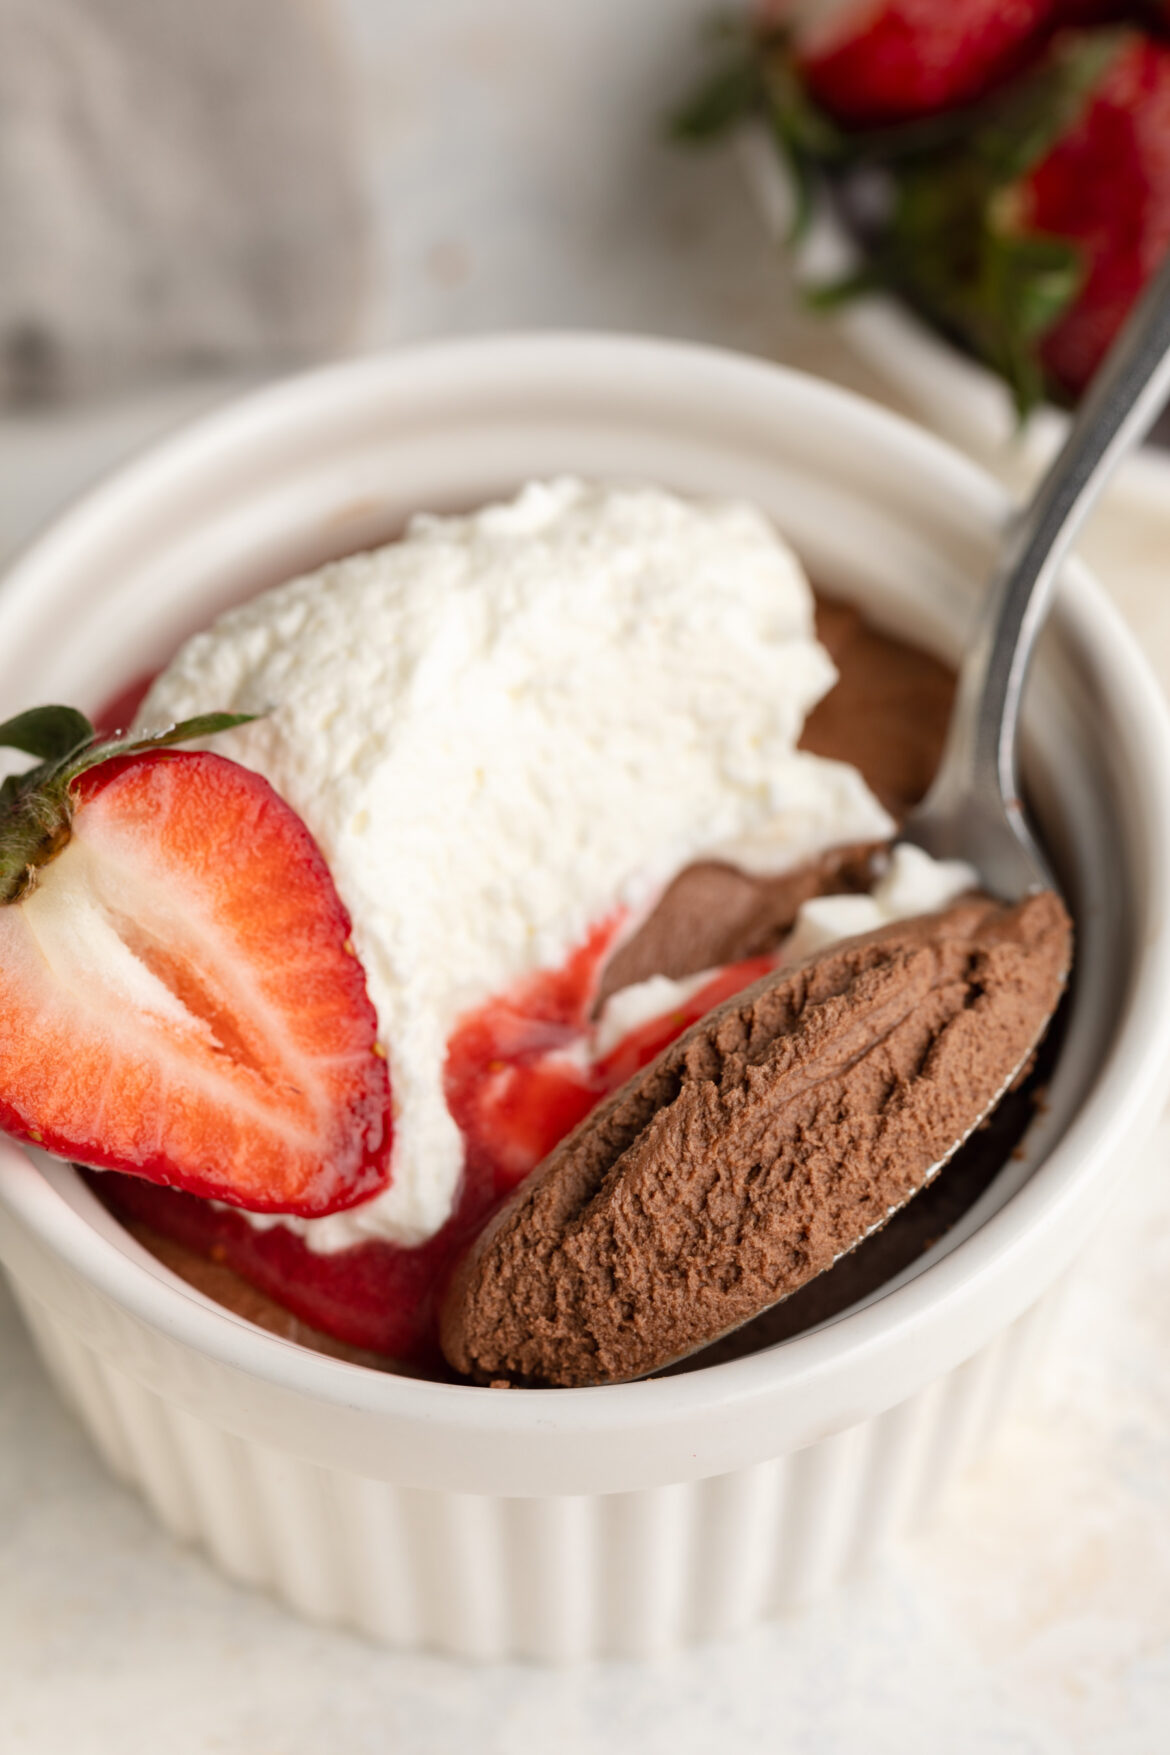
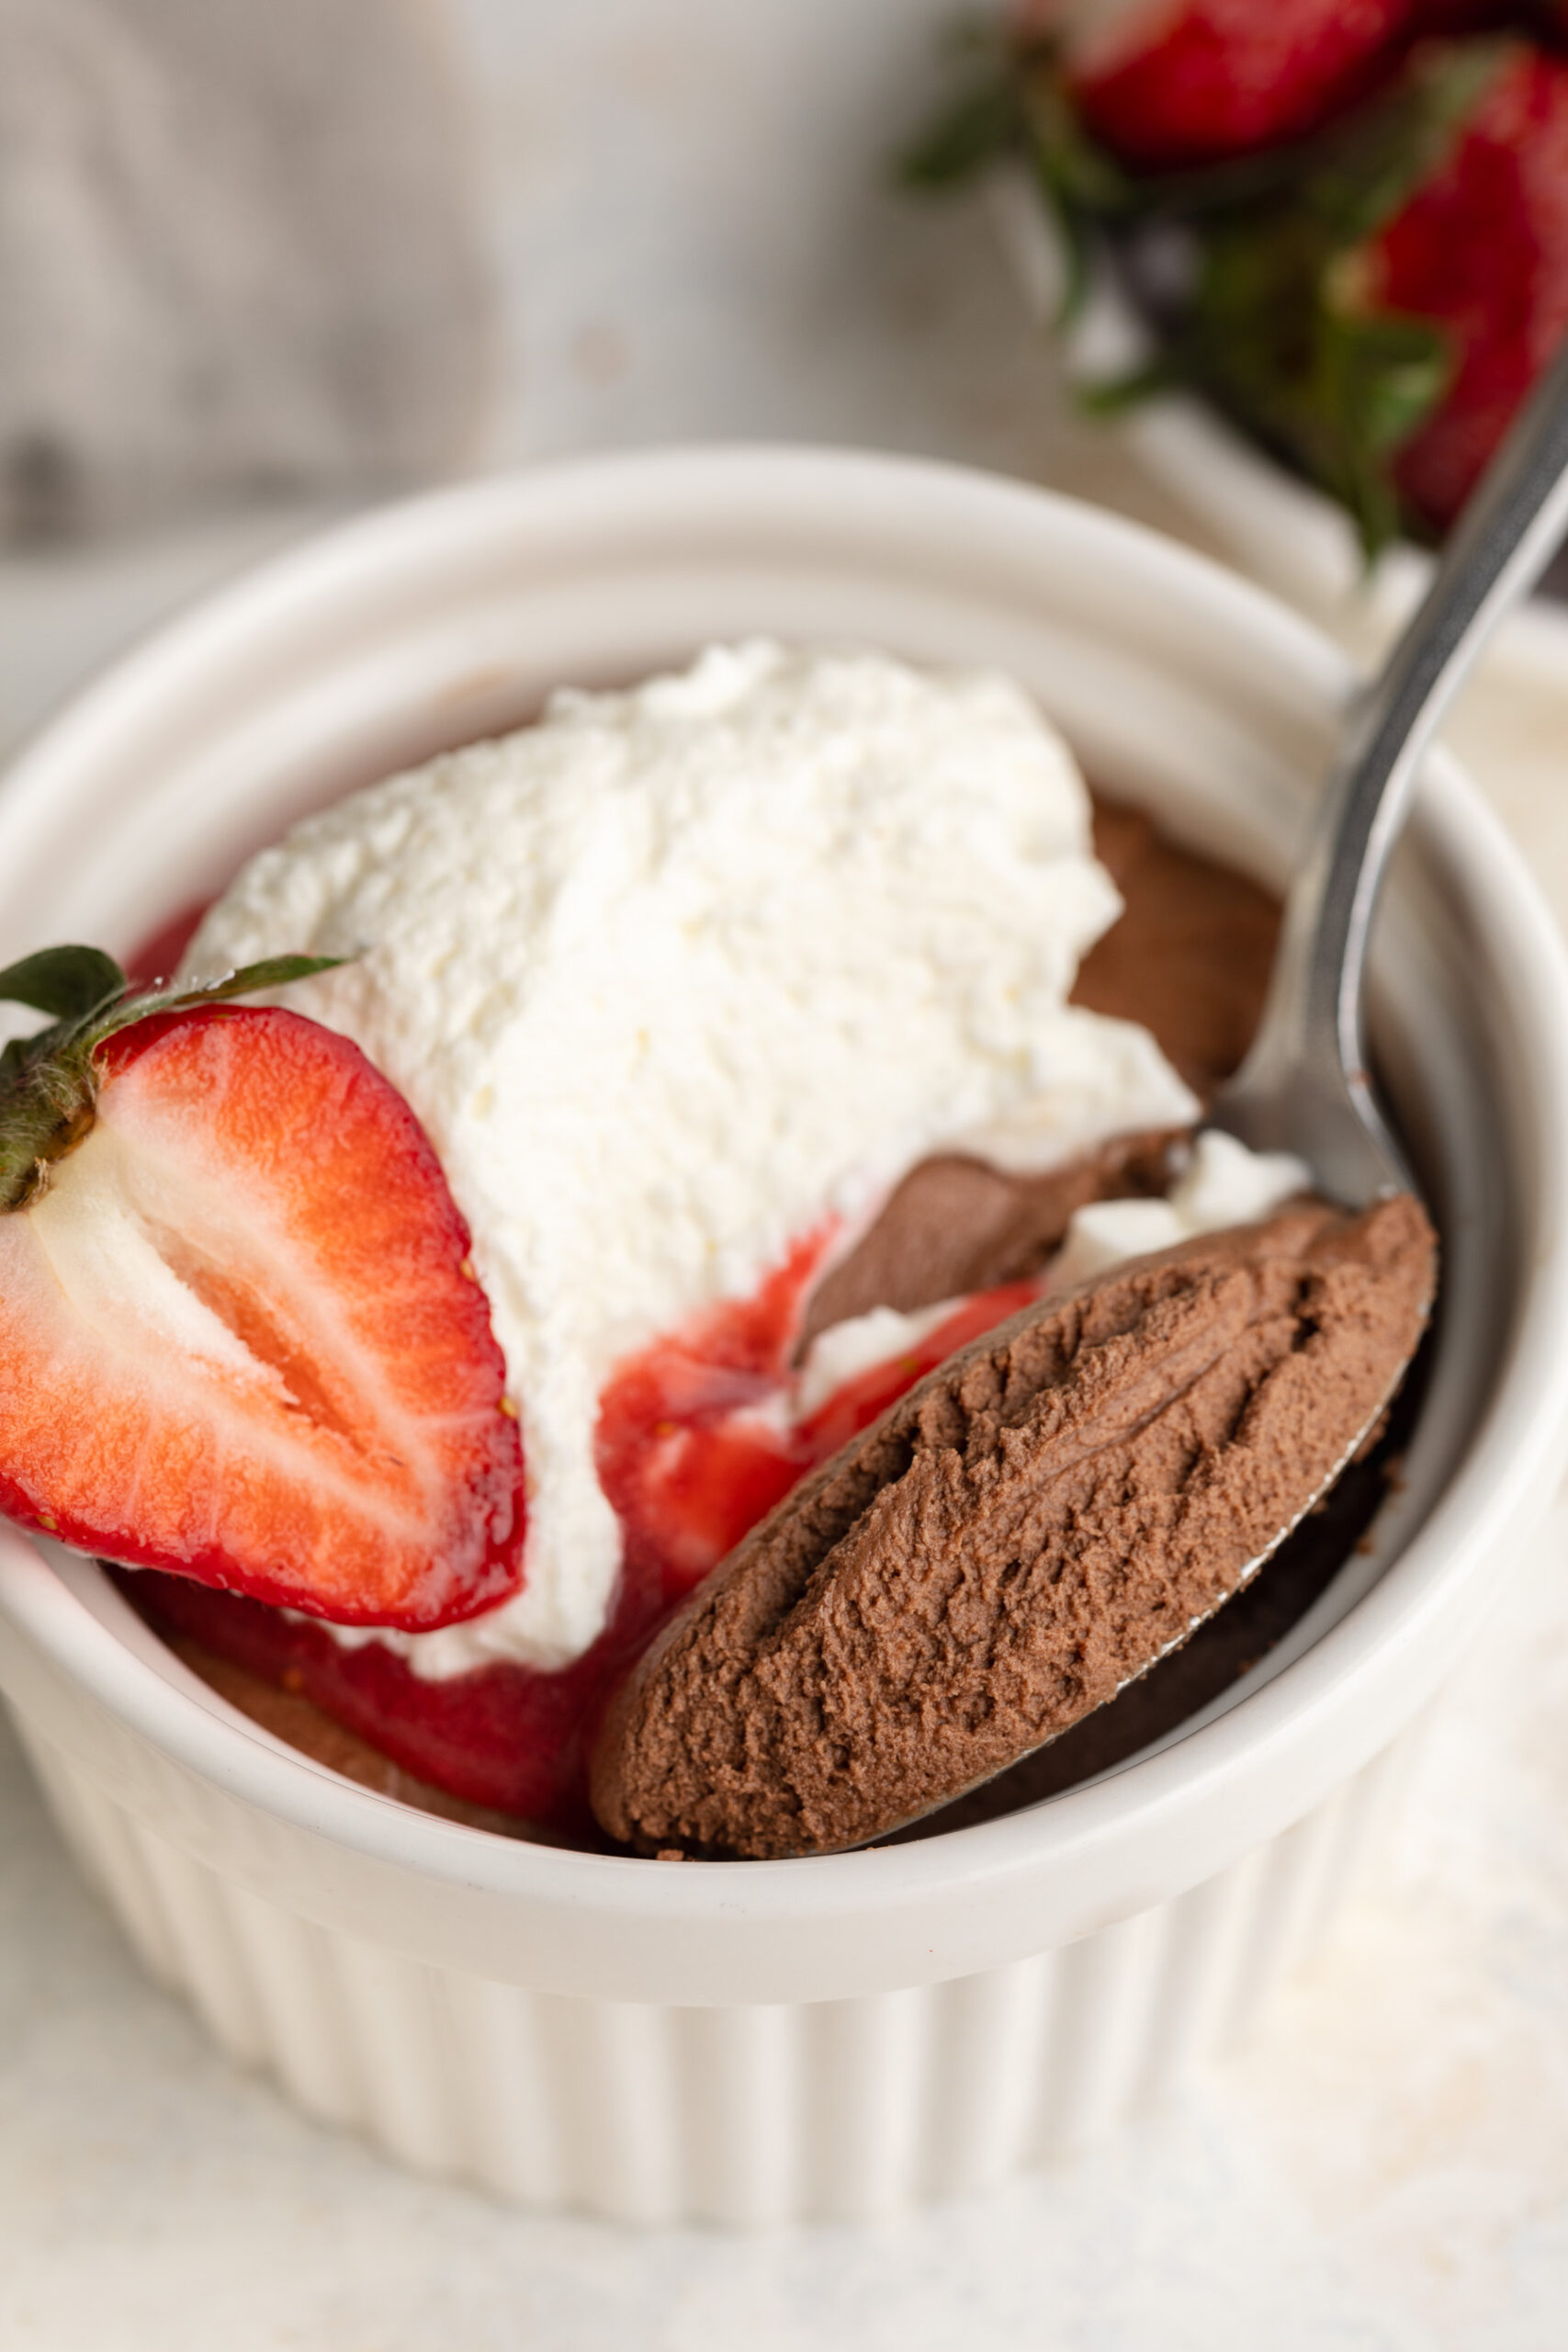
3 ingredient healthy chocolate mousse in a ramekin with a strawberry on top.

What Makes This Recipe Healthy

  • Dairy-Free & Vegan: Utilizes coconut cream instead of dairy, making it suitable for various dietary preferences.
  • Low Sugar: Sweetened naturally with chocolate chips and cocoa powder, eliminating the need for added sugars.
  • Gluten-Free: Contains no gluten-containing ingredients, making it safe for those with gluten sensitivities.
  • Simple Ingredients: Only three main ingredients are needed, making this recipe straightforward and accessible.
overhead image of 3 ingredient healthy chocolate mousse in a ramekin with a spoon.

Storage Tips

  • Refrigeration: Store any leftover mousse in an airtight container in the refrigerator for up to 3 days.
  • Freezing: For longer storage, freeze the mousse in individual portions. Thaw in the refrigerator before serving. Note that the texture may change slightly upon freezing and thawing.
close up image of 3 ingredient healthy chocolate mousse in a ramekin with a spoon.
No ratings yet

3-Ingredient Healthy Chocolate Mousse

This rich and creamy 3-ingredient healthy chocolate mousse is the ultimate easy dessert you’ll want on repeat. Made with coconut cream, cocoa powder, and melted chocolate chips, it’s naturally vegan, dairy-free, and gluten-free. Perfect for a quick treat, this mousse is indulgent, wholesome, and ready in minutes!
Print Pin Rate
Prep Time: 10 minutes
Chilling Time: 2 hours
Total Time: 2 hours 10 minutes
Servings: 3 servings

Equipment

  • 1 large bowl
  • 1 hand or stand mixer

Ingredients

  • 1 cup unsweetened coconut cream (the thick white part at the topof a can of full-fat coconut milk)
  • 1/4 cup chocolate chips melted
  • 1 tablespoon unsweetened cocoa powder

For the strawberry topping:

  • 1 cup fresh strawberries stems removed

Instructions

  • Add all ingredients to a large bowl and beat with the Zwilling XTEND Cordless Hand Mixer until smooth and creamy.
  • Transfer the mousse into individual bowls or jars, then cover and chill in the fridge for at least 2 hours or until the mousse is set.
  • Make the strawberry topping by adding the strawberries to a cup, then pureeing them with the Zwilling XTEND Cordless Hand Blender until smooth.
  • Remove the chocolate mousse from the fridge, top with the pureed strawberry and a dollop of whipped cream. Yum!

Nutrition

Serving: 1serving | Calories: 348kcal | Carbohydrates: 11g | Protein: 4g | Fat: 30g | Sugar: 6g