
It’s been a HOT summer so far. So hot in fact, that I’ve been avoiding turning on my oven unless absolutely necessary. But you guys know me by now, even without an oven I still need a little something sweet on-hand at all times. Healthy No-Bake Cookie Doughs Bars have been on repeat lately, and so have 4-Ingredient Healthy Snickers. And while both of those no bake desserts are delicious and ones I’d never get sick of, it was definitely time to switch things up!
These homemade crunch bars are made with just THREE ingredients. They’re totally vegan and gluten-free, and I’ll even include a paleo and keto option if you want to give those a try. They’re perfectly sweet, extra crunchy, and seriously SO easy to make!

Why These Are the Best Homemade Crunch Bars
These bars are not only simple to make but also healthier and more customizable than store-bought versions. By using high-quality ingredients, you avoid artificial flavors and preservatives. The addition of peanut butter gives extra creaminess and flavor, making these bars a delightful treat for all ages!
Ingredients and Substitutions
- Chocolate Chips: Opt for dark chocolate for a less sweet version or semi-sweet for a classic candy bar taste. Vegan options like Guittard Extra Dark Baking Chips are perfect for dairy-free needs.
- Peanut Butter: Can be substituted with any nut or seed butter. Ensure it’s creamy for the best texture.
- Rice Cakes/Crisp Cereal: Gluten-free rice cakes or cereals ensure the bars are safe for those with gluten intolerances!

How to Make Homemade Crunch Bars
- Line your pan with parchment paper to prevent sticking.
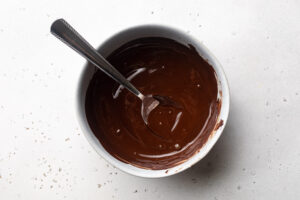
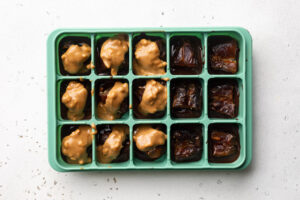
- Melt chocolate and peanut butter in the microwave, stirring every 30 seconds until smooth.
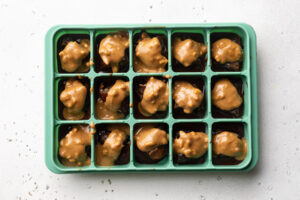
- Mix in crumbled rice cakes to combine.
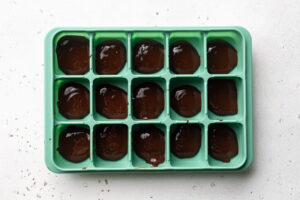
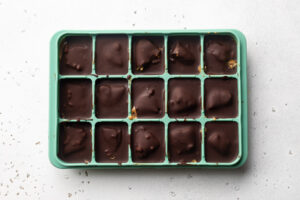
- Spread mixture in the prepared pan and freeze until solid.
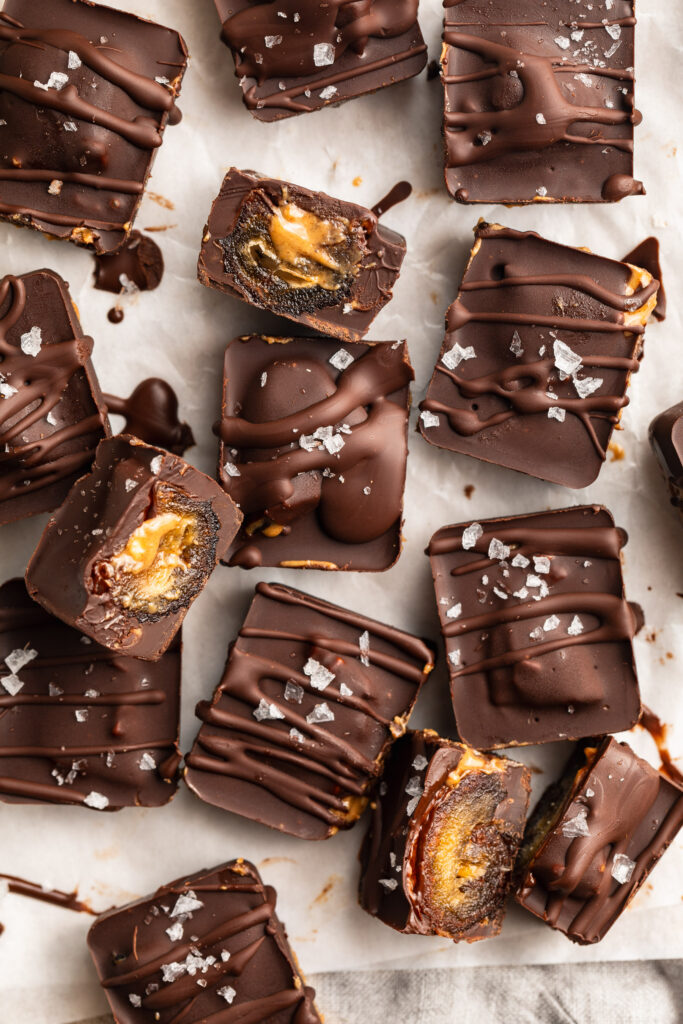
- Cut into squares and enjoy your homemade bars.
Storage Tips
Store these homemade crunch bars in an airtight container in the refrigerator for the best texture and shelf life. They can start to soften if left at room temperature for too long. Or, store them in the freezer for up to 3 months!

Adjust This Recipe to Your Dietary Needs
- Keto Option: Use sugar-free chocolate chips and replace rice cakes with crushed nuts or seeds.
- Vegan Option: Ensure your chocolate chips are vegan-friendly. Brands like Enjoy Life are great choices.
- Paleo Option: Use paleo-approved chocolate, like Hu Kitchen Chocolate Gems and replace rice cakes with chopped nuts or seeds for the crunch.
Tips and Tricks
- Microwave Melting: Microwave the chocolate and peanut butter in short bursts to prevent burning, or use a double boiler instead if you’d like.
- Layer Thickness: Spread the mixture evenly in the pan to ensure uniform bars.
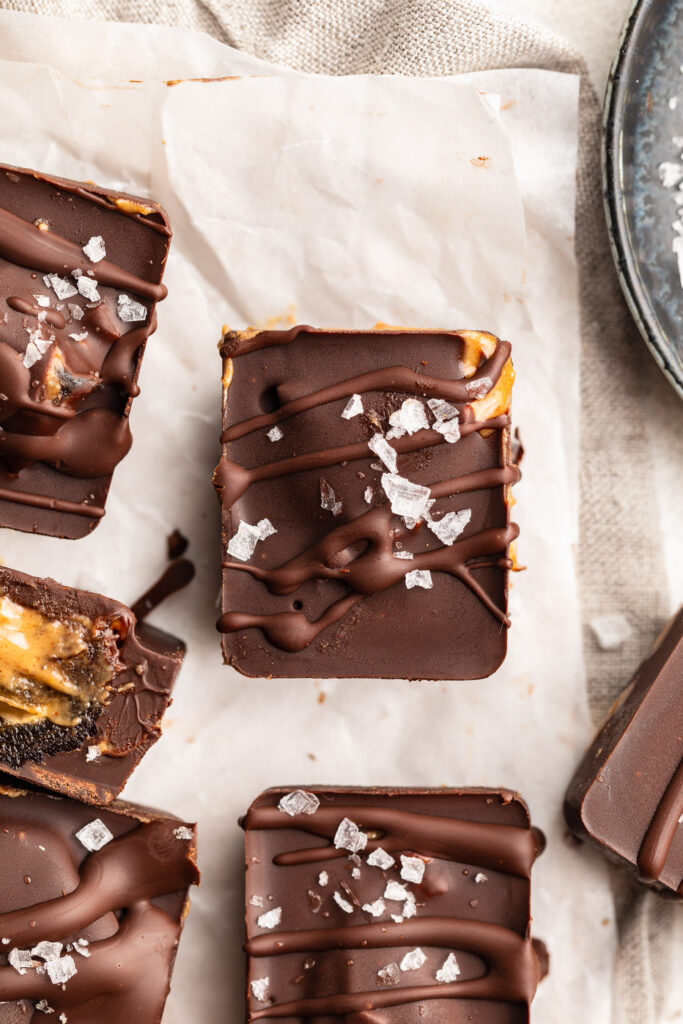
- Add-Ins: Feel free to add a pinch of salt or vanilla extract to enhance the flavor. Or, finish the bars with flaky sea salt like I did – YUM!
By following these tips and utilizing high-quality ingredients, you’ll have delicious, homemade crunch bars that are perfect for any occasion!

3 Ingredient Healthy Homemade Crunch Bars
Ingredients
- 1 1/4 cups chocolate chips
- 1/2 cup creamy peanut butter, unsweetened
- 2 rice cakes, crumbled (or 1 cup rice crisp cereal)
Instructions
- Line a 9-inch loaf pan with parchment paper.
- Add the chocolate chips and creamy peanut butter to a bowl, then microwave in 30 second increments (stirring between each increment) until chocolate has melted.
- Add in the crumbled rice cakes and mix everything together to combine.
- Transfer the crunch bar mixture to your prepared loaf pan and spread into an even layer. Place the bars in the freezer until solid, about 1 hour, then remove and cut into squares.


")


