
Peanut butter + chocolate is the ultimate flavor combo if ya ask me. I really can’t get enough of it! I made my frozen banana and peanut butter bites all summer, and my healthy strawberry peanut butter cups were one of the most popular recipes I’ve ever shared. So when I was thinking up this recipe for a peanut butter and chocolate bar, loaded with cornflakes for extra crunch – I knew it’d be a huge hit! I actually tested this peanut butter cornflake bars recipe right before my family came over a few weeks ago, so they all got to be the first to try it and gave it raves reviews. After that, I wasted no time getting this recipe ready to share with you all! I just know you’ll love these crunchy, peanut butter-y, and extra chocolatey cornflake bars as much as they did!
Why You’ll Love These Peanut Butter Cornflake Bars
- Simple & no-bake: Only four base ingredients and no oven – ideal for quick treats or busy days. They’re naturally gluten-free, dairy-free, vegan, and ready in no time at all!
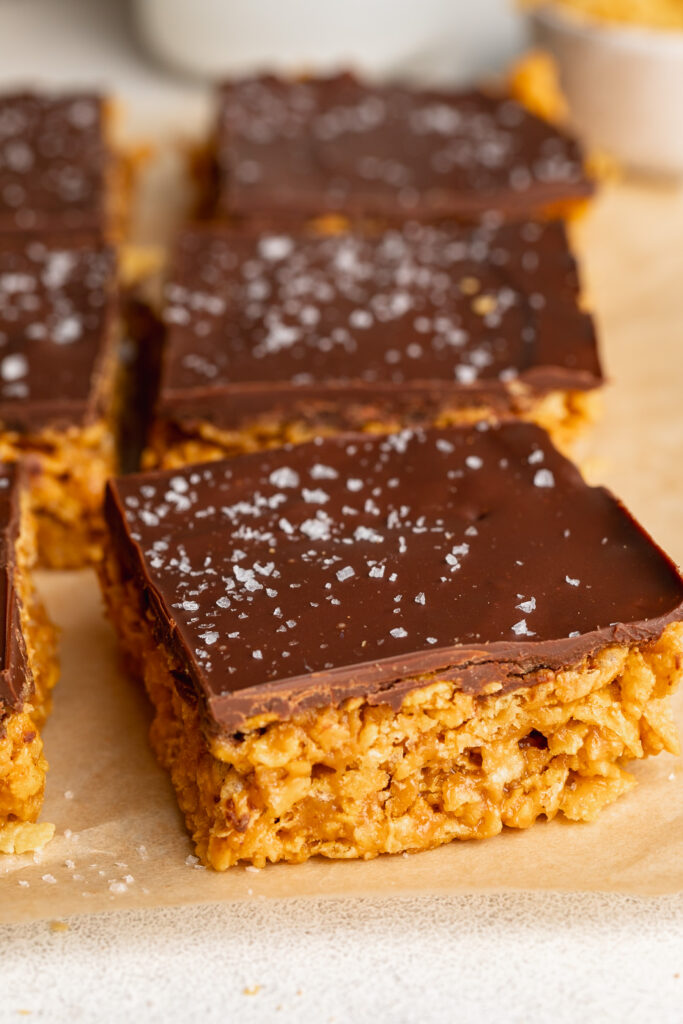
- Crunchy + chewy texture: Cornflakes give a satisfying crunch, peanut butter binds it all together, and the chocolate layer adds richness – a classic combo that hits sweet and salty just right!
- Flexible & allergy-friendly: It’s easy to swap ingredients – use sunflower butter or almond butter instead of peanut butter, or gluten-free cornflakes – and still get delicious bars that work for vegan, dairy-free, or gluten-free diets.
How to Store These Bars
Once assembled and chilled until firm, store the bars in an airtight container in the fridge – they’ll stay good for up to 1 week. For longer storage, you can freeze individual bars for up to 2–3 months; just thaw for a few minutes before serving for best texture.
Sam’s Recipe Tips
- Use gluten-free cornflakes like these ones, if you’re avoiding gluten – always double-check cereal packaging!
- Press the cornflake-peanut butter mixture firmly into the pan so bars hold together well after chilling.
- Melt chocolate gently (microwave or double-boiler), and pour while warm for a smooth top that sets evenly.
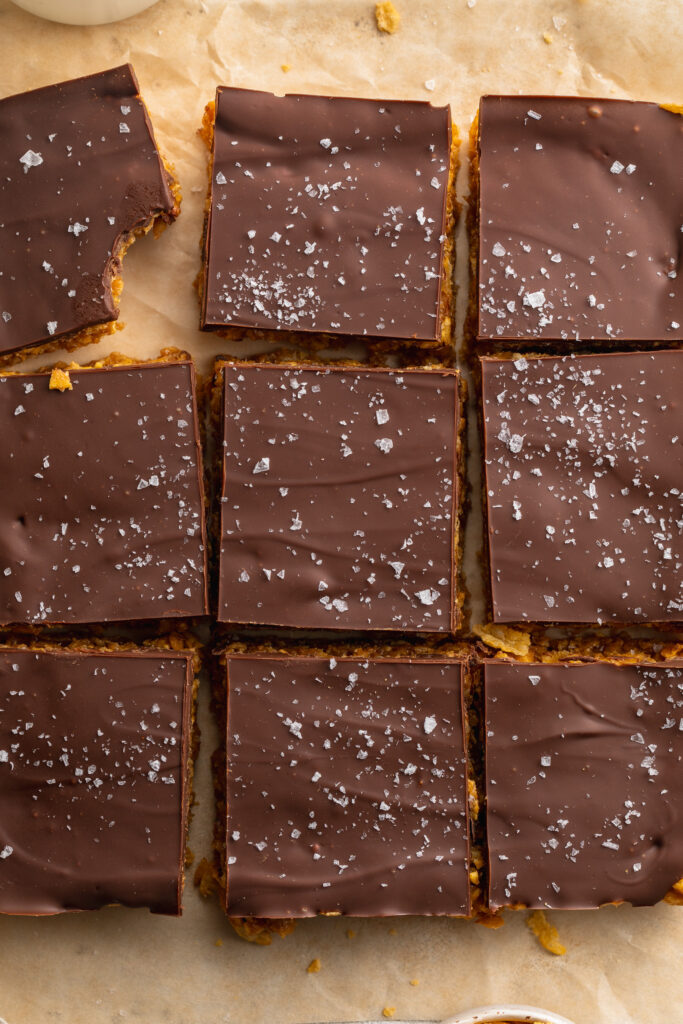
- For extra crunch or festive flair: sprinkle sea salt, chopped nuts, or crushed candy over the chocolate before it sets!

4-Ingredient Peanut Butter Cornflake Bars
Ingredients
- 1 cup creamy peanut butter unsweetened
- 1/2 cup maple syrup or honey
- 3 1/2 cups cornflakes
For the chocolate layer:
- 1 cup chocolate chips
- 1/4 cup creamy peanut butter unsweetened
Instructions
- Mix together the peanut butter and maple syrup in a large bowl, then add in the cornflake and mix again until the cornflakes are coated in the peanut butter mixture.
- Transfer the cornflake mixture to a 9×9-inch pan lined with parchment paper, and gently press it down into an even layer.
- Make the chocolate layer by melting together the chocolate chips and peanut butter in either the microwave or over a double boiler until completely smooth and combined.
- Pour the melted chocolate mixture over the cornflakes and smooth it into an even layer. Transfer the pan to the fridge for set for about 1 hour, then remove from the fridge and cut into squares.


")


")


