Tag

chocolate

Browsing

I take my snacks very seriously… arguable a little too seriously. I typically rotate between my protein cookies, healthy snickers rice cakes, and 6-ingredient protein muffins – and now I’ll add these chocolate shell yogurt cups to the lineup! What it comes down to for me is needing just a little something delicious to look forward to when that daily afternoon slump hits. A fun and delicious treat is usually just what I need to boost my mood and energy, and to get me through the rest of the day. These chocolate shell yogurt cups pack in a ton of nutrients from chia seeds, flax seeds, and fresh strawberries! They’re also insanely delicious and pretty much taste like dessert.

Why You’ll Love These Chocolate Shell Yogurt Cups

These chocolate shell yogurt cups are the perfect balance of creamy, crunchy, and healthy! Made with wholesome ingredients like yogurt, chia seeds, peanut butter, and a crisp dark chocolate shell, they’re great for breakfast, a midday snack, or a healthy dessert. With no baking required and only a few minutes of prep, this is an easy treat you’ll want to make on repeat!

overhead image of three chocolate shell yogurt cups.

What Makes This Recipe Healthy?

These yogurt cups are packed with nutritious ingredients! Greek yogurt (or a dairy-free alternative) offers protein and gut-friendly probiotics, while chia seeds and flaxseed meal provide a boost of fiber and omega-3s. The chocolate shell is made with just two ingredients and gives the perfect sweet crunch without a ton of sugar.

Recipe Variations and Substitutions

  • Yogurt Options: Use any yogurt you love – plain, vanilla, Greek, or dairy-free options like almond or coconut yogurt all work well.
  • Nut-Free Version: Swap peanut butter for sunflower seed butter or tahini to make this completely nut-free.
  • Berry Swap: No strawberries? Try blueberries, raspberries, or sliced banana for a twist.
  • Add a Crunch: Sprinkle in crushed nuts or granola before pouring the chocolate shell on top for extra texture.
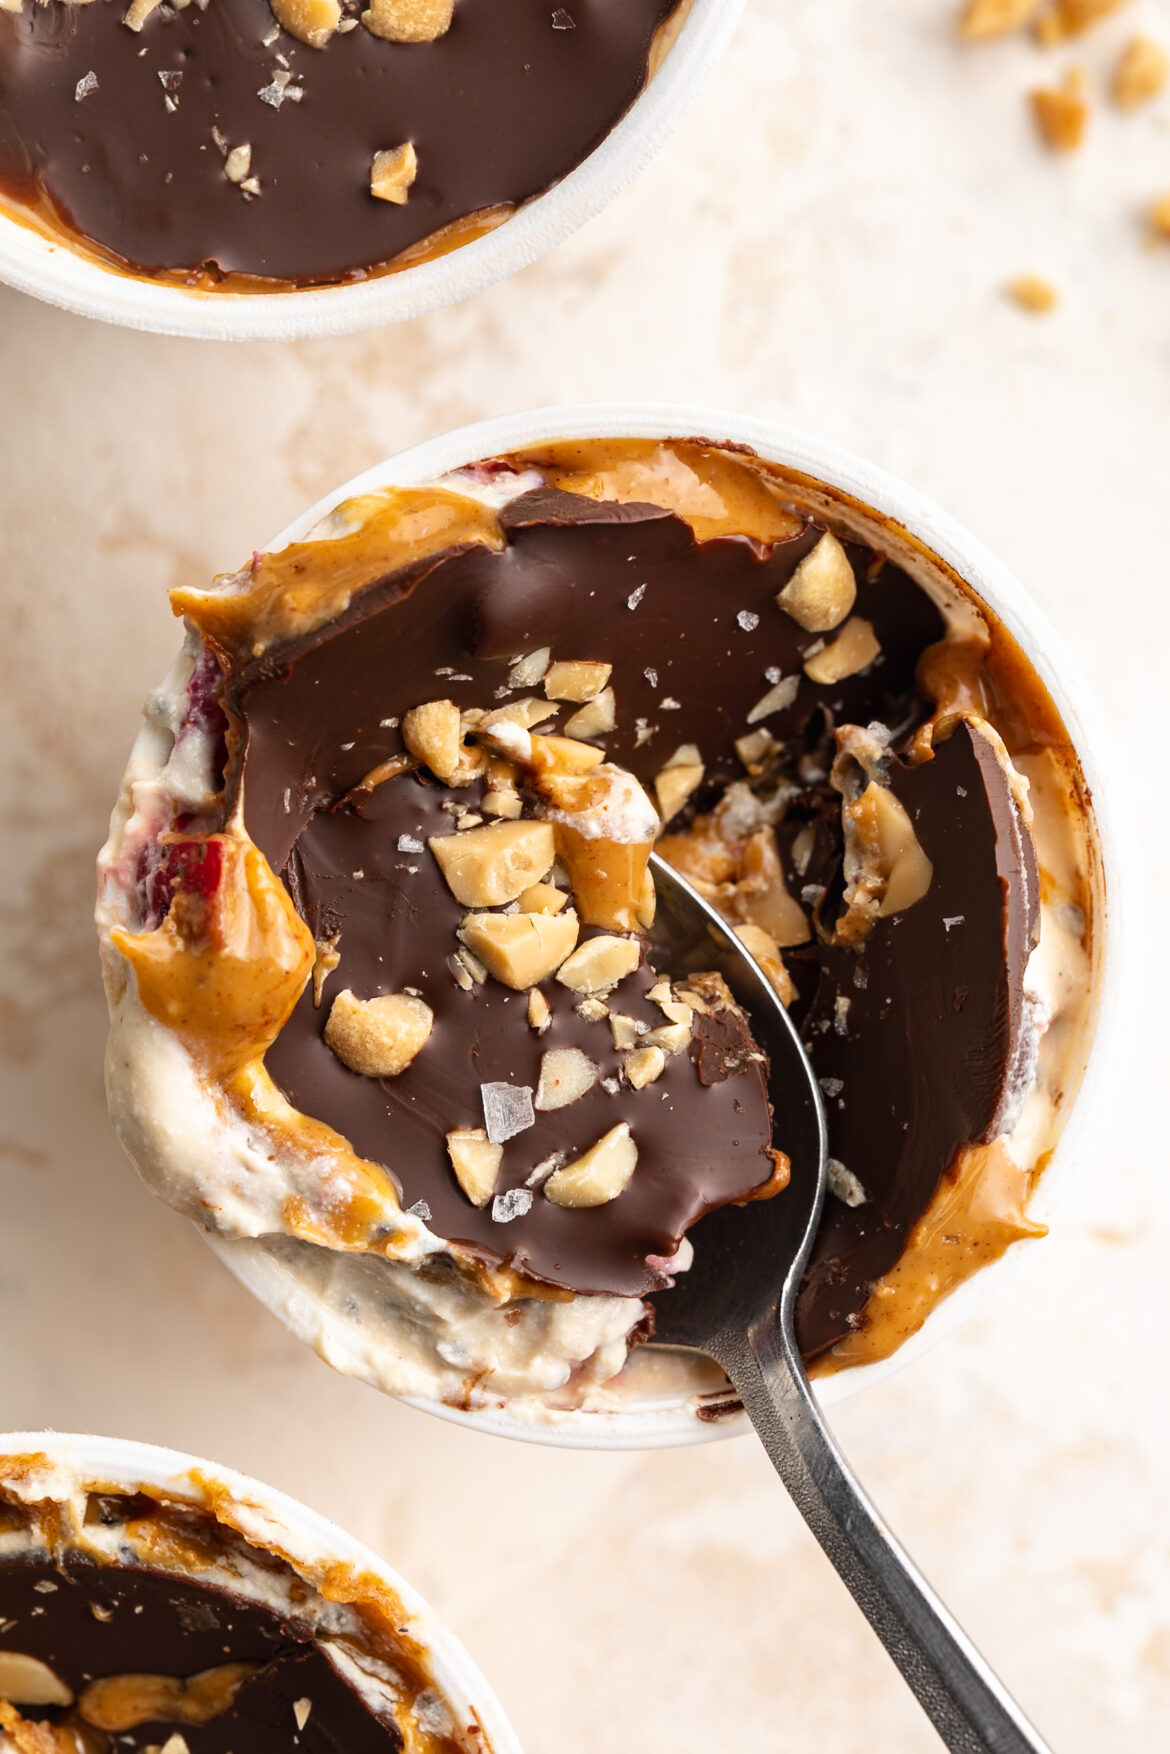
chocolate shell yogurt cups with peanuts and flaky salt on top.

Frequently Asked Questions

What kind of yogurt can I use?
You can use any yogurt you like! Greek yogurt adds extra protein, but dairy-free options like coconut or almond yogurt work great, too. I used Siggi’s plant-based protein yogurt cups and the texture is spot-on!

How long can I keep these yogurt cups in the fridge?
These are best enjoyed right after the chocolate sets, but you can store them in the fridge for up to 24 hours. The texture may soften slightly over time.

Can I make these nut-free?
Yes! Just swap the peanut butter for a nut-free alternative like sunflower seed butter or tahini.

overhead image of chocolate shell yogurt cup with chopped peanuts on top.
No ratings yet

Chocolate Shell Yogurt Cups (with protein + fiber!)

These chocolate shell yogurt cups are a healthy and delicious no-bake treat made with just 7 simple ingredients! Packed with protein, fiber, and healthy fats, they’re perfect for breakfast, a snack, or dessert. With a creamy yogurt base and crisp chocolate shell, this easy recipe is dairy-free optional and ready in minutes!
Print Pin Rate
Prep Time: 5 minutes
Chilling Time: 15 minutes
Total Time: 20 minutes
Servings: 1 serving

Ingredients

  • 1 5-ounce container yogurt
  • 1 tablespoon chia seeds
  • 1 teaspoon flaxseed meal
  • 1 strawberry chopped into small pieces
  • 1 tablespoon peanut butter
  • 2 tablespoons chocolate chips
  • 1/2 teaspoon coconut oil

Instructions

  • Remove the lid from the yogurt cup and mix the chia seeds and flaxseed meal into the yogurt.
  • Top the yogurt with the chopped strawberry pieces and peanut butter.
  • Melt together the chocolate chips and coconut oil until completely smooth, then pour the melted chocolate over the yogurt. Transfer the yogurt to the freezer for about 15 minutes or until the chocolate has hardened, then remove and enjoy!
Notes

Nutrition info was calculated using whole milk unsweetened Greek yogurt.

Nutrition

Serving: 1serving | Calories: 400kcal | Carbohydrates: 30g | Protein: 23.5g | Fat: 34g | Fiber: 11g | Sugar: 17g

It’s no secret I love s’mores. S’mores rice crispy treats were one of the first recipes I ever published, followed shortly by my healthier gluten-free s’mores bars. So when I was deciding on the flavor for this high protein dip recipe, I immediately knew I wanted to make it s’mores flavor! A chocolatey Greek yogurt protein dip with mini marshmallows and chocolate chips swirled in. Great for dipping or. if you’re like me, eating by the spoonful!

overhead image of high protein s'mores dip in a bowl.

Why You’ll Love This High Protein S’mores Dip

This high protein s’mores dip is a nostalgic, sweet treat with a nutritious twist. Made with just 4 simple ingredients, it packs over 30 grams of protein per serving thanks to creamy Greek yogurt and rich chocolate protein powder. It’s perfect as a post-workout snack, healthy dessert, or fun dip for fruit, crackers, or cookies.

Key Ingredients

  • Greek Yogurt: Thick, creamy, and protein-packed, Greek yogurt is the base of this dip. It adds richness and tang while delivering gut-friendly probiotics and muscle-building protein.
  • Chocolate Protein Powder: For that classic chocolatey s’mores flavor and a major protein boost. Use your favorite whey or plant-based chocolate protein—just make sure it blends smoothly.
  • Mini Marshmallows: The essential s’mores element! A small amount goes a long way, adding sweetness and fun texture. Swap in sugar-free marshmallows to reduce added sugar.
  • Mini Chocolate Chips: Extra chocolatey goodness in every bite. Use extra dark or sugar-free chips for an even healthier version.
high protein s'mores dip in a bowl with graham crackers and strawberries on the side.

Sam’s Recipe Tips

  • Chill before serving: Let the dip sit in the fridge for 20–30 minutes for the best flavor and texture.
  • Use sugar-free or low-sugar swaps: Opt for sugar-free marshmallows and stevia-sweetened chocolate chips to reduce total sugar without sacrificing taste.
  • Serve with dippers: Apple slices, graham crackers, strawberries, or pretzels make this dip even more fun and satisfying.

More High Protein Recipes You’ll LOVE

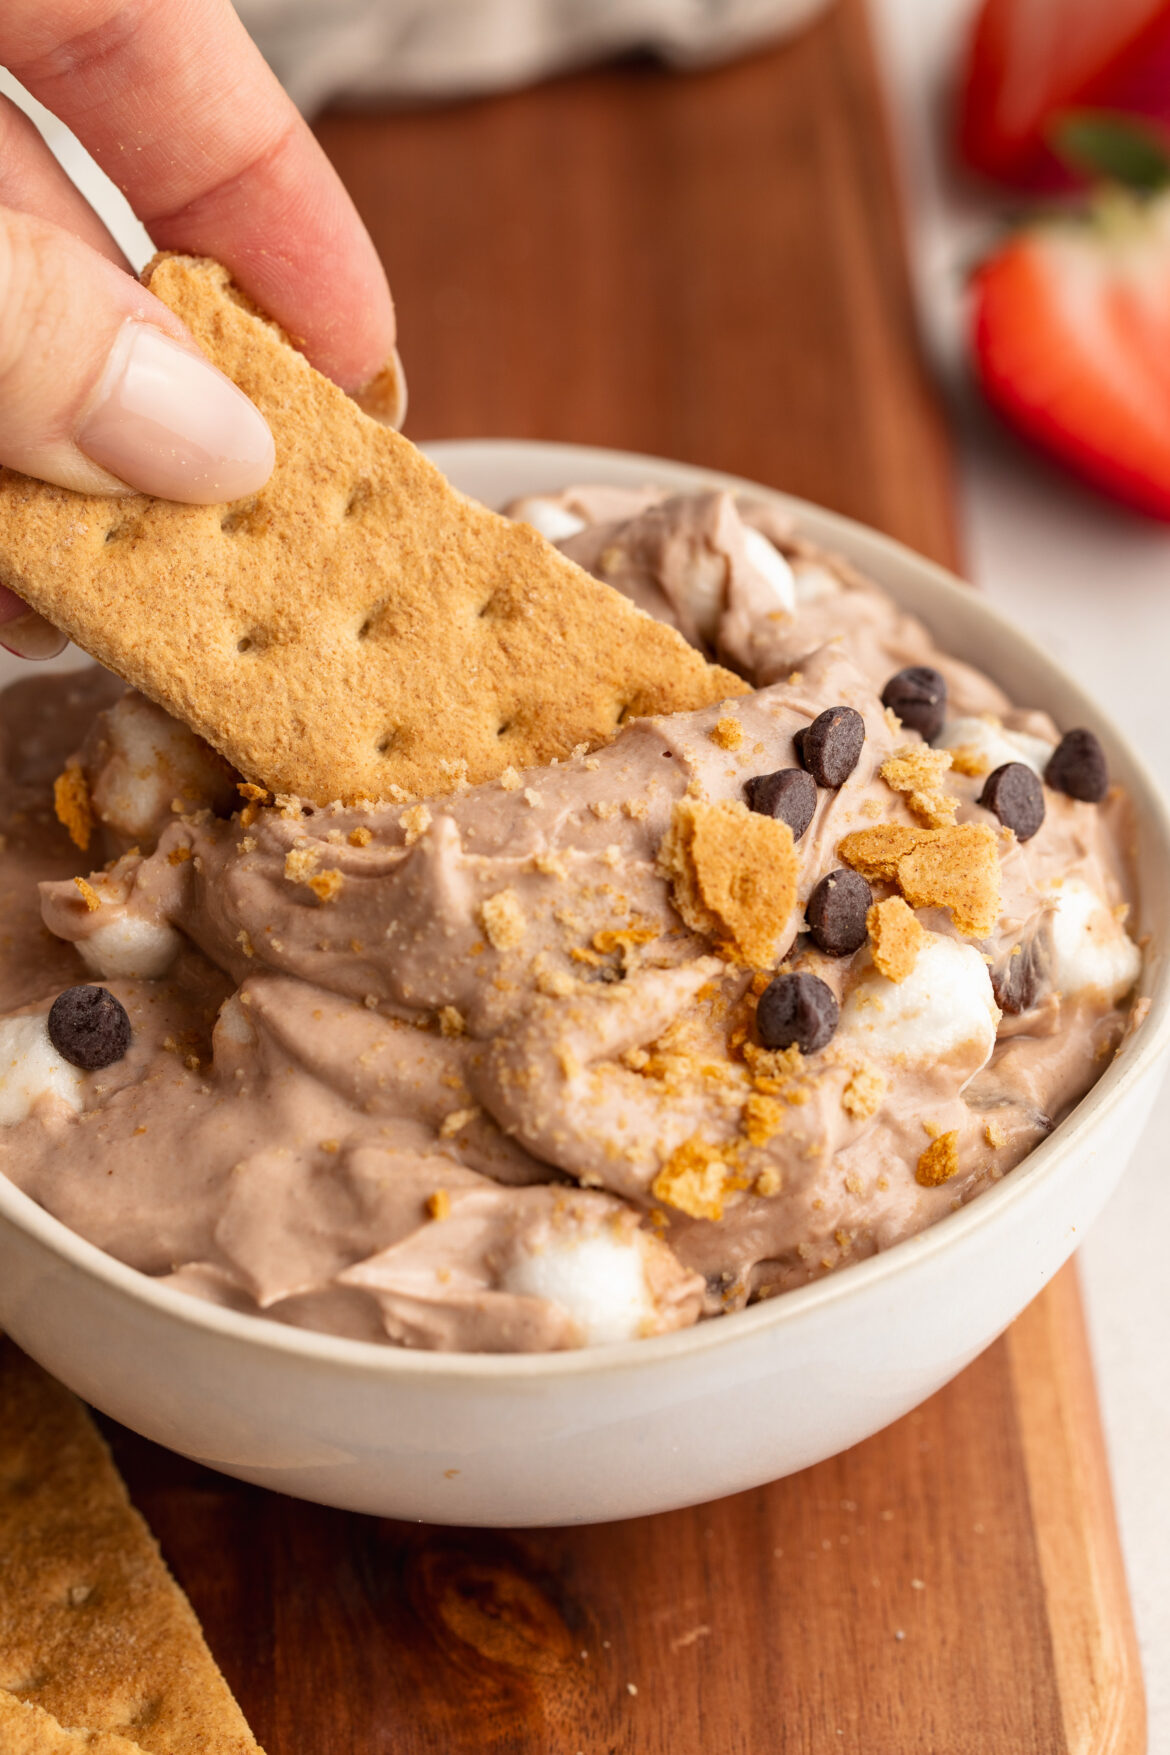
graham cracker being dipped into high protein s'mores dip.
No ratings yet

High Protein S’mores Dip (30g protein!)

This high protein s’mores dip is a quick and easy 4-ingredient recipe with over 30 grams of protein per serving! Made with Greek yogurt, chocolate protein powder, mini marshmallows, and chocolate chips – it’s a healthier way to satisfy your sweet tooth. Perfect as a post-workout snack, party dip, or high protein dessert!
Print Pin Rate
Prep Time: 5 minutes
Total Time: 5 minutes
Servings: 2 servings

Equipment

  • 1 small bowl

Ingredients

  • 1 cup Greek yogurt
  • 2 scoops chocolate protein powder
  • 1/4 cup mini marshmallows
  • 1/4 cup chocolate chips

Instructions

  • Mix together the Greek yogurt and chocolate protein powder in a bowl, then stir in the mini marshmallows and chocolate chips. Enjoy right away or store in the fridge for up to 2 days!

Nutrition

Serving: 1serving | Calories: 310kcal | Carbohydrates: 24g | Protein: 31g | Fat: 8g | Sugar: 18g

I’m a chocolate girl through and through. I always opt for chocolatey treats like my healthy no-bake brownie balls or 3-ingredient healthy date caramel cups. And fudge? Well that’s one of my favorites! But with most fudge recipes, there are two things I don’t love – they pack in a TON of sugar, and they always requires some kind of heating/cooking on the stove. So this 2 ingredient fudge recipe not only contains a fraction of the sugar of regular fudge (making it a much healthier alternative), but there’s absolutely NO baking or cooking required. Simply melt chocolate chips in the microwave, stir in some Greek yogurt – and you’re good to go! This magic 2-ingredient fudge isn’t only healthy but super EASY to make too.

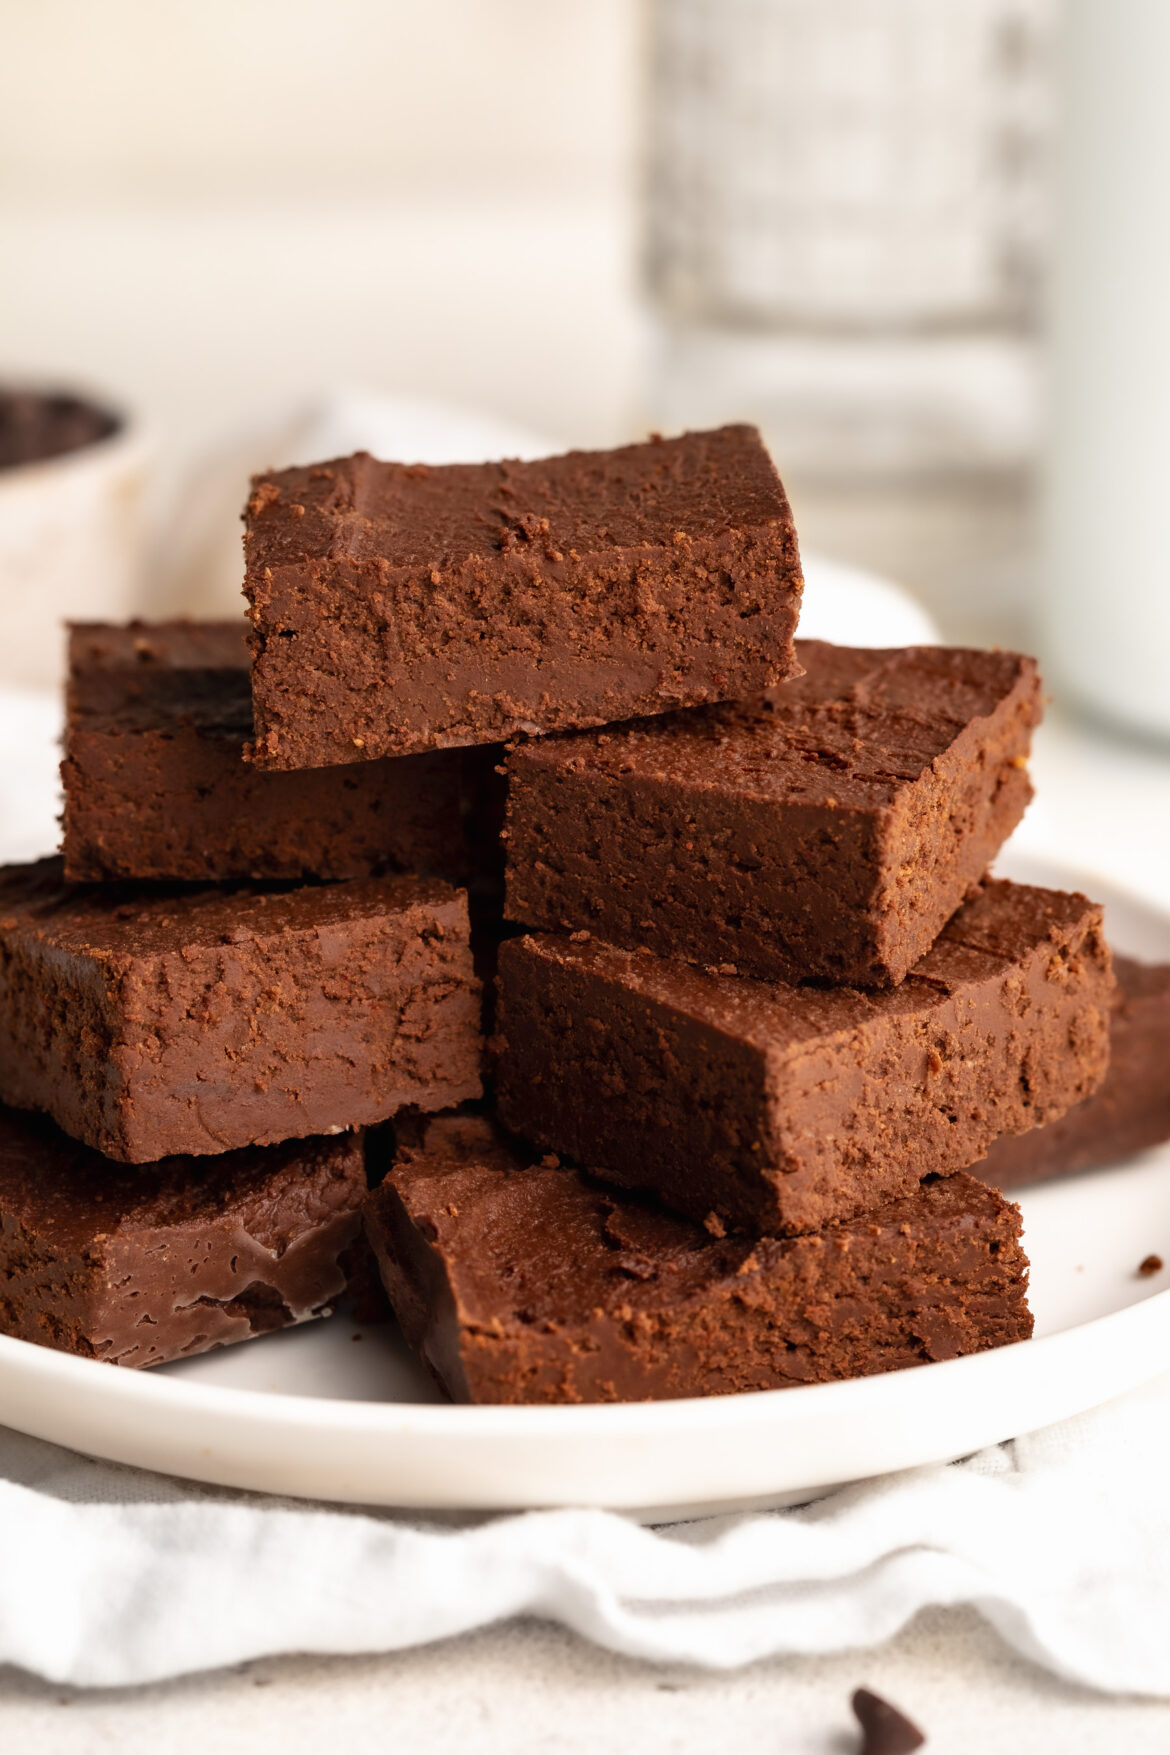
close up image of 2 ingredient healthy fudge on a plate.

Why You’ll Love This Recipe

  • Just two wholesome ingredients — no condensed milk or added sugar needed!
  • Naturally gluten-free and easy to make vegan or dairy-free with a simple swap.
  • No special equipment or candy thermometer required — just melt, mix, chill, and slice!

What You’ll Need to Make 2-Ingredient Healthy Fudge

Chocolate Chips
The rich base of this fudge. You can use dark, semi-sweet, or even sugar-free chocolate chips depending on your preference. For a vegan version, go with dairy-free chocolate like Enjoy Life or Hu Kitchen. I used the Just Dates date-sweetened chocolate chips to make my healthy fudge refined sugar-free!

Greek Yogurt
This is what makes the fudge creamy, thick, and slightly tangy — without any butter or condensed milk. It also sneaks in a bit of protein and gives the fudge a perfectly soft, chewy bite. For dairy-free, simply use a thick plant-based Greek-style yogurt like coconut or cashew-based yogurt.

2 ingredient healthy fudge stacked on a plate.

Can I Make This Fudge Dairy-Free?

Absolutely! Just use a dairy-free chocolate and a plant-based Greek-style yogurt. Look for yogurts that are thick and unsweetened, such as cashew or coconut-based ones, to keep the texture right. The flavor stays delicious, and it’s 100% vegan-friendly!

Sam’s Recipe Tips

  • Room temp yogurt is key. Cold yogurt will cause the melted chocolate to seize, making it grainy instead of smooth.
  • Use a small loaf pan. A 9×4 pan makes the perfect thickness for easy-to-slice fudge squares.
  • Flavor twist? Add a pinch of sea salt, cinnamon, or a few drops of peppermint extract to mix things up!
2 ingredient healthy fudge stacked on a plate.
5 from 1 vote

EASY Healthy Fudge (2 Ingredients!)

This easy 2-ingredient healthy fudge is rich, creamy, and made without condensed milk or added sugar! All you need is chocolate chips and Greek yogurt for a no-bake dessert that’s lower in sugar and naturally gluten-free. Customize it to be vegan or dairy-free and enjoy a quick, protein-packed sweet treat!
Print Pin Rate
Prep Time: 15 minutes
Total Time: 15 minutes
Servings: 12 servings

Equipment

  • 1 small bowl
  • 1 9×4-inch loaf pan

Ingredients

  • 1 1/4 cups chocolate chips I used date-sweetened chocolate chips
  • 3/4 cup Greek yogurt or plain unsweetened coconut yogurt to make it dairy-free/vegan

Instructions

  • Line a 9×4-inch loaf pan with parchment paper.
  • Measure out ¾ cup of Greek yogurt and let it sit at room temperature for about 10 minutes, or until it’s no longer cold.
  • Melt the chocolate chips in a bowl in either the microwave or over a double boiler or until completely smooth, then add in the room temp Greek yogurt. Mix quickly until the chocolate and yogurt are fully combined.
  • Transfer the chocolate mixture to your prepared loaf pan, spread it into an even layer, then transfer it to the fridge for at least 1 hour or until the fudge it firm. Once firm, remove the fudge from the fridge and cut it into small squares. Enjoy right away or store in the fridge for later!

Nutrition

Serving: 1serving | Calories: 100kcal | Carbohydrates: 12g | Protein: 2.5g | Fat: 6g | Sugar: 9g

Summer is finally here, and so is my need for no-bake sweet treats! We’ve kicked things off strong with these healthy no-bake brownie batter balls and 4-ingredient healthy snickers rice cakes, but why not add even more to our no-bake dessert list?! These frozen banana and peanut butter bites are arguably one of the easiest recipes I’ve ever made. And the fact that I don’t have to turn my oven on to make ’em? Well that’s just the cherry (or should I say banana???) on top!

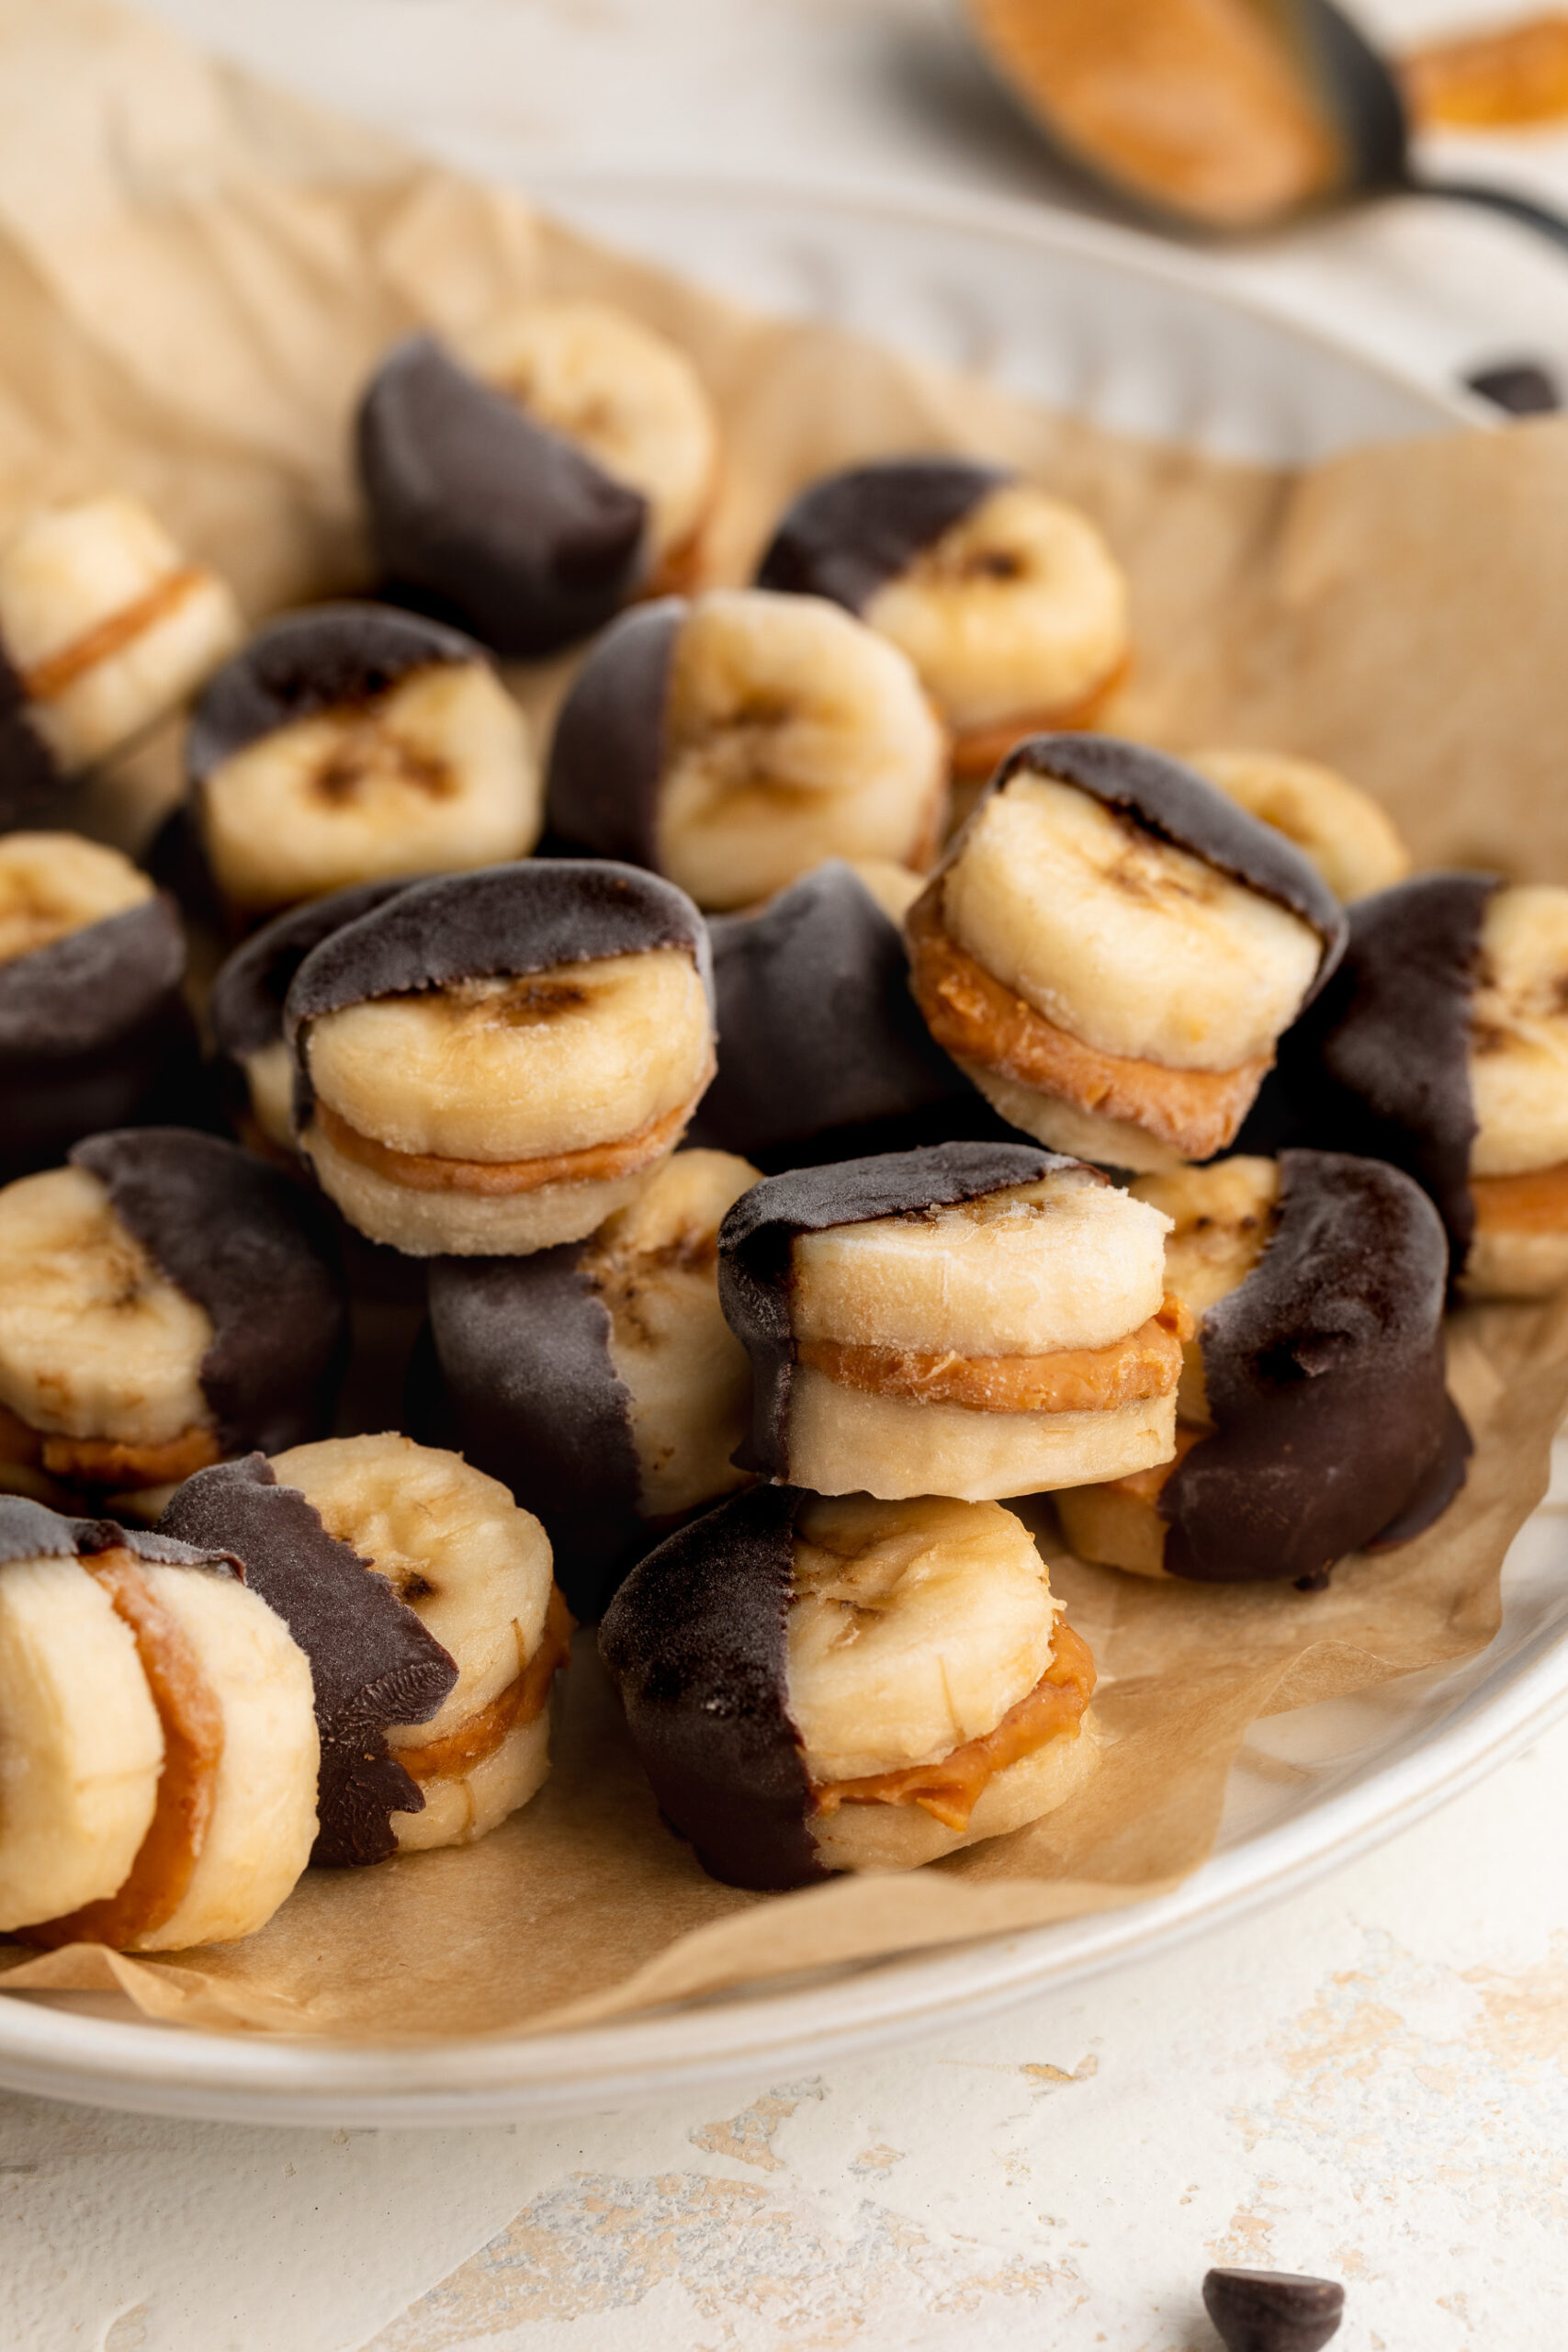
frozen banana and peanut butter bites dipped in chocolate on a plate

Why You’ll Love These Frozen Banana and Peanut Butter Bites

  • Wholesome and satisfying: These banana bites are the perfect balance of creamy peanut butter, sweet banana, and rich chocolate.
  • Perfect make-ahead snack or dessert: Freeze them and grab one anytime you’re craving something sweet but healthy.
  • Kid-friendly, adult-approved: Whether you need an after-school snack or a post-dinner treat, these bites are a hit with all ages.

What Makes This Recipe Healthy?

These bites are naturally sweetened with fruit, packed with fiber and potassium from bananas, and loaded with healthy fats and protein from peanut butter. The dark chocolate adds antioxidants and satisfies that chocolate craving without loading up on processed sugar or dairy. Best of all, this snack contains no refined ingredients, is gluten-free, dairy-free, and completely vegan.

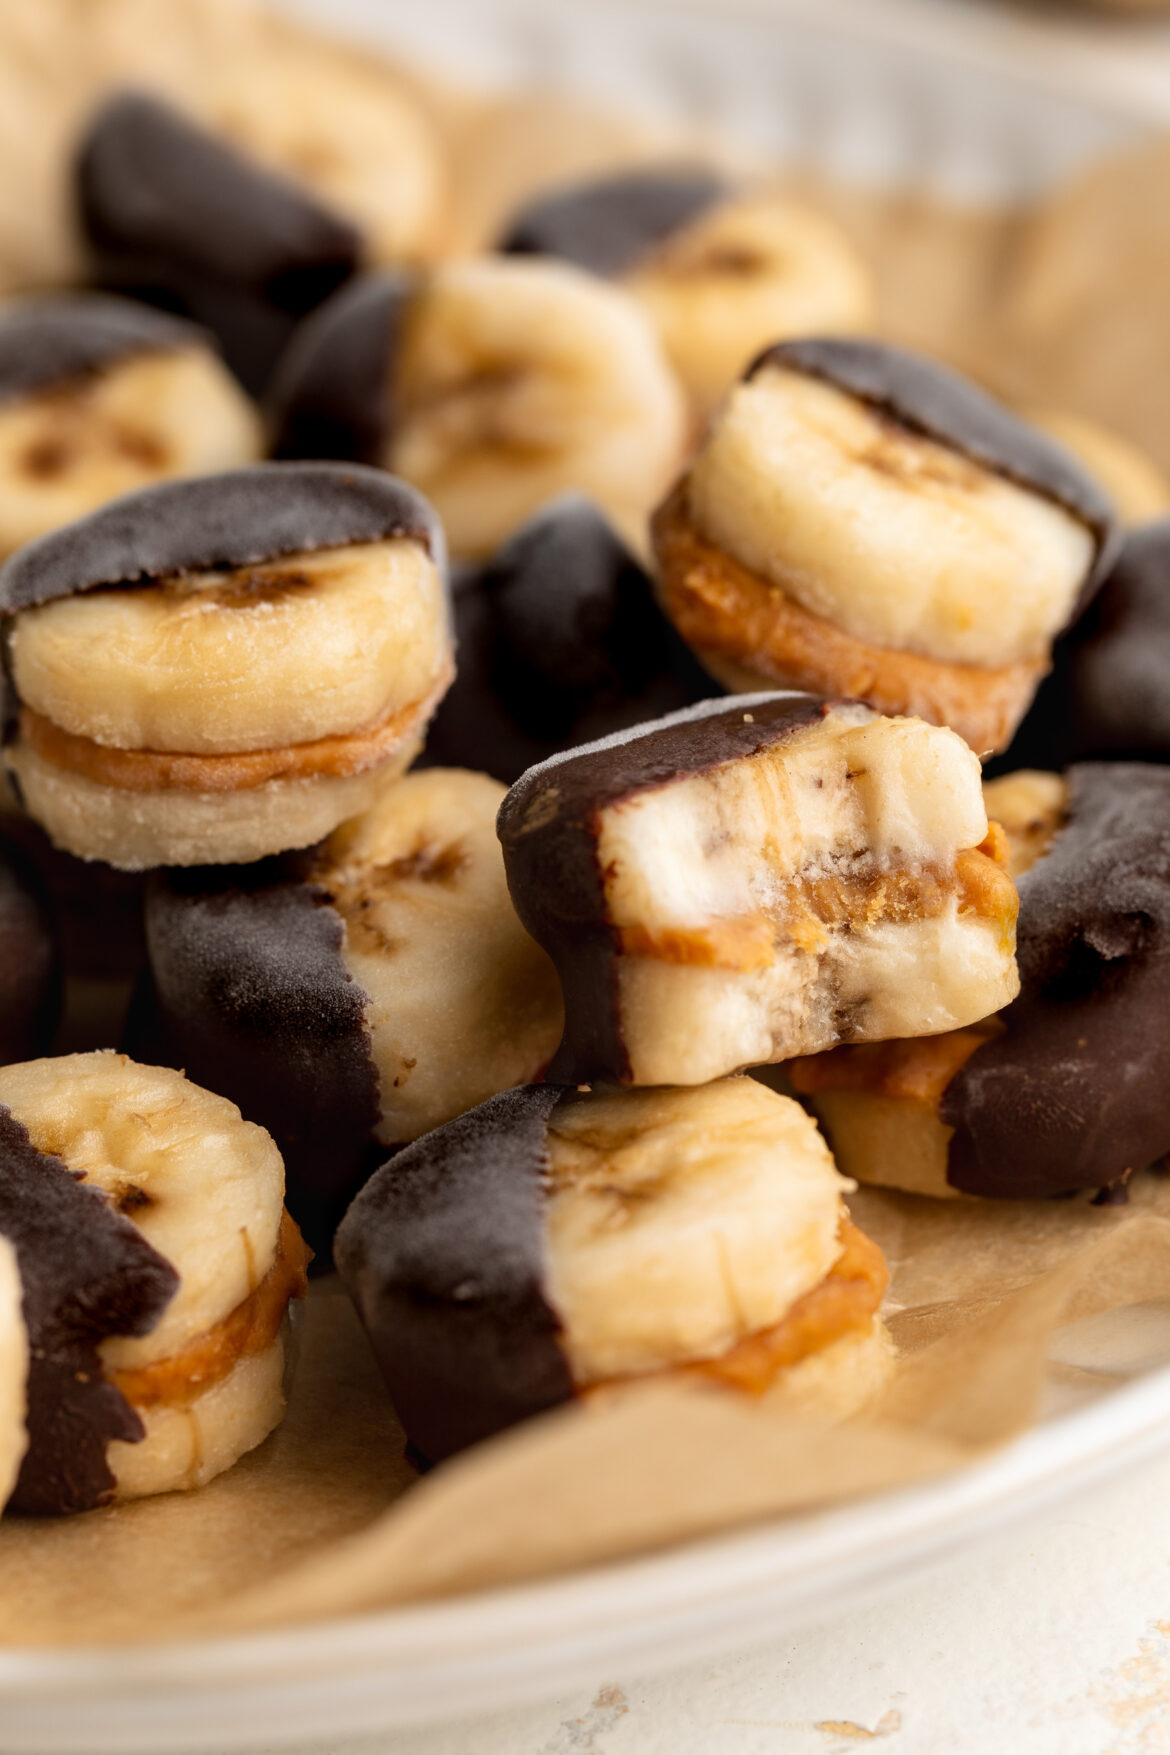
bite taken out of a frozen banana and peanut butter bite.

Recipe Variations and Substitutions

  • Nut-free? Use sunflower seed butter or almond butter instead of peanut butter.
  • Add crunch: Sprinkle crushed peanuts or sea salt on top before the chocolate hardens.
  • Make it extra chocolaty: Add a tiny dollop of chocolate between the banana slices before dipping.
  • Low-sugar option: Use stevia-sweetened chocolate chips to reduce added sugar.
frozen banana and peanut butter bites dipped in chocolate on a plate
No ratings yet

Frozen Banana and Peanut Butter Bites (4 ingredients!)

Print Pin Rate
Prep Time: 8 minutes
Freezing Time: 27 minutes
Total Time: 35 minutes
Servings: 6 servings

Equipment

  • 1 large baking sheet
  • 1 small bowl

Ingredients

  • 2 bananas peeled and sliced into 1/4-inch thick rounds
  • 1/4 cup creamy peanut butter
  • 1/3 cup chocolate chips
  • 1 teaspoon coconut oil

Instructions

  • Place 15 banana slices on a baking sheet lined with parchment paper. Spread about a teaspoon of peanut butter on top of each banana slice.
  • Top with another banana slice, and slightly press them together to make banana peanut butter “sandwiches.”
  • Transfer the bananas with peanut butter to the freezer for about 1 hour to harden.
  • Melt together the chocolate chips and coconut oil in either a microwave or over a double boiler until the chocolate is completely smooth.
  • Remove the bananas with peanut butter from the freezer and carefully dip them into the melted chocolate. Place the chocolate-dipped bananas back onto the baking sheet.
  • Freeze the banana and peanut butter bites for about 30 minutes, or until the chocolate has hardened and you’re ready to eat! 

Nutrition

Serving: 1serving | Calories: 150kcal | Carbohydrates: 16g | Protein: 3g | Fat: 8g | Sugar: 9g

If my healthy edible brownie batter and 4-ingredient date caramels had a baby, it’d be these healthy no-bake brownie balls! They’re rich, fudgy, naturally sweetened with dates, and even include some sneaky protein. And the best part? They’re entirely NO bake! Because let’s face it, this summer’s already been too hot to turn the oven on. I honestly keep a batch of these healthier brownie treats in my fridge at all time for when I need just a little something sweet!

healthy no-bake brownie balls in a small bowl with flaky salt on top.

Why You’ll Love These Healthy Brownie Balls

These no-bake healthy brownie balls are the perfect healthy treat! Whether you’re craving something sweet post-workout or want a better-for-you treat during the day, these bites are loaded with flavor and come together in just minutes. Plus, they’re naturally sweetened with dates, made with wholesome plant-based ingredients, and dipped in chocolate for that irresistible finish!

What Makes This Recipe Healthy?

  • Naturally Sweetened – These brownie balls are sweetened entirely with medjool dates, offering fiber and natural sugars with zero refined sugar.
  • High in Plant-Based Protein – Thanks to chocolate protein powder and almond butter, these bites offer a nice protein boost to keep you satisfied.
  • No Bake + Easy Prep – Just toss the ingredients in a food processor, roll, dip, and chill. That’s it!
  • Allergy-Friendly – They’re gluten-free, dairy-free, and vegan-friendly, depending on your protein powder and chocolate chip choices.
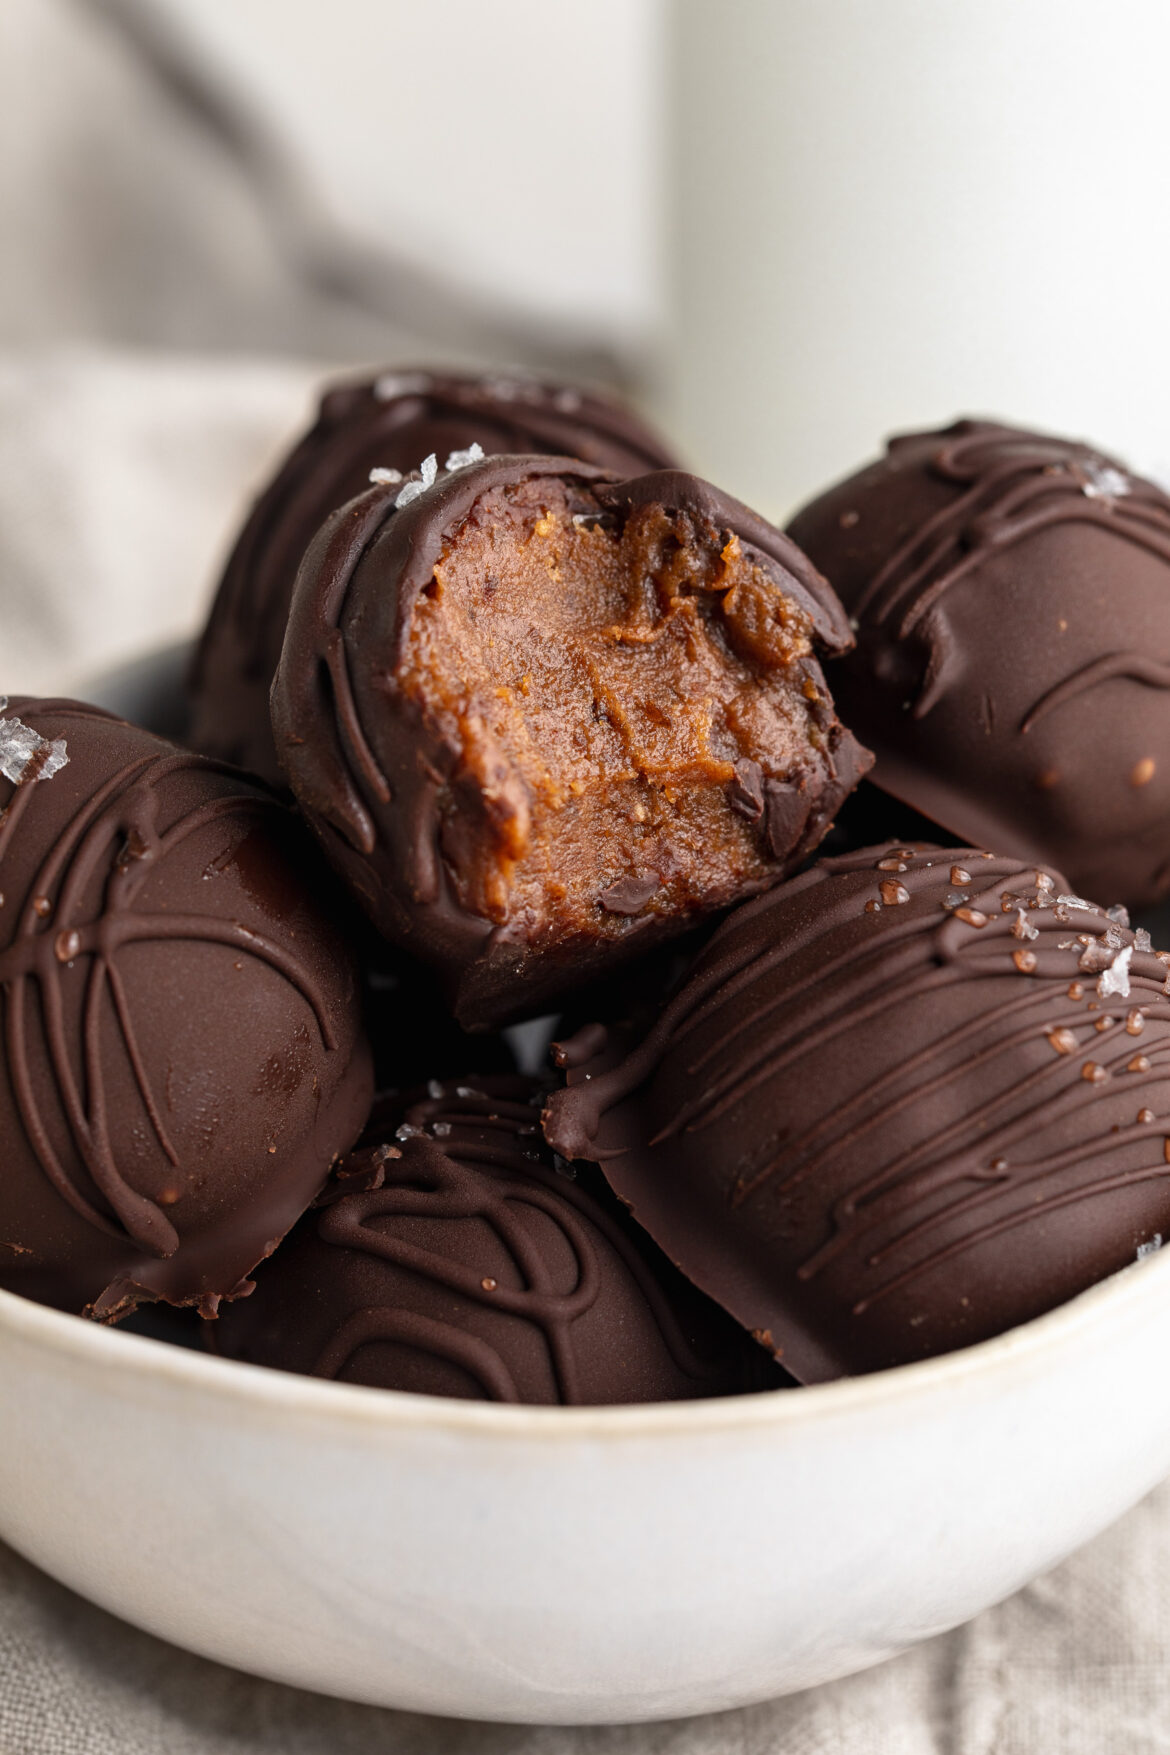
healthy no-bake brownie balls in a small bow, one with a bite taken out.

Frequently Asked Questions

What can I use instead of almond flour?
You can use oat flour as a 1:1 substitute. It keeps the texture soft and fudgy and is also naturally gluten-free!

What kind of protein powder did you use?
I used Aloha Chocolate Plant-Based Protein Powder (use this link for 20% OFF Aloha!). It’s dairy-free, soy-free, and adds a rich chocolate flavor without any artificial ingredients.

How do I store these brownie balls?
Keep them stored in an airtight container in the fridge for up to 1 week, or freeze for longer storage—just let them thaw for a few minutes before enjoying!

Sam’s Recipe Tips

  • Soak your dates if they’re dry or firm. Just 10 minutes in hot water makes them easier to blend.
  • Chill the dough if it’s too soft to roll into balls. Even 10 minutes in the fridge can help.
  • Use parchment paper when dipping the balls in chocolate to avoid sticking and messy cleanup.
  • Add toppings like crushed nuts, flaky sea salt, or shredded coconut to the chocolate coating before it sets for a decorative (and delicious) twist.
close up image of healthy no-bake brownie balls in a bowl, one with a bite taken out.
5 from 1 vote

Healthy No-Bake Brownie Balls

These no-bake healthy brownie balls are rich, fudgy, and made with just 6 simple ingredients! They’re gluten-free, dairy-free, and naturally sweetened with dates. Keep a batch in the fridge for a delicious and healthy treat anytime!
Print Pin Rate
Prep Time: 10 minutes
Chilling Time: 30 minutes
Servings: 8 brownie balls

Equipment

  • 1 food processor or high speed blender
  • 1 small bowl

Ingredients

For the brownie balls:

  • 1 cup medjool dates pitted
  • 1/4 cup almond flour or oat flour
  • 1/4 cup chocolate protein powder or cocoa powder
  • 1/3 cup almond butter or any nut/seed butter
  • 1/2 teaspoon Vanilla Extract optional but recommended

For the chocolate coating:

  • 1 cup chocolate chips I used extra dark chocolate chips
  • 2 teaspoons coconut oil

Instructions

  • Add all brownie ball ingredients to a food processor and pulse until a dough form.
  • Use a cookie scoop to scoop the mixture, then roll it between palms into a ball. Place the balls on a parchment-lined plate and transfer to the freezer for a few minutes while you make the chocolate coating.
  • Make the chocolate coating by melting together the chocolate chips and coconut oil in either a microwave or over a double boiler until completely smooth.
  • Remove the brownie balls from the freezer, dip each ball into the chocolate until it’s evenly coated, then place them back on the parchment-lined plate. Transfer the chocolate coated brownie balls to the fridge for about 30 minutes, or until the chocolate has hardened. Either enjoy right away or store in the fridge for later.

Nutrition

Serving: 1brownie ball | Calories: 150kcal | Carbohydrates: 20g | Protein: 5g | Fat: 9g | Sugar: 14g