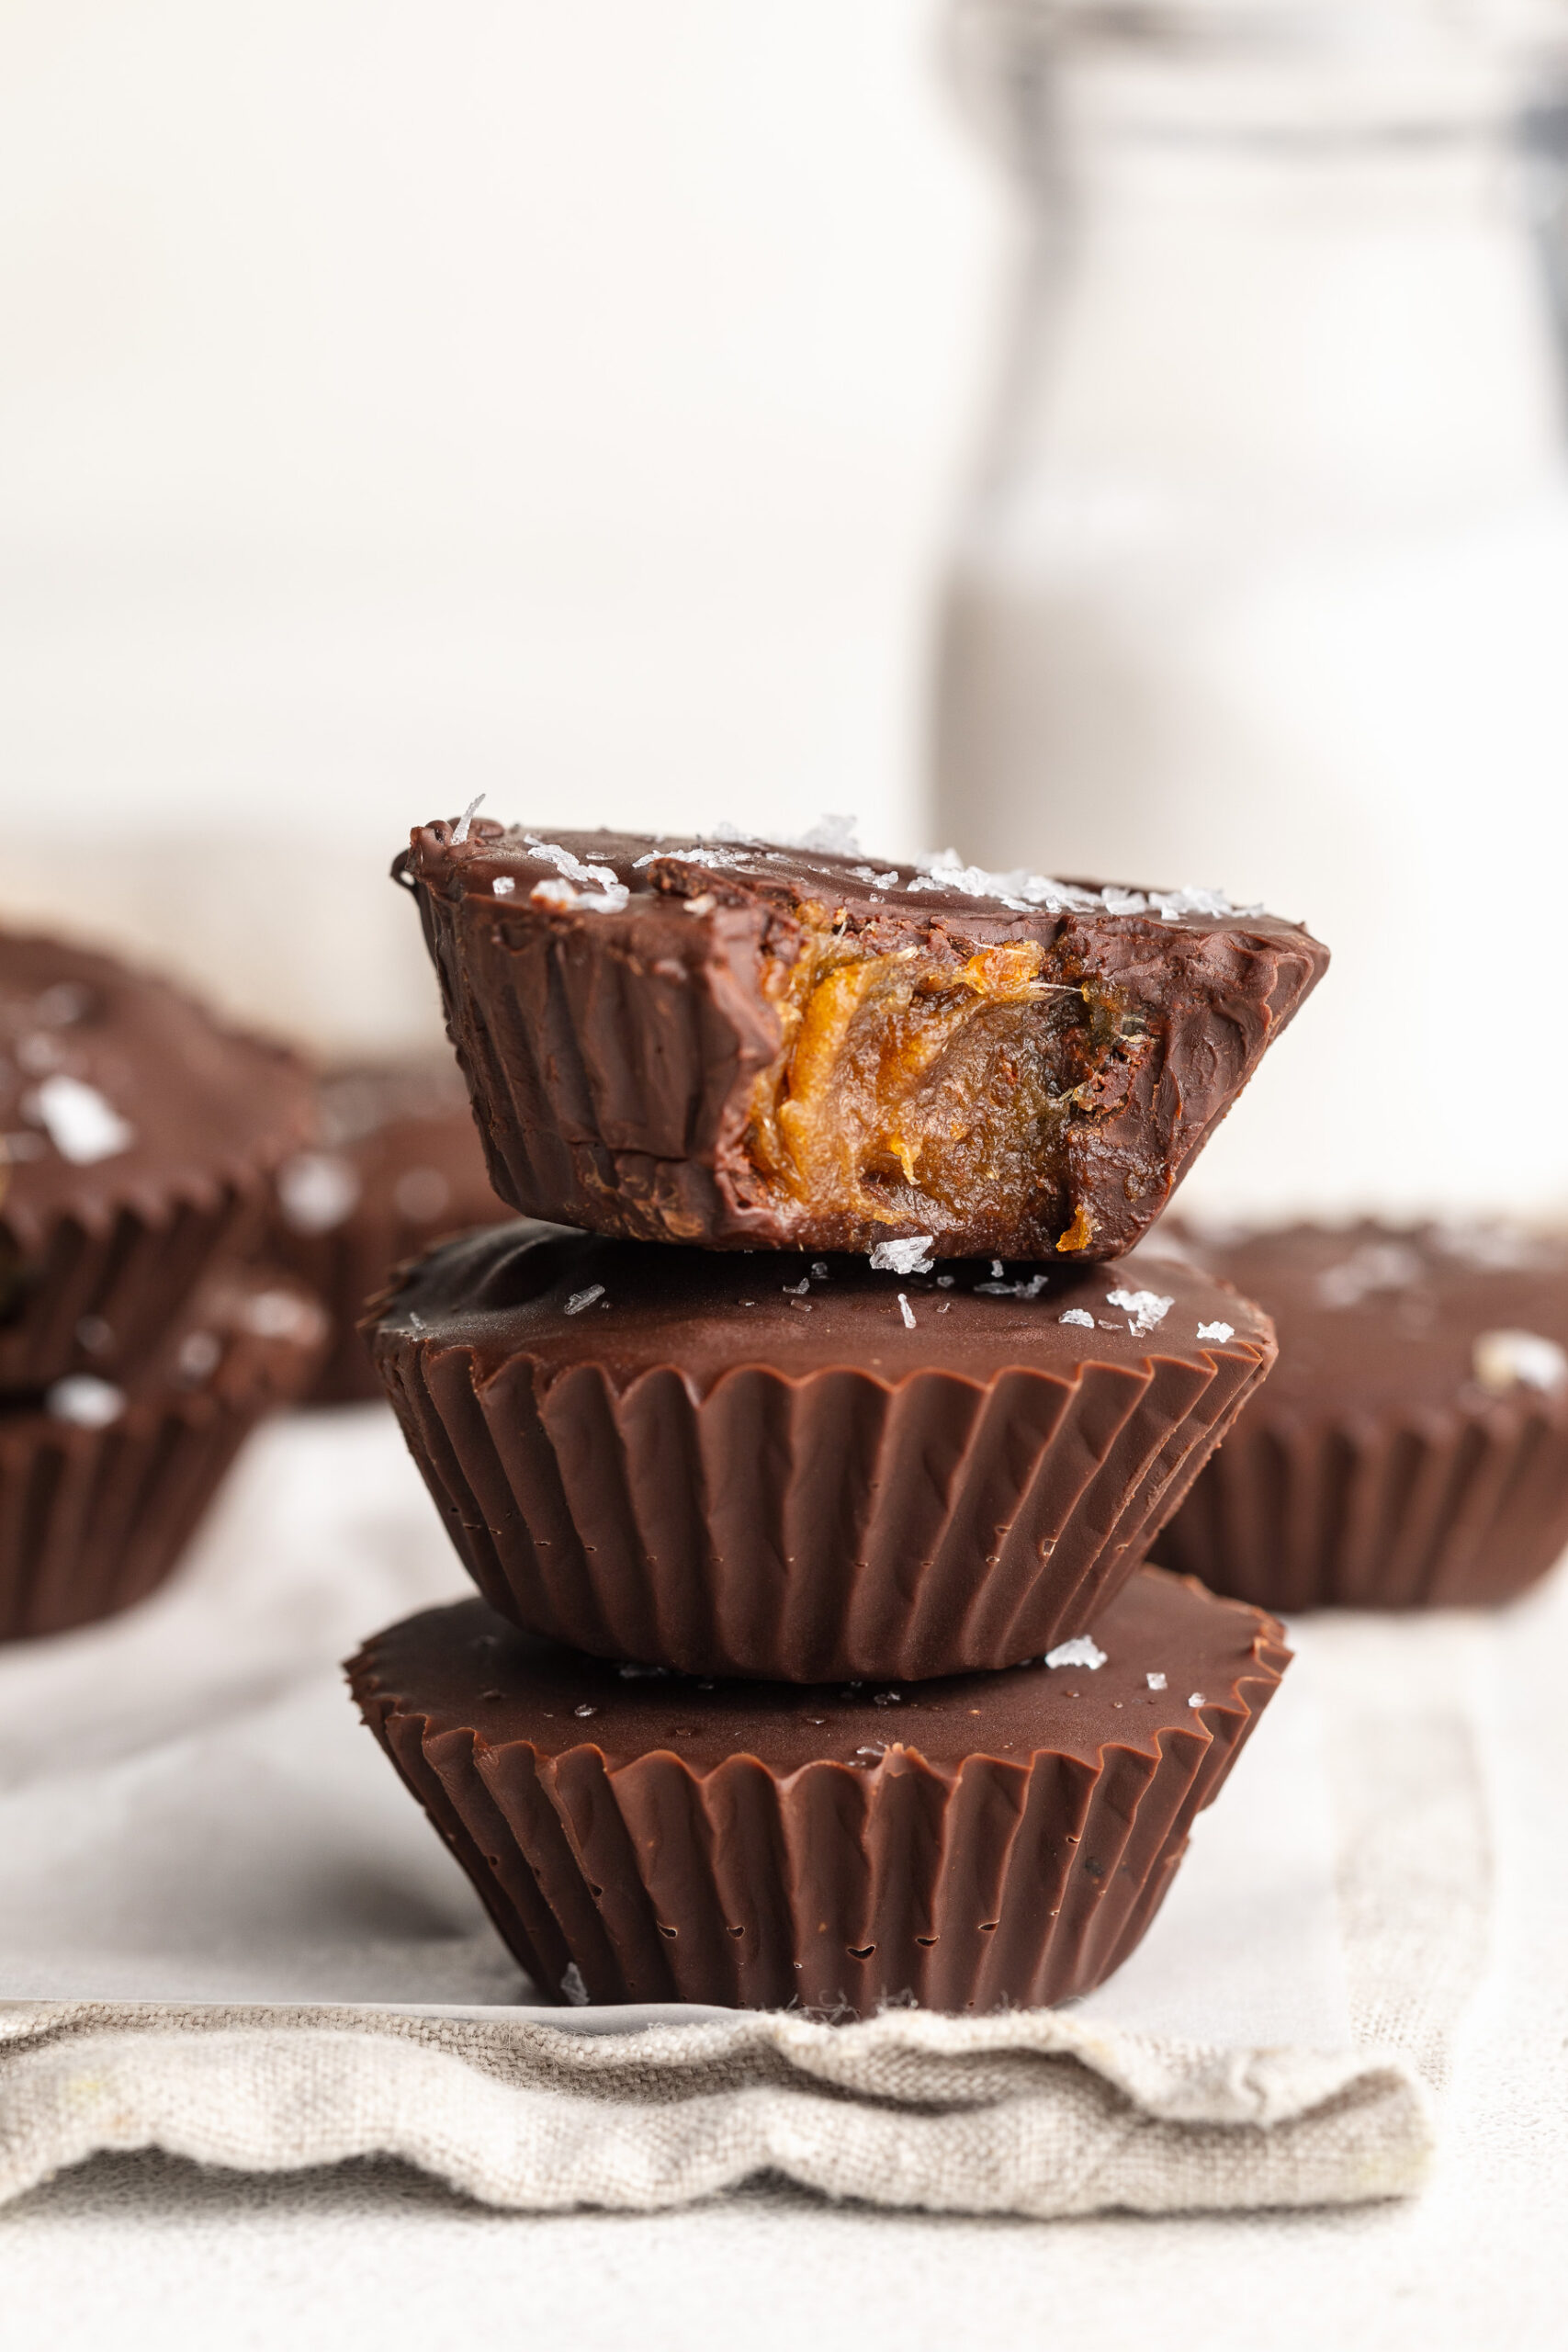
Tag

chocolate

Browsing

Someone asked me recently what my favorite ingredient to bake with is and while it’s tough to choose just one, I’d say medjool dates are in my top three. They’re naturally sweet, super versatile, and great for no-bake sweet treats! Some of my most popular recipes actually feature dates as the main ingredient – like my smashed dates with peanut butter, healthy date snickers, and 5 ingredient chocolate chip date cake. When it comes to dates, the possibilities really are endless! So when I set out to create a new healthy dessert recipe, these healthy date caramel cups were a no-brainer. They’re quick and easy, made with just 3 ingredients, and there’s absolutely no baking required. I also love having a batch of these in my freezer at all times for when I’m craving a little something treat!

hand holding a healthy date caramel cup with a bite taken out.

Why You’ll LOVE These Healthy Date Caramel Cups

  • Made with only 3 clean, whole-food ingredients
  • Naturally sweetened with dates (no added sugar!)
  • Gluten-free, dairy-free, and vegan
  • No baking required
  • Rich, chocolatey, and deeply satisfying

What Makes This Recipe Healthy

These date caramel cups skip the refined sugars and processed fillings you’d find in store-bought candies. Medjool dates provide natural sweetness and fiber, while dark chocolate adds antioxidants. With no dairy, gluten, or unnecessary additives, they’re a more wholesome option for indulging your sweet tooth!

healthy date caramel cup with flaky sea salt on top.

Frequently Asked Questions

Can I use a regular muffin tin?

Yes! You can absolutely use a standard muffin tin, just note that the caramel cups will be larger and yield fewer total cups. You may want to increase the chocolate and date caramel amounts accordingly.

What kind of chocolate should I use?

Any chocolate chips will work—dark, semi-sweet, or dairy-free depending on your dietary needs. We recommend at least 60% cacao for a richer flavor and lower sugar content.

What if my dates are too hard?

Make sure to soak them in hot water for at least 10 minutes. If they’re still tough, let them soak a bit longer or try chopping them up before blending for smoother caramel.

Storage Tips

Store your caramel cups in an airtight container in the fridge for up to 1 week, or in the freezer for up to 2 months. Let frozen cups thaw for 5–10 minutes before enjoying for the best texture.

3 healthy date caramel cups stacked on top of each other.
No ratings yet

3-Ingredient Healthy Date Caramel Cups

These 3-ingredient healthy date caramel cups are the perfect no-bake treat – rich, chocolatey, and naturally sweetened with Medjool dates! They're vegan, gluten-free, dairy-free, and made with just chocolate chips, coconut oil, and dates. Whether you're craving a wholesome dessert or a midday snack, these caramel cups are healthy yet indulgent!
Print Pin Rate
Prep Time: 10 minutes
Chilling Time: 20 minutes
Total Time: 30 minutes
Servings: 12 date caramel cups

Equipment

  • 1 mini muffin pan
  • 1 small bowl
  • 1 food processor or high speed blender

Ingredients

  • 1 cup Medjool dates pitted
  • 1 1/2 cups chocolate chips I used extra dark chocolate chips
  • 2 teaspoons coconut oil

Instructions

  • Soak the Medjool dates in a bowl of very hot water for 10 minutes, then line a mini muffin pan with mini liners.
  • Melt together the chocolate chips and coconut oil in either the microwave or over a double boiler until completely melted and smooth.
  • Once the chocolate is melted, pour about 1 teaspoon of melted chocolate into the bottom of each mini muffin liner and use a spoon to spread the chocolate around to cover the entire bottom of the liner. Once all liners are lined with chocolate, transfer your muffin pan to the freezer to set and place the remaining melted chocolate aside for now.
  • Once the dates are very soft, drain them from the water and transfer the soaked dates to a food processor or high-speed blender and blend until they are mostly smooth, scraping down the sides of the food processor or blender as needed.
  • Spoon about 1-2 teaspoons of date caramel into each cup lined with chocolate. Repeat this process until all cups have been filled with date caramel.
  • Pour 1-2 teaspoons of melted chocolate over each date caramel cup, making sure you completely cover the date caramel inside. Once all cups are filled with chocolate, transfer the pan back into the freezer for 10-15 minutes or until the chocolate is completely set. Remove date caramel cups from the freezer, transfer to an airtight container and store in the fridge or enjoy right away!

Nutrition

Serving: 1date caramel cup | Calories: 145kcal | Carbohydrates: 15g | Protein: 1g | Fat: 8g | Sugar: 10g

Breakfast has quickly become my favorite meal of the day! Between my 3 ingredient protein pancakes, gluten-free bagel bites, and now these healthy breakfast muffins – I now have so many delicious breakfast options to choose from. Over are the days where all I’d eat were boring scrambled eggs, or a bland bowl of cereal! These healthy breakfast muffins are perfectly sweet, totally satisfying, and the perfect fuel to get me through busy mornings. OH, and they’re great for meal prep too!

Why You’ll Love These Healthy Breakfast Muffins

These breakfast muffins are a game-changer for busy mornings. Made in just one bowl with wholesome ingredients, they’re moist, fluffy, and naturally sweetened. Whether you choose Greek yogurt, mashed banana, or applesauce, each variation offers a light and fluffy texture. Plus, they’re gluten-free and customizable with your favorite fruit or mix-ins!

overhead image of healthy oat breakfast muffins with a bite taken out.

What Makes These Muffins Healthy

  • Whole Grains: Oat flour and rolled oats provide fiber and energy to keep you fueled all morning long!
  • Natural Sweeteners: Maple syrup adds sweetness without refined sugars.
  • Healthy Fats: Olive oil contributes heart-healthy monounsaturated fats (& makes these seed oil-free!).
  • Protein-Rich: Greek yogurt and eggs boost the protein content, keeping you feeling full longer.

Frequently Asked Questions

Can I make these egg-free?

Yes! Substitute each egg with a flax egg (1 tablespoon ground flaxseed mixed with 3 tablespoons water) or use a store-bought egg replacer.

How do I store these healthy breakfast muffins?

Store them in an airtight container at room temperature for up to 3 days or refrigerate for up to a week. They also freeze well for up to 3 months.

What can I use instead of Greek yogurt?

You can use mashed banana or unsweetened applesauce as a 1:1 substitute for Greek yogurt. This not only changes the flavor profile but also caters to different dietary needs!

Can I use all-purpose flour?

Absolutely. While oat flour keeps them gluten-free, all-purpose flour can be used if gluten isn’t a concern.

healthy oat breakfast muffins on a white towel with blueberries.

Sam’s Recipe Tips

  • Customize Your Mix-Ins: Feel free to fold in nuts, seeds, or different fruits to suit your taste.
  • Don’t Overmix: Mix until just combined to keep the muffins tender.
  • Use an Ice Cream Scoop: For evenly sized muffins, use a scoop to portion the batter.
  • Check for Doneness: Insert a toothpick into the center; if it comes out clean, they’re ready.
two healthy breakfast muffins with chocolate chips stacked on top of each other.
No ratings yet

Healthy Oat Breakfast Muffins (3 ways!)

These healthy oat breakfast muffins are easy to make, gluten-free, and perfect for busy mornings! Made in one bowl with simple, wholesome ingredients, they come together in just minutes and are packed with flavor. Try all three variations for a nutritious, customizable breakfast the whole family will LOVE!
Print Pin Rate
Prep Time: 5 minutes
Cook Time: 20 minutes
Total Time: 25 minutes
Servings: 12 muffins

Equipment

  • 1 large bowl
  • 1 muffin pan

Ingredients

  • 1 cup Greek yogurt or 1 cup mashed banana, or 1 cup applesauce
  • 1/2 cup milk
  • 1/4 cup olive oil
  • 1/4 cup maple syrup
  • 2 large eggs
  • 1 teaspoon vanilla extract
  • 1 1/2 cups oat flour
  • 1 cup rolled oats
  • 2 teaspoons baking powder
  • 1/2 teaspoon baking soda
  • 1 cup fresh or frozen fruit I used blueberries, strawberries, and chocolate chips

Instructions

  • Preheat oven to 375° Fahrenheit and line a muffin tin with muffin liners.
  • In a large bowl, mix together the Greek yogurt, milk, olive oil, maple syrup, eggs, and vanilla extract.
  • Add in the oat flour, rolled oats, baking powder, and baking soda and mix until fully combined and the batter is smooth.
  • Fold in any fruit or chocolate chips you're using until it’s evenly distributed throughout the batter.
  • Then, scoop ¼ cup of batter into each muffin liner and bake muffins for 20-25 minutes, or until a toothpick inserted down the center of a muffin comes out clean. Remove the muffins from the oven and let them cool before serving or storing.

Nutrition

Serving: 1serving | Calories: 180kcal | Carbohydrates: 20g | Protein: 6g | Fat: 9g | Fiber: 3g | Sugar: 6g

I went on a sort of healthier candy spree last fall with my healthy snickers recipe, 4 ingredient date caramels, and healthy homemade butterfingers. All of which are delicious, but I was missing one of the most popular (and one of my personal faves) candies – peanut butter cups! And honestly, had I known making your own homemade healthy peanut butter cups was this easy, I’d have been making them for yearssss. Just chocolate (I used dark, but use whatever you prefer!), peanut butter, almond flour, coconut oil, and just a touch of maple syrup is all you’ll need for this super easy and no-bake dessert recipe!

healthy strawberry peanut butter cups on a sheet of parchment paper.

Why You’ll Love These Healthy Strawberry Peanut Butter Cups

  • Made with just 5 wholesome ingredients, these peanut butter cups are easy, no-bake, and naturally gluten-free and dairy-free.
  • The creamy peanut butter filling paired with rich dark chocolate and a touch of strawberry makes them a perfectly indulgent yet nourishing treat.
  • Customizable to suit your dietary needs – refined sugar-free, nut-free, or vegan – without compromising flavor.

What Makes This Recipe Healthy?

Unlike traditional peanut butter cups loaded with refined sugars and additives, this recipe uses natural sweeteners like maple syrup or honey. The inclusion of almond flour adds a dose of healthy fats and fiber, while the use of dark chocolate chips provides antioxidants. By choosing unsweetened peanut butter, you control the sweetness and ensure a treat that’s both delicious and nourishing!

close up image of a healthy strawberry peanut butter cup with a bite taken out.

Can I Use a Different Sweetener?

Absolutely! If you prefer a different natural sweetener, options like agave nectar or coconut sugar work well in this recipe. Keep in mind that the sweetness level may vary, so adjust to taste. For a sugar-free version, consider using a monk fruit sweetener or stevia, but be sure to check the conversion rates as they differ from traditional sweeteners.​

Adjust This Recipe to Your Dietary Needs

  • Make it Nut-Free: Replace peanut butter with sunflower seed butter and almond flour with oat flour to eliminate nuts while maintaining texture and flavor.​
  • Make it Dairy-Free: Use dairy-free chocolate chips to ensure the entire recipe remains free from dairy products.​
  • Make it Refined Sugar-Free: Opt for dark chocolate chips sweetened with coconut sugar or stevia, and use maple syrup or honey as your sweetener of choice.​
a healthy strawberry peanut butter cup with a bite taken out.
5 from 2 votes

Healthy Strawberry Peanut Butter Cups

These healthy strawberry peanut butter cups are a delicious, no-bake treat made with just 5 simple ingredients. Naturally gluten-free and dairy-free, they’re perfect for a quick snack or a better-for-you dessert. Easy to customize and bursting with sweet, chocolatey flavor, they’re the ultimate healthy twist on a classic favorite.
Print Pin Rate
Prep Time: 10 minutes
Chill Time: 18 minutes
Total Time: 28 minutes
Servings: 16 servings

Equipment

  • 2 small bowls
  • 1 mini muffin pan

Ingredients

For the chocolate layer:

  • 1 cup chocolate chips
  • 1 tablespoon coconut oil

For the peanut butter filling:

  • 1/2 cup peanut butter unsweetened
  • 2-3 tablespoons almond flour or 1-2 tablespoons coconut flour
  • 2 tablespoons maple syrup or honey

Instructions

  • Line a mini muffin pan with mini liners.
  • Melt together the chocolate chips and coconut oil in either the microwave or over a double boiler until completely melted and smooth.
  • Once the chocolate is melted, pour about 1 teaspoon of melted chocolate into the bottom of each liner and use a spoon to spread the chocolate around to cover the entire bottom of the liner. Once all liners are lined with chocolate, transfer your muffin pan to the freezer to set and set the remaining melted chocolate aside.
  • While the chocolate sets, add all peanut butter filling ingredients to a bowl and stir together until smooth, slightly thick, and combined.
  • Spoon about 1 teaspoon of the peanut butter filling mixture into the palm of your hands and roll it into a ball, then flatten it slightly to form a disk. Remove the muffin tin from the freezer and place one disk on top of each cup lined with chocolate. Repeat this process until all cups have been filled with peanut butter.
  • Pour 1-2 teaspoons of melted chocolate over each peanut butter cup, making sure you completely cover the peanut butter inside. Once all peanut butter cups are filled with chocolate, place a strawberry slice on top of each cup, then transfer the pan back into the freezer for 10-15 minutes or until the chocolate is completely set. Remove the strawberry peanut butter cups from the freezer, transfer to an airtight container and store in the fridge or enjoy right away!

Nutrition

Serving: 1serving | Calories: 120kcal | Carbohydrates: 9g | Protein: 3g | Fat: 8g | Sugar: 6g

Why You’ll Love These Protein Balls

Easy, No-Bake Snack: Made with just 5 simple ingredients and ready in minutes – no oven required!

Packed with Protein: Each ball contains 7 grams of protein, making them a perfect post-workout or midday snack.

Healthy & Dietary-Friendly: Gluten-free, dairy-free, vegan, and naturally sweetened with maple syrup.

Recipe Variations

  • Mix in Superfoods: Add chia seeds, flaxseeds, or hemp hearts for extra fiber and omega-3s.
  • Swap the Nut Butter: Use almond butter or cashew butter for a different flavor. For nut-free, use sunflower seed butter.
  • Boost the Chocolate: Dip the balls in melted dark chocolate and let them harden in the fridge for a chocolate-covered protein treat!

The Mixture is Too Dry, What Do I Do?

If the mixture is dry or crumbly, simply:

  • Add 1 tablespoon of water or almond milk at a time until the dough comes together.
  • Alternatively, add an extra tablespoon of peanut butter for more moisture and flavor.
Hand holding a cookie dough protein ball.

Adjust This Recipe to Your Dietary Needs

  • Make it Nut-Free: Swap peanut butter for sunflower seed butter and use oat flour instead of almond flour.
  • Make it Keto: Use almond flour instead of oats and a sugar-free maple syrup alternative.
  • Make it Grain-Free/Paleo: Skip the oats and use almond flour for a smooth, doughy texture.

Storage Instructions

  • Fridge: Store the protein balls in an airtight container in the fridge for up to 1 week.
  • Freezer: Freeze for up to 3 months. Let thaw for a few minutes before enjoying.

More Healthy Snack Recipes

If you love these no-bake protein balls, check out my other snack recipes like:

Enjoy these 5-ingredient cookie dough protein balls as a nutritious snack or dessert! 😋

cookie dough protein balls on a plate
No ratings yet

Cookie Dough Protein Balls

Satisfy your sweet tooth with these 5-ingredient cookie dough protein balls – the perfect no-bake snack! Packed with 7 grams of protein per ball, they’re gluten-free, dairy-free, and vegan, making them ideal for a healthy energy boost. Ready in minutes, they’re a delicious and nutritious way to fuel your day!
Print Pin Rate
Prep Time: 5 minutes
Total Time: 5 minutes
Servings: 8 servings

Equipment

  • 1 medium bowl

Ingredients

  • 1 cup rolled oats or almond flour
  • 1/4 cup vanilla protein powder
  • 1/4 cup peanut butter
  • 3 tablespoons maple syrup or honey
  • 1/4 cup dark chocolate chips

Instructions

  • Add all ingredients to a medium bowl and stir until thoroughly combined.
  • Roll mixture into 1-inch balls.

Nutrition

Serving: 1serving | Calories: 145kcal | Carbohydrates: 16g | Protein: 7g | Fat: 6g | Sugar: 7g

Magic bars were one of my favorite childhood treats! My mom had a few dessert recipes she rotated through – her famous watergate salad was a big one, and 7-layer magic bars were a close second. So when I got hit with this insane craving for magic bars, I looked up a few recipes and was pretty shocked by what I found. Most magic bars are made with tons, and I mean TONS of processed sugar. Though since I’ve basically made it my life’s work to turn our favorite desserts into healthier ones, I knew I had to get working on a healthier magic bar recipe!

This recipe took quite a few tries, but I ultimately perfected it! I used the same almond flour shortbread crust as my healthy pecan pie bars recipe, and riffed off my healthy vegan caramel sauce for a healthier sweetened condensed milk alternative. I then topped these bars with plenty of coconuts, chopped nuts, and of course – chocolate chips! The end result is a bar just as indulgent as the classic magic bars we all know and love, made with healthier ingredients and a fraction of the sugar. I just know you’re gonna LOVE these!

Why You’ll Love This Recipe

  • Naturally Sweetened – No refined sugar, just maple syrup and coconut cream for a rich, caramel-like sweetness.
  • Easy & Quick – Simple ingredients, one bowl for the crust, and a short bake time.
  • Customizable – Easily make them nut-free, keto-friendly, or extra chocolatey!
a healthy gluten-free magic bar with a bite taken out.

What Makes These Magic Bars Healthier?

Traditional magic bars are loaded with processed sugars and condensed milk, but this healthier version swaps in:

  • Almond flour for a grain-free, nutrient-dense crust.
  • Maple syrup instead of refined sugar.
  • Coconut cream for a dairy-free caramel alternative.
  • Dark chocolate chips with minimal added sugar, or opt for a refined sugar-free chocolate chip like these!

Sam’s Recipe Tips

  • For Extra Firm Bars – Let them chill in the fridge overnight before slicing.
  • For More Chocolate Flavor – Drizzle melted chocolate over the top before serving.
  • For a More Caramel-Like Texture – Use cashew butter instead of almond butter.
two healthy gluten-free magic bars stacked on top of each other.

Adjust This Recipe to Your Dietary Needs

Nut-Free Option – Use sunflower seed butter instead of almond butter and swap the nuts for pumpkin or sunflower seeds.

Keto-Friendly Option – Substitute maple syrup with a keto-friendly syrup and use sugar-free chocolate chips.

Refined Sugar-Free – Stick with pure maple syrup and dark chocolate for a naturally sweet treat!

Storage Instructions

Fridge: Store bars in an airtight container in the refrigerator for up to one week.
Freezer: For longer storage, freeze them for up to 3 months and thaw before serving.

overhead image of a healthy gluten-free magic bar with chocolate chips on top.
5 from 1 vote

Healthy Gluten-Free Magic Bars

These healthy magic bars are a better-for-you twist on the classic 7-layer bars! Made with a buttery almond flour crust, a naturally sweetened caramel layer, crunchy nuts, coconut, and melty dark chocolate, these bars are gluten-free, dairy-free, vegan, and refined sugar-free. They’re the perfect treat for when you’re craving something sweet but still healthier.
Print Pin Rate
Prep Time: 10 minutes
Cook Time: 30 minutes
Chill Time: 1 hour
Total Time: 1 hour 40 minutes
Servings: 16 bars

Equipment

  • 1 9×9-inch baking pan
  • 1 large bowl
  • 1 small saucepan

Ingredients

For the shortbread crust:

  • 2 cups almond flour
  • 1/4 cup melted coconut oil
  • 1/4 cup maple syrup
  • 1 teaspoon vanilla extract

For the topping:

  • 1/2 cup coconut cream (the thick white part at the top of a can of full-fat coconut milk)
  • 1/4 cup maple syrup
  • 1/4 cup almond butter or peanut butter
  • 1 cup chopped walnuts or pecans
  • 1 cup unsweetened shredded coconut
  • 1 cup dark chocolate chips

Instructions

  • Preheat oven to 350° Fahrenheit and line a 9×9-inch baking pan with parchment paper.
  • Add all shortbread crust ingredients to a large bowl and mix to combine. Then, transfer the crust to your prepared baking pan and press the crust down into an even layer over the base of the baking dish. Bake for 10 minutes or until lightly golden brown around the edges.
  • Remove the crust from the oven to cool, and while it cools make the caramel by adding the coconut cream, maple syrup, and almond butter to a small saucepan over medium-low heat. Whisk the mixture together and cool for 3-5 minutes, whisking constantly, until the caramel has melted together and slightly thickened.
  • Remove the saucepan from the heat and allow the caramel to cool slightly, then mix the chopped walnuts or pecans and shredded coconut into the caramel.
  • Pour the caramel mixture over the cooled crust and spread it into an even layer over the crust. Sprinkle the chocolate chips evenly over the caramel layer (if you’d like, you can then sprinkle an additional 1-2 tablespoons of shredded coconut and chopped walnuts or pecans over the chocolate chips to make the bars a little prettier), then bake the bars for an additional 20 minutes.
  • Remove the bars from the oven and leave them to cool at room temperature for about 30 minutes, then transfer them to the fridge to completely set for at least one hour. Remove the bars from the fridge, cut into square, and enjoy!

Nutrition

Serving: 1bar | Calories: 325kcal | Carbohydrates: 20g | Protein: 6.4g | Fat: 27g | Sugar: 13g