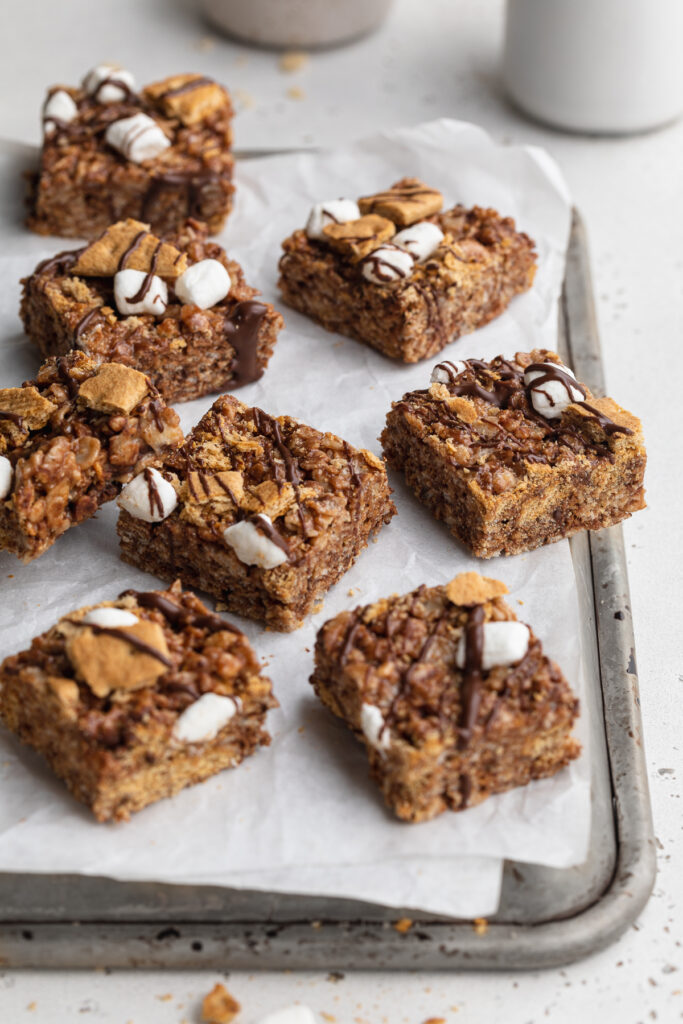
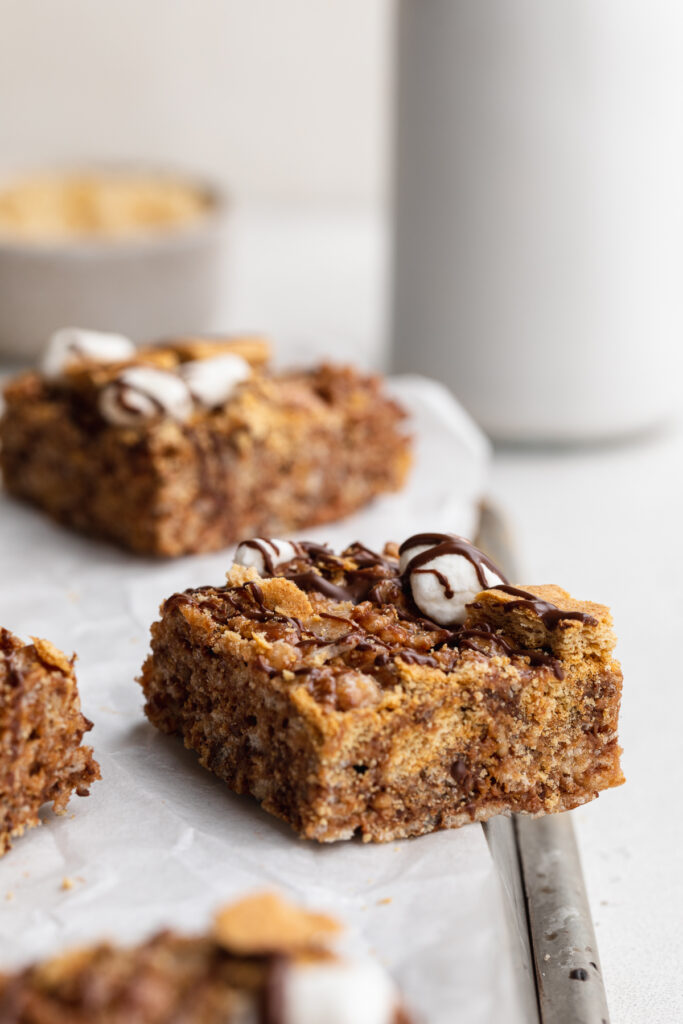
These s’mores rice crispy treats are insanely delicious and super easy to make! They’re loaded with gluten-free cookies, crisp rice cereal, gooey melted marshmallow, and plenty of chocolate chips.

What You Need To Make S’mores Rice Crispy Treats
Rice Cereal – Classic Rice Krispies cereal is my favorite in this recipe! They’re light and remain super crunchy in these treats. I have to say, I’ve tried a handful of off-brand rice cereals for this recipe and none taste nearly as good as Rice Krispies do. I’m not sure what it is, but most other kinds end up too soft and almost soggy when mixed into these s’mores rice crispy treats.
Graham Crackers – Any graham cracker will work here! I’ve tested this recipe using my homemade vegan and gluten-free graham crackers, and oh man were they delicious. O, for an organic option, I recommend Annie’s Organic Honey Graham Crackers.
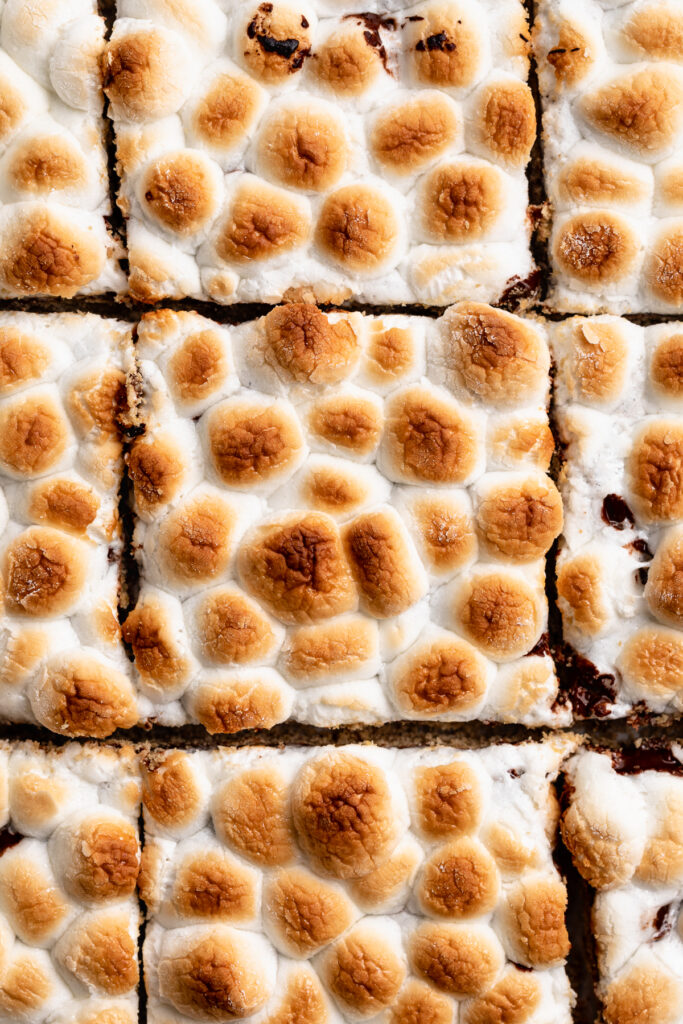
Marshmallows – I used regular-sized marshmallows to make my s’mores rice crispy treat. However, you can use a 10-ounce bag of mini marshmallows instead. I also recommend topping your treats with a small handful of mini marshmallows for a super cute look!
Adjust This Recipe To Your Dietary Needs
Make it Vegan: Make sure the chocolate, marshmallows, and butter you use are all vegan! I love and recommend Dandies vegan marshmallows and Miyoko’s vegan butter.
Make it Gluten-Free: Replace the graham crackers with gluten-free Simple Mill’s Honey Cinnamon Sweet Thins.
Make it Nut-Free: Use nut-free graham crackers/cookies!
Tips For Making S’mores Rice Crispy Treats
- Move quickly when adding the melted marshmallow mixture into the cereal mixture. The melted marshmallows will immediately start to cool once removed from the heat. And you’ll notice that as soon as they cool, they also begin to seize up and can be quite difficult to work with.
- Spray a little cooking oil on your hands before handling the treats! I like to sprits a little cooking oil on one hand and then rub them together right before transferring the treats to the baking dish.
- Similar to your hands, spray a little cooking oil on your knife before slicing! A greased knife will glide through these s’mores rice crispy treats. However, an un-greased knife will almost certainly get stuck and struggle to make it through your treats!

S’mores Rice Crispy Treats (Vegan, Gluten-Free)
Ingredients
- 1 (12-ounce) bag marshmallows
- 6 ounces butter
- 4 cups rice cereal
- 1 cup graham crackers, crushed
- 1/2 cup chocolate chips
Instructions
- Line a 9×9-inch baking dish with parchment paper, then melt butter and marshmallows in a large saucepan over medium-low heat.
- Mix together the rice cereal, crushed graham crackers, and chocolate chips in a large bowl.
- Add melted marshmallows to the cereal mixture, mix well.
- Transfer treats mixture to your lined baking dish and let sit at room temperature for 1 hour before slicing.


")


")