Tag

healthy

Browsing

If there’s one thing about my boys, it’s that they love anything and everything pumpkin! My gluten-free pumpkin coffee cake is always a huge hit this time of year, and for a healthier treat my husband and son love my pumpkin protein balls. We pretty much always have a pumpkin snack on-hand when those seasonal cravings strike, and I’m so excited to add these healthy pumpkin muffins to the mix! They’re gluten-free, dairy-free, lightly sweetened with maple syrup, and made in just ONE bowl. My idea of a perfect fall morning is one of these healthy pumpkin muffins in one hand, and a healthy pumpkin spice latte in the other. So cozy and SO delicious!
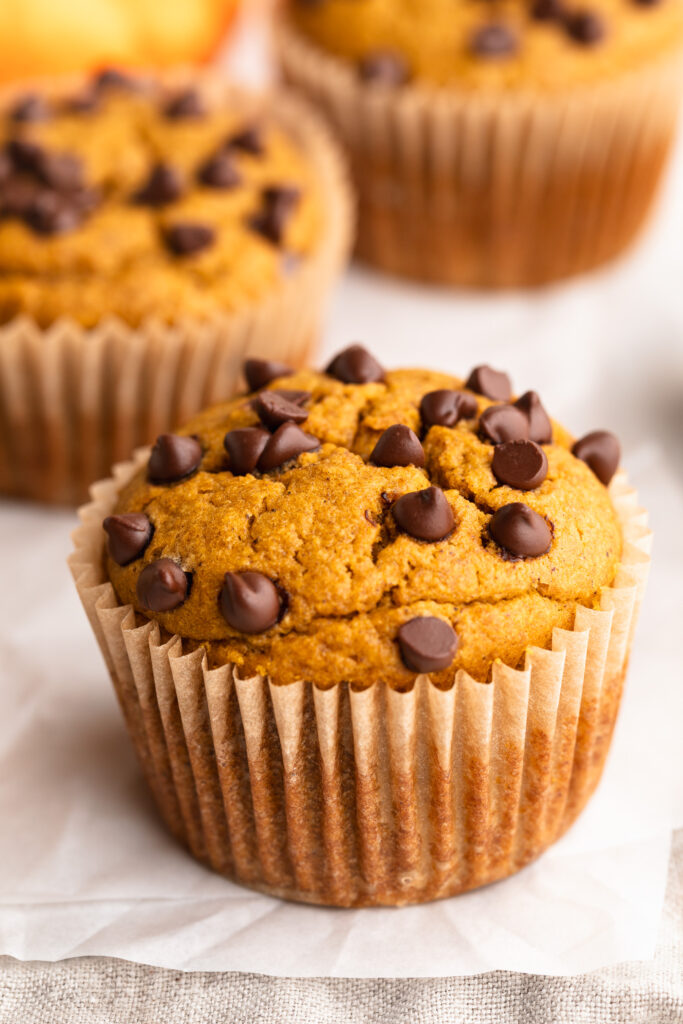
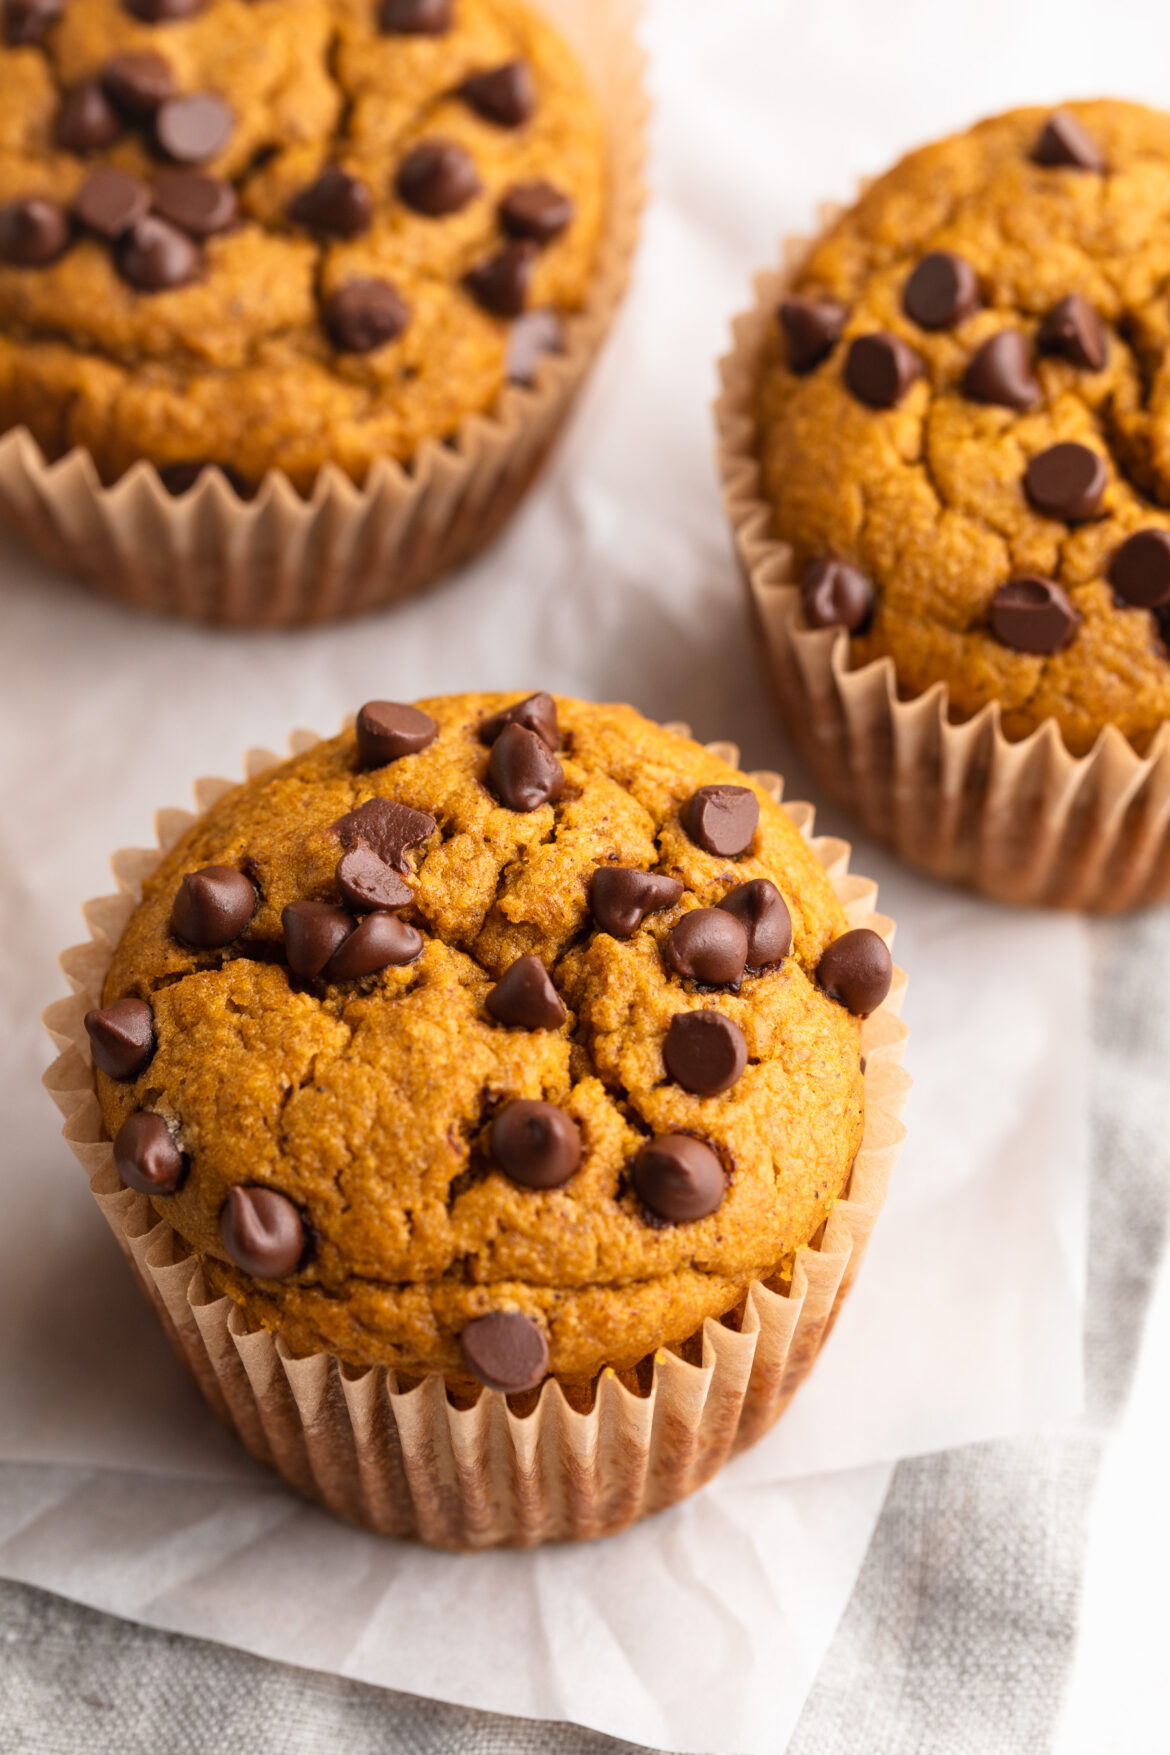
close up image of a healthy pumpkin muffin with chocolate chips on top.

🧡 What Makes This Recipe Healthy?

Unlike traditional pumpkin muffins loaded with refined sugar and flour, these are made with simple, nourishing ingredients you can feel good about. The oat flour provides whole-grain fiber, while pumpkin puree adds natural sweetness, moisture, and a boost of vitamins A and C. They’re also lightly sweetened with maple syrup, keeping them just sweet enough without going overboard. Plus, no butter or dairy means these muffins are naturally dairy-free and gluten-free!

🍂 Why You’ll Love These Healthy Pumpkin Muffins

  • Made with real pumpkin and warming fall spices for that cozy flavor you crave.
  • Naturally gluten-free, dairy-free, and nut-free, so everyone can enjoy them.
  • Lightly sweetened, moist, and fluffy – and made in just one bowl for easy cleanup!
  • Perfect for breakfast, meal prep, or healthy snacks throughout the week.
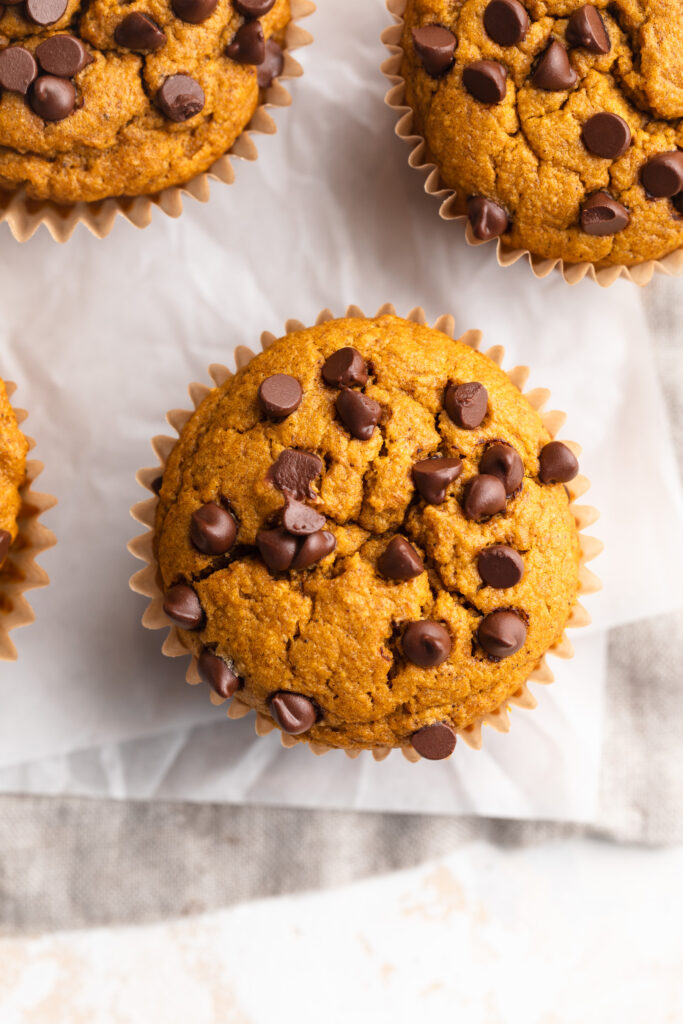
overhead image of healthy pumpkin muffins.

Frequently Asked Questions

Can I make these pumpkin muffins vegan?
Yes! Swap the eggs for two flax eggs (2 tablespoons ground flaxseed + 5 tablespoons water). Let the mixture sit for 5–10 minutes before adding it to the batter.

How do I store these muffins?
Store your muffins in an airtight container at room temperature for up to 3 days, or in the fridge for up to a week. You can also freeze them for up to 3 months – just thaw overnight or reheat in the microwave for 20 seconds.

What can I add to this recipe?
Feel free to mix in chocolate chips, chopped walnuts, or pumpkin seeds for a fun twist! You can also top them with a sprinkle of oats or cinnamon sugar before baking for extra texture.
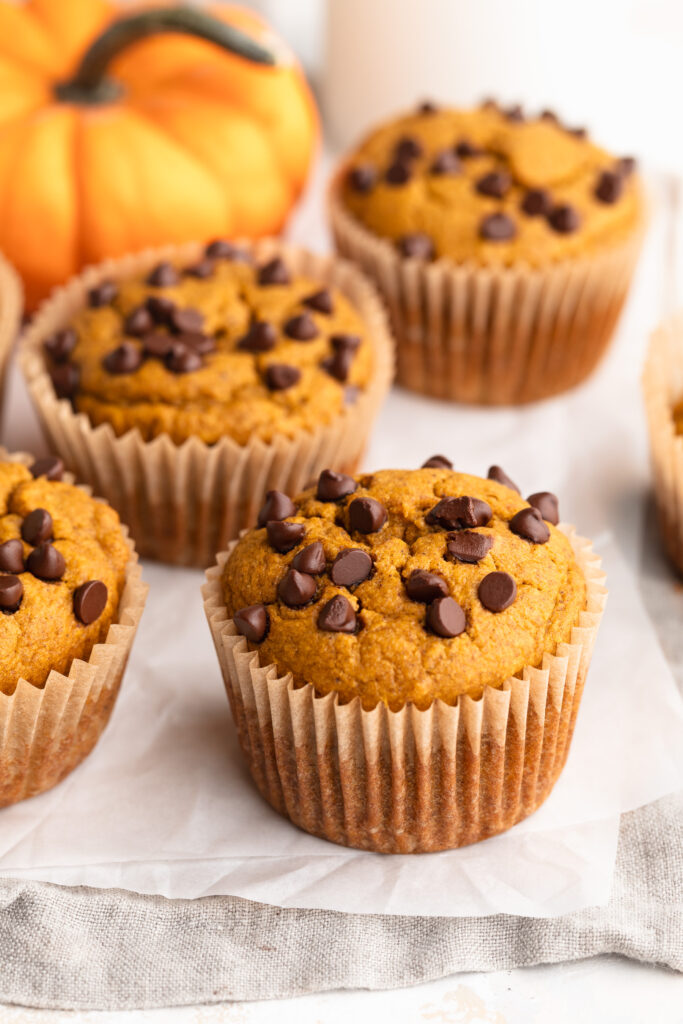
healthy pumpkin muffins on a table with a small pumpkin.

👩‍🍳 Sam’s Recipe Tips

  • Don’t overmix the batter! Stir until the dry and wet ingredients are just combined for fluffy muffins.
  • Use room temperature eggs and milk for a smoother, more even batter.
  • If you love extra spice, add a pinch of nutmeg or cloves for a stronger fall flavor.
  • These muffins make a great freezer-friendly snack – just pop one out when you need a quick breakfast or healthy snack on the go!
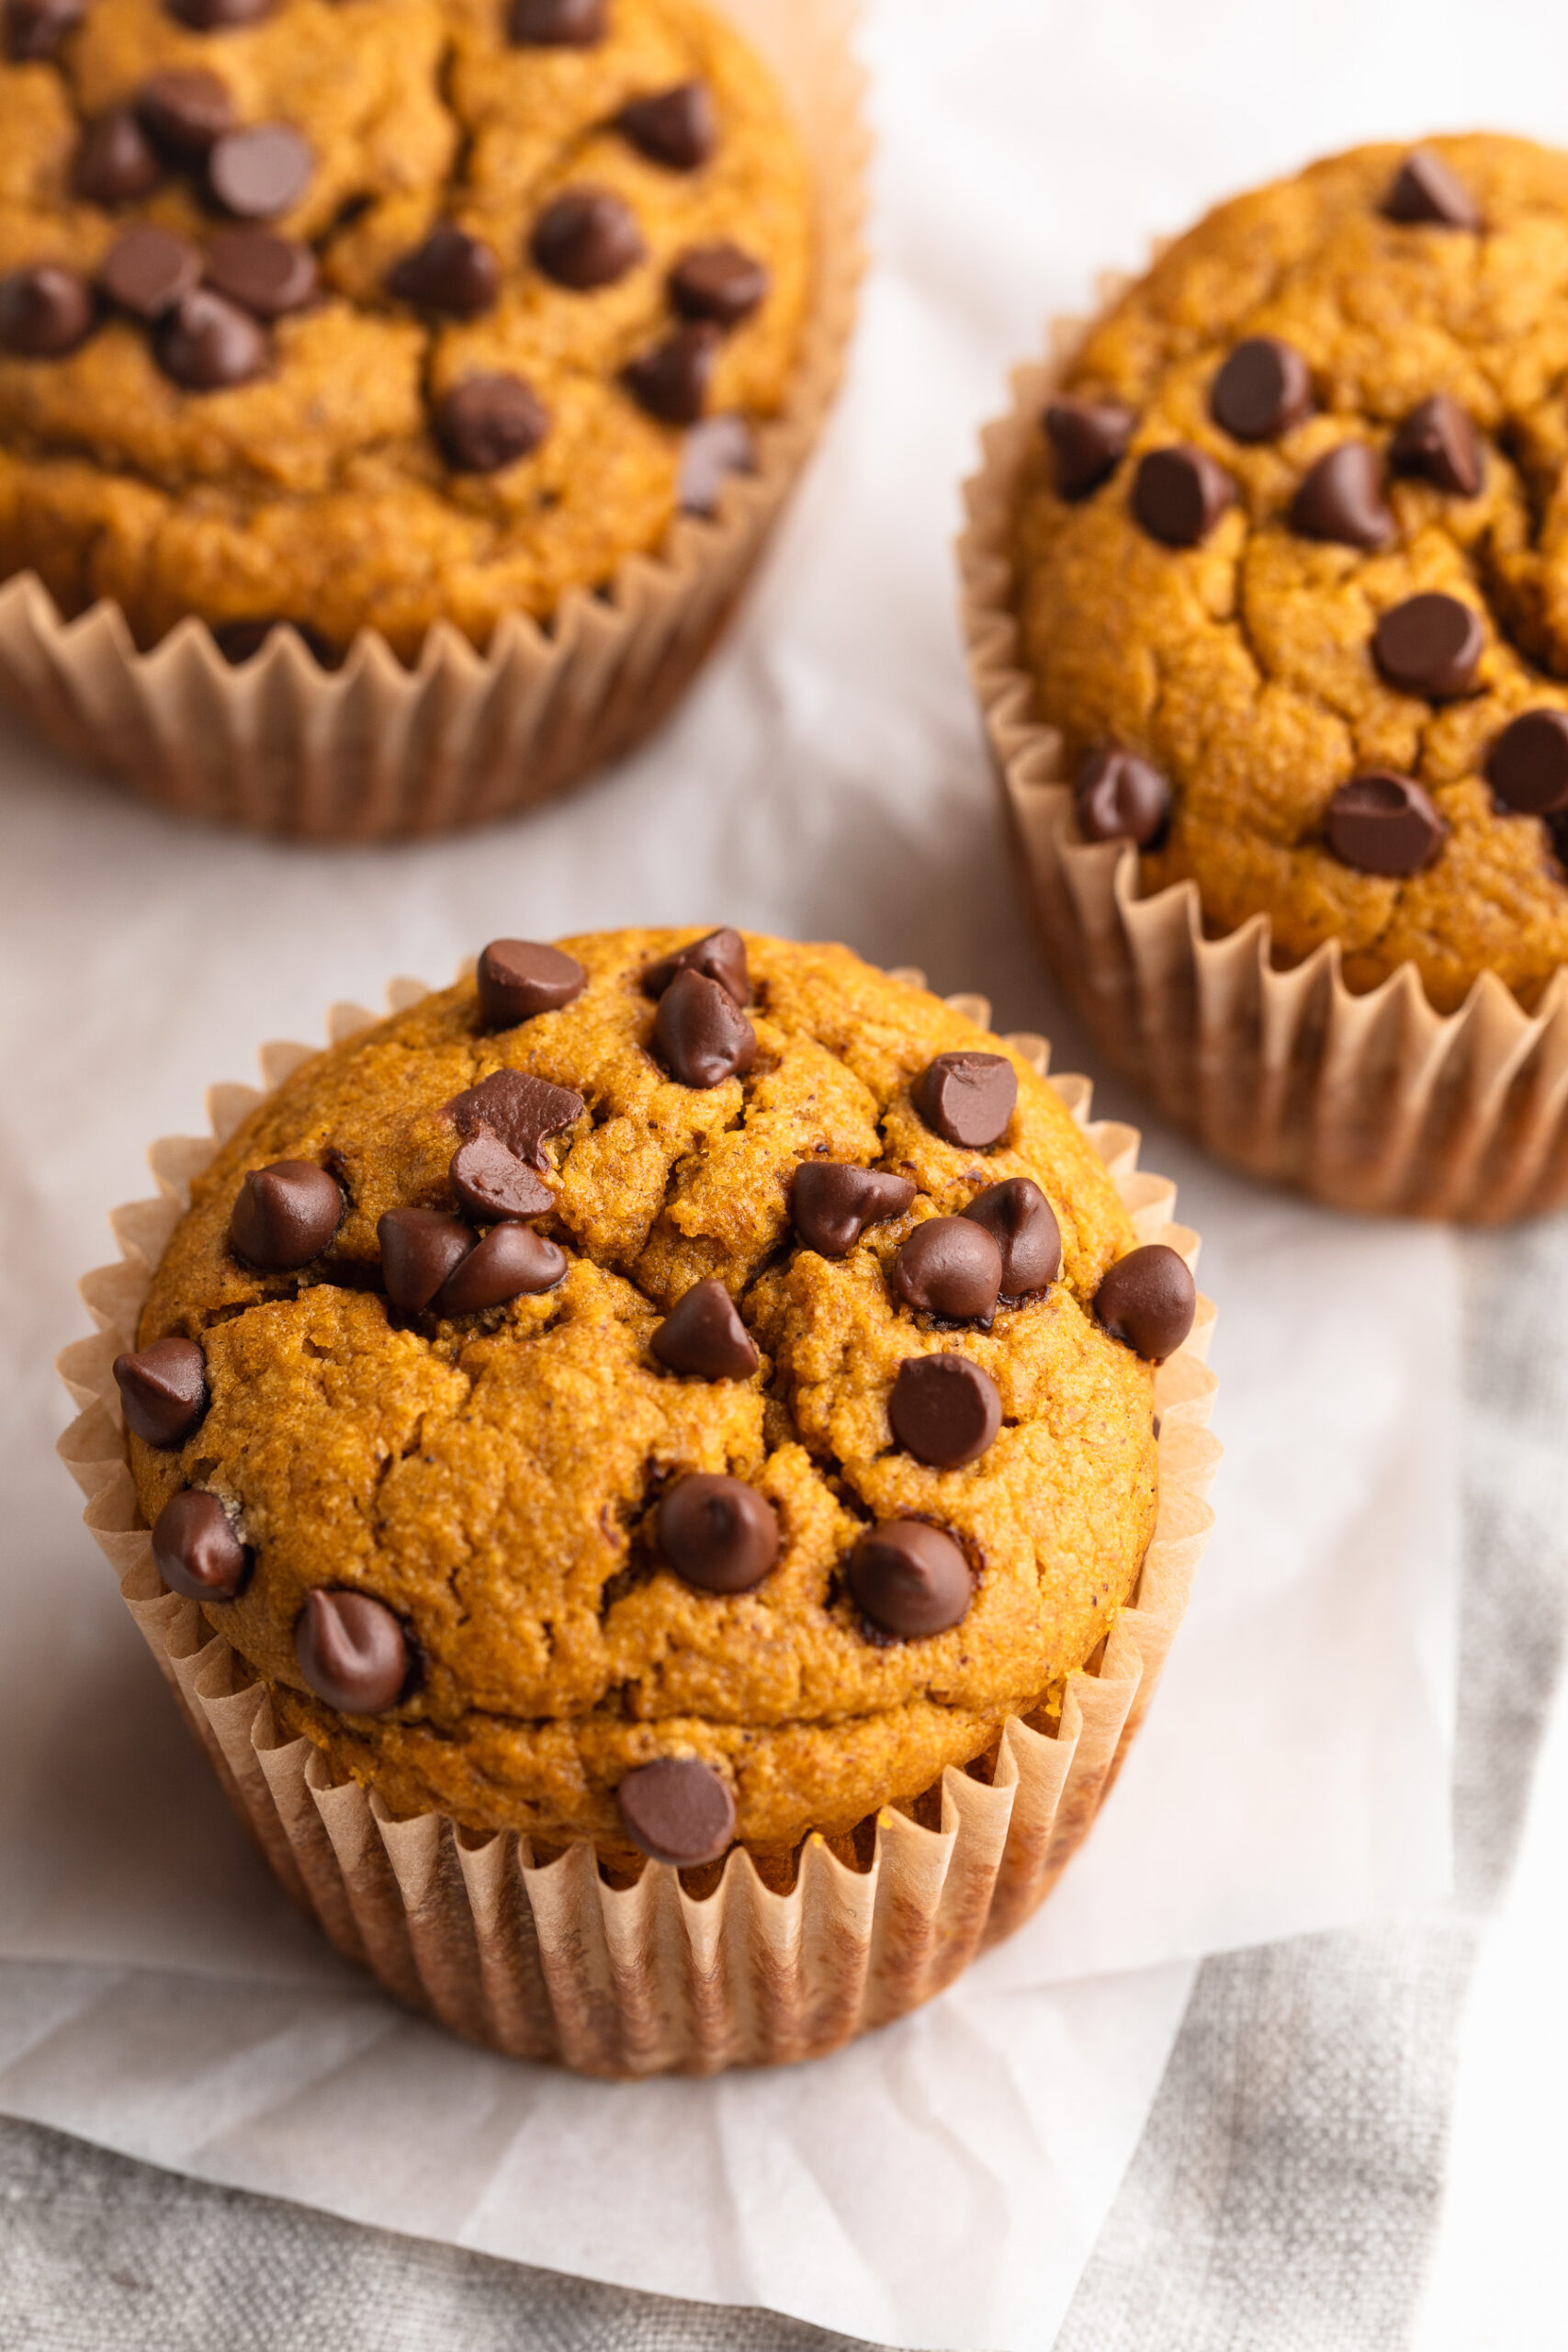
three healthy pumpkin muffins on parchment paper.
No ratings yet

One-Bowl Healthy Pumpkin Muffins

These healthy pumpkin muffins are soft, fluffy, and perfectly spiced! Made in one bowl with oat flour, pumpkin puree, and maple syrup, they’re a wholesome and cozy fall treat you’ll want on repeat. Gluten-free, dairy-free, and naturally sweetened, these muffins are perfect for breakfast, snacks, or meal prep all week long!
Print Pin Rate
Prep Time: 10 minutes
Cook Time: 25 minutes
Total Time: 35 minutes
Servings: 12 muffins

Equipment

  • 1 large bowl
  • 1 muffin pan

Ingredients

  • 1 cup pumpkin puree
  • 1/2 cup oil either melted coconut oil, avocado oil, olive oil, or vegetable oil
  • 1/3 cup maple syrup
  • 1/4 cup milk I used almond milk
  • 2 eggs at room temperature
  • 1 teaspoon vanilla extract
  • 1 1/2 cups oat flour
  • 2 teaspoons pumpkin pie spice
  • 1 teaspoon baking powder
  • 1/2 teaspoon baking soda

Instructions

  • Preheat oven to 350° Fahrenheit and line a 12 cup muffin pan with muffin liners.
  • Mix together the pumpkin puree, oil, maple syrup, milk, eggs, and vanilla extract in a large bowl.
  • Add in the oat flour, pumpkin pie spice, baking powder, and baking soda and mix until everything is fully combined.
  • Scoop ¼ cup of muffin batter into each muffin liner, then sprinkle with either chocolate chips, pumpkin seeds, chopped nuts, or leave plain. Bake the muffins for 22-25 minutes, or until a toothpick inserted down the center of a muffin comes out clean.
  • Remove the muffins from the oven and transfer them to a wire cooling rack to cool completely before serving or storing.

Nutrition

Serving: 1muffin | Calories: 190kcal | Carbohydrates: 18g | Protein: 3g | Fat: 12g | Fiber: 1g | Sugar: 7g

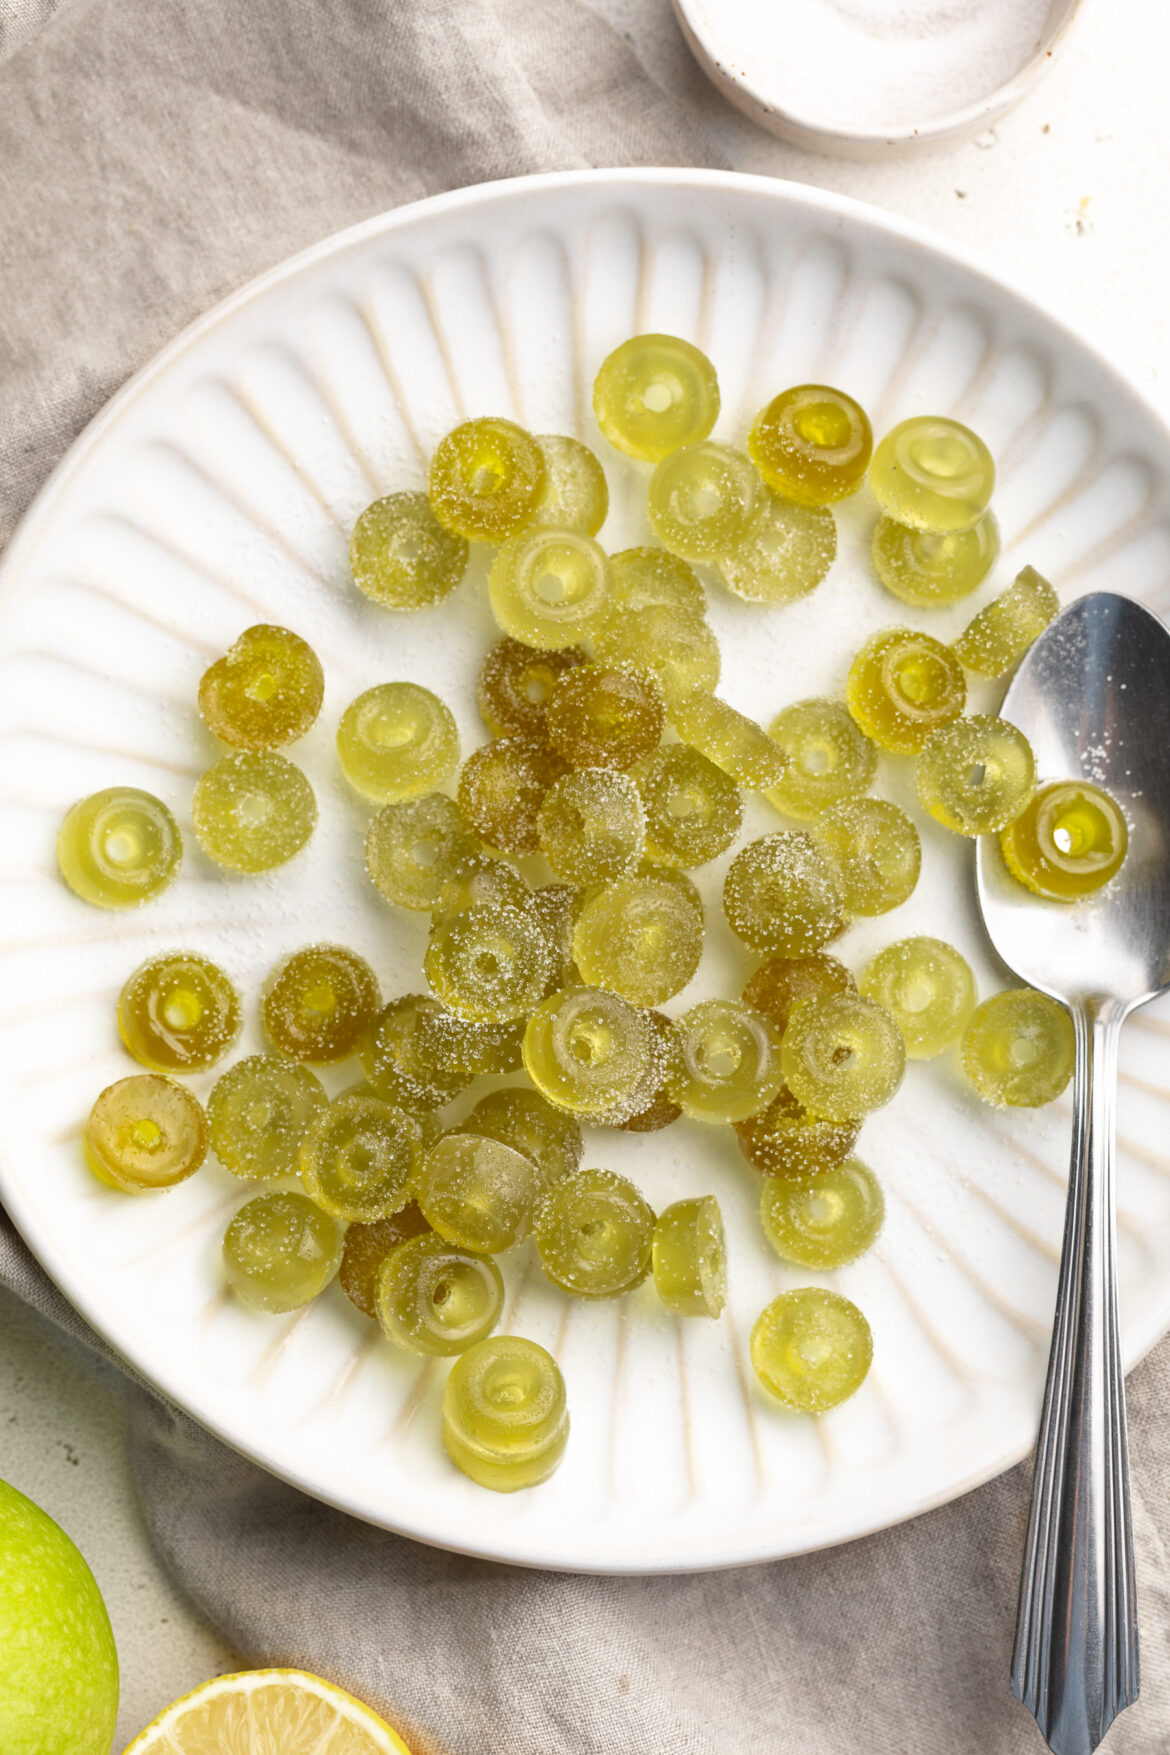
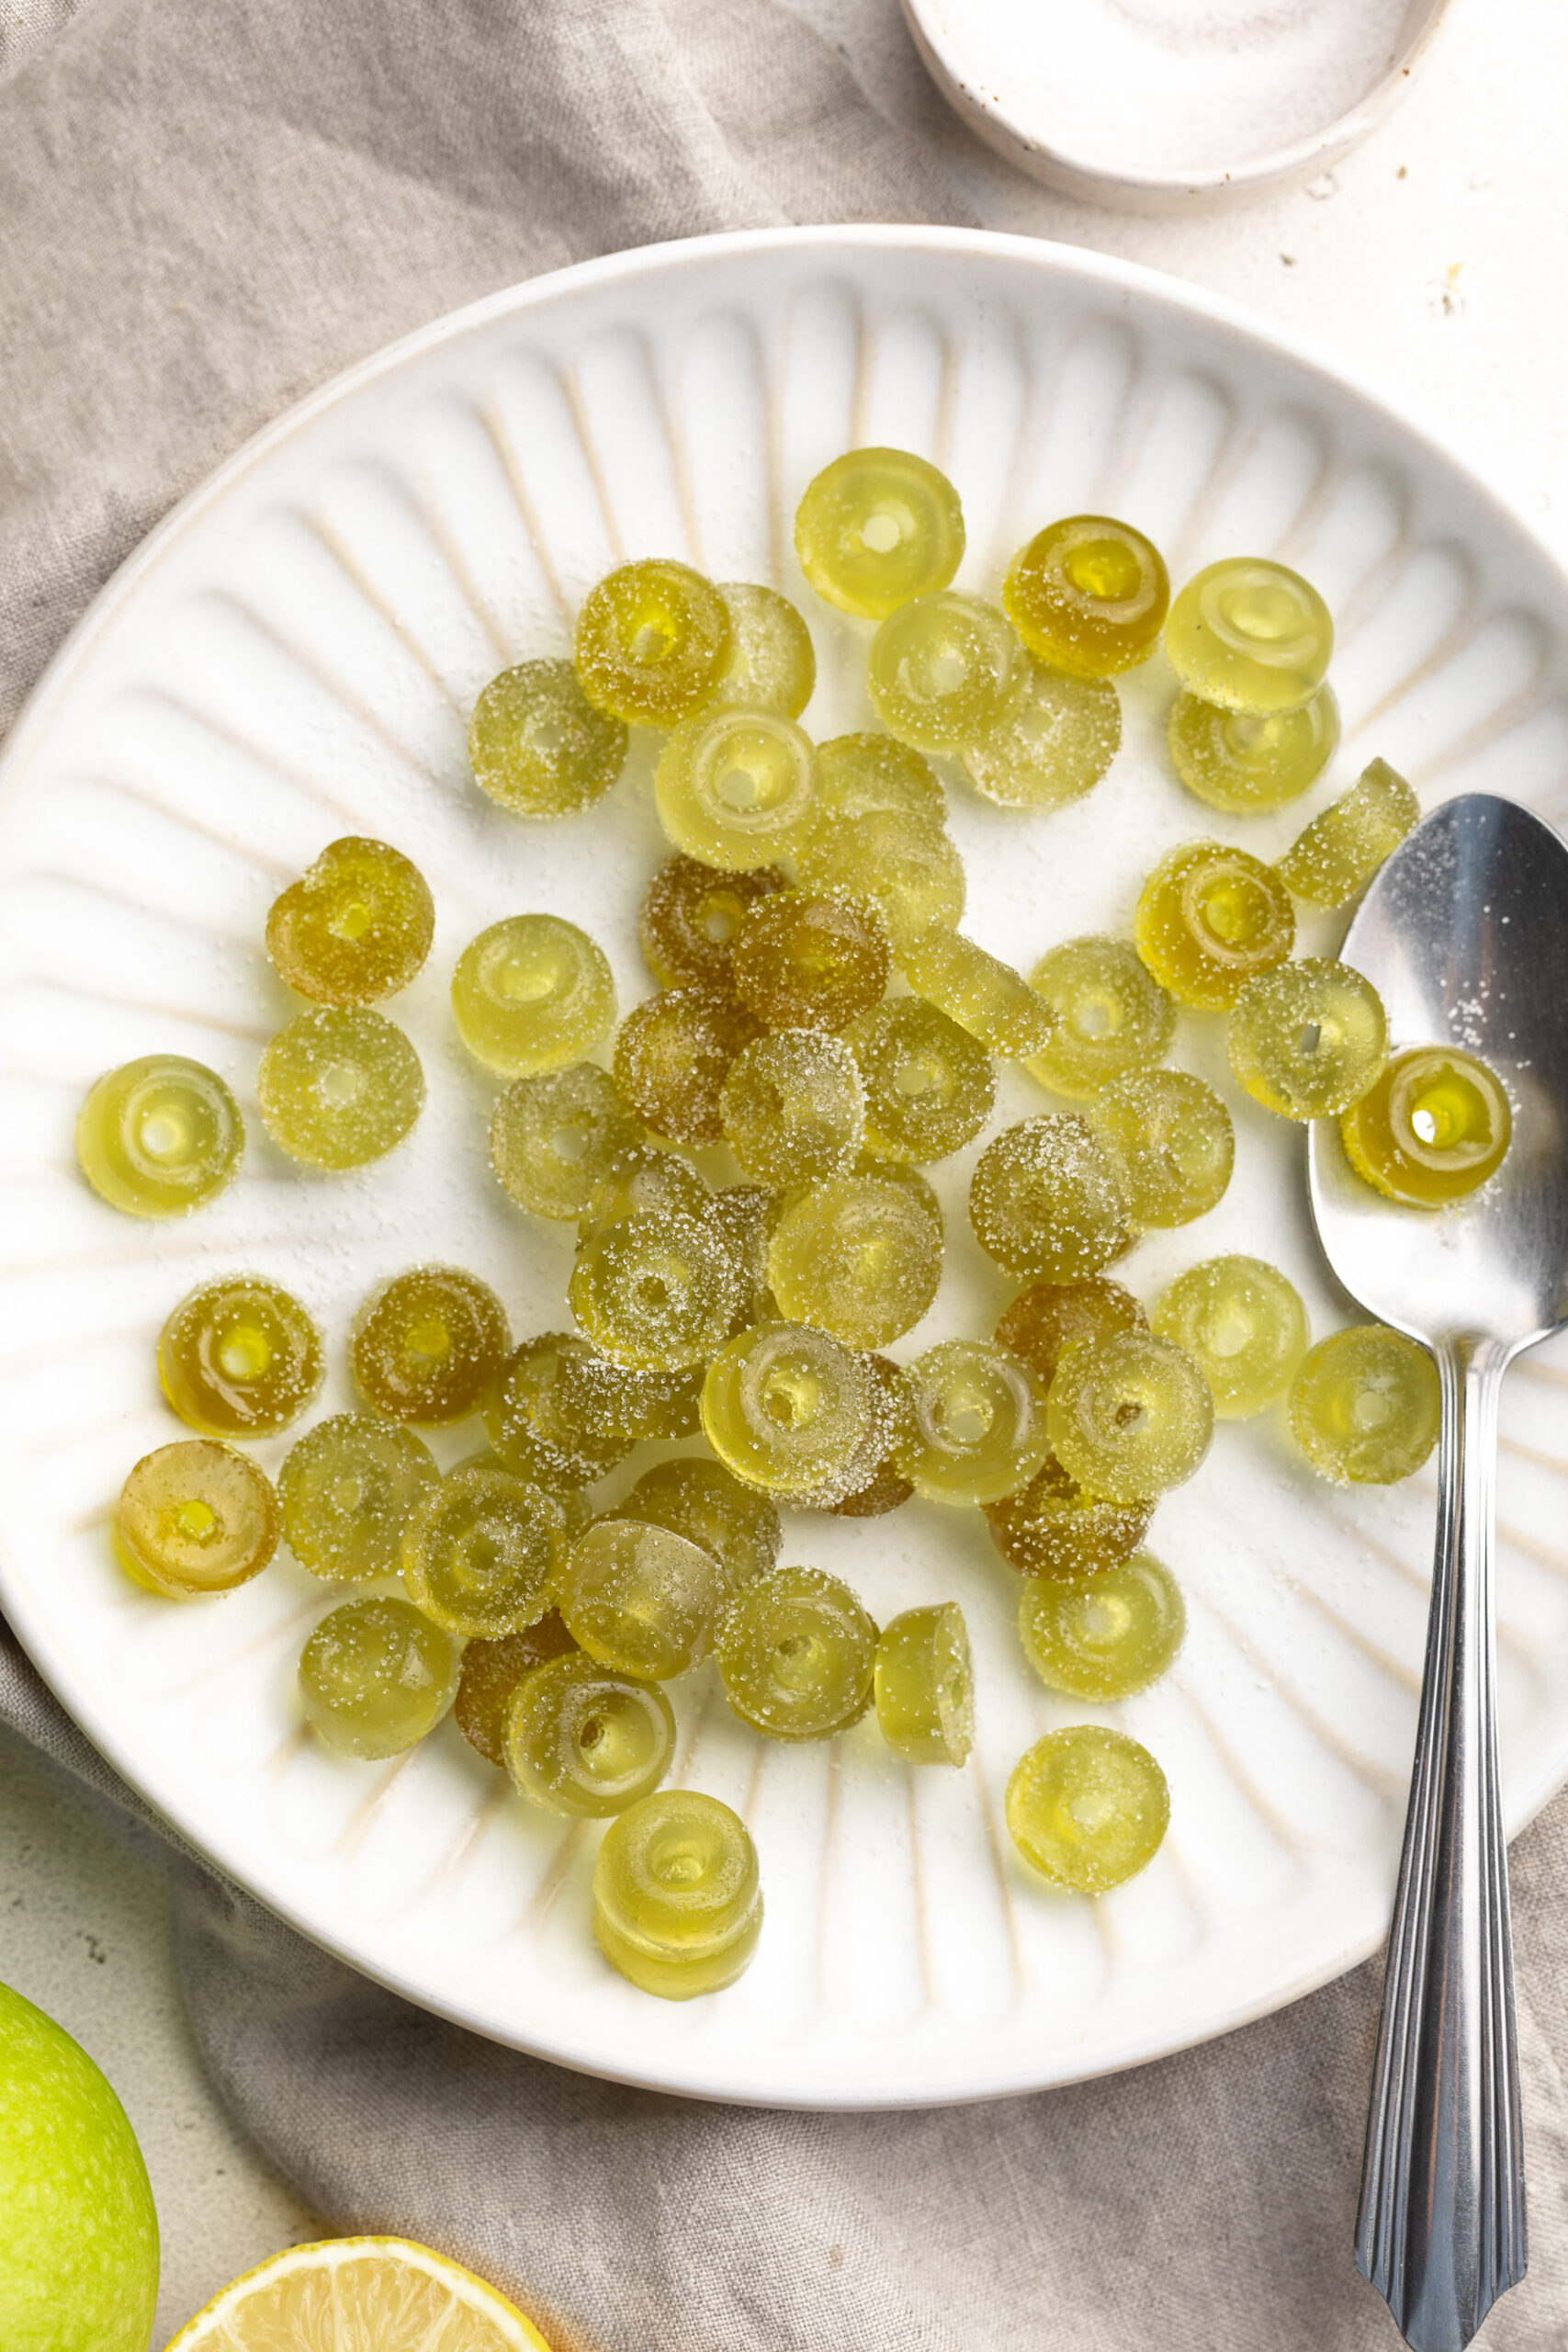
Everyone loved my 3-ingredient healthy watermelon gummies so much, I knew I had to make a new flavor! Though, in the spirit of fall, I decided to go with apple this time. And let me tell you – these healthy sour apple gummies might be even better than the watermelon kind! They’re perfectly sweetened, made with NO added sugar, and rolled in a sour coating that will make your mouth water. Surprisingly easy to make in just a few simple steps, with five ingredients!

What Makes This Recipe Healthy?

  • Collagen boost: Grass-fed gelatin provides natural collagen and supports skin, hair, and joint health.
  • No refined sugars: Sweetened with monk fruit, a zero-calorie natural sweetener option.
  • Real fruit base: Apple juice + lemon add natural flavor and a dose of vitamin C.
  • Customizable & clean: No artificial dyes or preservatives—food coloring is optional and minimal.
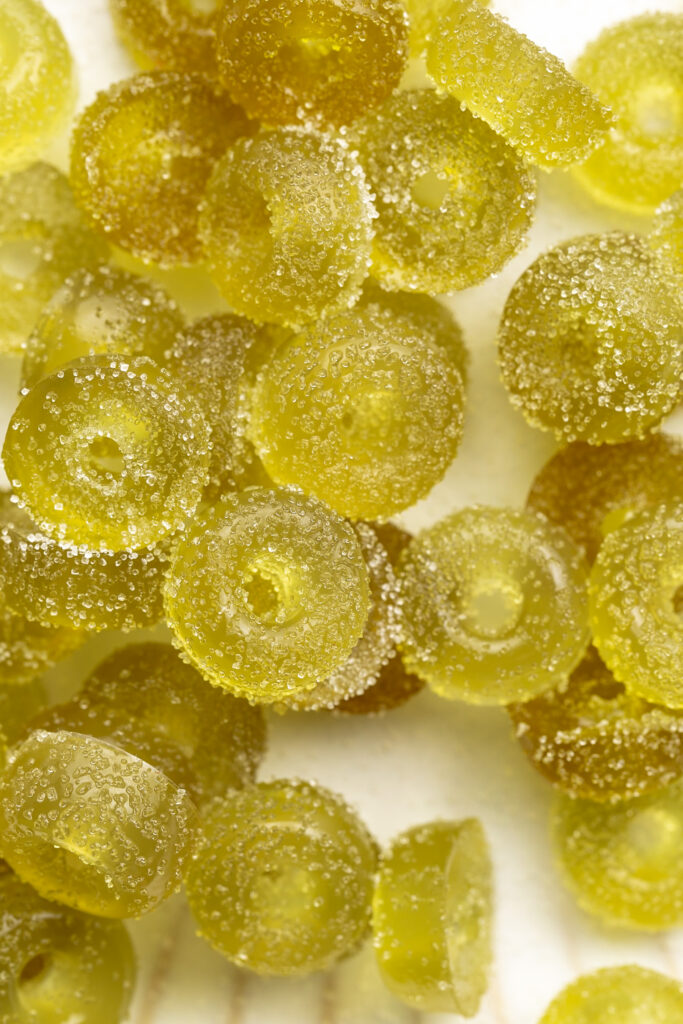
close up image of healthy sour apple collagen gummies

Why You’ll Love These Healthy Sour Apple Collagen Gummies

  • You get chewy, flavorful candy with health benefits – NO sugar crash!
  • They’re fun for both adults and kids, and make cute additions to lunchboxes.
  • These gummies are shelf-stable (when refrigerated), portable, and great for custom flavors.
  • The sour coating adds a kick without overwhelming sweetness.

Frequently Asked Questions

What can I substitute for monk fruit sweetener?
You can use erythritol, stevia blends, or allulose. Just note that some sweeteners may affect texture or shelf life slightly.

How do I prevent the sour coating from dissolving?
Toss the gummies just before serving, and store them chilled. High humidity or warmth may cause the coating to dissolve.

Can I change the flavor of this recipe?
Absolutely! Swap the apple juice for pomegranate, orange, cranberry, or other juices. Use food coloring or natural powders to adjust the color.

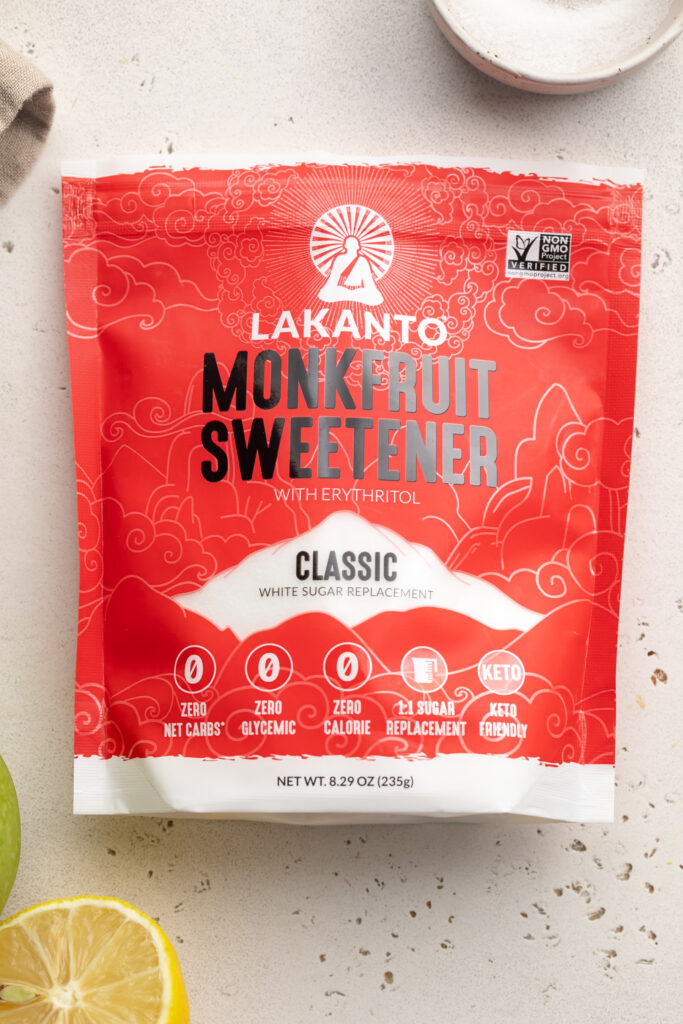
monk fruit sweetener for healthy sour apple collagen gummies.

I highly recommend using granulated monk fruit sweetener in this recipe for the best taste and results!

Sam’s Recipe Tips

  • Use low heat when dissolving the gelatin so it doesn’t clump or bubble.
  • Use silicone molds for easy removal – here’s a link to the ones I used!
  • For firmer gummies, let them chill a bit longer than 30 minutes.
  • Store gummies in the fridge in an airtight container to maintain shape and texture!
No ratings yet

Healthy Sour Apple Collagen Gummies

These healthy sour apple collagen gummies are a fun and nourishing twist on classic gummy candy! Made with real fruit juice, collagen-rich gelatin, and no refined sugar. Each bite is sweet, sour, and packed with skin-supporting nutrients. They’re quick to make, easy to customize, and the perfect healthy snack or post-workout bite!
Print Pin Rate
Prep Time: 5 minutes
Chilling Time: 30 minutes
Total Time: 35 minutes
Servings: 6 servings

Equipment

  • 1 small saucepan
  • 2 gummy molds

Ingredients

  • 1 cup apple juice
  • 2 tablespoons lemon juice
  • 2 teaspoons granulated monk fruit sweetener
  • 1/4 cup grass-fed gelatin
  • 2-3 drops green food coloring

For the sour coating:

  • 1/4 cup granulated monk fruit sweetener
  • 1/2 teaspoon citric acid optional, but will make them extra sour!

Instructions

  • Add the apple juice, lemon juice, monk fruit sweetener, grass-fed gelatin, and food coloring (if using) to a small saucepan over low heat. Whisk the mixture together until the gelatin powder has fully dissolved, about 2 minutes, then remove it from the heat.
  • Transfer the gelatin mixture to the molds, then refrigerate 30 minutes, or until the gummies are fully set. Pop the gummies out of the molds then serve/store as-is, or move on to the next step for the sour coating.
  • Mix together the monk fruit sweetener and citric acid in a bowl, then toss the gummies in the sour coating. Enjoy right away!

Nutrition

Serving: 1serving | Calories: 35kcal | Carbohydrates: 5g | Protein: 4g | Sugar: 4g

Why You’ll Love This Recipe

This meal prep turkey club chopped salad is high in protein, full of fresh vegetables, and so satisfying. It’s a healthier twist on a classic club sandwich, without the bread, but with all the same delicious flavors. With just a few minutes of prep, you’ll have lunches ready for the whole week.

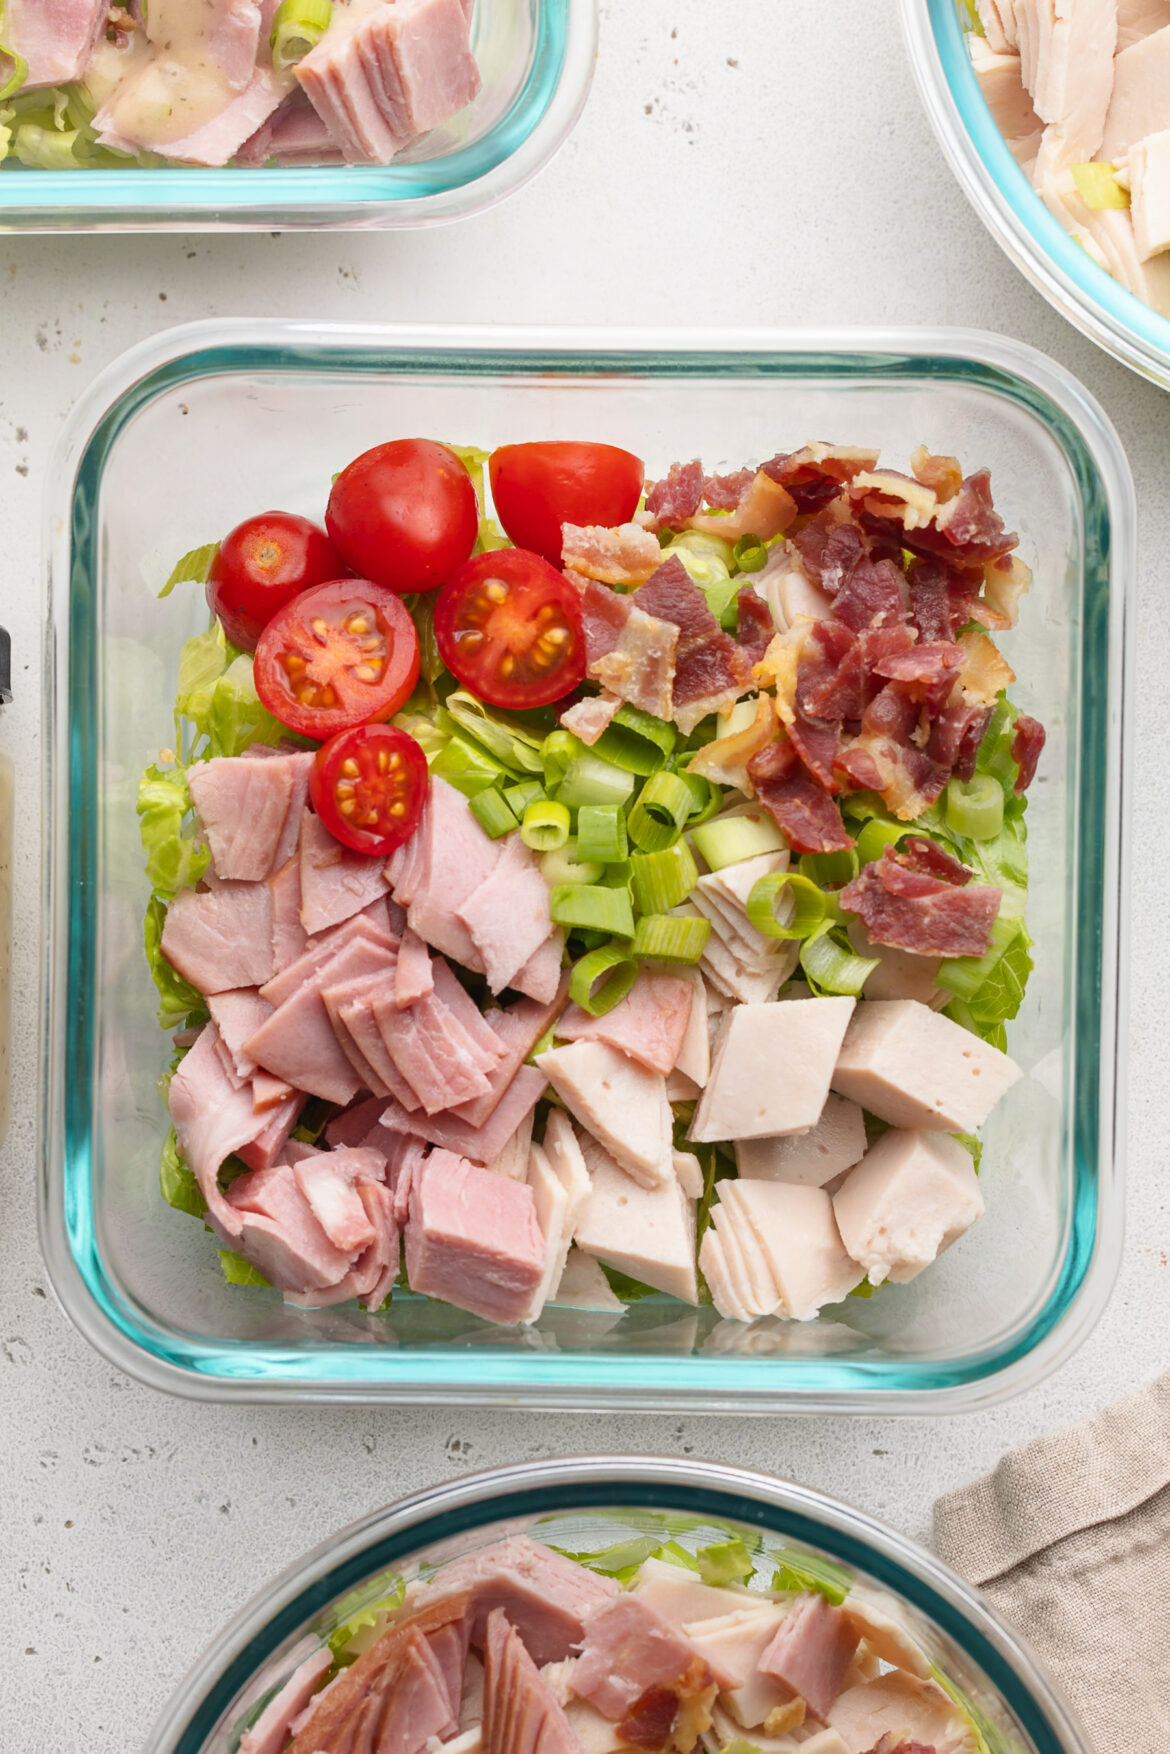
 meal prep turkey club chopped salad in a glass container.

How Do I Meal Prep These Salads?

The key to keeping your salads fresh is layering and storing properly. Place sturdier ingredients like lettuce and tomato on the bottom, and keep softer toppings like avocado separate until you’re ready to eat. Store the salads in airtight containers for up to 4 days in the fridge, and add your favorite dressing just before serving to keep everything crisp.

overhead image of a meal prep turkey club chopped salad.

Recipe Variations and Substitutions

  • Swap the protein: Use grilled chicken, shredded rotisserie chicken, or even tuna for variety.
  • Make it vegetarian: Skip the bacon and turkey and add chickpeas or hard-boiled eggs for plant-based protein.
  • Change up the dressing: Ranch, balsamic vinaigrette, honey mustard, or a light Greek yogurt dressing all pair perfectly.
  • Add extra crunch: Toss in cucumbers, bell peppers, or sunflower seeds.
overhead image of a meal prep turkey club chopped salad.
No ratings yet

Meal Prep Turkey Club Chopped Salads

This Turkey Club Chopped Salad is the ultimate high-protein meal prep recipe, made with fresh romaine, turkey, bacon, avocado, and tomato. It’s quick, easy, and customizable, so you’ll have healthy lunches ready for the entire week in just minutes. Skip the takeout and enjoy a satisfying, flavor-packed salad that keeps you full and energized!
Print Pin Rate
Prep Time: 10 minutes
Total Time: 10 minutes
Servings: 4 servings

Ingredients

  • romaine lettuce chopped
  • tomato diced
  • green onion thinly sliced
  • avocado chopped
  • bacon cooked and crumbled
  • deli turkey chopped
  • deli ham chopped, optional

Instructions

  • Wash and chop all salad ingredients, keeping avocado separate until ready to eat to prevent browning.
  • Divide the romaine evenly into 4 airtight meal prep containers.
  • Top each with tomato, green onion, turkey, bacon, and ham if using.
  • When ready to serve, add chopped avocado and your favorite dressing. Toss and enjoy!

These lactation brownies single handedly got me through the newborn trenches. After a rocky breastfeeding journey with my first baby, I knew I needed to set myself up for success ahead of baby #2’s arrival. From my first experience I learned that quick and easy grab-and-go snacks are essential! So a month before my due date I prepped and froze a double batch of cookie dough date bites, then portioned the ingredients for my nourishing green lactation smoothie into individual bags, and of course baked then froze these lactation brownies. And yup, let me tell you – that little bit of prep made alllll the difference this second time around! I was able to fuel myself with key vitamins and nutrients needed to boost and maintain a steady milk supply for my new baby in the form of a seriously delicious treat.

These lactation brownies are rich, fudgy, and truly taste like your favorite brownie recipe – just with added breastfeeding benefits! I even caught my husband eating one and he was shocked to learn they were lactation brownies. He was also a little concerned he’d start leaking milk… (LOL, I know) but once I reassured him that these brownies don’t cause you to lactate, they simply support the people that do, he went back to enjoying these delicious brownies!

Why You’ll Love This Recipe

  • Combines motherhood and indulgence: get your brownie fix and support milk production.
  • Uses galactagogue ingredients like brewer’s yeast and flaxseed, shown in lactation recipes by top bloggers.
  • Rich, fudgy texture even though it’s gluten-free and dairy-free – no compromise on taste.
  • Easy to bake, slice, share (or stash), and keep close for snack-time or mid-feed cravings.
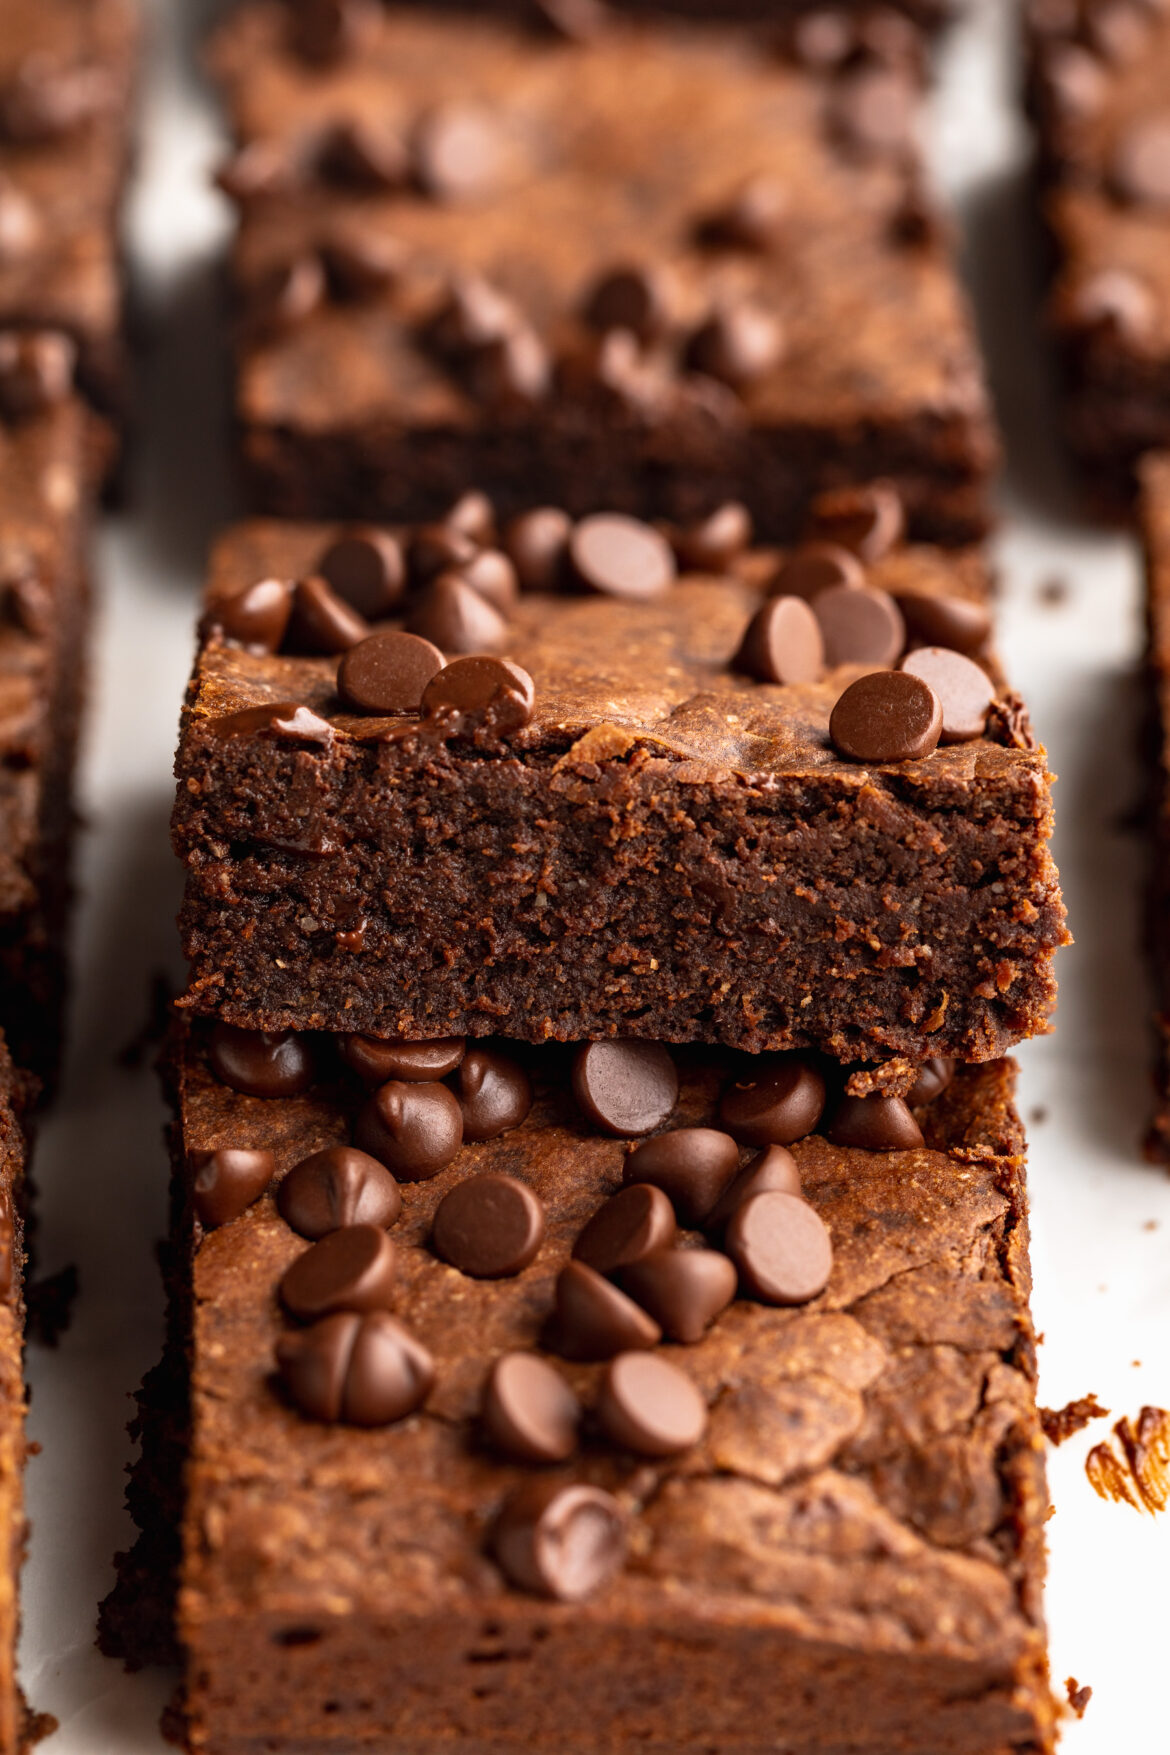
overhead image of three lactation brownies on top of each other.

Do These Lactation Brownies Really Increase Milk Supply?

Yes – many breastfeeding bloggers and nutrition experts suggest that ingredients like brewer’s yeast, flaxseed, and healthy fats can provide micronutrients and B-vitamins supportive of lactation. While individual results may vary, pairing these brownies with good hydration, rest, and overall nutrition creates an environment more favorable for milk production! Think of these as supportive supplements – not substitutes for solid lactation practices.

Key Ingredients & How They Work

  • Brewer’s Yeast: often used in lactation recipes for B vitamins, chromium, and minerals linked to breast milk support. I recommend this brand on Amazon!
  • Ground Flaxseed (optional but recommended): adds omega-3s and fiber, and may help stabilize blood sugar while offering lactation benefits.
  • Coconut Oil + Oat Flour: for healthy fats and structure without dairy.
  • Chocolate Chips & Cocoa: deliver the rich chocolate flavor, making this recipe feel like a dessert rather than a supplement.
  • Coconut Sugar & Eggs: balance sweetness and structure while keeping it natural and whole-food based.
lactation brownies in a glass container ready to be frozen.

How Do I Freeze These Lactation Brownies?

Allow the brownies to cool completely. Slice into individual portions, then stash in a freezer-safe bag or container – layer parchment between pieces to prevent sticking. Frozen brownies can last 2-3 months; thaw at room temperature or warm slightly in the microwave when craving one.

overhead image of lactation brownies cut into squares
No ratings yet

The BEST Lactation Brownies (how to freeze!)

Rich, fudgy, and chocolatey, these lactation brownies are made with wholesome ingredients like oat flour, flaxseed, and brewer’s yeast to help support milk supply! This gluten-free and dairy-free recipe is packed with nutrients, yet still tastes like your favorite brownie. Perfect for nursing moms who want a delicious, nourishing treat that doubles as a milk-boosting snack!
Print Pin Rate
Prep Time: 10 minutes
Cook Time: 20 minutes
Total Time: 30 minutes
Servings: 16 servings

Equipment

  • 1 large bowl
  • 1 9×9-inch baking pan

Ingredients

  • 1/2 cup coconut oil
  • 1 1/2 cups chocolate chips divided
  • 2 eggs at room temperature (very important!)
  • 1 cup coconut sugar or cane sugar
  • 1 teaspoon vanilla extract
  • 1 cup oat flour
  • 1/4 cup brewer's yeast
  • 1/4 cup unsweetened cocoa powder
  • 2 tablespoons ground flax seed optional, but recommended for extra benefits

Instructions

  • Preheat oven to 350° Fahrenheit and line a 9×9-inch pan with parchment paper.
  • Melt the coconut oil in a large bowl in either the microwave or over the stove. Then, while the coconut oil is still hot, add in 1 cup of the chocolate chips and whisk until the chocolate has completely melted.
  • Add the eggs, coconut sugar, and vanilla extract to the melted chocolate mixture and whisk for 2-3 minutes until light and frothy.
  • Add in the oat flour, brewer’s yeast, cocoa powder, and ground flax seed then stir until the batter is completely smooth and combined. Fold in the additional ½ cup of chocolate chips.
  • Pour the brownie batter into your prepared baking pan and bake for 20-25 minutes or until the brownies are just set in the middle. Remove the brownies from the oven and let them cool completely before slicing.

Nutrition

Serving: 1serving | Calories: 240kcal | Carbohydrates: 27g | Protein: 4g | Fat: 15g | Fiber: 3g | Sugar: 18g

I’ve been on a quest lately to take classic dessert recipes and enhance them with a boost of protein. My classic protein chocolate chip cookies were such a huge hit, that I followed them up with a protein rice crispy treats recipe, 6-ingredient protein muffins, and now this protein banana bread. The most important thing when it comes to these protein dessert recipes is that they still taste like your favorite dessert, just with extra protein. And dare I say I absolutely nailed it with this protein banana bread! It seriously tastes just like a slice of your favorite banana bread, but with an impressive 10 grams of protein per slice. That’s 8 grams more protein than traditional banana bread! It’s even gluten-free, dairy-free, and refined sugar-free – this protein banana bread truly has it all!

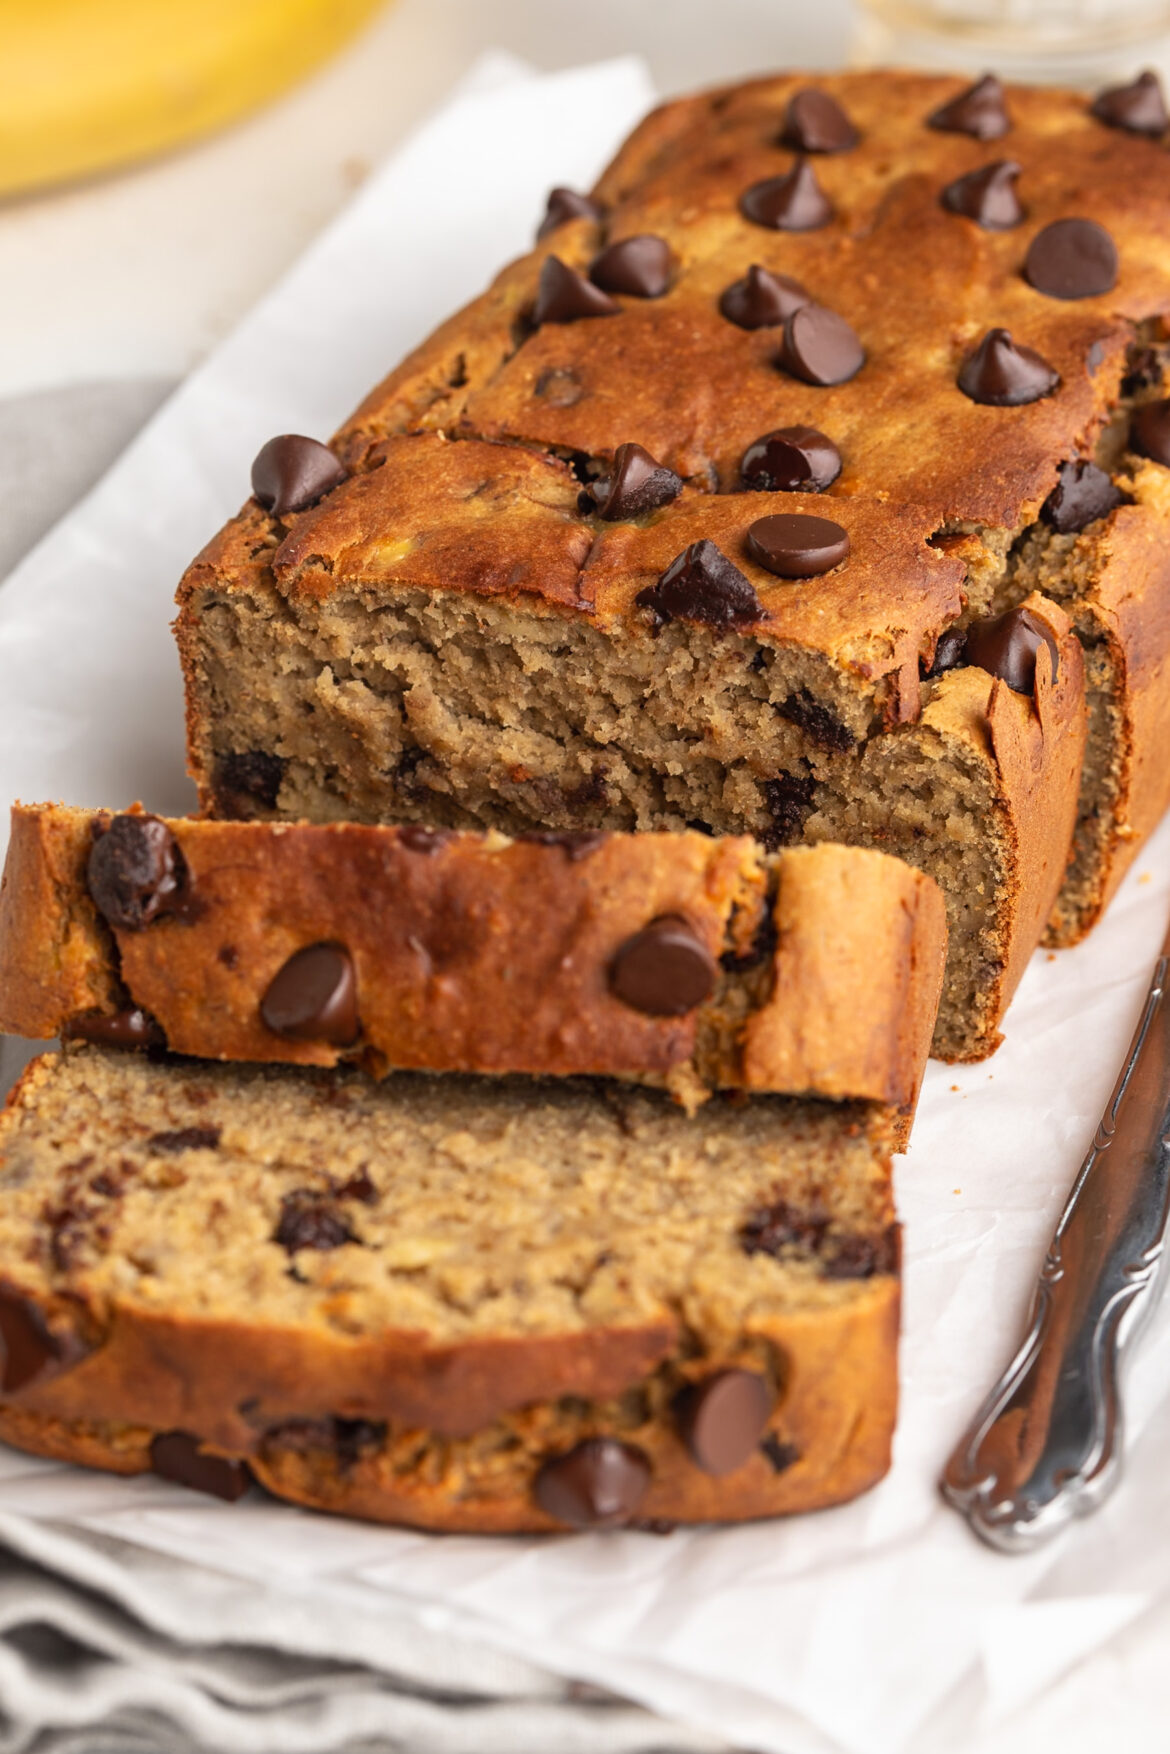
a slice of protein banana bread with a bite taken out.

Why You’ll Love This Recipe

  • High protein: Each slice contains about 10 grams of protein, keeping you fuller for longer.
  • Easy to make: This is a true one-bowl banana bread recipe that anyone can whip up in under 15 minutes of prep.
  • Healthy ingredients: Made with oat flour, bananas, and maple syrup for natural sweetness.
  • Gluten-free & dairy-free: The recipe uses non-dairy milk and oat flour but can easily be customized to your needs.
  • Perfect for meal prep: Bake once and enjoy throughout the week for a grab-and-go protein-packed snack.

How Much Protein is in This Banana Bread?

This protein banana bread is not only soft and fluffy but also filling thanks to the addition of protein powder. Each slice has about 10 grams of protein, compared to just 2–3 grams in traditional banana bread. That means you’re getting a delicious treat that doubles as a satisfying snack or light breakfast.

protein banana bread

Frequently Asked Questions

Can I use almond flour instead of oat flour?
Yes — almond flour can be substituted, but note that the texture will be more moist and dense. If using almond flour, you may want to add an extra tablespoon of protein powder or reduce the oil slightly.

What kind of protein powder can I use?
Any vanilla protein powder works here! I recommend a plant-based protein for a dairy-free option, or whey protein if you prefer. I use and love the Aloha Vanilla Plant-Based Protein Powder in this recipe (use this link for 15% off!). Just make sure your powder isn’t overly sweetened, as the bananas and maple syrup already add plenty of flavor.

How do I make this low in sugar?
Skip the maple syrup or replace it with a sugar-free sweetener like monk fruit or stevia. You can also swap the chocolate chips for sugar-free chocolate chips or leave them out entirely for a lower-sugar version.

Sam’s Recipe Tips

  • Mash the bananas well — this ensures the bread is moist and evenly sweet.
  • Don’t overmix the batter once you add the flour and protein powder — overmixing can make the bread tough.
  • Check doneness early — every oven bakes differently, so check your banana bread around the 40-minute mark.
  • Cool completely before slicing — this helps the bread set and slice cleanly.
protein banana bread slices
No ratings yet

Protein Banana Bread (10g per slice!)

This protein banana bread recipe is soft, fluffy, and naturally sweetened! Each slice packs 10 grams of protein, making it a healthier twist on a classic recipe. It's perfect for breakfast, meal prep, or post-workout fuel. It’s even gluten-free, dairy-free, refined sugar-free, and made in just one bowl for the ultimate easy and healthy treat!
Print Pin Rate
Servings: 9 servings

Equipment

  • 1 large bowl

Ingredients

  • 1 1/2 cups mashed banana about 3 bananas
  • 1/4 cup non-dairy milk
  • 1/4 cup maple syrup
  • 2 eggs at room temperature
  • 3 tablespoons coconut oil melted
  • 1 teaspoon vanilla extract
  • 1 cup oat flour
  • 1 cup vanilla protein powder
  • 1 teaspoon baking powder
  • 1/2 teaspoon baking soda
  • 1/2 cup chocolate chips optional

Instructions

  • Preheat oven to 350° Fahrenheit and line a 9×4-inch loaf pan with parchment paper.
  • In a large bowl, whisk together the mashed banana, non-dairy milk, maple syrup, eggs, coconut oil, and vanilla extract.
  • Add in the oat flour, vanilla protein powder, baking powder, and baking soda, and mix until the batter is completely smooth and combined.
  • Transfer the batter to your prepared loaf pan then bake the banana bread for about 40-45 minutes, or until a toothpick inserted down the center of the banana bread comes out clean. Remove the banana bread from the oven and let cool completely before slicing.

Nutrition

Serving: 1slice | Calories: 220kcal | Protein: 10g | Sugar: 14g