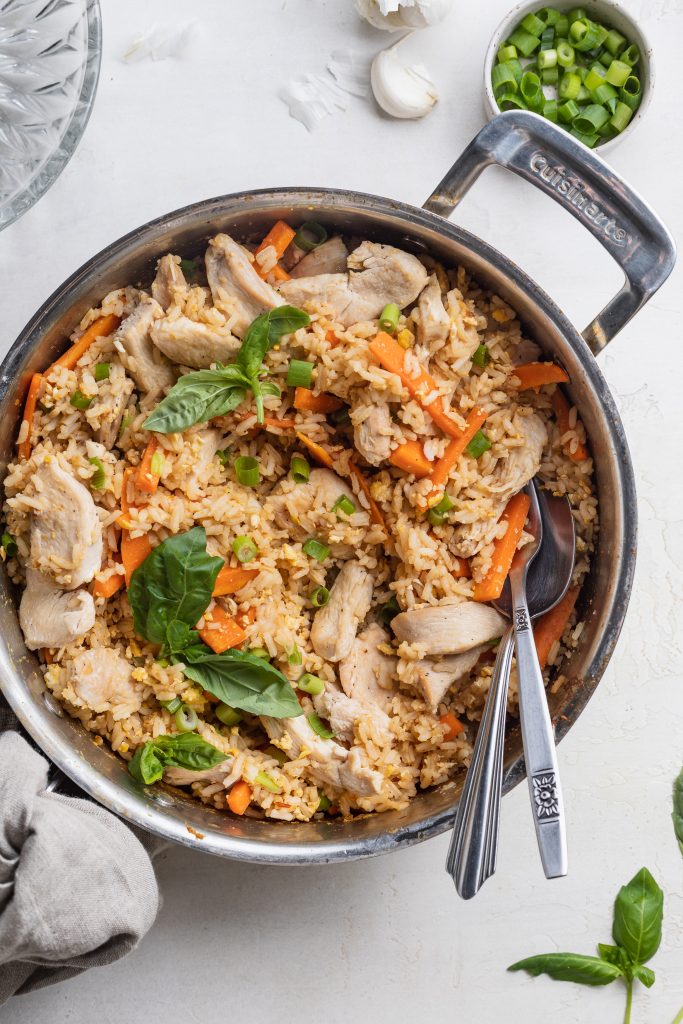
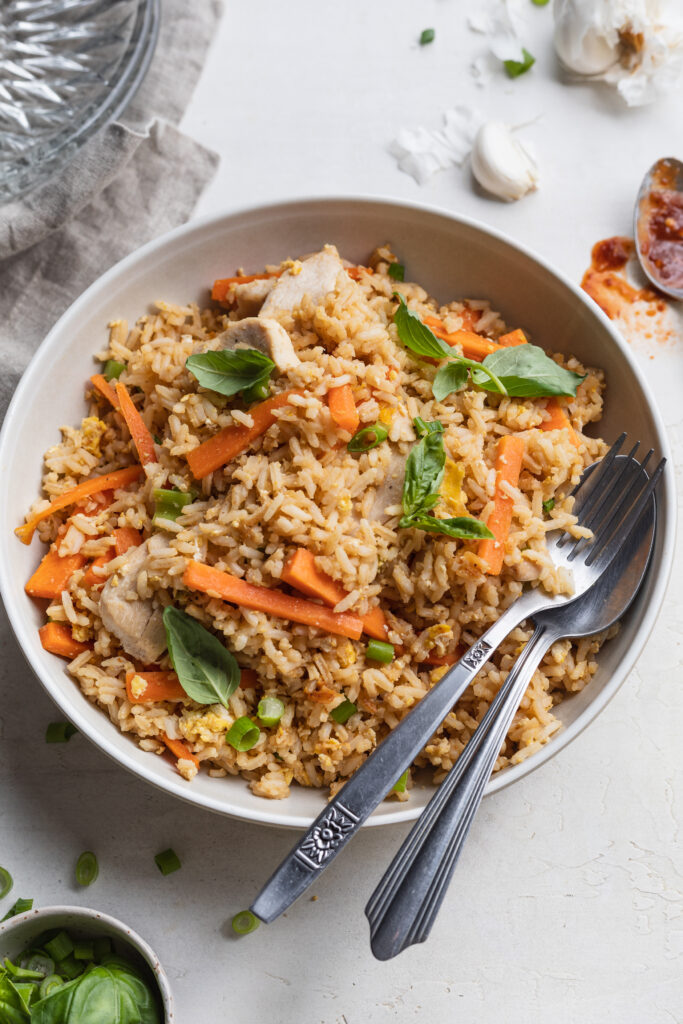
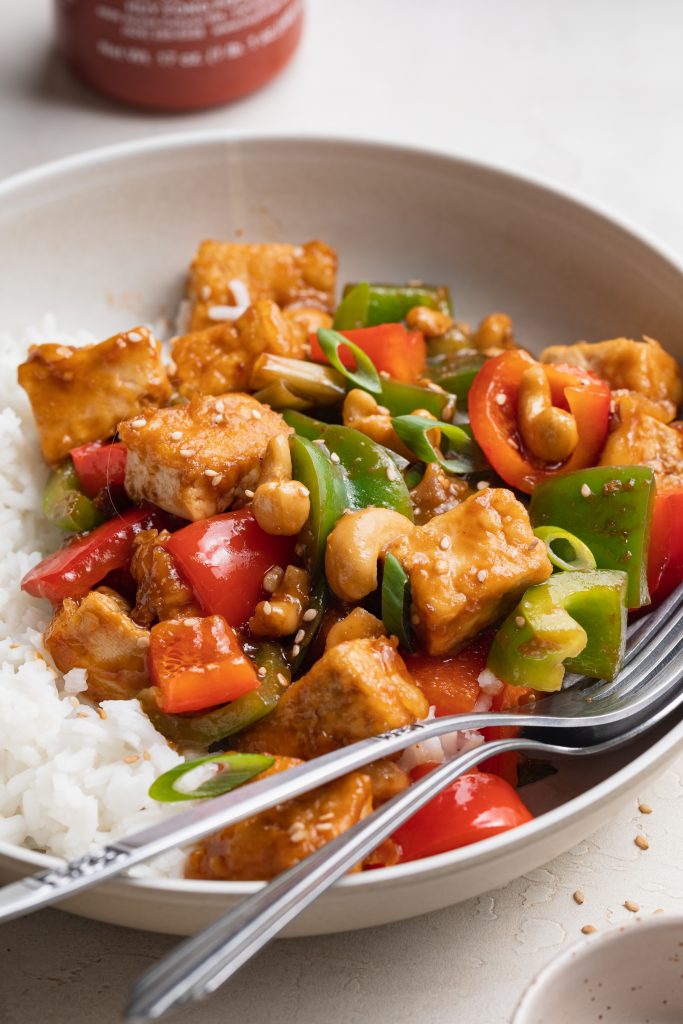
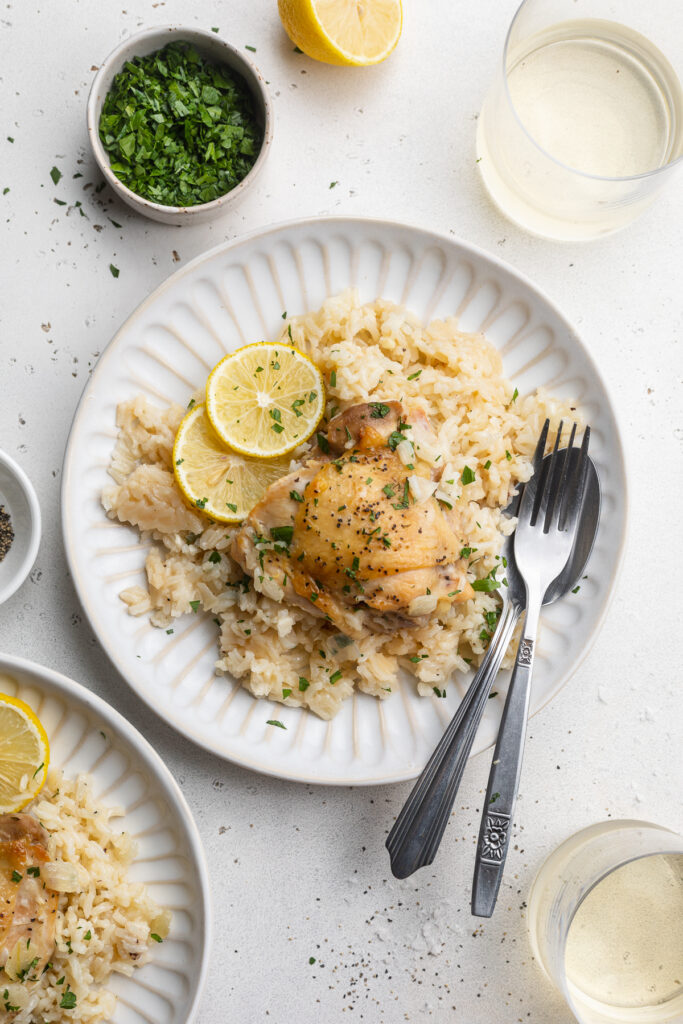
Quick, easy, and super delicious one-pan chicken and rice! Full of flavor, with a handful of simple ingredients you likely already have on hand. This chicken and rice recipe is the perfect weeknight meal, ready in just 30 minutes!
What You’ll Need to Make This Chicken and Rice Recipe
Chicken – Any piece of chicken will work in this recipe! I used skin-on bone-in chicken thighs, because they pack in tons of delicious flavor. However, feel free to use chicken breasts for a healthier option, or chicken legs if that’s what you have handy.
White Rice – The rice in this recipe must specifically be long grain white rice. Other rices will have a different cook time/method, and simply won’t work. I used this brand of organic long grain white rice, but any will work!
Broth – Either chicken or vegetable broth will taste great! Though if you don’t have broth, you can use 2 cups of water plus one chicken or vegetable bouillon cube instead.

Tips and Tricks
- I recommend a large skillet with high sides and a tight fitting lid for this chicken and rice recipe. Since everything gets cooked in the same skillet, make sure the one you use is large enough to fit all ingredients! I use and looooove my Always Pan – I can’t recommend it enough.
- You can make this in your Instant Pot if you’d like! To do that, sear the chicken then cook the onion and garlic on the saute setting. Then, add in all remaining ingredients, secure lid, and set to manual high pressure for 10 minutes. After 10 minutes, your chicken should be cooked through, and your rice fluffy!

Adjust This Recipe To Your Dietary Needs
Make it Gluten-Free: While this recipe is already both gluten and dairy-free, I always recommend double checking your rice to make sure it’s 100% gluten-free. Most rice is, but some contain trace amounts of gluten.
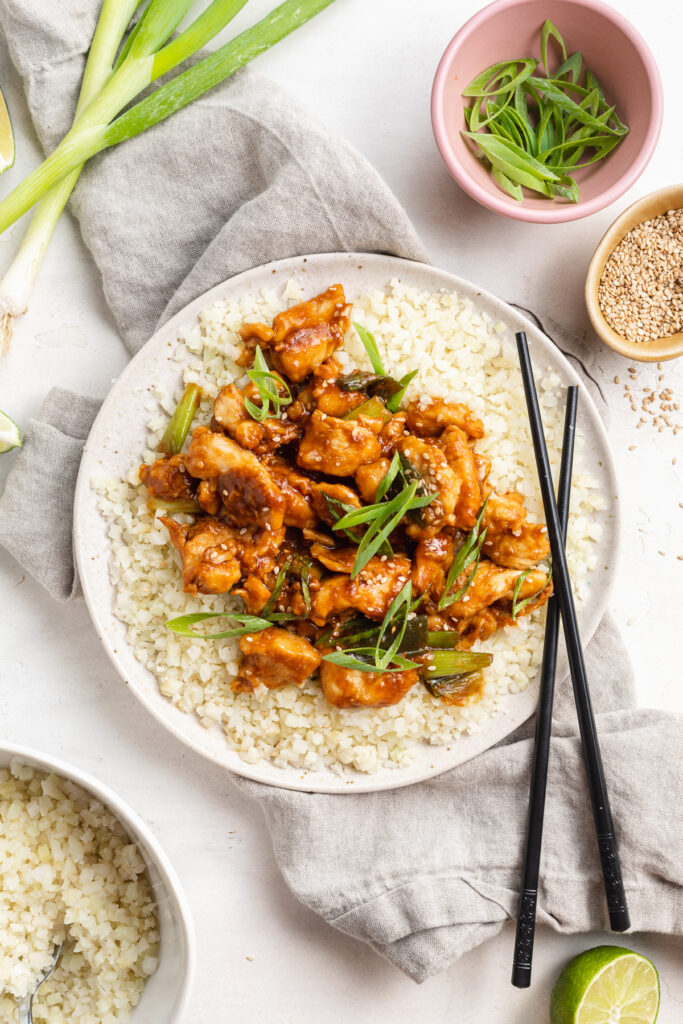
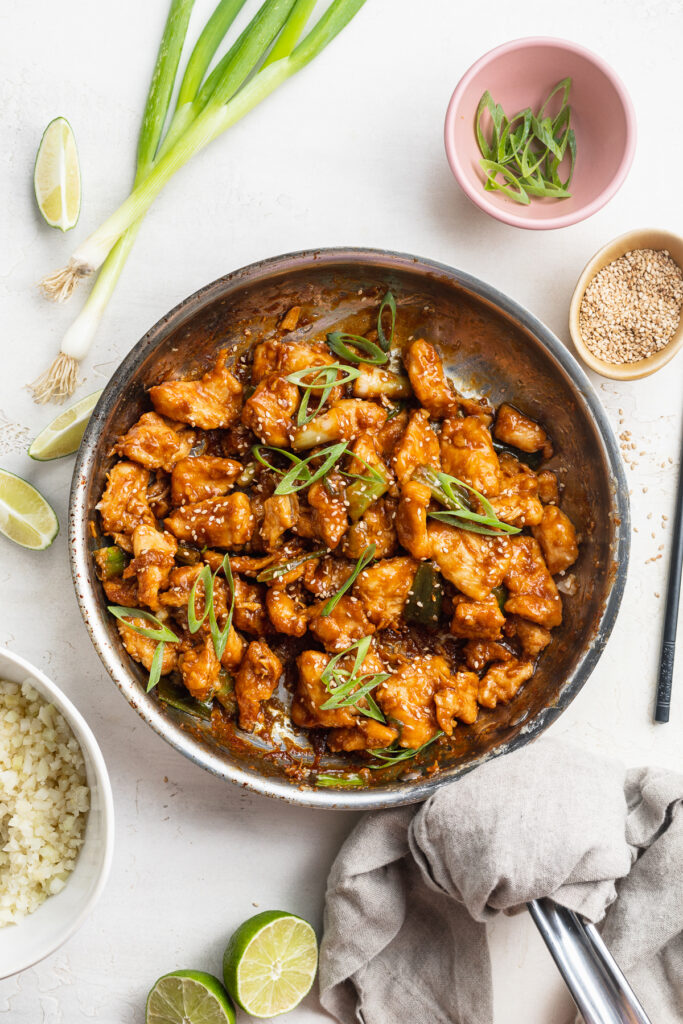
Make it Paleo/Grain-Free: For a paleo chicken and “rice” recipe, replace the white rice with cauliflower rice. To do this, reduce the amount of broth you use to just 1/4 cup, then cover skillet and cook until the chicken is cooked through.

One-Pan Chicken and Rice Recipe
Ingredients
- 4 pieces chicken (I use bone-in skin-on chicken thighs)
- salt and black pepper, to taste
- 1 tablespoon avocado or olive oil
- 1 yellow onion, chopped
- 3 garlic cloves, minced
- 1 cup uncooked long grain white rice
- 2 cups chicken or vegetable broth
- 1 tablespoon lemon juice
- fresh chopped parsley, for serving
Instructions
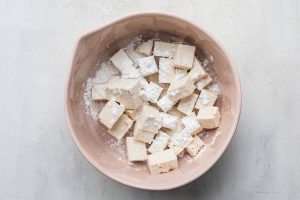
- Pat chicken dry with a paper towel, then season well with salt and black pepper.
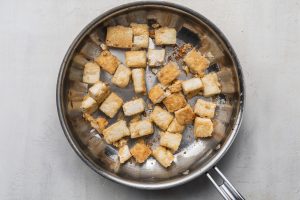
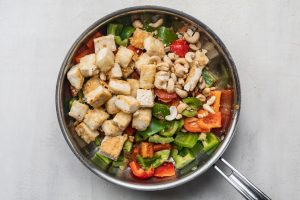
- Heat oil in a large skillet over medium-high heat. Place chicken into hot skillet, and sear for 2-3 minutes per side, or until golden brown. (You do not want to fully cook the chicken in this step, just sear it until brown).
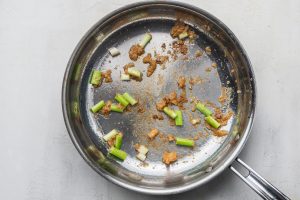
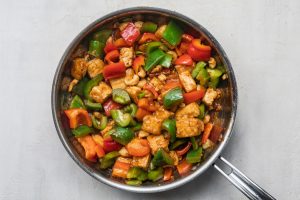
- Remove chicken from skillet, then add onion and garlic to the skillet. Cook 4-5 minutes or until onion is soft.
- Add in the rice and cook for 1-2 minutes to toast the rice, then pour in the chicken or vegetable broth. Gently stir and lift any brown bits from the bottom of the skillet.
- Return chicken to the skillet, then bring rice to a boil before reducing to a simmer. Cover skillet with lid, and leave to simmer for 20 minutes, or until rice is cooked. Remove from heat, add in lemon juice and gently fluff rice with a fork. Serve warm with fresh chopped parsley on top.