Tag

chocolate

Browsing

I’m here to give the people what they want, and it’s become very clear that the people want MORE COOKIE DOUGH! So here we go, vegan, gluten-free, no-bake chocolate chip cookie dough bark. I basically took my gluten-free edible cookie dough recipe and combined it with my no-bake healthy cookie cough bars to create this delicious sweet treat!

This cookie dough bark is an indulgent yet healthier dessert that combines the classic taste of cookie dough with the ease of a no-bake treat. And like I said before, it’s gluten-free, vegan, low-carb, and low in sugar, making it perfect for anyone looking to satisfy their sweet tooth without compromising on dietary needs. Plus, it only requires four simple ingredients and a few minutes of preparation time, setting in the freezer instead of the oven!

close-up image of 4 ingredient healthy cookie dough bark.

What You’ll Need to Make This Recipe

Almond Flour: Almond flour is a gluten-free, grain-free alternative to traditional flour. It adds a slightly nutty flavor and provides a sturdy base for the cookie dough, making it perfect for creating a delicious bark. I buy this bulk bag of almond flour on Amazon, it’s a pantry staple in my home!

Melted Coconut Oil: Coconut oil acts as the binding agent and helps the ingredients meld together. It also keeps the cookie dough bark vegan and dairy-free. However, if you don’t have coconut oil, you can use melted butter instead (do not use vegetable oil!)

Maple Syrup: Maple syrup is a natural sweetener that adds a rich, caramel-like flavor to the cookie dough. It’s a healthier alternative to refined sugar and blends seamlessly with the other ingredients.

Chocolate Chips: Using dark chocolate chips keeps the sugar content low and ensures the bark remains vegan. The melted chocolate forms the layers that sandwich the cookie dough, creating a delightful crunch with each bite.

Is This Cookie Dough Bark Safe to Eat?

Yes, this cookie dough bark is safe to eat. The recipe uses almond flour instead of raw flour, eliminating the risk of contamination. Additionally, it’s egg-free, which means there’s no risk of salmonella from raw eggs. This makes it a worry-free indulgence for cookie dough lovers!

Storage Tips

Store the cookie dough bark in an airtight container in the freezer for up to three months.

4 ingredient cookie dough bark on a baking sheet with milk on the side.

Switch Up the Flavors of This Cookie Dough Bark

Personalize your cookie dough bark by adding various mix-ins. You can stir in some chopped nuts, coconut flakes, or sprinkles for added texture and flavor. For a fun twist, sprinkle some crushed pretzels or M&M’s on top of the melted chocolate before it sets. If you prefer a different flavor profile, try adding a spoonful of peanut butter or a dash of cinnamon to the cookie dough mix.

Adjust This Recipe to Your Dietary Needs

  • Vegan: Uses plant-based ingredients like coconut oil and almond flour.
  • Gluten-Free: Almond flour replaces traditional wheat flour.
  • Low-Carb: Almond flour and dark chocolate keep the carb content low.
  • Low Sugar: Naturally sweetened with maple syrup and uses dark chocolate chips.
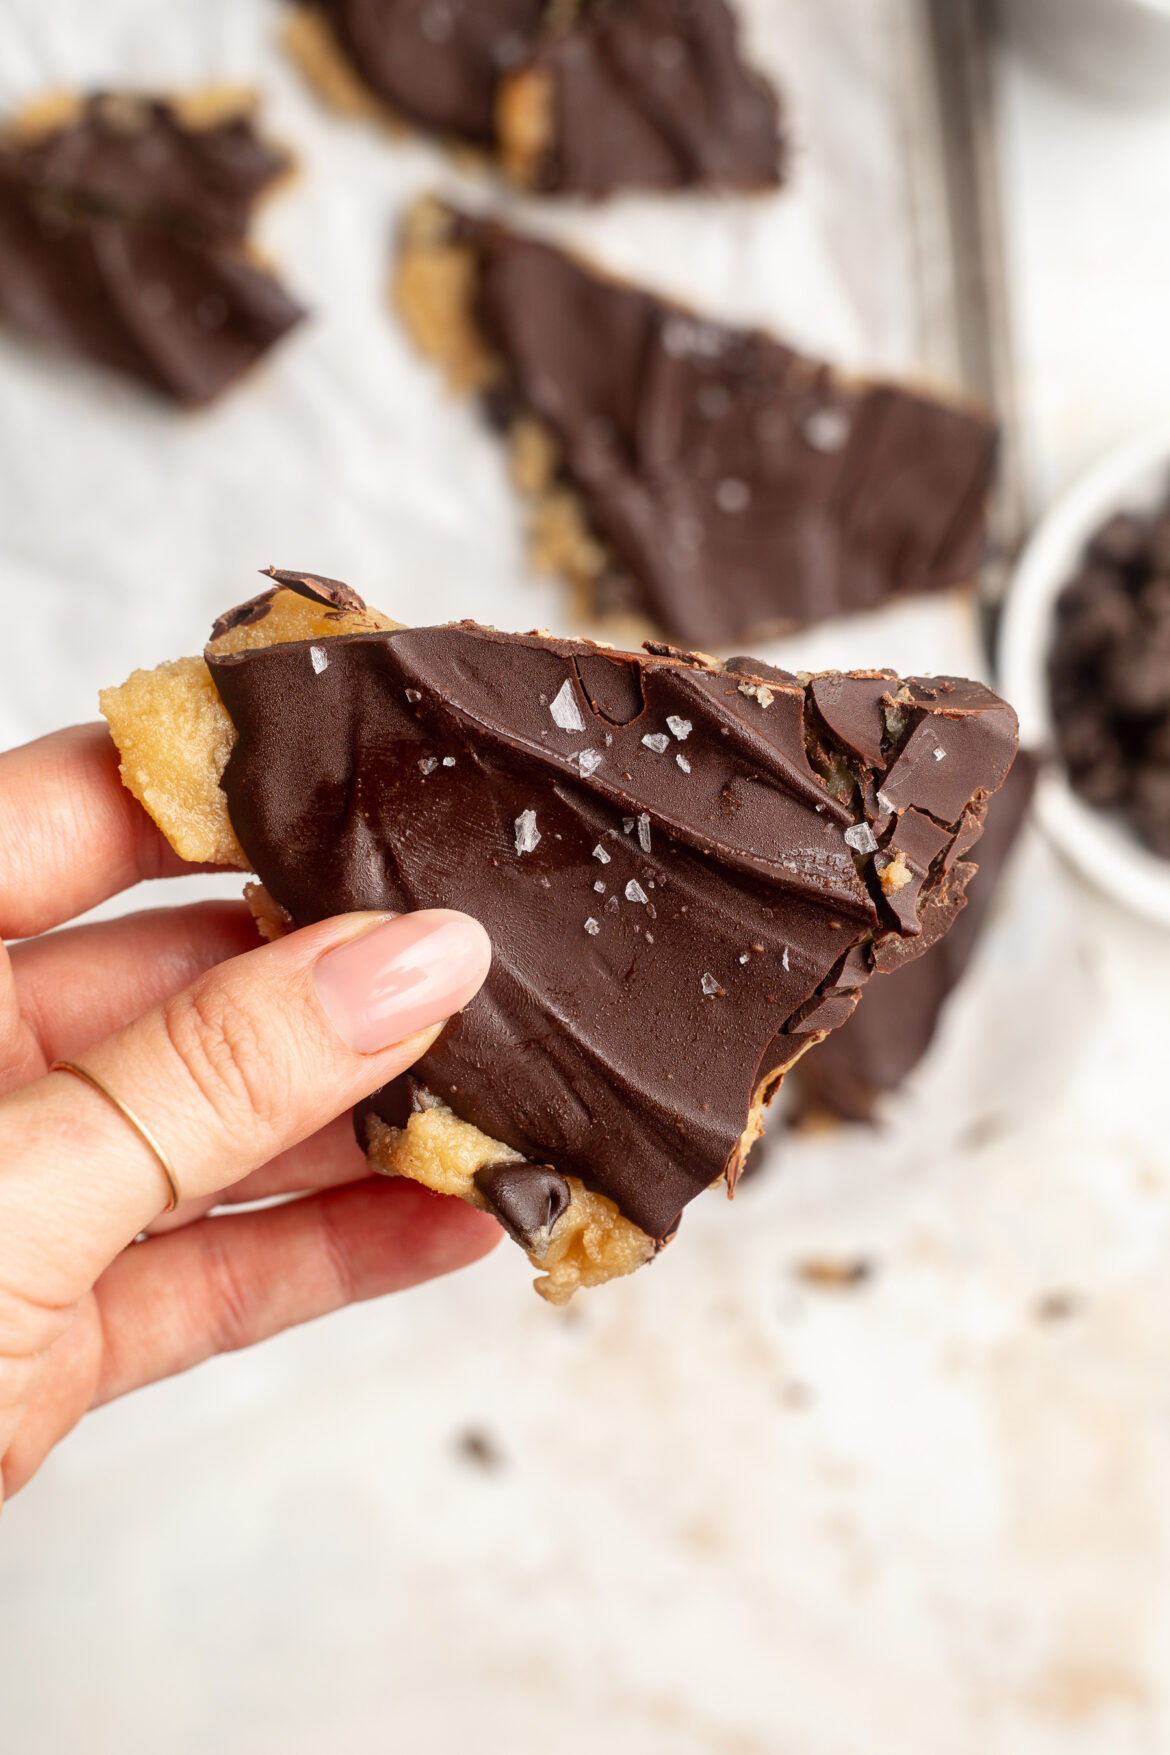
4 ingredient gluten free cookie dough bark piece with sea salt on top.
3.81 from 216 votes

4 Ingredient Cookie Dough Bark

This 4 ingredient cookie dough bark is the ultimate no-bake sweet treat! It’s gluten-free, vegan, low sugar, and totally delicious.
Print Pin Rate
Prep Time: 5 minutes
Cook Time: 1 hour
Total Time: 1 hour 5 minutes
Servings: 6 servings

Ingredients

  • 1 cup almond flour
  • 2 tablespoons melted coconut oil
  • 1/4 cup maple syrup
  • 1 cup chocolate chips, divided

Instructions

  • Mix together the almond flour, coconut oil, and maple syrup in a bowl. Add in 1/4 cup of chocolate chips and mix again to combine.
  • Line a small baking sheet or large plate with parchment paper, then place the cookie dough mixture on top of the parchment paper. Spread and flatten the mixture with your hands to form a large piece of cookie dough bark.
  • Melt the remaining 3/4 cups of chocolate chips, then pour the melted chocolate over the cookie dough bark. Spread the chocolate into an even layer, then place the bark in the freezer for at least one hour.
  • When ready to eat, remove the cookie dough bark from the freezer and either cut or break into large pieces. Enjoy right away and store leftover bark in the freezer for later!

It’s been a HOT summer so far. So hot in fact, that I’ve been avoiding turning on my oven unless absolutely necessary. But you guys know me by now, even without an oven I still need a little something sweet on-hand at all times. Healthy No-Bake Cookie Doughs Bars have been on repeat lately, and so have 4-Ingredient Healthy Snickers. And while both of those no bake desserts are delicious and ones I’d never get sick of, it was definitely time to switch things up!

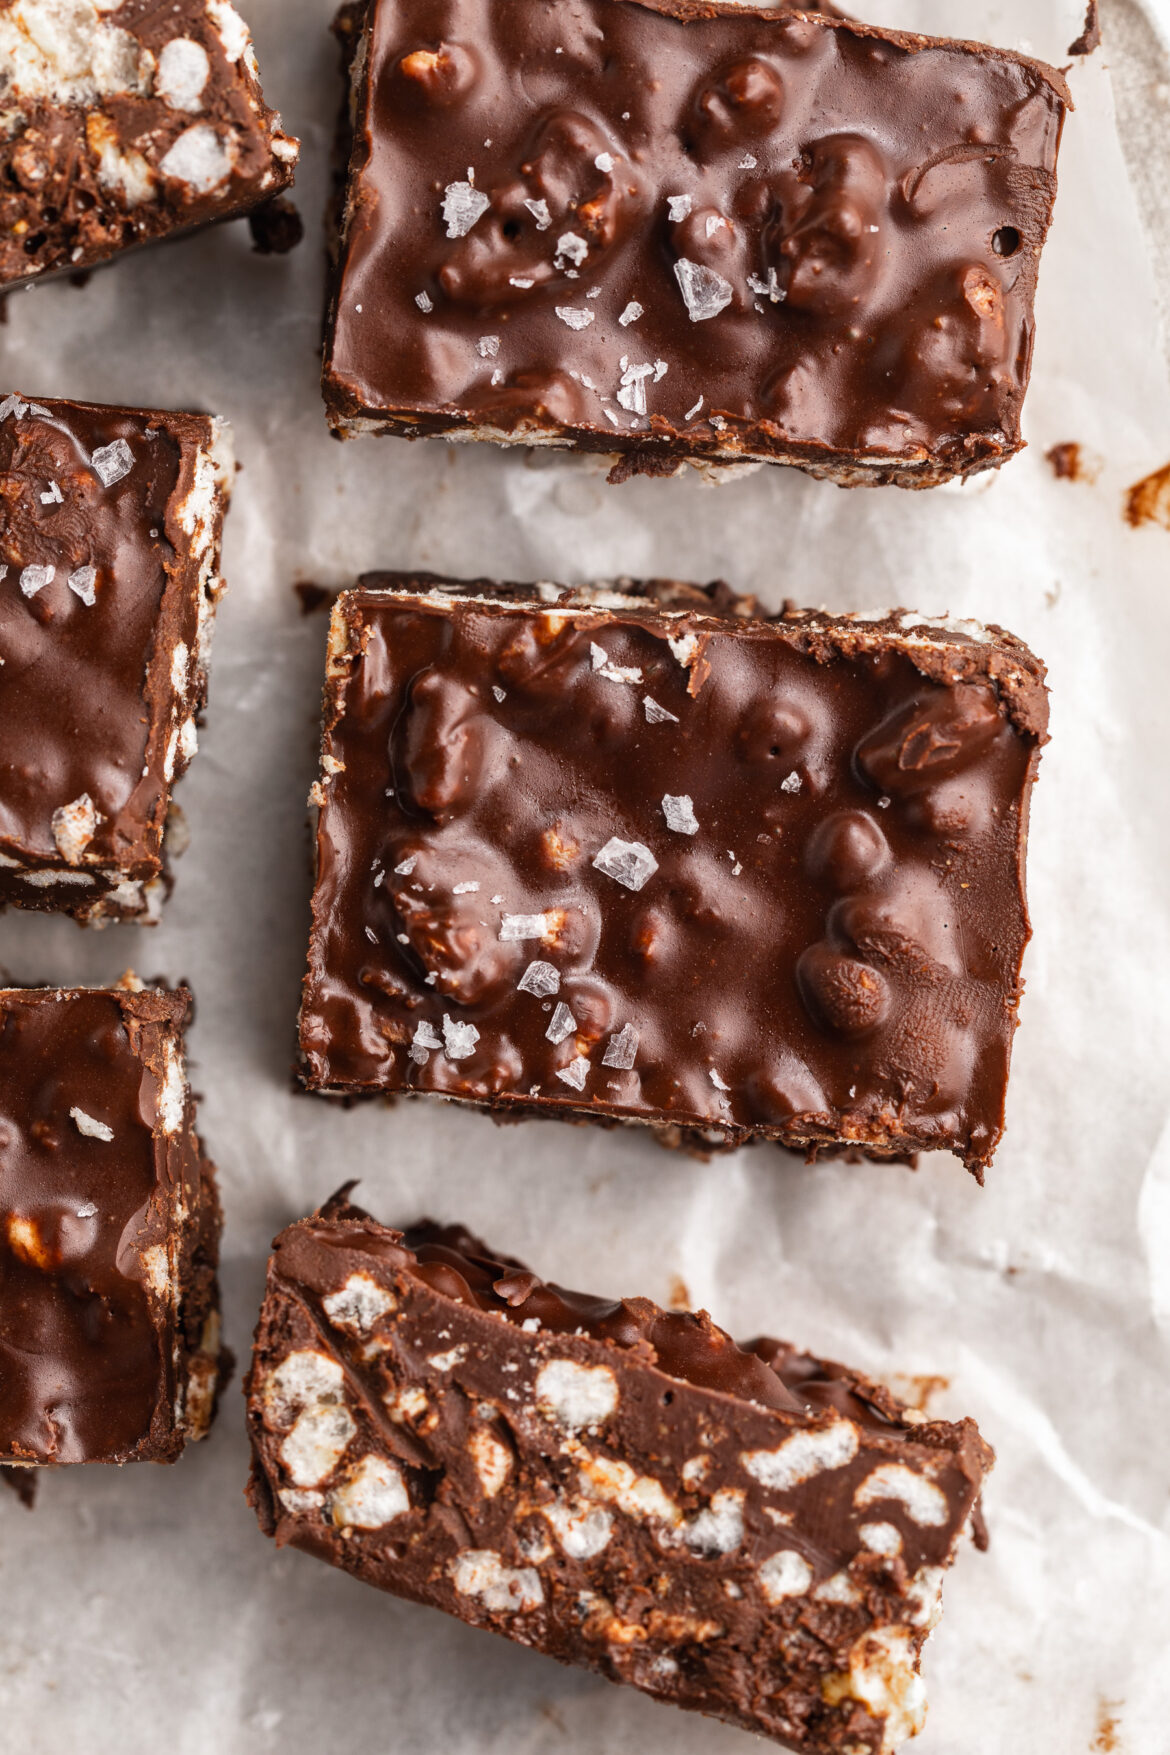
These homemade crunch bars are made with just THREE ingredients. They’re totally vegan and gluten-free, and I’ll even include a paleo and keto option if you want to give those a try. They’re perfectly sweet, extra crunchy, and seriously SO easy to make!

overhead image of 3 ingredient no bake homemade crunch bars with sea salt on top.

Why These Are the Best Homemade Crunch Bars

These bars are not only simple to make but also healthier and more customizable than store-bought versions. By using high-quality ingredients, you avoid artificial flavors and preservatives. The addition of peanut butter gives extra creaminess and flavor, making these bars a delightful treat for all ages!

Ingredients and Substitutions

  • Chocolate Chips: Opt for dark chocolate for a less sweet version or semi-sweet for a classic candy bar taste. Vegan options like Guittard Extra Dark Baking Chips are perfect for dairy-free needs.
  • Peanut Butter: Can be substituted with any nut or seed butter. Ensure it’s creamy for the best texture.
  • Rice Cakes/Crisp Cereal: Gluten-free rice cakes or cereals ensure the bars are safe for those with gluten intolerances!
ingredients for healthy homemade crunch bars recipe.

How to Make Homemade Crunch Bars

  1. Line your pan with parchment paper to prevent sticking.
  2. Melt chocolate and peanut butter in the microwave, stirring every 30 seconds until smooth.
  3. Mix in crumbled rice cakes to combine.
  4. Spread mixture in the prepared pan and freeze until solid.
  5. Cut into squares and enjoy your homemade bars.

Storage Tips

Store these homemade crunch bars in an airtight container in the refrigerator for the best texture and shelf life. They can start to soften if left at room temperature for too long. Or, store them in the freezer for up to 3 months!

3 ingredient no bake healthy homemade crunch bar on a table.

Adjust This Recipe to Your Dietary Needs

  • Keto Option: Use sugar-free chocolate chips and replace rice cakes with crushed nuts or seeds.
  • Vegan Option: Ensure your chocolate chips are vegan-friendly. Brands like Enjoy Life are great choices.
  • Paleo Option: Use paleo-approved chocolate, like Hu Kitchen Chocolate Gems and replace rice cakes with chopped nuts or seeds for the crunch.

Tips and Tricks

  1. Microwave Melting: Microwave the chocolate and peanut butter in short bursts to prevent burning, or use a double boiler instead if you’d like.
  2. Layer Thickness: Spread the mixture evenly in the pan to ensure uniform bars.
  3. Add-Ins: Feel free to add a pinch of salt or vanilla extract to enhance the flavor. Or, finish the bars with flaky sea salt like I did – YUM!

By following these tips and utilizing high-quality ingredients, you’ll have delicious, homemade crunch bars that are perfect for any occasion!

overhead image of 3 ingredient no bake homemade crunch bars with sea salt on top.
5 from 8 votes

3 Ingredient Healthy Homemade Crunch Bars

This 3 ingredient homemade crunch bars recipe is the perfect vegan and gluten-free sweet treat! They’re no bake, totally delicious, and irresistibly crispy. These homemade candy bars are also much healthier than store-bought!
Print Pin Rate

Ingredients

  • 1 1/4 cups chocolate chips
  • 1/2 cup creamy peanut butter, unsweetened
  • 2 rice cakes, crumbled (or 1 cup rice crisp cereal)

Instructions

  • Line a 9-inch loaf pan with parchment paper.
  • Add the chocolate chips and creamy peanut butter to a bowl, then microwave in 30 second increments (stirring between each increment) until chocolate has melted.
  • Add in the crumbled rice cakes and mix everything together to combine.
  • Transfer the crunch bar mixture to your prepared loaf pan and spread into an even layer. Place the bars in the freezer until solid, about 1 hour, then remove and cut into squares.

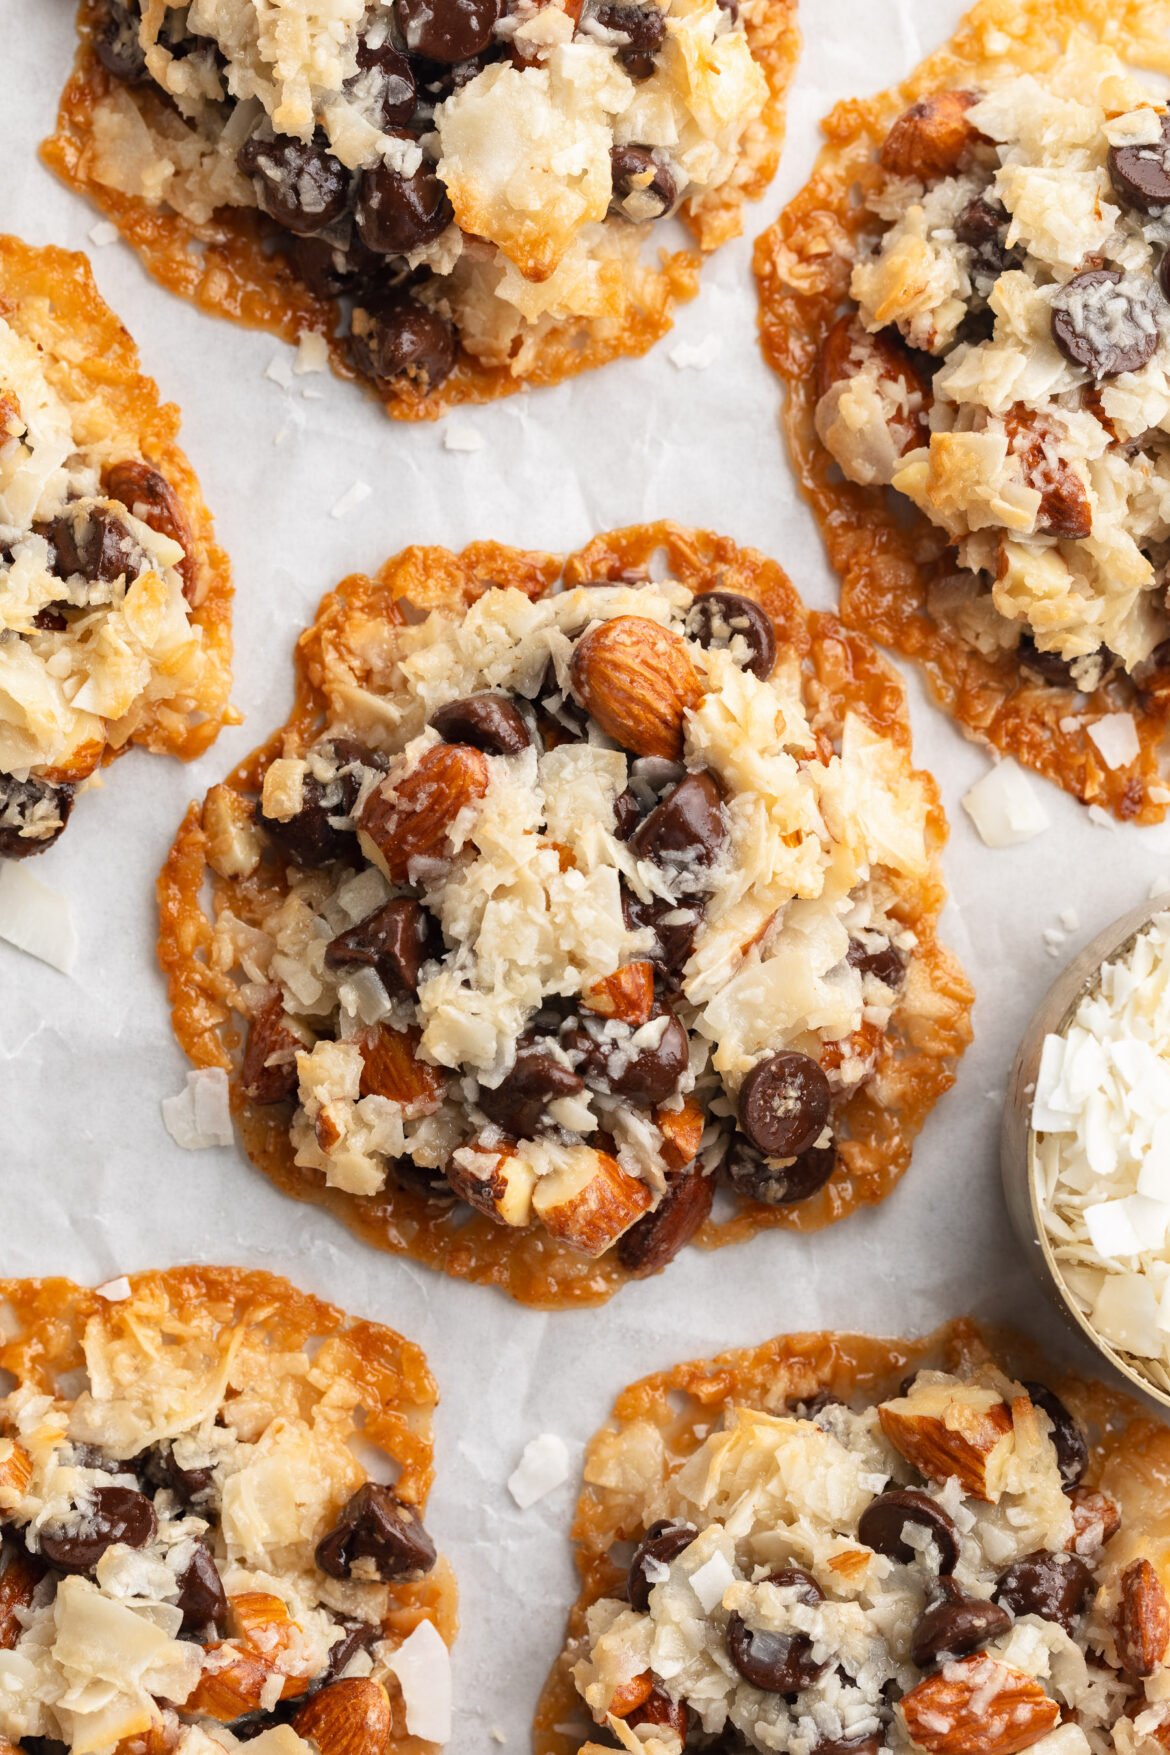
I recently shared a 4 ingredient healthy snickers recipe, and since those were such a huge hit, I thought… what candy bar can I recreate next?! So I took a quick peek into my pantry and found two giant bags of shredded coconut (bought one forgetting I had the other) and just like that the light bulb went off – ALMOND JOY! I continued my brainstorming and realized the easiest way to recreate this delicious candy bar would be in cookie form. So here ya have it, 4 ingredient almond joy cookies!

And if the few-ingredient healthier dessert thing sparks your interest, I have to recommend you also give my 5 ingredient gluten-free cookie dough a try! Yup, just 5 ingredients, NO baking, and healthier than most other cookie dough recipes out there.

close-up image of a 4 ingredient almond joy cookies with shredded coconut on the side.

What You’ll Need to Make 4-Ingredient Almond Joy Cookies

Unsweetened Coconut – Opt for a brand like Bob’s Red Mill, which offers high-quality unsweetened shredded coconut. Unsweetened shredded coconut adds natural sweetness and a chewy texture to the cookies without added sugar!

Chocolate Chips – I used semi-sweet chocolate chips for the best balance of sweetness and flavor.

Almonds – Choose roasted and salted almonds for a savory crunch. Chopping the almonds roughly ensures that each bite has a nice crunch and balances the chewy texture of the coconut.

Sweetened Condensed Milk – I used Nature’s Charm sweetened condensed coconut milk to make these vegan cookies, but regular sweetened condensed milk will work just as well. Both options give the cookies their rich, gooey texture and perfect amount of sweetness!

ingredients needed to make 4 ingredient almond joy cookies.

How to Make This Recipe

  1. Preheat oven to 325° Fahrenheit and line a large baking sheet with parchment paper.
  2. Add all ingredients to a bowl and mix until fully combined.
  3. Use a large cookie scoop to scoop out mounds of the mixture onto a baking sheet, spacing each mound about 4 inches apart.
  4. Wet the palm of your hand, then use it to gently flatten each mound into the size and shape of a cookie.
  5. Bake for 12-15 minutes, or until golden brown around the edges. Remove the cookies from the oven and let them sit on the baking sheet for 5 minutes before transferring them to a wire rack to cool completely.
overhead image of 4 ingredient almond joy cookies on a baking sheet.

Variations

Get creative with these add-ins for your Almond Joy Cookies:

  • Chocolate Drizzle: Melt 1/4-1/2 cup of semi-sweet chocolate chips in the microwave in 15-second intervals, then drizzle over the top of the baked and cooled cookies.
  • Different Nuts: Swap out almonds for chopped walnuts or pecans.
  • Cherry Addition: Add dried cherries to the cookie batter for a fruity twist!
  • Almond Extract: Enhance the almond flavor by adding a little bit of almond or vanilla extract.
  • Dark Chocolate Chips: Opt for using dark chocolate chips instead of semi-sweet chocolate chips.

Adjust This Recipe to Your Dietary Needs

Make it Vegan/Dairy-Free: Use sweetened condensed coconut milk instead of regular sweetened condensed milk. I used Nature’s Charm Sweetened Condensed Coconut Milk and my cookies turned out great!

overhead image of 4 ingredient almond joy cookies on a baking sheet.
3.87 from 15 votes

4 Ingredient Almond Joy Cookies

These delicious 4 ingredient almond joy cookies are one of the easiest cookies you could ever make! Filled with flaked coconut, chocolate chips, and crunchy almonds, this cookie recipe is totally gluten-free, and includes a vegan option too. Plus, all ingredients can be stored in your pantry, making it super convenient to bake these cookies anytime those sweet cravings hit!
Print Pin Rate

Ingredients

  • 3 cups unsweetened shredded coconut (for added texture, use 2 cups unsweetened shredded coconut PLUS 1 cup unsweetened coconut flakes)
  • 1 1/2 cups chocolate chips
  • 1 cup almonds, roughly chopped
  • 1 (14-ounce) can sweetened condensed milk, or 1 (11.25 ounce) can sweetened condensed coconut milk

Instructions

  • Preheat oven to 325° Fahrenheit and line a large baking sheet with parchment paper.
  • Add all ingredients to a bowl and mix until fully combined.
  • Use a large cookie scoop to scoop out mounds of the mixture onto a baking sheet. Spacing each mound about 4 inches apart.
  • Wet the palm of your hand, then use it to gently flatten each mound into the size and shape of a cookie.
  • Bake for 12-15 minutes, or until golden brown around the edges. Remove the cookie from the oven and let them sit on the baking sheet for 5 minutes before transferring them to a wire rack to cool completely.

Think snickers can’t be healthy?? Think again! I’ve pretty much made it my life’s work to take unhealthy treats and make them healthy. Like my healthy gluten-free mug cake, and my healthy cookie dough bars (another no-bake dessert in constant rotation around here!). These 4-ingredient healthy snickers fit seamlessly into my healthier treats lineup. My recent nighttime routine has included getting my baby to bed, popping 3 or 4 of these healthy snickers out of the freezer, and cozying up on the couch while I savor every last bite. My husband’s also obsessed, so I’ve been doubling this recipe to make sure there’s plenty to go around!

For this recipe, you’ll want to start with a silicone ice cube tray. I purchased these ones (they come in a 2-pack) and have loved them so far! They’re also great for making ice cubes too, as the silicone helps the cubes slide right out. From there, you’ll need just four simple ingredients – chocolate, coconut oil, dates, and peanut butter. All relatively healthy ingredients, but they come together to create a treat that tastes seriously indulgent, but won’t hurt your stomach… no matter how many you eat! *wink wink*

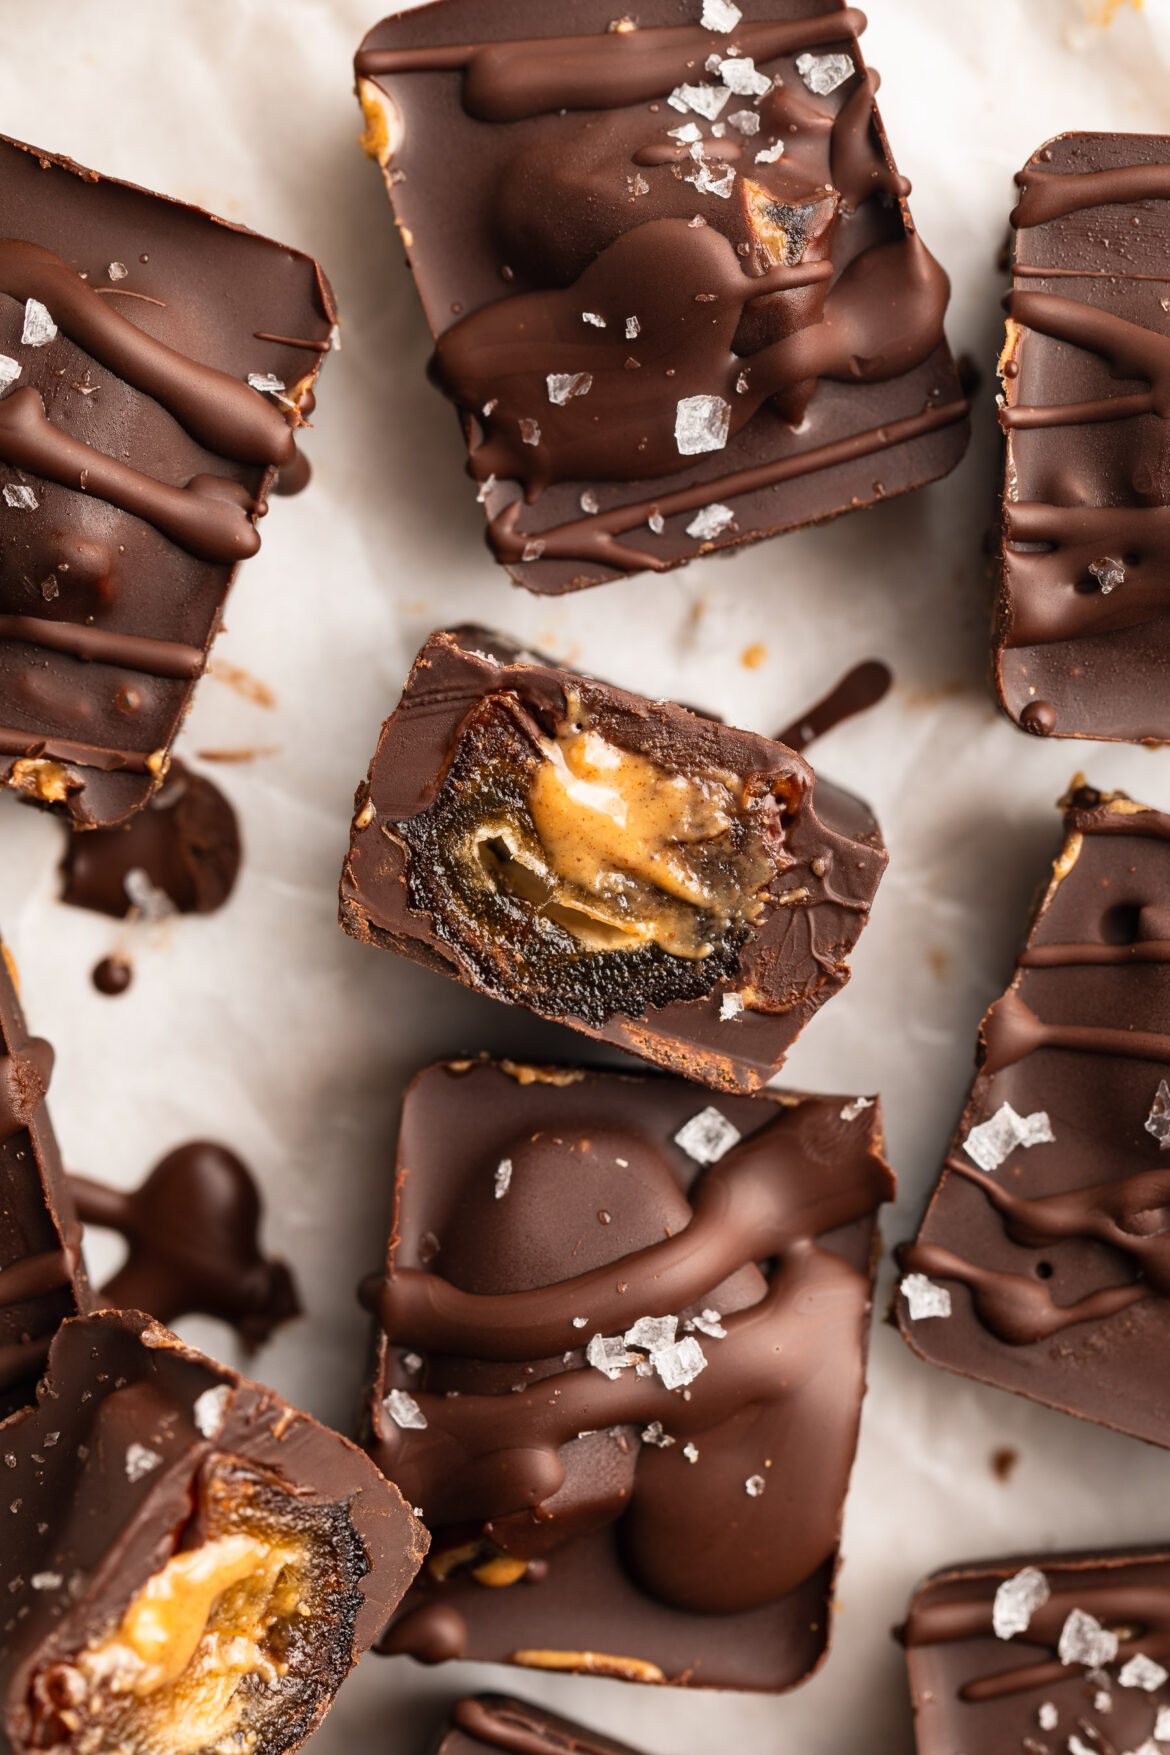
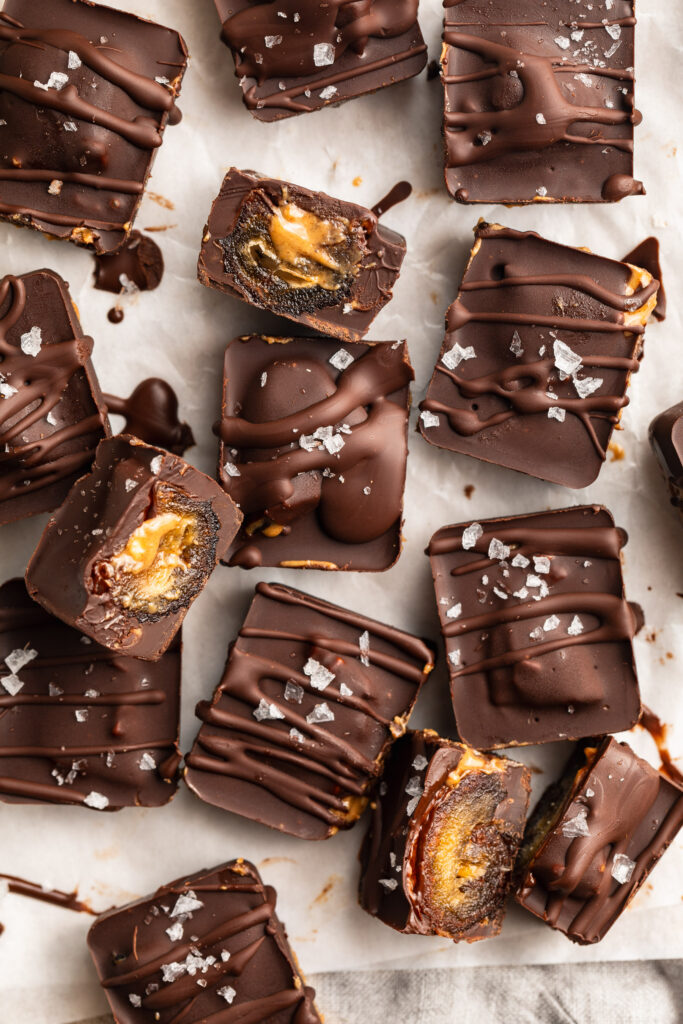
overhead image of a healthy snicker with flaky sea salt on top.

What You’ll Need To Make These Healthy Snickers

Chocolate Chips: Opt for dairy-free or dark chocolate chips for a healthier option. These provide the rich, chocolatey coating for your snickers bites.

Coconut Oil: Coconut oil helps melt the chocolate chips and creates a smooth, glossy texture for your healthy candy bars.

Medjool Dates: These naturally sweet and chewy dates serve as the caramel-like layer in your snickers, providing natural sweetness and a satisfying texture.

Crunchy Peanut Butter: Choose your favorite brand of crunchy peanut butter to add nutty flavor and crunch to your guilt-free treats!

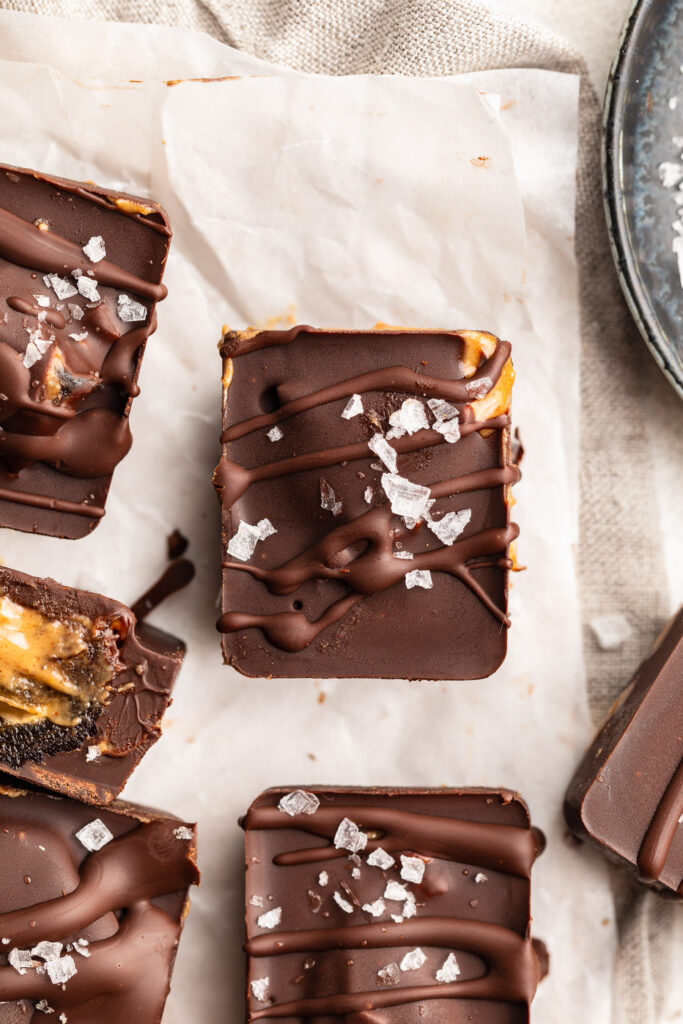
overhead image of healthy snickers bars with flaky sea salt on top.

Tips and Tricks

  • If your dates are too firm, soak them in warm water for 10-15 minutes before using. This will help soften them and make them easier to work with.
  • Using a silicone ice cube tray makes it easier to remove the snickers bites once they’re frozen. If you don’t have one, you can line a regular ice cube tray with plastic wrap for easy removal.
  • To ensure even distribution of ingredients, use a layering technique when assembling your healthy snickers bites. Start with a layer of melted chocolate, followed by a date and a dollop of peanut butter, then top with another layer of melted chocolate.
overhead image of healthy snickers cut in half with peanut butter inside.
5 from 2 votes

4-Ingredient Healthy Snickers

This healthy snickers recipe is the perfect healthier treat to satisfy your sweet tooth! Made with just 4 wholesome ingredients; chocolate chips, coconut oil, medjool dates, and crunchy peanut butter. They taste just like a snickers, but with a fraction of the sugar!
Print Pin Rate
Prep Time: 5 minutes
Total Time: 5 minutes
Servings: 15 snickers

Ingredients

  • 1 cup chocolate chips
  • 1 tablespoon coconut oil
  • 8 medjool dates, pits removed and cut in half
  • 1/4 cup crunchy peanut butter

Instructions

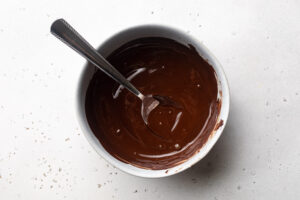
  • Melt the chocolate chips and coconut oil together in a small bowl in the microwave.
    healthy-snickers-step-1
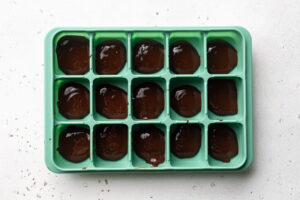
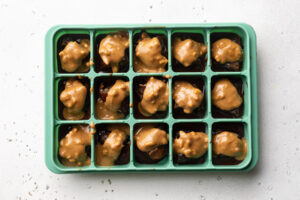
  • Take a silicone ice cube tray and fill 15 cavities of the tray with 1/2 tablespoon each of the melted chocolate.
    healthy-snickers-step-2
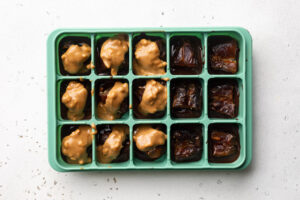
  • Place one pitted date half into each cavity on top of the chocolate.
    healthy-snickers-step-3
  • Then, add about ½ a tablespoon of crunchy peanut butter to each ice cube cavity, on top of each date.
    healthy-snickers-step-4
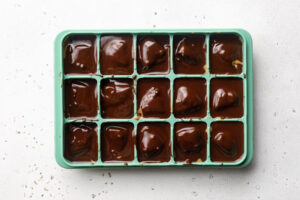
  • Pour the remaining melted chocolate into each ice cube cavity, covering the dates and peanut butter completely.
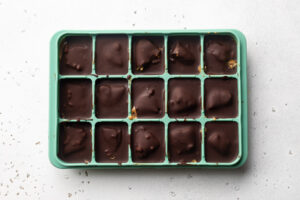
  • Place the ice cube tray in the freezer for about 20 minutes, or until the chocolate has completely hardened. Remove the tray from the freezer and pop out the healthy snickers. Store snickers in the fridge or freezer for up to 3 months!
    healthy-snickers-step-6

Notes

  • Here’s a link to the silicone ice cube trays I used to make my healthy snickers! They worked wonders and were super easy to clean.
  • We LOVE a healthy sweet treat around here, and this gluten free mug cake fits right in! If you know me, you know I’m a total dessert person. I eat dessert quite literally every single night. Lately, my go-to simple dessert recipes have been my healthy gluten free cookie dough, or if I have a few extra minutes I’ll bake these one-bowl gluten free almond flour chocolate chip cookies (SO GOOD!). But now, I’m super excited to add this 6-ingredient gluten free mug cake to the rotation!

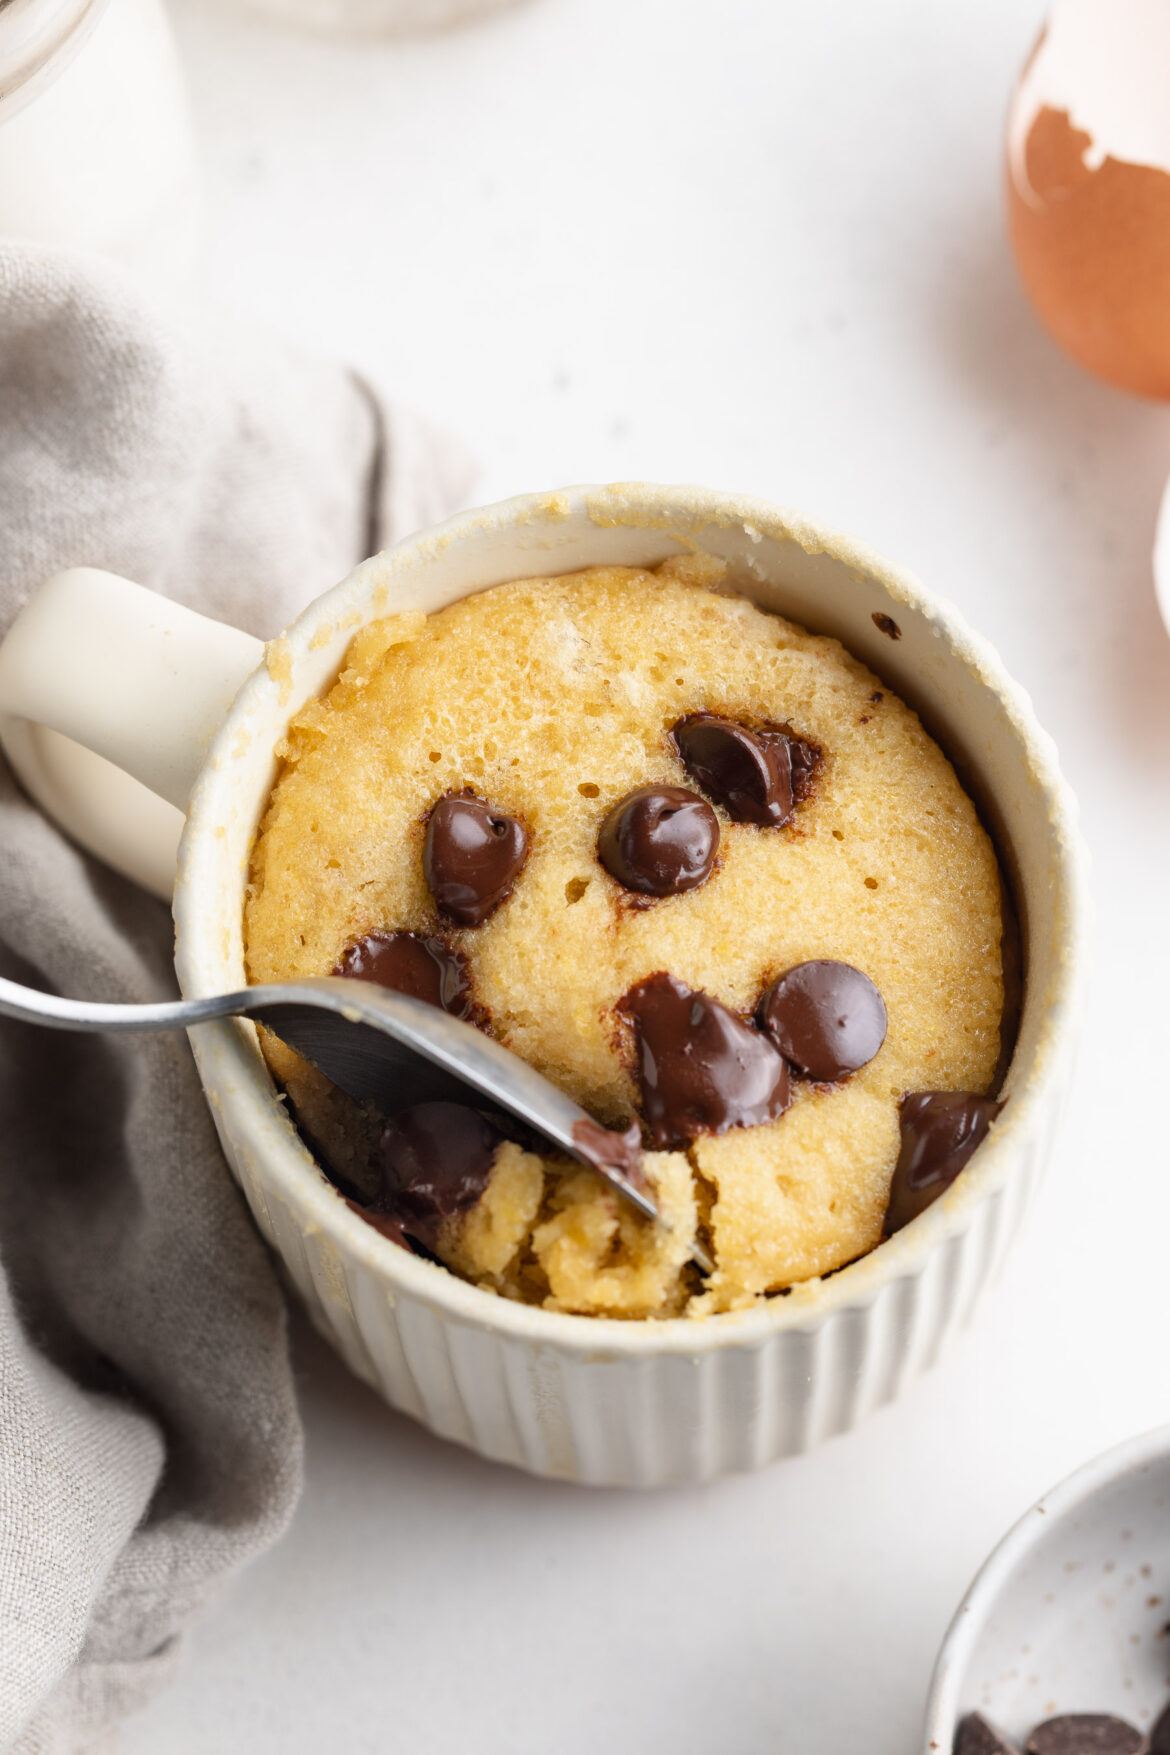
    This recipe is gluten-free, paleo, and dairy-free! But still perfectly sweet and totally indulgent. It’s also one of those recipes you can customize however you’d like. I love adding a small handful of chocolate chips to mine for a chocolate chip mug cake. Or, when I’m feeling festive, I’ll mix in a tablespoon of rainbow sprinkles! However you serve it, I guarantee you’ll love it.

    overhead image of healthy gluten free mug cake with chocolate chips on top.
    Here’s a link to the microwave-safe mugs I used for this recipe!

    What You’ll Need To Make A Healthy Gluten Free Mug Cake

    Almond Flour: Almond flour serves as the base for this mug cake, providing a nutty flavor and tender texture. It’s also a great gluten-free alternative to traditional flour. I buy my almond flour in bulk, so I always have some on-hand for this recipe!

    Maple Syrup: Sweeten your mug cake naturally with maple syrup, adding a touch of sweetness without refined sugars.

    Egg: A large egg helps bind the ingredients together and provides structure and extra fluffiness to the mug cake.

    Coconut Oil: Melted coconut oil adds moisture to the cake, resulting in a soft and fluffy texture. Feel free to use any oil or melted butter of your choice if coconut oil isn’t available.

    Vanilla Extract: Enhance the flavor of your mug cake with a splash of vanilla extract, adding depth and richness!

    Baking Powder: Baking powder is a pantry stables, and it helps this gluten free mug cake rise and become light and airy.

    healthy gluten free mug cake ingredients laid out on a table.

    Tips and Tricks

    • Ensure all ingredients are well combined to prevent any pockets of unmixed flour or egg in your mug cake. Use a fork or small whisk to thoroughly whisk the batter until smooth.
    • Microwave cooking times may vary, so keep an eye on your mug cake as it cooks. If the cake looks like it’s about to overflow, pause the microwave and allow it to settle before continuing to cook.
    • After microwaving, resist the temptation to dive right into your mug cake. Let it cool for a few minutes to avoid burning your mouth! Trust me, learn from my mistakes.

    How To Bake It In The Oven Instead

    1. Preheat the oven to 350° Fahrenheit.
    2. Whisk together all ingredients in an oven-safe mug or ramekin.
    3. Bake for 15 minutes, or until a toothpick inserted down the center of the mug cake comes out clean.
    4. Let it cool for a few minutes, then enjoy!

    Make This Gluten-Free Mug Cake Vegan (No Egg)

    For a vegan version of this recipe, simply replace the egg with 2 tablespoons of apple sauce or 2 tablespoons of non-dairy milk. The cake won’t rise quite as much, but it’ll taste just as delicious!

    gluten free mug cake with chocolate chips on top.
    5 from 3 votes

    Healthy Gluten Free Mug Cake

    This gluten free mug cake is the perfect quick and easy sweet treat! Perfectly sweet, moist, and totally delicious. Throw this healthier dessert together with just 6 ingredients in 5 minutes.
    Print Pin Rate
    Prep Time: 3 minutes
    Cook Time: 2 minutes
    Total Time: 5 minutes
    Servings: 1 serving

    Ingredients

    • 1/4 cup almond flour
    • 2 tablespoons maple syrup
    • 1 large egg
    • 1 tablespoon melted coconut oil, or any vegetable oil
    • 1 teaspoon vanilla extract
    • 1/2 teaspoon baking powder

    Instructions

    • Add all ingredients to a mug and whisk until a batter comes together.
    • Microwave the mug for 2 minutes, then carefully remove from the microwave (the mug will be hot!) and let it cool for a few minutes.
    • Top with whipped cream or a scoop of ice cream and enjoy!

    Notes

  • Check the bottom of your mug to make sure it’s microwave safe before using it in this recipe!