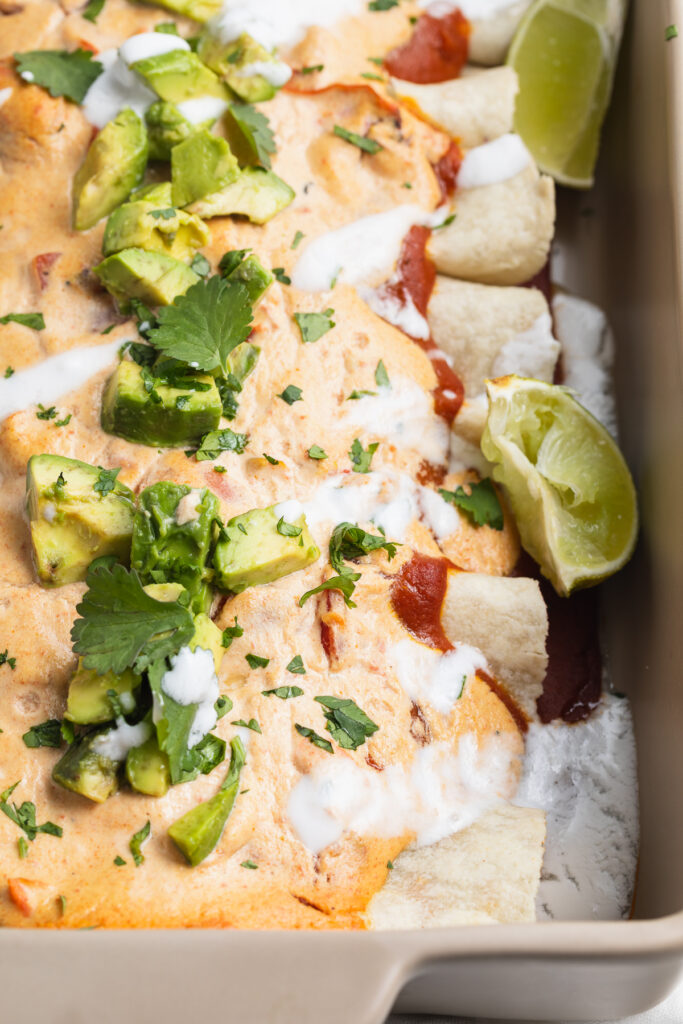
Wholesome and comforting vegan enchiladas! Stuffed with mushrooms, black beans, an easy homemade enchilada sauce, and finished off with creamy vegan queso. It doesn’t get any cozier or more delicious than these “cheesy” vegan enchiladas!
What You’ll Need To Make Vegan Enchiladas
Tomato Paste – The key to a rich and creamy enchilada sauce is tomato paste. The concentrated flavor in tomato paste gives our sauce an extra tangy and intense taste.
Vegetable Broth – Most homemade enchilada sauces are made with chicken broth, but to keep ours plant-based, we use vegetable broth instead. Vegetable broth contributes an additional hint of flavor to this already super flavorful recipe. If you don’t have vegetable broth, you can use two cups of water in its place.
Mushrooms – Finely chopped mushrooms provide our vegan enchiladas with a “meaty” texture! I personally love mushrooms, and add them to many of my vegan recipes. They’re a healthy, delicious, and versatile source of plant-based protein. However, if you don’t enjoy mushrooms, you can use 1/2 cup of cooked lentils instead.
Black Beans – Our other source of protein is a can of drained and rinsed black beans! They, similar to mushrooms, give this meatless dinner recipe a heartier texture.
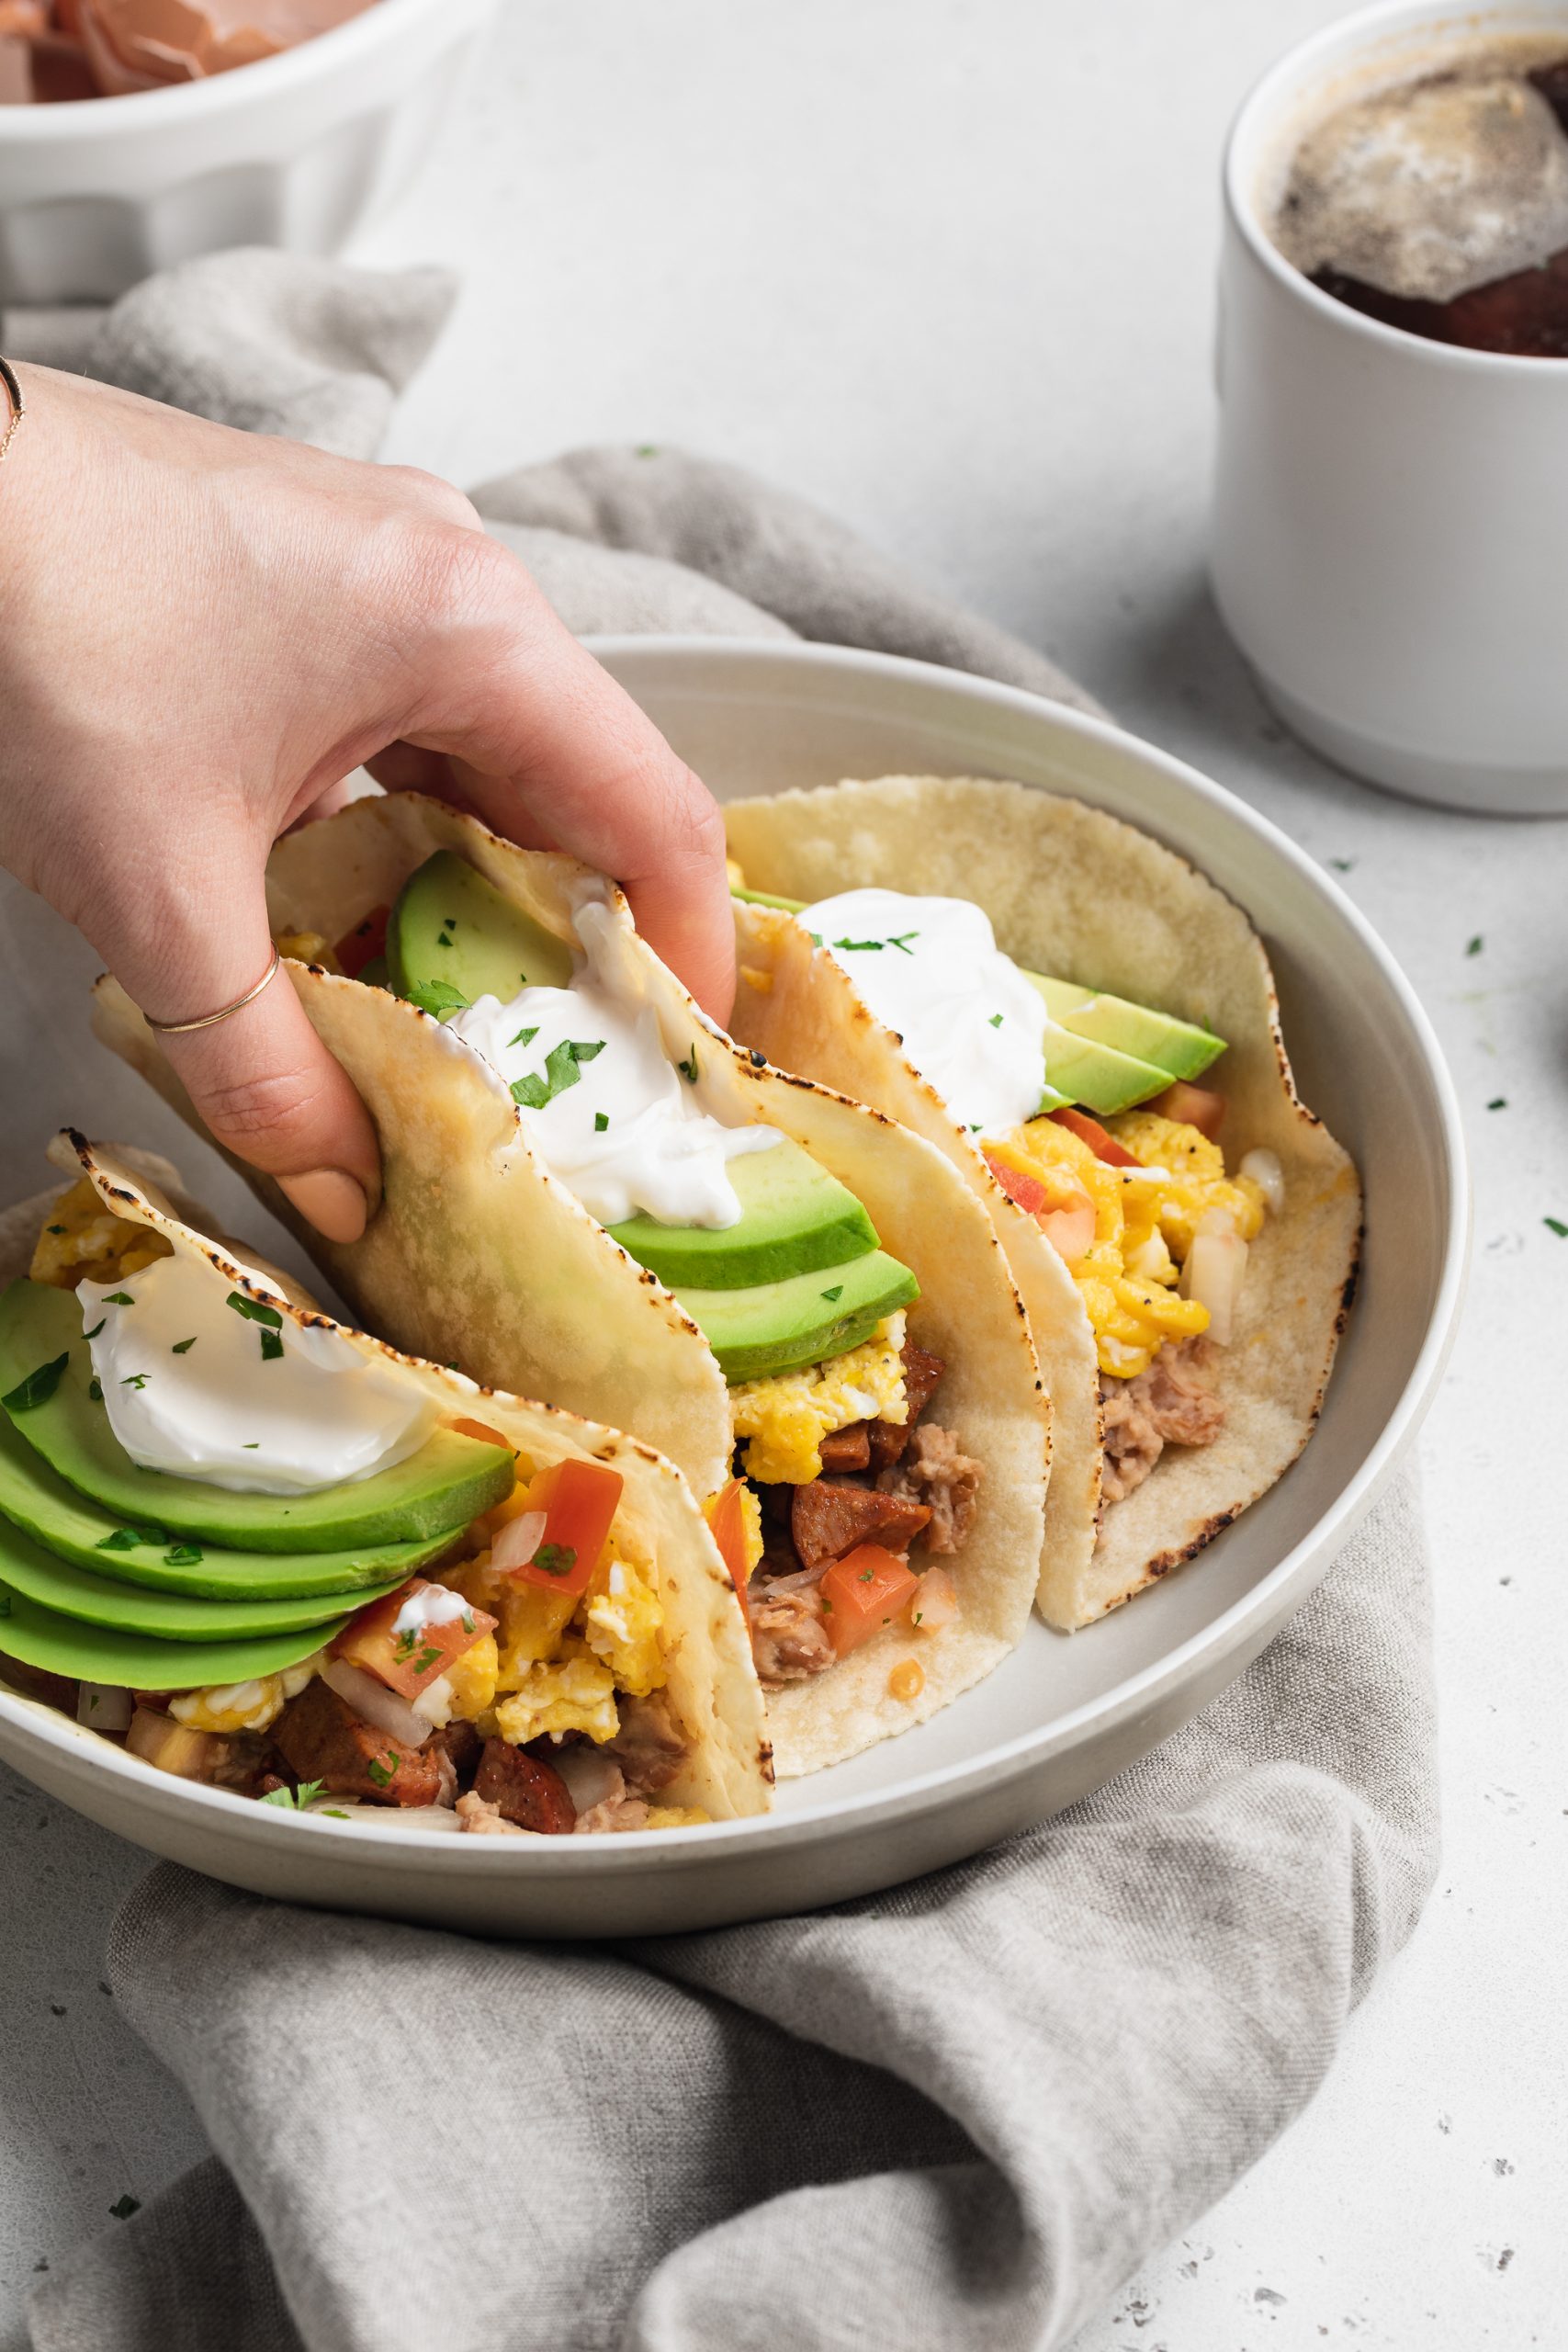
Tortillas – Feel free to use any tortillas you’d like! Corn tortillas or flour tortillas are the standard, but grain-free tortillas taste delicious as well. Though regardless of the type of tortillas you use, make sure they’re no larger than 8-inches. This way, once rolled they’ll fit perfectly in a 9×13-inch baking dish.
Vegan Cashew Queso – The secret ingredient to our “cheesy” vegan enchiladas is half a cup of my vegan cashew queso! It’s super quick and easy to take, coming together in under 10 minutes. While highly recommended, you can make this recipe without the vegan queso if you’d prefer.

Adjust This Recipe To Your Dietary Needs
Make it Gluten-Free: For gluten-free enchiladas, use corn tortillas instead of flour tortillas. Also, be sure the corn starch you’re using in the enchilada sauce is also gluten-free.
Make it Paleo: These vegan enchiladas are very easily made paleo as well! To do this, replace the corn starch with arrowroot starch and black beans with diced, then roasted sweet potatoes. Also, use your favorite paleo tortillas, such as Siete Almond Flour Tortillas for rolling your enchiladas.
Add Cheese: If not vegan or dairy-free, finish this dinner recipe off with a sprinkling of your favorite shredded cheese right before baking!
“Cheesy” Vegan Enchiladas
Ingredients
For the enchilada sauce:
- 3 tablespoons olive oil
- 2 tablespoons corn starch
- 1 tablespoon chili powder
- 1 teaspoon cumin
- 1 teaspoon salt
- 1/2 teaspoon onion powder
- 1/2 teaspoon garlic powder
- 1 teaspoon apple cider vinegar
- 6 ounces tomato paste
- 2 cups vegetable broth
For the filling:
- 1 tablespoon olive oil
- 4 ounces (1/2 cup) mushrooms, finely chopped
- 1 bell pepper, finely chopped
- 1/2 yellow onion, finely chopped
- 1 (15-ounce) can black beans, drained and rinsed
- 1 teaspoon garlic powder
- 1 teaspoon cumin
- 1 teaspoon paprika
- 1/2 teaspoon salt
For the enchiladas:
- 8 8-inch tortillas
- 1/2 cup vegan cashew queso, optional
Instructions
- Preheat oven to 350° Fahrenheit.
- Make the enchilada sauce by whisking together olive oil and corn starch in a large skillet over medium heat, until starch has fully dissolved.
- Add in the chili powder, cumin, salt, onion powder, and garlic powder, cook for 2 minutes.
- Pour in apple cider vinegar, tomato paste, and vegetable broth, then reduce heat to low and simmer for 5 minutes or until sauce has thickened.
- Prepare the filling by heating olive oil in a separate large skillet over medium heat. Add in mushrooms, bell pepper, and yellow onion, cook for 3-5 minutes or until veggies are tender.
- Add in black beans, garlic powder, cumin, paprika, salt, and ½ cup of enchilada sauce you made earlier. Stir and cook for 2 minutes, then remove from heat.
- Roll enchiladas by placing ¼ cup of filling mixture in the center of each tortilla, ten rolling tortilla around filling to seal. Repeat this process until all 8 tortillas are stuffed and rolled.
- Spoon half homemade enchilada sauce into the bottom of a large baking dish. Then, place all 8 enchiladas on top of sauce with the seam side facing down.
- Top with remaining enchilada sauce, then vegan cashew cheese if using. Bake for 20-25 minutes or until bubbly.
")


")