Tag

garlic

Browsing

Super fresh and addictive guacamole salsa is the perfect game day, party, or potluck appetizer! Simple, yet delicious ingredients are blended into a smooth and creamy dip. Enjoy this guacamole salsa with crispy tortilla chips, or sliced carrots and celery for a healthy snack!

guacamole salsa in a bowl with chips on the side along with tomatillos and a sliced avocado

What You’ll Need To Make This Recipe

Tomatillos – These little green Mexican tomatoes are sold in most grocery stores. They’re wrapped in a papery green husk, that’s easily peeled away to reveal a beautiful, bright green tomato. To prepare your tomatillos for this dish, simply peel away the husk. Then, give each tomatillo a good rinse before using them in this recipe!

Jalapeño – A whole jalapeño may seem like a lot, but trust me, it yields very little spice in this guacamole salsa! One jalapeño is perfect for a mild salsa, while two is ideal for a medium salsa, and three for a full-blown spicy salsa. So pick your poison and add as many jalapeños as you’d like!

Avocados – Select three medium to large avocados for this recipe. The key to any avocado is making sure it’s ripe, but not overly ripe, before eating. The best way to tell whether an avocado is ripe is by giving it a gentle squeeze. If the skin feels firm, but gives just a little bit, then the avocado is perfect! Though if it’s hard (feels like you’re squeezing a rock), then it’s not yet ripe – store at room temperature for another day or two before it’s ready.

Cilantro – A large handful of cilantro gives this guacamole salsa its delicious, fresh flavor! Cilantro also has a number of great health benefits. It’s high in antioxidants, is a proven antibacterial, and has even been studied to reduce the risk of heart disease. You’ll want to wash your cilantro well under cold water before using in this, or any recipe. Once clean, gently pat it dry with a dish towel before slicing and removing the stems. Then, toss the cilantro leaves into a food processor along with the rest of the ingredients.

Top Tips

  • Boil the tomatillos and jalapeño until they’re soft and are easily pierced with a fork. Not boiling enough will make them tough to blend, and boiling too much will cook off some of their delicious flavor. Therefore, just about 10 minutes in boiling water is all they’ll need.
  • After you’ve blended your guacamole salsa, give it a taste! At this point, you can adjust the flavors in this recipe based on your preferences. Sometimes an extra pinch of salt or squeeze of lemon juice is all your dip needs!
  • Serve this easy app any way you’d like! I love enjoying mine with a big ole’ bowl of grain-free tortilla chips for a healthy, yet delicious snack. Though for an even healthier option, serve your salsa with some fresh cut veggies such as carrots, celery, and/or bell peppers!

How To Store It

To keep this guacamole salsa looking bright green and fresh, follow the storage steps below:

  1. Place in an airtight container, but do not secure the lid just yet.
  2. Take a sheet of plastic wrap and place it over the container, gently pressing down until it comes in contact with the top of the salsa. Ensure that all of the exposed salsa is in contact with and covered by the plastic wrap.
  3. Then, secure lid on top of the container before storing it in the fridge for up to three days!

When ready to serve, simply remove the lid and plastic wrap, then give everything a gentle stir before enjoying.

close-up image of guacamole salsa with chips on the side
5 from 1 vote

Fresh and Easy Guacamole Salsa

Super fresh and addictive guacamole salsa is the perfect game day, party, or potluck appetizer! Simple, yet delicious ingredients are blended into a smooth and creamy dip. Enjoy this guacamole salsa with crispy tortilla chips, or sliced carrots and celery for a healthy snack!
Print Pin Rate
Prep Time: 5 minutes
Cook Time: 10 minutes
Total Time: 15 minutes
Servings: 12 servings

Ingredients

  • 10 tomatillos, husked and washed
  • 1 jalapeño, seeded and deveined
  • 3 avocados, peeled and pitted
  • 1 garlic clove, smashed and peeled
  • 1/2 cup fresh cilantro
  • 1 tablespoon lime juice
  • 1 teaspoon salt

Instructions

  • Bring a pot of water to a boil over medium-high heat. Boil tomatillos and jalapeño until soft, about 10 minutes.
  • Strain tomatillos and jalapeño from water, then add to a high-speed blender or food processor with remaining ingredients.
  • Blend until smooth, then serve immediately or store in an airtight container in the fridge for up to 3 days.

Nutrition

Calories: 300kcal

More Easy and Delicious Appetizers

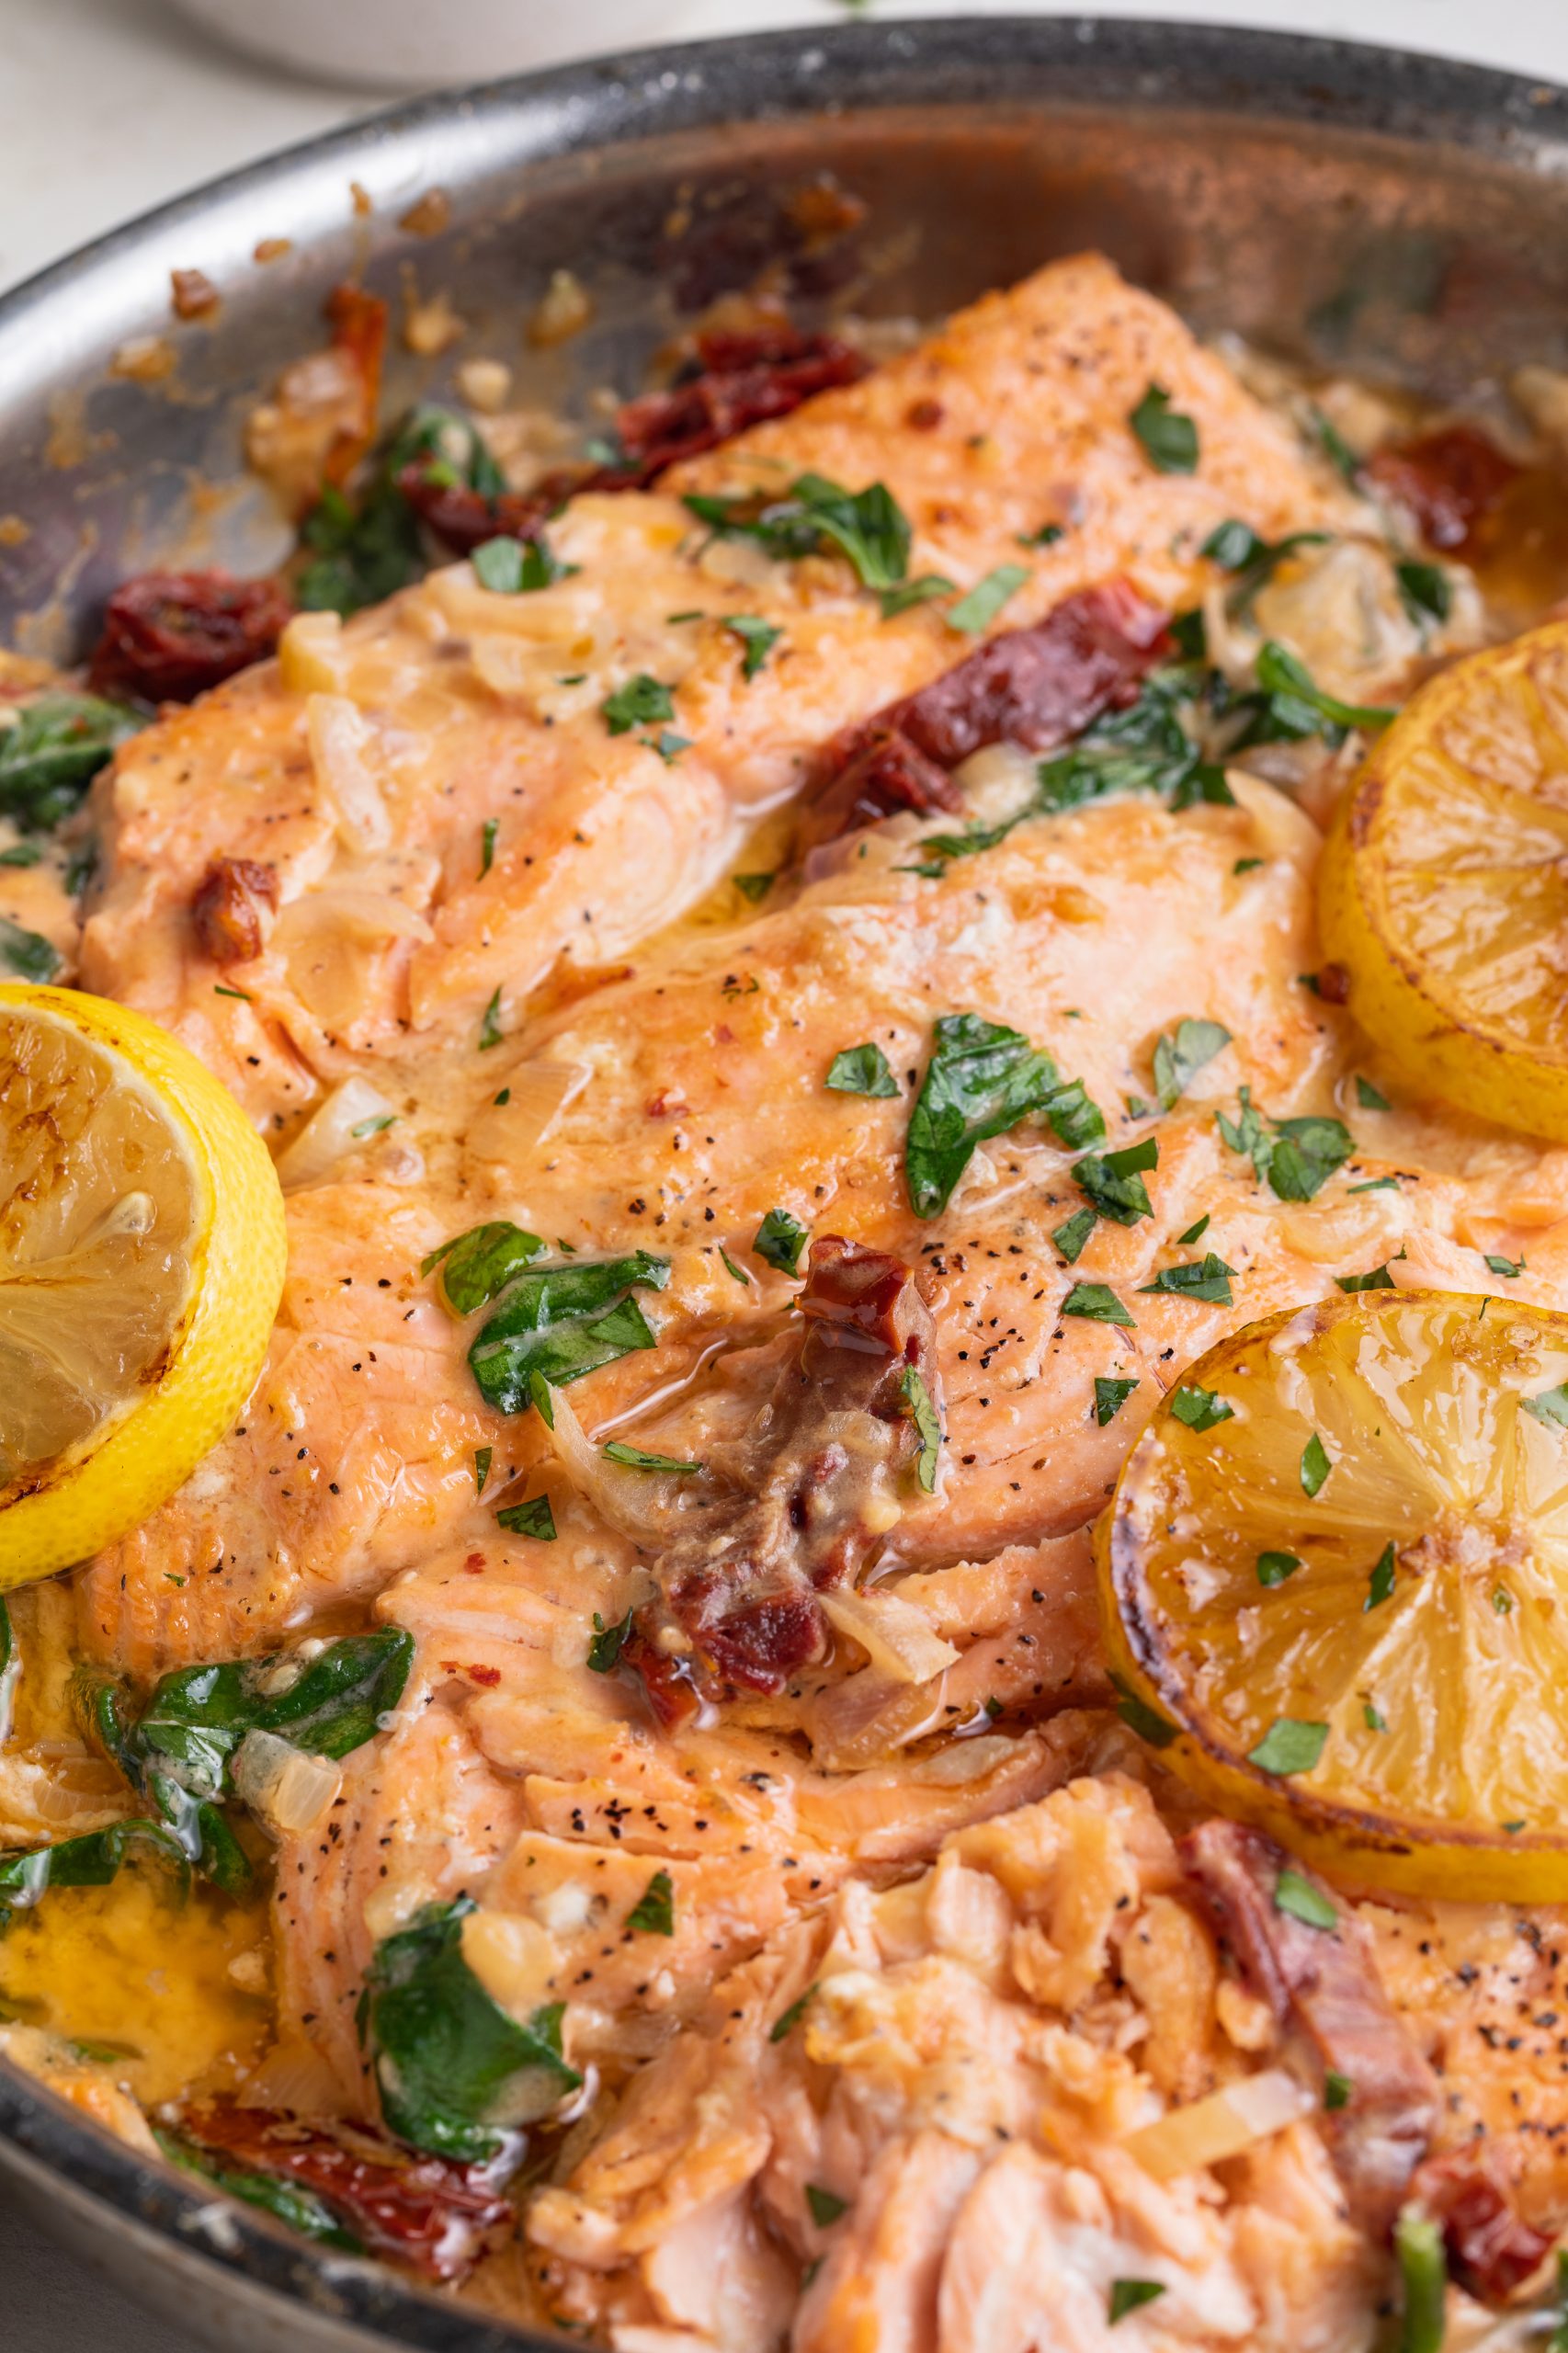
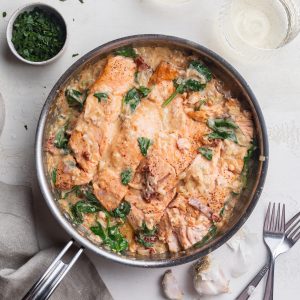
Perfectly seared salmon in a creamy sun dried tomato sauce, ready in under 30 minutes! This simple weeknight meal requires just one skillet and comes together in a flash. The perfect recipe when you’re craving seared salmon, with lots of delicious flavor!

creamy sun dried tomato skillet salmon recipe in a skillet with fresh parsley and lemon slices on top

Main Ingredients

Salmon Fillets – I used and recommend Atlantic salmon for this recipe. Atlantic salmon is buttery, flaky, and totally delicious. It’s pretty common, and shouldn’t be hard to find at your local grocery store or seafood counter. Sockeye is another very common type salmon, and will work in this recipe, but won’t cook up nearly as tender as Atlantic salmon. Sockeye salmon is quite lean, with a meatier consistency and a stronger fish flavor. Though feel free to use your favorite type of salmon in this dish!

Sun Dried Tomato Oil – Sun dried tomato oil is simply the oil found in a jar of sun dried tomatoes. Some sun dried tomatoes are sold dry and in bags, but for this recipe, you’ll want to get the jarred kind! That luscious oil the tomatoes are packed in is loaded with incredible flavor. However, if you can’t find sun dried tomatoes packed in oil, you can simply replace the sun dried tomato oil with a more mild olive or avocado oil.

White Wine – Any dry white wine will work in this salmon recipe! I used an extra dry Pinot Grigio and had perfect results. Though any white wine with either “dry” and/or “crisp” in the description will taste great. My favorite part of cooking with wine, is getting to pair a glass of it with my finished dish – yum!

Unsweetened Creamer – I used my dairy-free coffee creamer to make the sauce extra thick and velvety smooth. Though any cream/creamer will work here, just as long as it’s unflavored and unsweetened. If you’re not dairy-free, feel free to use heavy cream or whole milk instead.

Top Tips

  • Serve up this simple one-pan salmon recipe any way you’d like! I enjoyed mine over some brown rice and OMG it was delicious. I even used the ready-to-eat microwaveable brown rice to make this easy dinner recipe even easier to make!
  • If you have a cast-iron skillet, use it! Cast-iron does an incredible job at circulating heat and will create an irresistible golden crust on your salmon fillets. Though if you don’t have a cast-iron skillet, my recommendations are (in order) a stainless steel, ceramic, or non-stick skillet instead.
  • Love the idea of a creamy sun dried tomato sauce, but don’t love salmon? Simply turn this salmon recipe into a one-pan chicken recipe! To do this, replace the salmon fillets with four thinly sliced chicken breasts. Cook them just as you would the salmon, only increasing the cook time to ensure the chicken is completely cooked through.

Adjust This Recipe To Your Dietary Needs

Make it Dairy Free – Either use my dairy-free coffee creamer like I did, or 1/2 a cup of full-fat coconut milk in place of the creamer!

Make it Non-Alcoholic – For a wine-free version, simply sub the white wine for 1/2 cup of chicken or vegetable broth, plus 1 tablespoon of lemon juice. The broth will add flavor, while the lemon juice brightens things up!

close up of sun dried tomato salmon recipe
5 from 1 vote

Creamy Sun Dried Tomato Skillet Salmon Recipe

Perfectly seared salmon in a creamy sun dried tomato sauce, ready in under 30 minutes! This simple weeknight meal requires just one skillet and comes together in a flash. The perfect recipe when you’re craving seared salmon, with lots of delicious flavor!
Print Pin Rate
Prep Time: 5 minutes
Cook Time: 15 minutes
Total Time: 20 minutes
Servings: 4 servings

Ingredients

  • 4 salmon fillets, about 8 ounces each
  • salt and pepper, to taste
  • 2 tablespoons sun dried tomato oil, see Notes
  • 1/2 cup sun dried tomatoes, sliced
  • 1 shallot, chopped
  • 6 garlic cloves, minced
  • 1/2 cup dry white wine
  • 1/2 cup unsweetened creamer I used my homemade non-dairy coffee creamer
  • 2 cups baby spinach
  • fresh parsley or basil, for serving

Instructions

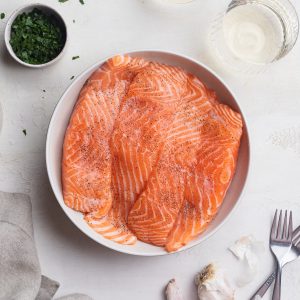
  • Pat salmon fillets dry with a paper towel then evenly season with salt and pepper.
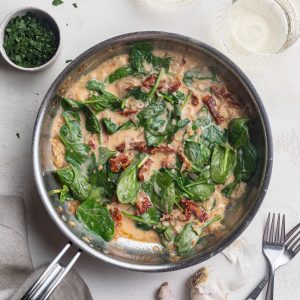
    sun dried tomato skillet salmon recipe step 1
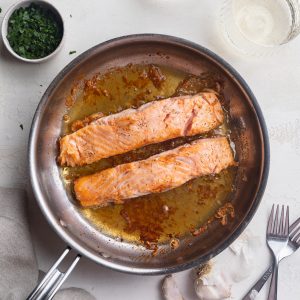
  • Heat sun dried tomato oil in a large skillet over medium-high heat, place salmon fillets in skillet with the skin-side facing up. Cook salmon for about 5 minutes, then flip and cook for 2-3 minutes or until cooked to your liking. Remove salmon from skillet and set aside.
    sun dried tomato skillet salmon recipe step 2
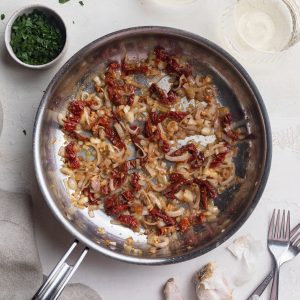
  • Reduce heat to medium and add shallots, cook until soft, about 3 minutes. Add in sun dried tomatoes and garlic, cook for another 2-3 minutes.
    sun dried tomato skillet salmon recipe step 3
  • Pour in white wine and simmer for 3 minutes or until the liquid has slightly reduce. Pour in creamer and baby spinach, cook until spinach has wilted.
    sun dried tomato skillet salmon recipe step 4
  • Nestle salmon fillets back into skillet, spoon sauce over each fillet and simmer until warm – about 2 minutes.
    sun dried tomato skillet salmon recipe step 5

Notes

  • Sun Dried Tomato Oil: Sun dried tomato oil is simply the oil from a jar of sun dried tomatoes. If your sun dried tomatoes didn’t come packed in oil, use olive oil or avocado oil instead.
  • Nutrition

    Calories: 300kcal

    Other Salmon Recipes You’ll Love

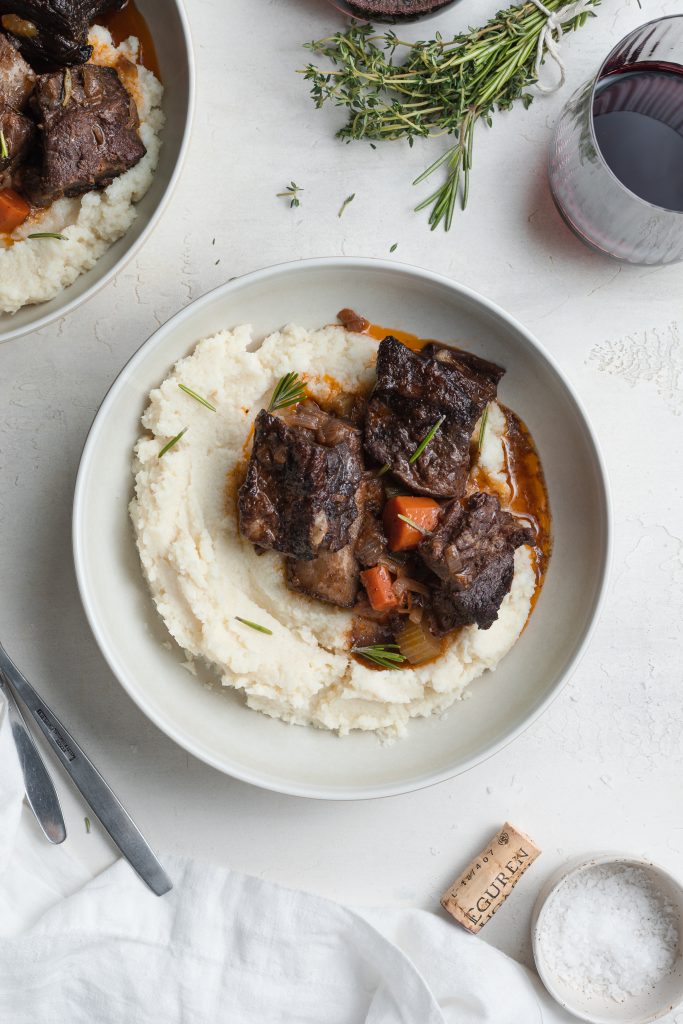
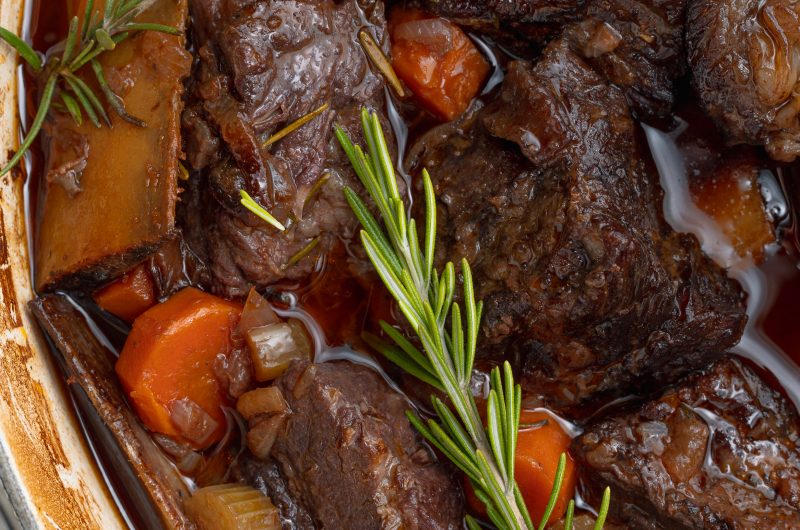
    This Red Wine Braised Short Ribs with Cauliflower Mash Potatoes recipe is the ultimate comfort dish during the colder months and a great recipe to use around the holidays! It’s hearty and flavorful, made with Cauliflower instead of traditional Mash for less carbs, and packed with tons of veggies and delicious seasonings like thyme and rosemary.

    Braised Short Ribs with Cauliflower Mash

    Main Ingredients Needed

    • Bone-in Beef Short Ribs

    • Avocado Oil

    • Veggies – Onions, Carrots, Celery Stalks, Shallot

    • Tomato Paste

    • Red Wine

    • Beef or Chicken Broth

    • Fresh Thyme & Rosemary

    • Head of Cauliflower – Cut into florets.

    • Butter – I used non-dairy.

    • Garlic Cloves

    • Milk – Any milk will work but I used almond milk.

    • Salt & Pepper – To taste.

    Tips When Making Braised Short Ribs With Cauliflower Mash Potatoes

    • You can substitute red wine for the balsamic.

    • Save a little bit of time on your chopping by buying cauliflower florets instead of a head of cauliflower.

    Red Wine Braised Short Ribs with Cauliflower Mash

    5 from 1 vote
    Recipe by Samantha Course: MainDifficulty: Medium
    Servings

    4

    servings
    Prep time

    15

    minutes
    Cooking time

    2

    hours 

    10

    minutes
    Total time

    2

    hours 

    25

    minutes

    This Red Wine Braised Short Ribs with Cauliflower Mash Potatoes recipe is hearty and flavorful and packed with tons of veggies and delicious seasonings like thyme and rosemary.

    Ingredients

    • For the short ribs:
    • 3-5 Lbs Bone-In Beef Short Ribs

    • Salt & Pepper (to taste)

    • 3 Tablespoons Avocado Oil

    • 1 Onion (chopped)

    • 3 Carrots (chopped)

    • 2 Celery Stalks (chopped)

    • 1 Shallot (peeled & chopped)

    • 2 Tablespoons Tomato Paste

    • 2 Cups Red Wine

    • 1 Cup Beef or Chicken Broth

    • 1 Bunch Fresh Thyme

    • 3 Sprigs Fresh Rosemary

    • For the cauliflower mash:
    • 1 Head Cauliflower (cut into florets)

    • 3 Tablespoons Butter (dairy or non-dairy)

    • 6 Garlic Cloves (roughly chopped)

    • 2 Shallots (roughly chopped)

    • 1 Tablespoon Milk (dairy or non-dairy)

    • Salt & Pepper (to taste)

    Directions

    • Preheat oven to 350° Fahrenheit.
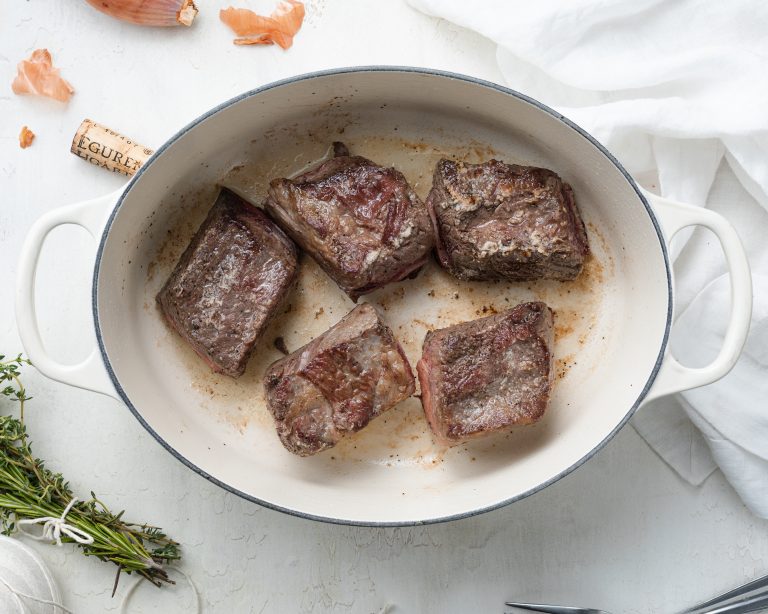
    • Season all sides of short ribs with a generous pinch of salt and black pepper. Heat avocado oil in a large pot over medium-high heat, then brown short ribs in oil, rotating to evenly brown on all sides. 
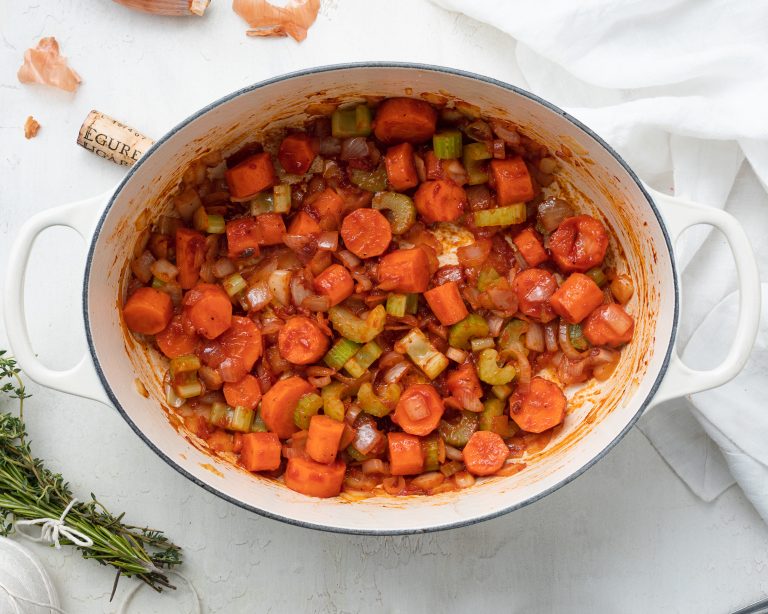
    • Remove short ribs from pot then add in onion, carrot, celery, and shallot. Cook until soft, about 5 minutes, then stir in tomato paste and cook for another 2-3 minutes.
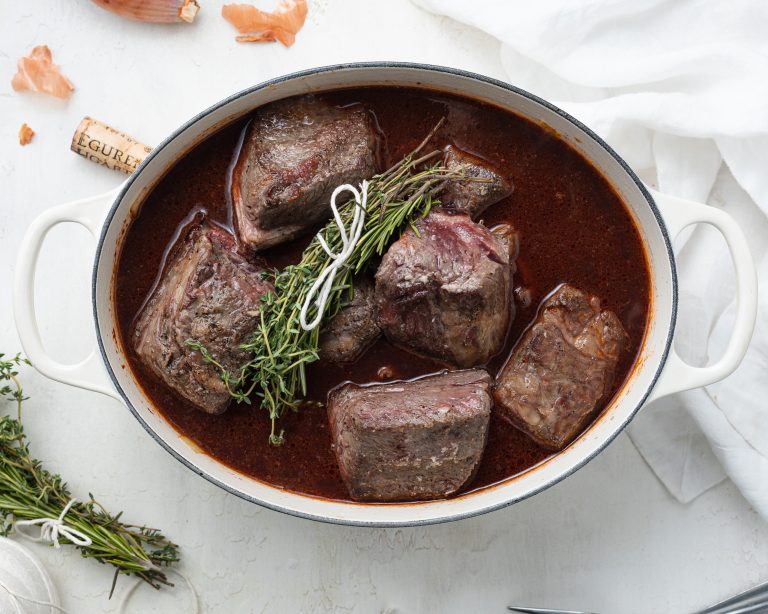
    • Place short ribs back into pot, along with any juices that have been released from the meat. Add in red wine, beef or chicken broth, fresh thyme, and fresh rosemary.
    • Bring everything to a boil, then cover pot with lid, and transfer it into preheated oven. Cook for about 2 hours or until short ribs are super tender.
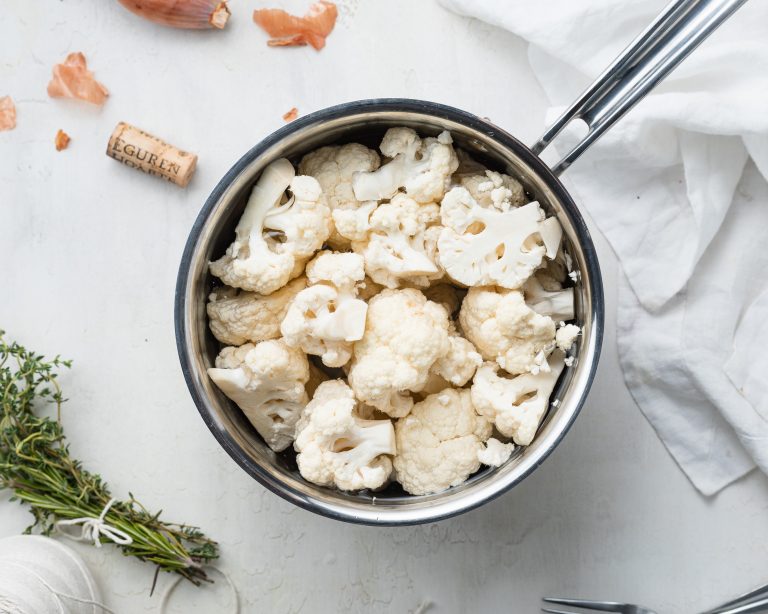
    • While short ribs cook, make the cauliflower mash by boiling cauliflower florets in a large pot of salted boiling water until tender, about 10 minutes. Strain cauliflower then set aside to cool slightly before pureeing. 
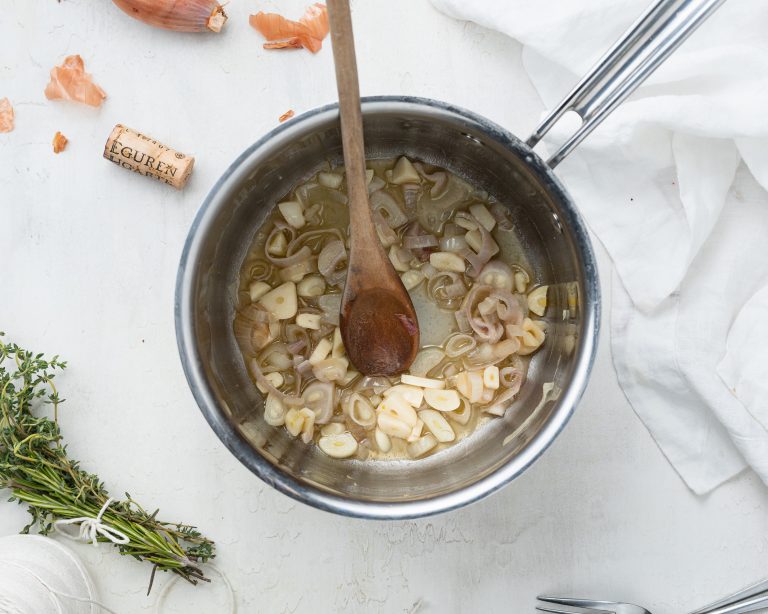
    • While cauliflower cools, melt butter in the same pot over medium-low and add in garlic, cook for about 2 minutes or until fragrant.
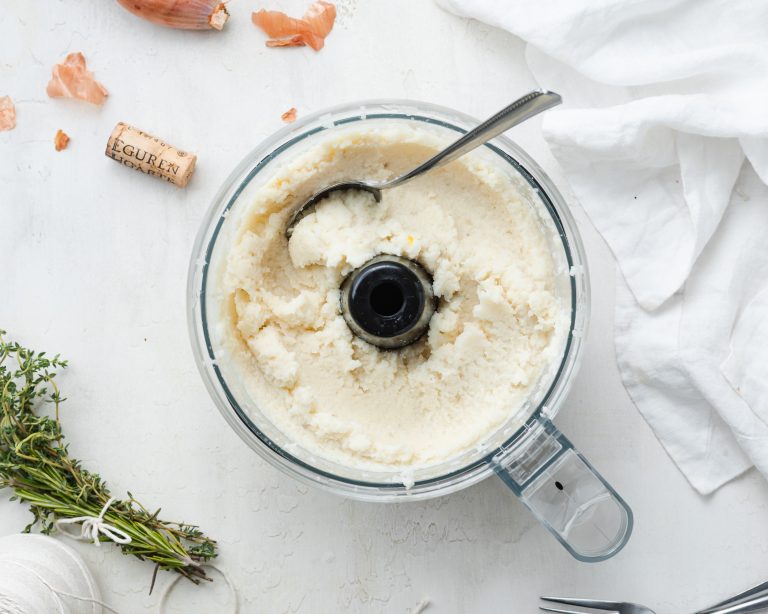
    • Transfer cooled cauliflower, sautéed garlic, milk, salt, and black pepper to a food processor or high-speed blender. Pulse cauliflower until smooth, then scoop onto plates, and serve with braised short ribs on top.

    Did you make this recipe?

    Share it and tag @samdoesherbest on Instagram!

    Like this recipe?

    Follow us @samdoesherbest on Pinterest

    More Healthy & Hearty Recipes

    Deliciously crispy on the outside and tender and caramelized on the inside, this Roasted Garlic Brussels Sprouts recipe is perfect for a healthy side dish. It requires only a few ingredients and takes only 30 minutes to cook!

    Roasted Garlic Brussels Sprouts

    Ingredients to Make The Best Roasted Garlic Brussels Sprouts

    • Brussels Sprouts – You’ll need 1.5 pounds of it, trimmed and halved.

    • Garlic – You’ll need one whole head of garlic, peeled and roughly chopped.

    • Olive Oil

    • Salt & Black Pepper – for taste.

    How do I select the best Brussels sprouts?

    You’ll want to look for bright green heads that are firm and heavy for their size. The leaves on the Brussels Sprouts should be tightly packed with no holes in them. It’s best to avoid Brussels sprouts with yellowing leaves (although if you only see a few, it should be fine), that looks old, or has black spots. Also, fun fact: smaller Brussels sprouts are usually sweeter and more tender than larger ones.

    How do I store Fresh Brussels Sprouts?

    To properly store unwashed & fresh Brussels Sprouts, remove any loose outer leaves and place in a zip-top bag and store in a drawer of the refrigerator. They will last a couple of weeks but try to use them as soon as possible. They lose their sweetness quickly and their flavor starts to waver after a few days.

    Tips and Tricks When Making Roasted Garlic Brussels Sprouts

    • Make sure to cut the garlic into chunky pieces. If you mince the garlic too finely, they will burn instead of becoming sweet and tender.

    • Sprinkle the Brussels Sprouts with parmesan for extra flavor. To do this, simply sprinkle the cheese on about 10 minutes into baking.

    Roasted Garlic Brussels Sprouts

    0 from 0 votes
    Recipe by Samantha Course: SidesCuisine: BelgiumDifficulty: Easy
    Servings

    4

    servings
    Prep time

    10

    minutes
    Cooking time

    30

    minutes
    Calories

    300

    kcal
    Total time

    40

    minutes

    Deliciously crispy on the outside and tender and caramelized on the inside, this Roasted Garlic Brussels Sprouts recipe is perfect for a healthy side dish. It requires only a few ingredients and takes only 30 minutes to cook!

    Ingredients

    • 1.5 Pounds Brussels Sprouts

    • 1 Whole Head of Garlic (peeled and roughly chopped)

    • 3 Tablespoons Olive Oil

    • 1/2 Teaspoon Salt

    • 1/4 Teaspoon Black Pepper

    Directions

    • Preheat oven to 400° Fahrenheit.
    • Place Brussel sprouts and garlic on a large baking sheet then drizzle with olive oil, and sprinkle with salt and pepper.
    • Gently toss sprouts to coat before baking for 30 minutes. Remove sheet at around the 15 minute mark, gently toss the Brussel sprouts once again, before returning to the oven.

    Recipe Video

    Notes

    • Storage: Place cooked Brussels sprouts in an airtight storage container in the refrigerator for up to 4 days.
    • To Reheat: Add leftover cooked Brussels sprouts to a lightly oiled baking sheet. Rewarm in the oven at 350 degrees F for about 5 minutes.

    Did you make this recipe?

    Share it and tag @samdoesherbest on Instagram!

    Like this recipe?

    Follow us @samdoesherbest on Pinterest

    More Healthy Meals

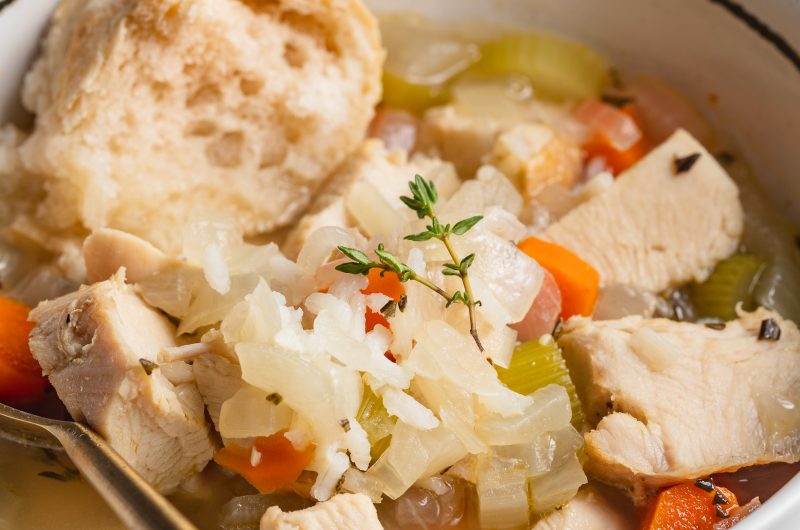
    Turn your Thanksgiving leftovers into a delicious soup that everyone will love! Made with leftover turkey, jasmine rice and veggies, this Leftover Turkey and Rice Soup recipe is a great weeknight dinner that only takes 30 mins to make and a great way to avoid wasting food!

    overhead image of leftover turkey and rice soup with bread, wine, and fresh thyme on the side

    When the holidays come around, so does a lot of food. It’s all too easy to cook more than what is needed, so there’s always leftovers to figure out what to do with. Is there a way I can convince Aunt Susan to take this huge load of turkey with her? Knowing her, she’ll say that she’s too stuffed and can’t even think about food for the next week!

    I don’t like it when food goes to waste, and like to use up as much as I can before it does, so if my family or friends aren’t going to take it home with them, I need to figure out some good recipes, and fast.

    This Thanksgiving Leftover Turkey and Rice Soup is loaded with turkey, veggies, flavorful broth and finished with a splash of fresh lemon and parsley, all made in one pot and in under 30 minutes. What can be better than that for a quick and hearty leftover meal?

    MAIN INGREDIENTS NEEDED TO MAKE Leftover Turkey and Rice Soup

    • Cooked Turkey – chopped or shredded.

    • Rice – I used jasmine rice. You can also use brown rice, but it will have a longer cooking time.

    • Broth – chicken or turkey.

    • Olive Oil

    • Veggies – carrots, celery stalks, yellow onion, garlic cloves.

    • Herbs – thyme, rosemary & parsley.

    • Lemon & Salt

    TIPS FOR MAKING THIS RECIPE

    • Rinse your rice if you like a brothier soup as the outer starch will thicken the soup, particularly if you reheat it. 

    Leftover Turkey and Rice Soup

    5 from 1 vote
    Recipe by Samantha Course: MainCuisine: AmericanDifficulty: Easy
    Servings

    4

    servings
    Prep time

    10

    minutes
    Cooking time

    30

    minutes
    Calories

    300

    kcal
    Total time

    40

    minutes

    Turn your Thanksgiving leftovers into a delicious soup that everyone will love! Made with leftover turkey, jasmine rice and veggies, this Leftover Turkey and Rice Soup recipe is a great weeknight dinner that only takes 30 mins to make.

    Ingredients

    • 1 Tablespoon Olive Oil

    • 3 Whole Garlic Cloves (minced)

    • 1 Small Yellow Onion (chopped)

    • 2 Whole Carrots (peeled & chopped)

    • 2 Whole Celery Stalks (chopped)

    • 3 Fresh Thyme Stems

    • 2 Teaspoons Fresh Rosemary (finely chopped)

    • 1/4 Cup Jasmine Rice

    • 1 1/2 Teaspoons Salt

    • 2 Cups Cooked Turkey (chopped or shredded)

    • 1 Quart Chicken or Turkey Broth

    • 1 Whole Lemon (juiced)

    • 1 Whole Fresh Parsley (chopped)

    Directions

    • Heat olive oil in a large pot over medium heat. Add in garlic, onion, carrots, and celery, sauté for 3-5 minutes or until onions are soft.
    • Add thyme, rosemary, rice, and salt, cook for 2-3 minutes or until fragrant.
    • Add in cooked turkey, chicken or turkey broth, and juice from one lemon. Bring to a boil before reducing to a simmer. 
    • Cover pot with lid and cook for 15-20 minutes or until rice is tender. Remove from heat and serve with fresh chopped parsley.

    Recipe Video

    Notes

    • Storage: keep in the fridge for up to 5 days.

    Did you make this recipe?

    Share it and tag @samdoesherbest on Instagram!

    Like this recipe?

    Follow us @samdoesherbest on Pinterest

    More Healthy Recipes