
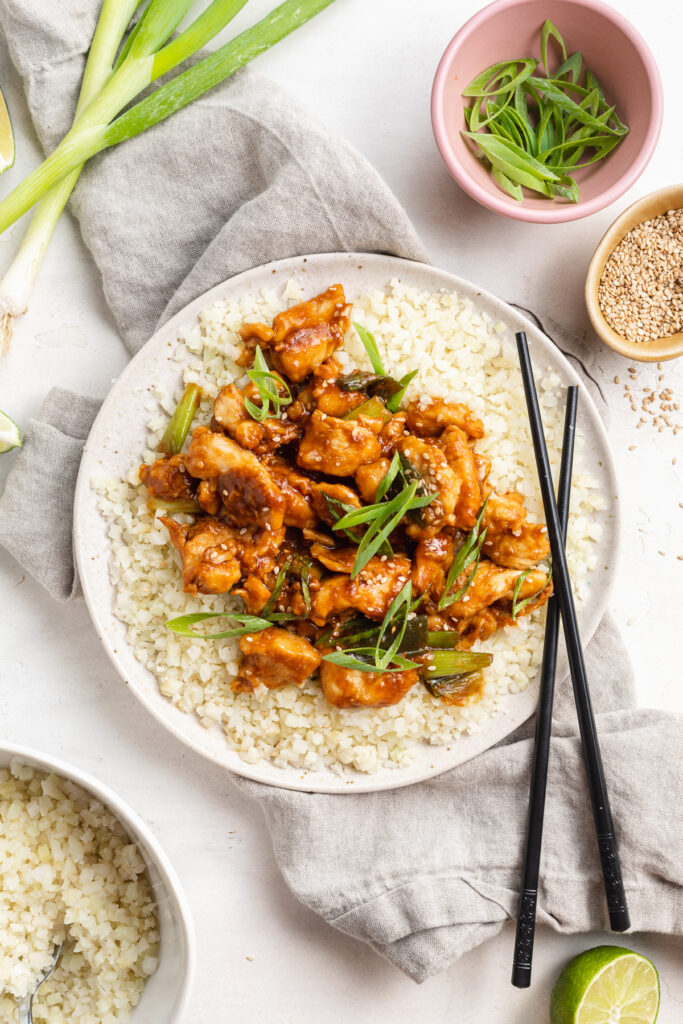
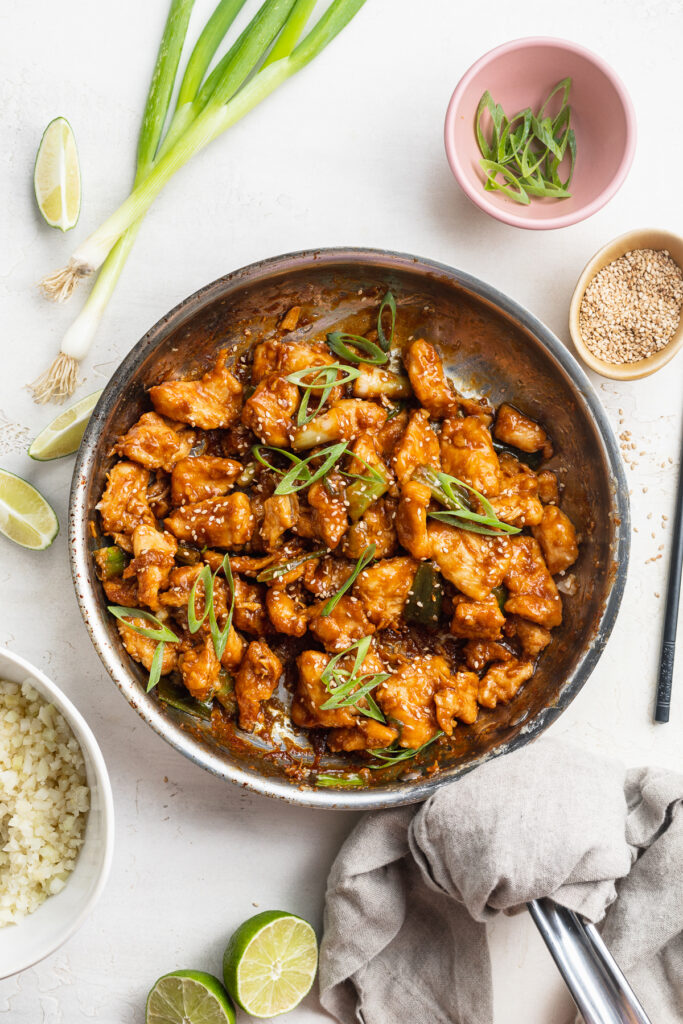
Quick, easy, and insanely delicious 20-minute mongolian chicken! Inspired by the flavors in your favorite dish from your local Chinese restaurant – comes together in less time than it’d take you to order takeout.
What You’ll Need To Make Mongolian Chicken
Chicken Breast – Thinly slice two large, boneless and skinless chicken breasts against the grain. Once sliced, it’s ready to use in this recipe! And for extra crispy chicken pieces, we start by coating them in corn starch before cooking. However, if you don’t have any corn starch, you can use arrowroot starch or tapioca starch in its place. Or, you can skip this step altogether!
Scallions – Slice three whole scallions (white and green part) however large or small you’d like. I typically slice mine in 2-inch pieces, since I love biting into large pieces of sautéed scallions in my mongolian chicken.
Ginger – If using fresh, whole ginger, slice off a 1-inch knob of ginger and remove the skin. Then, run your piece of ginger along a microplane grater until its finely grated. Or, to save time, I recommend buying a jar of minced ginger, and using that in this recipe instead!
Soy Sauce – Soy sauce is the classic addition to this Chinese-inspired recipe. However, if gluten-free, use tamari in place of the soy sauce. Or, for a slightly healthier version, use reduced sodium soy sauce instead!

Adjust This Recipe To Your Dietary Needs
Make it Paleo: Turn this into an easy paleo dinner recipe by replacing the corn starch with tapioca starch, and using coconut aminos in place of the soy sauce. Then, serve your cooked chicken over cauliflower rice – yum.
Make it Gluten-Free: For gluten-free mongolian chicken, make sure the corn starch you use is entirely gluten-free, and replace the soy sauce with an equal amount of tamari. Tamari is the gluten-free equivalent to soy sauce, and tastes exactly the same!
Interested In More Chicken Recipes? Try These!
- One-Pan Hunan Chicken
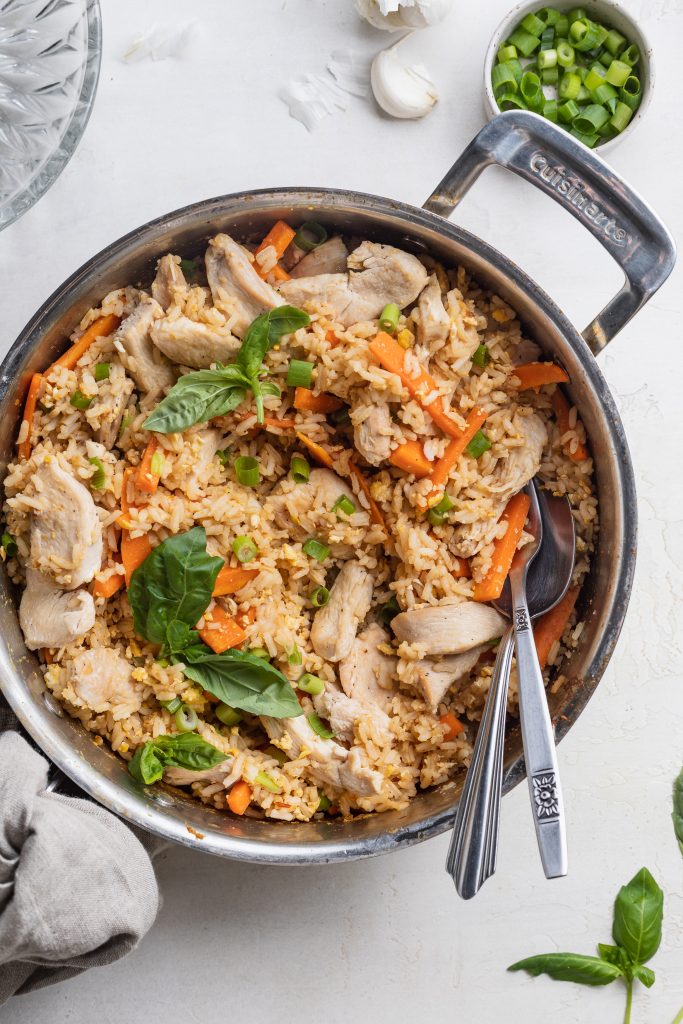
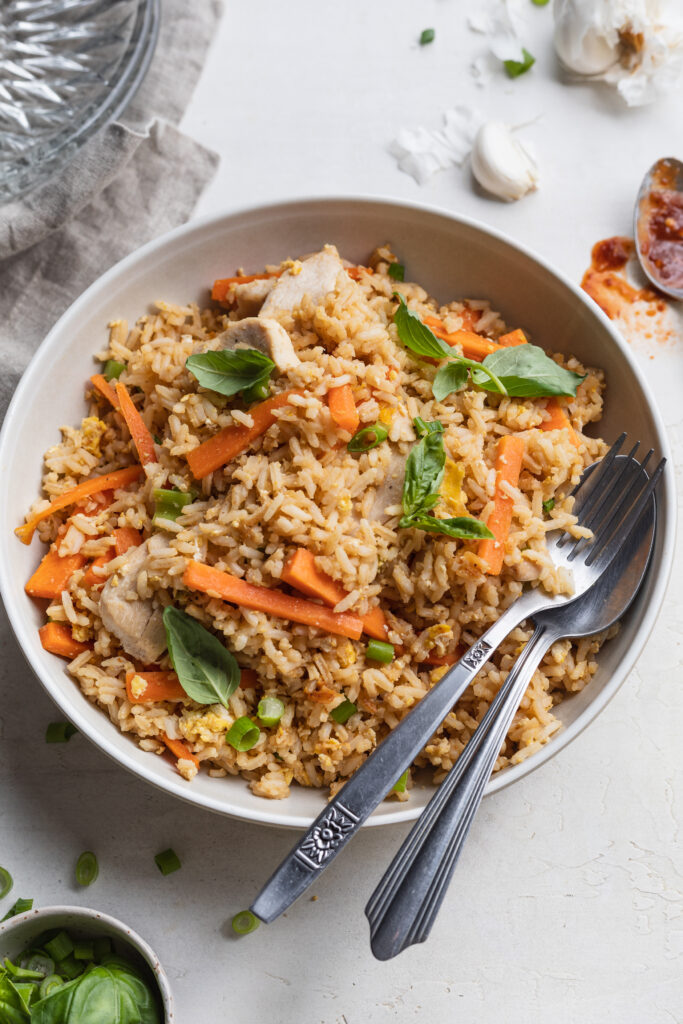
- Thai Fried Rice with Chicken
- Instant Pot Shredded Chicken Tacos
- Teriyaki Chicken Rice Bowls
- Baked Lemon Pepper Chicken Wings
20-Minute Mongolian Chicken
Ingredients
- 1 1/2 pounds chicken breast, thinly sliced
- salt, to taste
- 1/4 cup corn starch, or arrowroot starch
- 3 tablespoons avocado oil
- 3 scallions, sliced
- 2 garlic cloves, minced
- 1-inch piece fresh ginger, grated
- 1 tablespoon corn starch
- 1/2 cup vegetable broth
- 1/4 cup soy sauce, or tamari if gluten-free
Instructions
- Season chicken breast with salt, then toss in corn starch to coat.
- Heat avocado oil in a large skillet over medium-high heat, once hot add in the chicken – cook until golden brown and cooked through. Remove chicken from skillet and set aside.
- Lower heat to medium and add in the garlic, ginger, and scallions. Cook until fragrant, about 2 minutes.
- Whisk the corn starch into the vegetable broth, then pour into the skillet along with the soy sauce. Reduce heat to low and simmer until sauce has thickened.
- Once thick, add chicken back into the skillet and toss in sauce, then serve.


")


