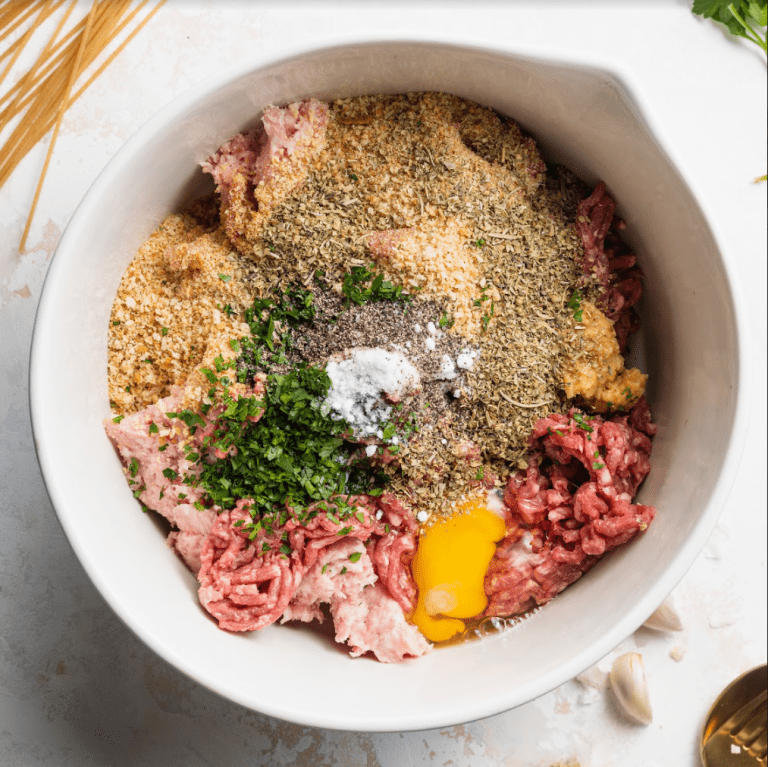
This gluten-free meatballs recipe is perfectly spiced with Italian seasoning and is made with ground beef, pork, garlic and gluten-free breadcrumbs. It’s so easy, and takes less than 30 minutes to make. Dairy-free and paleo options are included!

Main Ingredients Needed to Make These Italian GF Meatballs
- Ground Beef & Ground Pork
- Breadcrumbs – gluten-free
- Italian Seasoning
- Garlic Cloves
- Egg
- Parsley
- Milk – I used almond milk
- Salt & Black Pepper
Tips When Making These Baked Gluten-Free Meatballs
- Make it Paleo: For a grain-free/paleo version, simply leave out the gluten-free breadcrumbs!
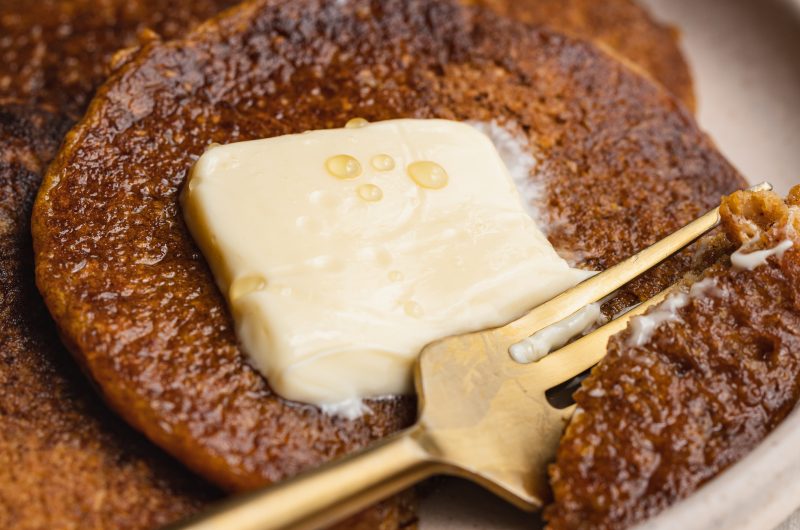
- Pasta: I used Jovial Brown Rice Spaghetti to keep my entire meal gluten-free. I highly recommend any Jovial pastas. They’re truly the best gluten-free pasta I’ve tried on the market!
- Cheese: To keep this dish dairy-free, I grated a block of Violife’s Vegan Parmesan Cheese over my spaghetti and meatballs.
- Meat: I used beef, but you can use chicken, or turkey to make these meatballs.
- Note: You can use oatmeal, potato flakes or breadcrumbs as a binder. My favorite way to make meatballs is with gluten-free breadcrumbs.

The BEST Gluten-Free Meatballs
Course: Main, DinnerCuisine: ItalianDifficulty: Easy4
servings10
minutes20
minutes30
minutesThis gluten-free meatballs recipe is perfectly spiced with Italian seasoning and is made with ground beef, pork, garlic and gluten-free breadcrumbs. It’s so easy, and takes less than 30 minutes to make. Dairy-free and paleo options are included!
Ingredients
1 Pound Ground Beef
1 Pound Ground Pork
1 Cup Gluten-Free Breadcrumbs
2 Tablespoons Italian Seasoning
2 Whole Garlic Cloves, minced
1 Whole Egg
2 Tablespoons Fresh Parsley (finely chopped)
1/4 Cup Regular or Non-Dairy Milk
1 Teaspoon Salt
1/2 Teaspoon Black Pepper
Directions
- Preheat oven to 375° Fahrenheit and line a large baking sheet with parchment paper.
- Mix together all ingredients in a large bowl.
- Using a cookie scoop, scoop about 1 tablespoon of mixture into the palms of your hands and roll into a meatball. Place rolled meatball onto prepared baking sheet and continue until no mixture remains.
- Bake meatballs for 18-20 minutes or until a meat thermometer inserted in the center of one reads 160° Fahrenheit.


Did you make this recipe?
Share it and tag @samdoesherbest on Instagram!
Like this recipe?
Follow us @samdoesherbest on Pinterest


")